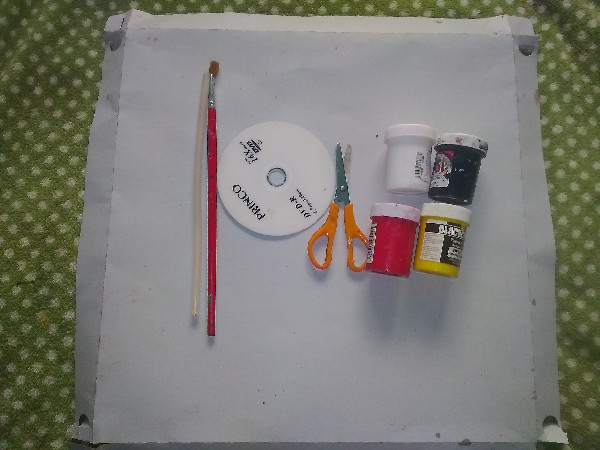
Materials
Carton box
Cold paints, black, yellow, red and white
Silicon
Scissor
Brush
CD
Step by Step
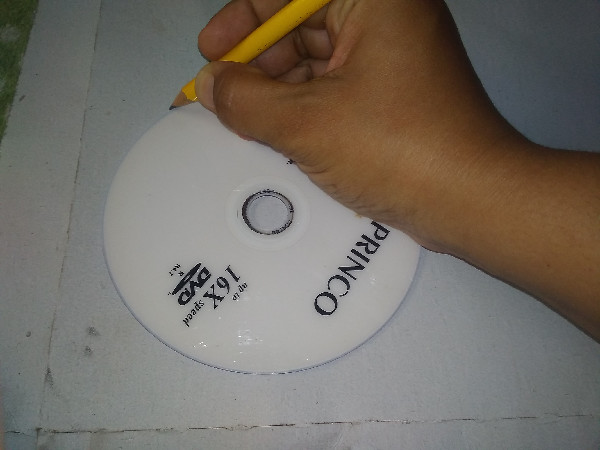
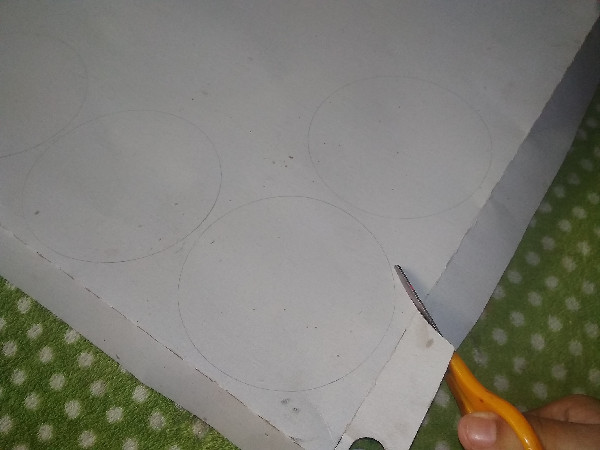
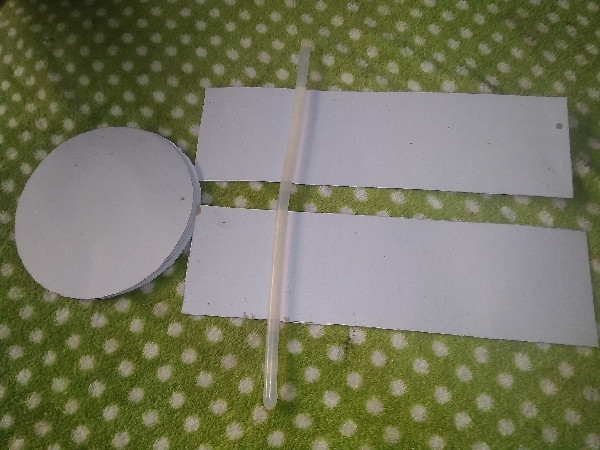
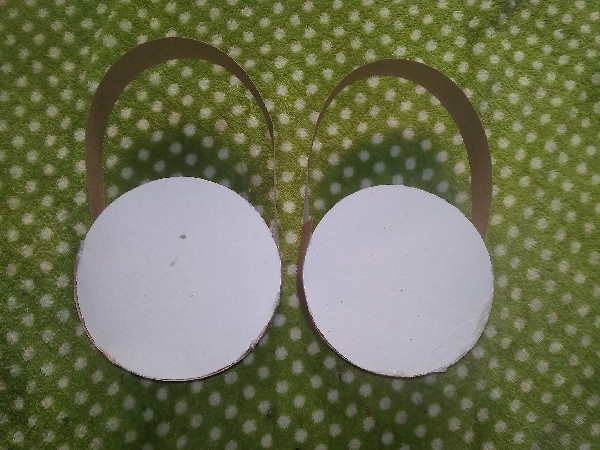
- The first thing is to take the cd as a means to make four circles that I will trace on top of the cardboard
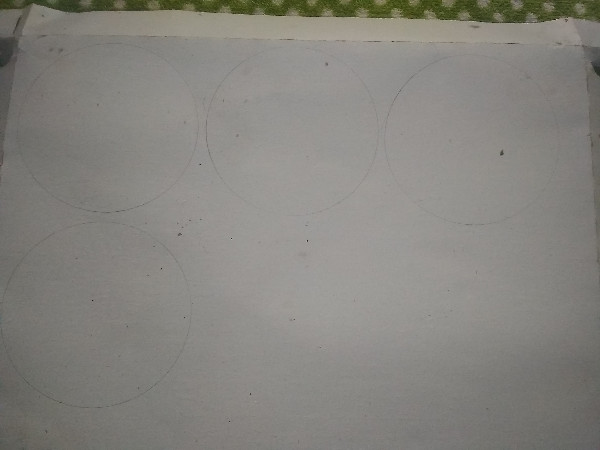
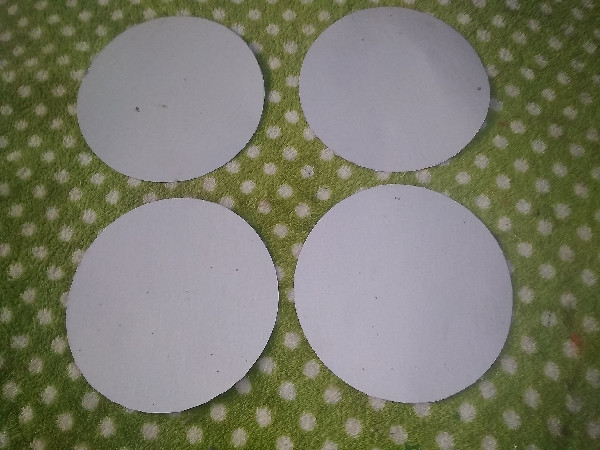
- Then I cut out and obtain the four circles that I will need to make the two party favors
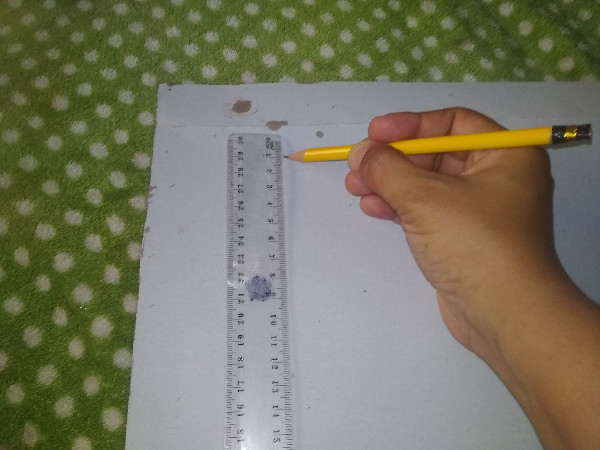
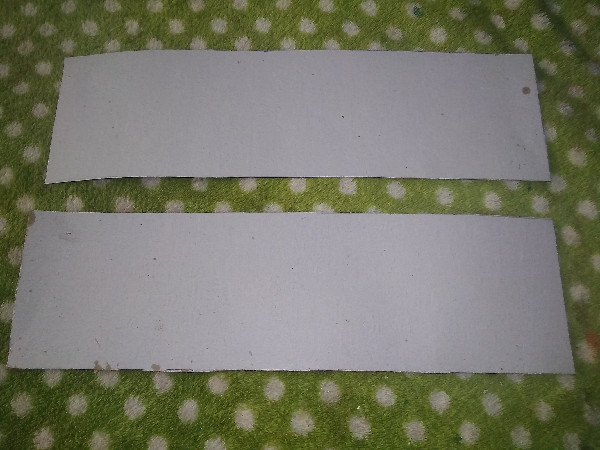
- Now take another piece of cardboard and use the ruler to make a strip measuring 7cm wide and 24.5cm long.
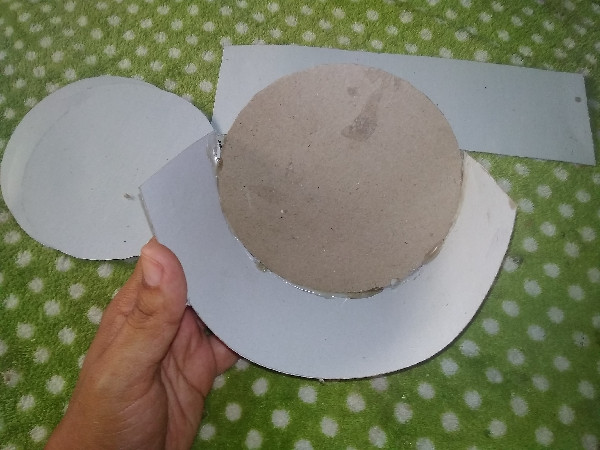
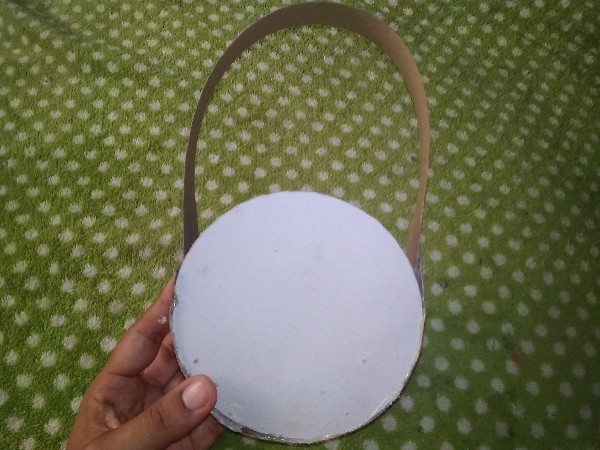
- After having both the circles and the strips ready, we proceed to glue with hot silicone
- This is how the party favors with one of the circles attached. In the same way we glue the one on the other side.
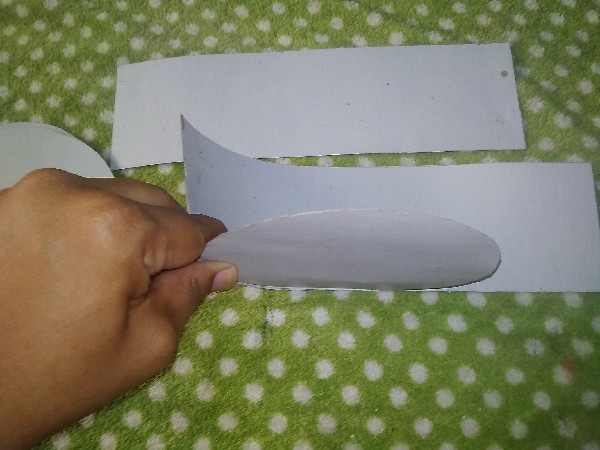
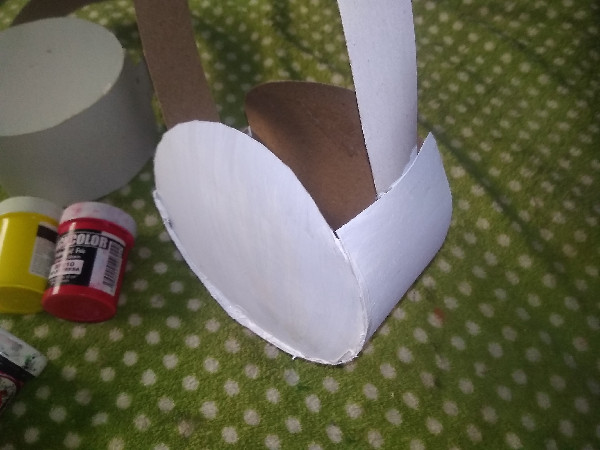
- Then make another strip that you place on top that will serve as a handle.
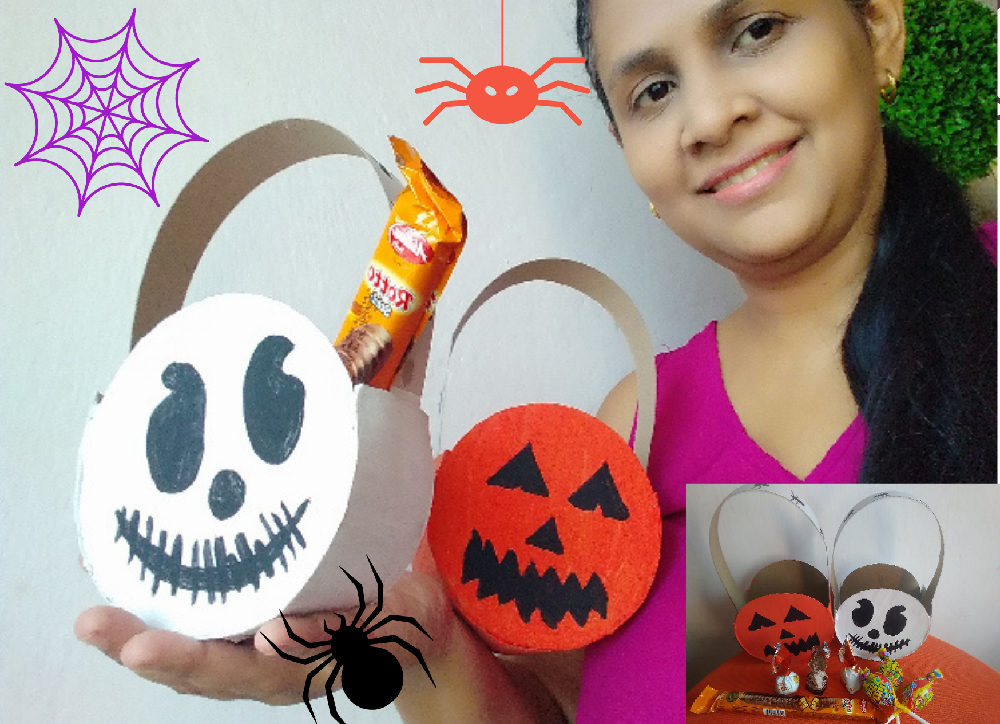
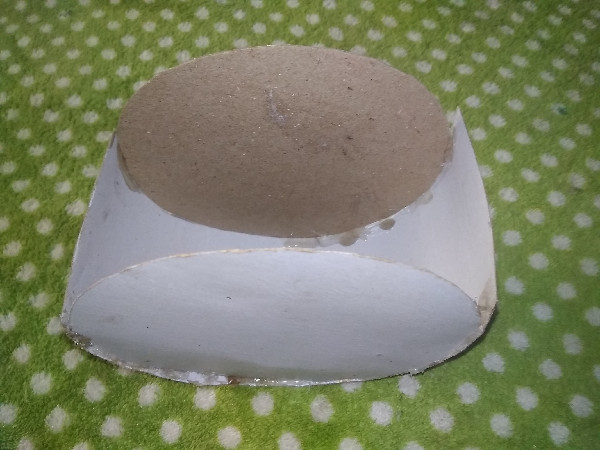
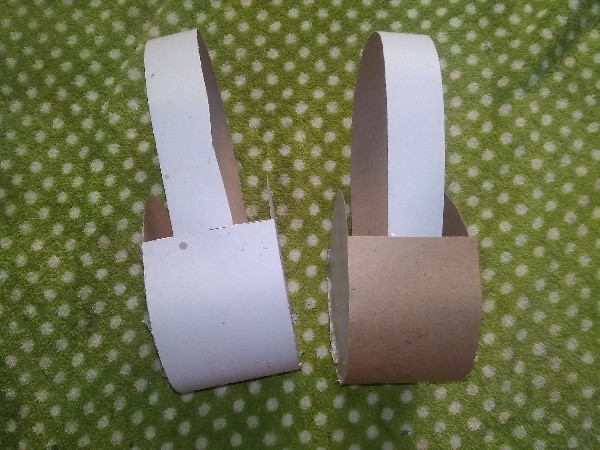
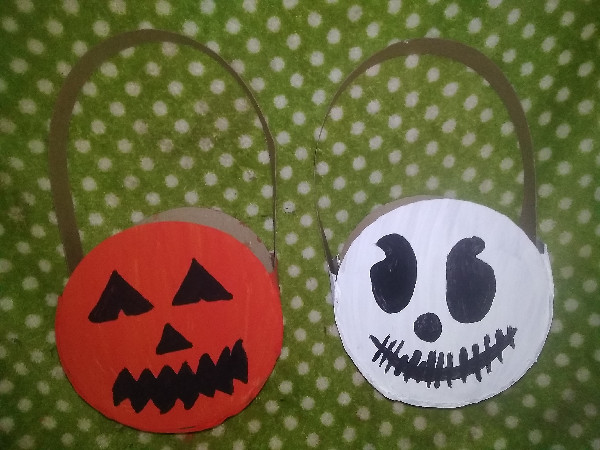
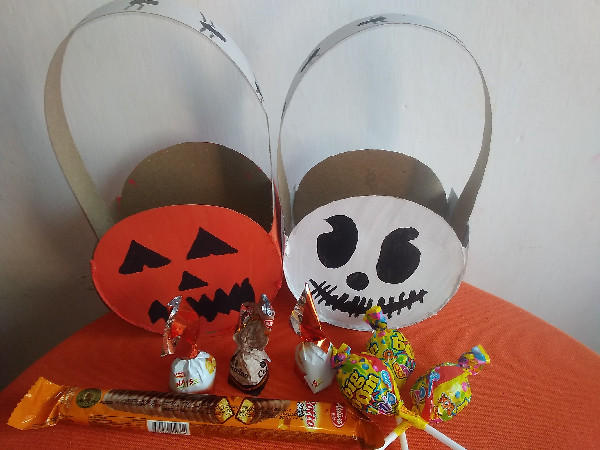
- Here are the two party favors ready to be painted later.
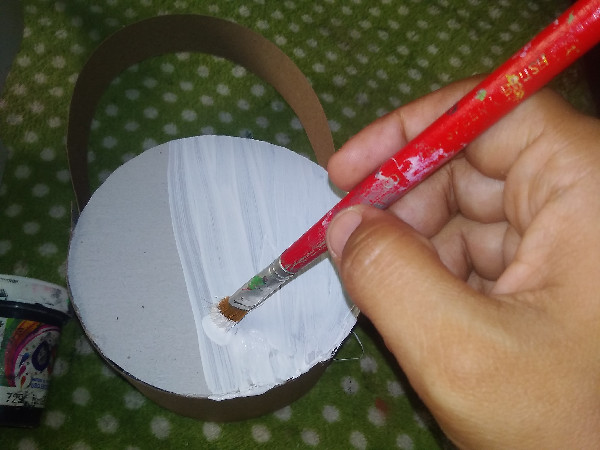
- I take all the paints, but I started to paint the first party that will be a ghost. I took the white paint and started to paint with the brush.

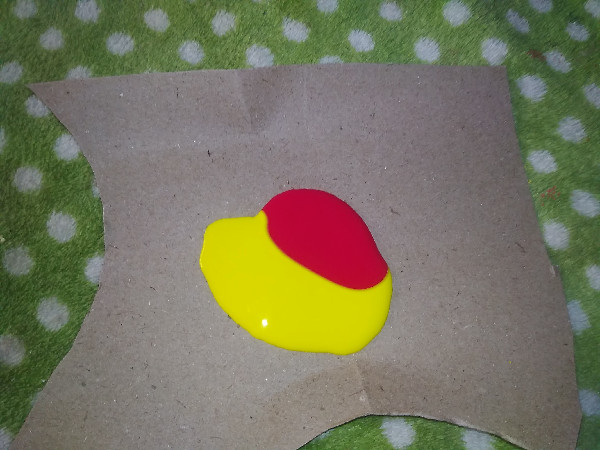
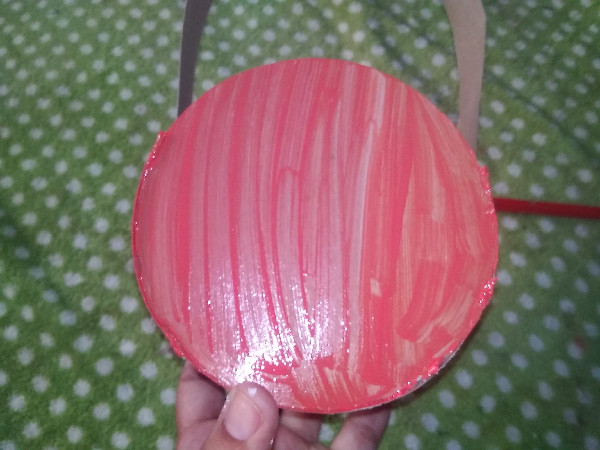
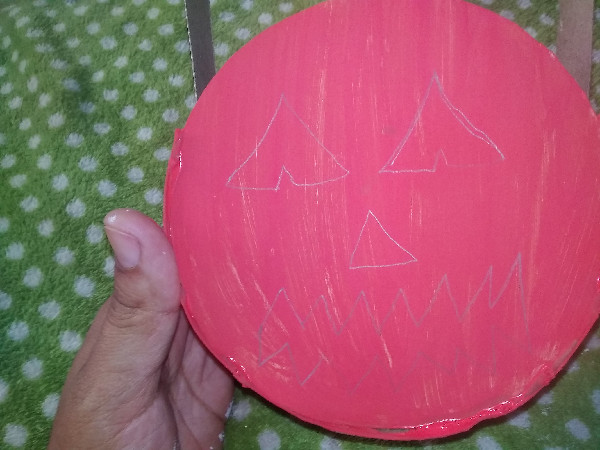
- Then take the red and yellow paint and combine to form the orange color since it didn't have that color. After creating the color; I proceeded to paint the other party favors, which will be a pumpkin.
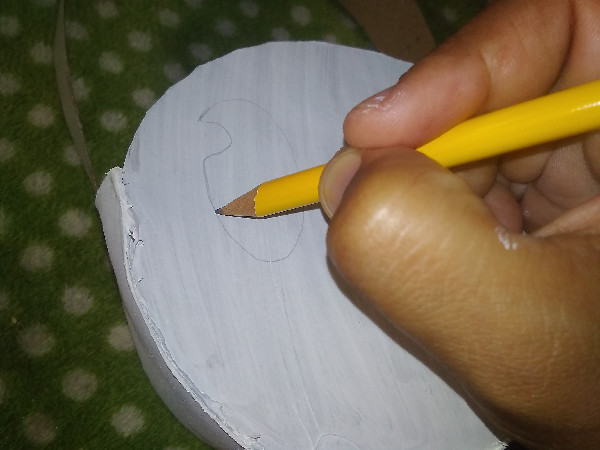
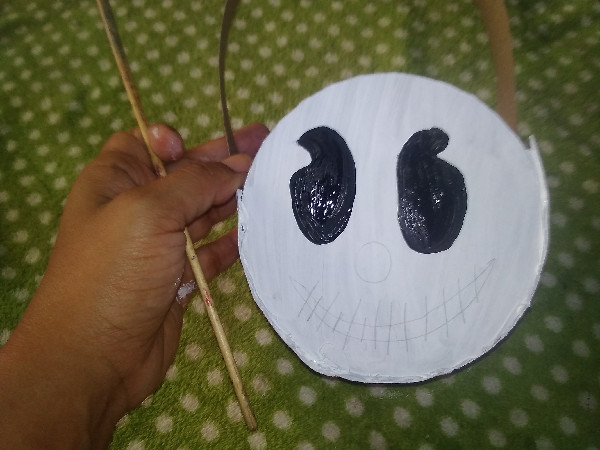
- With a graphite pencil make the eyes, nose and mouth of the ghost; to later paint with black paint.
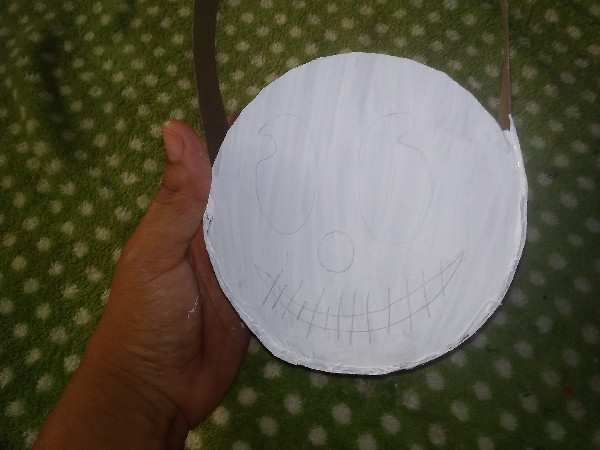
- Remaining as follows.
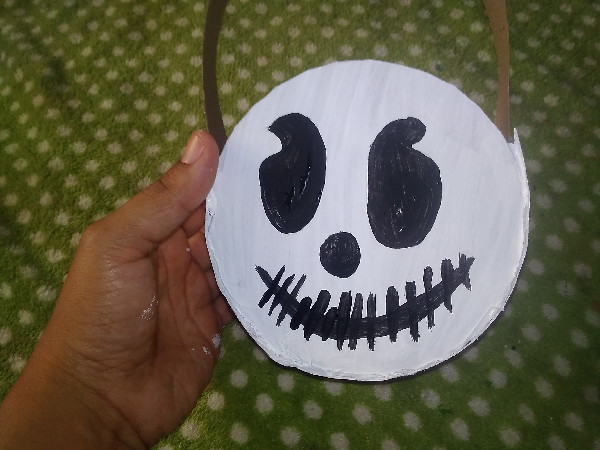
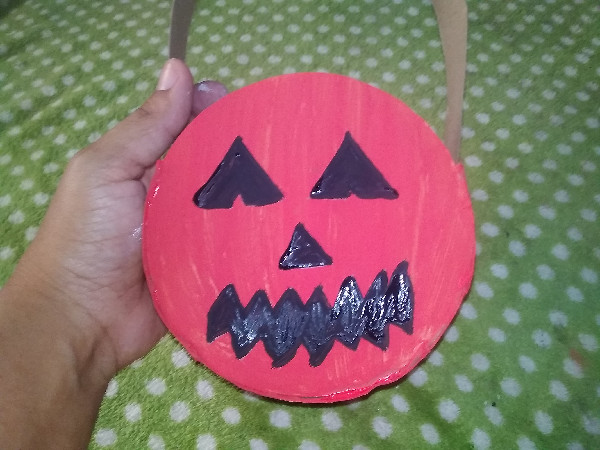
- In the same way, trace the face of the pumpkin and also paint black. Staying as you see in the photograph.
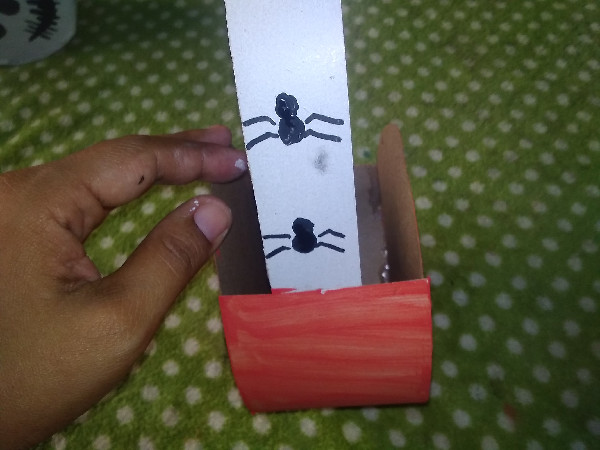
- It occurred to me to make little spiders on the handle and they were like that.
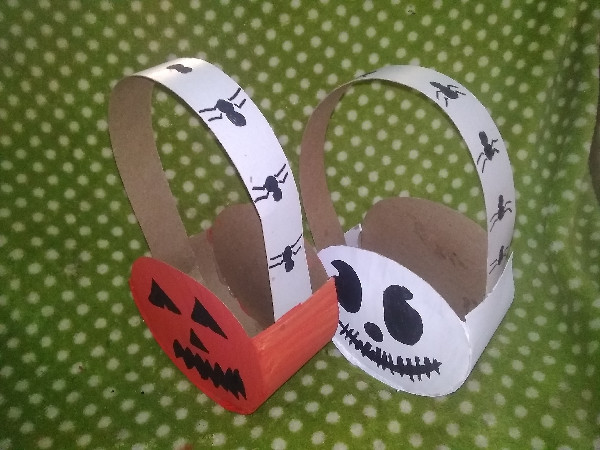
- In this way, I make these cute party favors to give away at the Halloween celebration.
- I tell you, my children were pending because they wanted the party favors already ready with their filling.
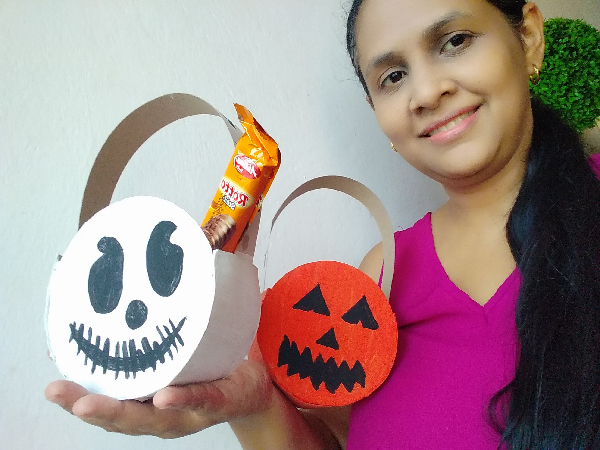
- I hope you like this creative idea and if you want to celebrate this day you have an option to give to the little ones in the house.
Cover edited in canva with use of free image
I say goodbye and see you in a next post
Photos taken from my RedmiGo phone
Thanks for reading


Versión Español
Materiales
Cartón
Pinturas al frio, negro, amarillo, rojo y blanco
Silicón
Tijera
Pincel
Cd
Paso a paso
- Lo primero es tomar el cd como medio para realizar cuatro círculos que trazare encima del cartón
Luego recorto y obtengo los cuatro círculos que voy a necesitar para realizar los dos cotillones
Ahora tome otro trozo de cartón y realice con la regla una tira con medidas de 7cm de ancho y 24.5cm de largo.
Después de tener listo tanto los círculos como las tiras, procedemos a pegar con silicón caliente
Así va quedando ya el cotillón con ya una de los círculos pegados. De la misma forma pegamos el del otro lado.
Después realice otra tira que coloque en la parte de arriba que servirá de agarradero.
Ya aquí los dos cotillones listos, para luego ser pintados.
Tomo todas las pinturas, pero empecé a pintar el primer cotillón que será un fantasma. Tome la pintura blanca y comencé a pintar con el pincel.
Luego tome la pintura roja y amarillo y combine para formar el color naranja, ya que no tenía ese color. Después de crear el color; procedí a pintar el otro cotillón que será una calabaza.
Con un lápiz de grafito realice los ojos, la nariz y boca del fantasma; para luego pintar con pintura negra.
Quedando de la siguiente manera.
De la misma manera trace la cara de la calabaza y pinte también de negro. Quedando como lo ven en la fotografía.
Se me ocurrió realizar arañitas en el agarradero y quedaron así.
De esta manera realice estoy lindos cotillones para regalar en la celebración de Halloween.
Les cuento mis hijos estaban pendientes porque querían los cotillones ya listos con su relleno.
Espero les guste esta idea creativa y si desean celebrar este día tenga una opción para darle a los pequeños de la casa.
Portada editada en canva con uso de imagen gratuita
Me despido y nos vemos en un próximo post
Fotografías tomadas desde mi teléfono RedmiGo
Gracias por Leerme
The rewards earned on this comment will go directly to the person sharing the post on Twitter as long as they are registered with @poshtoken. Sign up at https://hiveposh.com.