¡Feliz Noche Comunidad Creativa! | ¡Happy Night Creative Community!
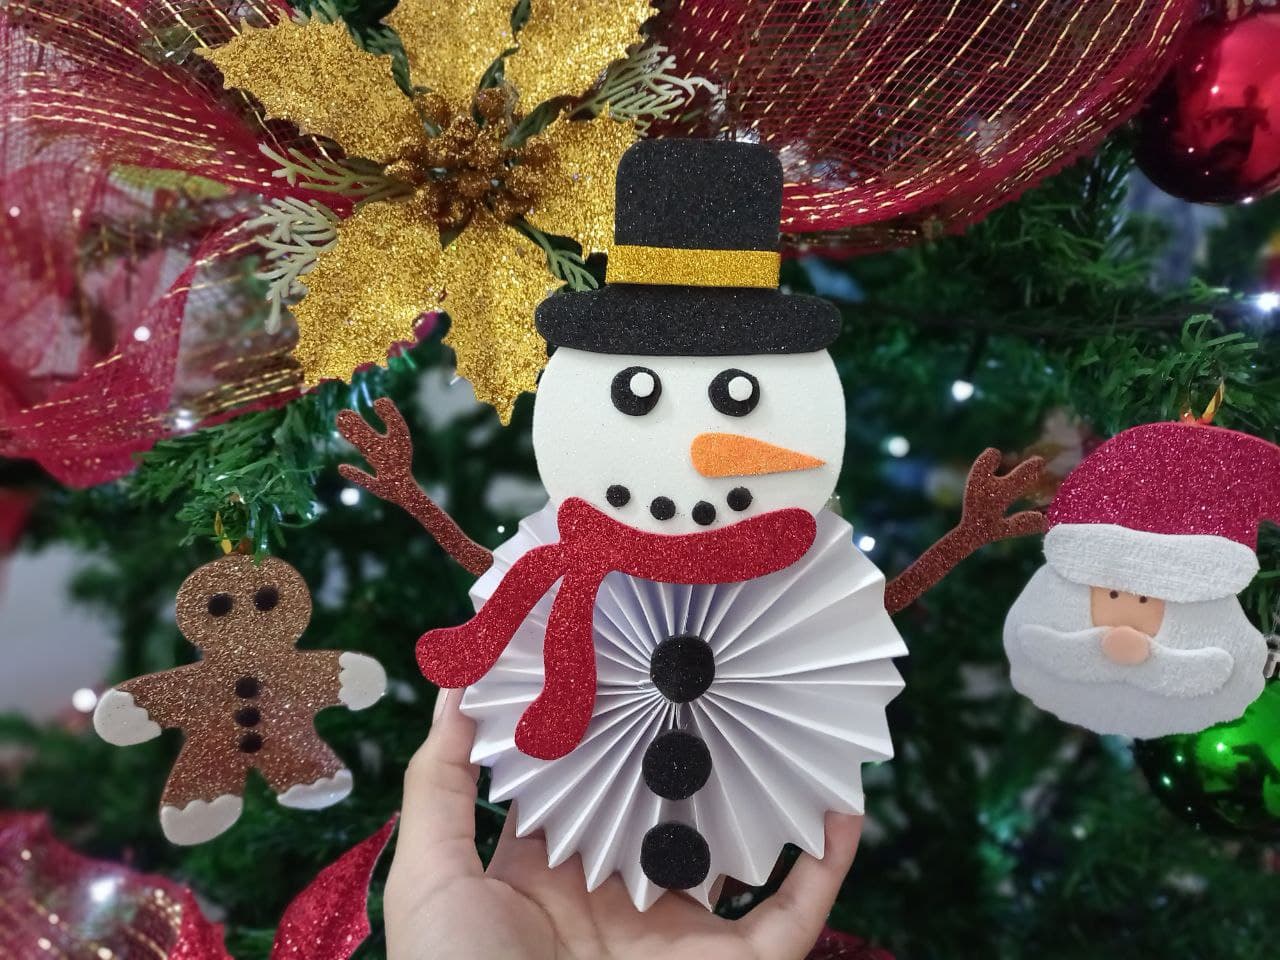
El día de hoy les traigo un tutorial para elaborar un hermoso muñeco de nieve hecho a partir de una roseta de papel, un adorno perfecto para decorar en Navidad e ideal para colgar en el arbolito, es muy fácil de hacer y el resultado es realmente hermoso, sin más que decir acá les dejo el paso a paso, espero que les guste.
Today I bring you a tutorial to make a beautiful snowman made from a paper rosette, a perfect ornament to decorate at Christmas and ideal to hang on the tree, it is very easy to do and the result is really beautiful , without more to say here I leave the step by step, I hope you like it.

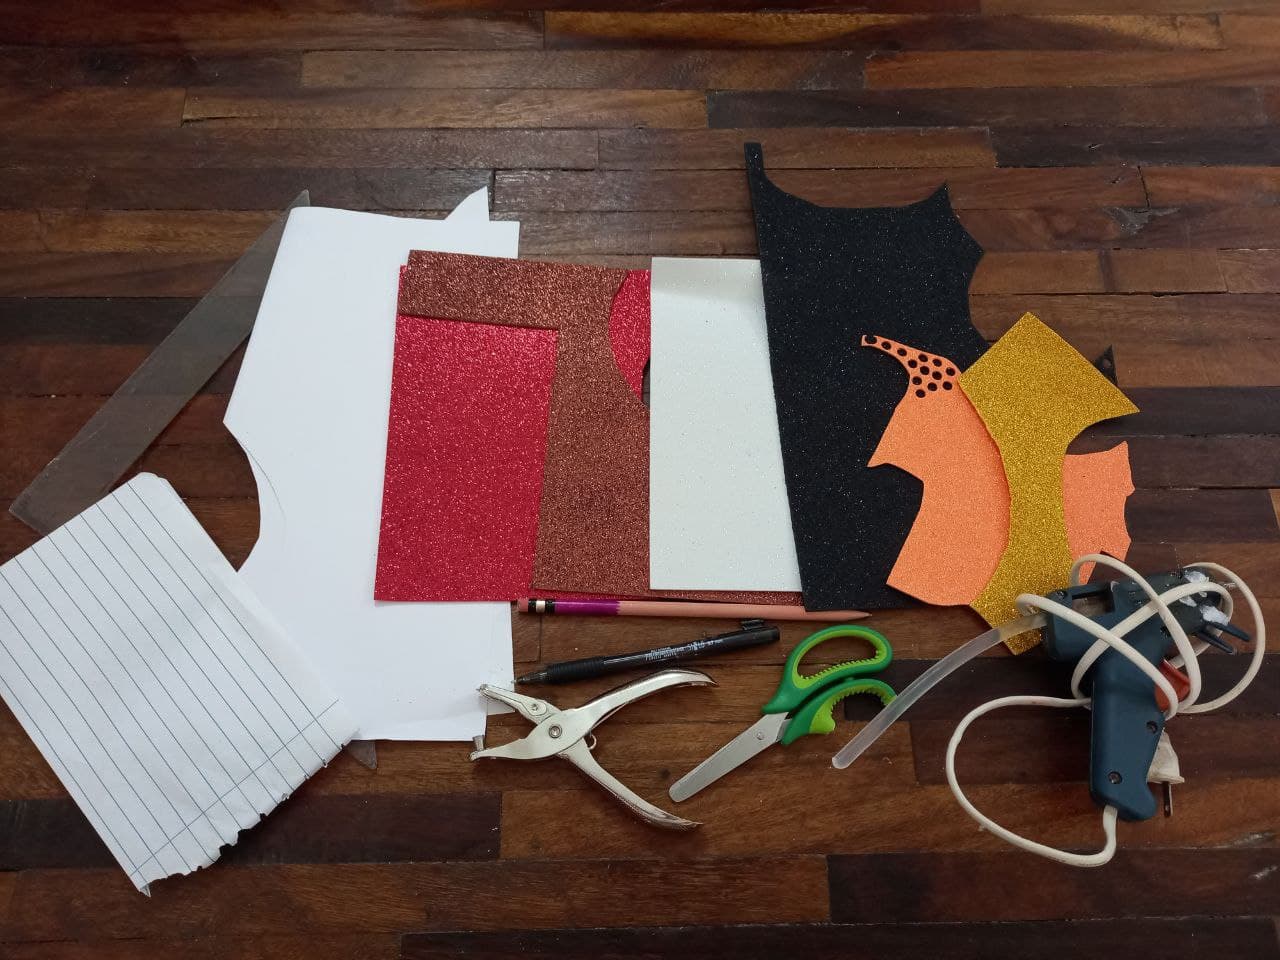
- Cartulina escolar blanca.
- Foami escarchado blanco.
- Foami escarchado negro.
- Foami escarchado dorado.
- Foami escarchado marrón.
- Foami escarchado rojo.
- Foami escarchado naranja.
- Regla.
- Tijera.
- Lápiz.
- Hoja de papel.
- Abre huecos.
- Silicón.
- Pistola de silicón.
- White school cardboard.
- White frosted foam.
- Black frosted foam.
- Golden frosted foam.
- Brown frosted foam.
- Red frosted foam.
- Orange frosted foam.
- Rule.
- Scissor.
- Pencil.
- Paper sheet.
- Open holes.
- Silicone.
- Silicone gun.
.jpg)
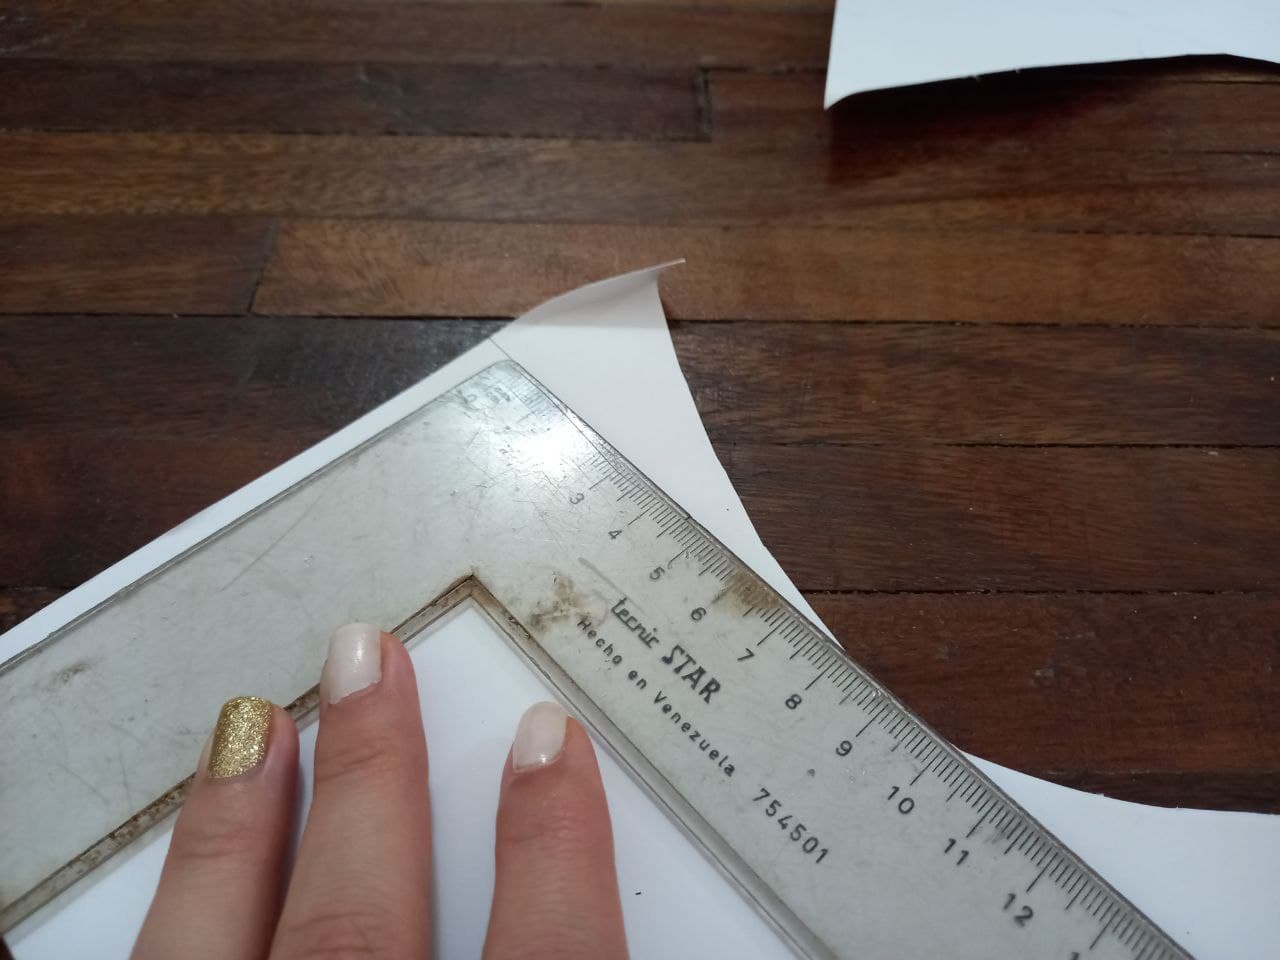
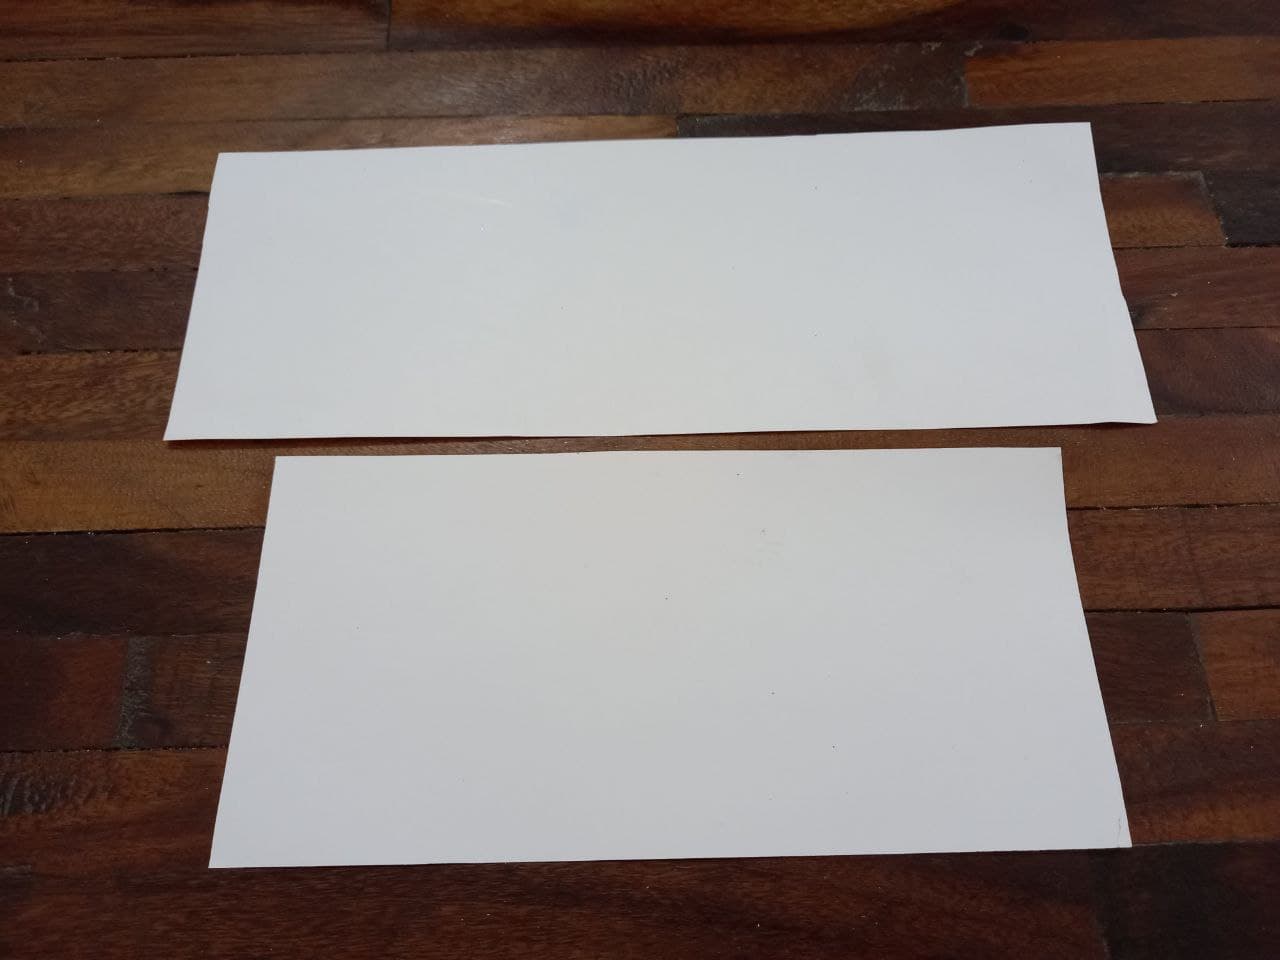
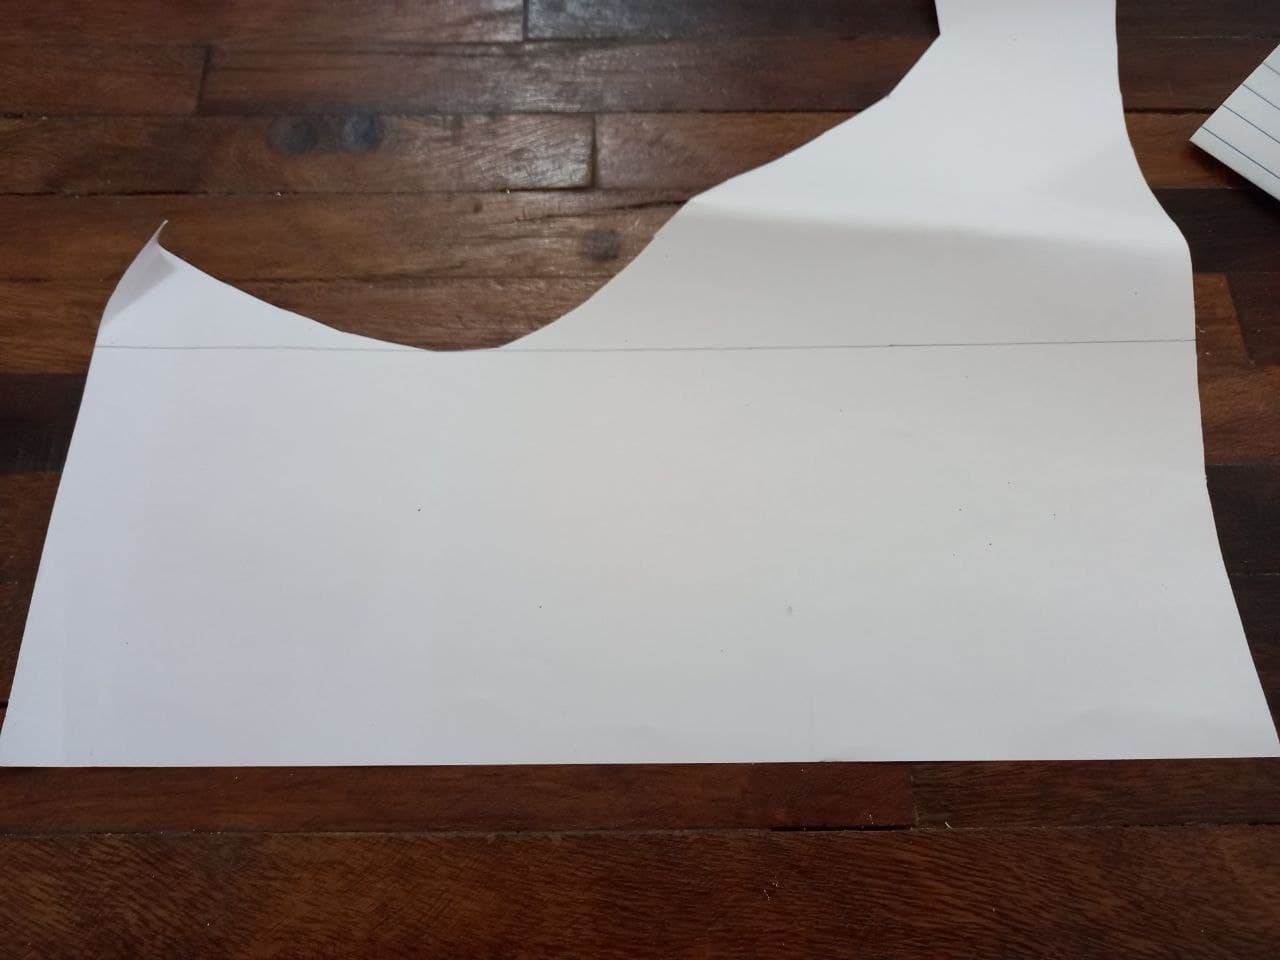
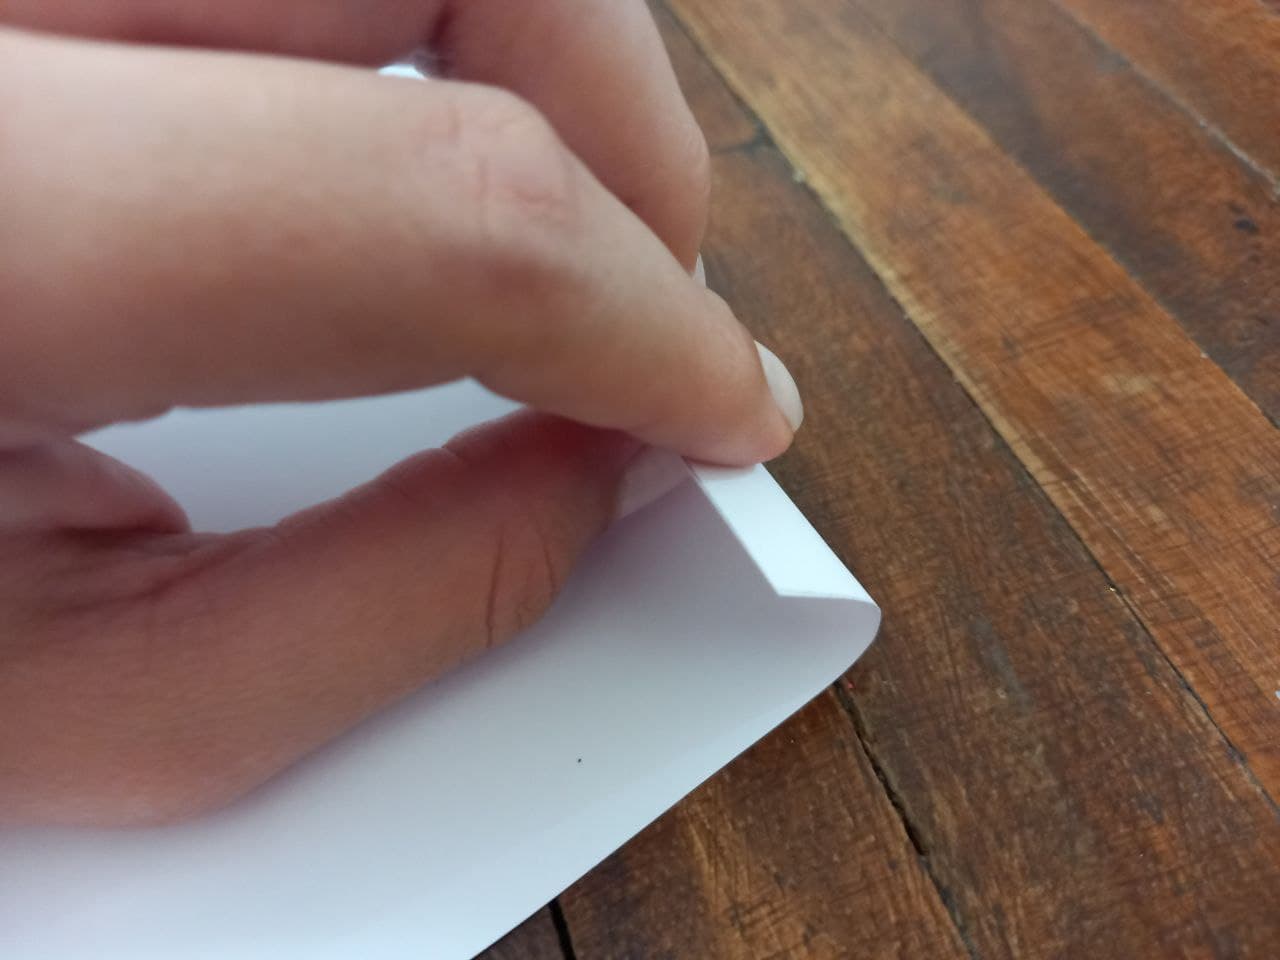
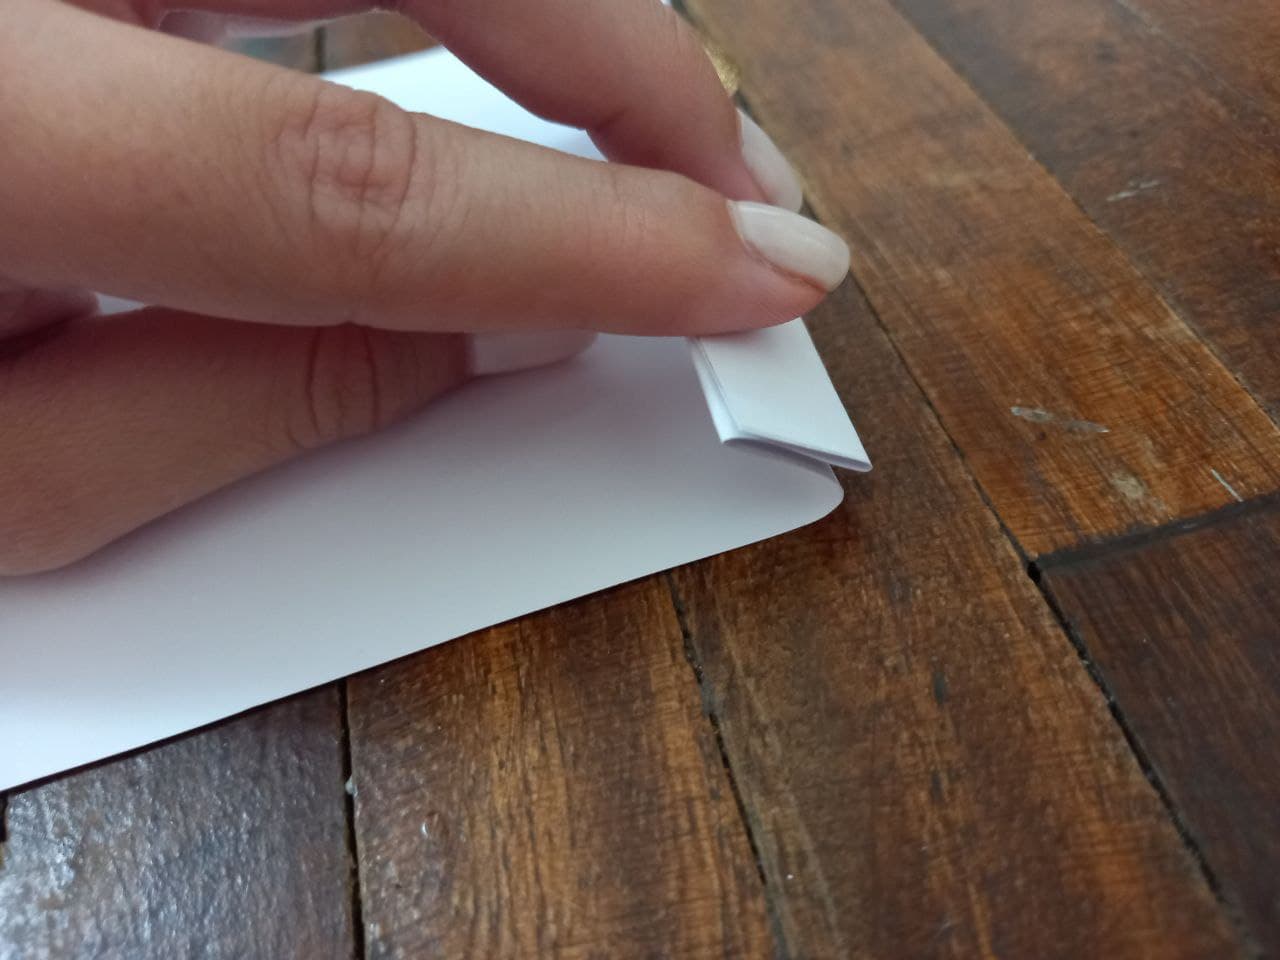
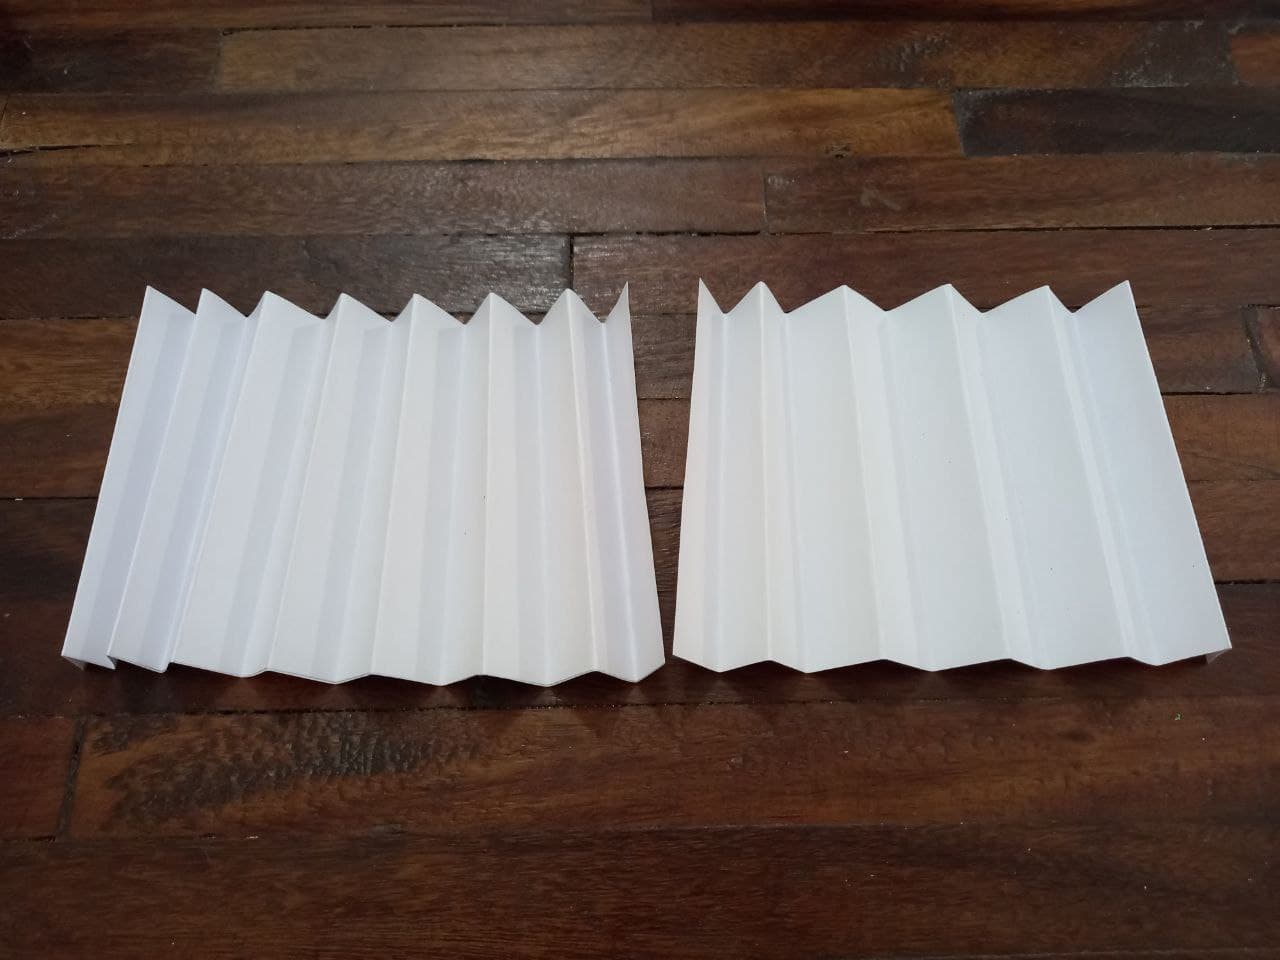
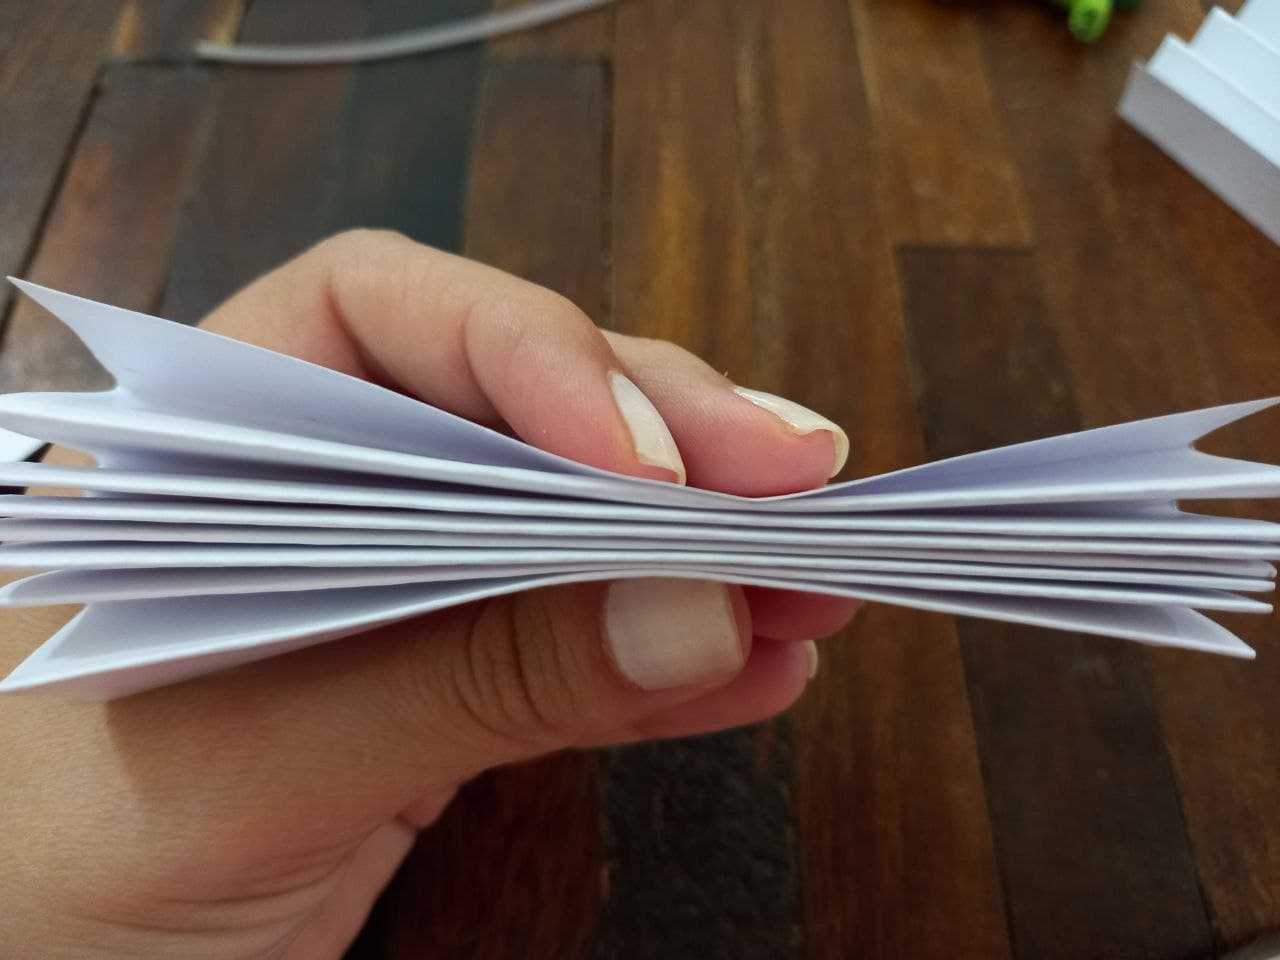
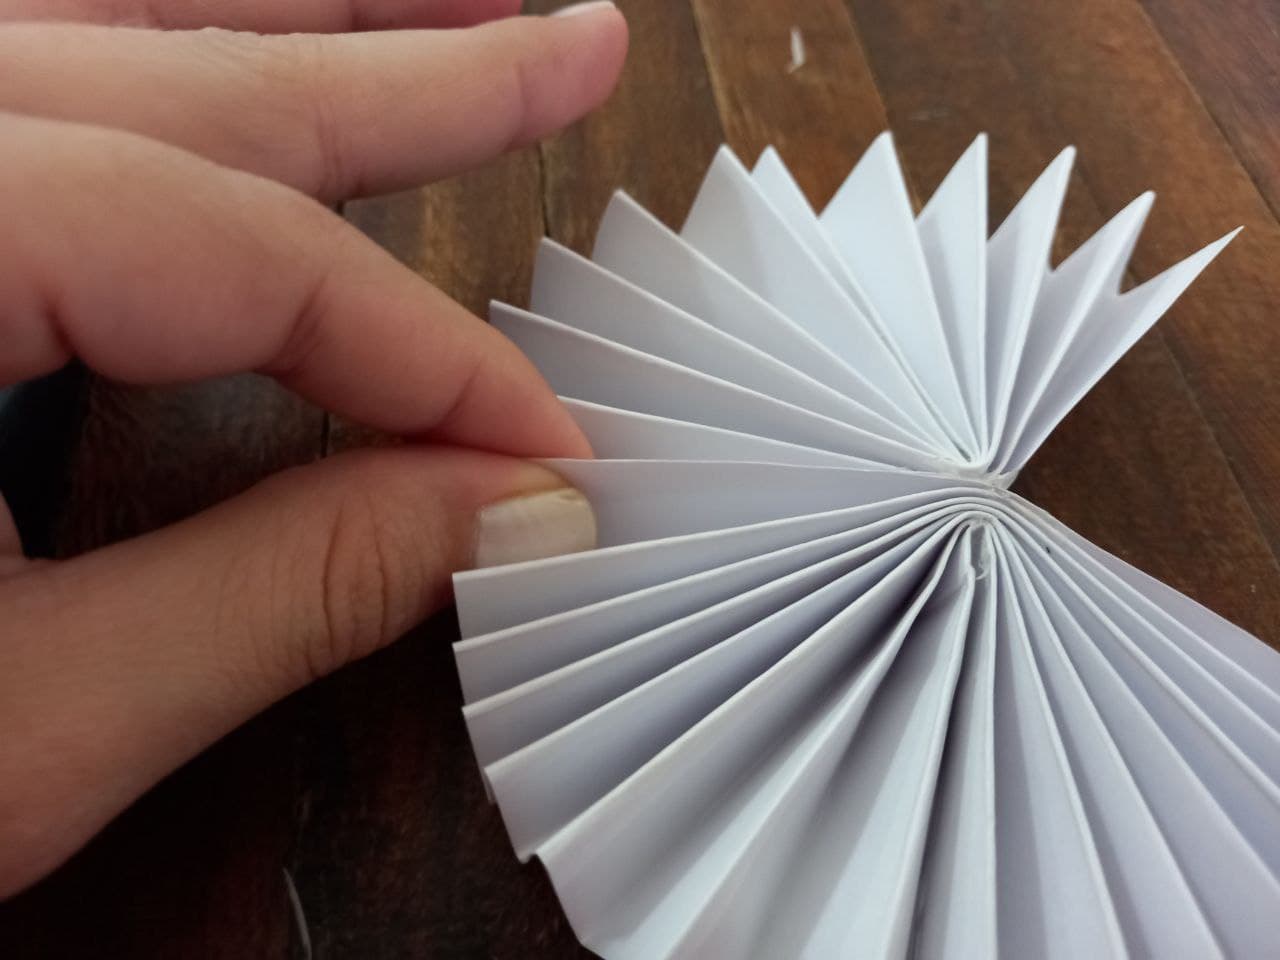
🎄 PASO 1. Comenzamos haciendo la roseta de papel, para ello con la regla vamos a cortar 2 piezas de cartulina que tengan el mismo tamaño, no importa que una sea más larga que la otra pero deben tener el mismo alto, recortamos y cada pieza la vamos a doblar por el lado ancho, hacemos dobleces de aproximadamente 1 cm cada uno en forma de zigzag quedando el papel en forma de abanico.
🎄 STEP 1. We start by making the paper rosette, for this with the ruler we are going to cut 2 pieces of cardboard that have the same size, it does not matter that one is longer than the other but they must have the same height, We cut each piece and we are going to fold it on the wide side, we make folds of approximately 1 cm each in the shape of a zigzag, leaving the paper in the shape of a fan.


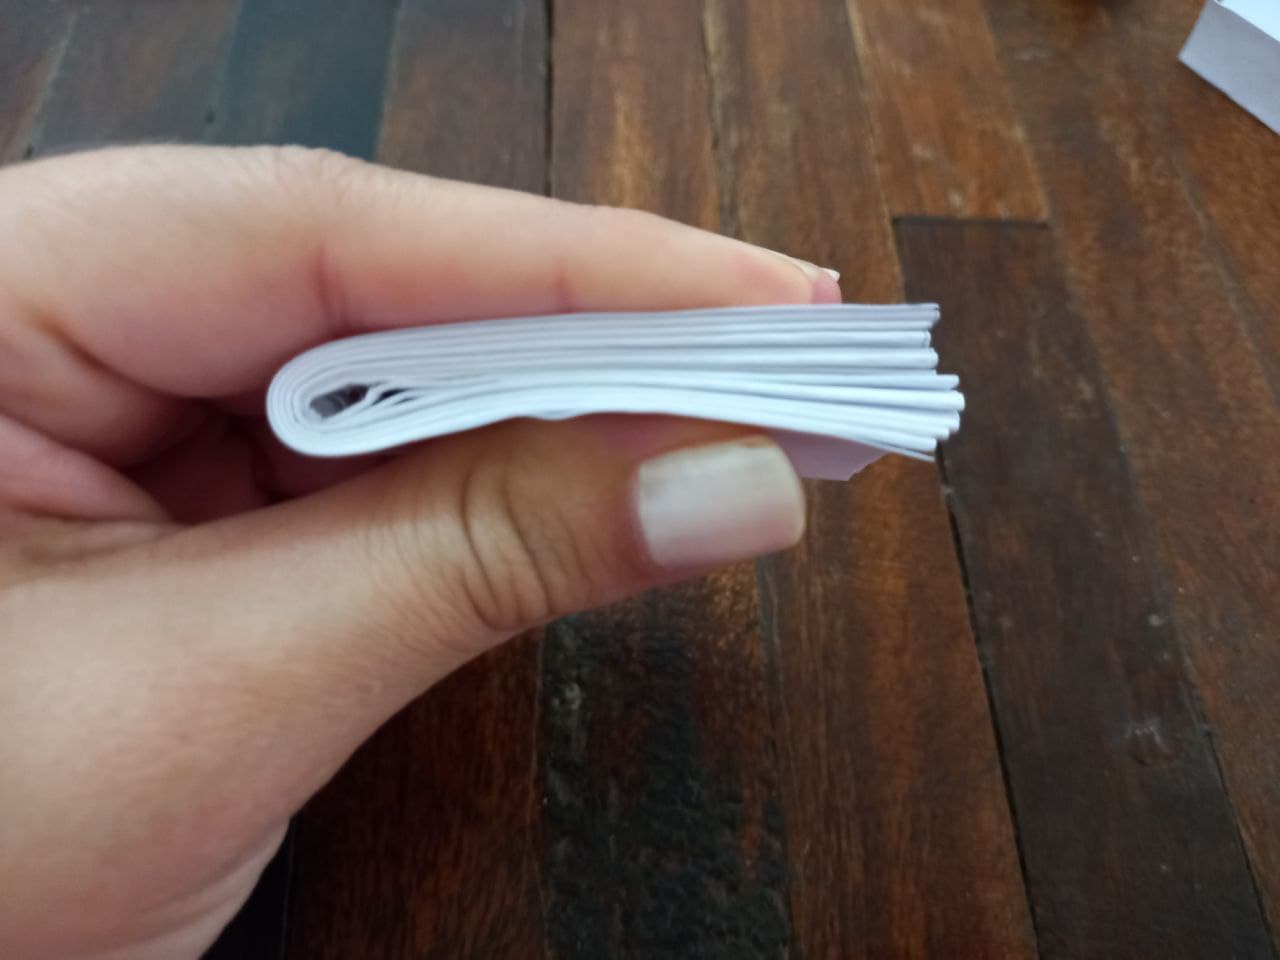
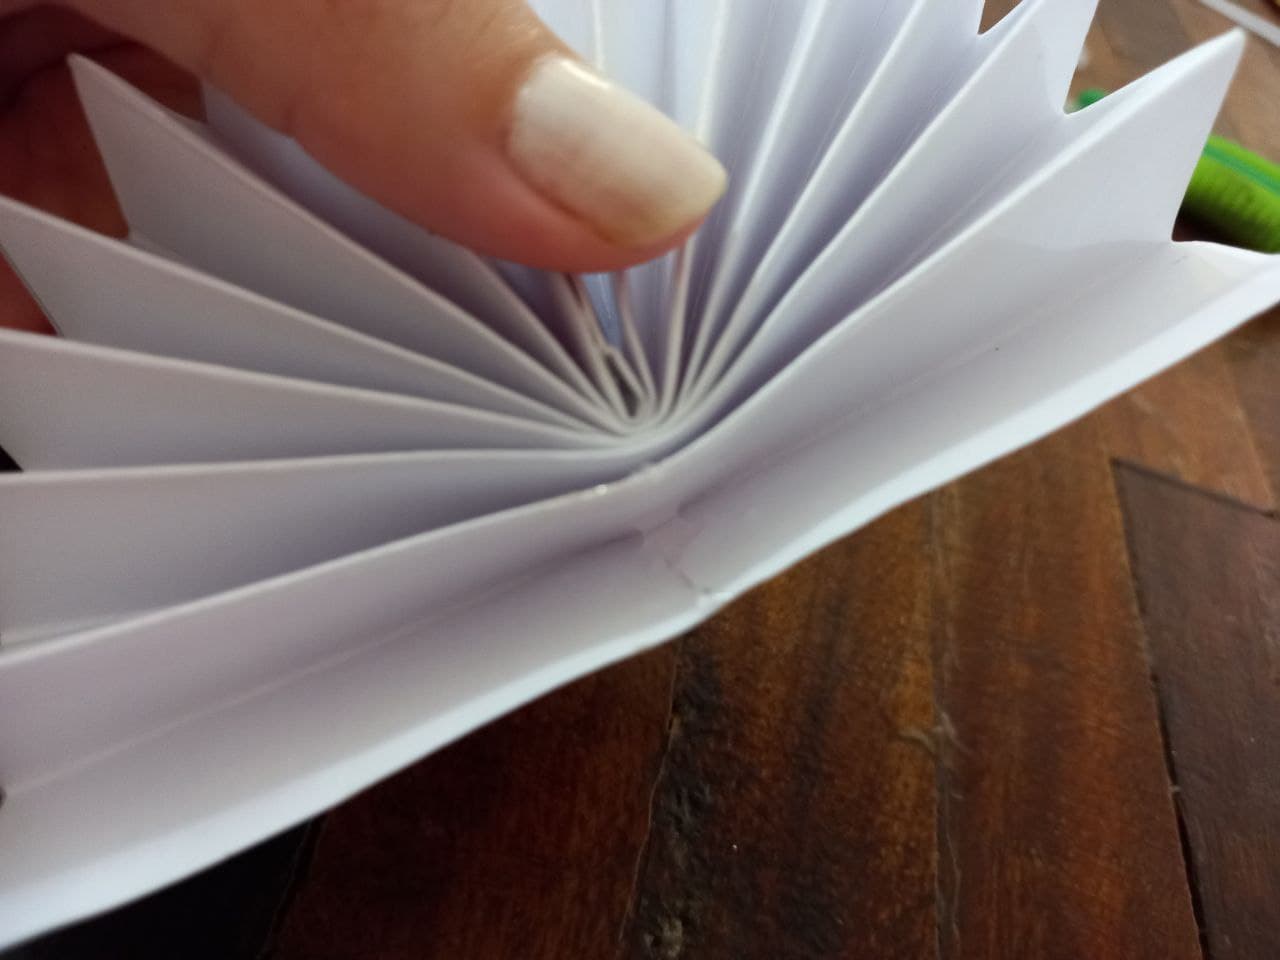
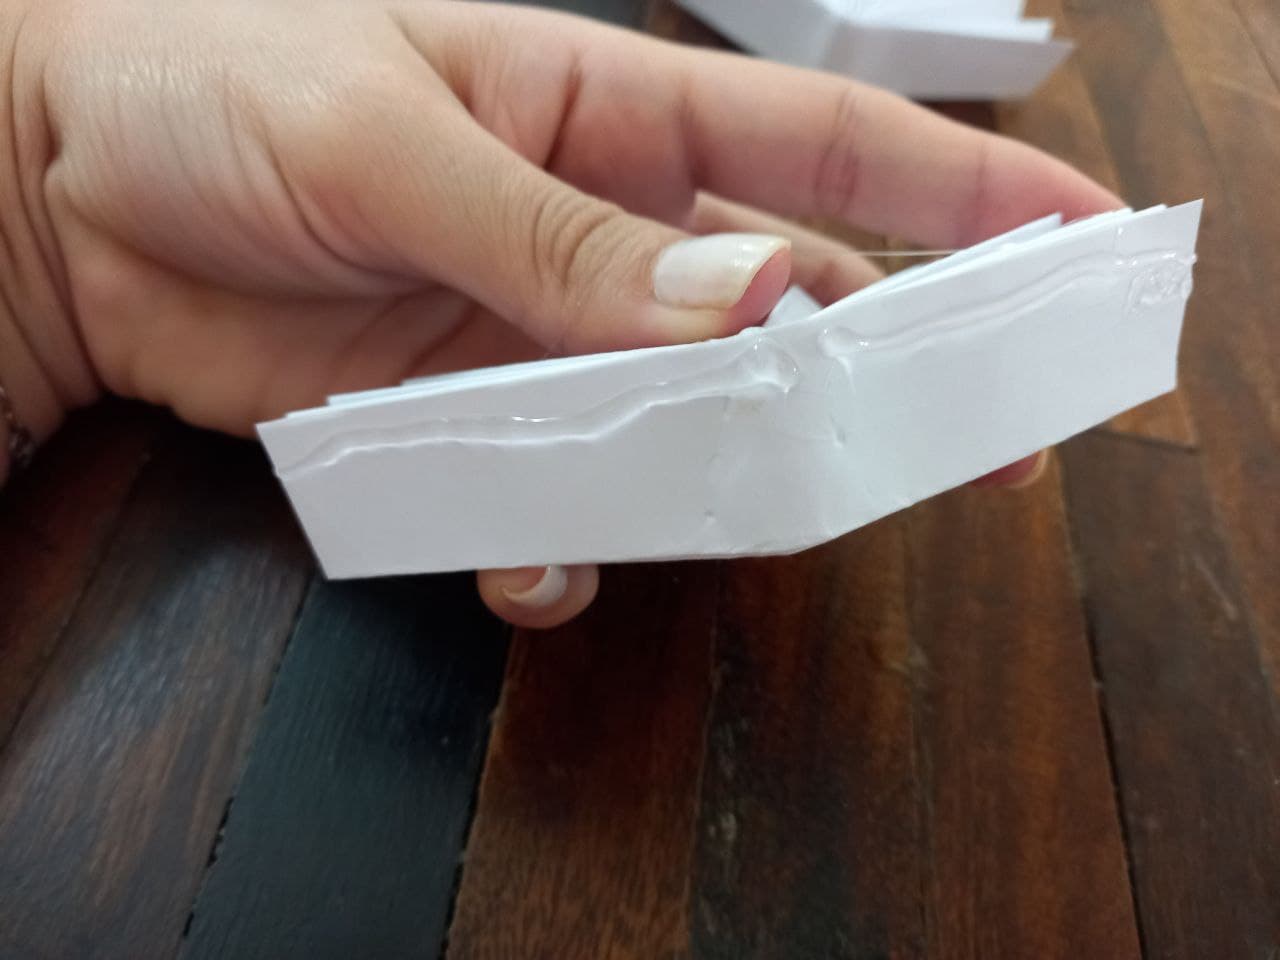
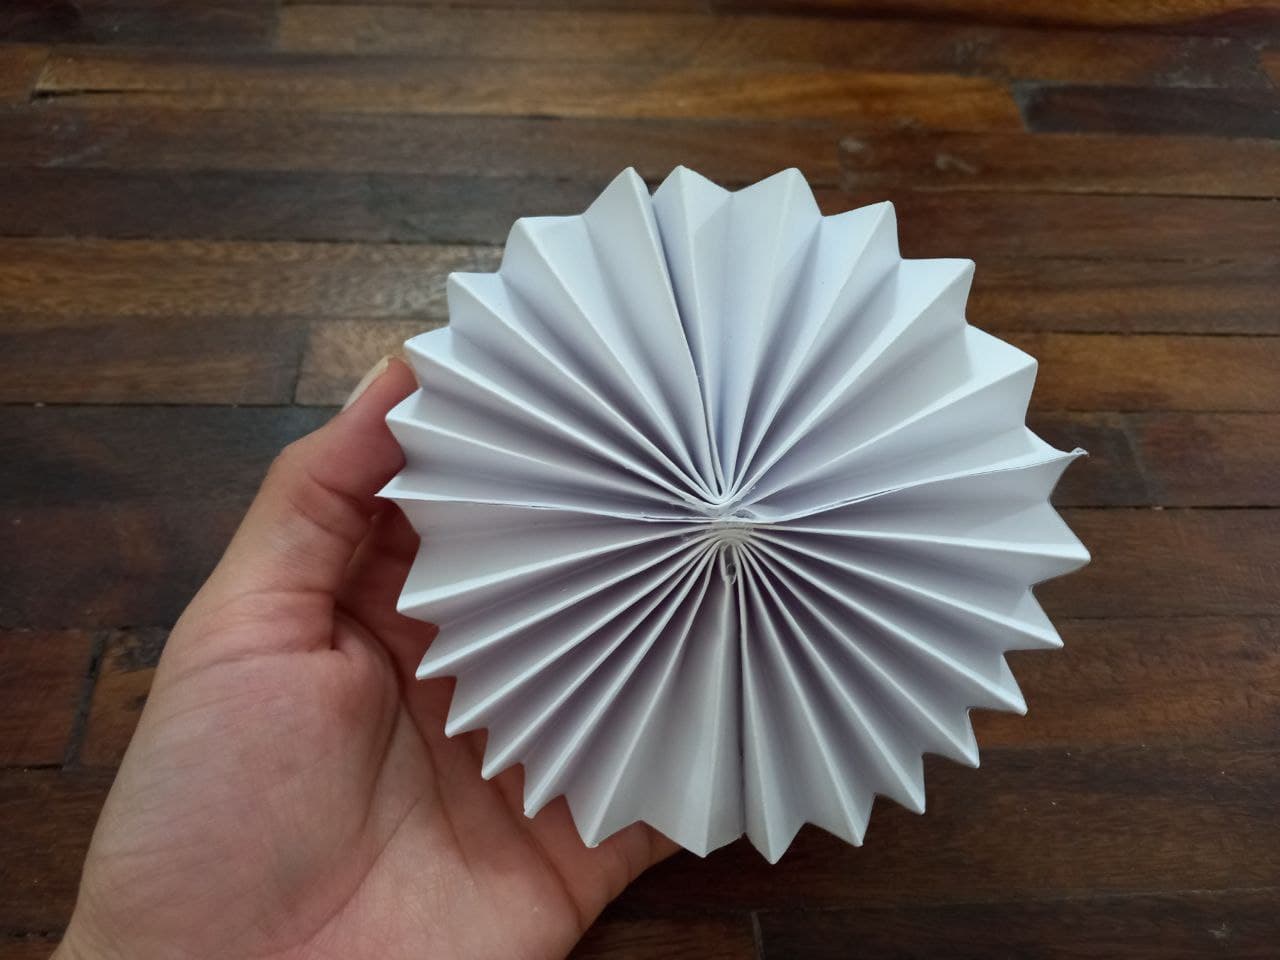
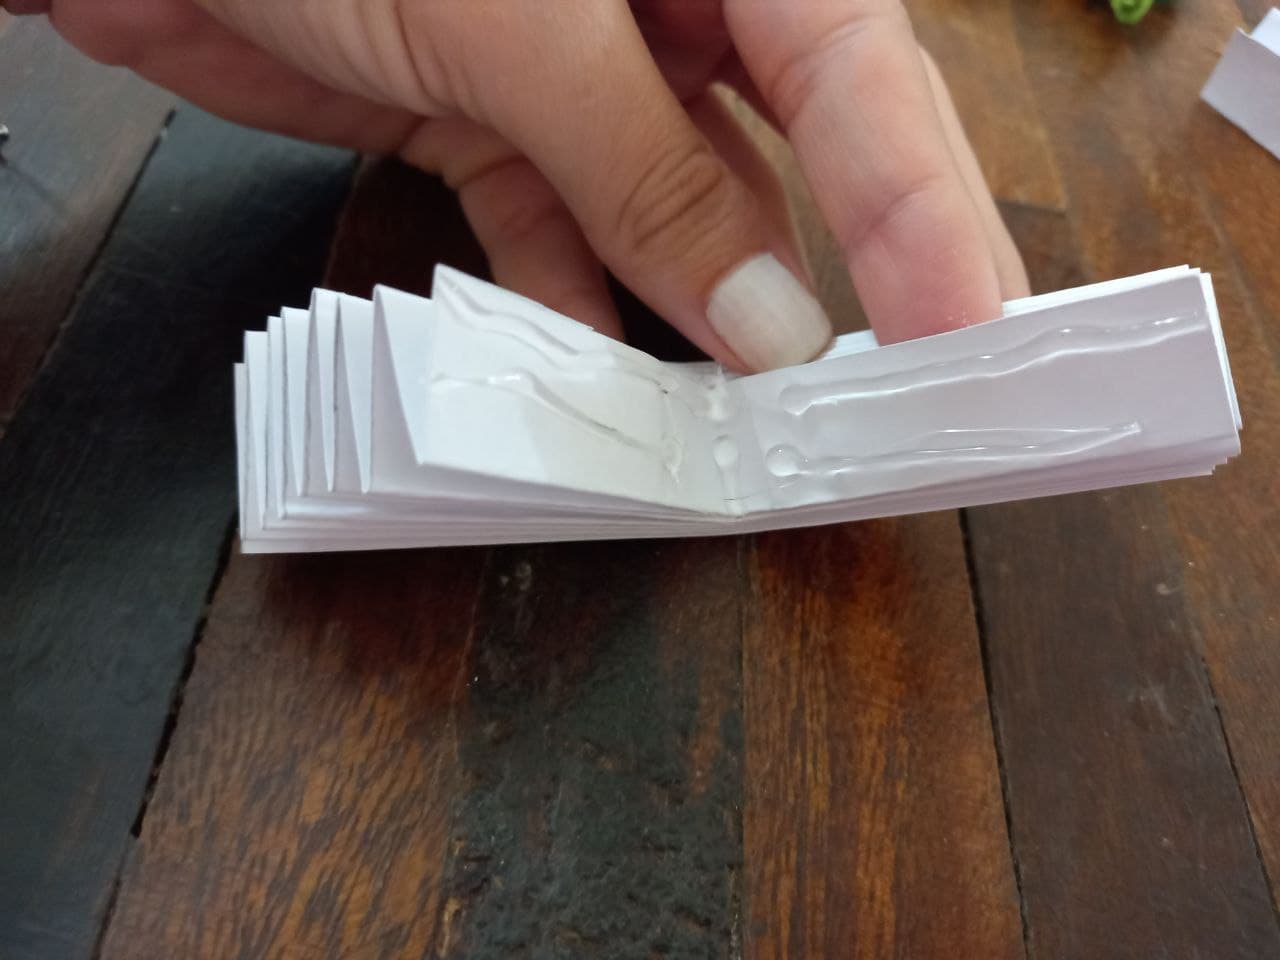
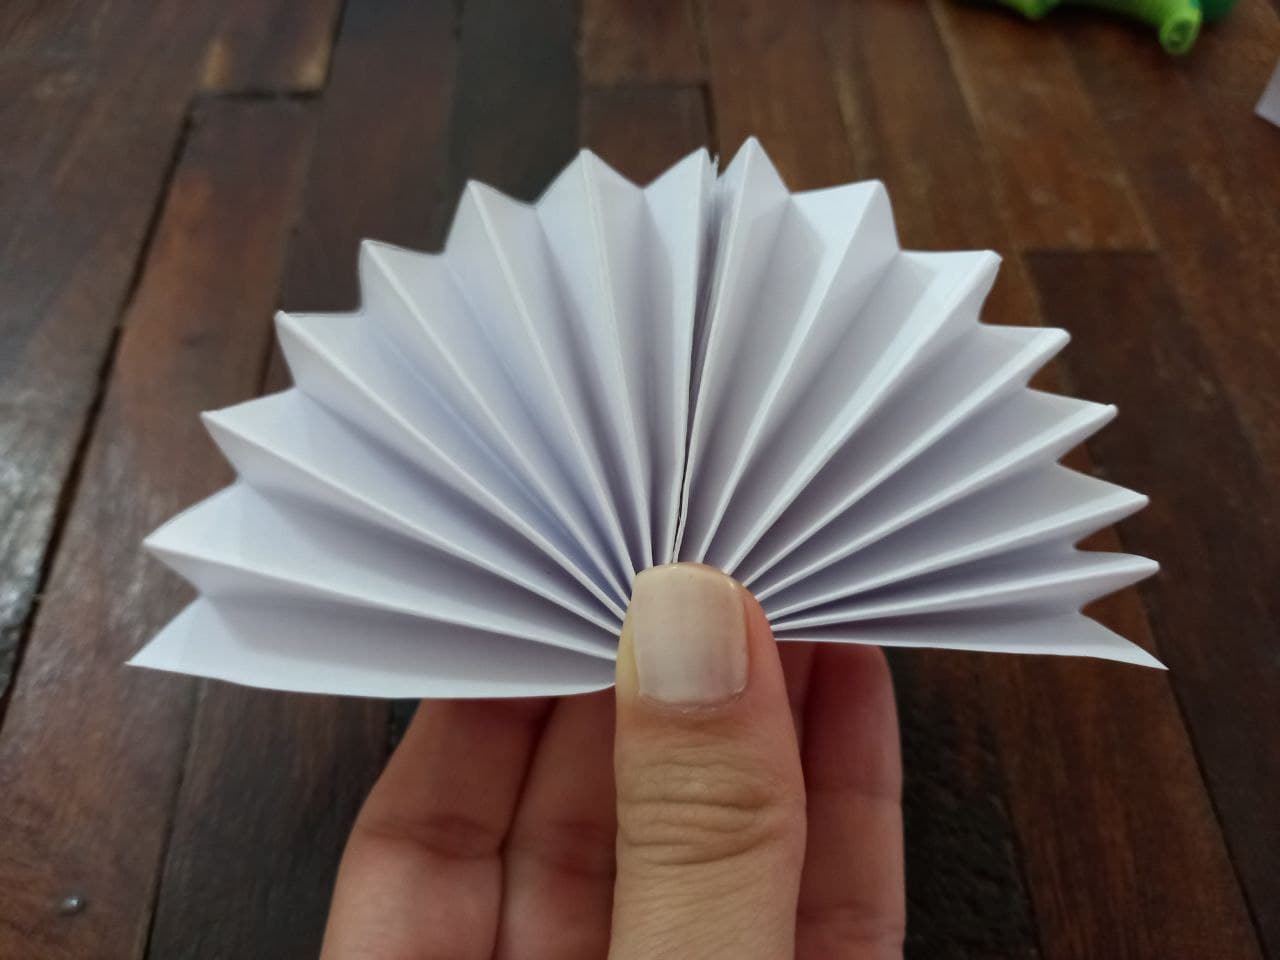
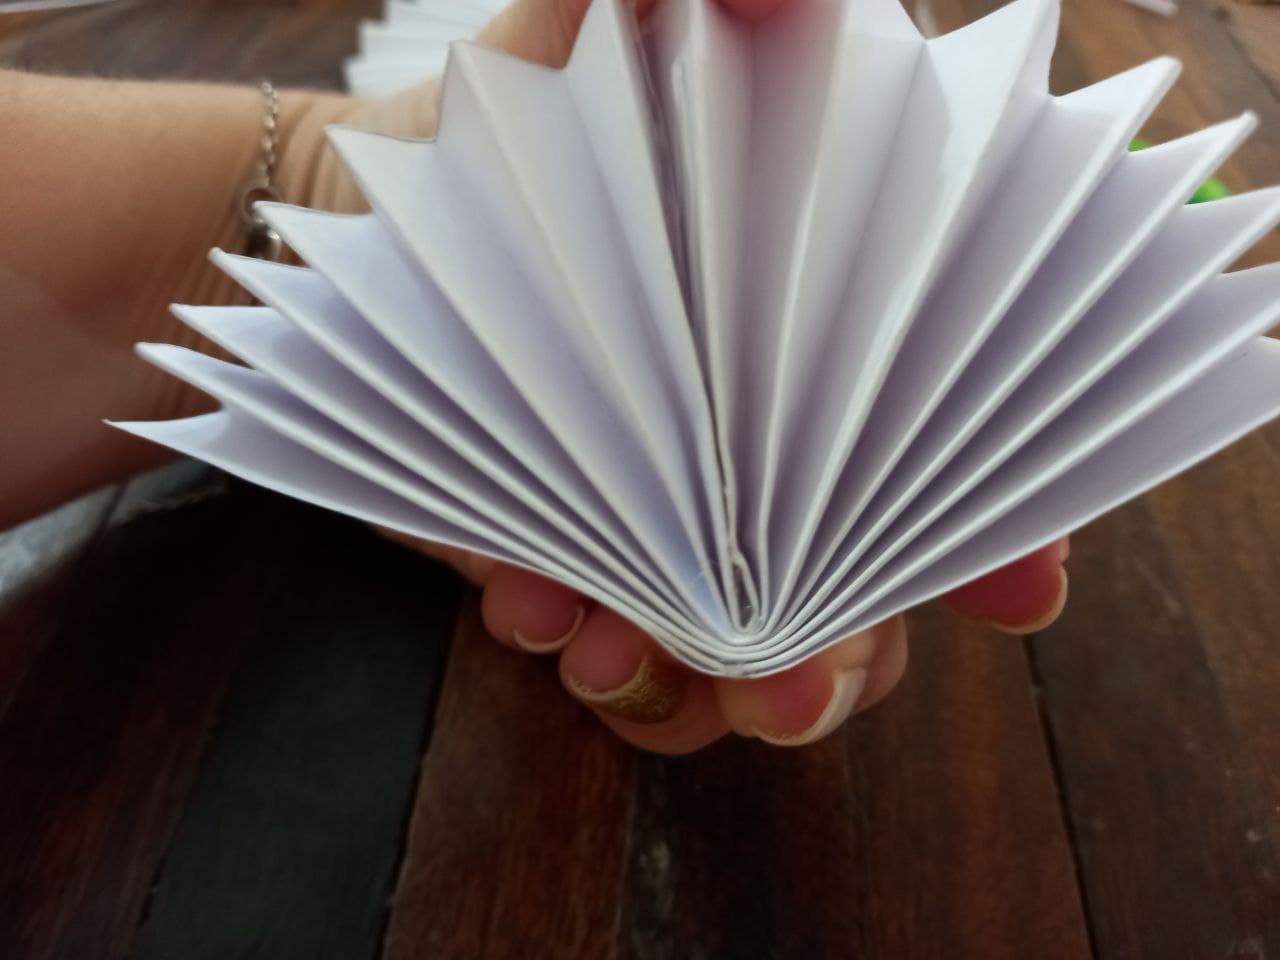
🎄PASO 2. Cada una de las piezas de cartulina las vamos a doblar a la mitad, aplicamos silicón, ejercemos presión hasta que se pegue bien y al abrir debe tener forma de abanico, aplicamos silicón en su parte interna para que al doblar no pierda su forma, una vez hecho esto unimos las 2 piezas aplicando silicón en un a y pegándola a la otra quedando una sola pieza, es decir, la roseta de papel, la cual será el cuerpo de nuestro muñeco de nieve.
🎄 STEP 2. We are going to fold each of the cardboard pieces in half, apply silicone, apply pressure until it sticks well and when opening it should have a fan shape, we apply silicone on its internal part so that When folding it does not lose its shape, once this is done we join the 2 pieces by applying silicone to one and sticking it to the other, leaving a single piece, that is, the paper rosette, which will be the body of our snowman.

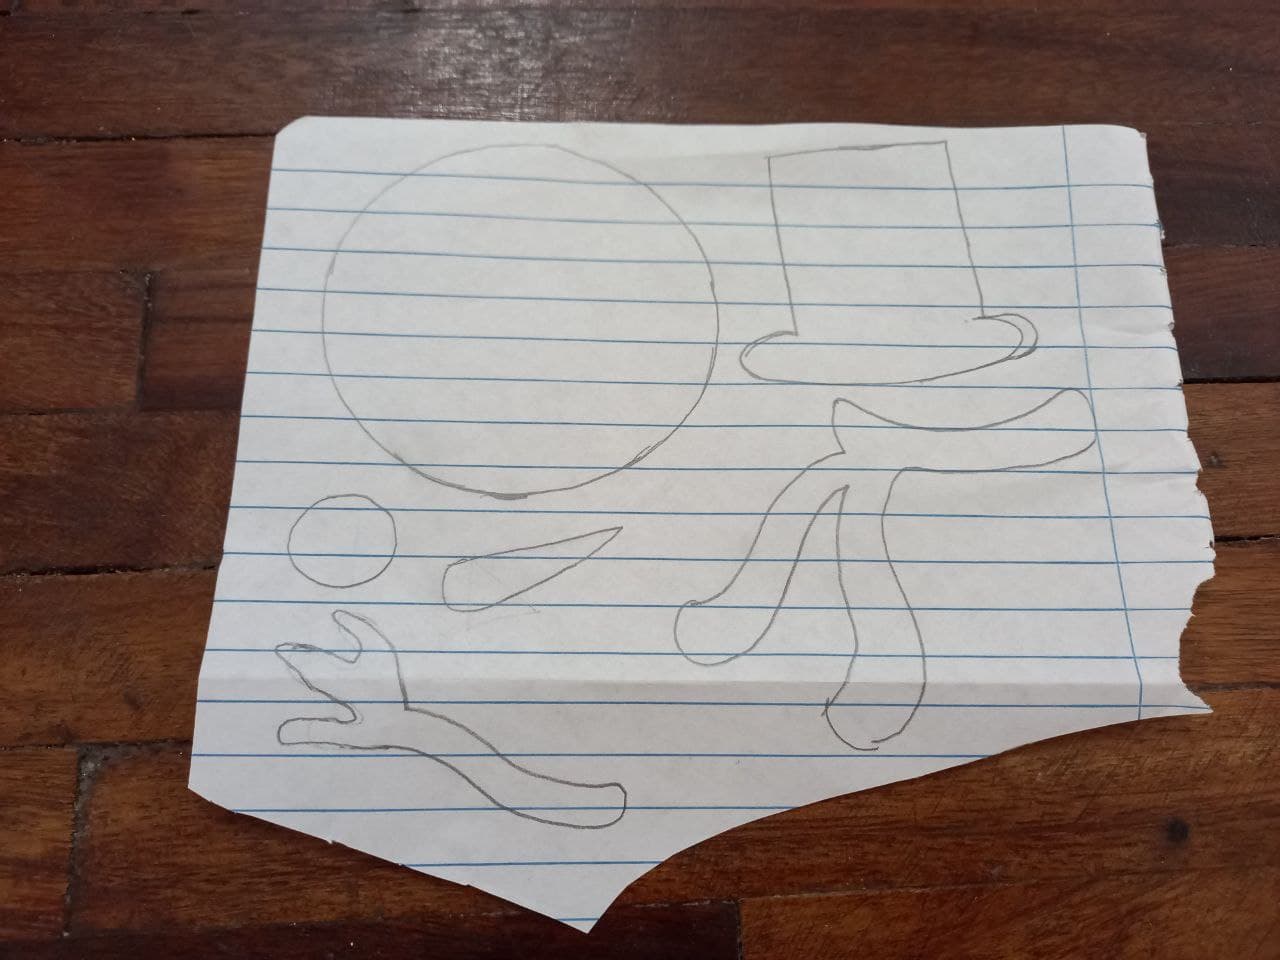
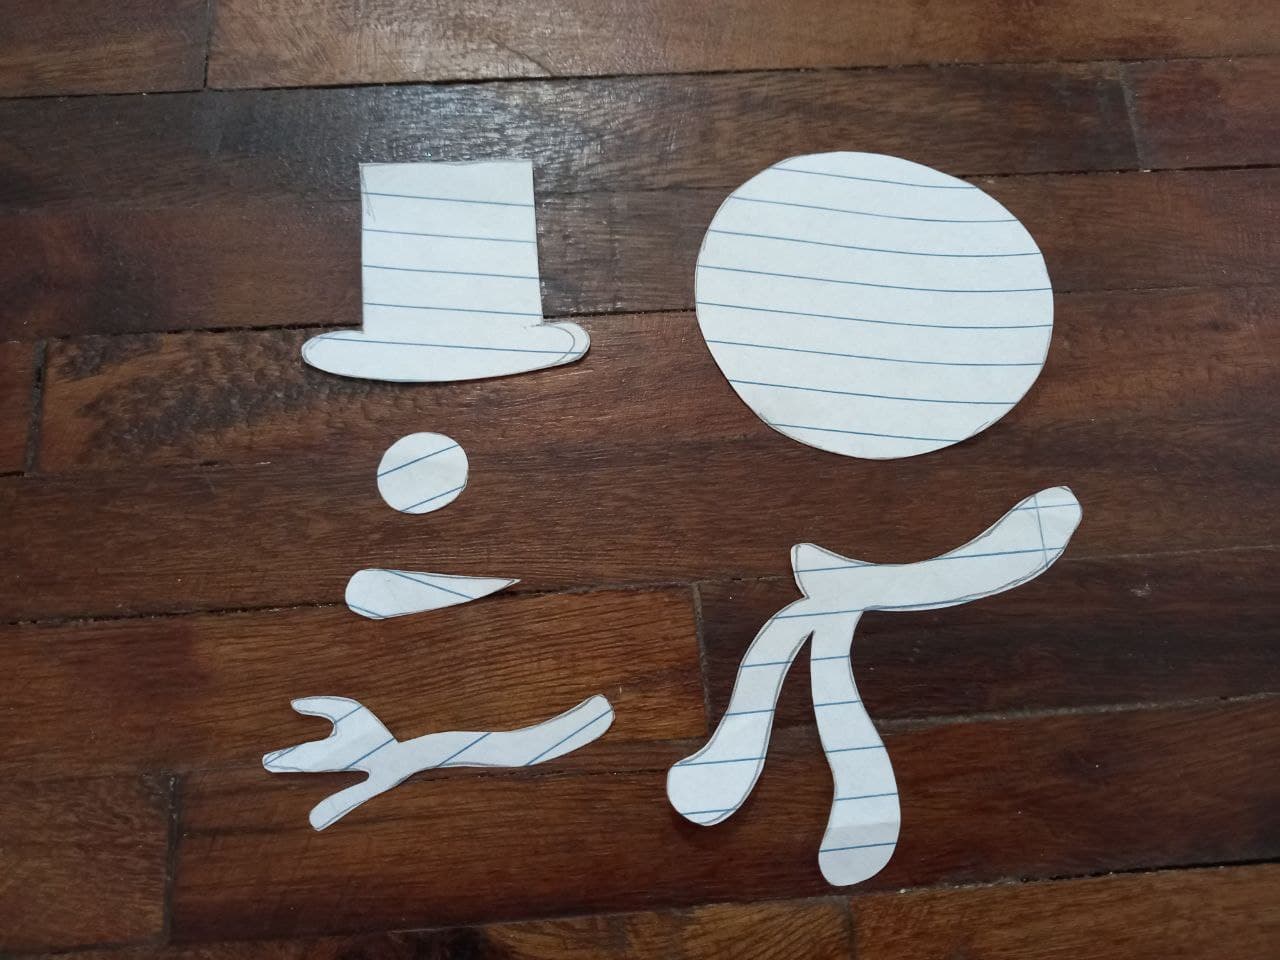
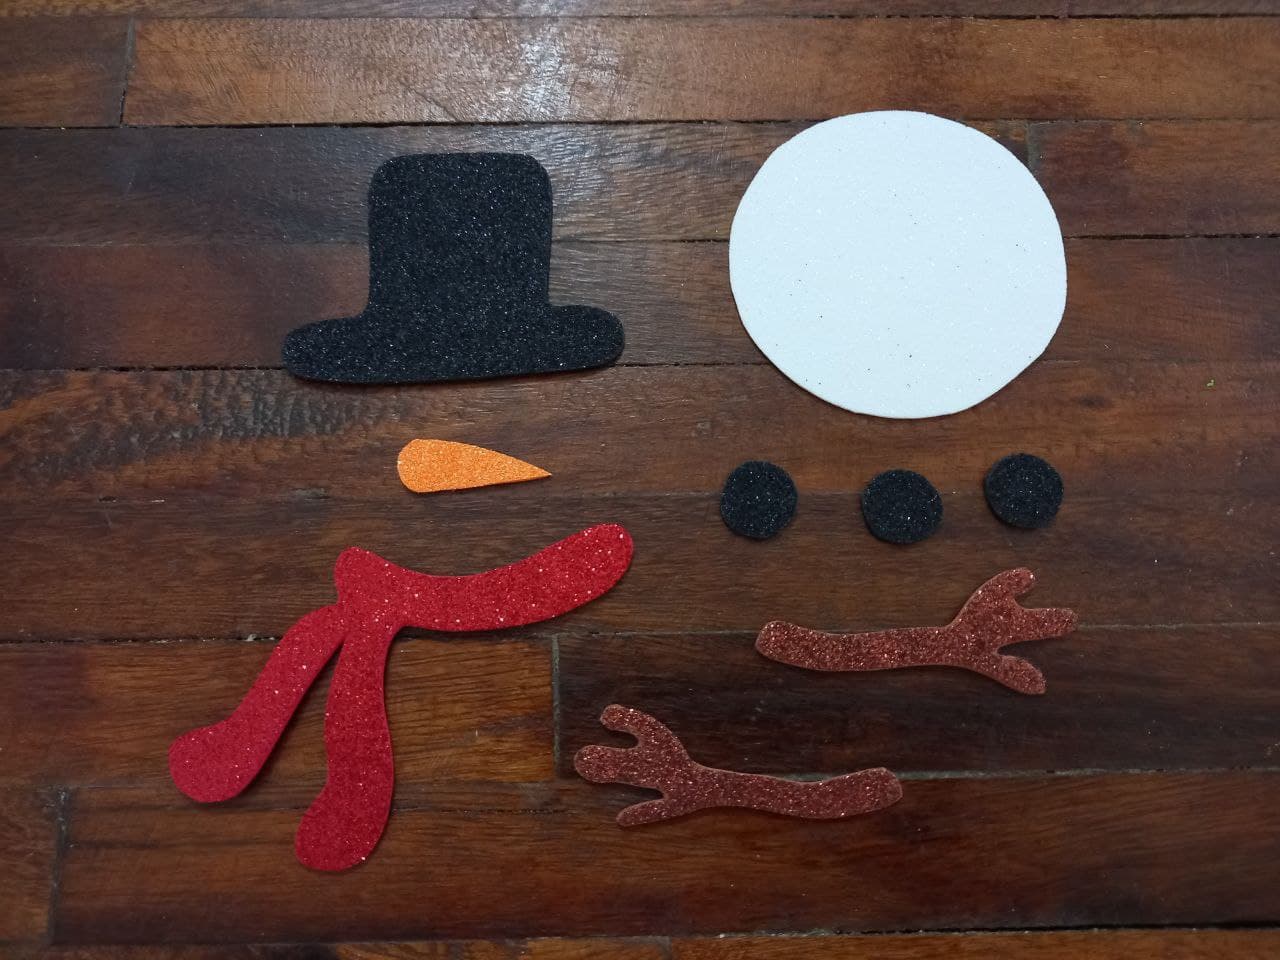
🎄PASO 3. En la hoja de papel hacemos las partes del muñeco de nieve, la cabeza que debe ser un círculo un poco más pequeño que el cuerpo, 2 brazos, el sombrero, la nariz, la bufanda y los botones, recortamos y pasamos las piezas al foami del color que corresponde, la nariz en naranja, los botones (3) y el sombrero en negro, los brazos en marrón, la bufanda en rojo y recortamos.
🎄 STEP 3. On the sheet of paper we make the parts of the snowman, the head that should be a circle a little smaller than the body, 2 arms, the hat, the nose, the scarf and the buttons , cut and pass the pieces to the foami of the corresponding color, the nose in orange, the buttons (3) and the hat in black, the arms in brown, the scarf in red and cut.

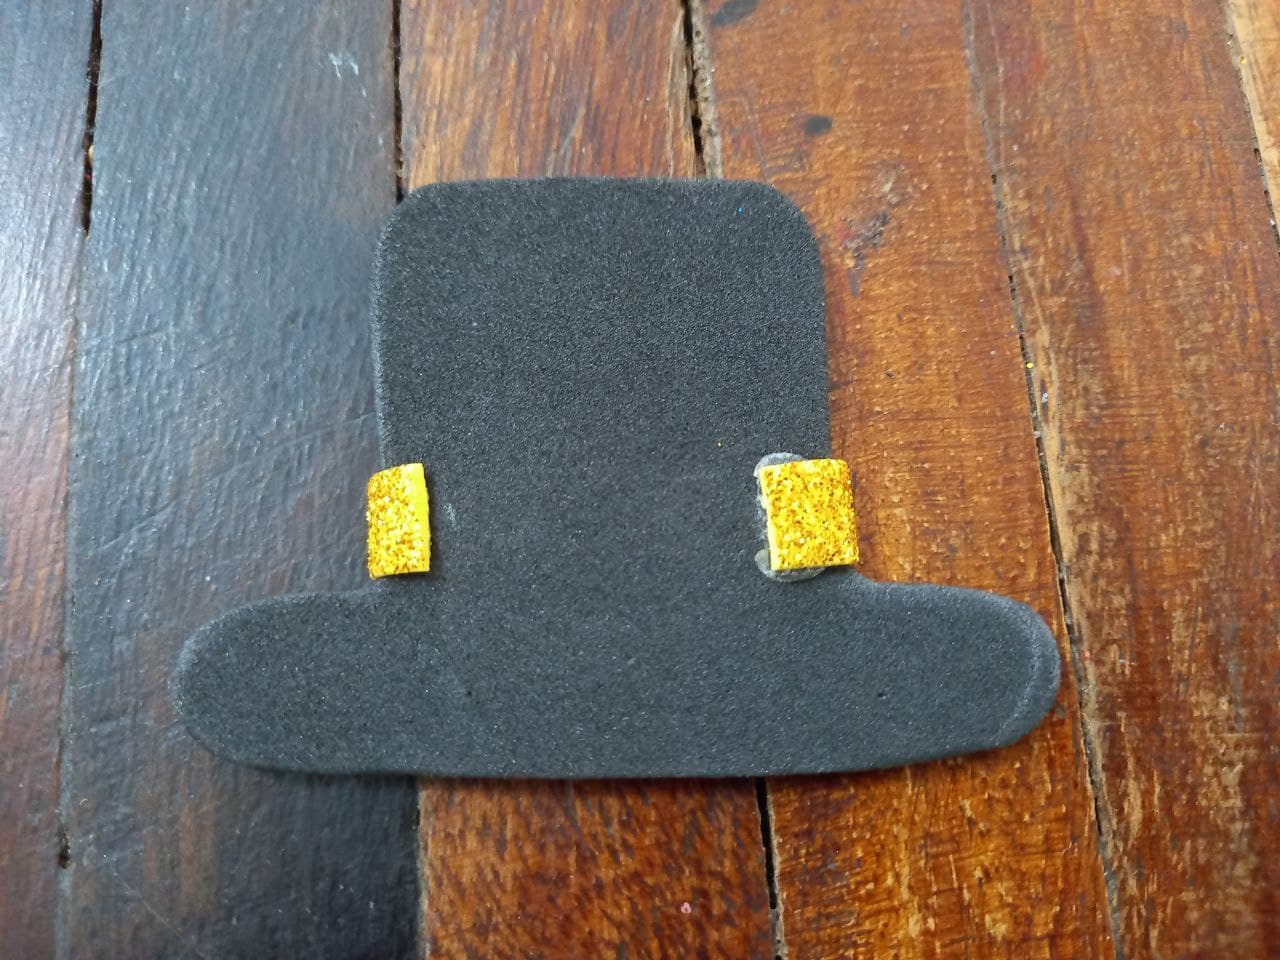
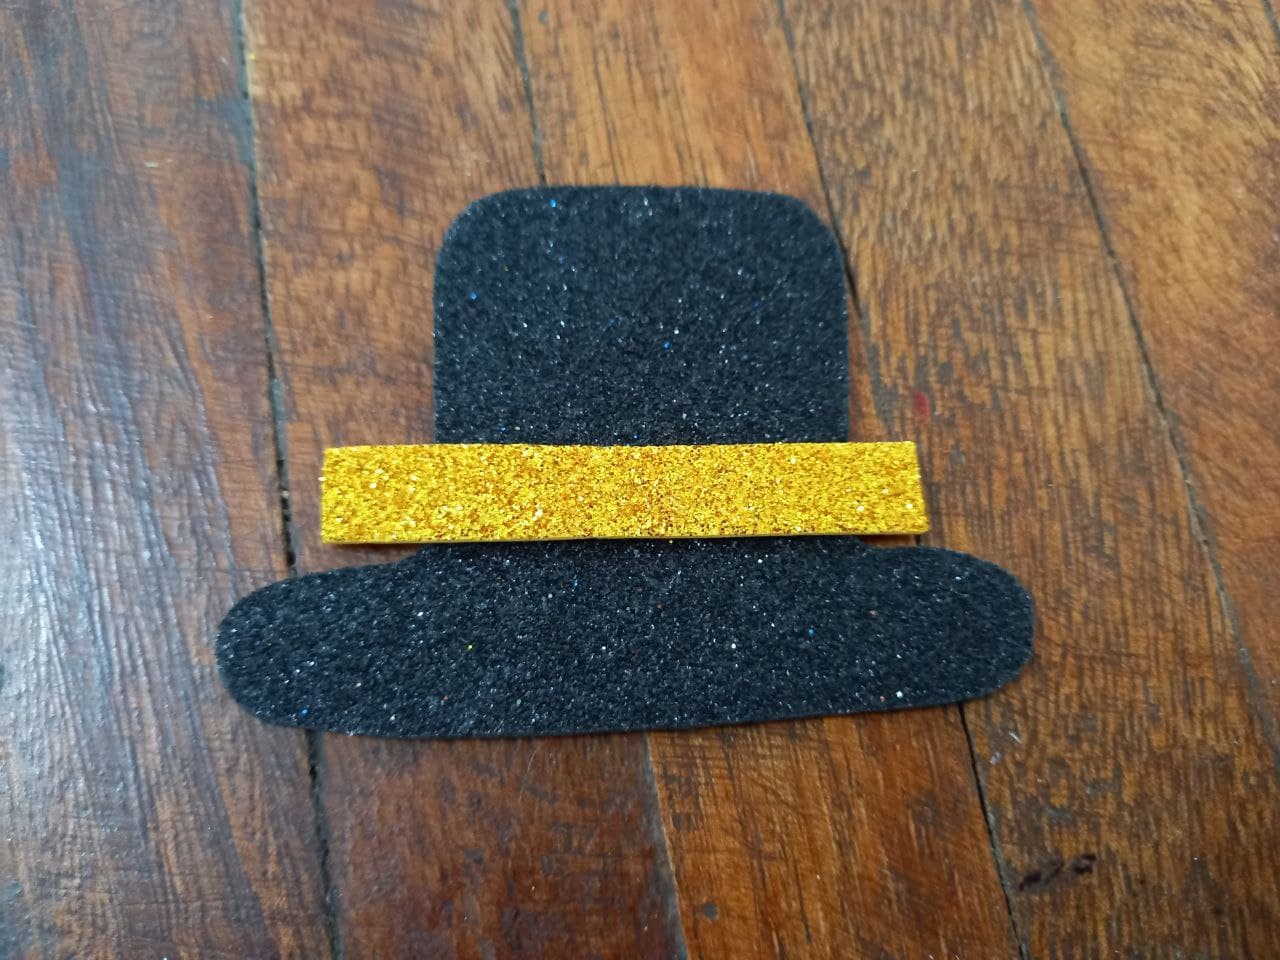
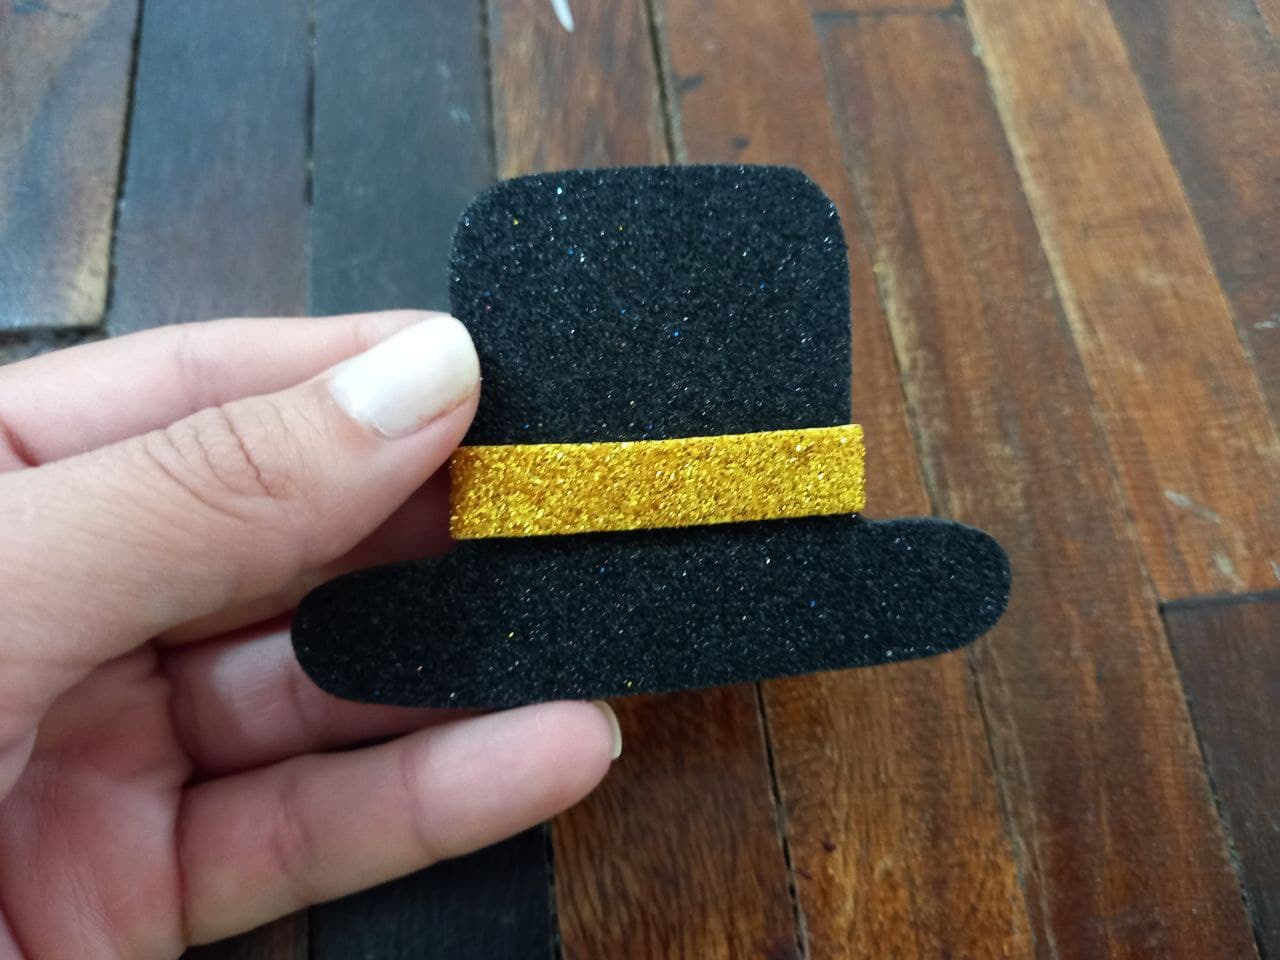
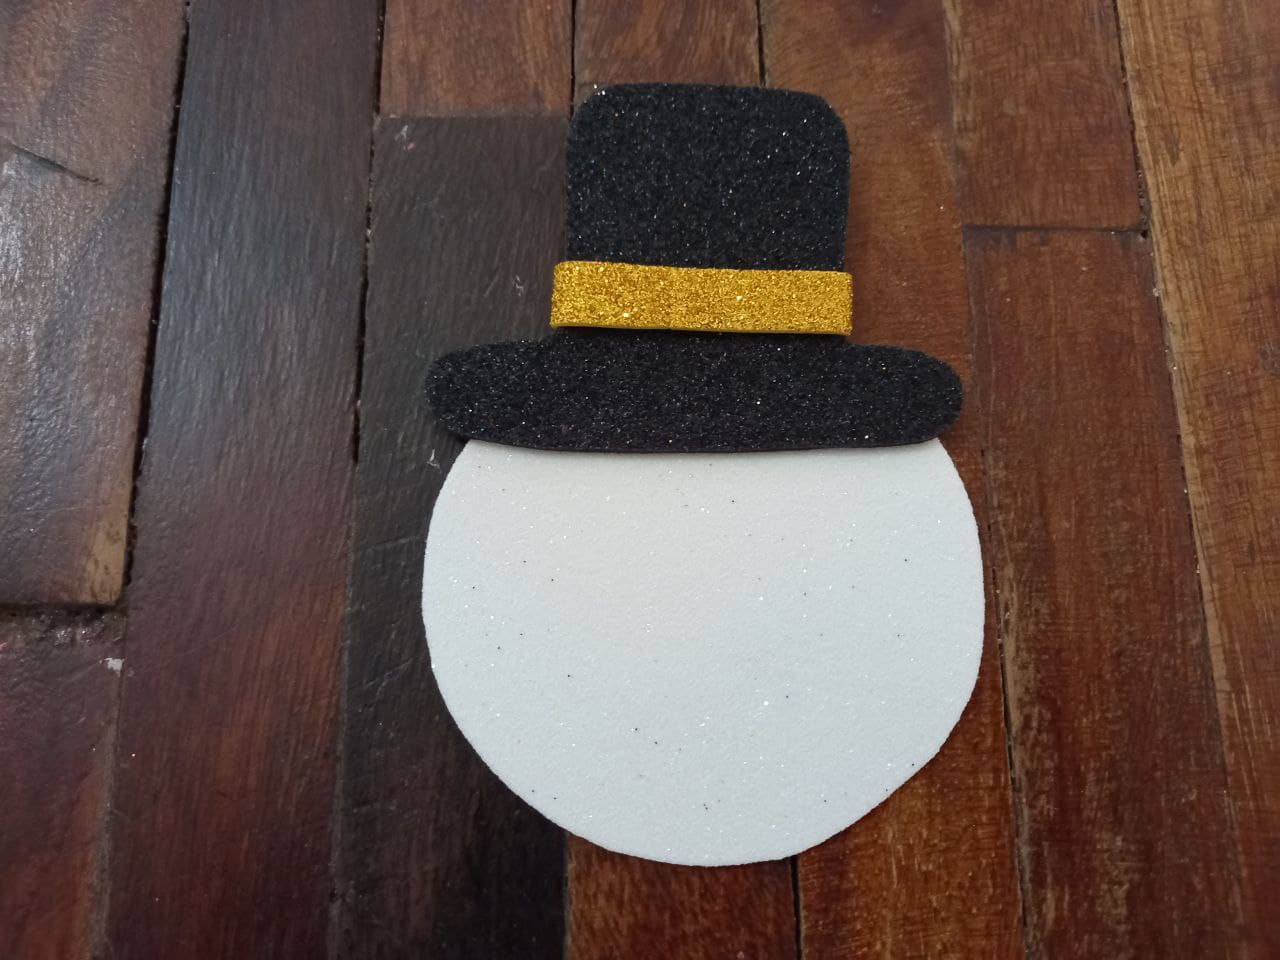
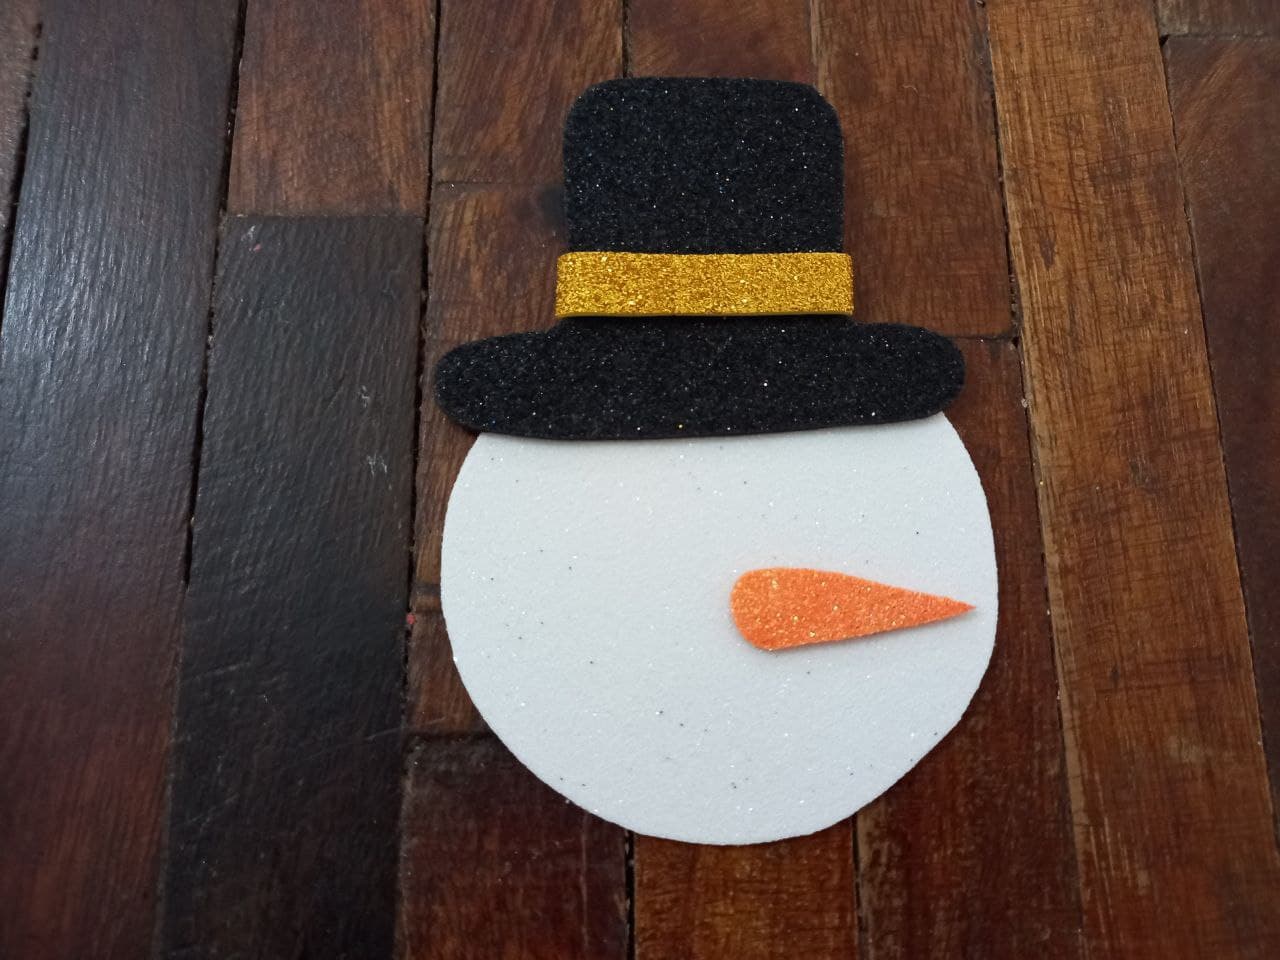
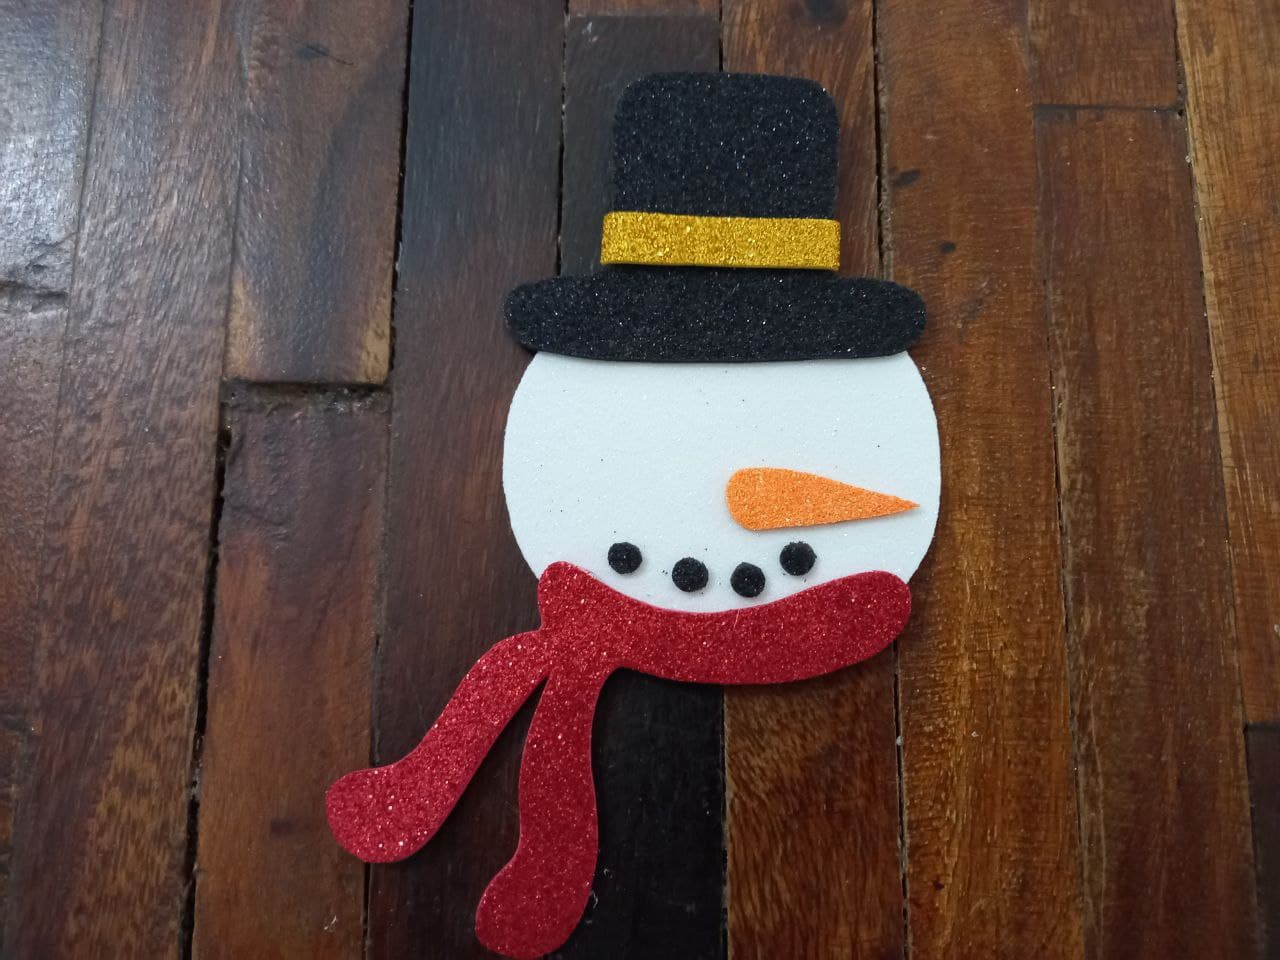
🎄PASO 4. Cortamos una tira delgada de foami escarchado dorado y la pegamos sobre el sombrero encima de la parte que es la visera y lo que sobre a los lados lo pegamos en la parte trasera del sombrero luego pegamos el sombrero sobre la cabeza.
🎄 STEP 4. We cut a thin strip of golden frosted foami and glue it on the hat on top of the part that is the visor and what is left on the sides we glue on the back of the hat then we glue the hat on head.

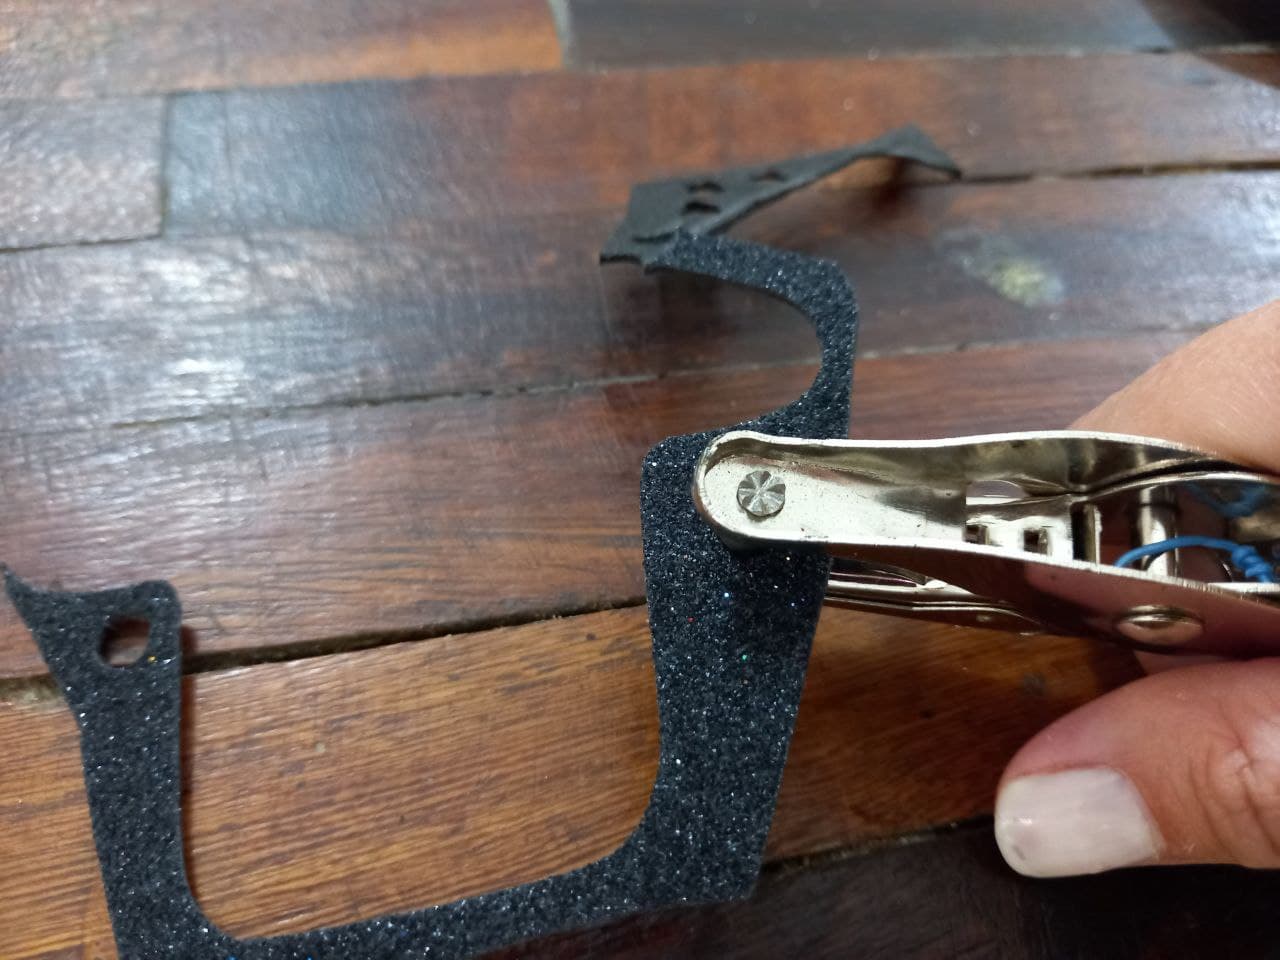
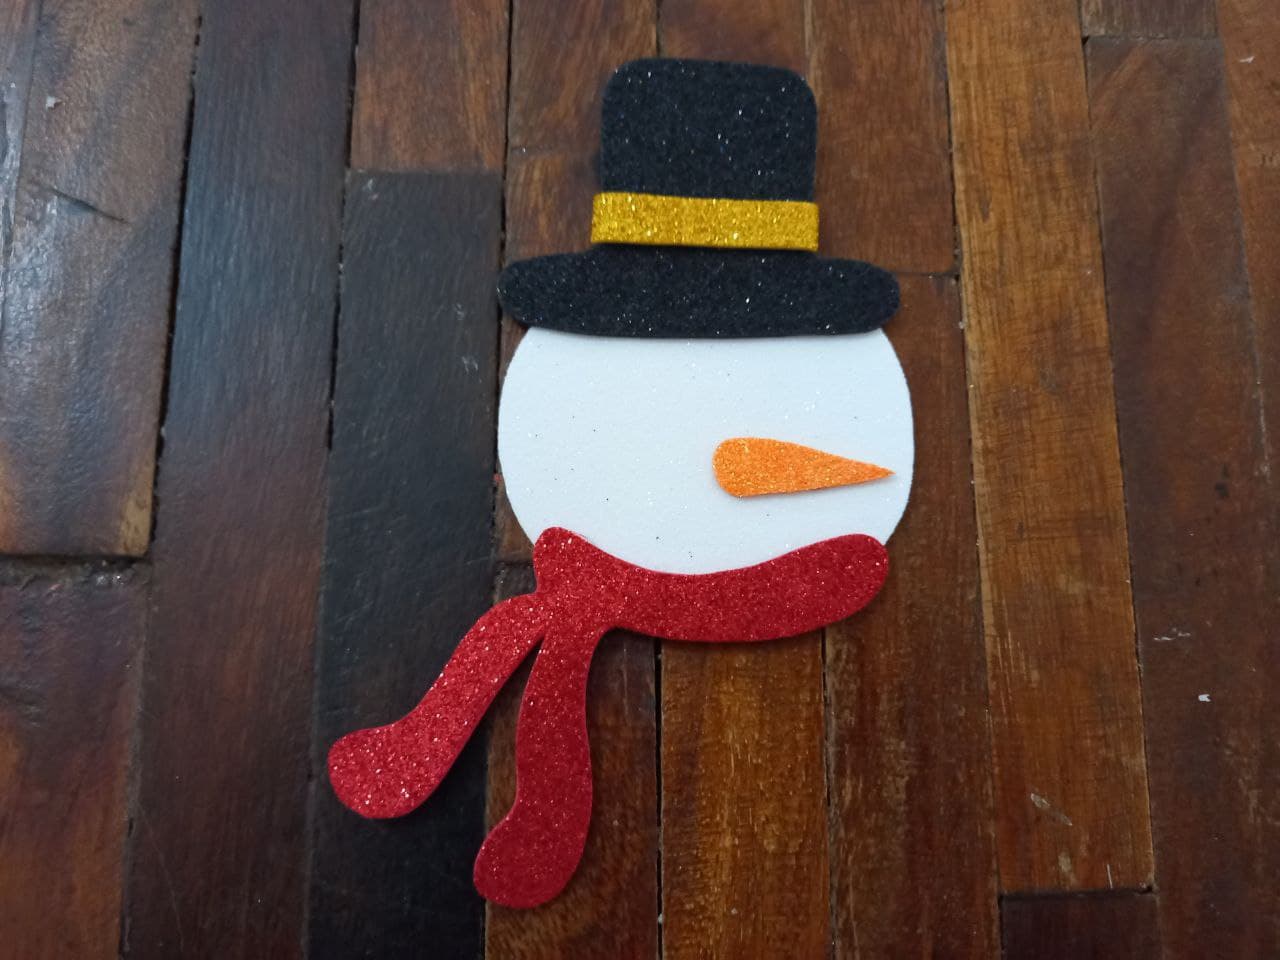
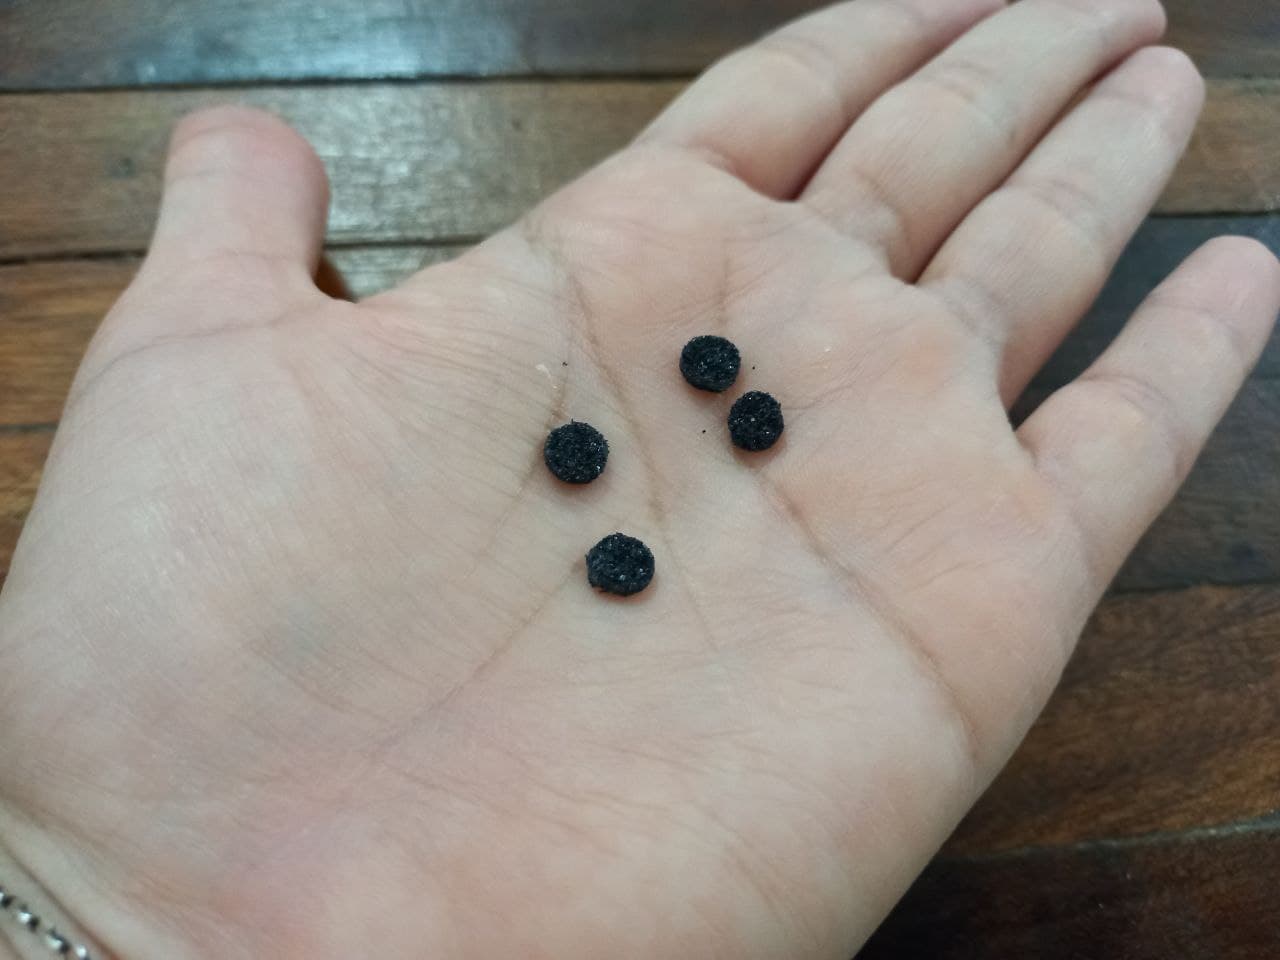
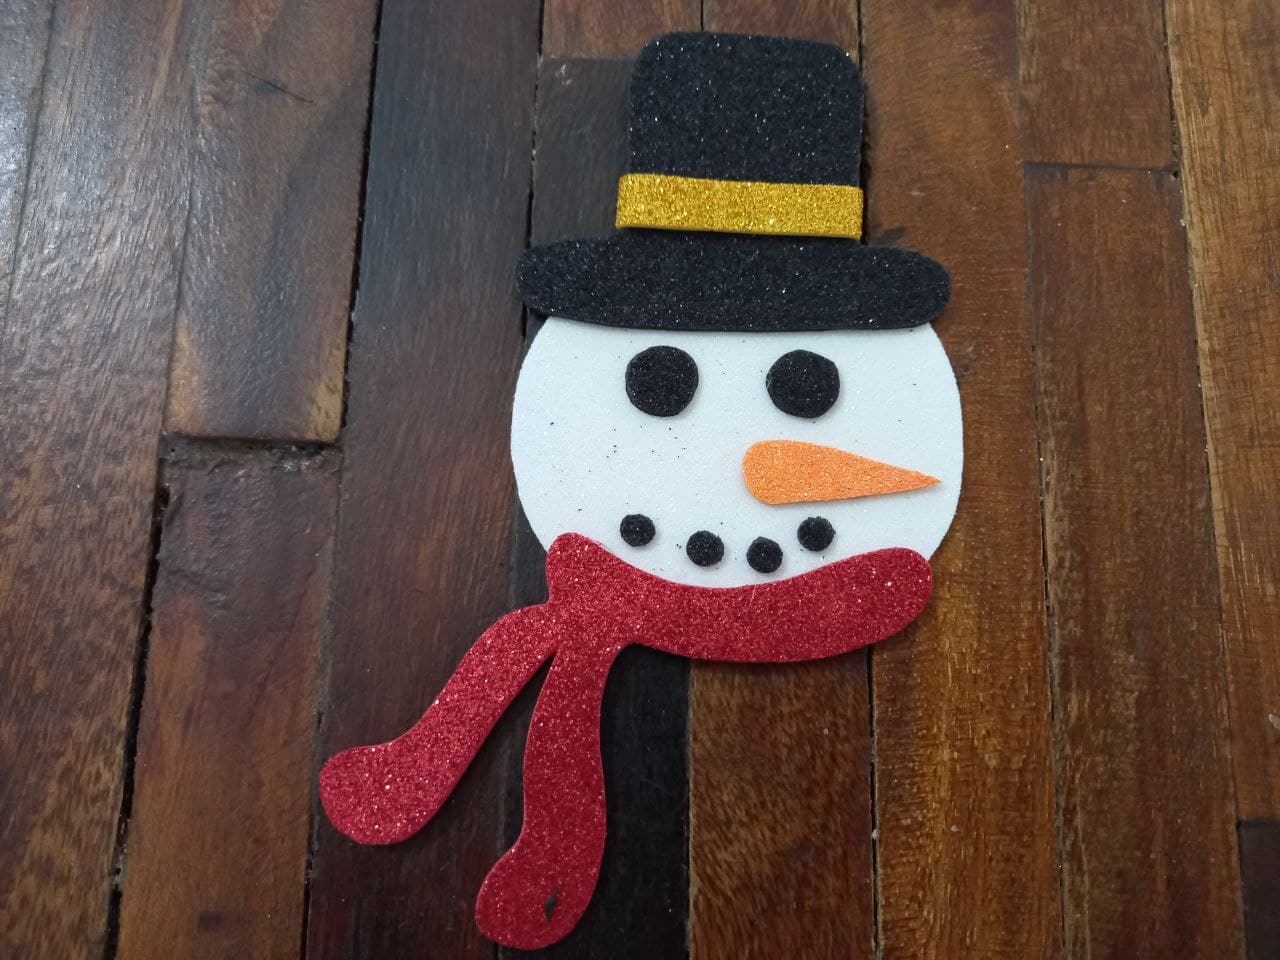
🎄PASO 5. Pegamos la nariz en el centro del rostro y la bufanda en la orilla inferior de la cabeza, con el abrehuecos hacemos 4 agujeros en el foami negro y los puntitos resultantes los pegamos debajo de la nariz simulando la boca.
🎄 STEP 5. We glue the nose in the center of the face and the scarf on the lower edge of the head, with the hole opener we make 4 holes in the black foami and the resulting dots we glue under the nose simulating the mouth .
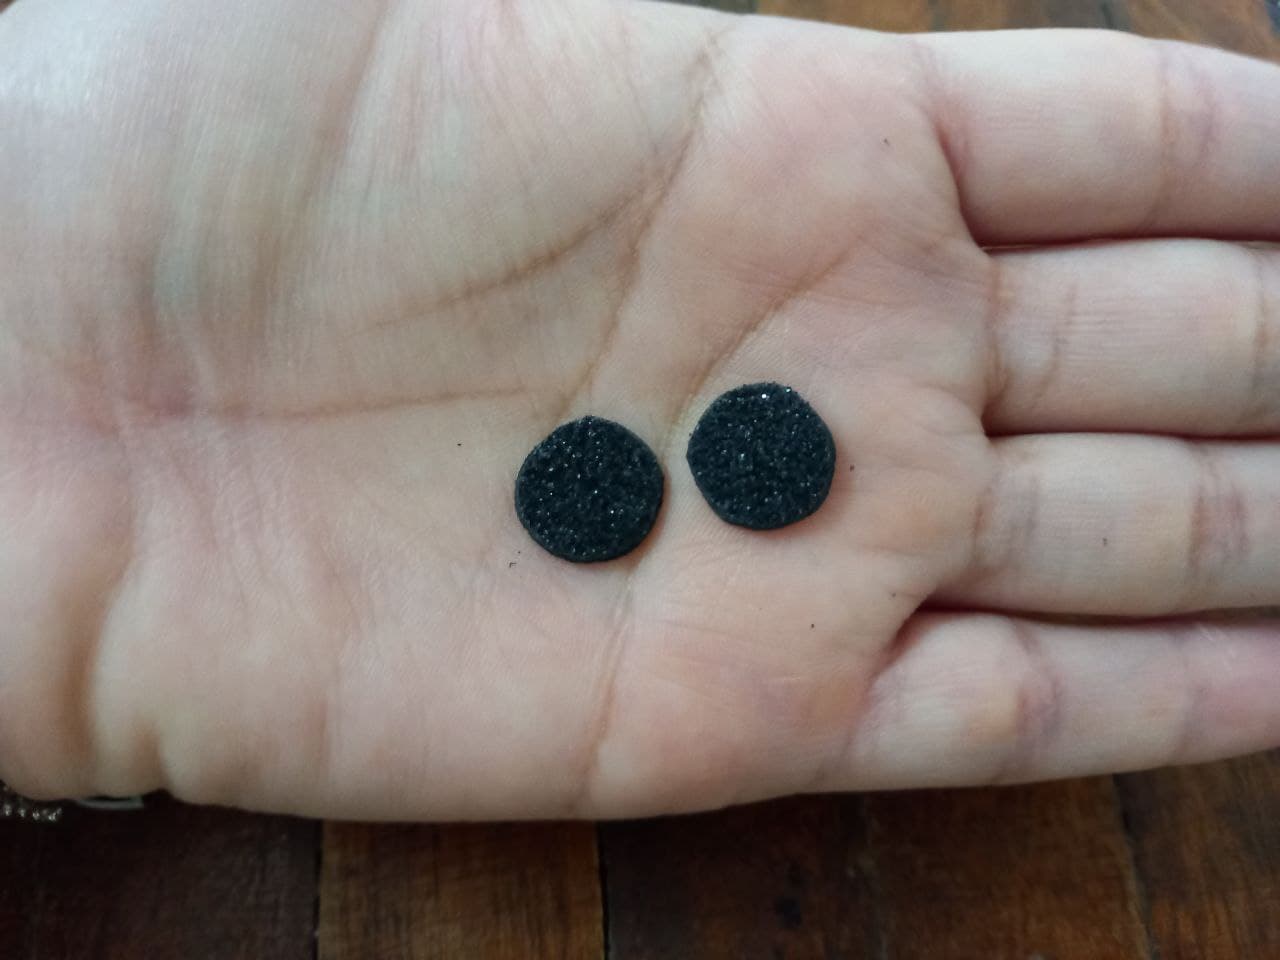
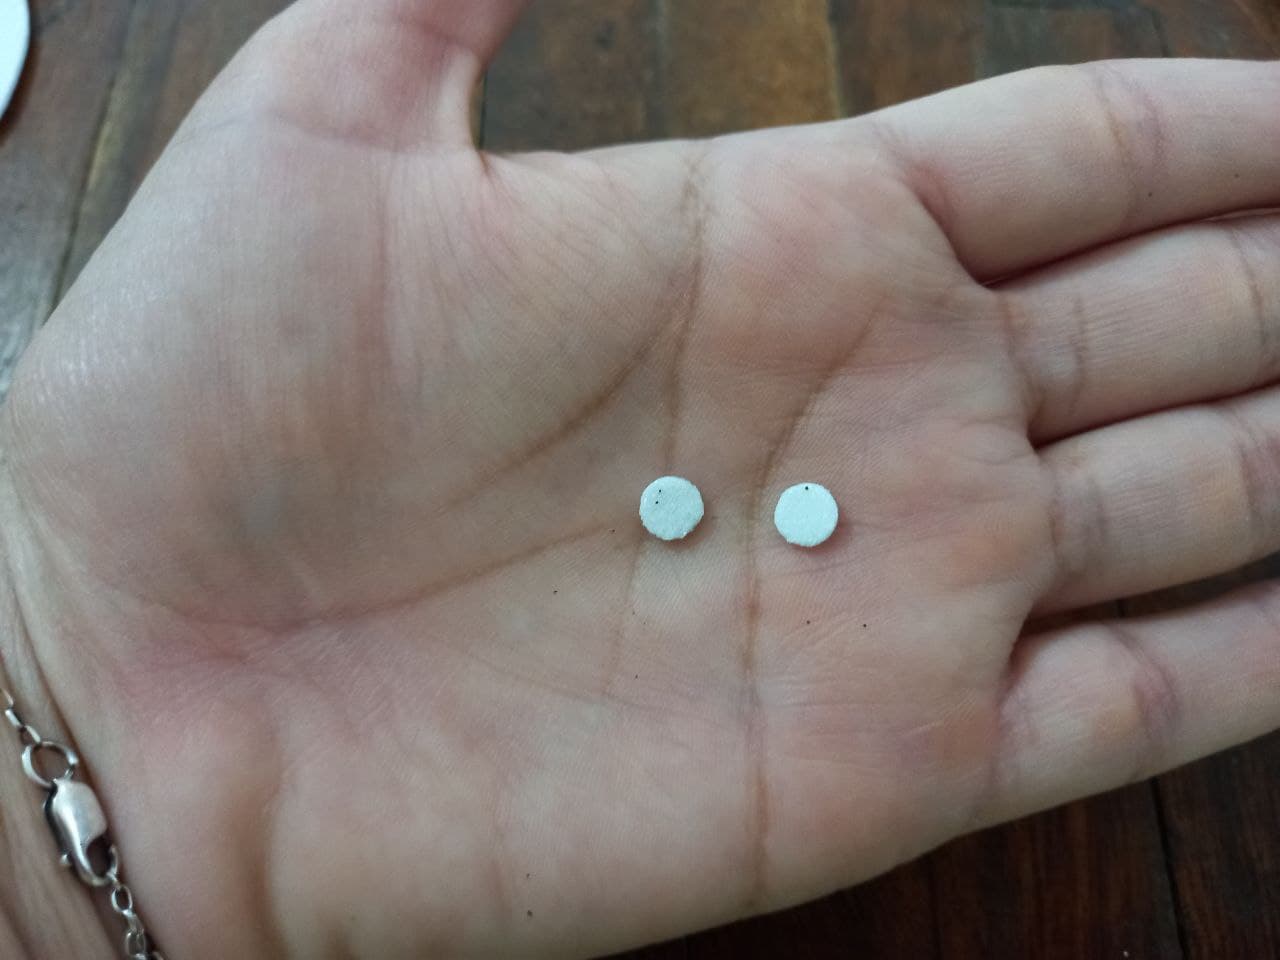
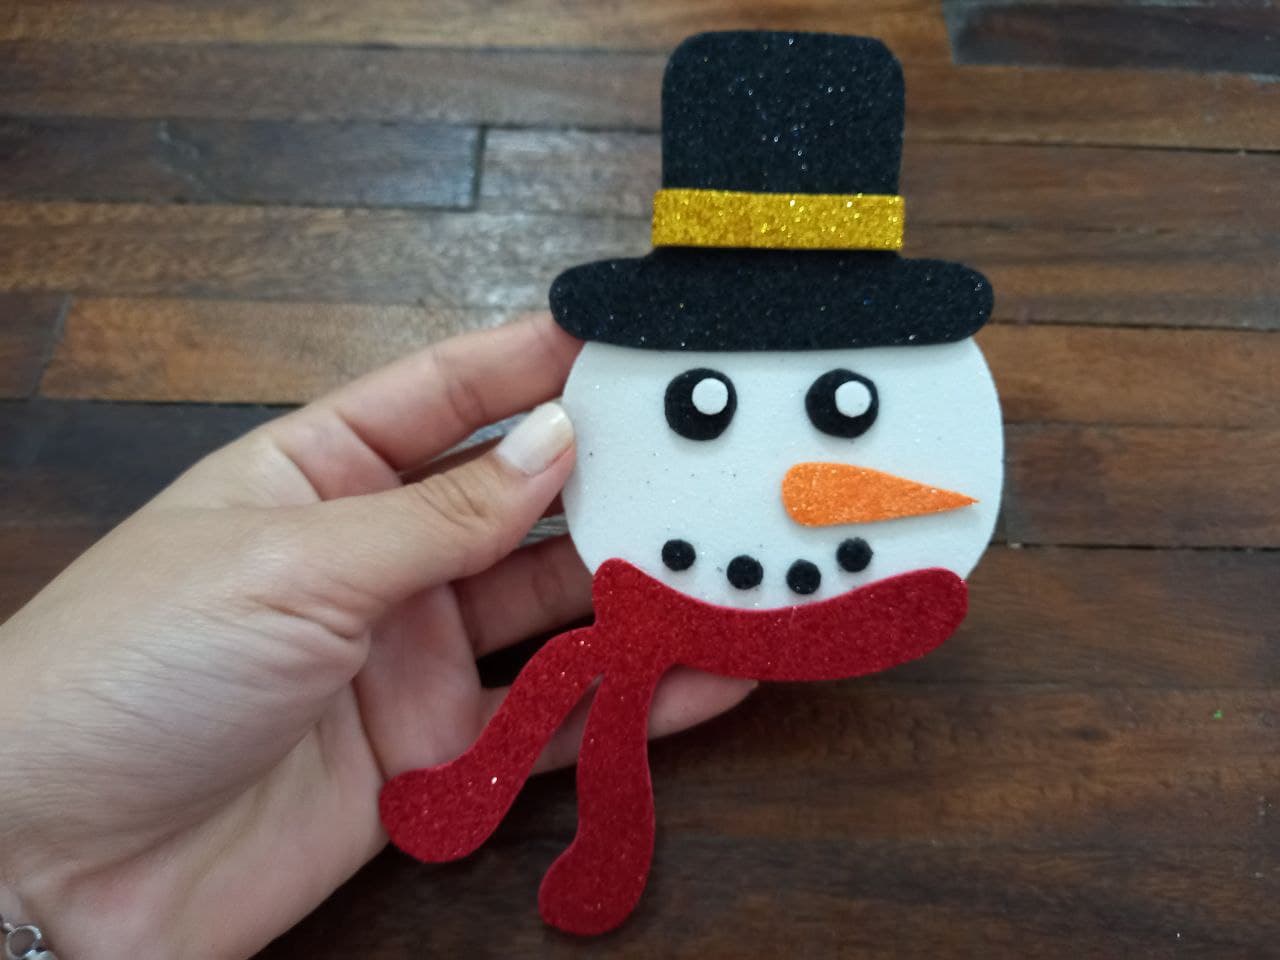
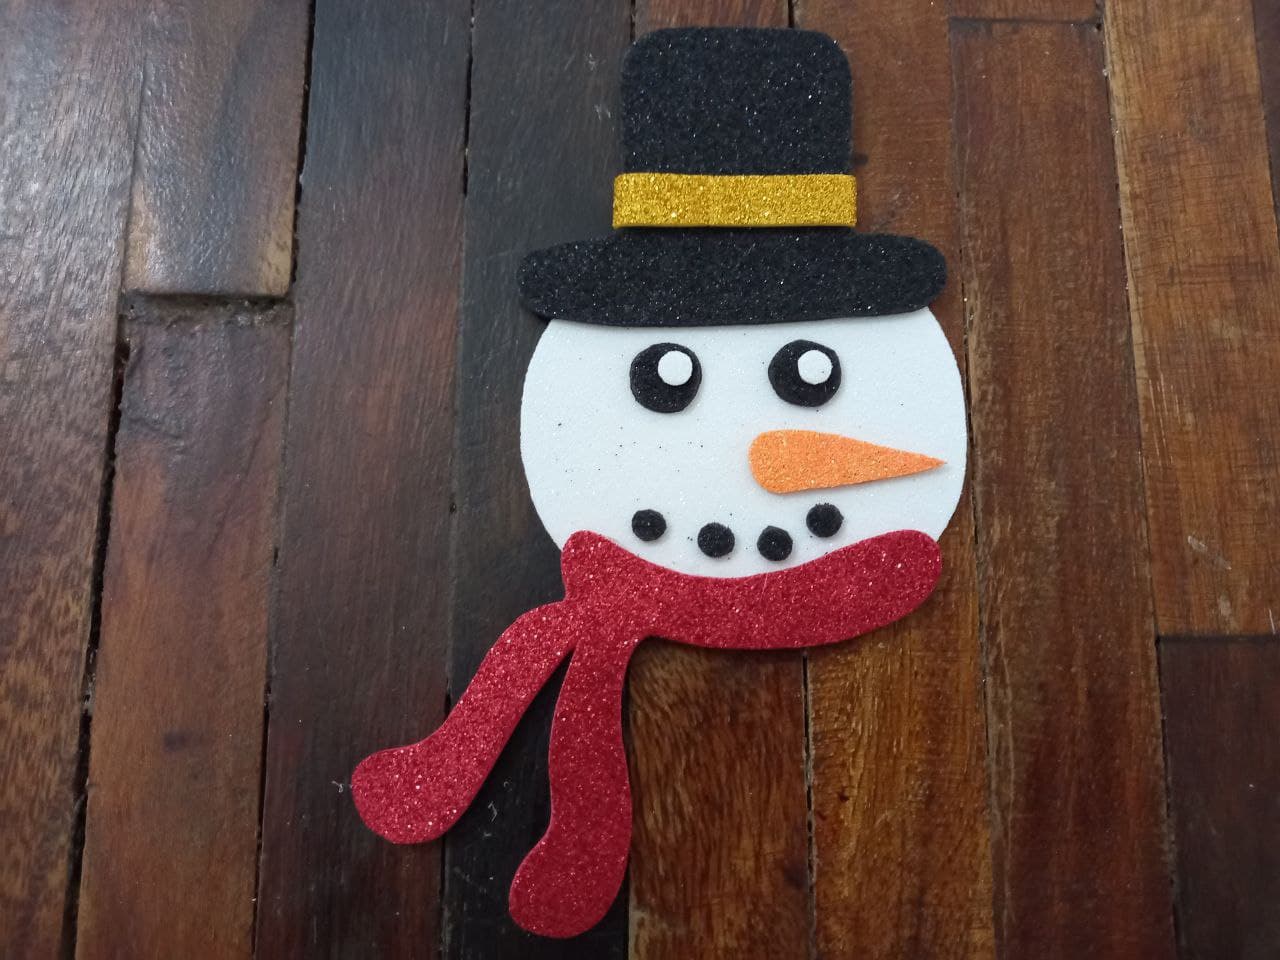
🎄 PASO 6. Recortamos 2 círculos de foami negro para hacer los ojos y los pegamos sobre el rostro, luego con el abrehuecos hacemos 2 agujeros en el foami blanco escarchado y pegamos los puntitos blancos sobre los negros que acabamos de pegar, de esta forma ya tenemos lista la cabeza del muñeco de nieve.
🎄 STEP 6. We cut 2 circles of black foami to make the eyes and glue them on the face, then with the hole opener we make 2 holes in the frosted white foam and glue the white dots on the black ones that we just glued, in this way we already have the snowman's head ready.
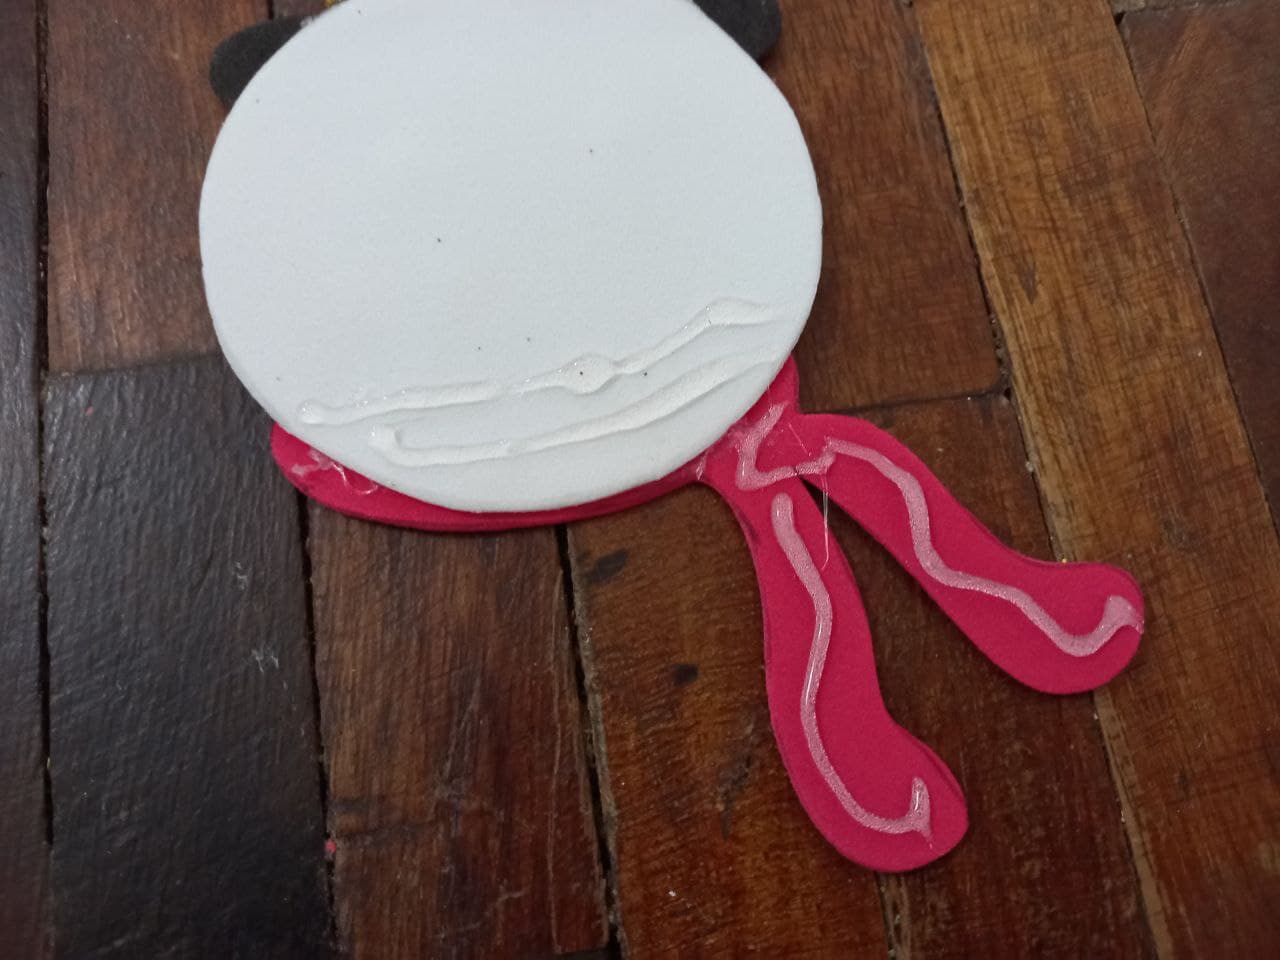
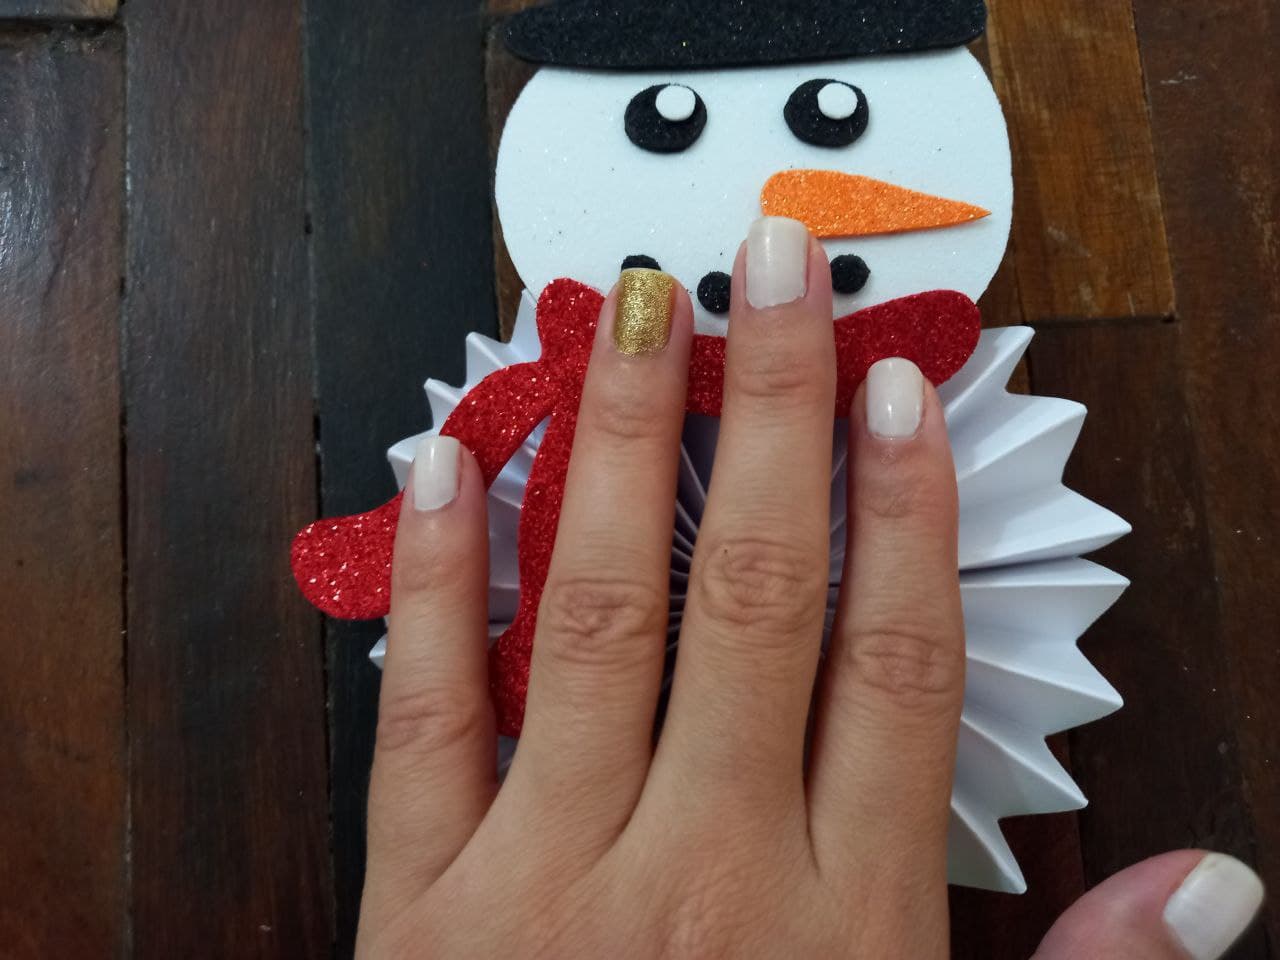
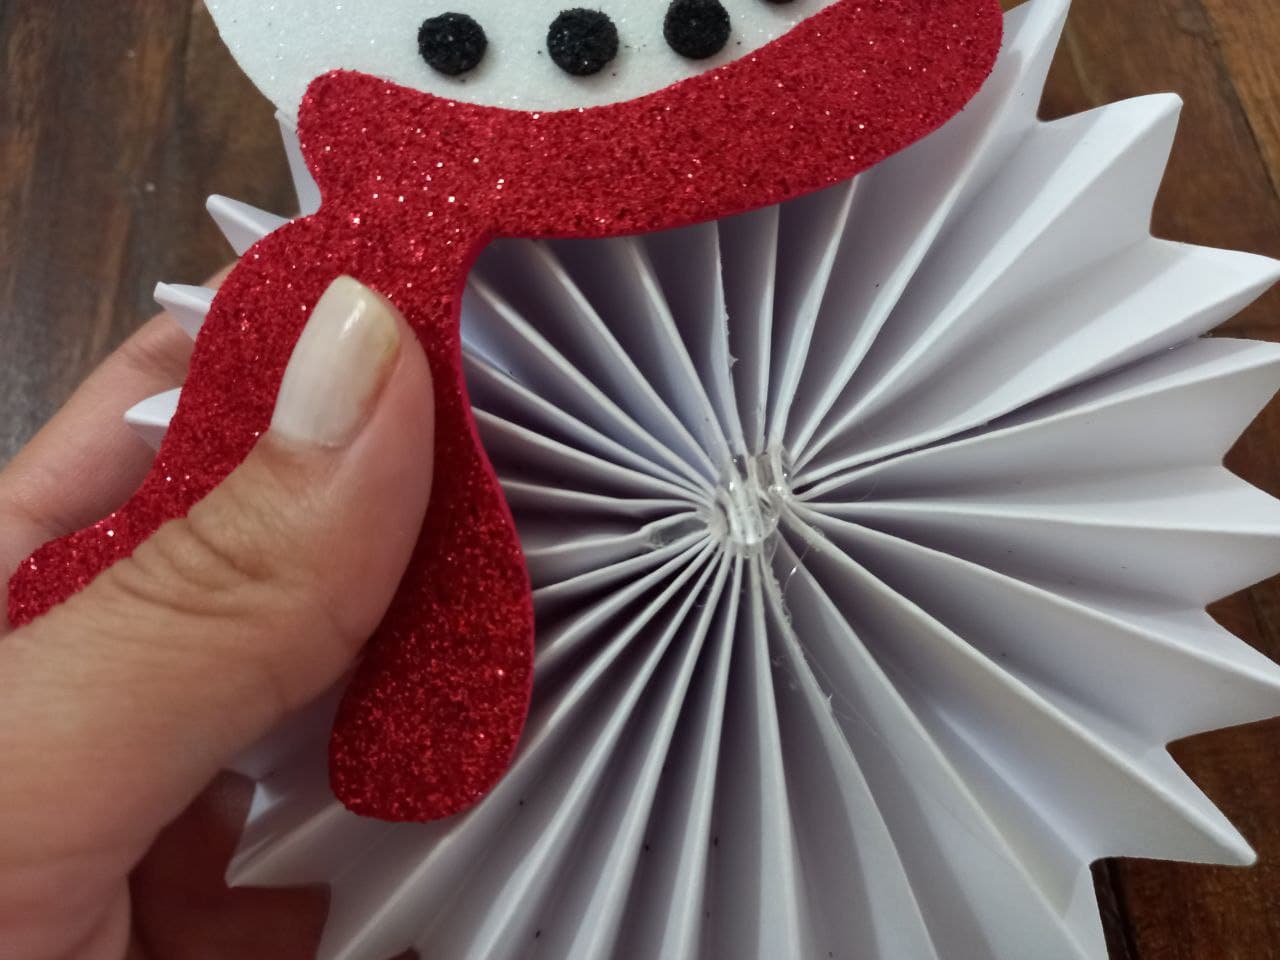
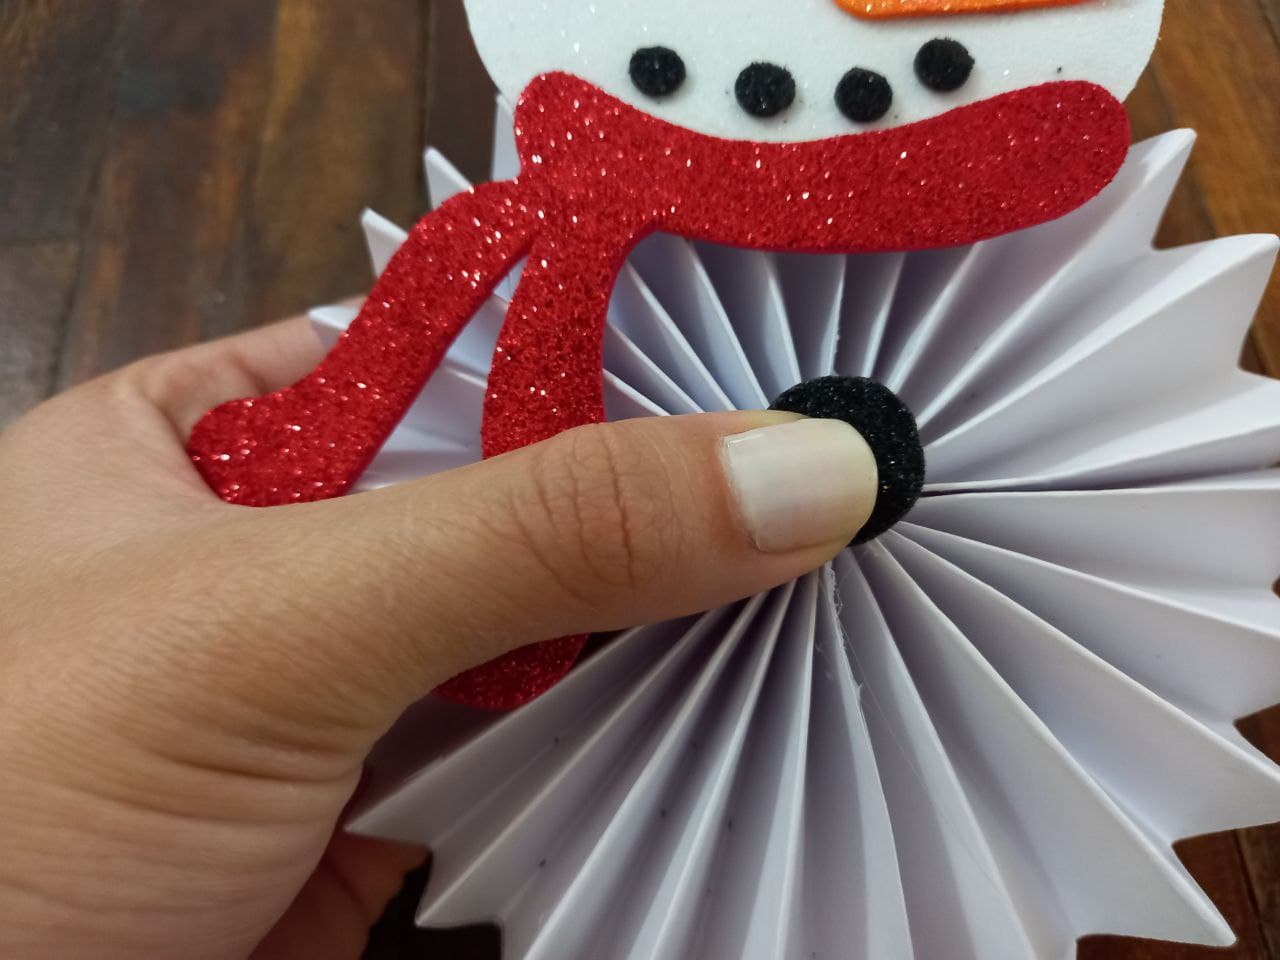
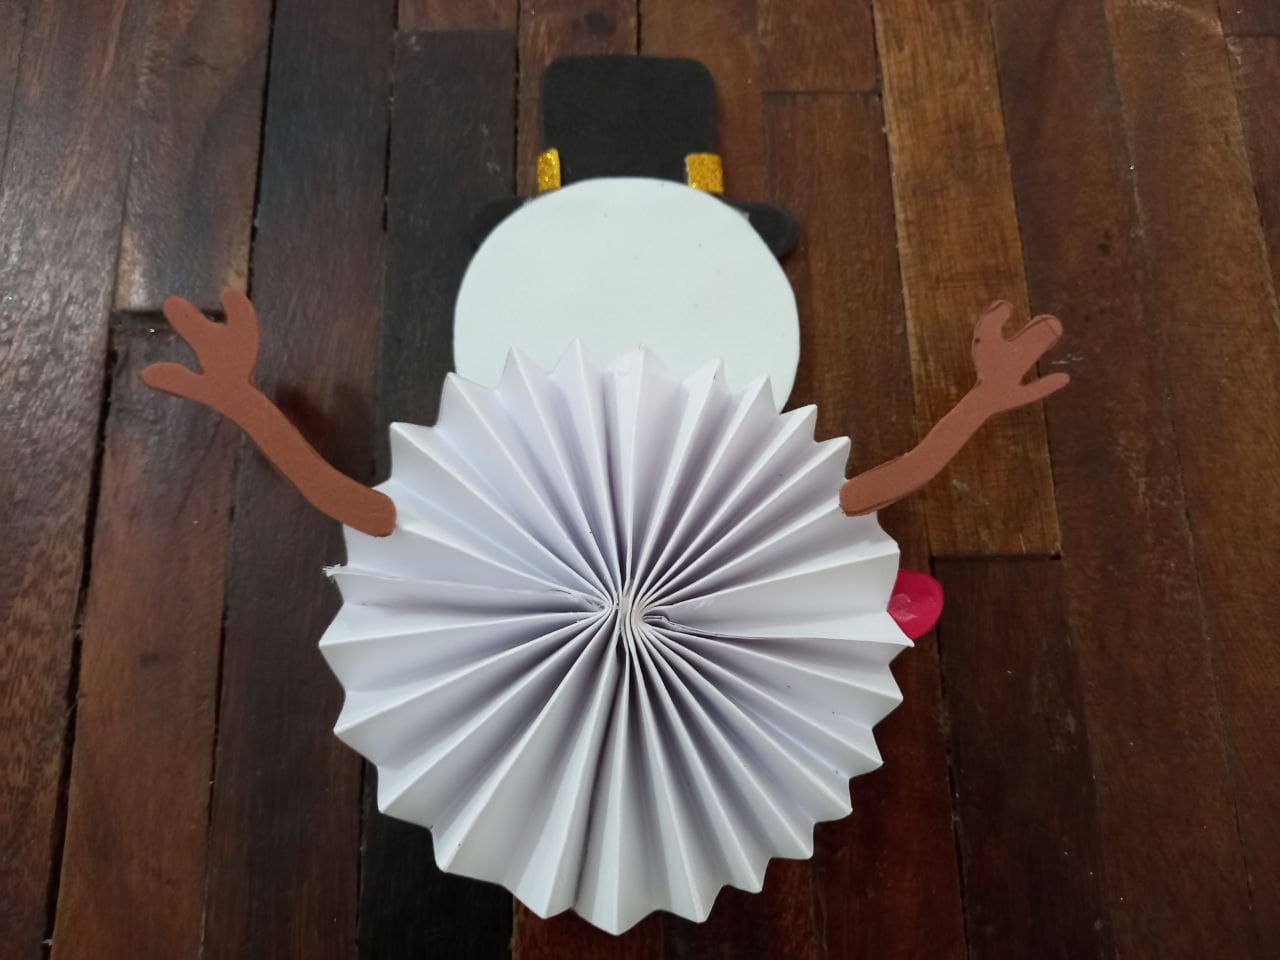
🎄PASO 7. Aplicamos silicón en la parte trasera de la bufanda y la orilla inferior de la cabeza y la pegamos sobre el cuerpo, es decir, la roseta de papel que hicimos al principio, aplicamos presión, volteamos y volvemos a presionar hasta que se pegue bien.
🎄 STEP 7. We apply silicone on the back of the scarf and the lower edge of the head and glue it on the body, that is, the paper rosette that we made at the beginning, apply pressure, turn and return to press until it sticks well.

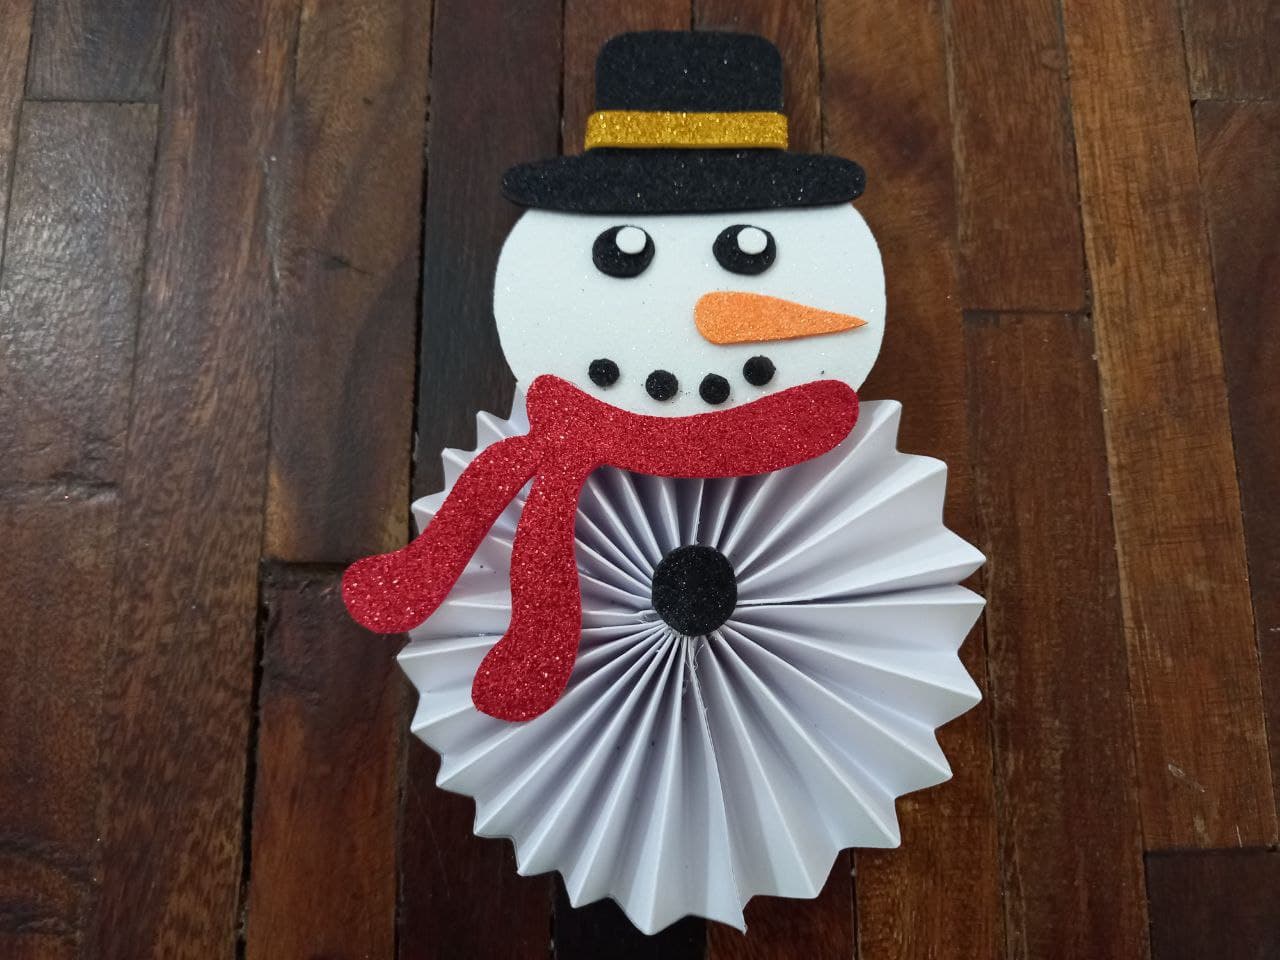
🎄PASO 8. Aplicamos silicón en el centro de la roseta y pegamos uno de los botones de foami, luego pegamos los otros 2 debajo de ese.
🎄 STEP 8. We apply silicone in the center of the rosette and glue one of the foami buttons, then we glue the other 2 under that one.

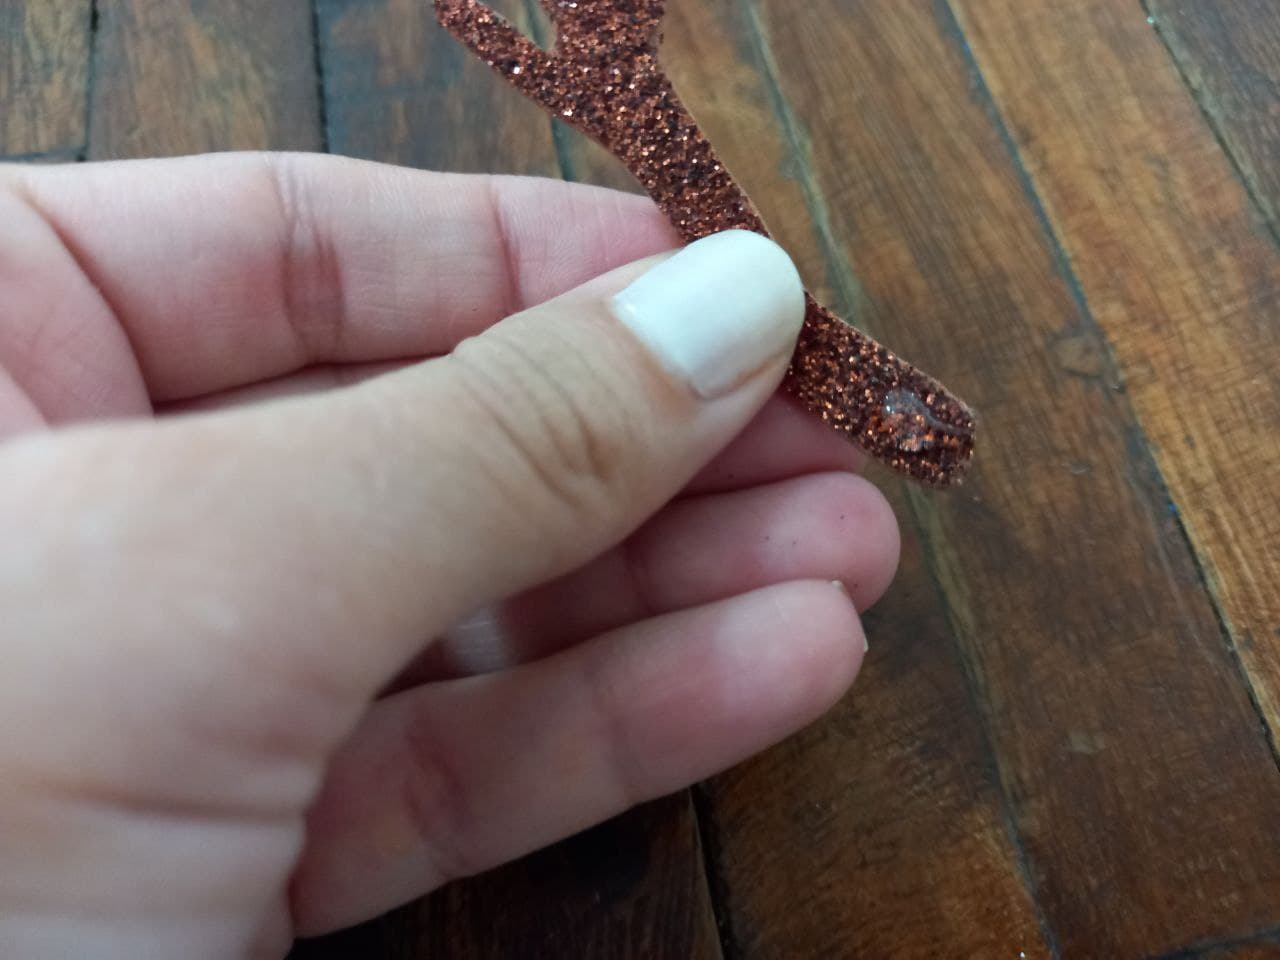
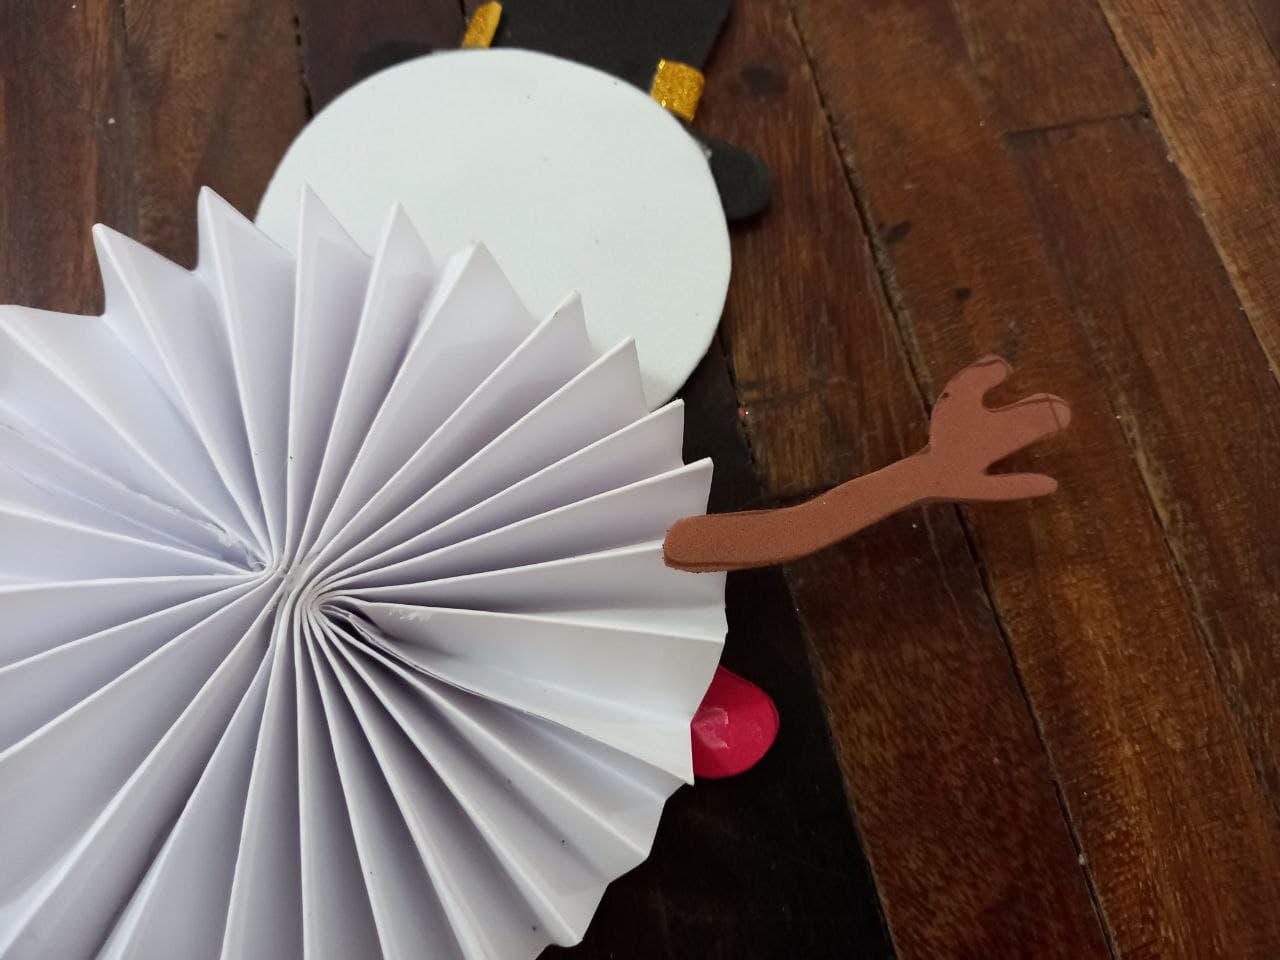
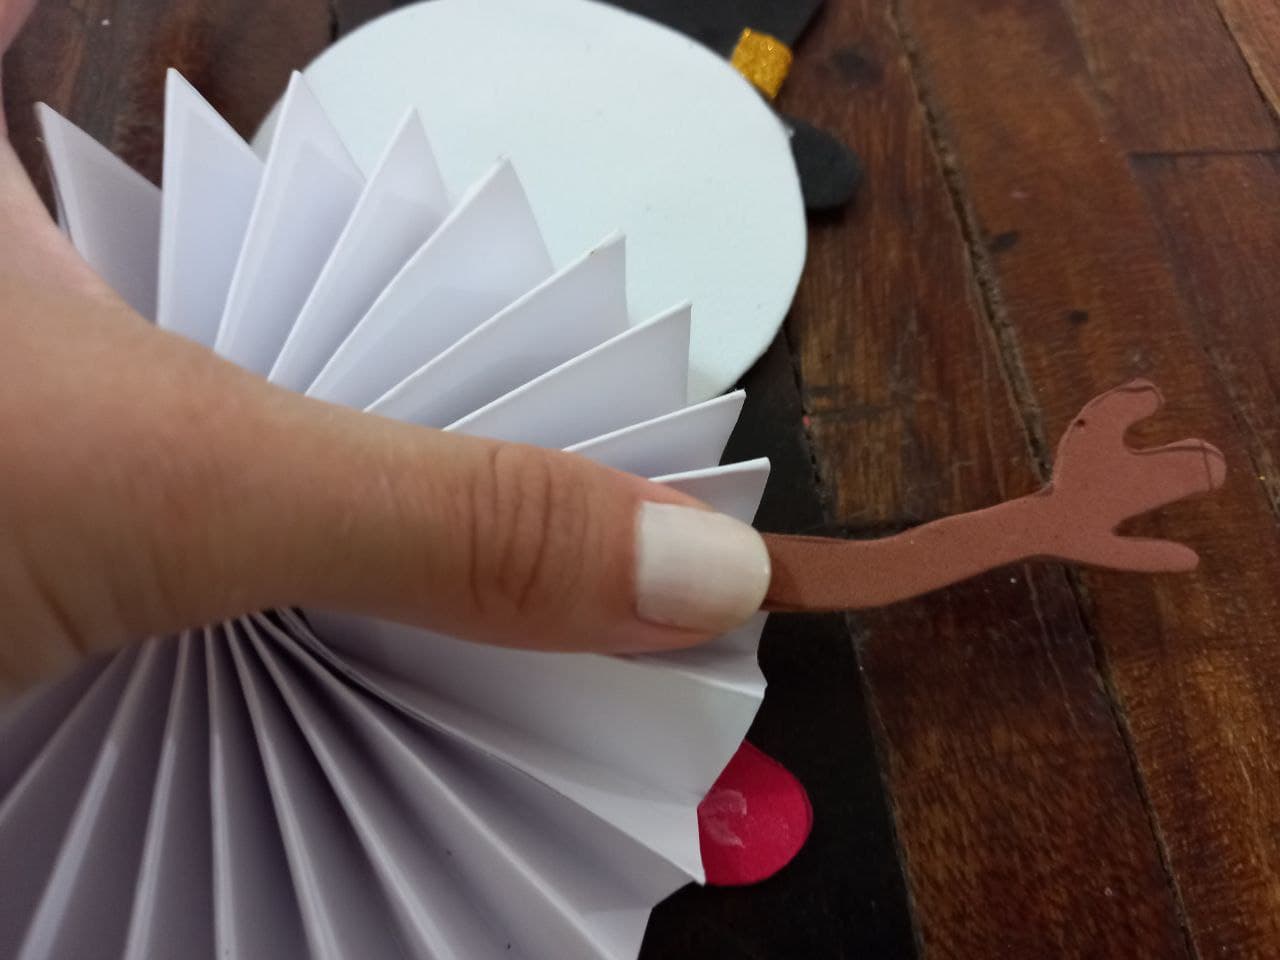
🎄PASO 9. Aplicamos silicón en la punta de cada brazo en el lado escarchado y los pegamos uno a cada lado de la roseta en su parte trasera.
🎄 STEP 9. We apply silicone to the tip of each arm on the frosted side and stick them one on each side of the rosette on the back.
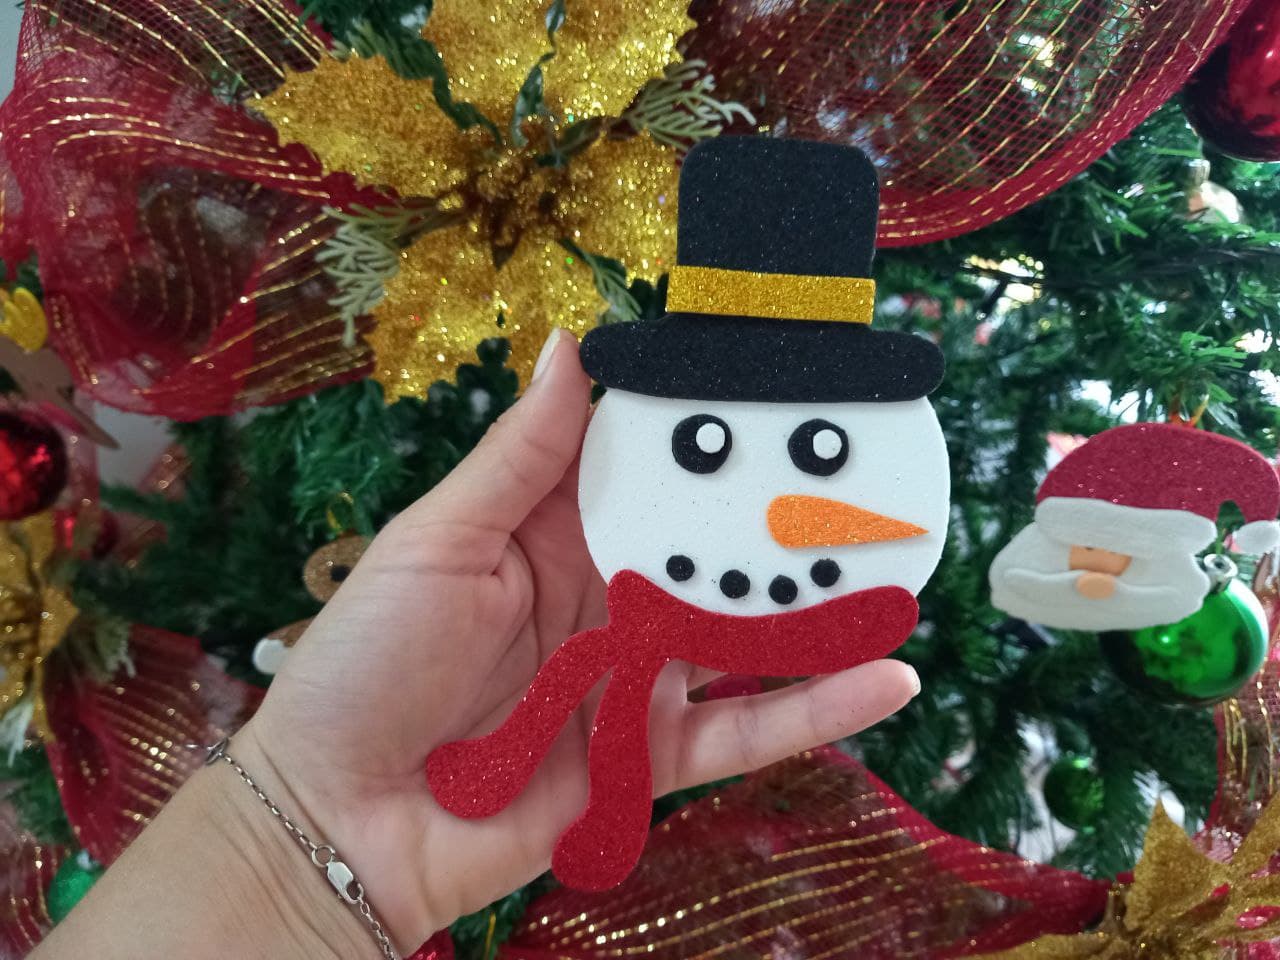
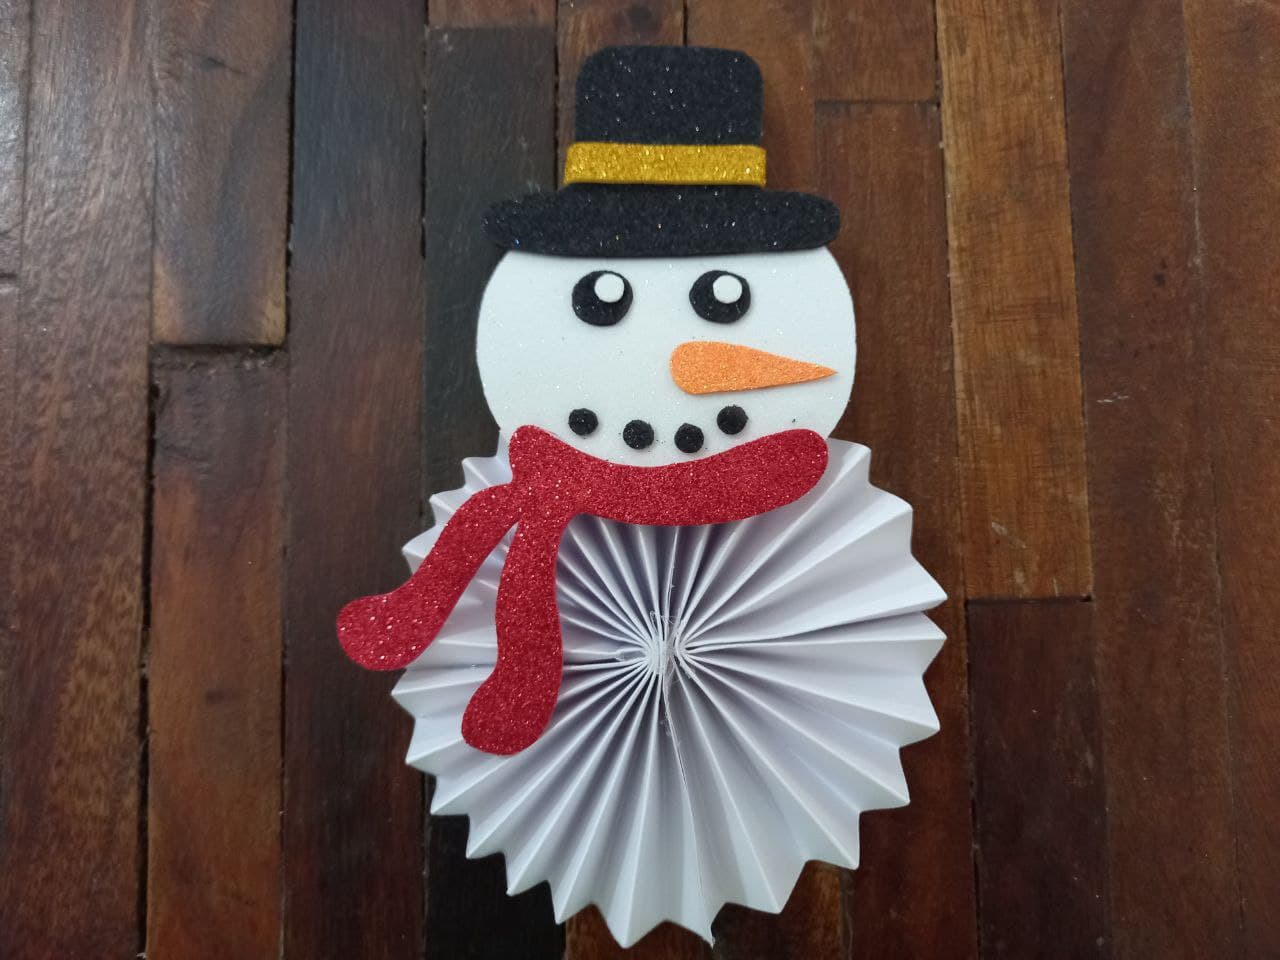
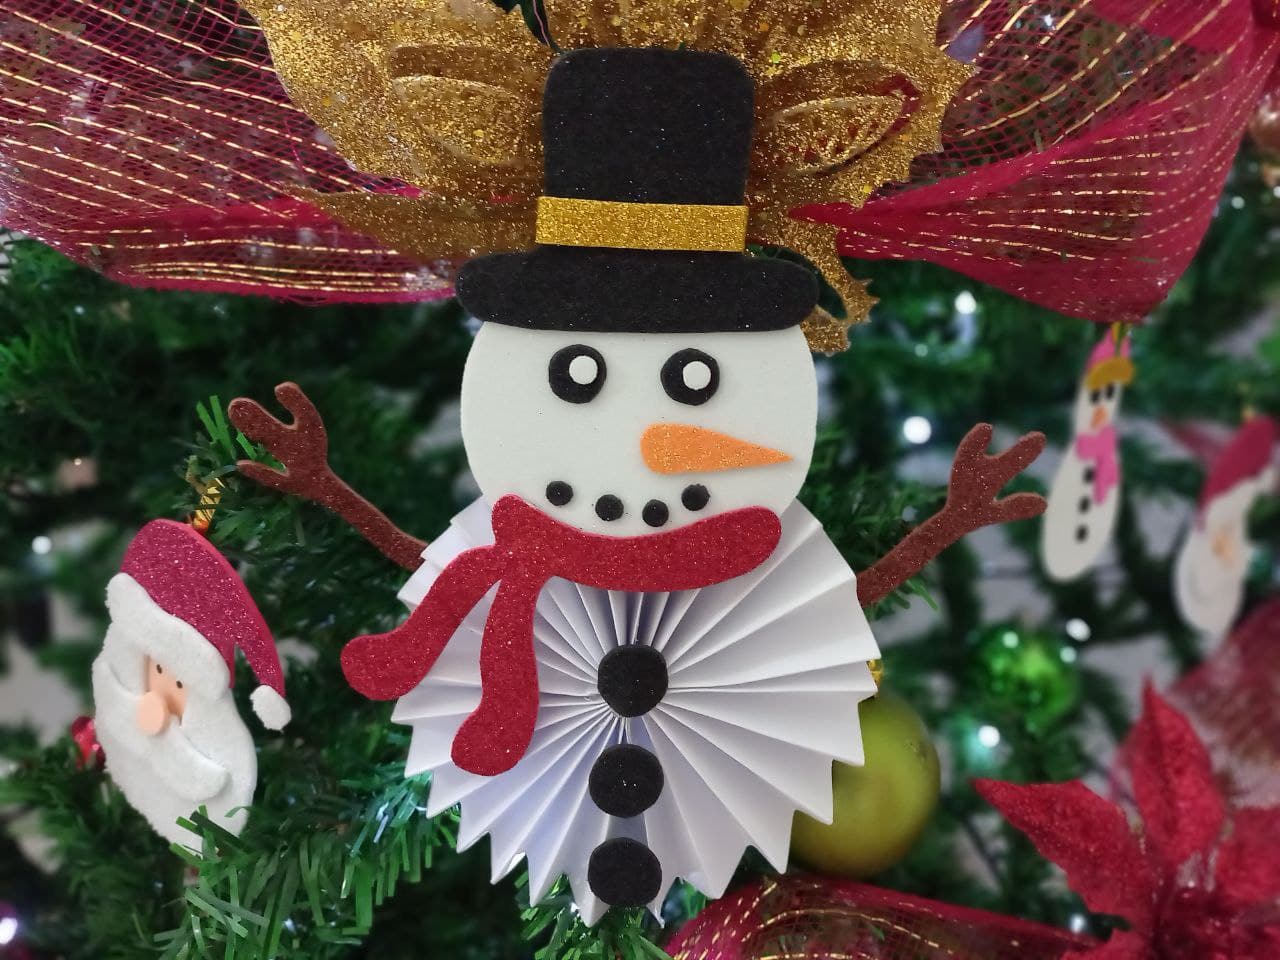
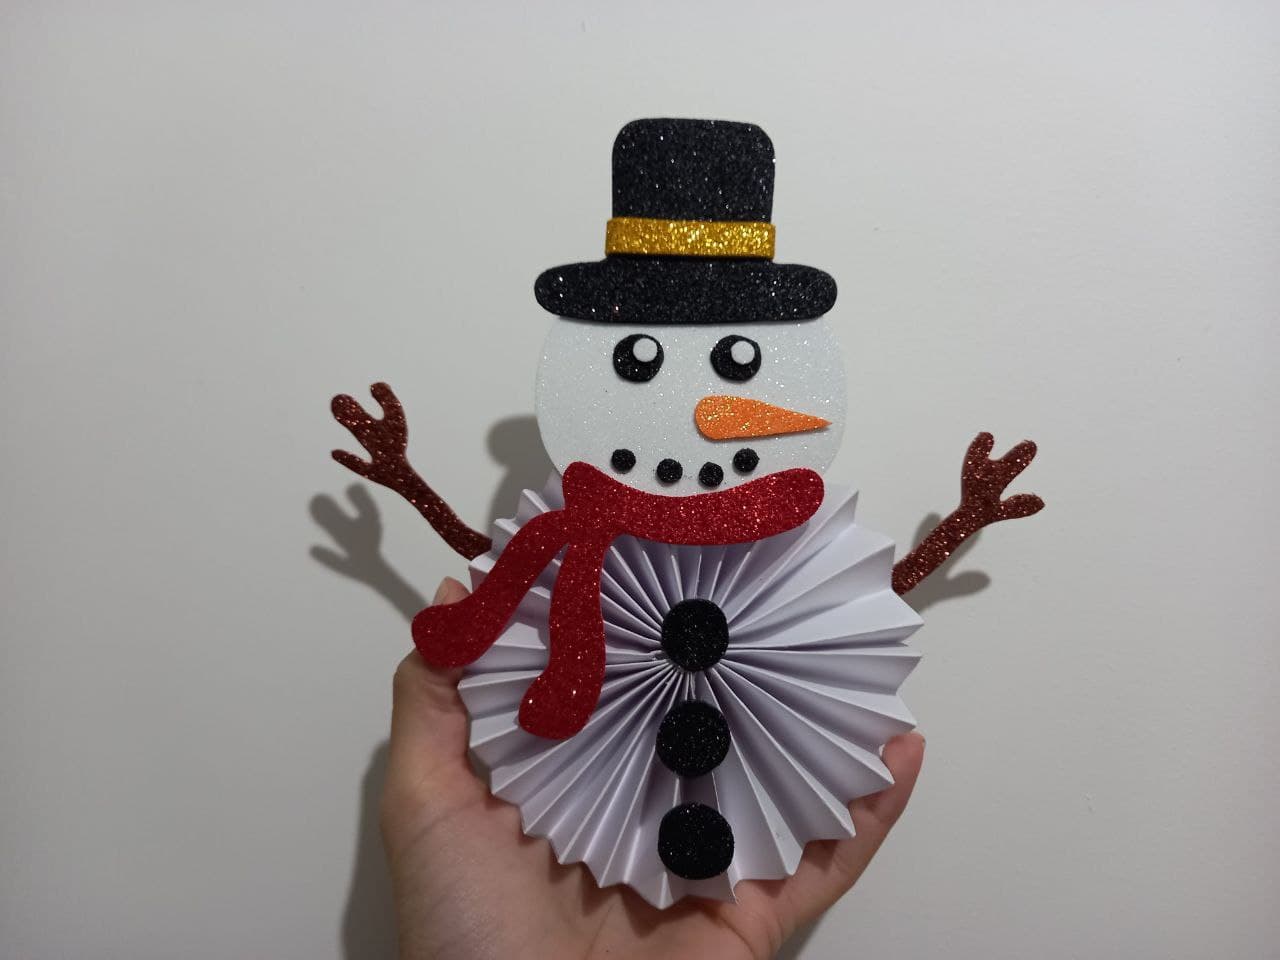
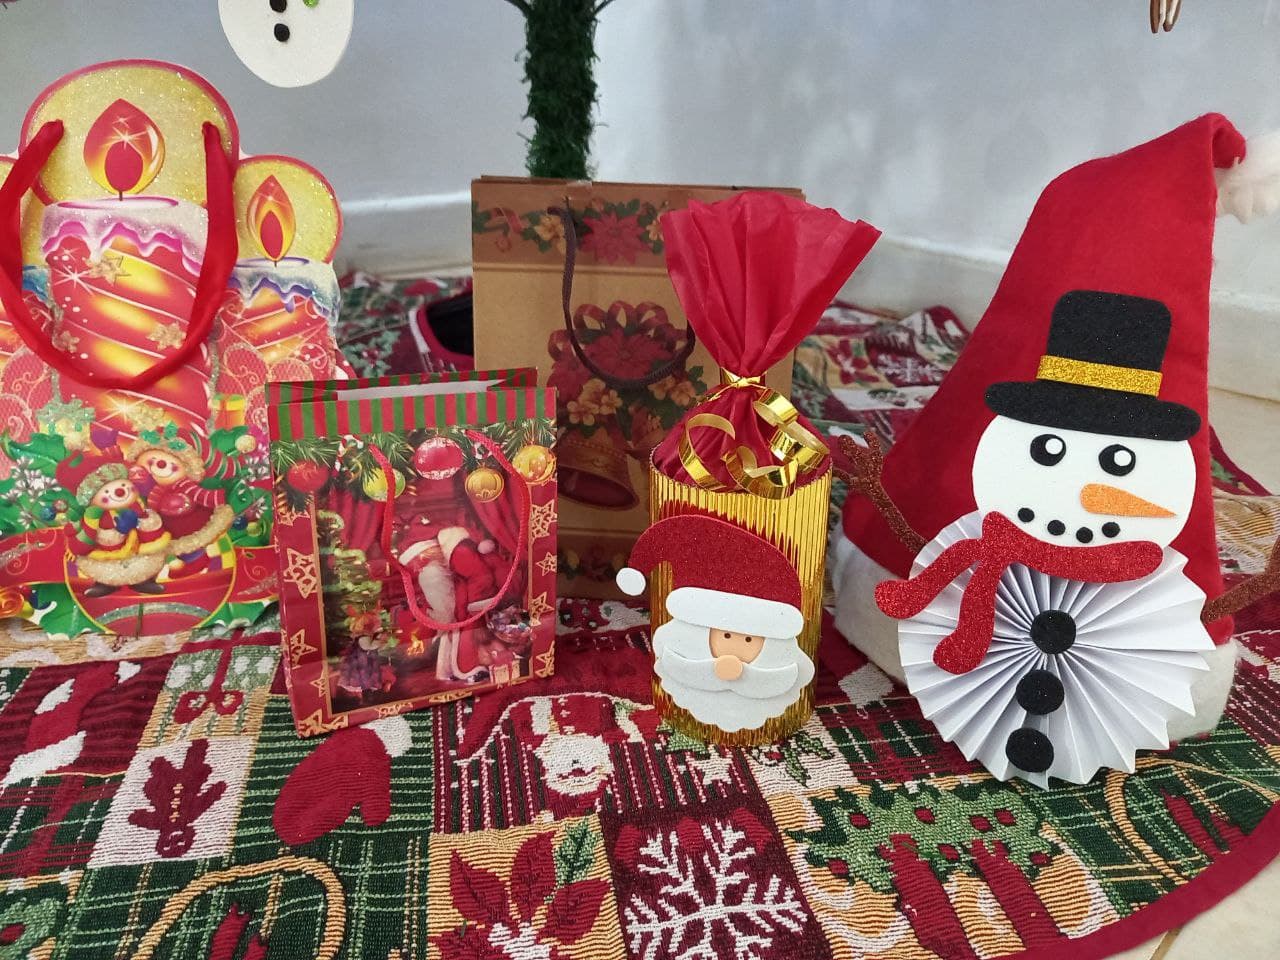
¡Y listo! Ya tenemos un hermoso muñeco de nieve hecho con papel y foami, un adorno ideal para decorar nuestros hogares en esta linda época, y en tamaño un poco más pequeño podríamos colgarlo en el arbolito, sin duda un adorno único que marcará la diferencia en estas navidades, espero que les haya gustado esta idea y les haya sido útil este tutorial para poder intentarlo en casa, nos vemos en un próximo post.
¡And ready! We already have a beautiful snowman made with paper and foam, an ideal ornament to decorate our homes in this beautiful time, and in a slightly smaller size we could hang it on the tree, without a doubt a unique ornament that will make a difference this Christmas , I hope you liked this idea and this tutorial has been useful to be able to try it at home, see you in a next post.


Todas las fotografías son de mi propiedad.
Fotografías capturadas con mi Samsung Galaxy A12
Nos vemos en mi próxima publicación.
¡Tengan un feliz día!
All photographs are my property.
Photos captured with my Samsung Galaxy A12
See you in my next post.
¡Have a happy day!
The rewards earned on this comment will go directly to the person sharing the post on Twitter as long as they are registered with @poshtoken. Sign up at https://hiveposh.com.
Me encantó, quedó muy lindo. Voy a seguir tu paso a paso para hacer unos para mi arbolito. Gracias por compartirlo. Saludos, @mariajcastro28.
Hola muchas gracias ♥️ me alegra mucho que te guste, espero que te animes a hacer unos para decorar tu arbolito, me gustaria verlos 😃 un abrazo!
Te quedó muy lindo tu proyecto. Te felicito. Saludos!
Hola muchas gracias, aprecio mucho tu comentario, gracias por ver mi post, un abrazo!
Esta lindo ese muñeco de nieve. Me encanto. Saludos.
Hola muchas gracias, me alegra mucho que te gustara, gracias por pasar por mi post, un abrazo!