¡Saludos Comunidad Creativa! 🎄 | ¡Greetings Creative Community! 🎄
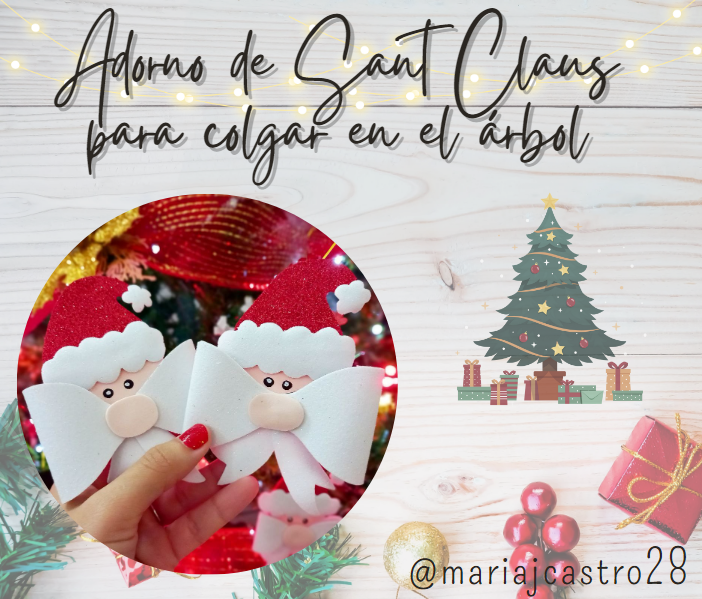
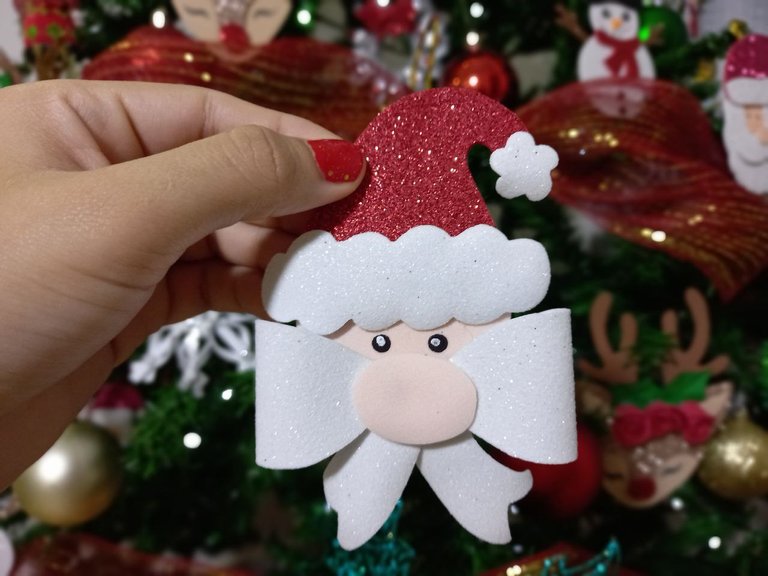
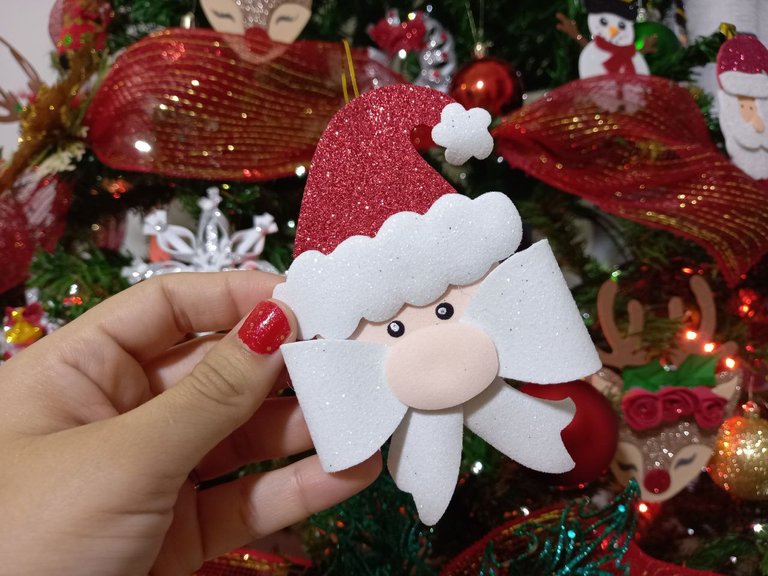
¡Feliz día! En esta oportunidad quiero mostrarles uno de los adornos que hice para colgar en mi arbolito y les cuento que queda muy lindo, intentando renovar los adornos viejos quise hacer algo nuevo de Santa Claus y esto fue lo que salió, a continuación les comparto el procedimiento y como siempre espero que les guste, sin más, ¡vamos a crear!
¡Happy day! This time I want to show you one of the decorations I made to hang on my tree and I tell you that it looks very nice, trying to renew the old decorations I wanted to do something new for Santa Claus and this is what came out, then I share the procedure and As always I hope you like it, without further ado, ¡let's create!

🎅 Foami color piel sin escarcha.
🎅 Hilo o cinta delgada dorada
🎅 Pintura negra.
🎅 Pincel.
🎅 Lápiz.
🎅 Tijera.
🎅 Silicón caliente.
🎅 Corrector de tinta.
🎅 Foami skin color without frost.
🎅 Thin gold thread or ribbon
🎅 Black paint.
🎅 Brush.
🎅 Pencil.
🎅 Scissors.
🎅 Hot silicone.
🎅 Ink concealer.


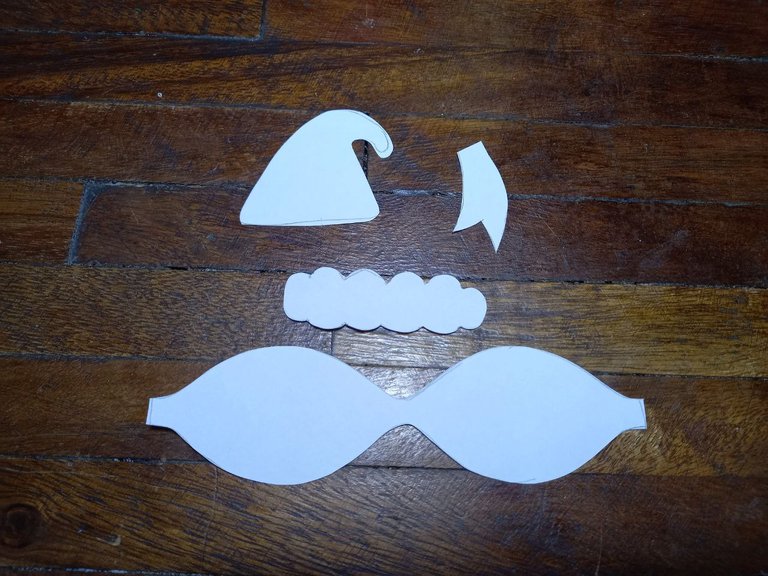
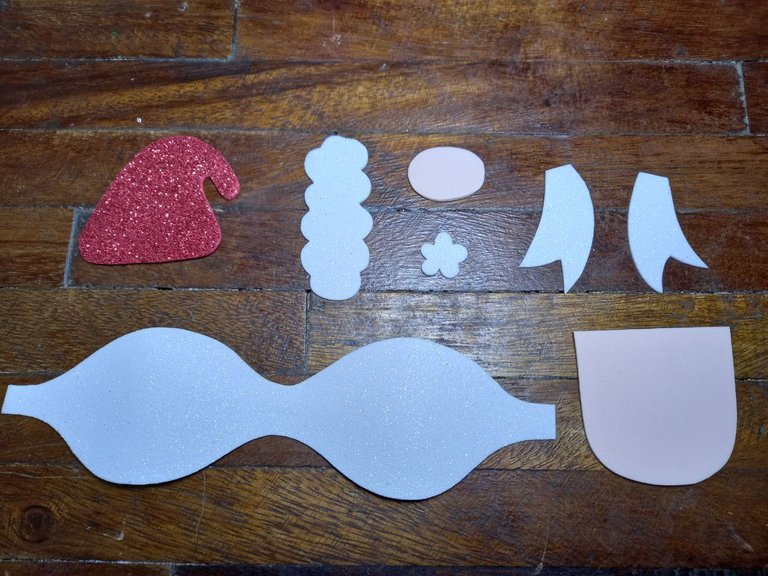
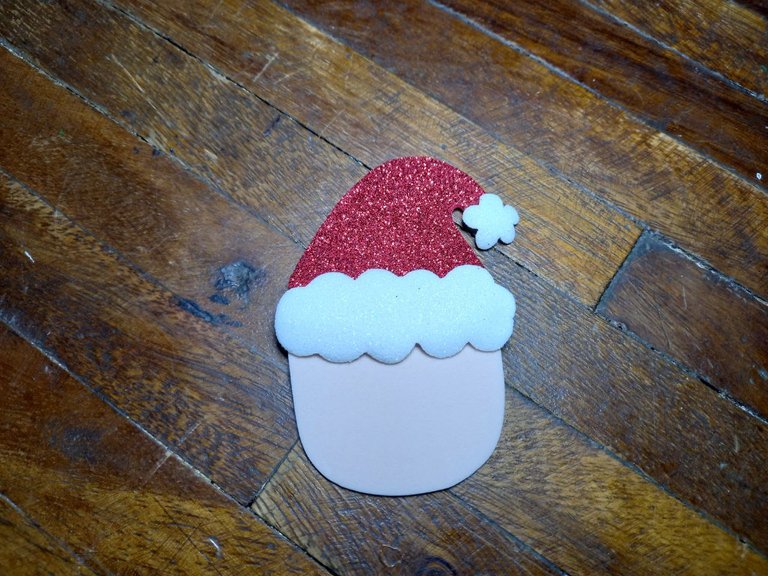
🎅 PASO 1. Lo primero es hacer las piezas para formar el Santa Claus de tal forma que podamos utilizarlas de patrón, en mi caso yo haré el gorro, rostro y en lugar de barba le colocaré un lazo, luego de tener las piezas las transferimos al foami en sus colores correspondientes, cara y nariz en color piel, gorro en rojo, lazo y las partes del gorro en blanco, finalmente recortamos.
🎅 STEP 1. The first thing is to make the pieces to form the Santa Claus in such a way that we can use them as a pattern, in my case I will make the hat, face and instead of the beard I will place a bow, after having We transfer the pieces to the foami in their corresponding colors, face and nose in skin color, hat in red, bow and the parts of the hat in white, finally we cut out.

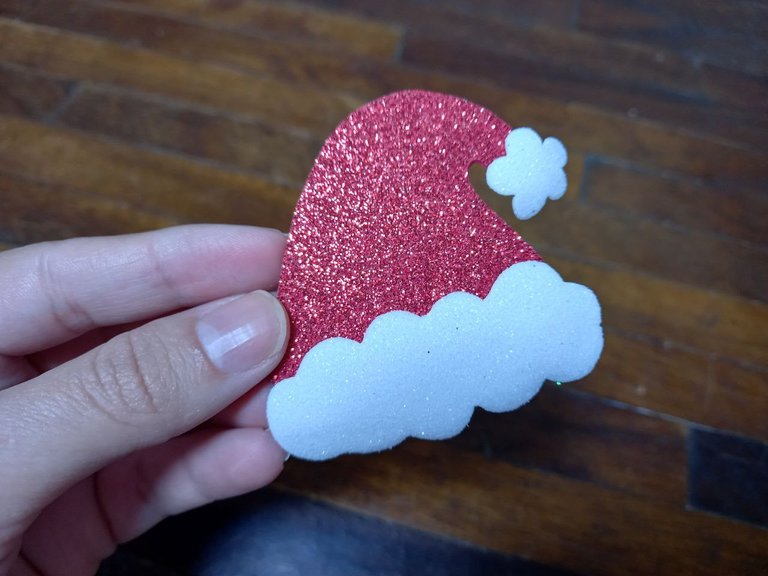
🎅 PASO 2. Comenzamos a formar al Santa Claus armando primero el gorro, luego este lo pegamos en la parte superior de la cabeza y seguidamente le pegamos las piezas inferiores del lazo en la parte inferior de la cabeza.
🎅 STEP 2. We begin to form Santa Claus by first assembling the hat, then we glue it to the top of the head and then we glue the lower parts of the bow to the bottom of the head.


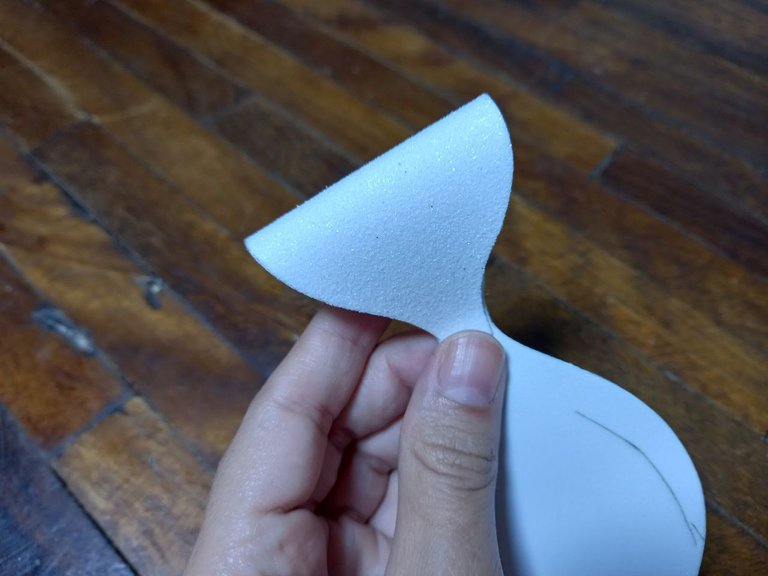
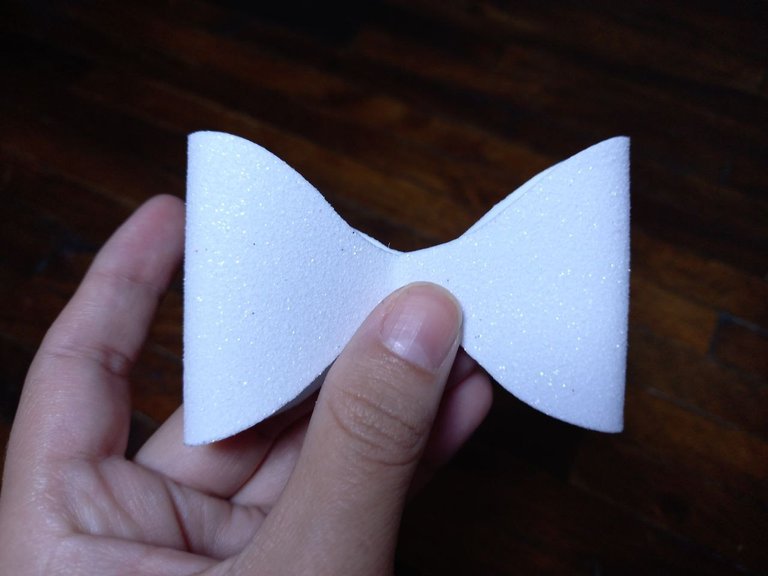
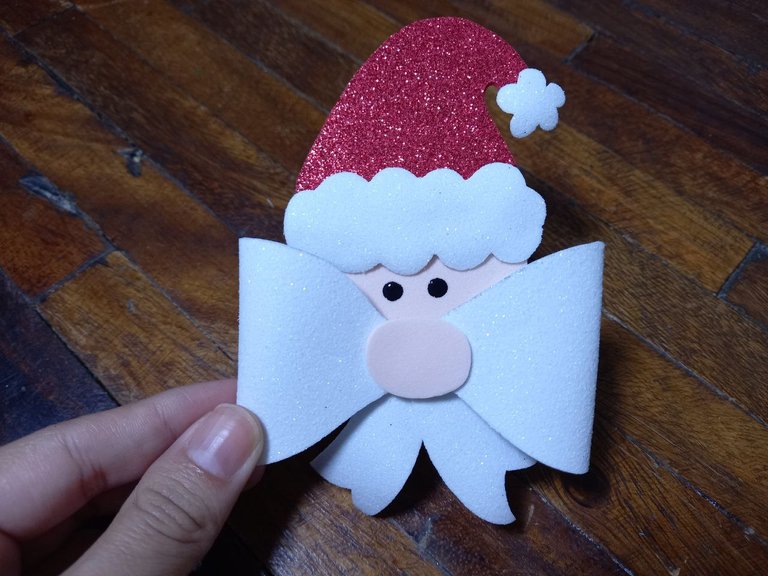
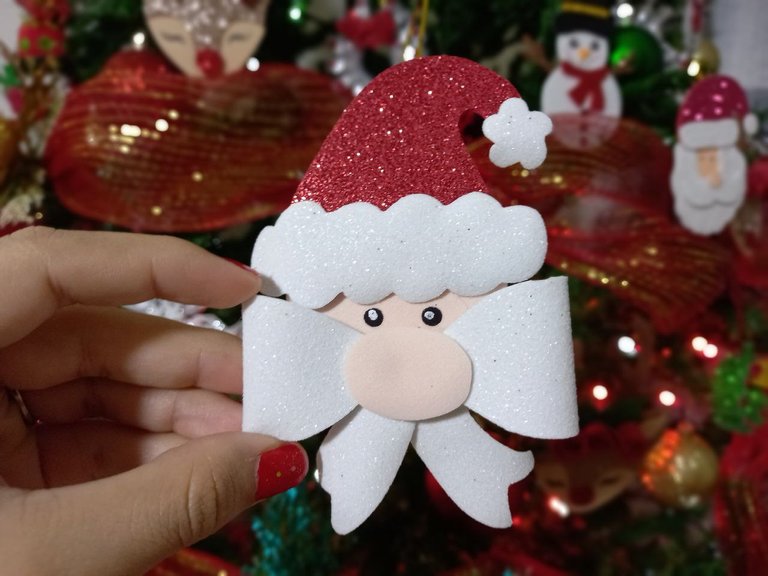
🎅 PASO 3. Ahora formaremos el lazo, que será la barba del Santa Claus, para ello pegamos los dos extremos en el centro y luego lo pegamos sobre las otras piezas y justo en el medio pegamos la nariz.
🎅 STEP 3. Now we will form the bow, which will be the beard of Santa Claus, for this we glue the two ends in the center and then we glue it on the other pieces and right in the middle we glue the nose.

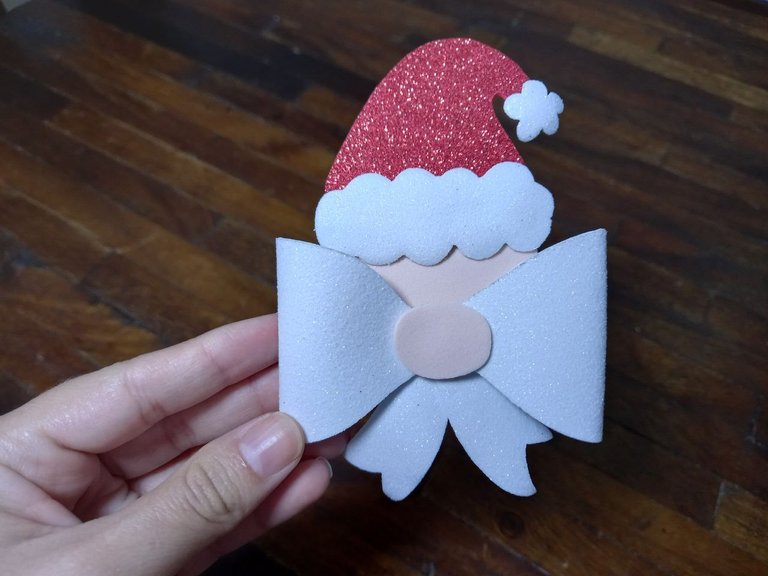
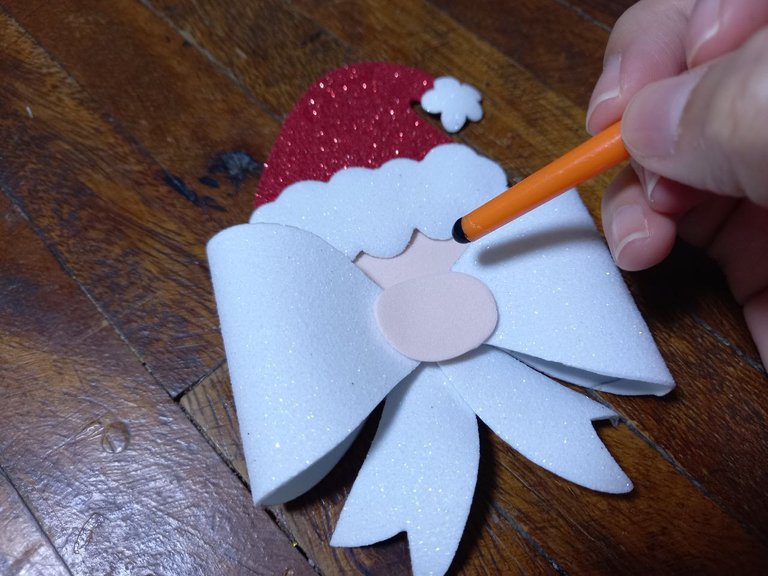
🎅 PASO 4. Tomamos un poco de pintura negra con la parte trasera del pincel y dibujamos dos círculos en el rostro de Santa Claus para hacer sus ojos, dejamos secar y luego con el corrector de tinta le colocamos un puntito blanco a cada ojo para darle un mejor aspecto.
🎅 STEP 4. We take some black paint with the back of the brush and draw two circles on Santa Claus's face to make his eyes, let it dry and then with the ink corrector we put a white dot on each eye to give it a better look.

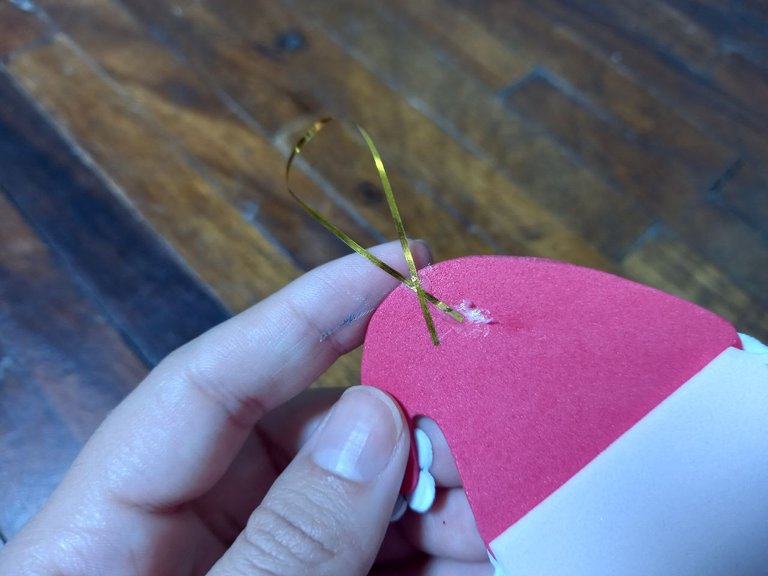
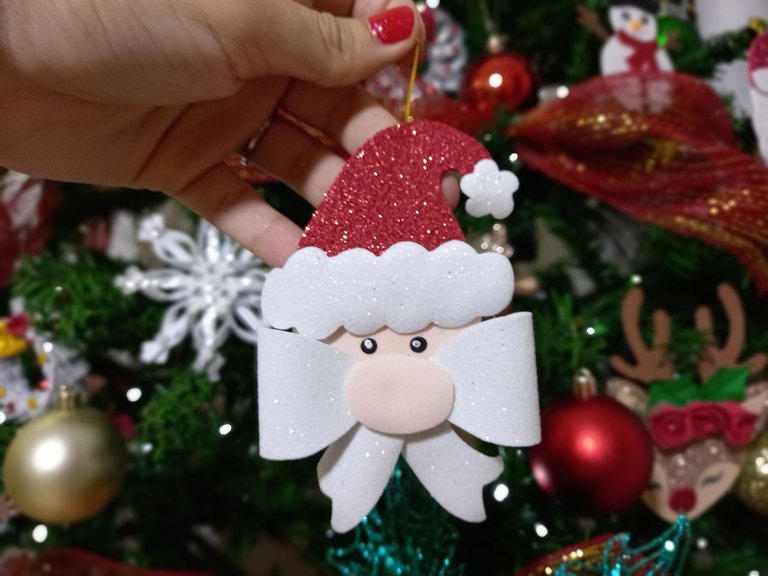
🎅 PASO 5. Finalizamos colocando en la parte superior trasera del gorro de Santa Claus una pequeña tira de cinta dorada o hilo dorado, con el cual colgaremos en el arbolito.
🎅 STEP 5. We finish by placing a small strip of gold ribbon or gold thread on the upper back of the Santa Claus hat, with which we will hang it on the tree.
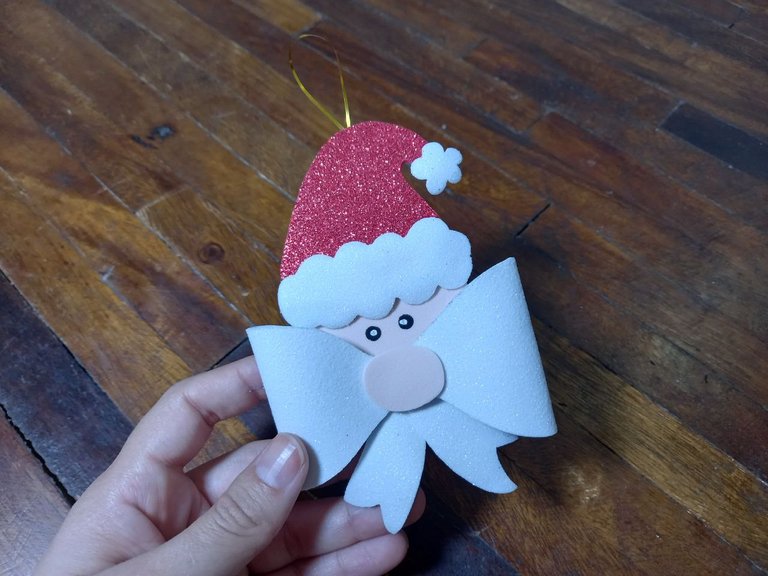
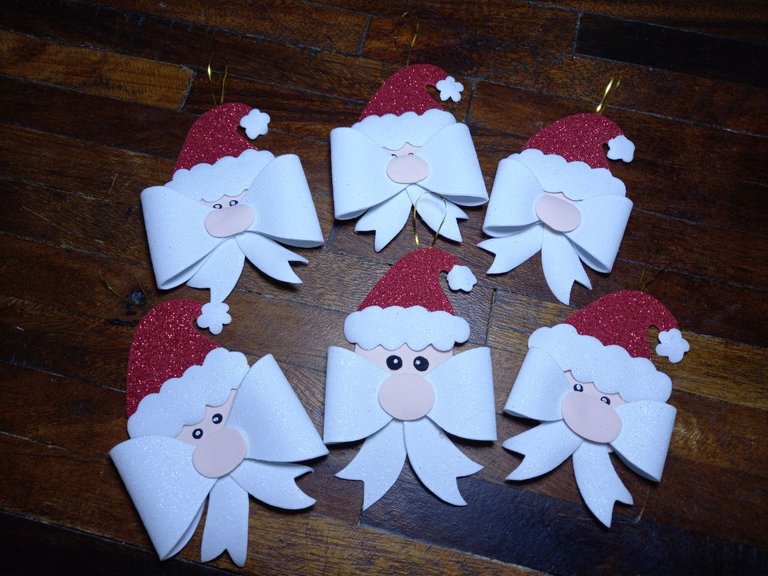
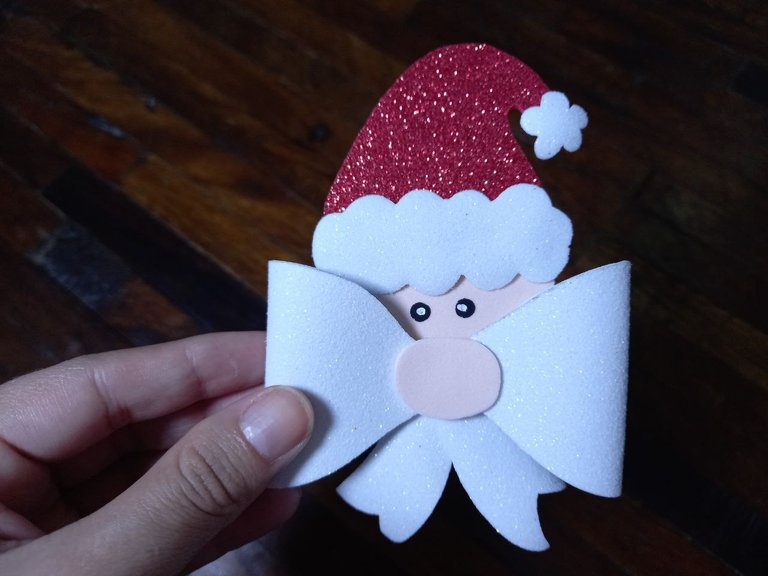
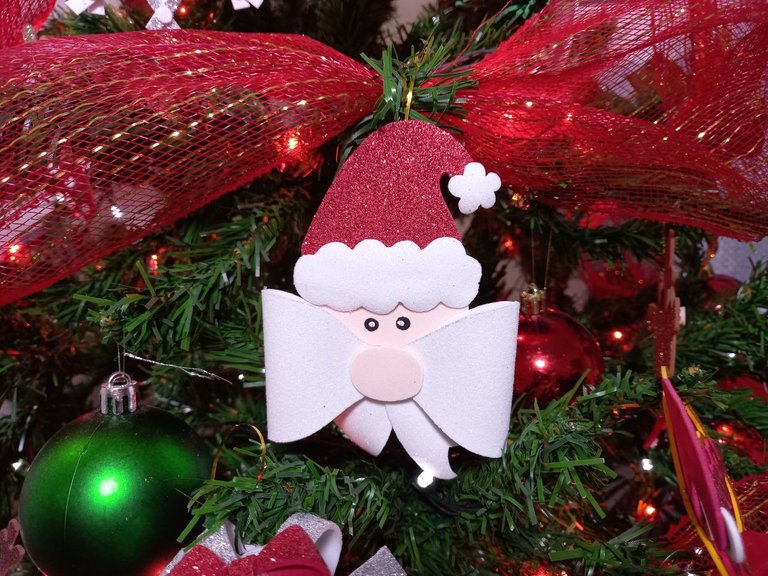
¡Y listo! Así es como he elaborado estos lindos adornos de Santa Claus para colgar en el arbolito, quedaron hermosos y lucen muy bien en el arbolito, quería renovar los adornos de Santa y me encantó como quedaron estos nuevos, un diseño diferente a lo que acostumbramos, espero que a ustedes también les haya gustado y les pueda servir de inspiración para hacer sus adornos en casa, gracias por su visita.
And ready! This is how I made these cute Santa Claus decorations to hang on the tree, they turned out beautiful and look great on the tree, I wanted to renew the Santa decorations and I loved how these new ones turned out, a different design than what we are used to, I hope that you also liked and can serve as inspiration to make your decorations at home, thank you for your visit.


Todas las fotografías son de mi propiedad.
Fotografías capturadas con mi Samsung Galaxy A12
Separador de texto elaborado en Canva.
Nos vemos en mi próxima publicación.
¡Tengan un feliz día!
All photographs are my property.
Photos captured with my Samsung Galaxy A12
Text separator made in Canva.
See you in my next post.
¡Have a happy day!
The rewards earned on this comment will go directly to the people( @yolimarag ) sharing the post on Twitter as long as they are registered with @poshtoken. Sign up at https://hiveposh.com.
Wow!!! Qué lindo. Ya tenemos las piernas y la cabeza 🤶 estos adornos te quedan preciosos @mariajcastro28 el árbol debe verse muy llamativo con todos ellos. 👏👆🥳🙋🤶😁🎄🙏😉
Hola amiga, así es, ahí voy poco a poco pero con mucho adornos en mente, mi sala ya parece la aldea de Santa con tantas cosas que le puesto jaja, gracias por pasar! ♥️
Eso es bueno. Vivir el momento y crear recuerdos. 🥂🎄🤶🙋
♥️♥️♥️
Muchas gracias 😊
Amiga, pero cuanta belleza y dedicación en cada creación✨😍
Gracias amiga ♥️ que bueno saber que te gusten mis adornos 😃
Hermosos estos adornos de Santa
Gracias amiga, quedan bellos en el arbolito 😃
Que belleza amiga, este año vas a tener muchos adornos para tu capital, este santa está hermoso
Gracias amiga, pues si, tengo tanto el arbolito como toda la sala llena de adornos y quiero seguir haciendo mas y más jajaj, gracias por pasar y compartir, saludos! ♥️
Están hermosos, perfectos para estás fechas que se aproximan tan lindas. 💚✨
Gracias amiga, pues sí, quedan muy bien ♥️
Thank you for sharing this post on HIVE!
Your content got selected by our fellow curator priyanarc & you just received a little thank you upvote from us for your great work! Your post will be featured in one of our recurring compilations which are aiming to offer you a stage to widen your audience within the DIY scene of Hive. Next time make sure to post / cross-post your creation within the DIYHub community on HIVE and you will receive a higher upvote ;) Stay creative & HIVE ON!
Please vote for our hive witness <3
Thank you very much for the support, a big hug! ♥️😃
Que hermosos, cuando termine de tejer los pendientes me animaré a hacer algo así c, el diseño esta muy original, estos Santa no se parecen a otros que he visto en foami. Te felicito
Hola amiga, que bueno saber que te gustaron mis adornos, pues, esa era la idea, hacer algo diferente y me gustó mucho como resulto, espero ver pronto como te quedan a ti tejidos, seguro que bellísimos como todo lo que haces ♥️