Imagen diseñada en PicsArt
Como siempre, para estas celebraciones en casa, uso material de reciclaje, siempre aprovechando casa pequeña cosita que pueda darle una segunda función.
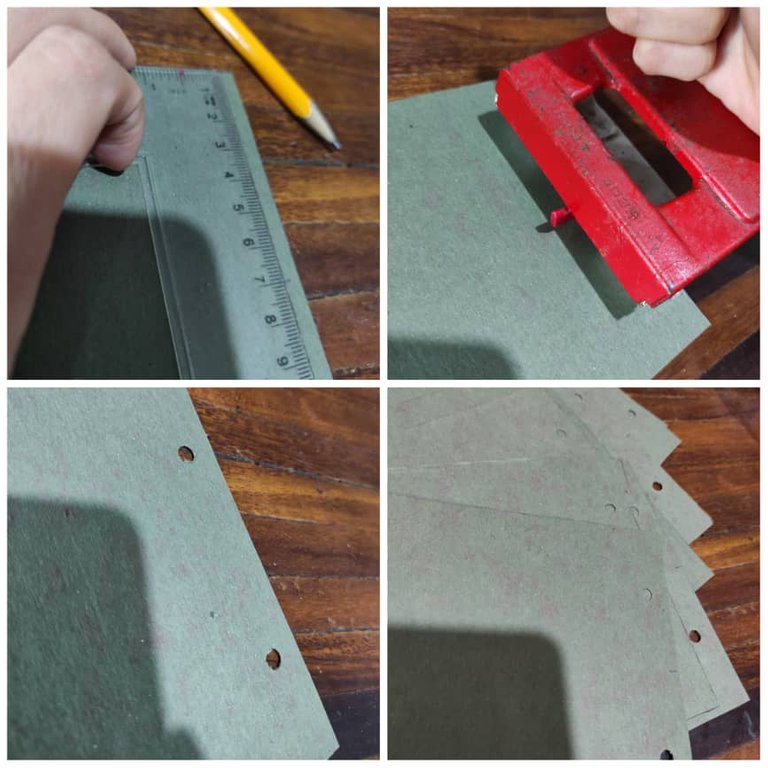
En esta ocasión, utilicé carpetas colgantes verdes, para que me sirvieran de base. Como son grandes, lo que hice fue cortarlos a la mitad, los emparejé en cuanto al tamaño, y con ayuda de un sacahuecos le hice dos agujeros justo en el centro de la parte superior, por ahí, introduciría el hilo para colgarlos.
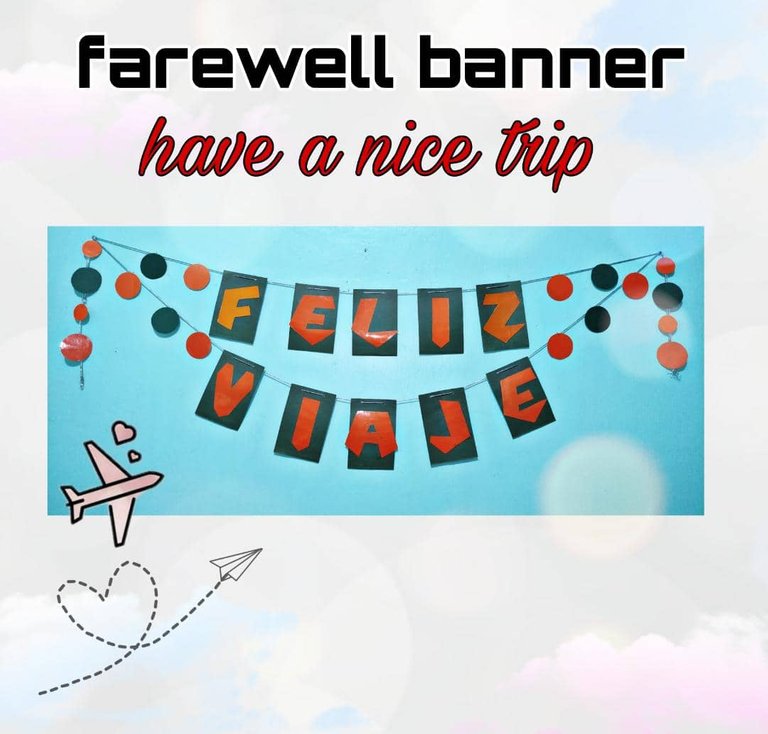
Hello community! It's been a while since I've been here, and believe me I've missed doing some of my crafts. But the wait is over, for now. Today I want to show you the step by step of a pennant I just finished, it's a "Happy trip" pennant. Well, my aunt, who since December is with us at home, has decided to go back to Peru, and the return date, after postponing it 3 times, has arrived, and is more than close. So... This banner is basically for the decoration of her farewell party and waiting for her next return.
As always, for these celebrations at home, I use recycled material, always taking advantage of small things that can give it a second function.
This time, I used green hanging folders to serve as a base. As they are large, what I did was to cut them in half, I matched them in size, and with the help of a hole punch I made two holes right in the center of the top, through there, I would introduce the thread to hang them.

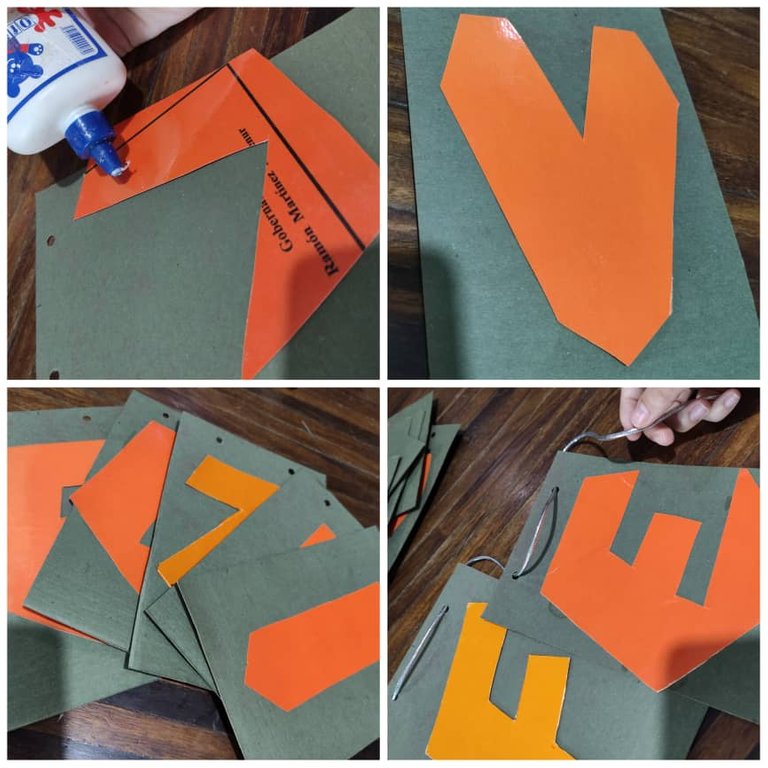
Para las letras, pues ya tenía los moldes. Así que solo los calquee en cartulinas que tenía. Para que pudiese obtener las letras del lado no usado de la cartulina, debo calquearlos del lado usado y con la letra a la inversa. Así hice con cada letra de " Feliz viaje "
For the letters, I already had the molds. So I just traced them on cardboard I had. So that I could get the letters on the unused side of the cardboard, I had to trace them on the used side and with the letters in reverse. That's how I did with each letter of "Happy Traveling".
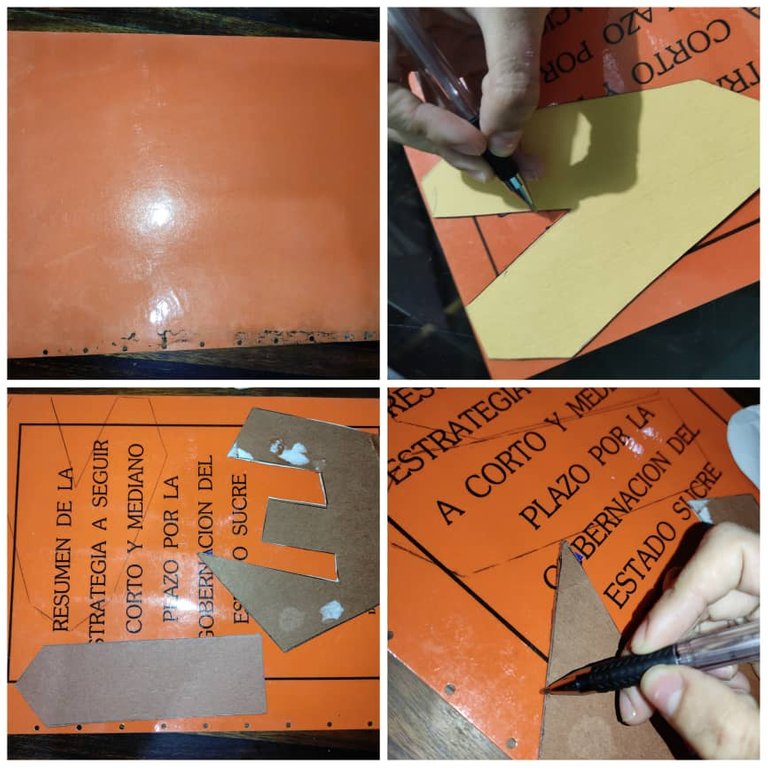
Recorté y coloque las letras encima de la base verde,e hice especie de bosquejo para ver como se verían al tenerlas listas, y precisando justo el centro para no cometer errores a la hora de pegarlo.
I cut out and placed the letters on top of the green base, and made a kind of sketch to see how they would look like when they were ready, making sure I was right in the center so as not to make mistakes when it came to gluing them.
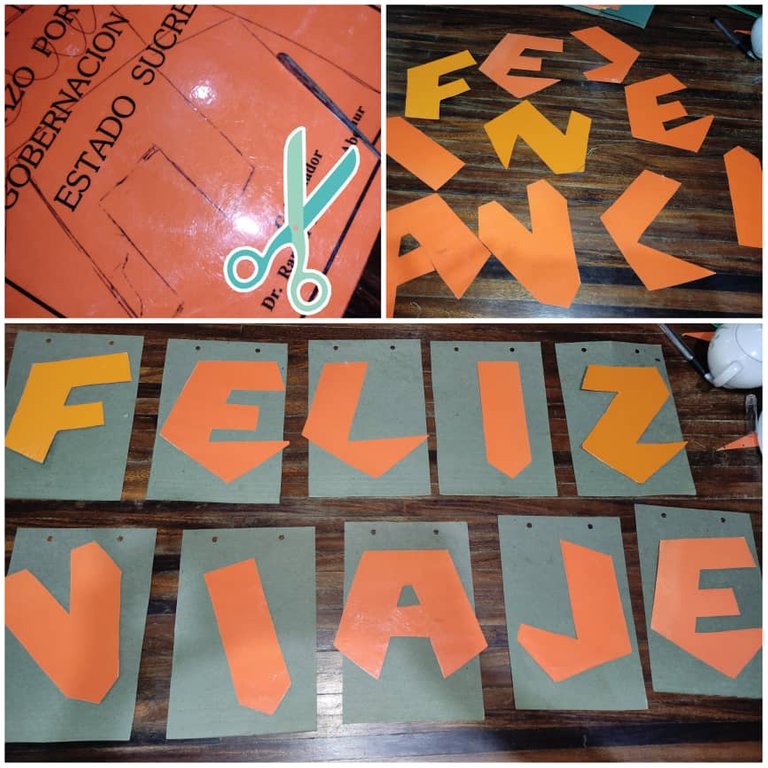
Luego, con un poco de pega, pegué cada letra en el centro de las bases verdes que obtuve previamente.
Introduje el hilo, y listo mi banderín para la despedida.
Then, with a little glue, I glued each letter in the center of the green bases that I had previously obtained.
I inserted the thread, and my pennant for the farewell was ready.
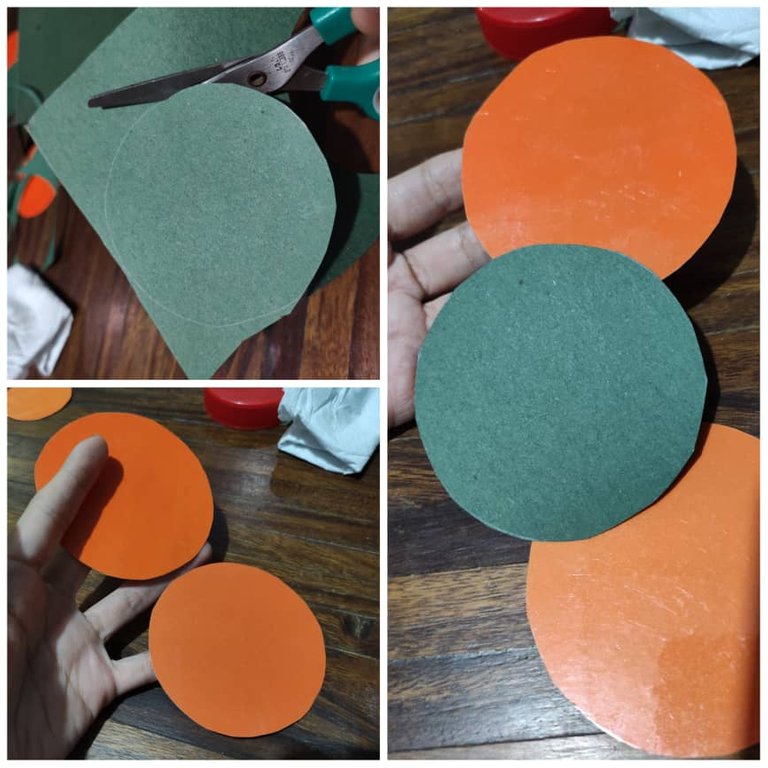
Ahora bien, para adornar un poco más la pared donde lo iba a colgar, decidí hacer especie de círculos de colores naranja y verde, y pegarlos en el mismo hilo, para que se viera aun mas festivo. Estos los grapé para mayor facilidad.
Now, to decorate a little more the wall where I was going to hang it, I decided to make some sort of orange and green circles, and glue them on the same thread, to make it look even more festive. I stapled them for ease of use.
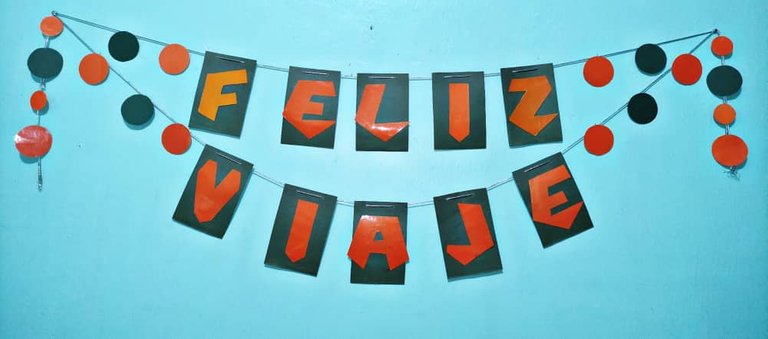
Así quedaron y este fue el resultado final:
This was the final result:
Congratulations @paolamendoza19! You have completed the following achievement on the Hive blockchain and have been rewarded with new badge(s):
Your next target is to reach 300 posts.
You can view your badges on your board and compare yourself to others in the Ranking
If you no longer want to receive notifications, reply to this comment with the word
STOPTo support your work, I also upvoted your post!
Check out the last post from @hivebuzz:
Support the HiveBuzz project. Vote for our proposal!