Hoolaa mi gente linda y creativa de #Hivediy!!! 🤗
Bendiciones de Dios para ustedes! Espero que todos se encuentren muy bien! Hoy me hace feliz compartir un nuevo proyecto creativo con todos ustedes. Como ya les comenté anteriormente mi hija próximamente cumplirá 3 añitos y como personaje festivo ha escogido a la coqueta ratoncita Minnie Mouse; por lo cual me encuentro preparando algunas decoraciones y como aún conservo algunas de las cosas que utilicé el año pasado, quise restaurar su antigua chupetera para este cumpleaños...! Restaurar o reciclar siempre será para mí un proyecto muy encantador y práctico que intento poner en práctica en cualquier ocasión... Ahora no te pierdas este tutorial el cual contiene lindísimas imágenes que te gustarán. Te invito a leer hasta el final! Vamos!
God's blessings to you! I hope you all are doing well! Today it makes me happy to share a new creative project with all of you. As I told you before, my daughter will soon be 3 years old and as a festive character she has chosen the flirtatious little mouse Minnie Mouse; so I am preparing some decorations and since I still have some of the things I used last year, I wanted to restore his old lollipop holder for this birthday...! Restoring or recycling will always be a very charming and practical project for me that I try to put into practice on any occasion... Now don't miss this tutorial which contains beautiful images that you will like. I invite you to read until the end! Come on!
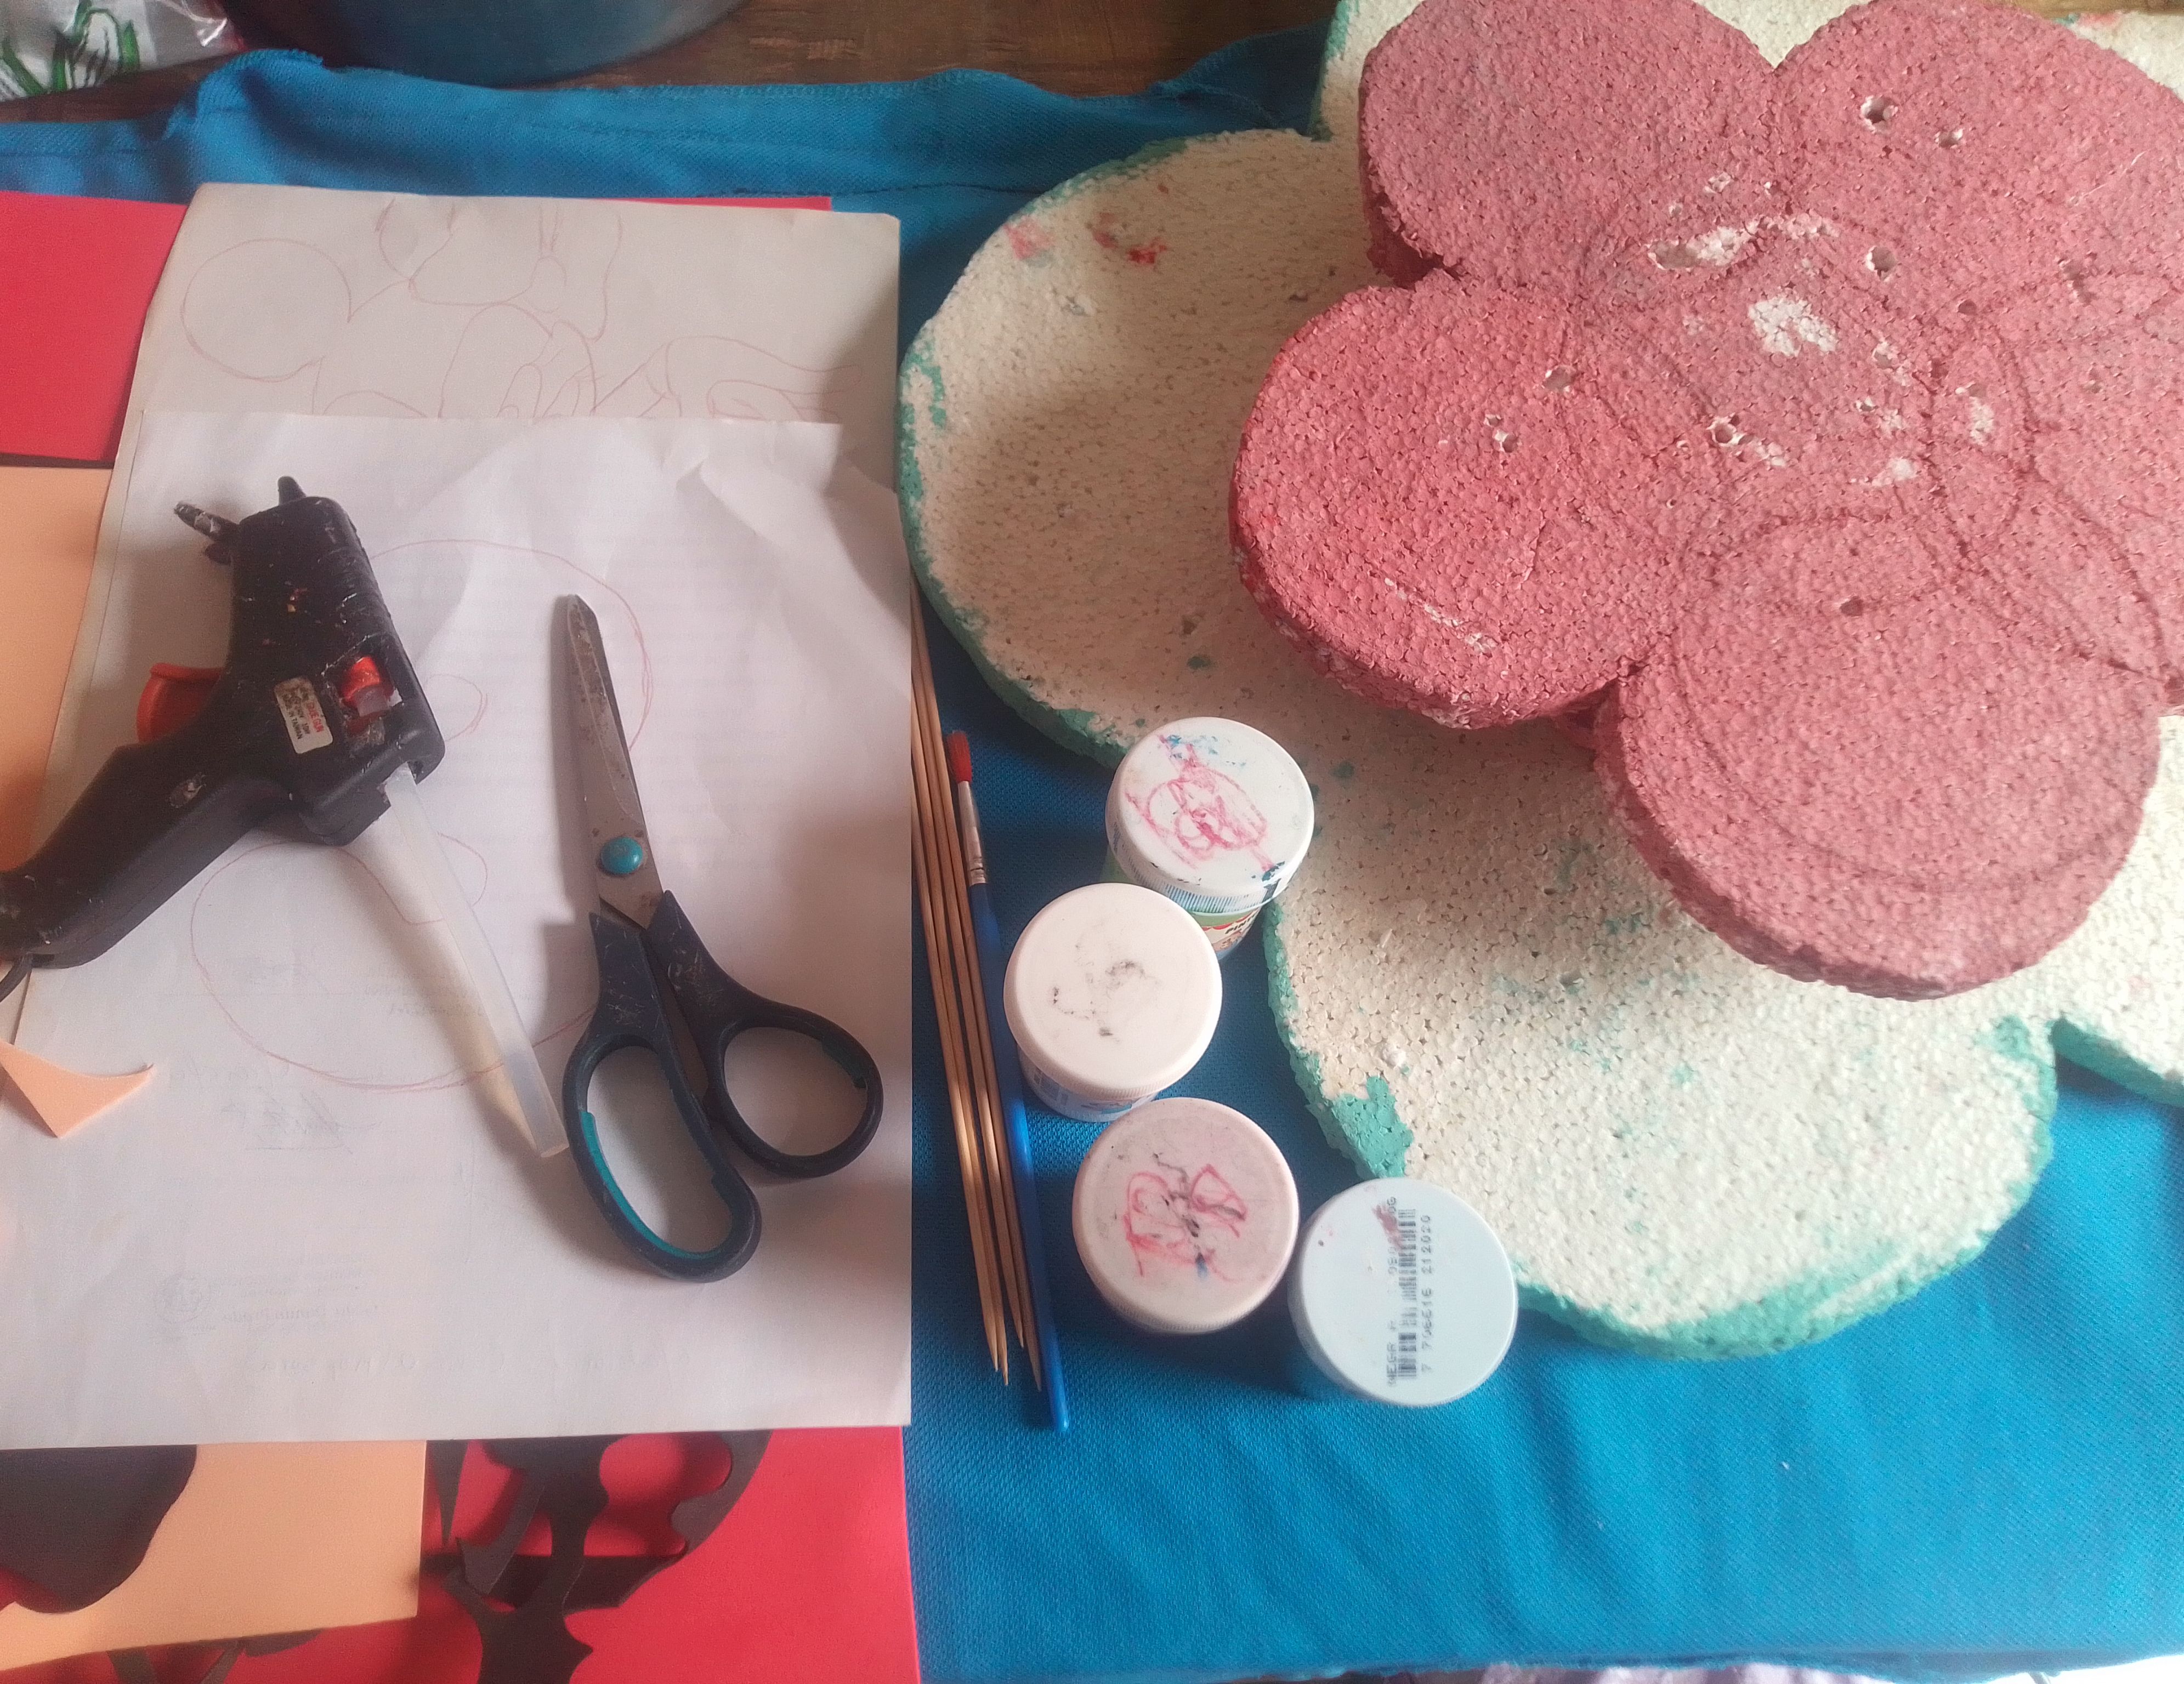
Materiales que necesitas:
- Flores de anime.
- Palillos de altura.
- Silicón.
- Foami rojo, negro, blanco y amarillo.
- Papel crepé verde y rosado.
- Tijeras.
- Pintura verde y rosa.
- Pincel.
Materials you need:
- Anime flowers.
- Height sticks.
- Silicone.
- Red, black, white and yellow foami.
- Green and pink crepe paper.
- Scissors.
- Green and pink paint.
- Brush.
(PROCEDIMIENTO)
Paso 01
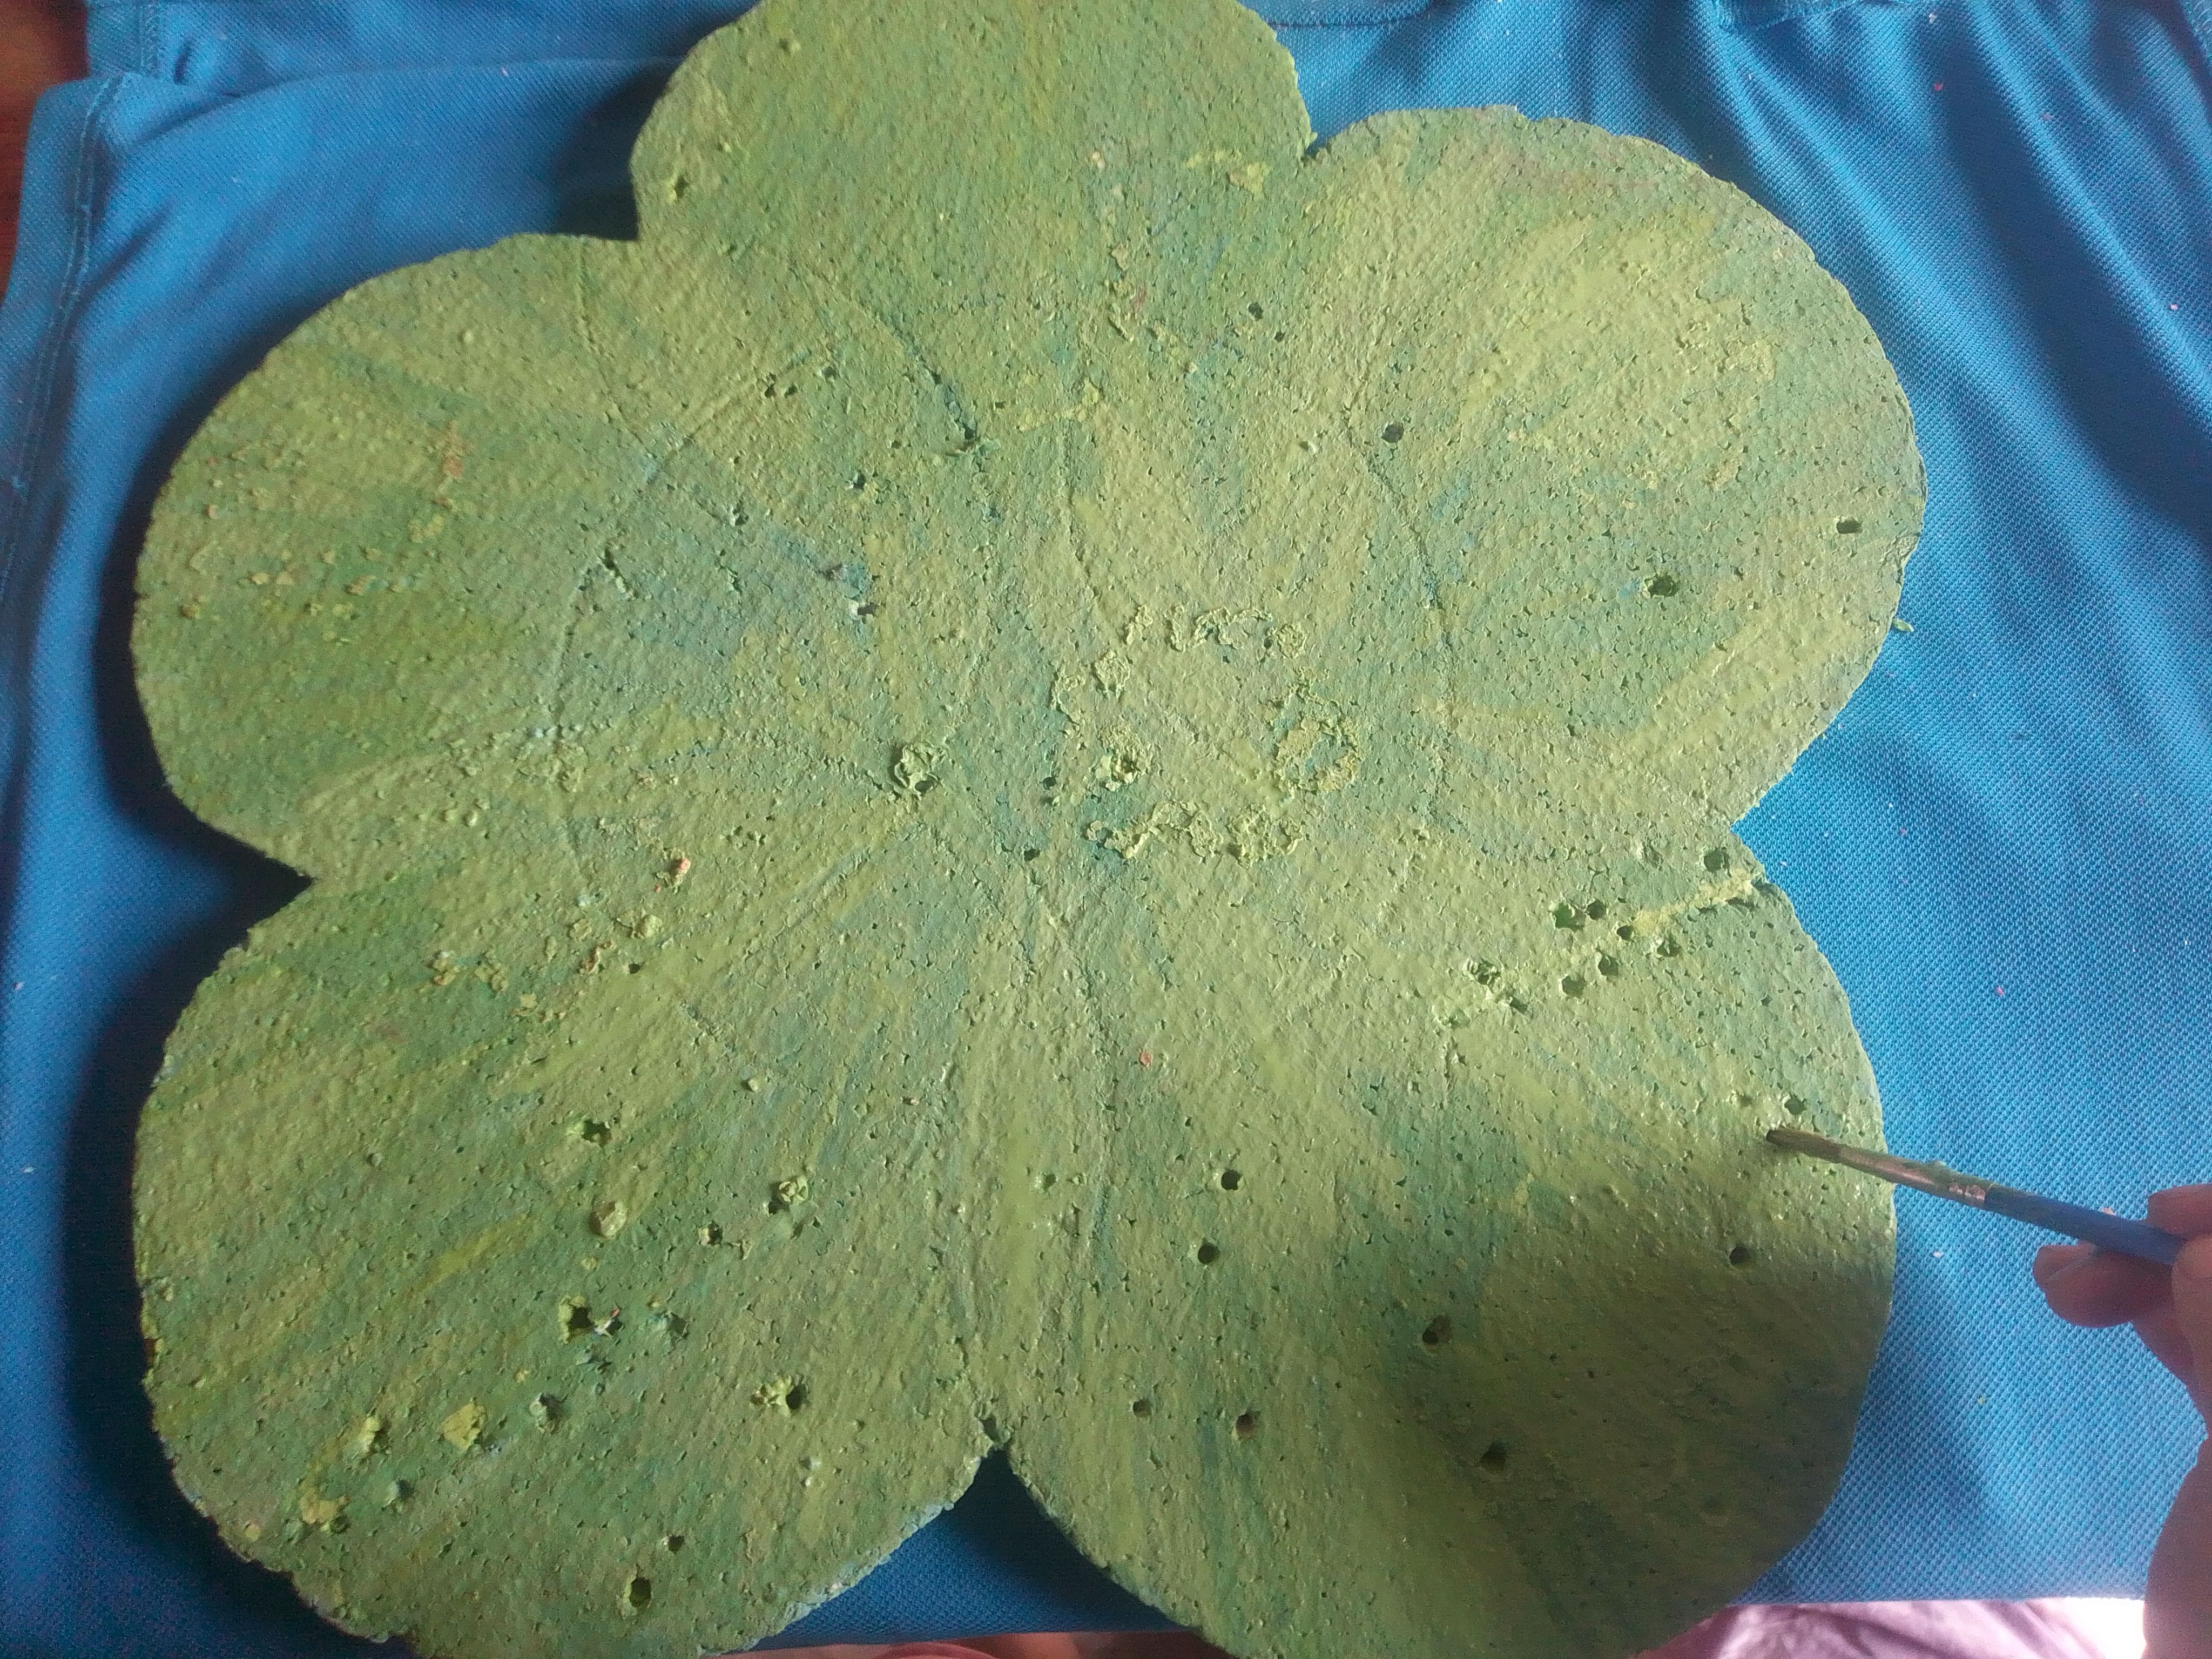
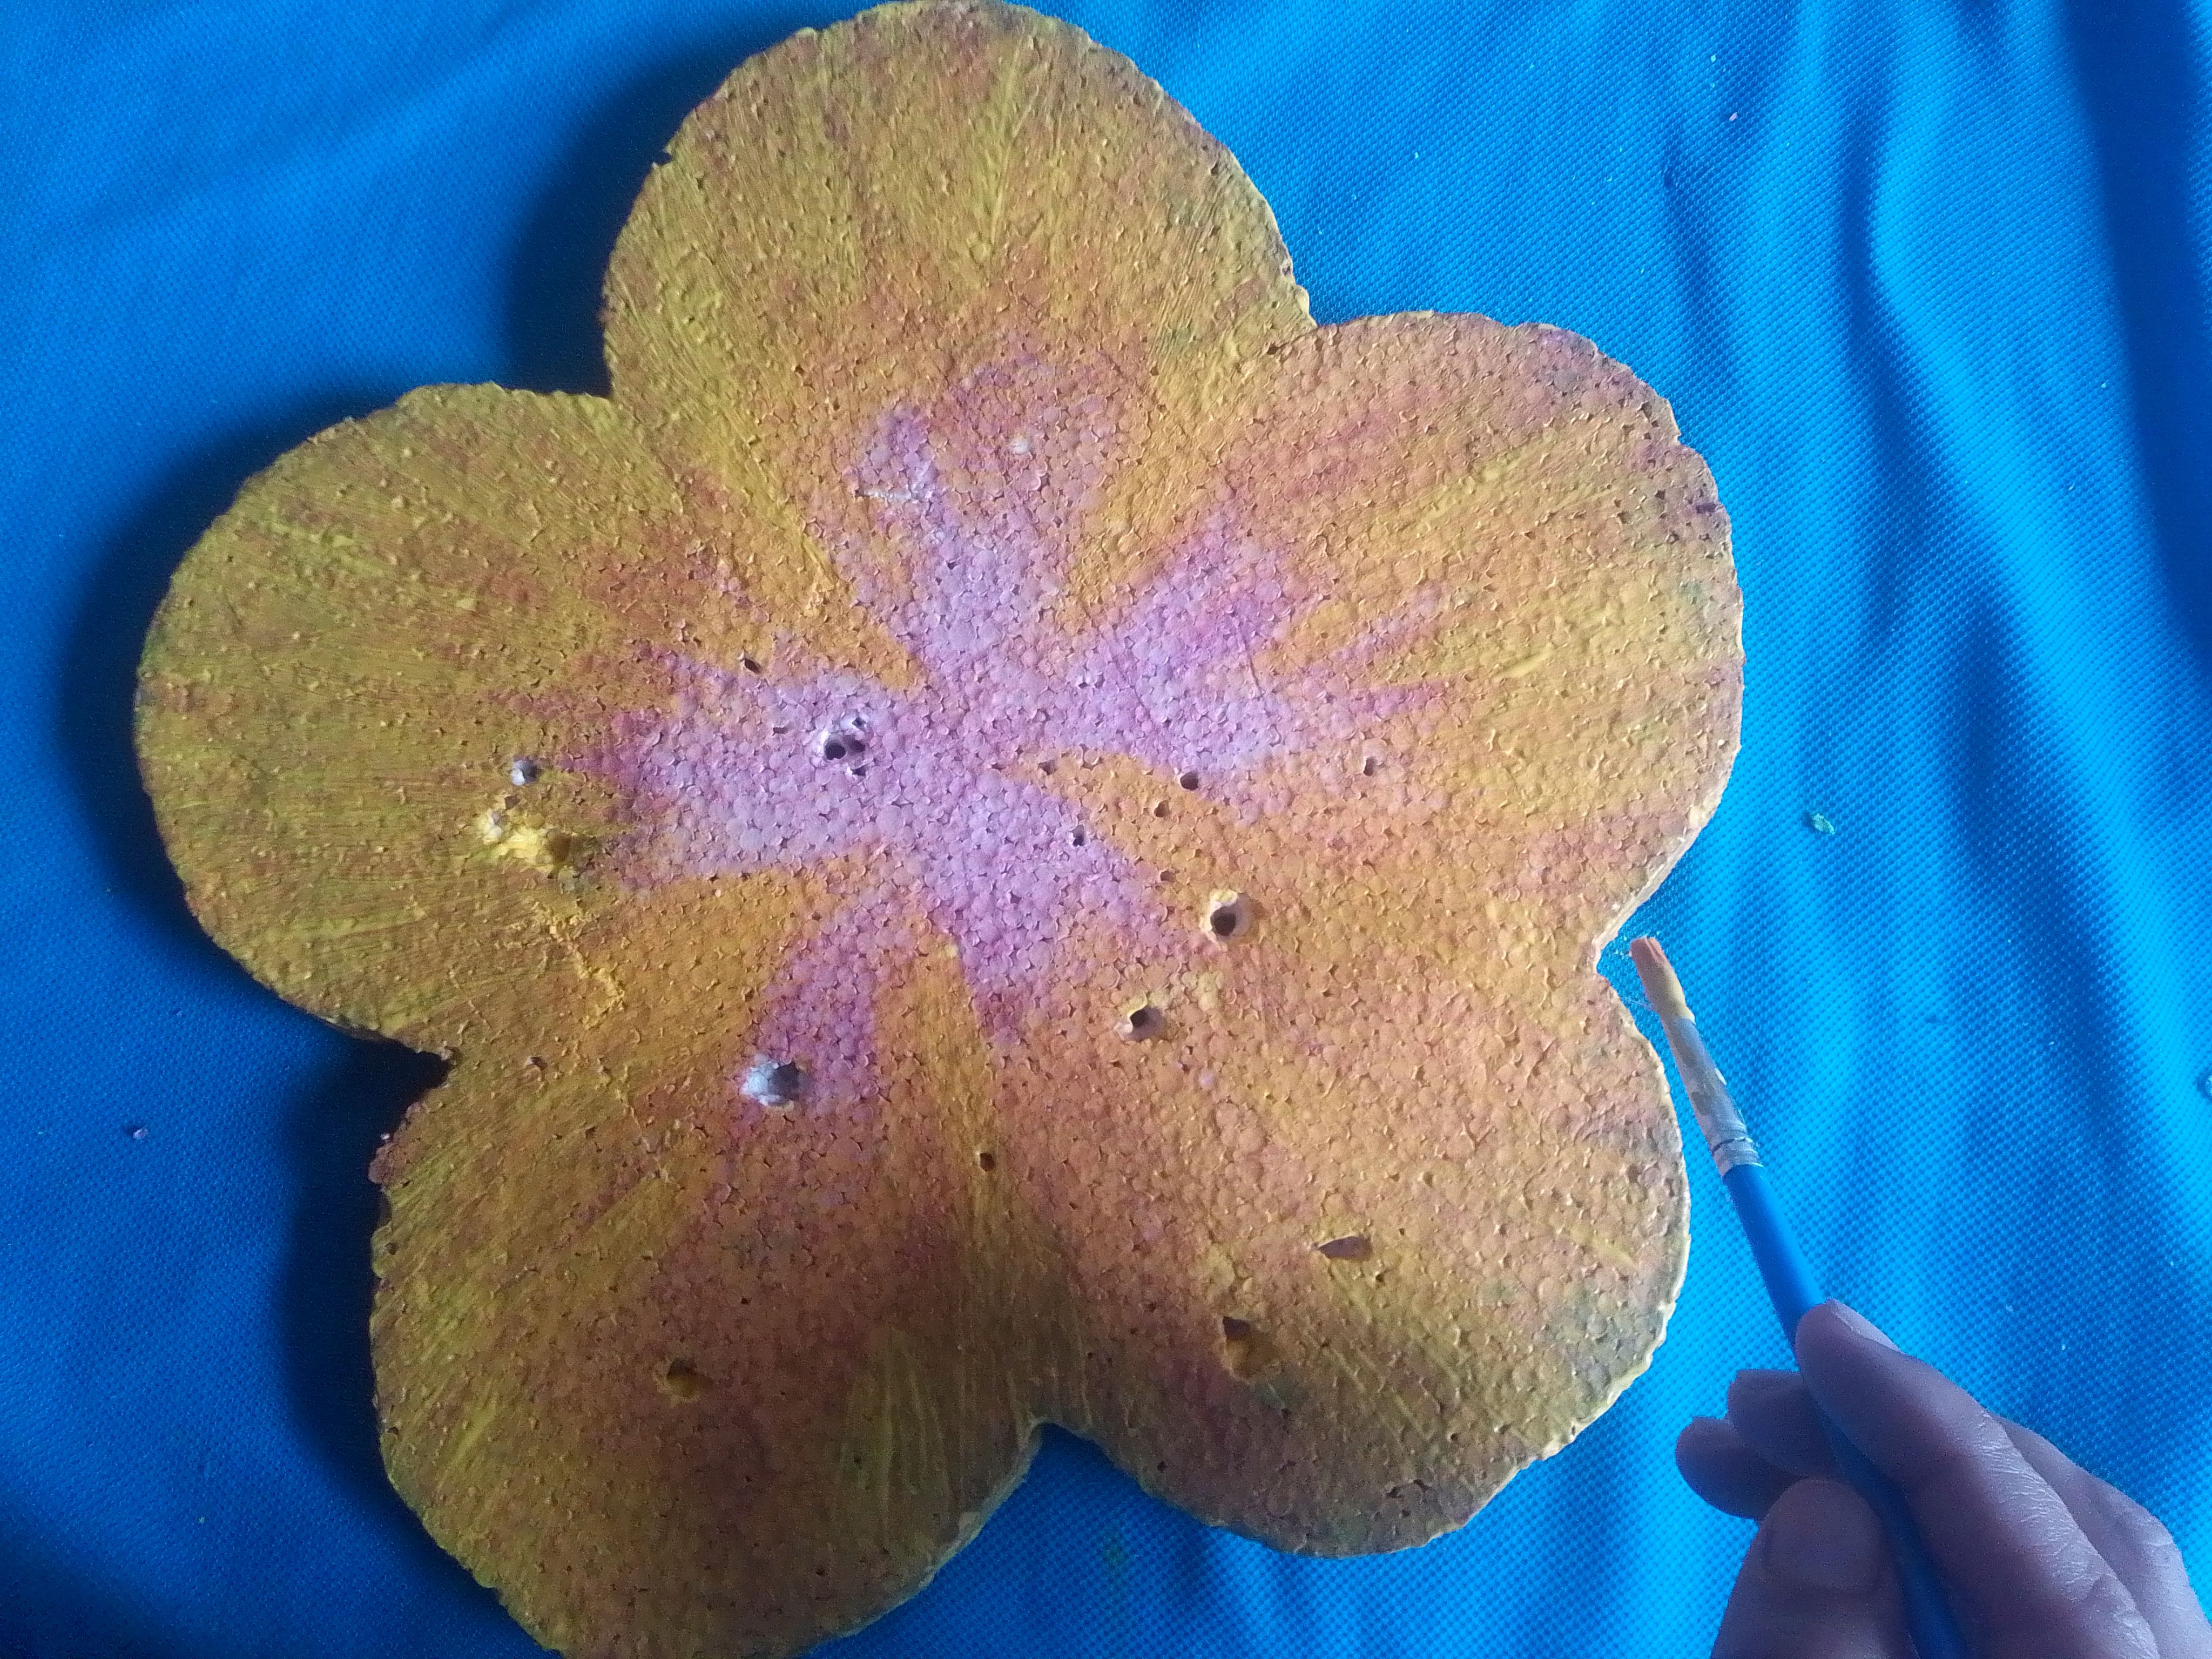
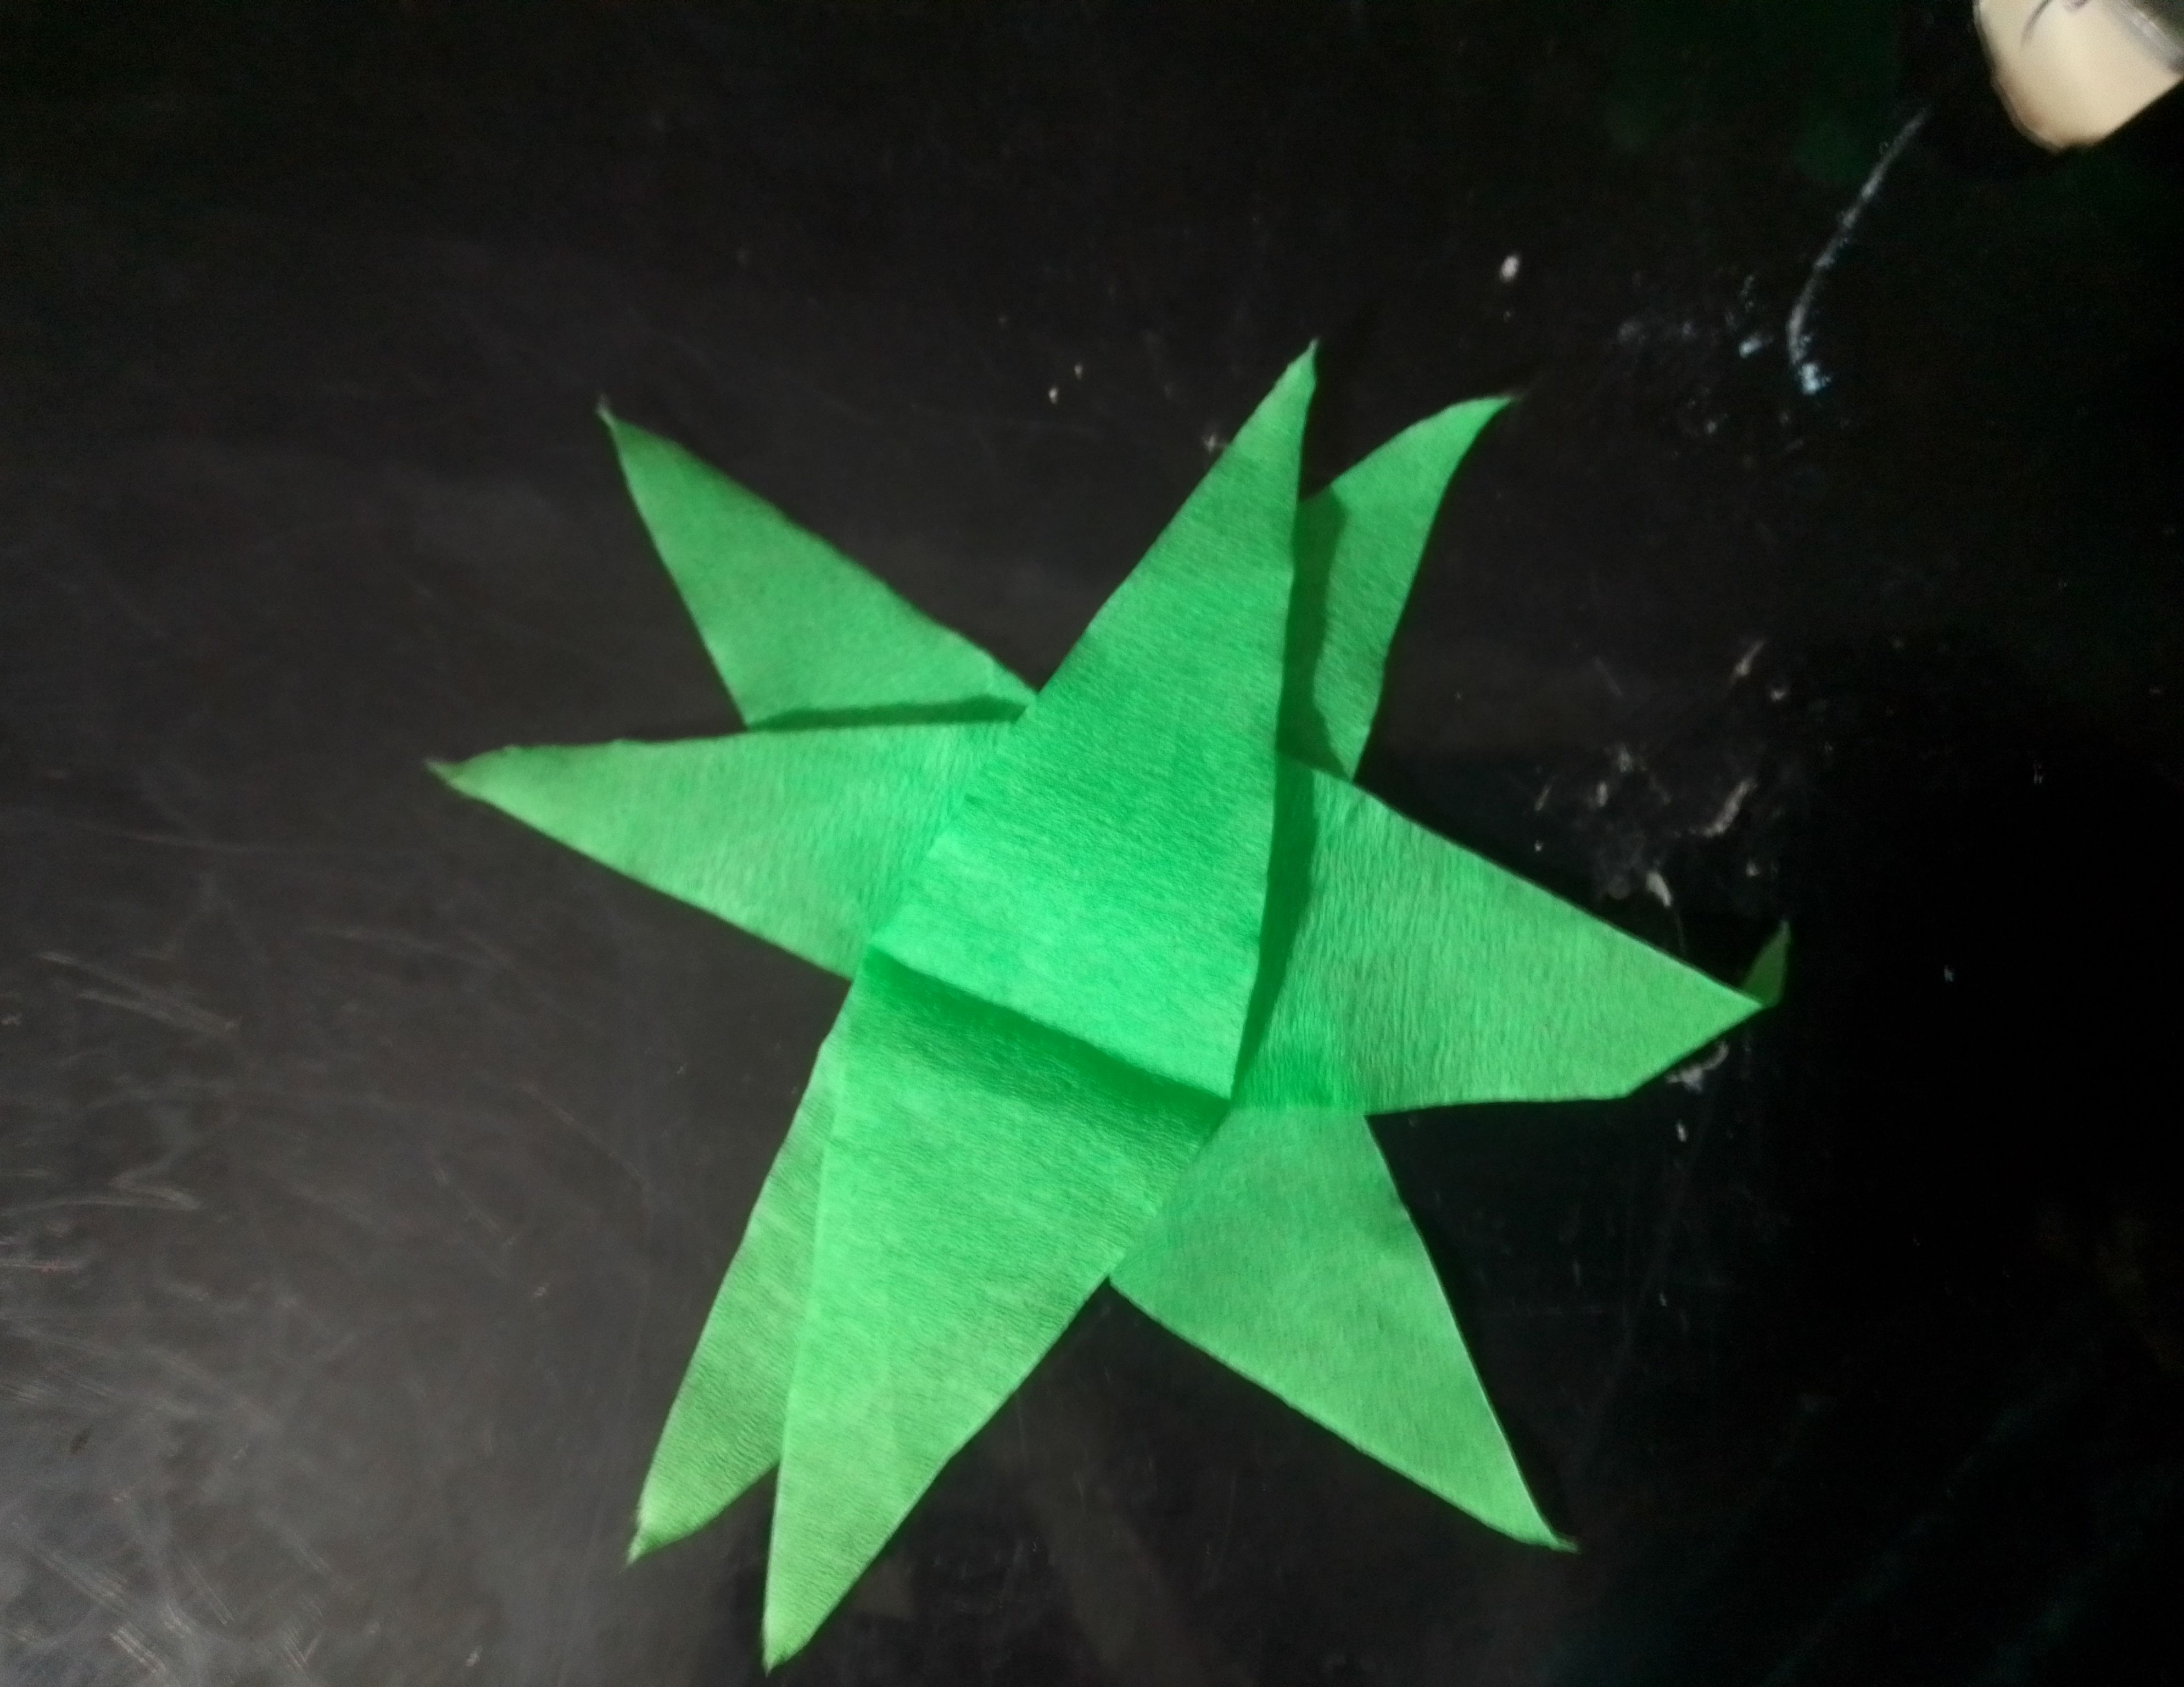
Este porta-chupetas el año pasado, estaba compuesto por cuatro flores por eso
básicamente en esta ocasión ya tengo las flores de anime cortadas, por lo lo que haré será cambiarles el color. Utilizo pintura verde para la pintar flor más grande y pintura rosada para la flor más mediana para luego dejar secar. Conservé el color de las flores más pequeñas .
Step 01
This lollipop holder last year, it was made up of four flowers that's why Basically this time I already have the anime flowers cut, so what I'm going to do is change their color. I use green paint for the largest flower and pink paint for the medium flower and then let it dry. I kept the color of the smaller flowers.
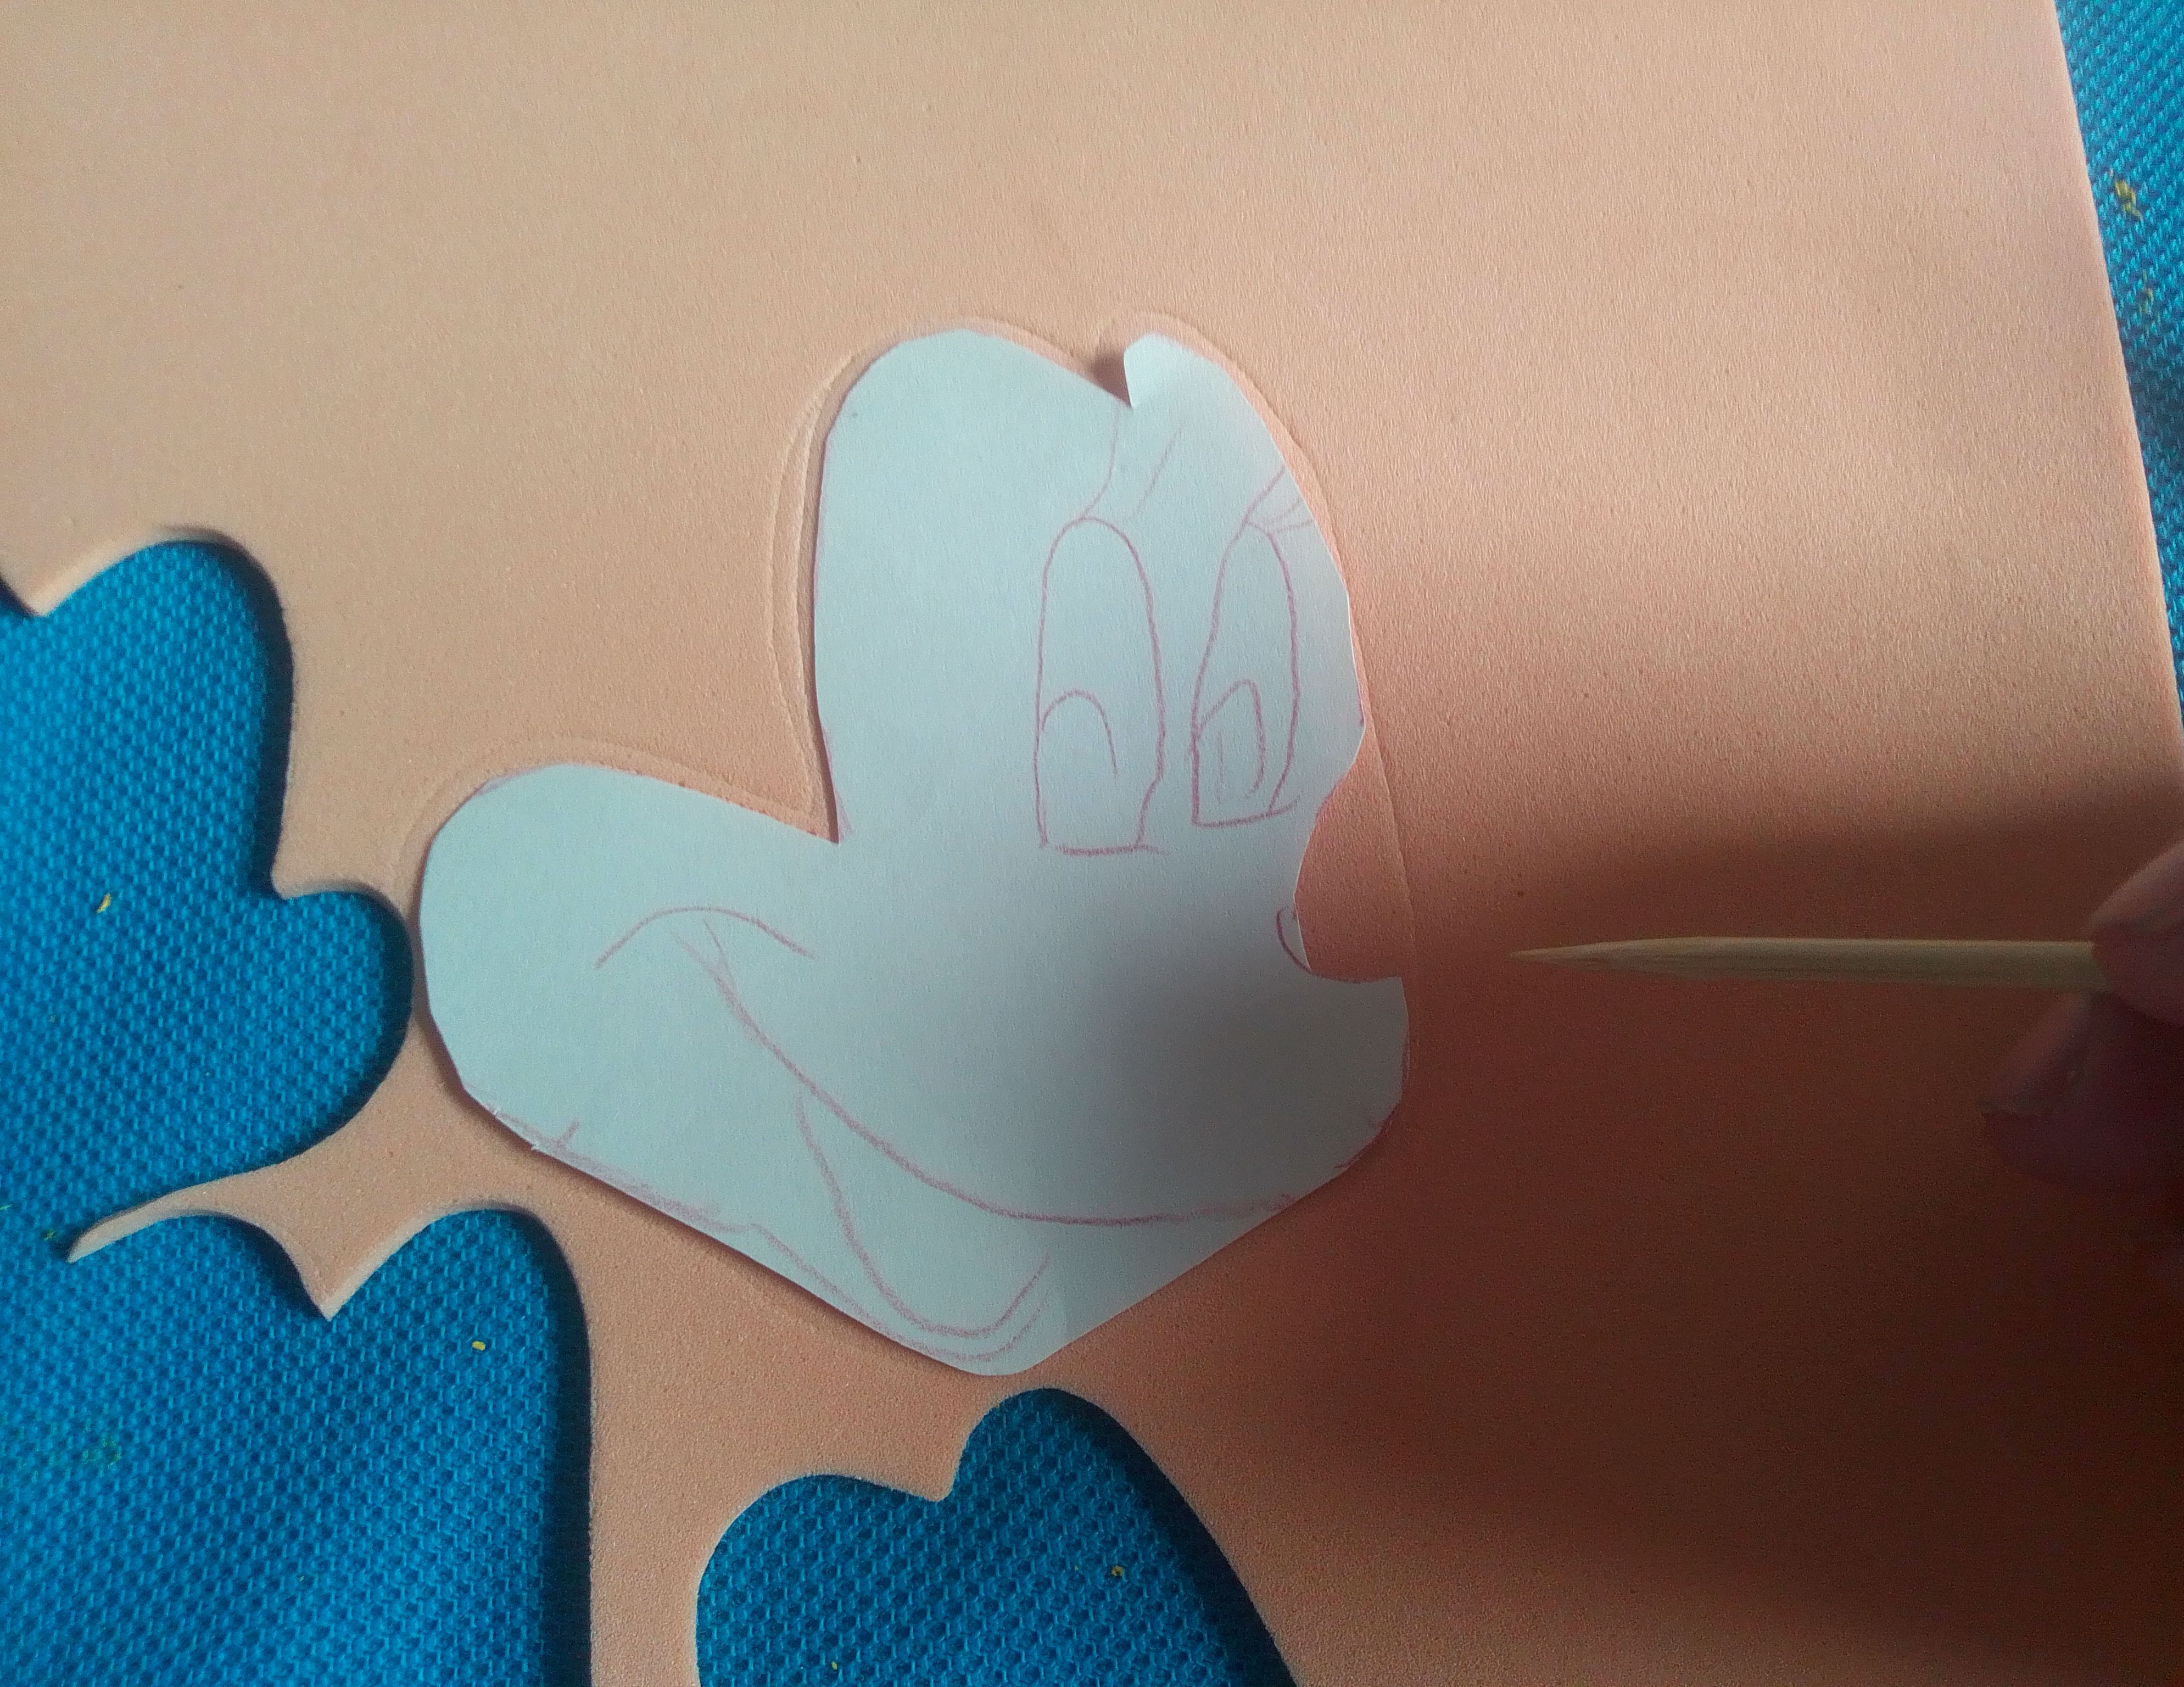
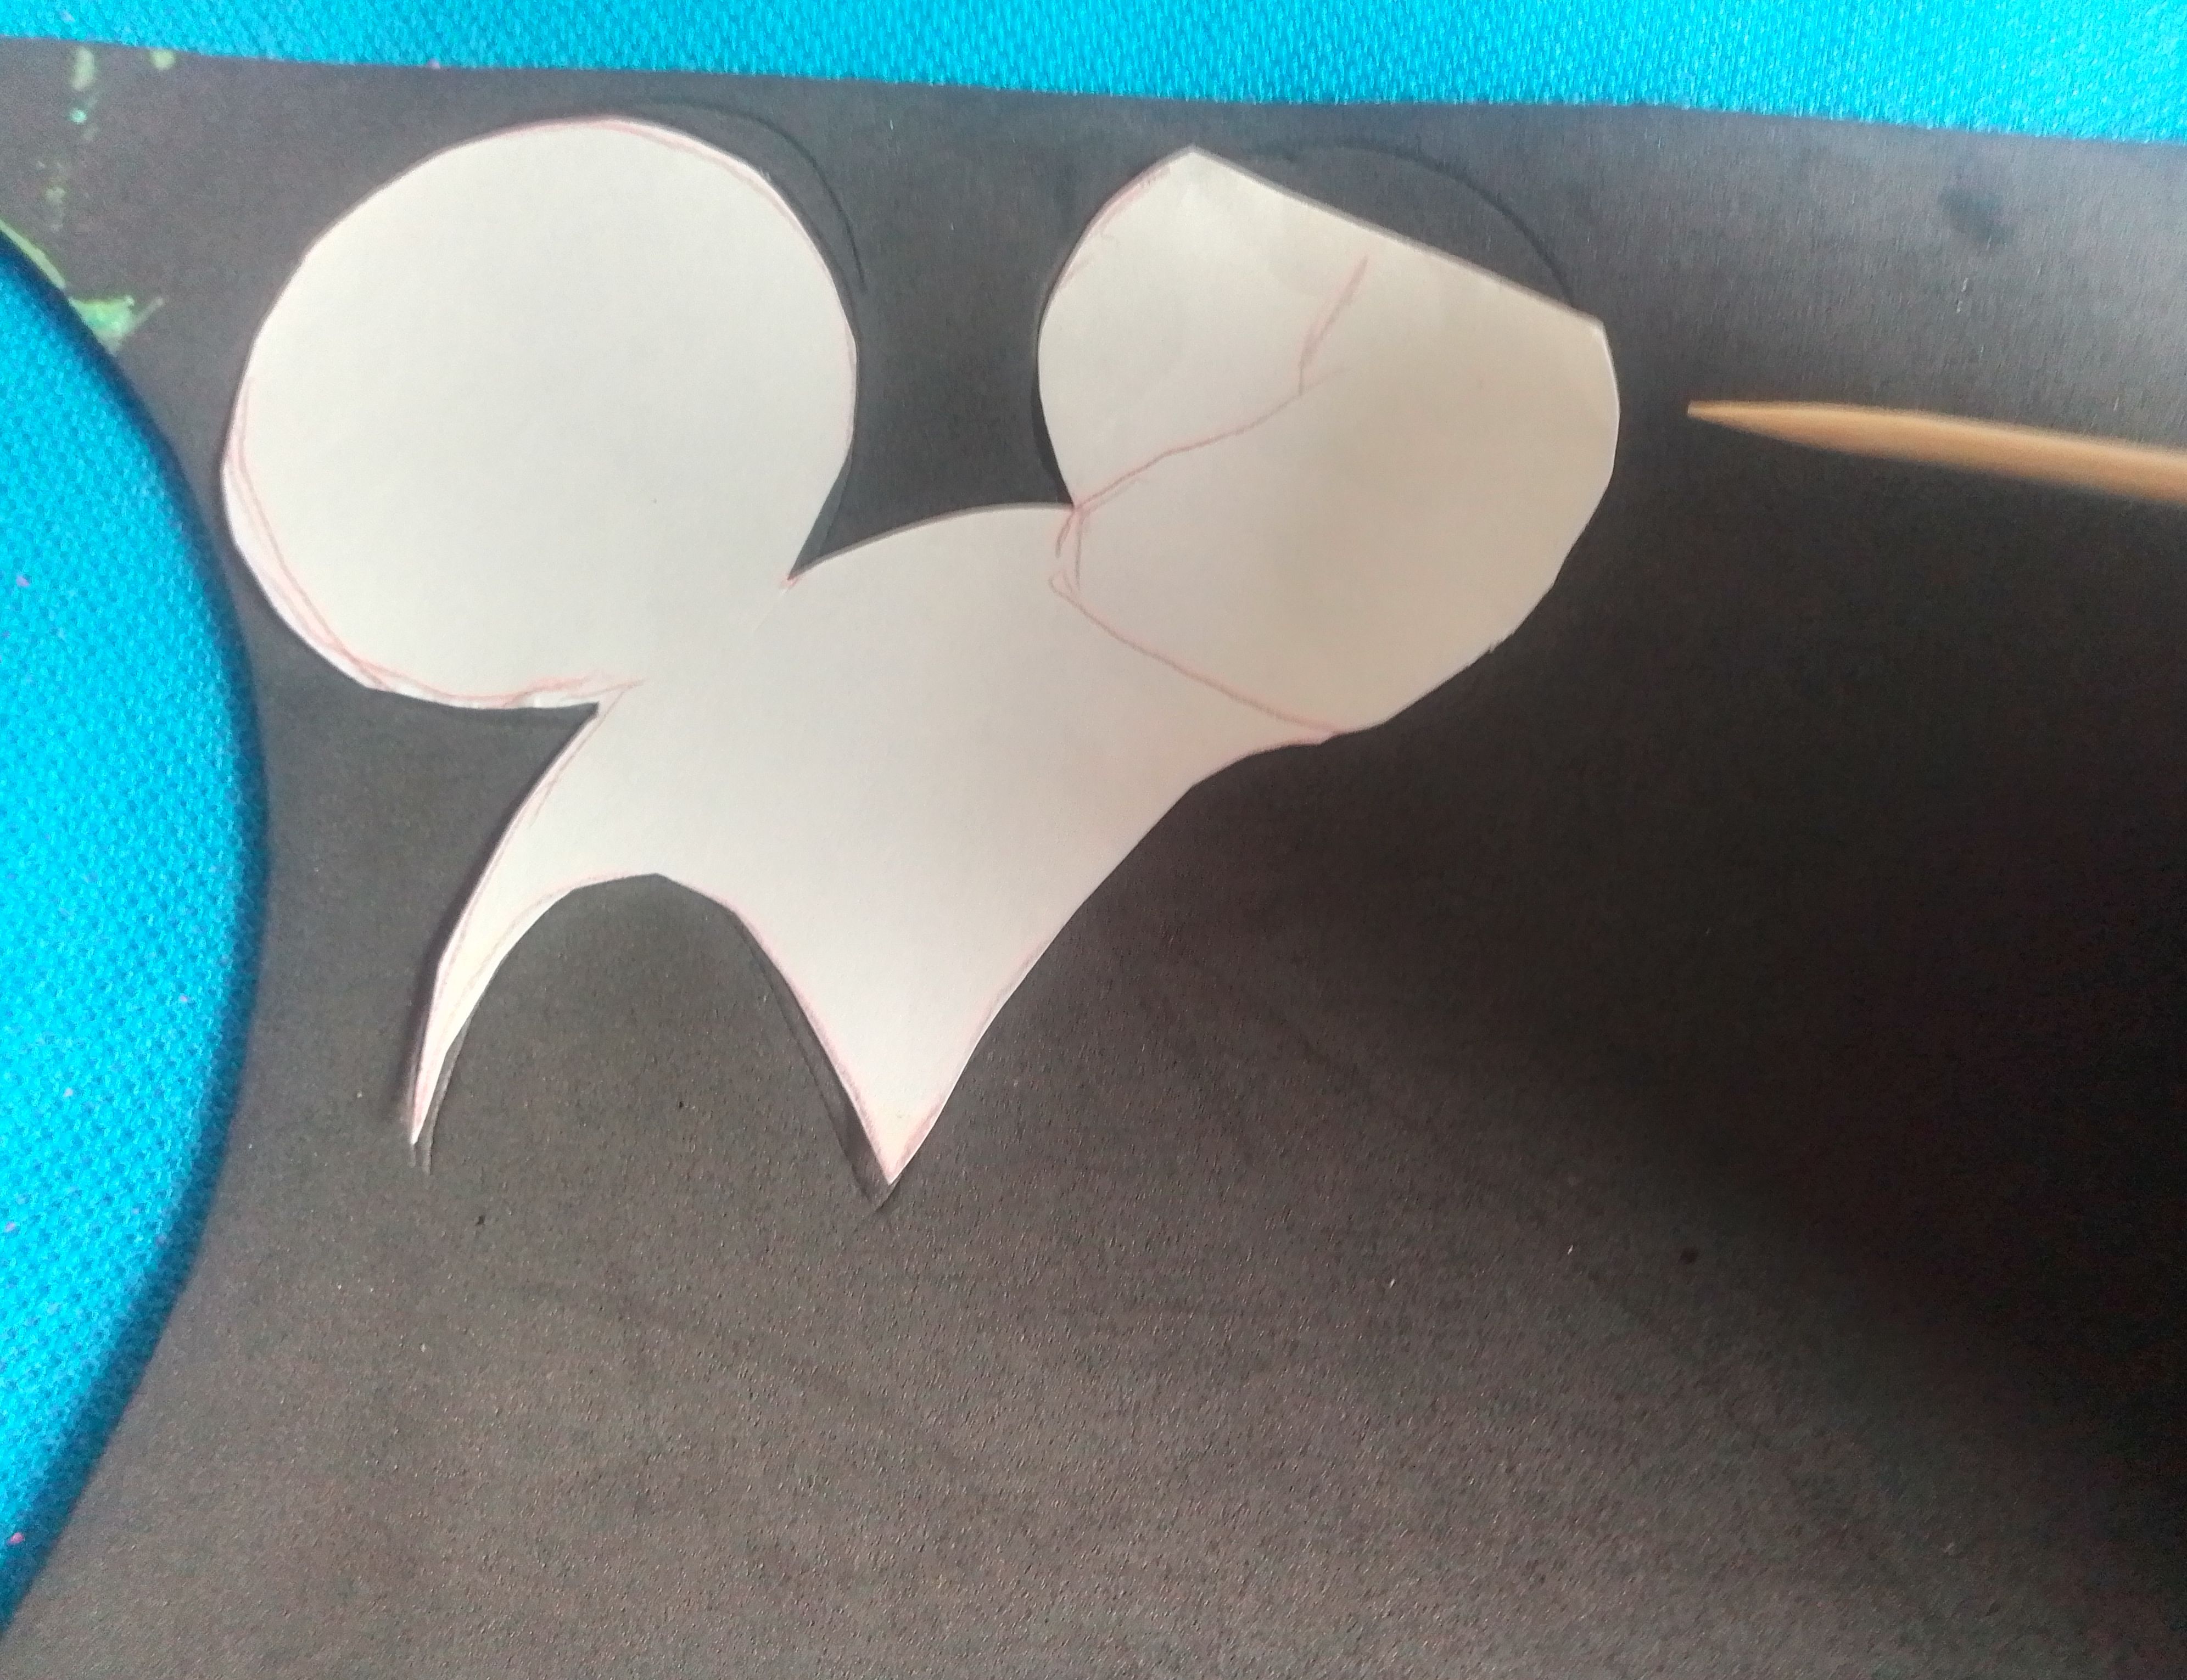

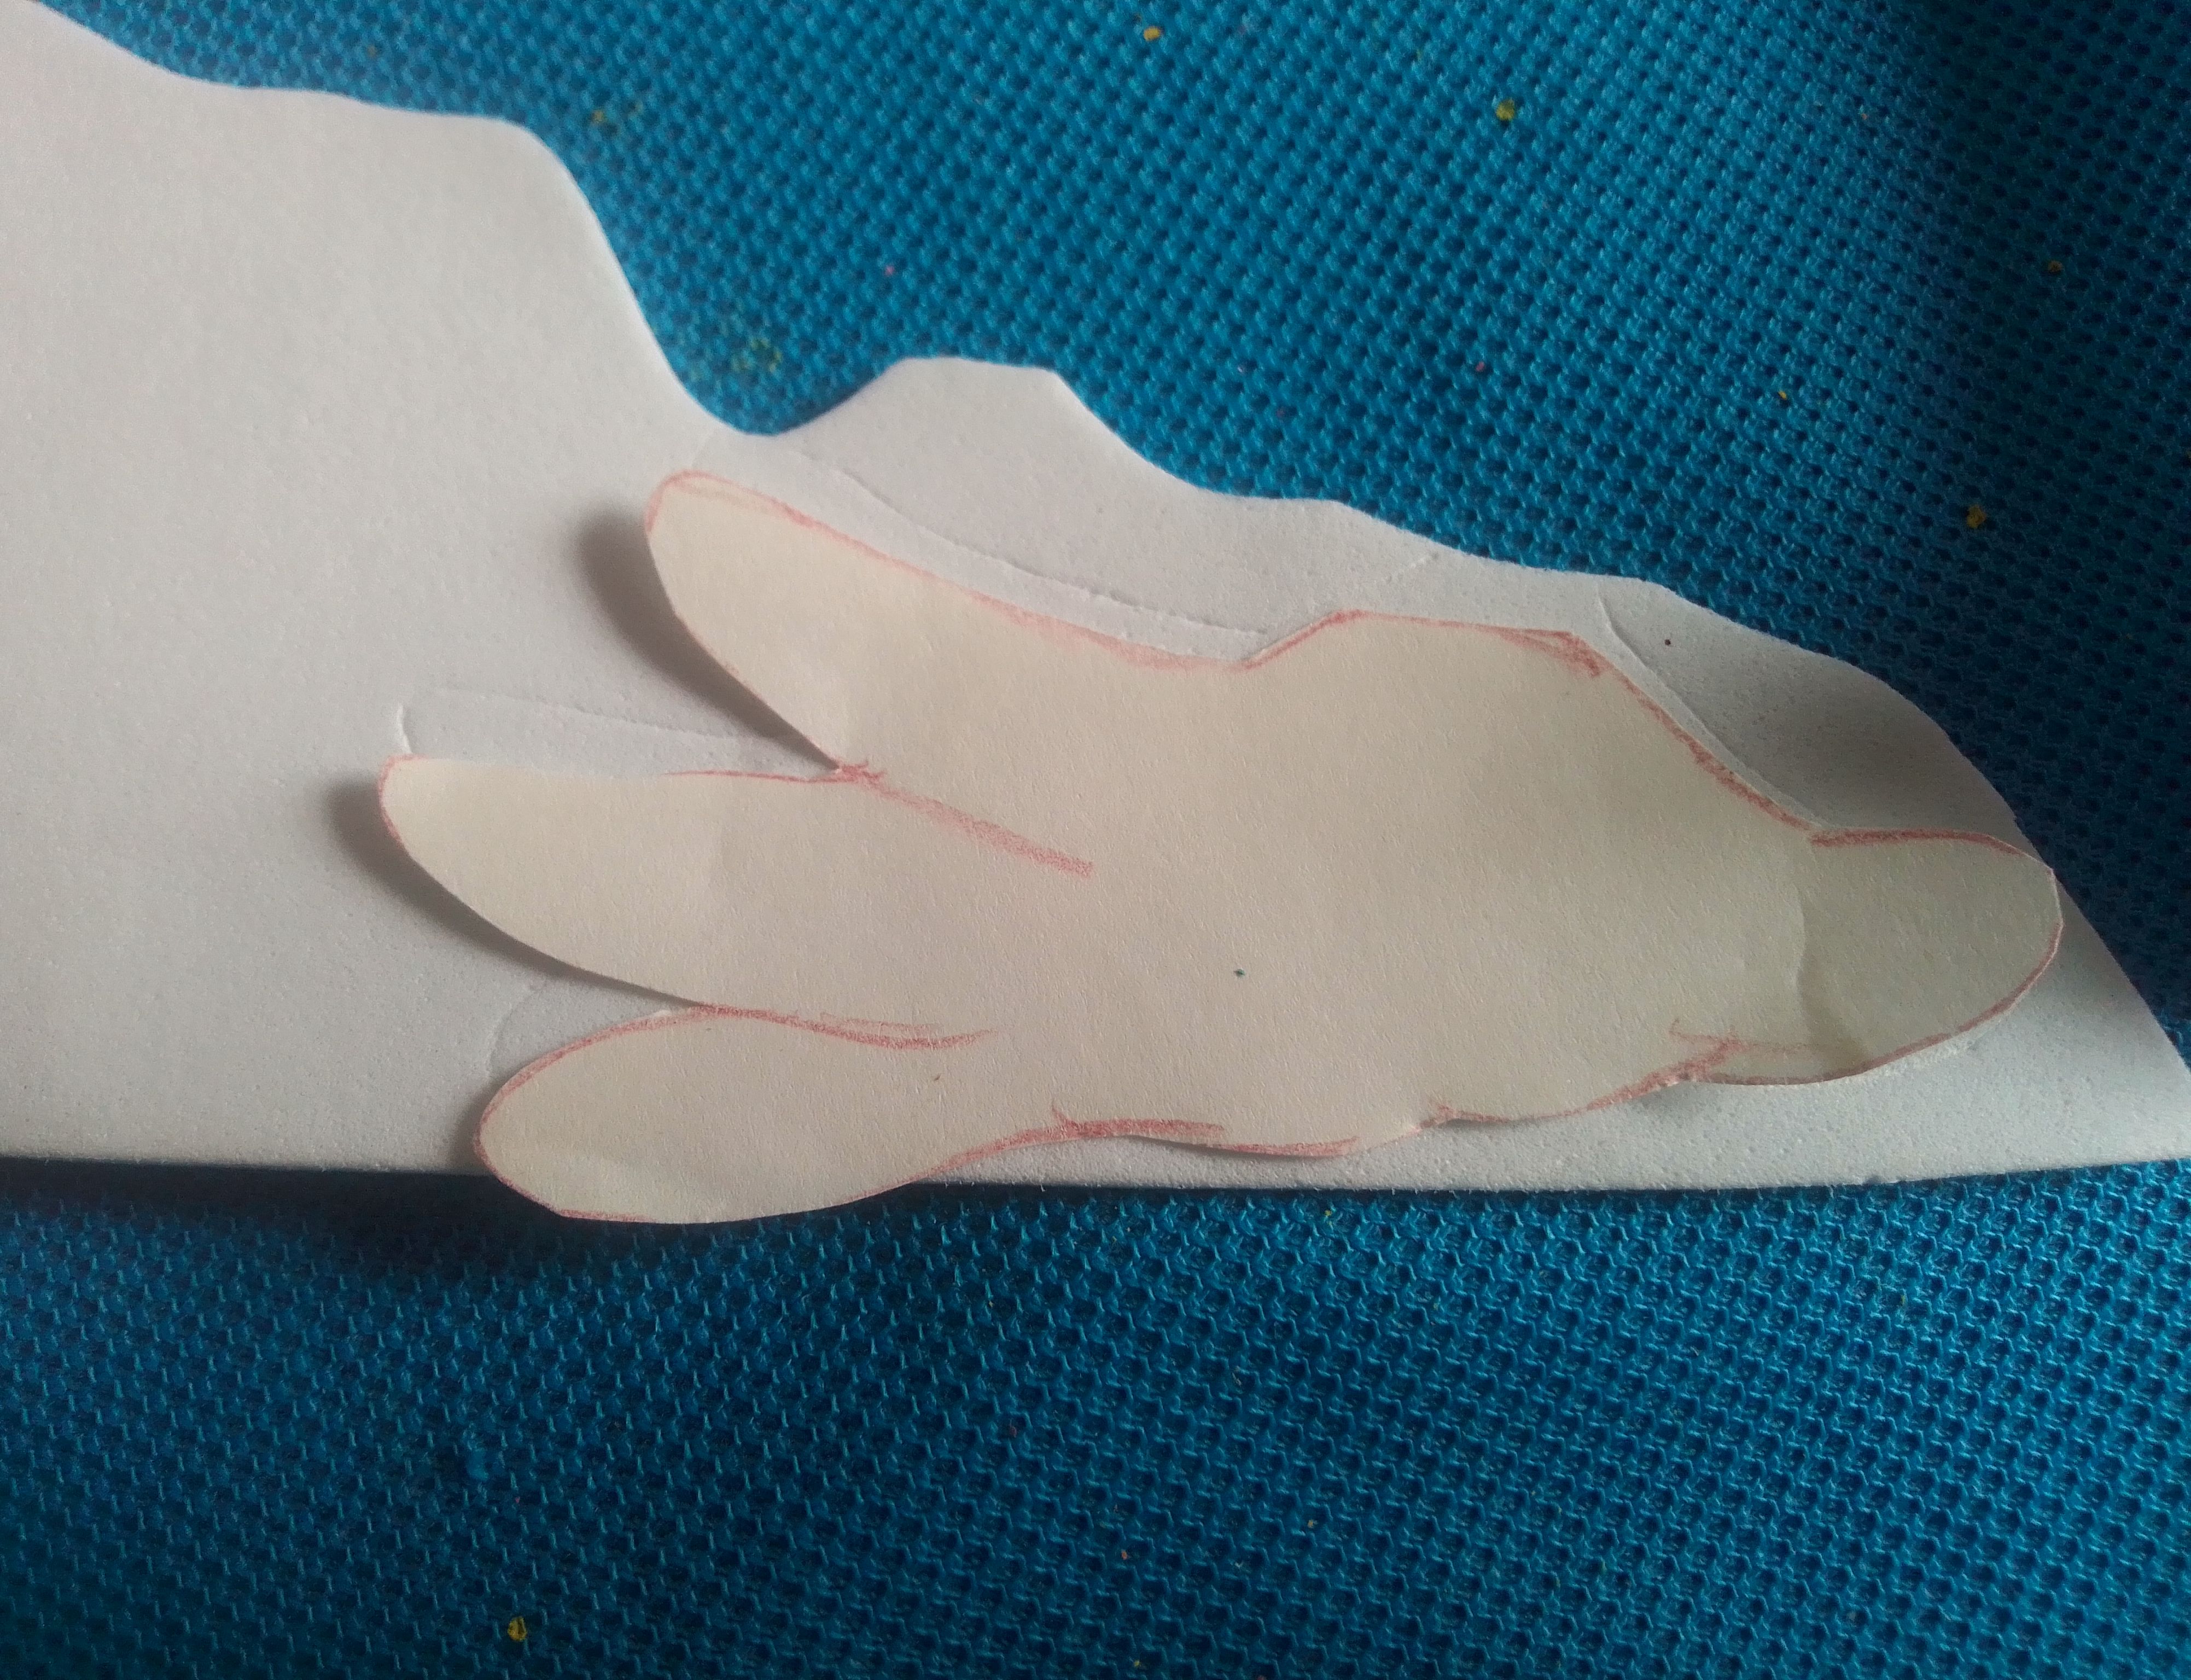
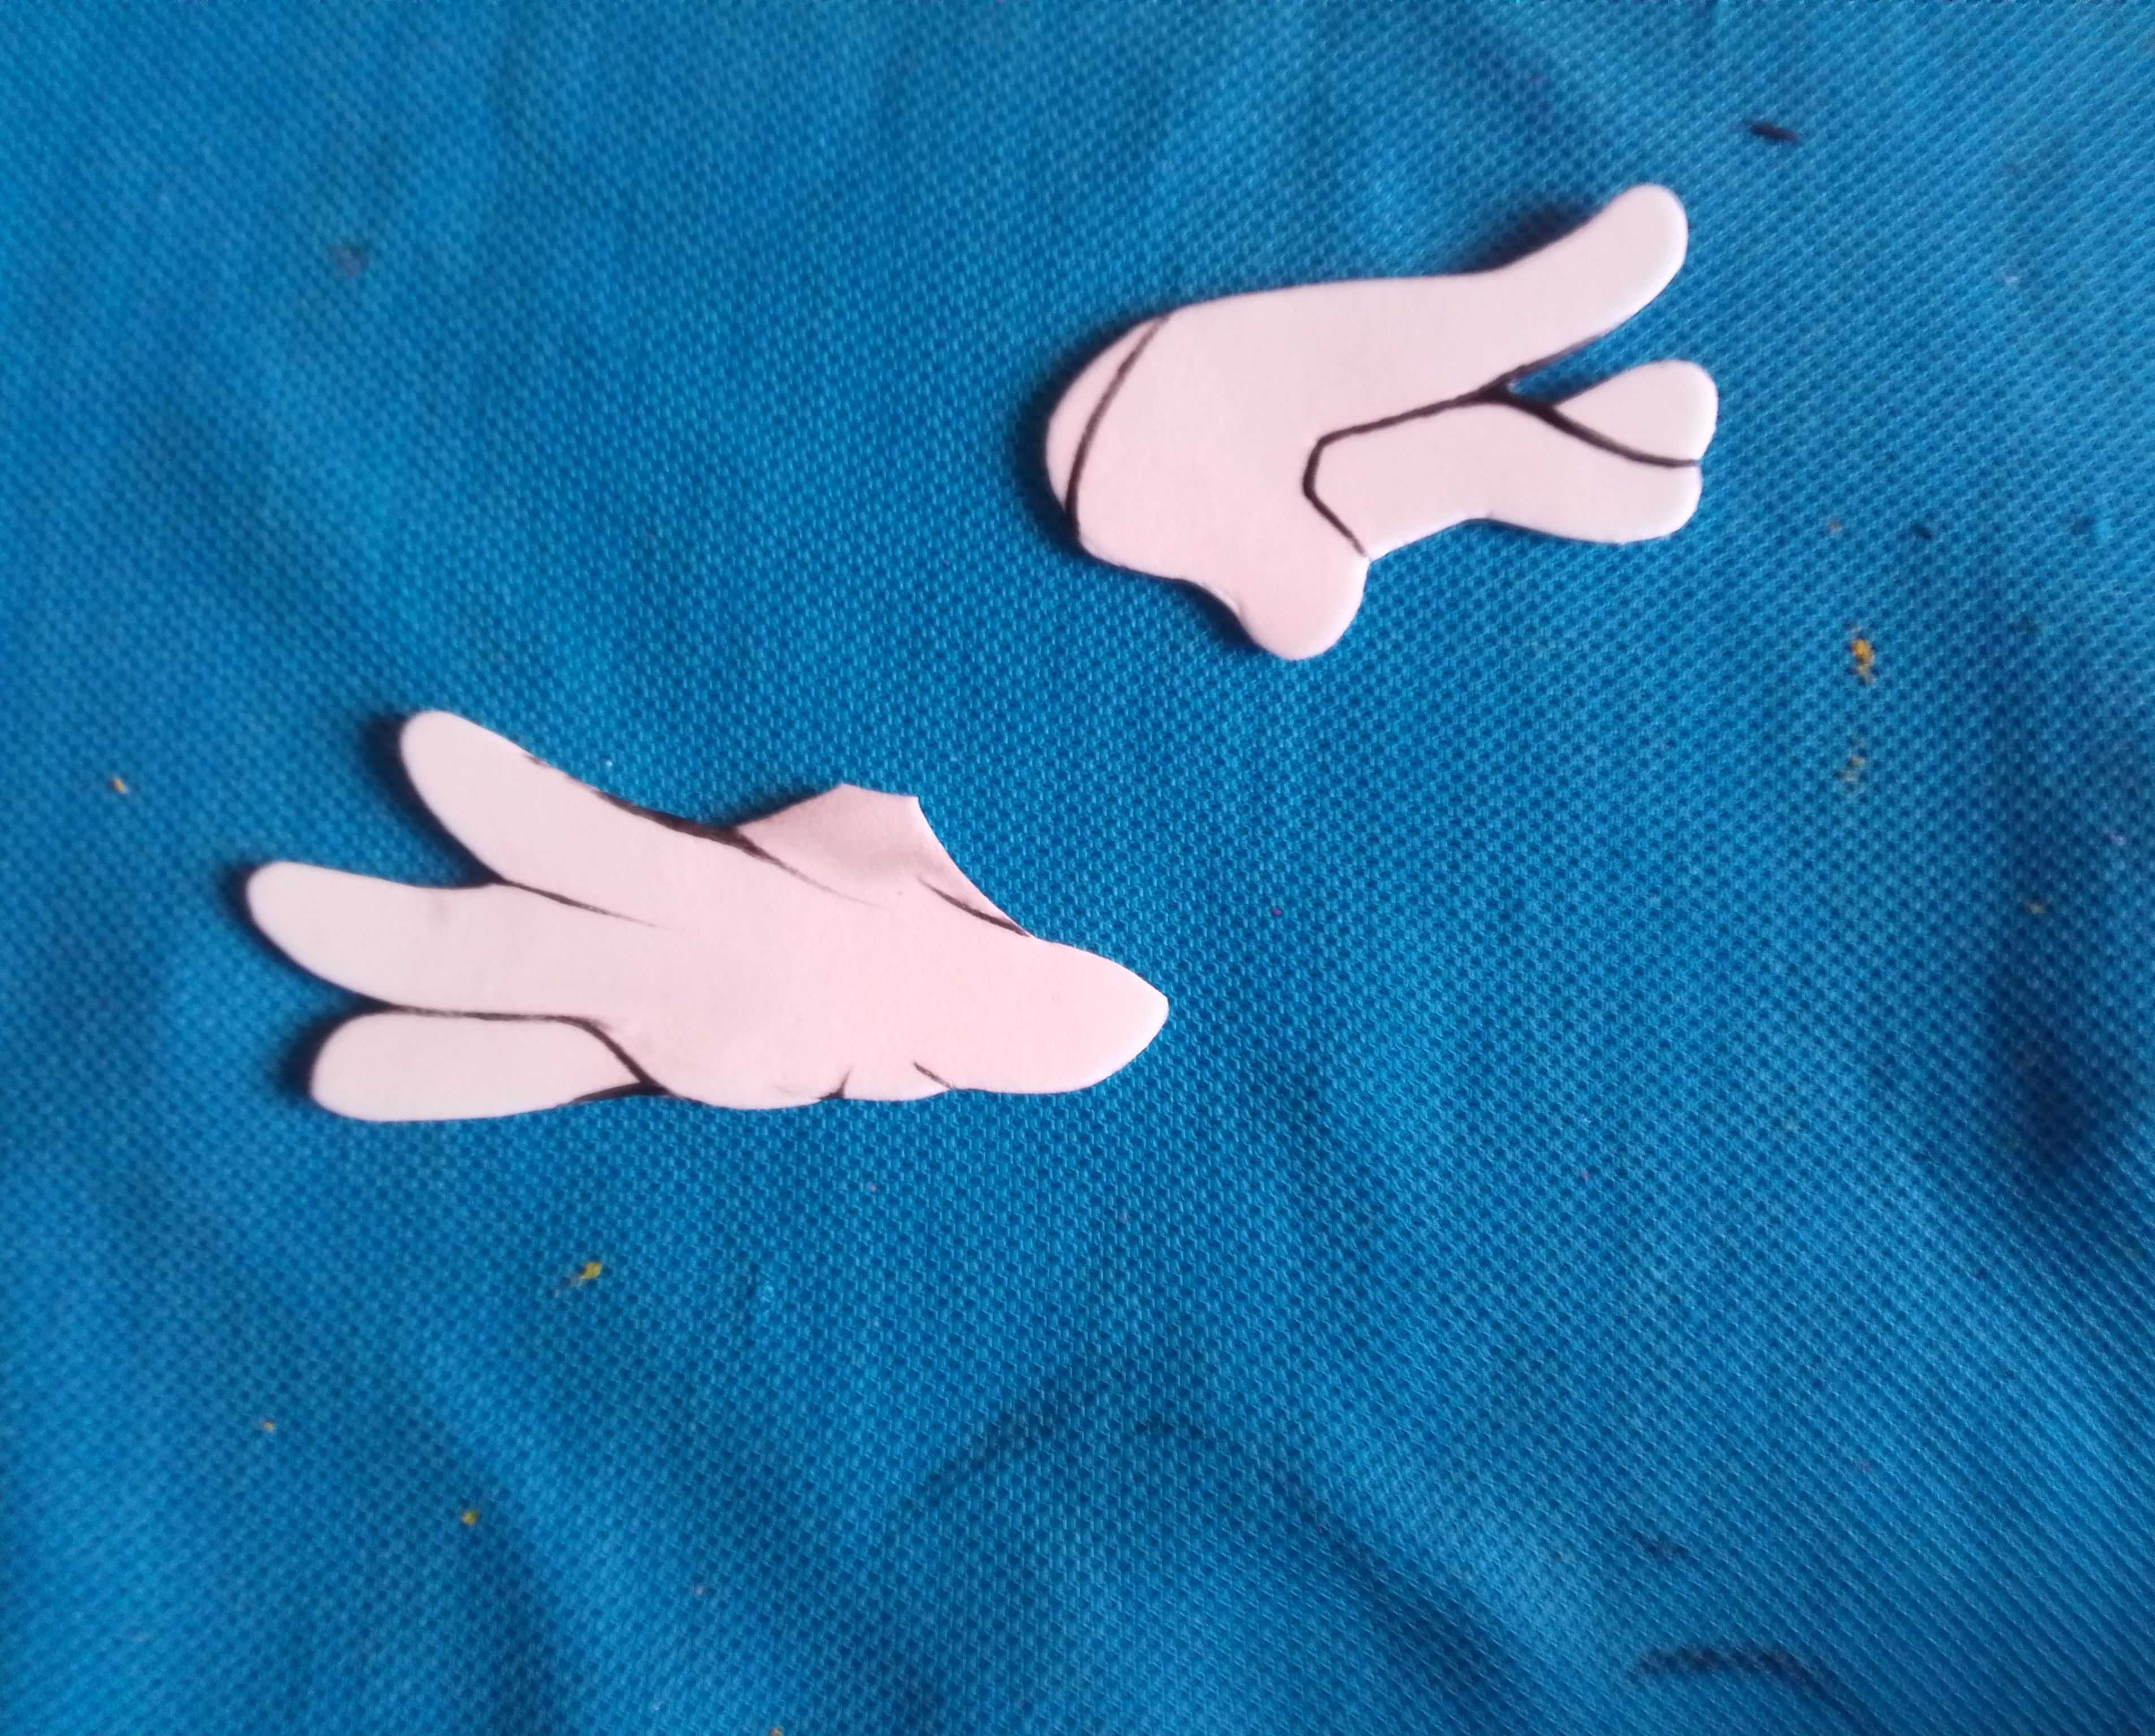
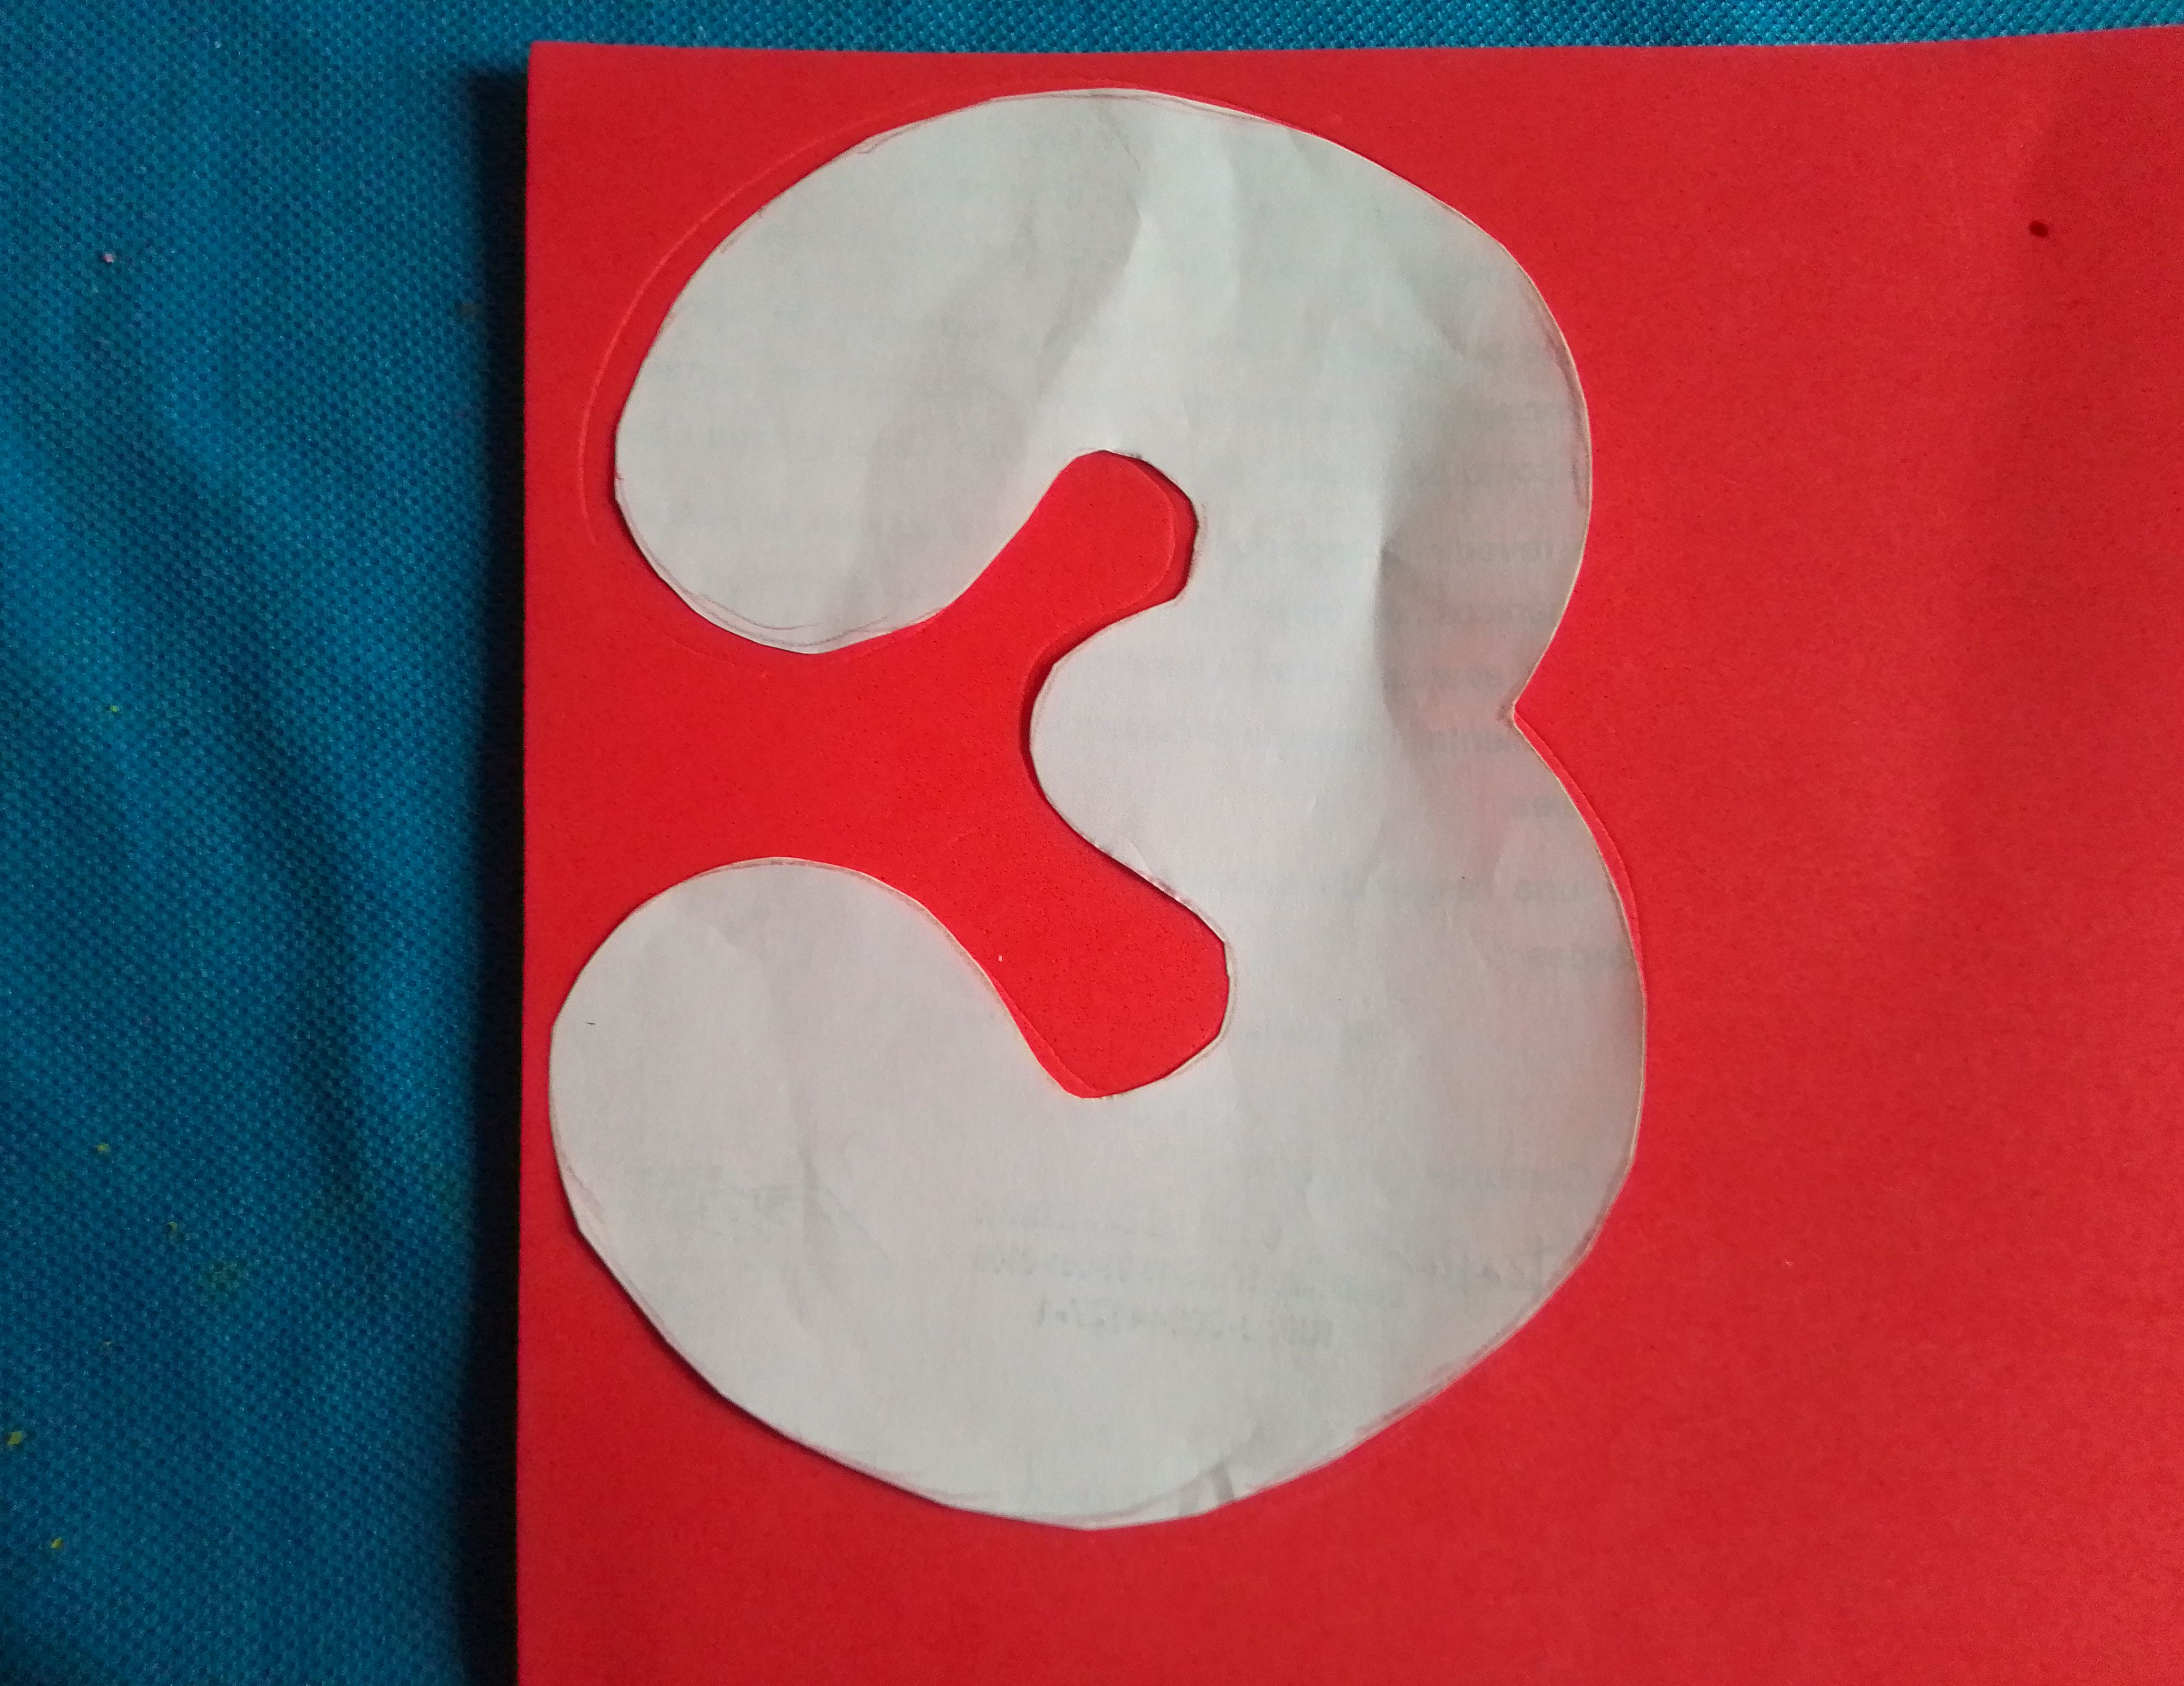
Paso 02.
Mientras nuestras flores de anime se secan, dibujamos la figura de la hermosa ratoncita Minnie Mouse sobre una hoja de papel, cortamos cada parte para obtener los moldes en papel y luego las marcamos en el color de foami correspondiente con un palito de altura. Es importante siempre queden del mismo tamaño para que luego nuestro diseño no pierda forma y luego cortamos.
Step 02.
While our anime flowers are drying, we draw the figure of the beautiful little Minnie Mouse on a sheet of paper, cut each part to obtain the paper templates, and then mark them in the color of corresponding foami with a height stick. It is important that they always remain the same size so that later our design does not lose shape and then we cut.

Paso 03
Con todas nuestras partes listas, comenzamos a darle color y vida a nuestro personaje, haciendo sus tiernos ojos y su sonrisa con pintura blanca y delineamos con pintura negra.
Step 03
With all our parts ready, we begin to give color and life to our character, making his cute eyes and smile with white paint and outline with black paint.
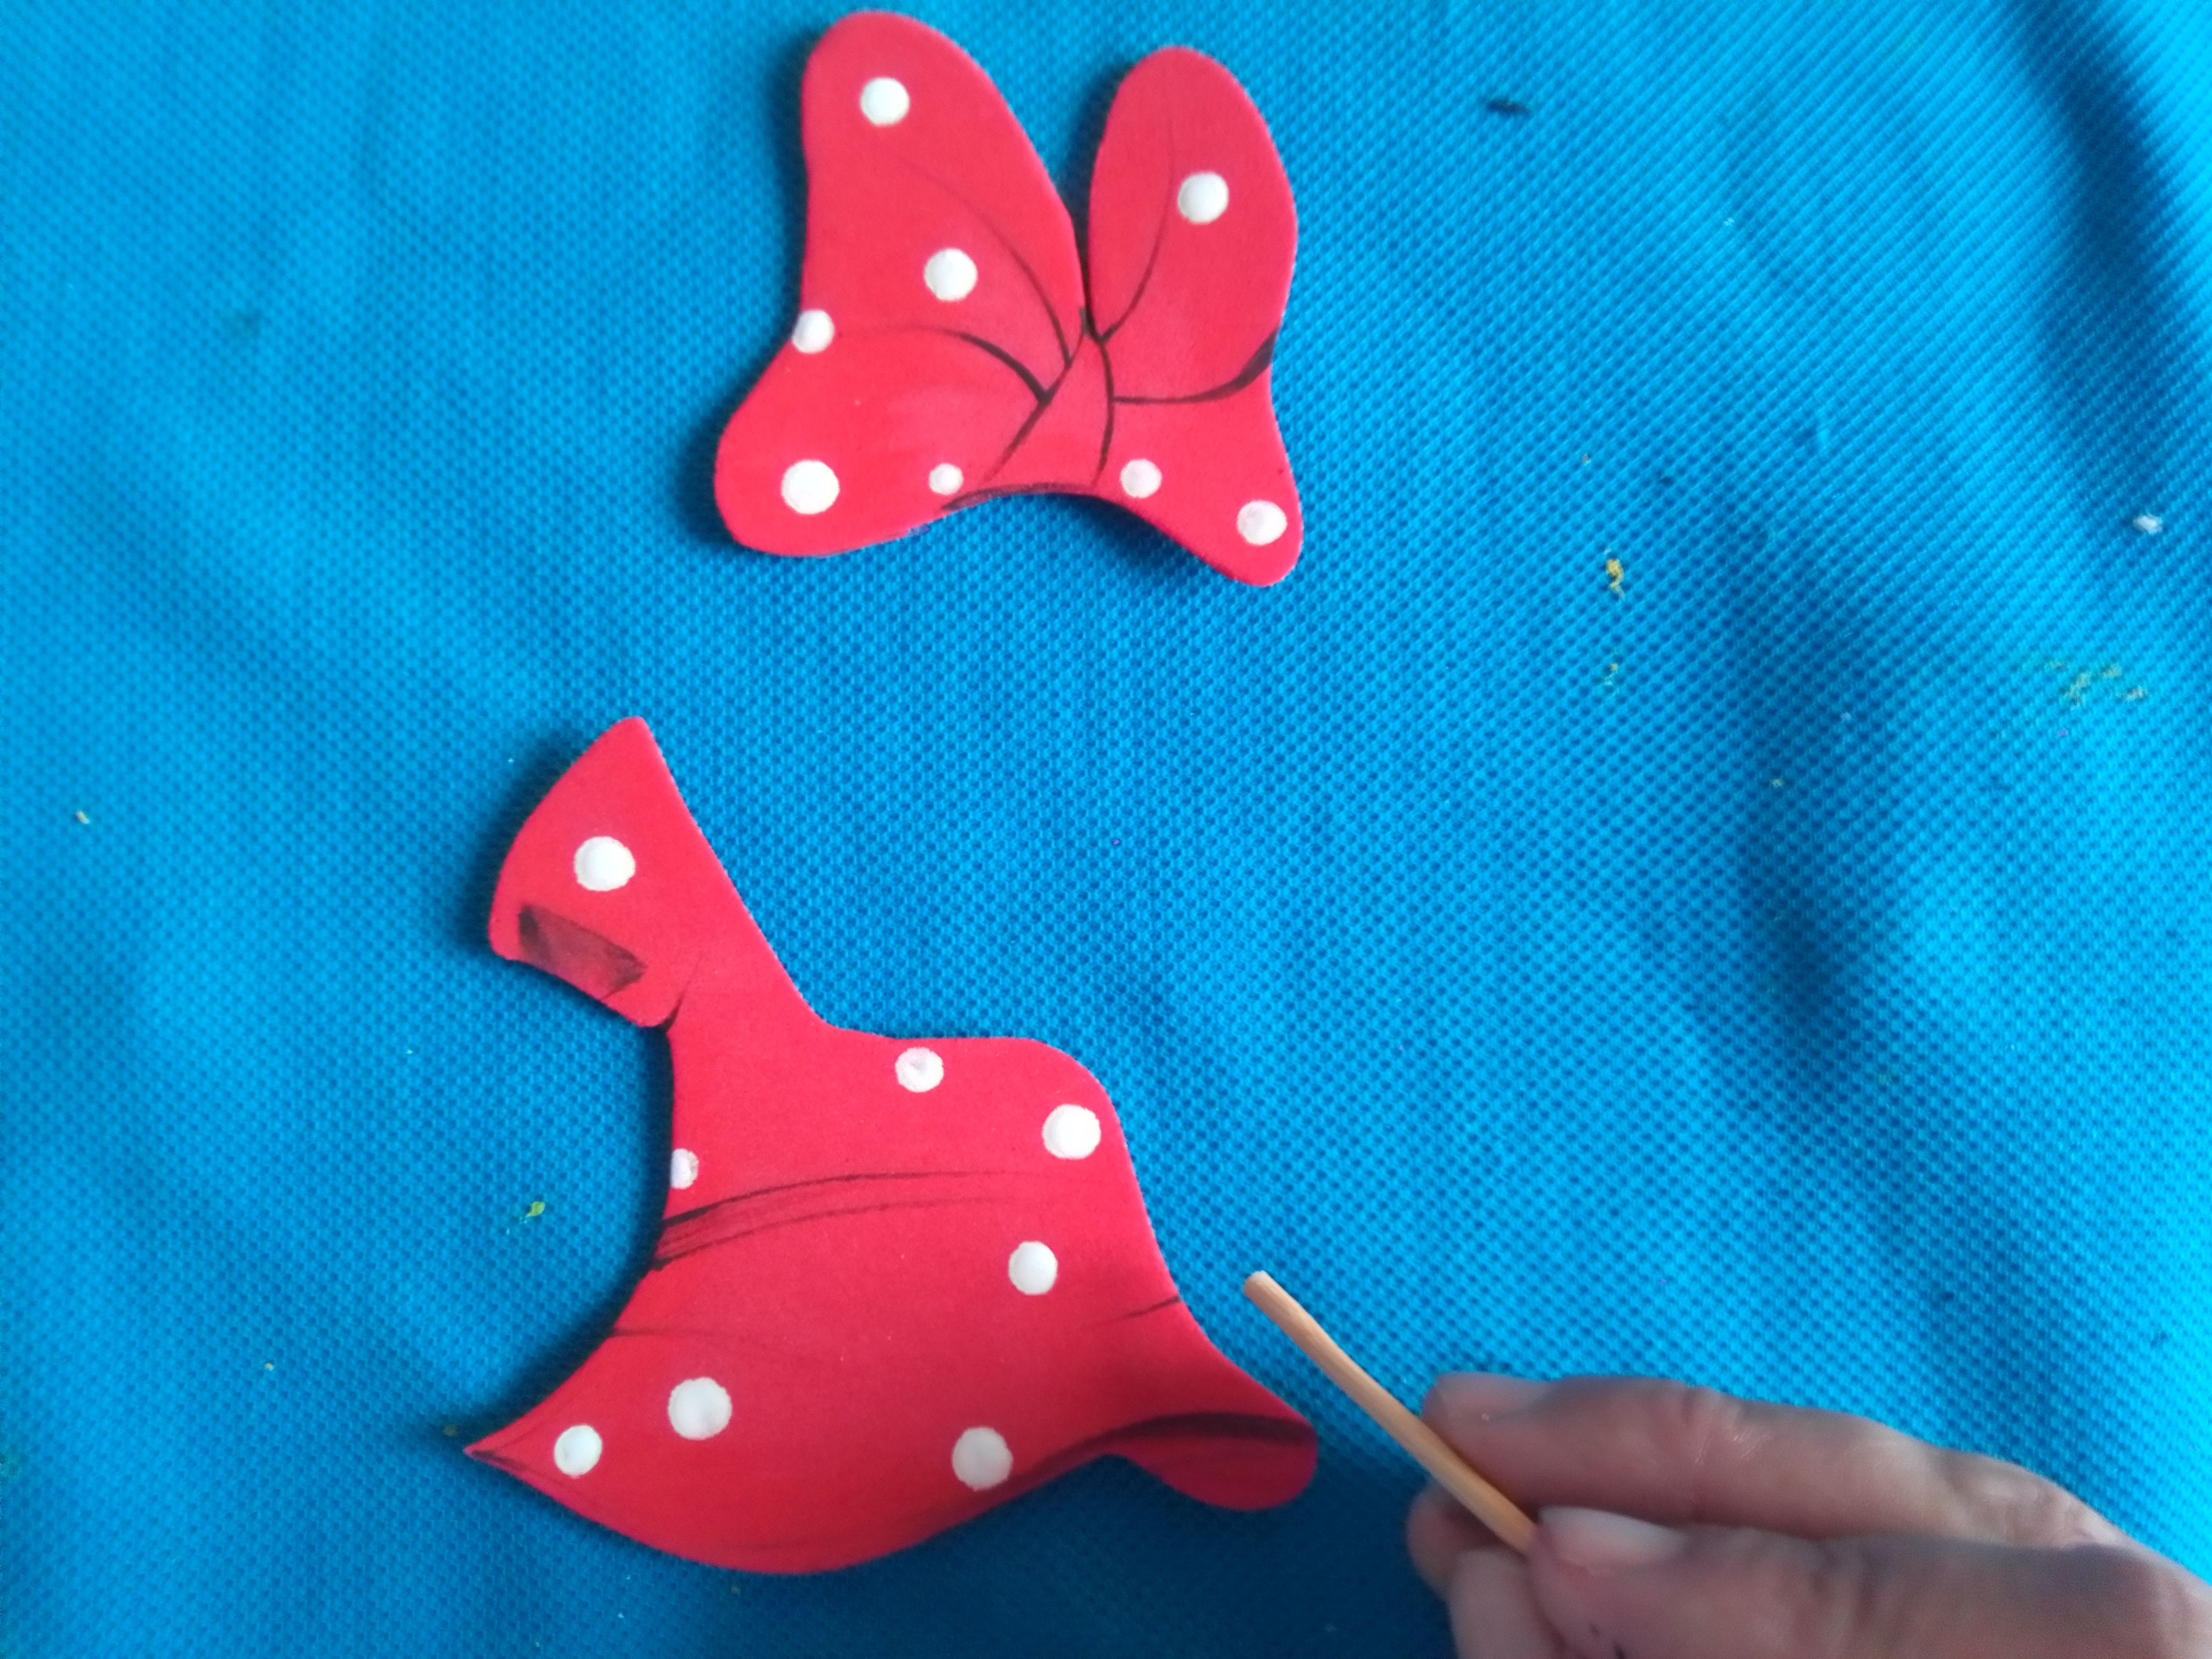
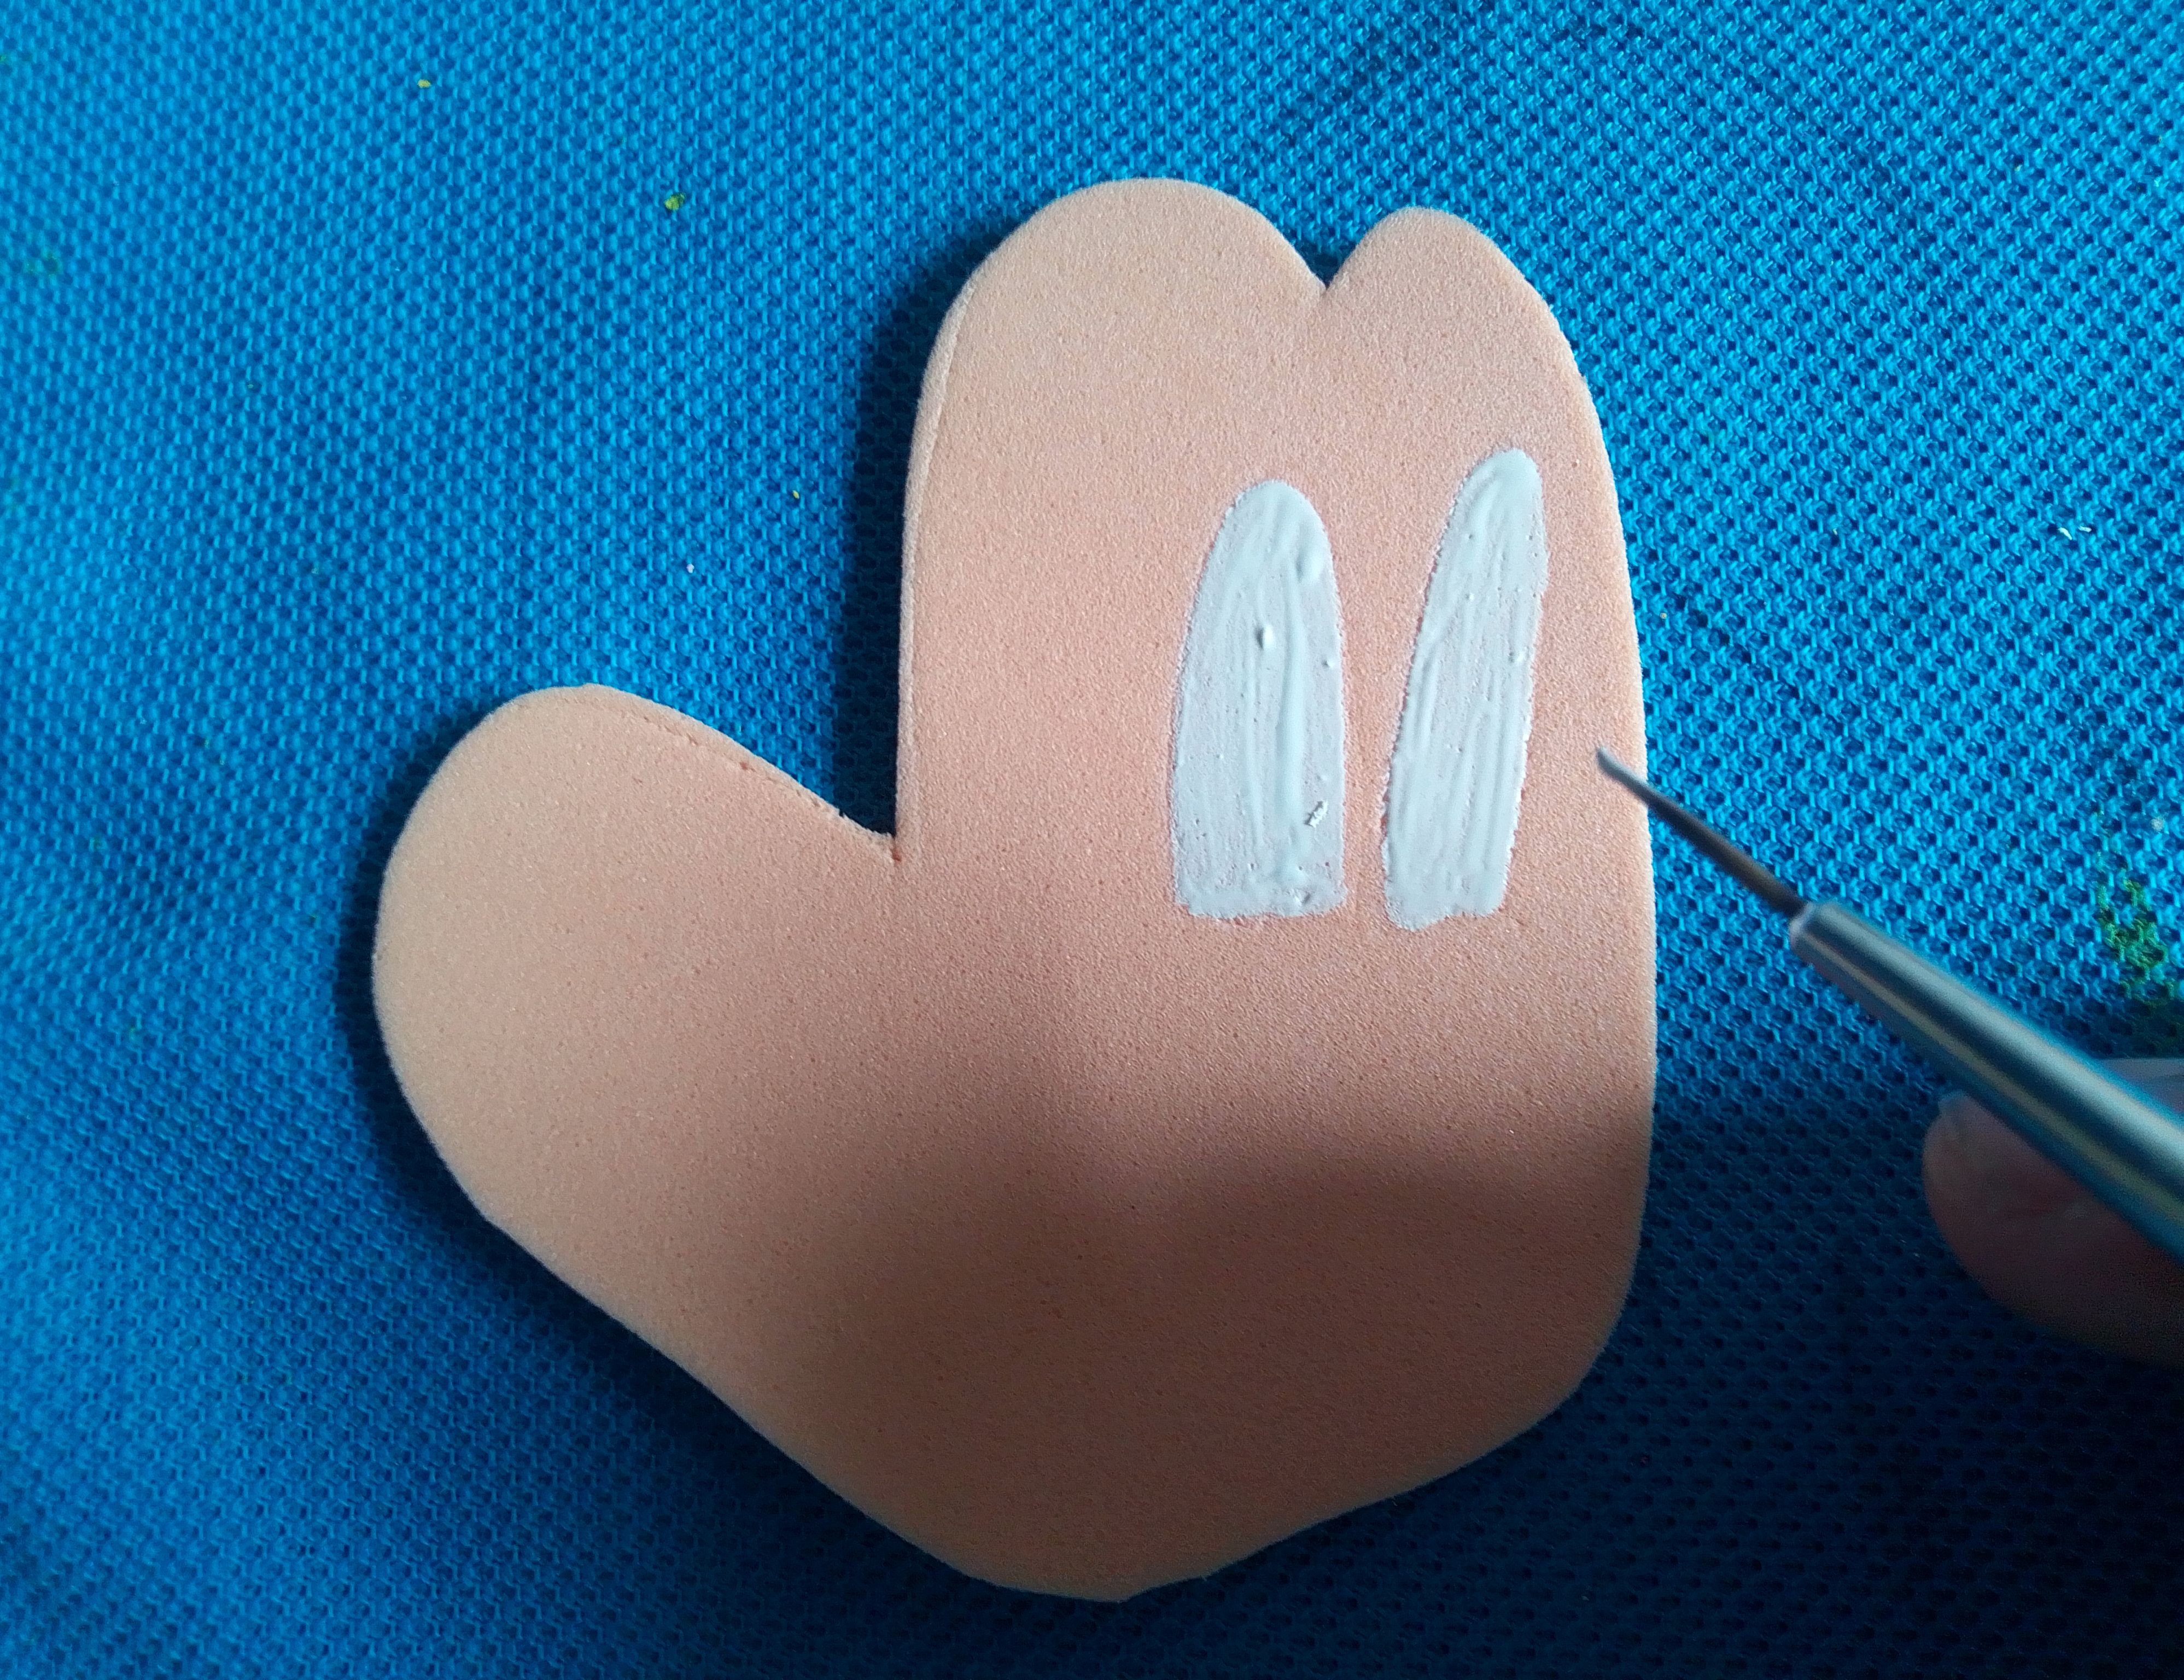
Paso 04
Utilizo pintura blanca para hacer los respectivos puntos del vestido y el lazo que decoran la vestimenta de Minnie y realizo finas líneas de pintura negra para definir su forma. También realizo los detalles de sus guantes.
Step 04
I use white paint to make the respective points of the dress and the bow that decorate Minnie's outfit and I make thin lines of black paint to define its shape. I also make the details of his gloves.
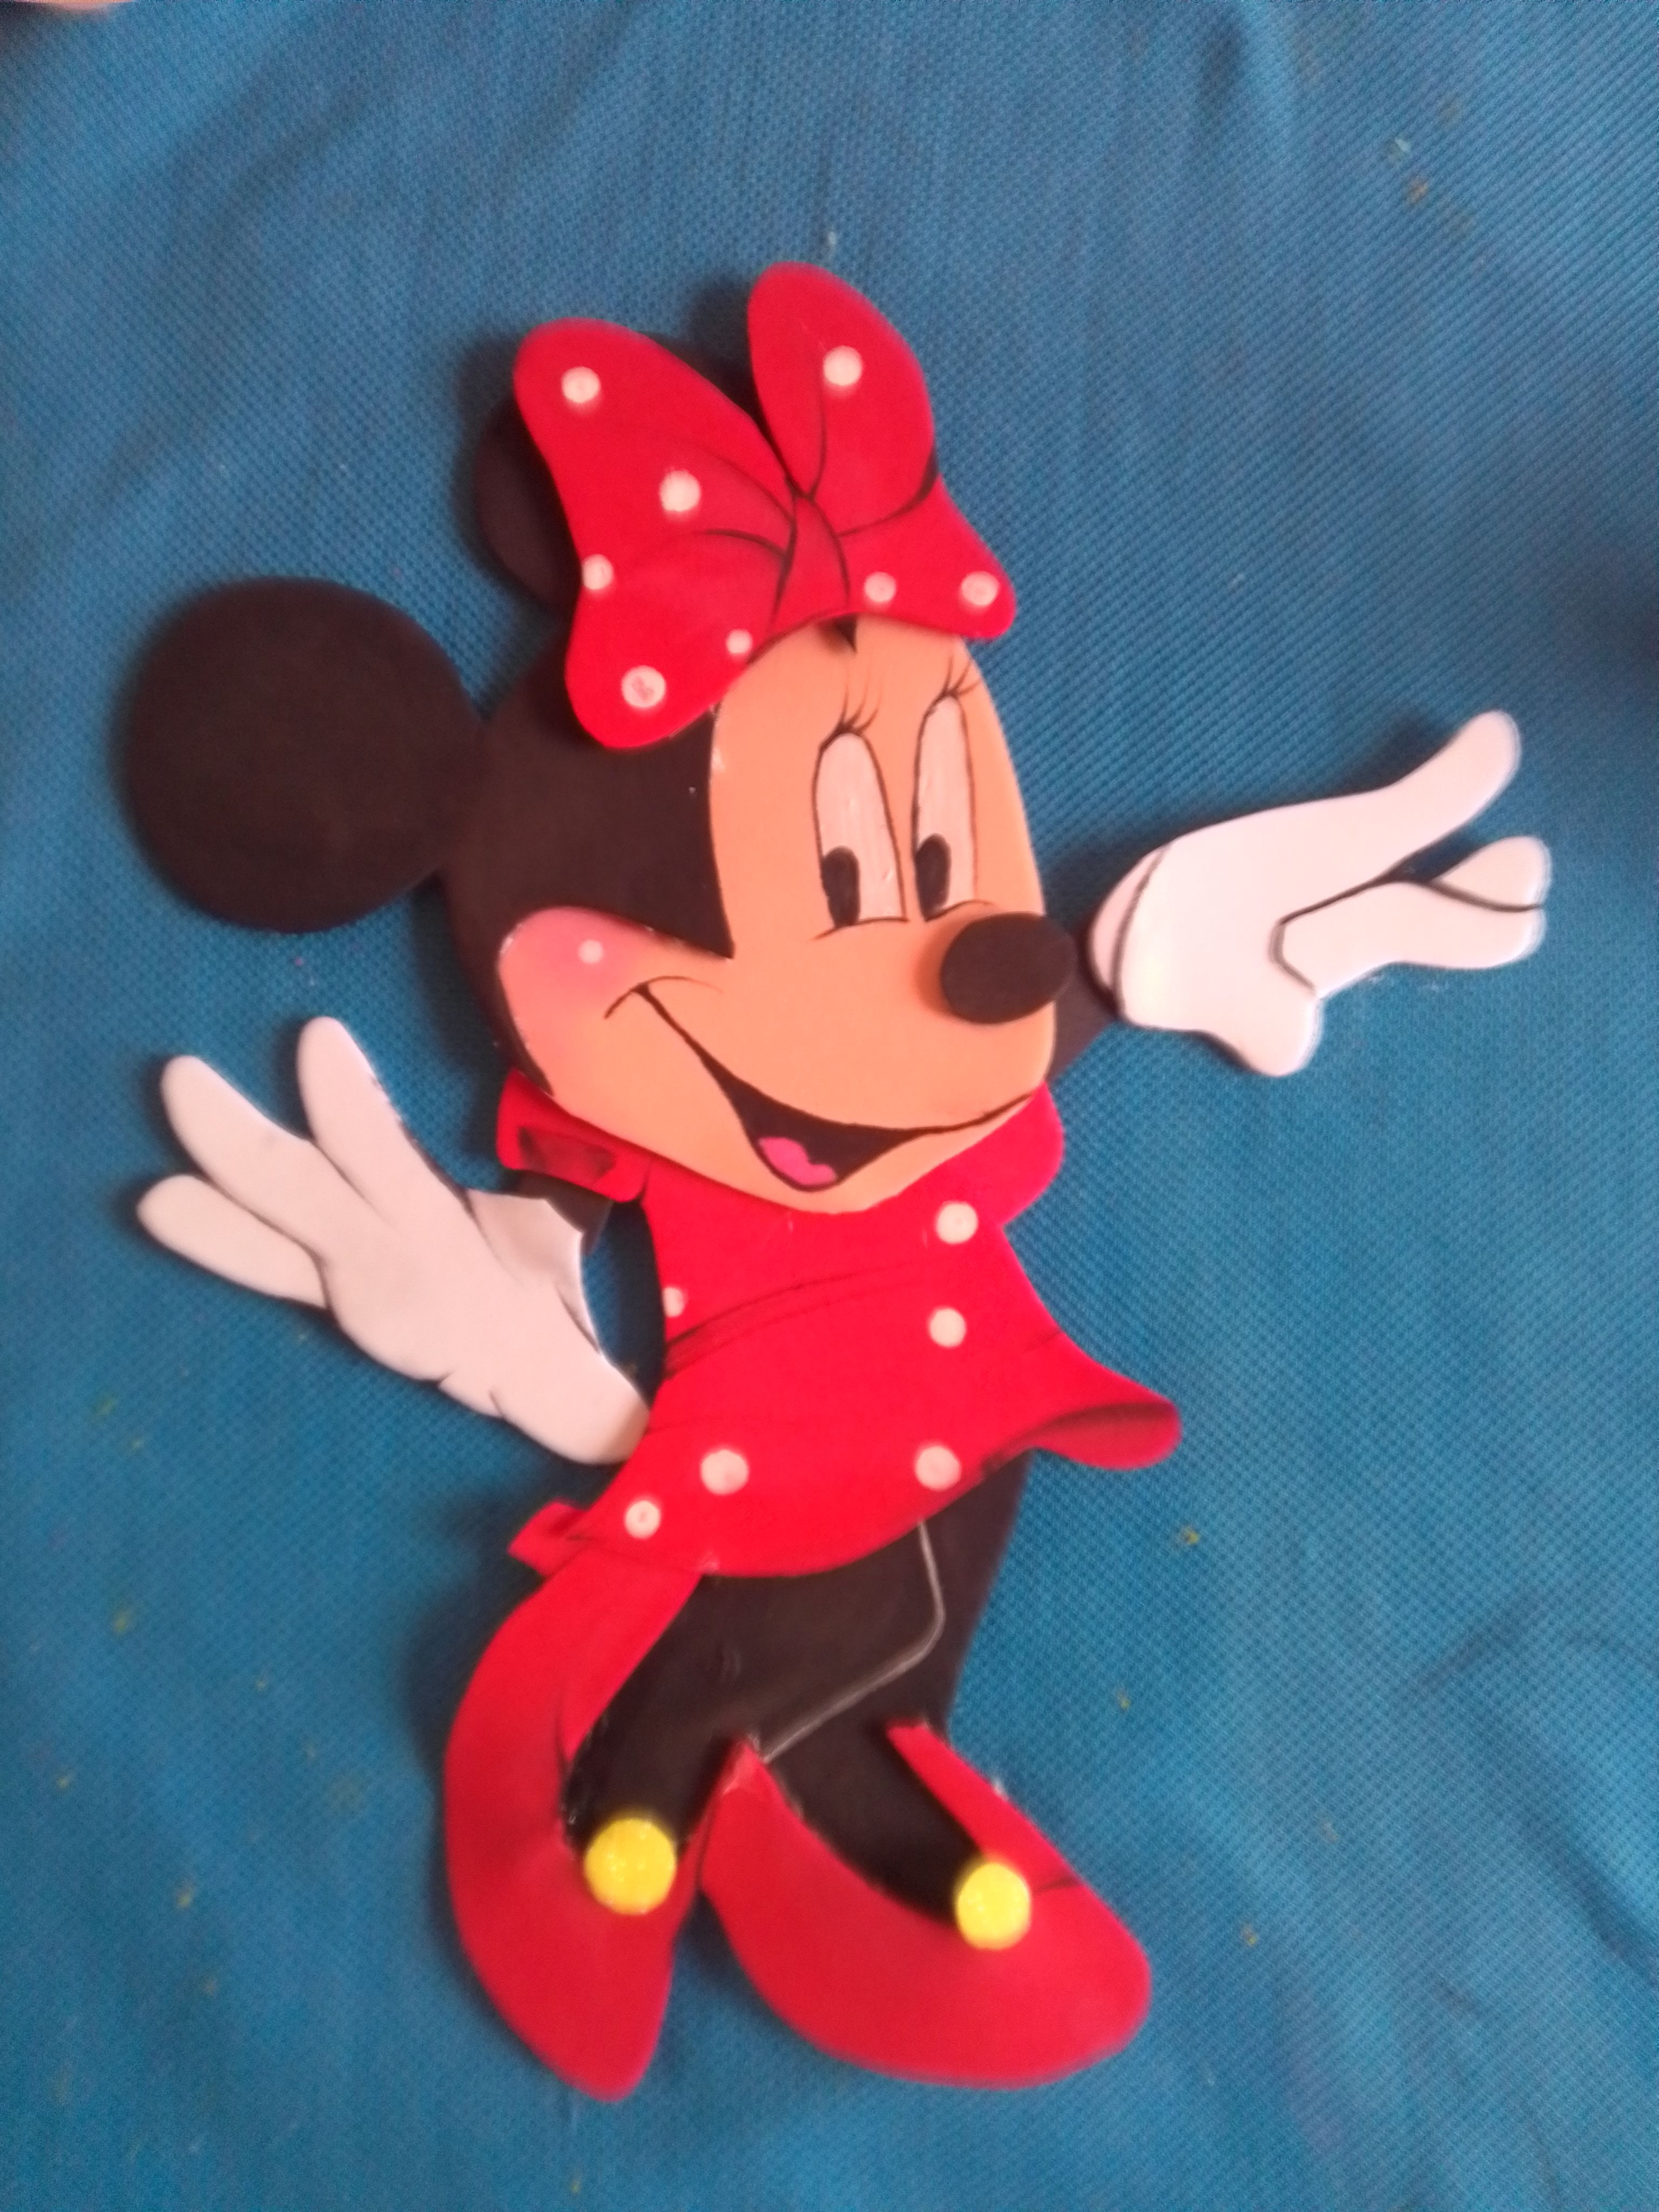
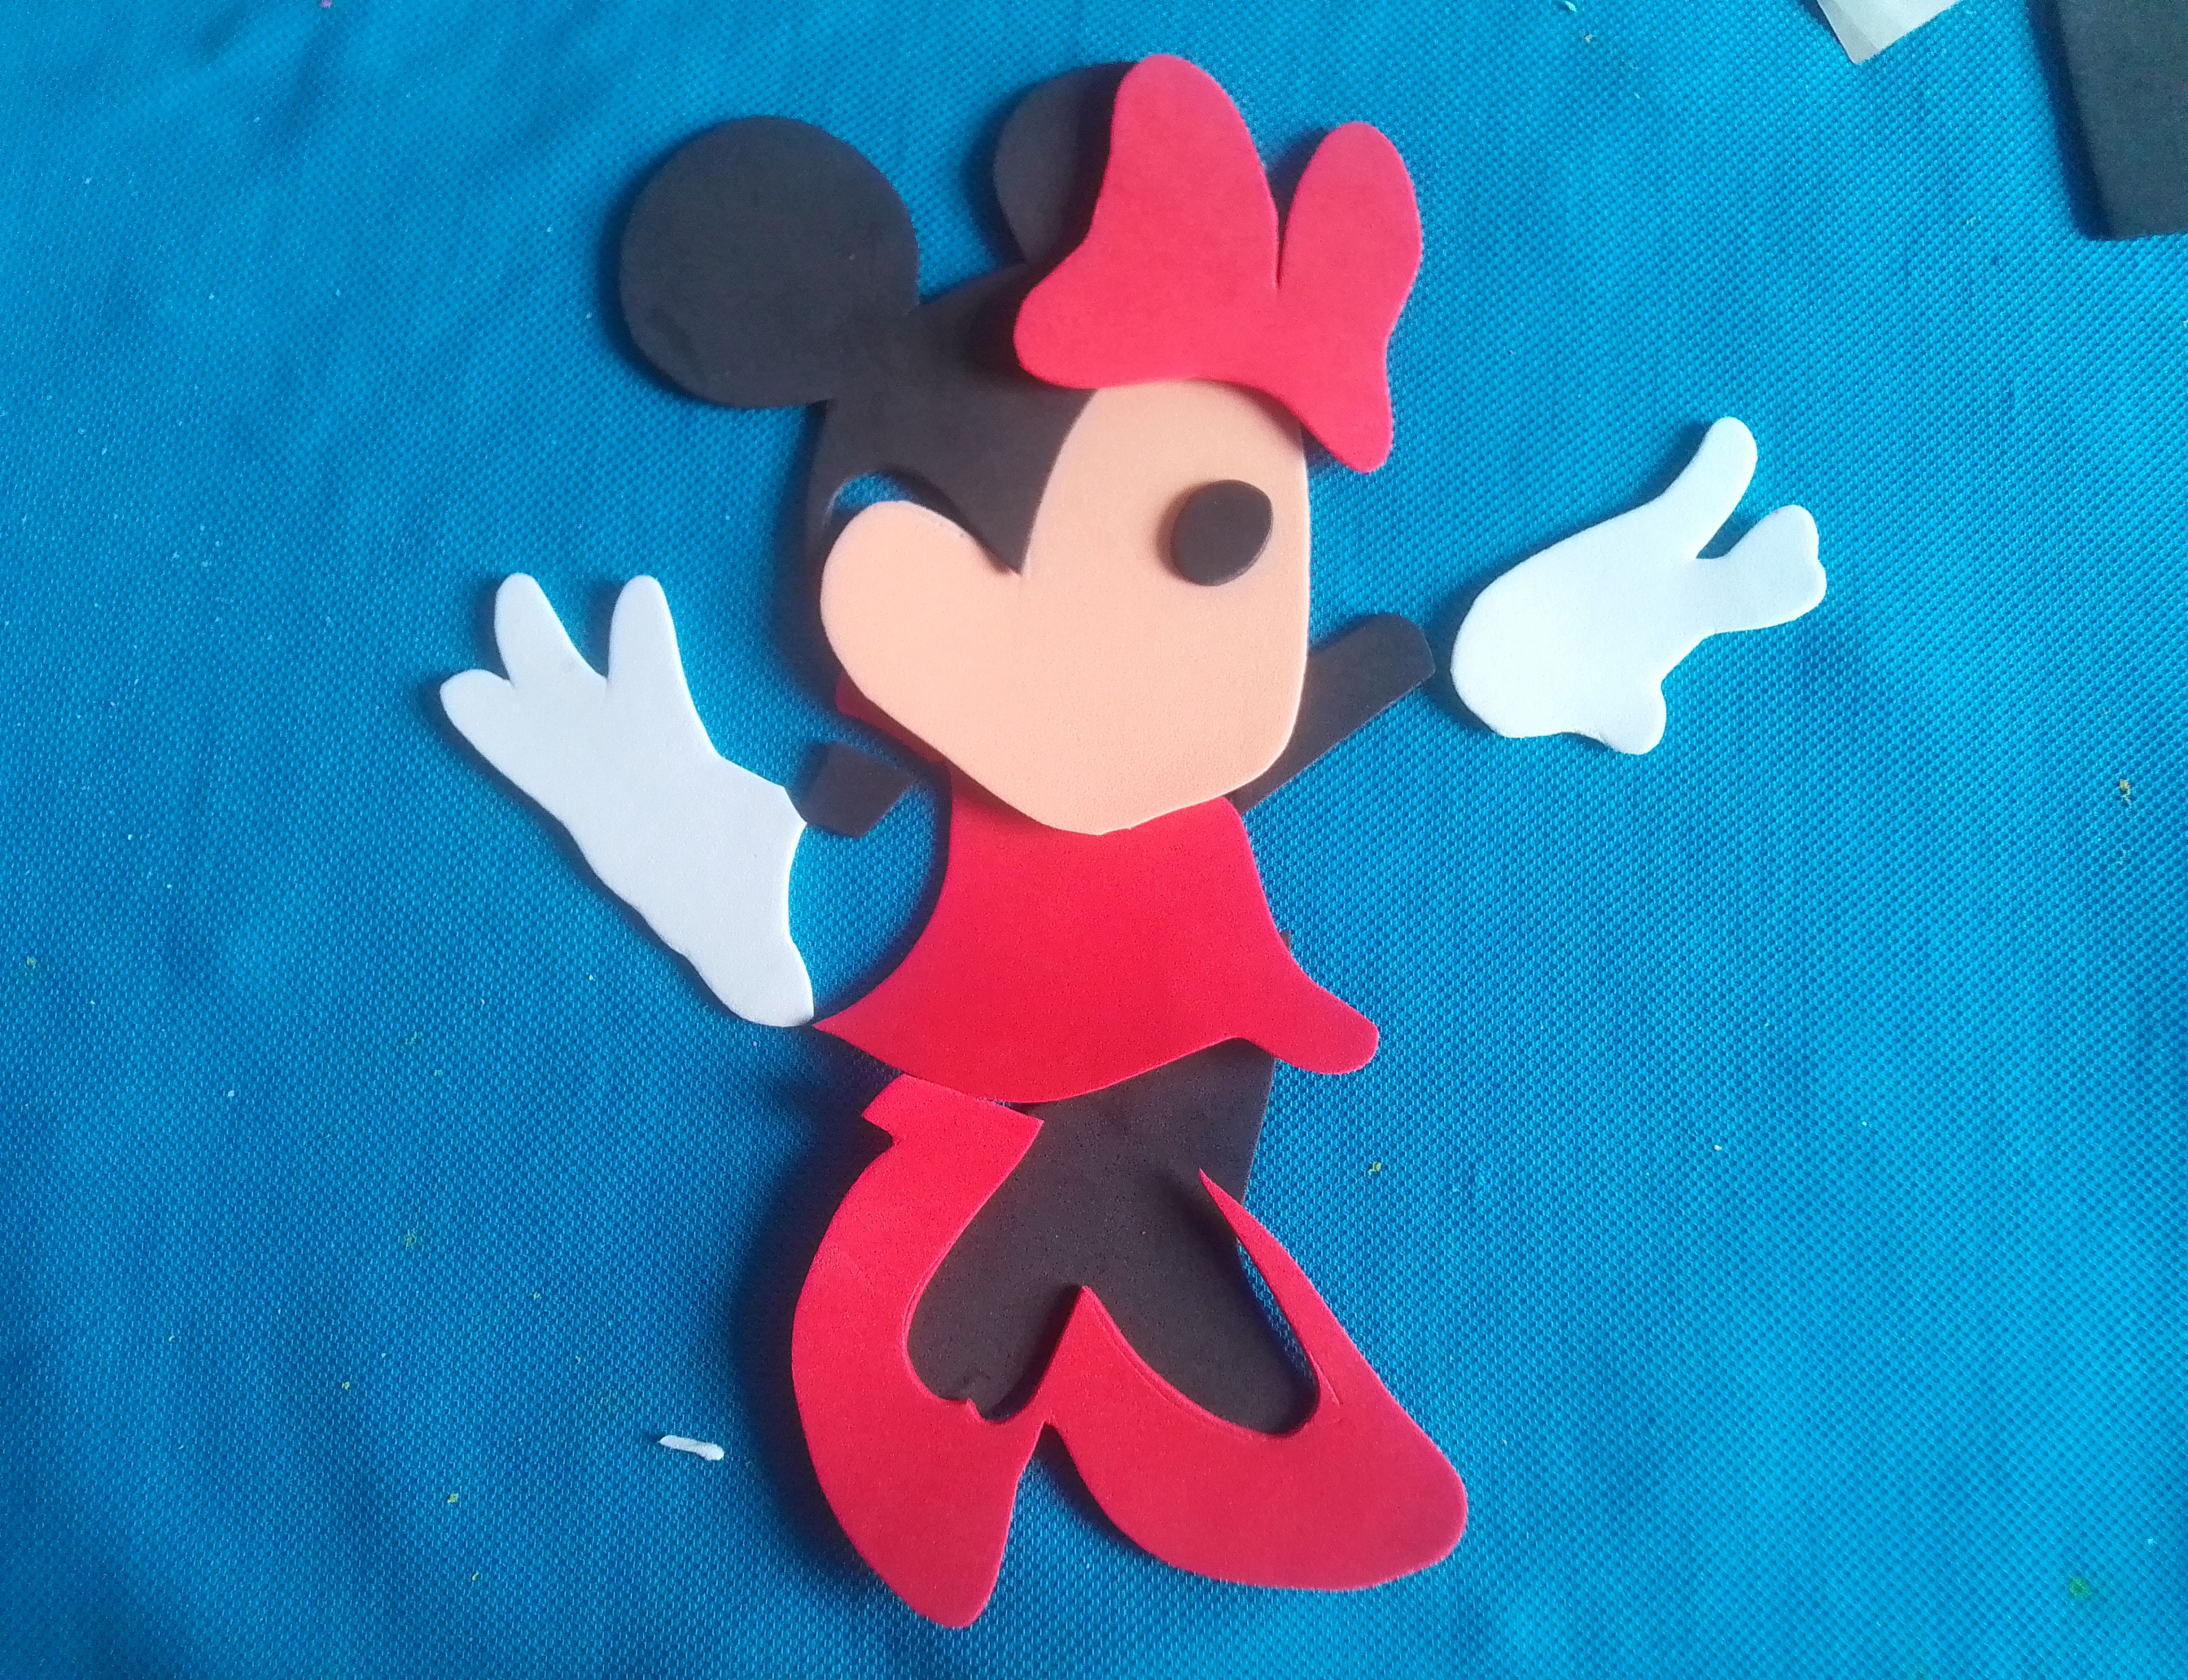
Paso 05
Hecho todo esto pegamos cada pieza en su lugar y se verá así.
Step 05
Done all this we paste each piece in its place and it will look like this.
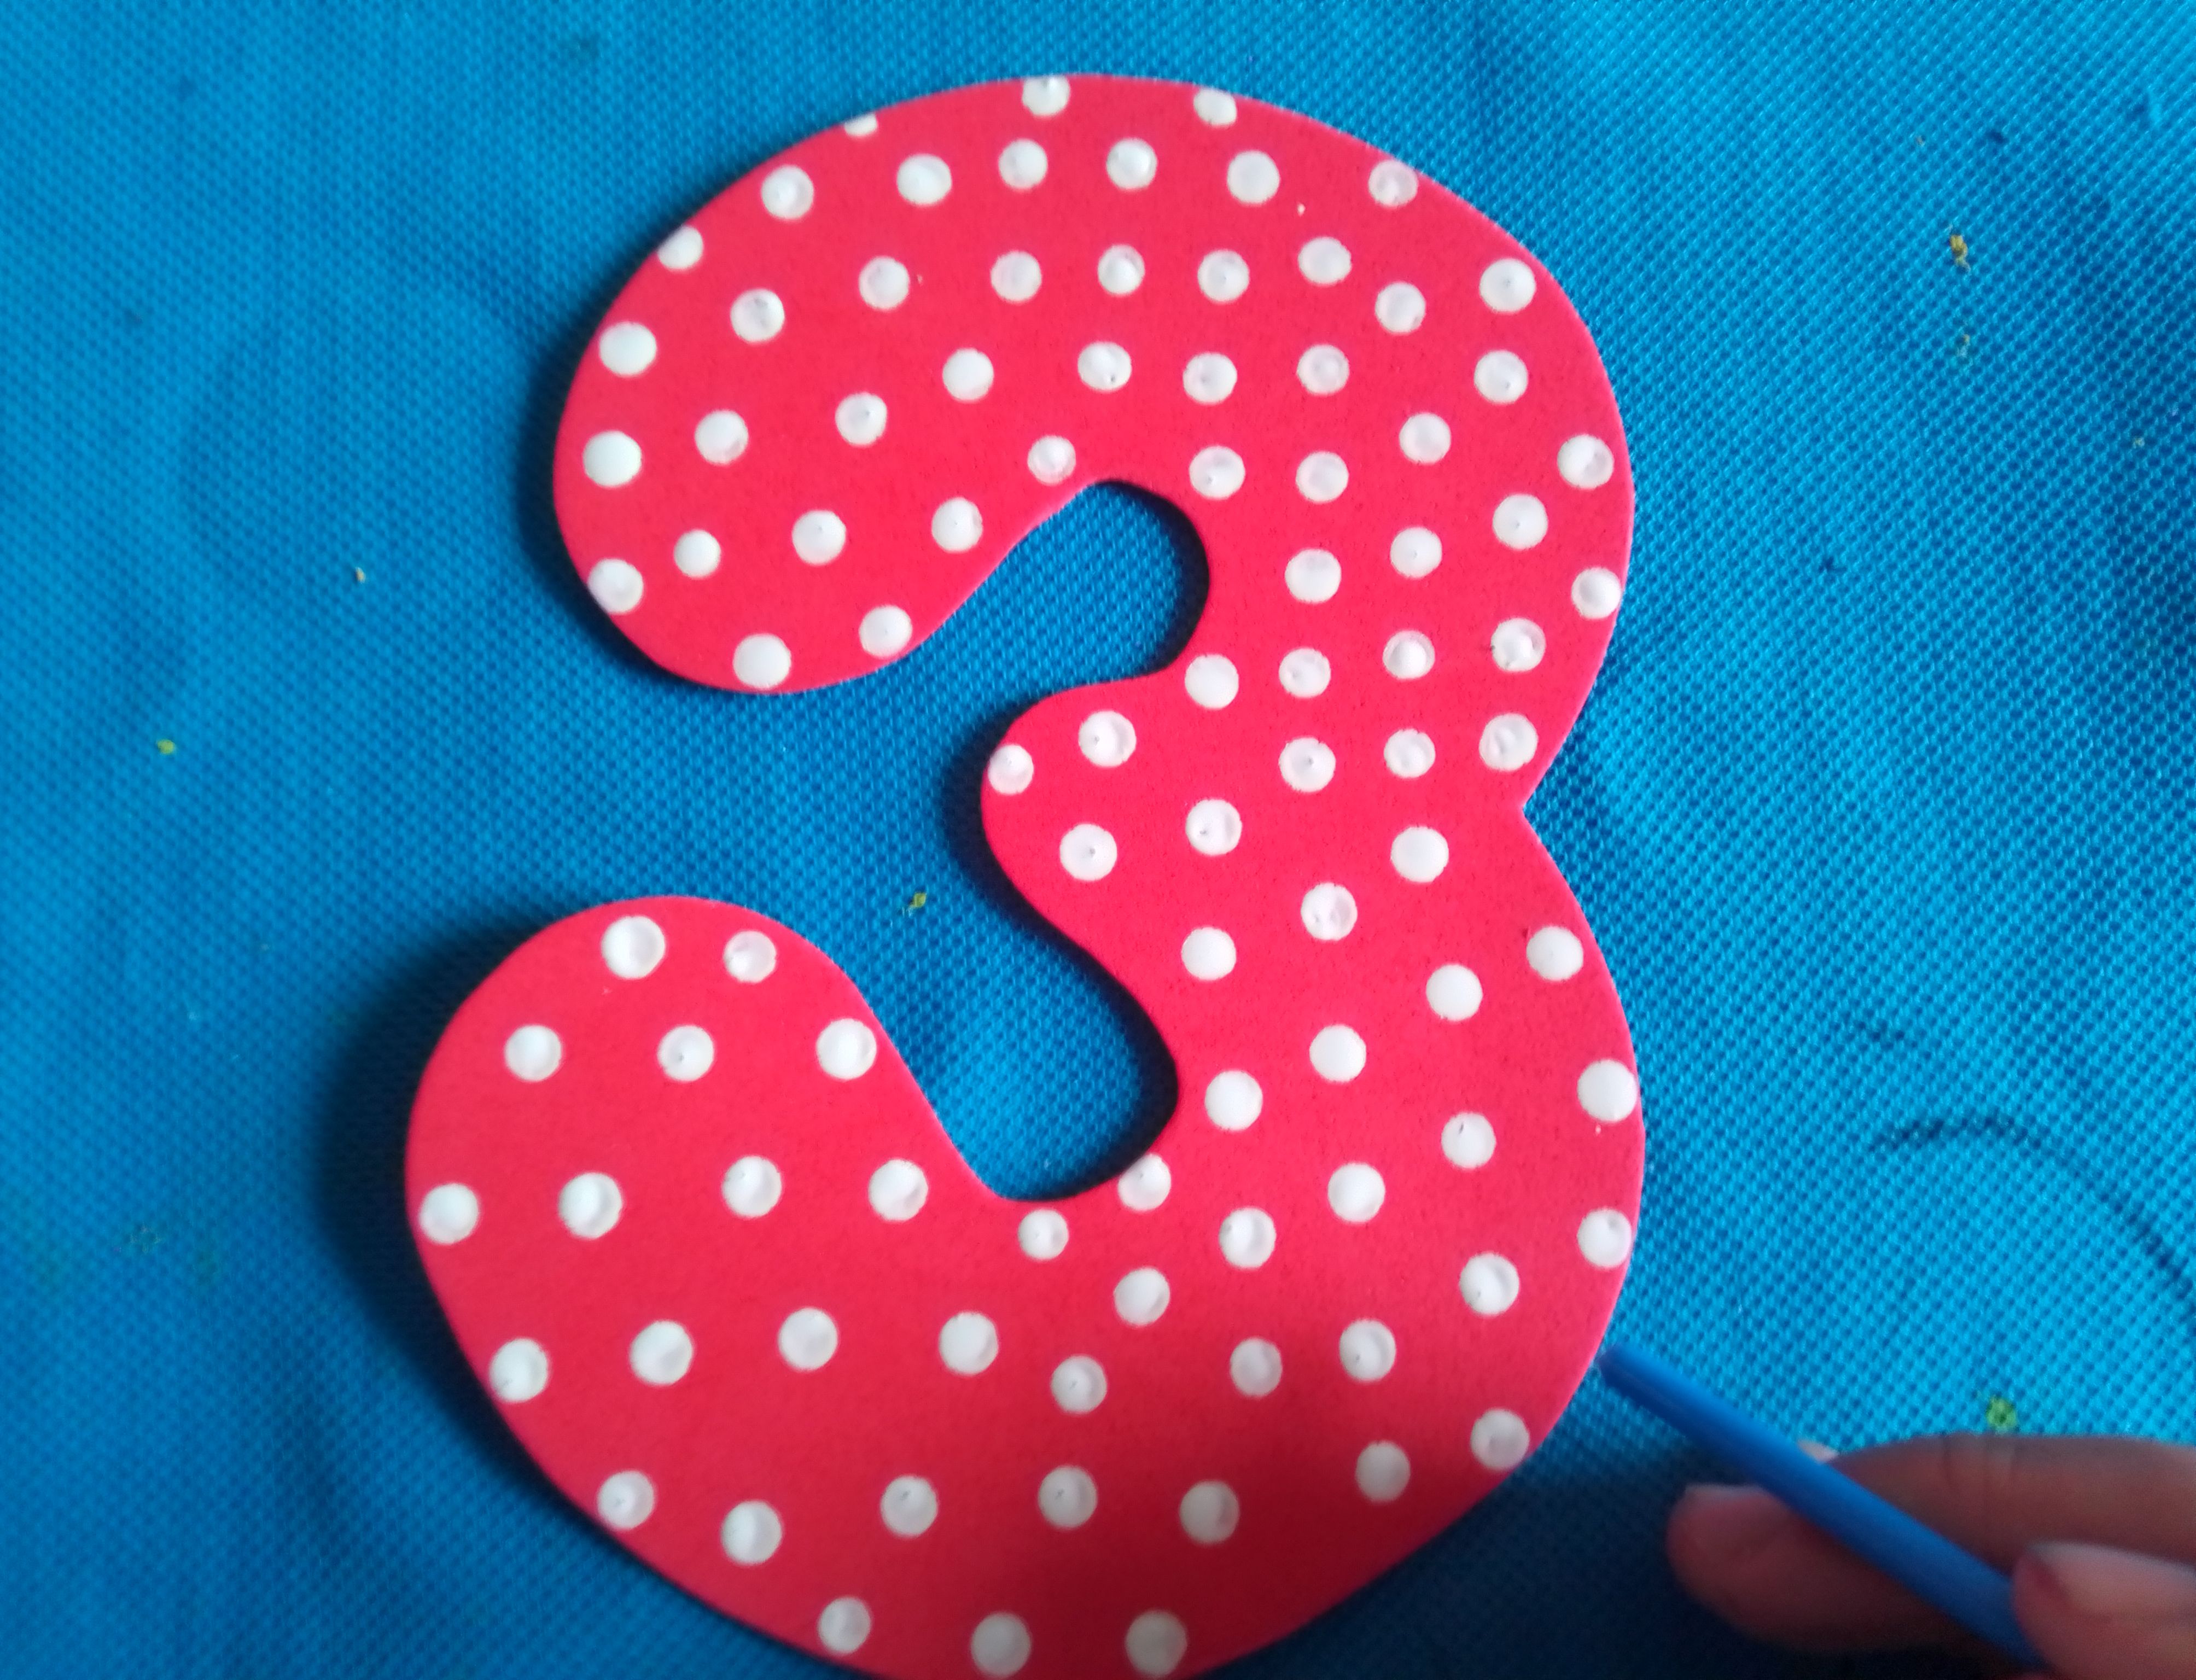
Paso 06
Ahora realizo el número en foami rojo y decoró con puntos blancos para combinar con el vestido de Minnie Mouse y lo pegamos a una fomi negro para resaltar el color y para darle firmeza
Step 06
Now I make the number in red foami and decorate it with white dots to match Minnie Mouse's dress and we glue it to a black foami to highlight the color and to give it firmness.
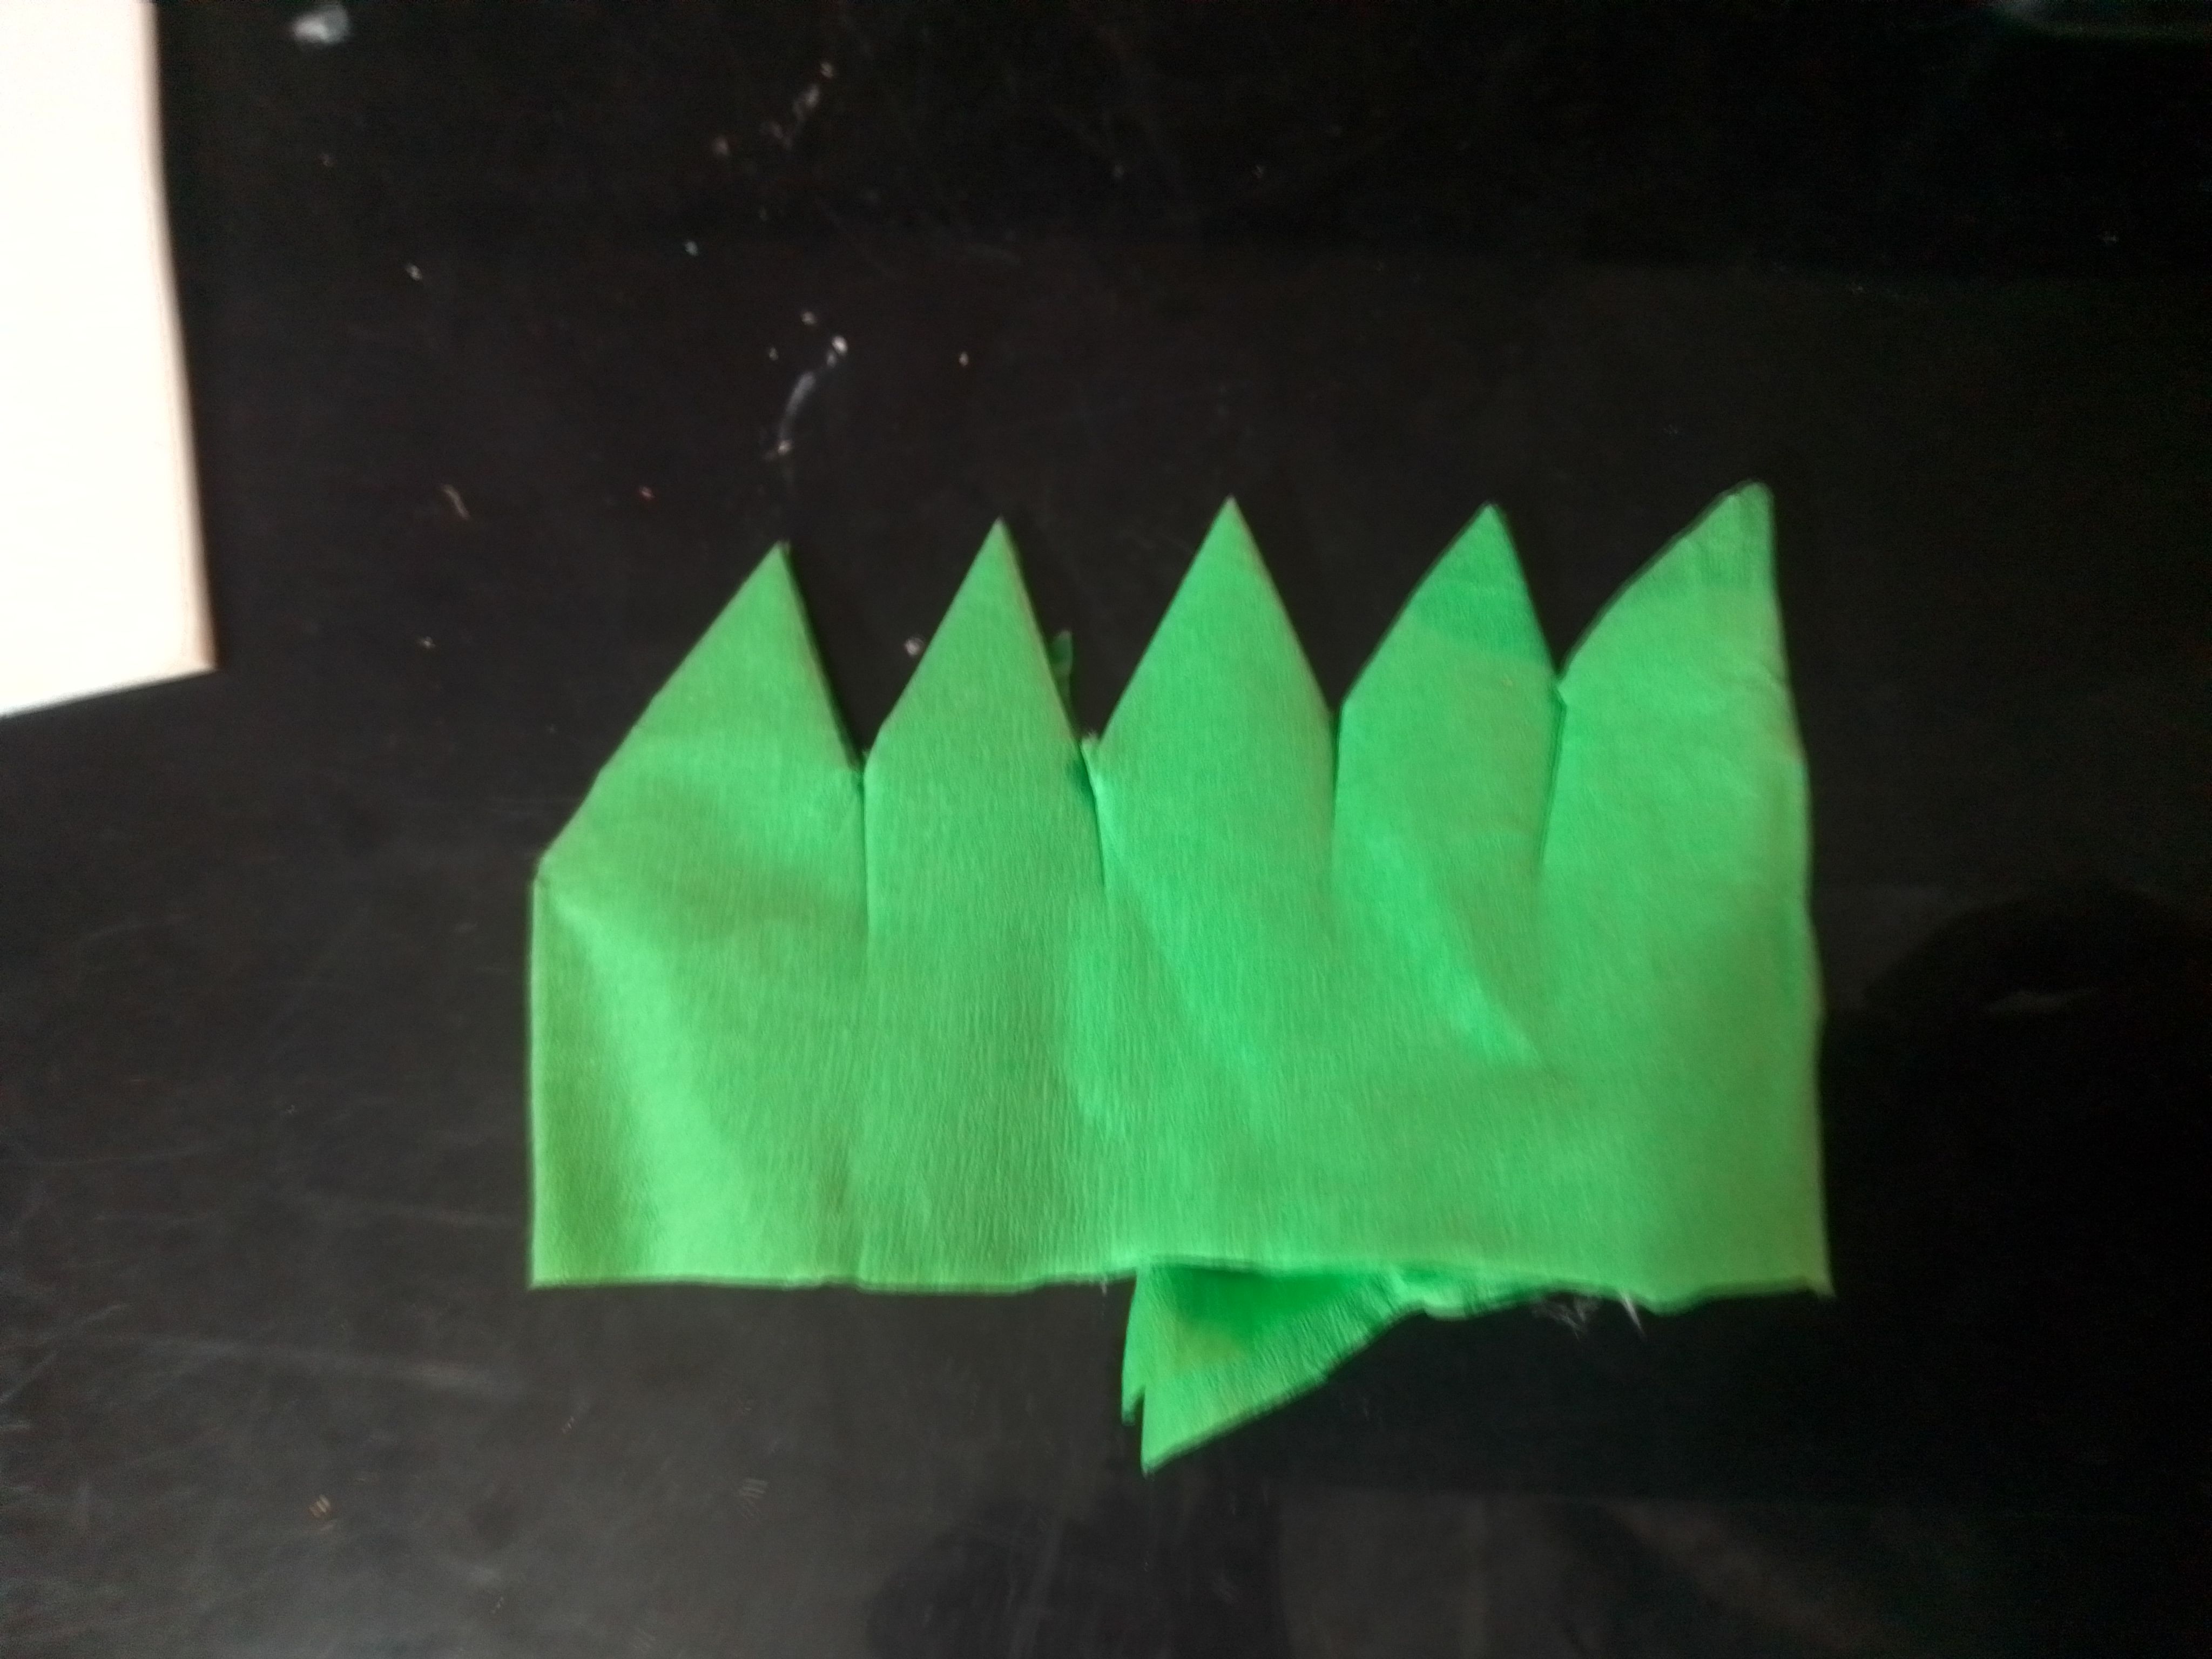
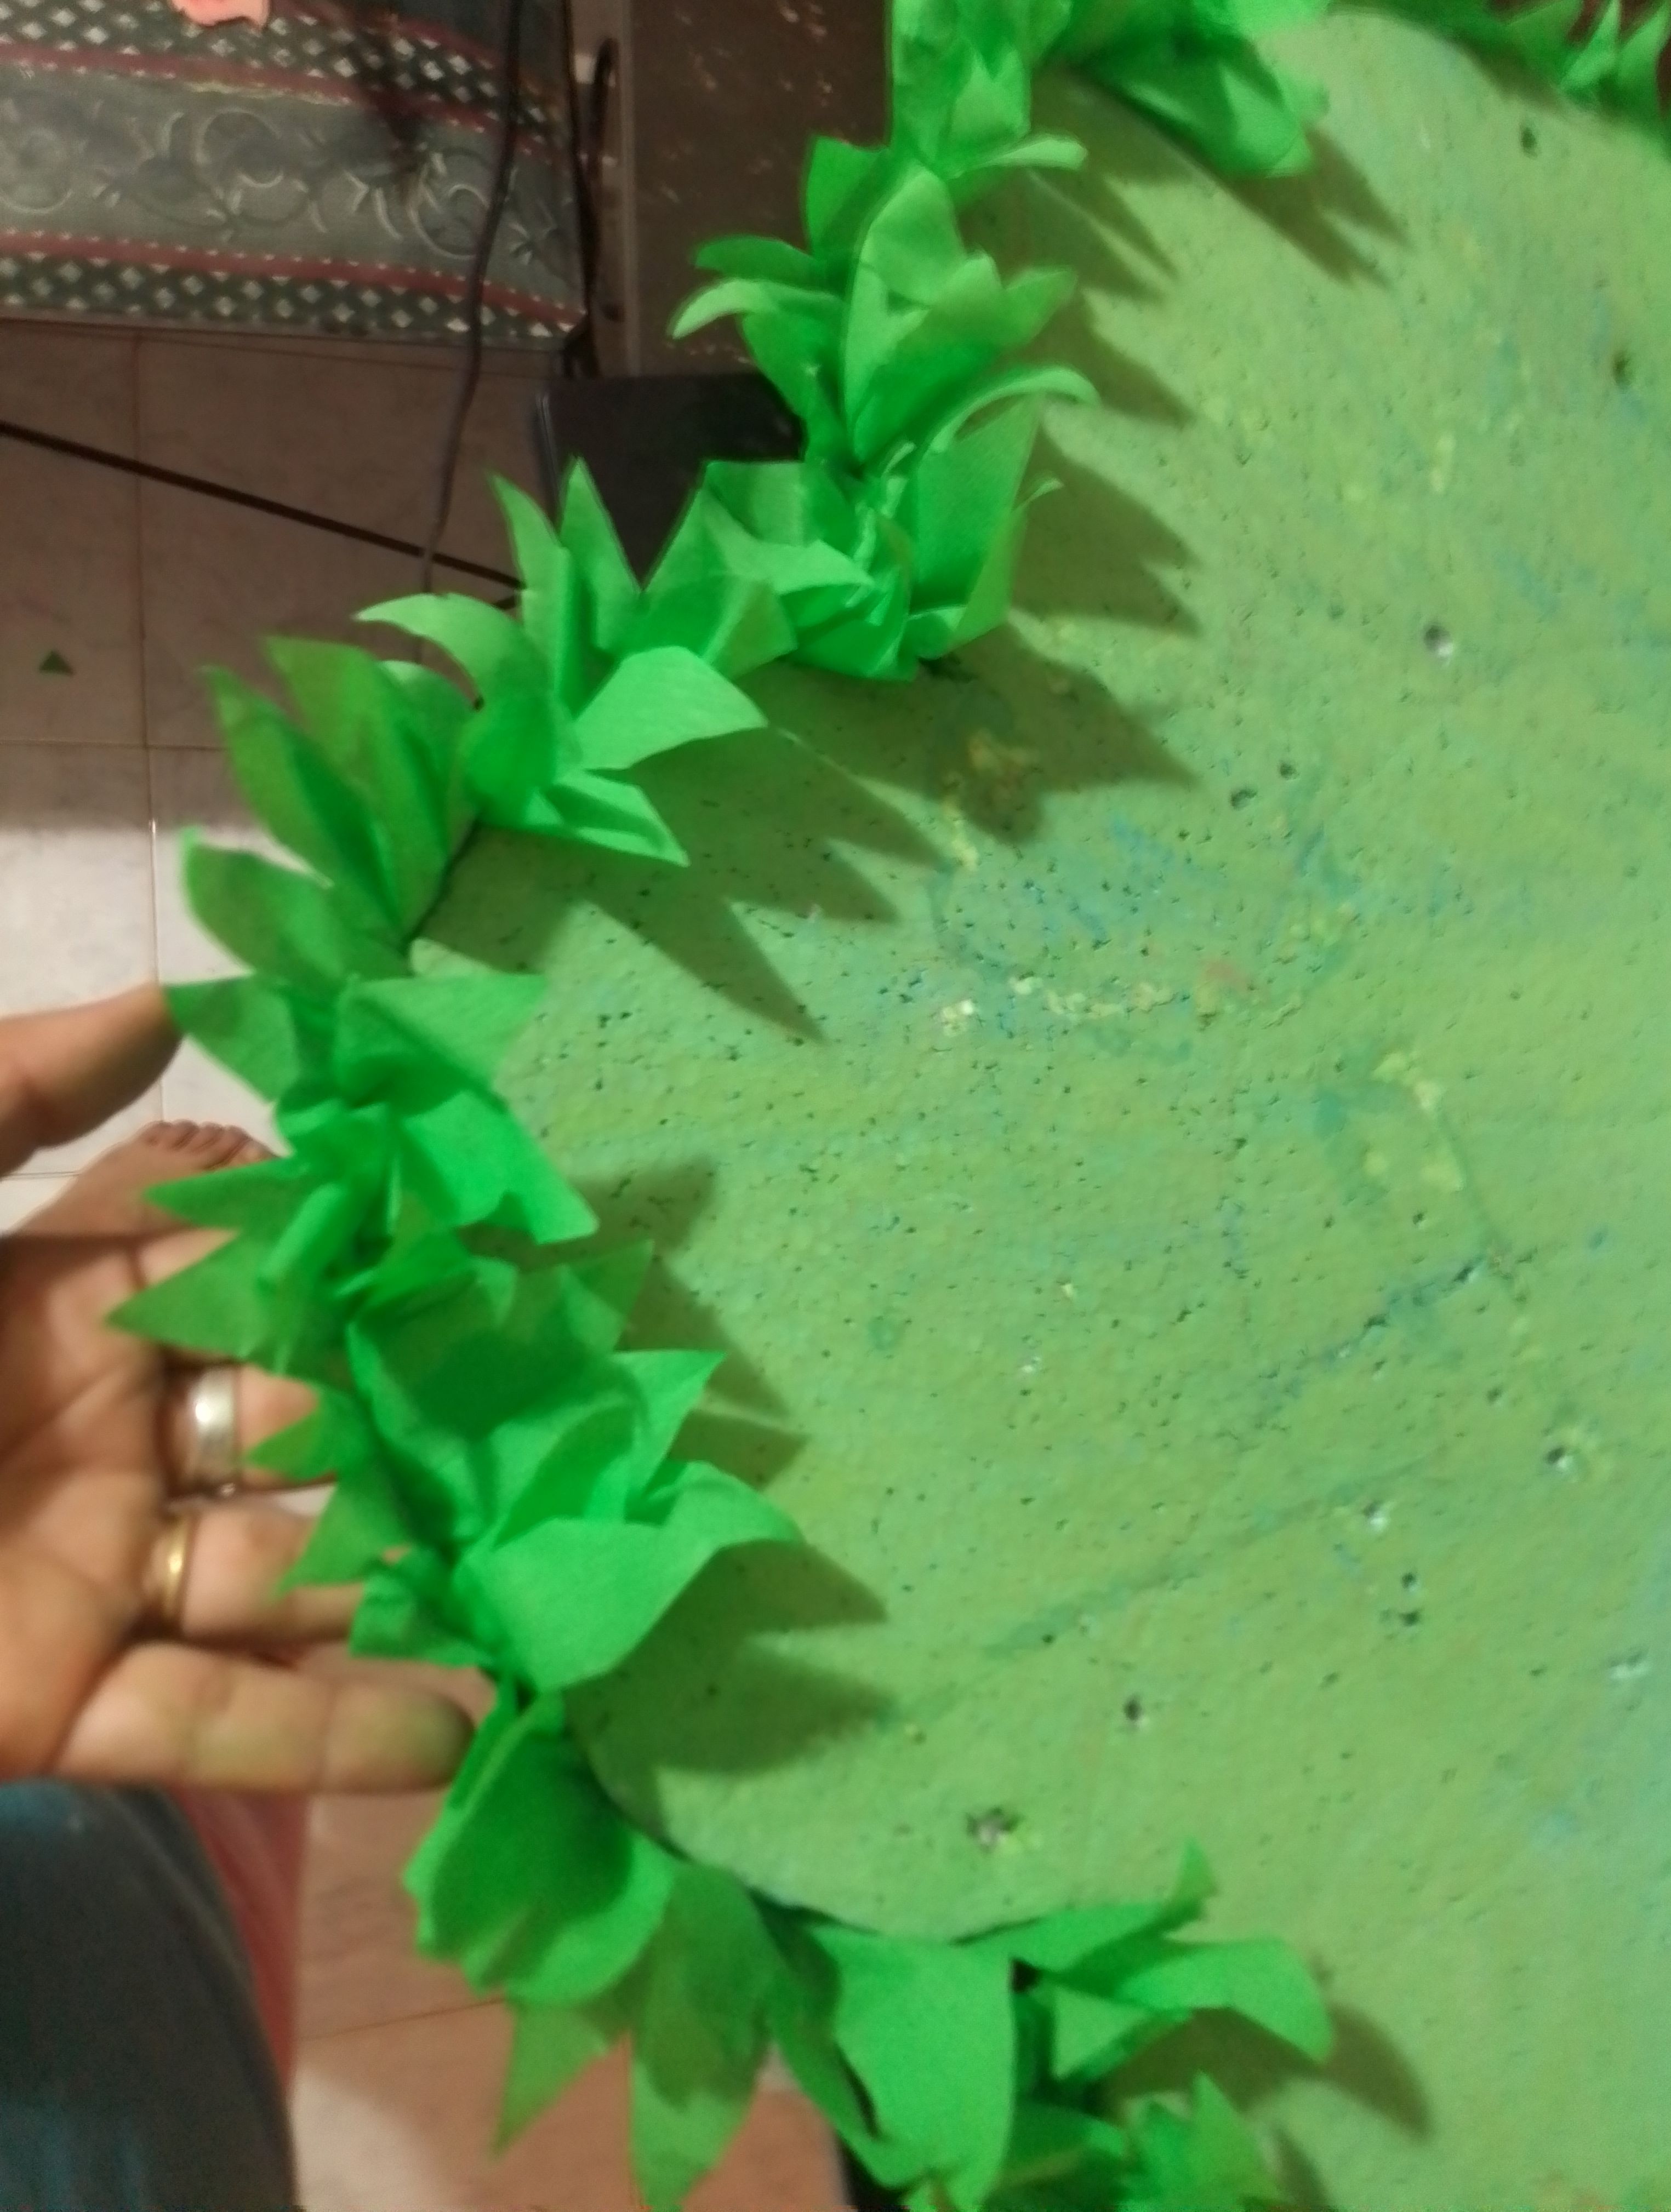
Paso 07
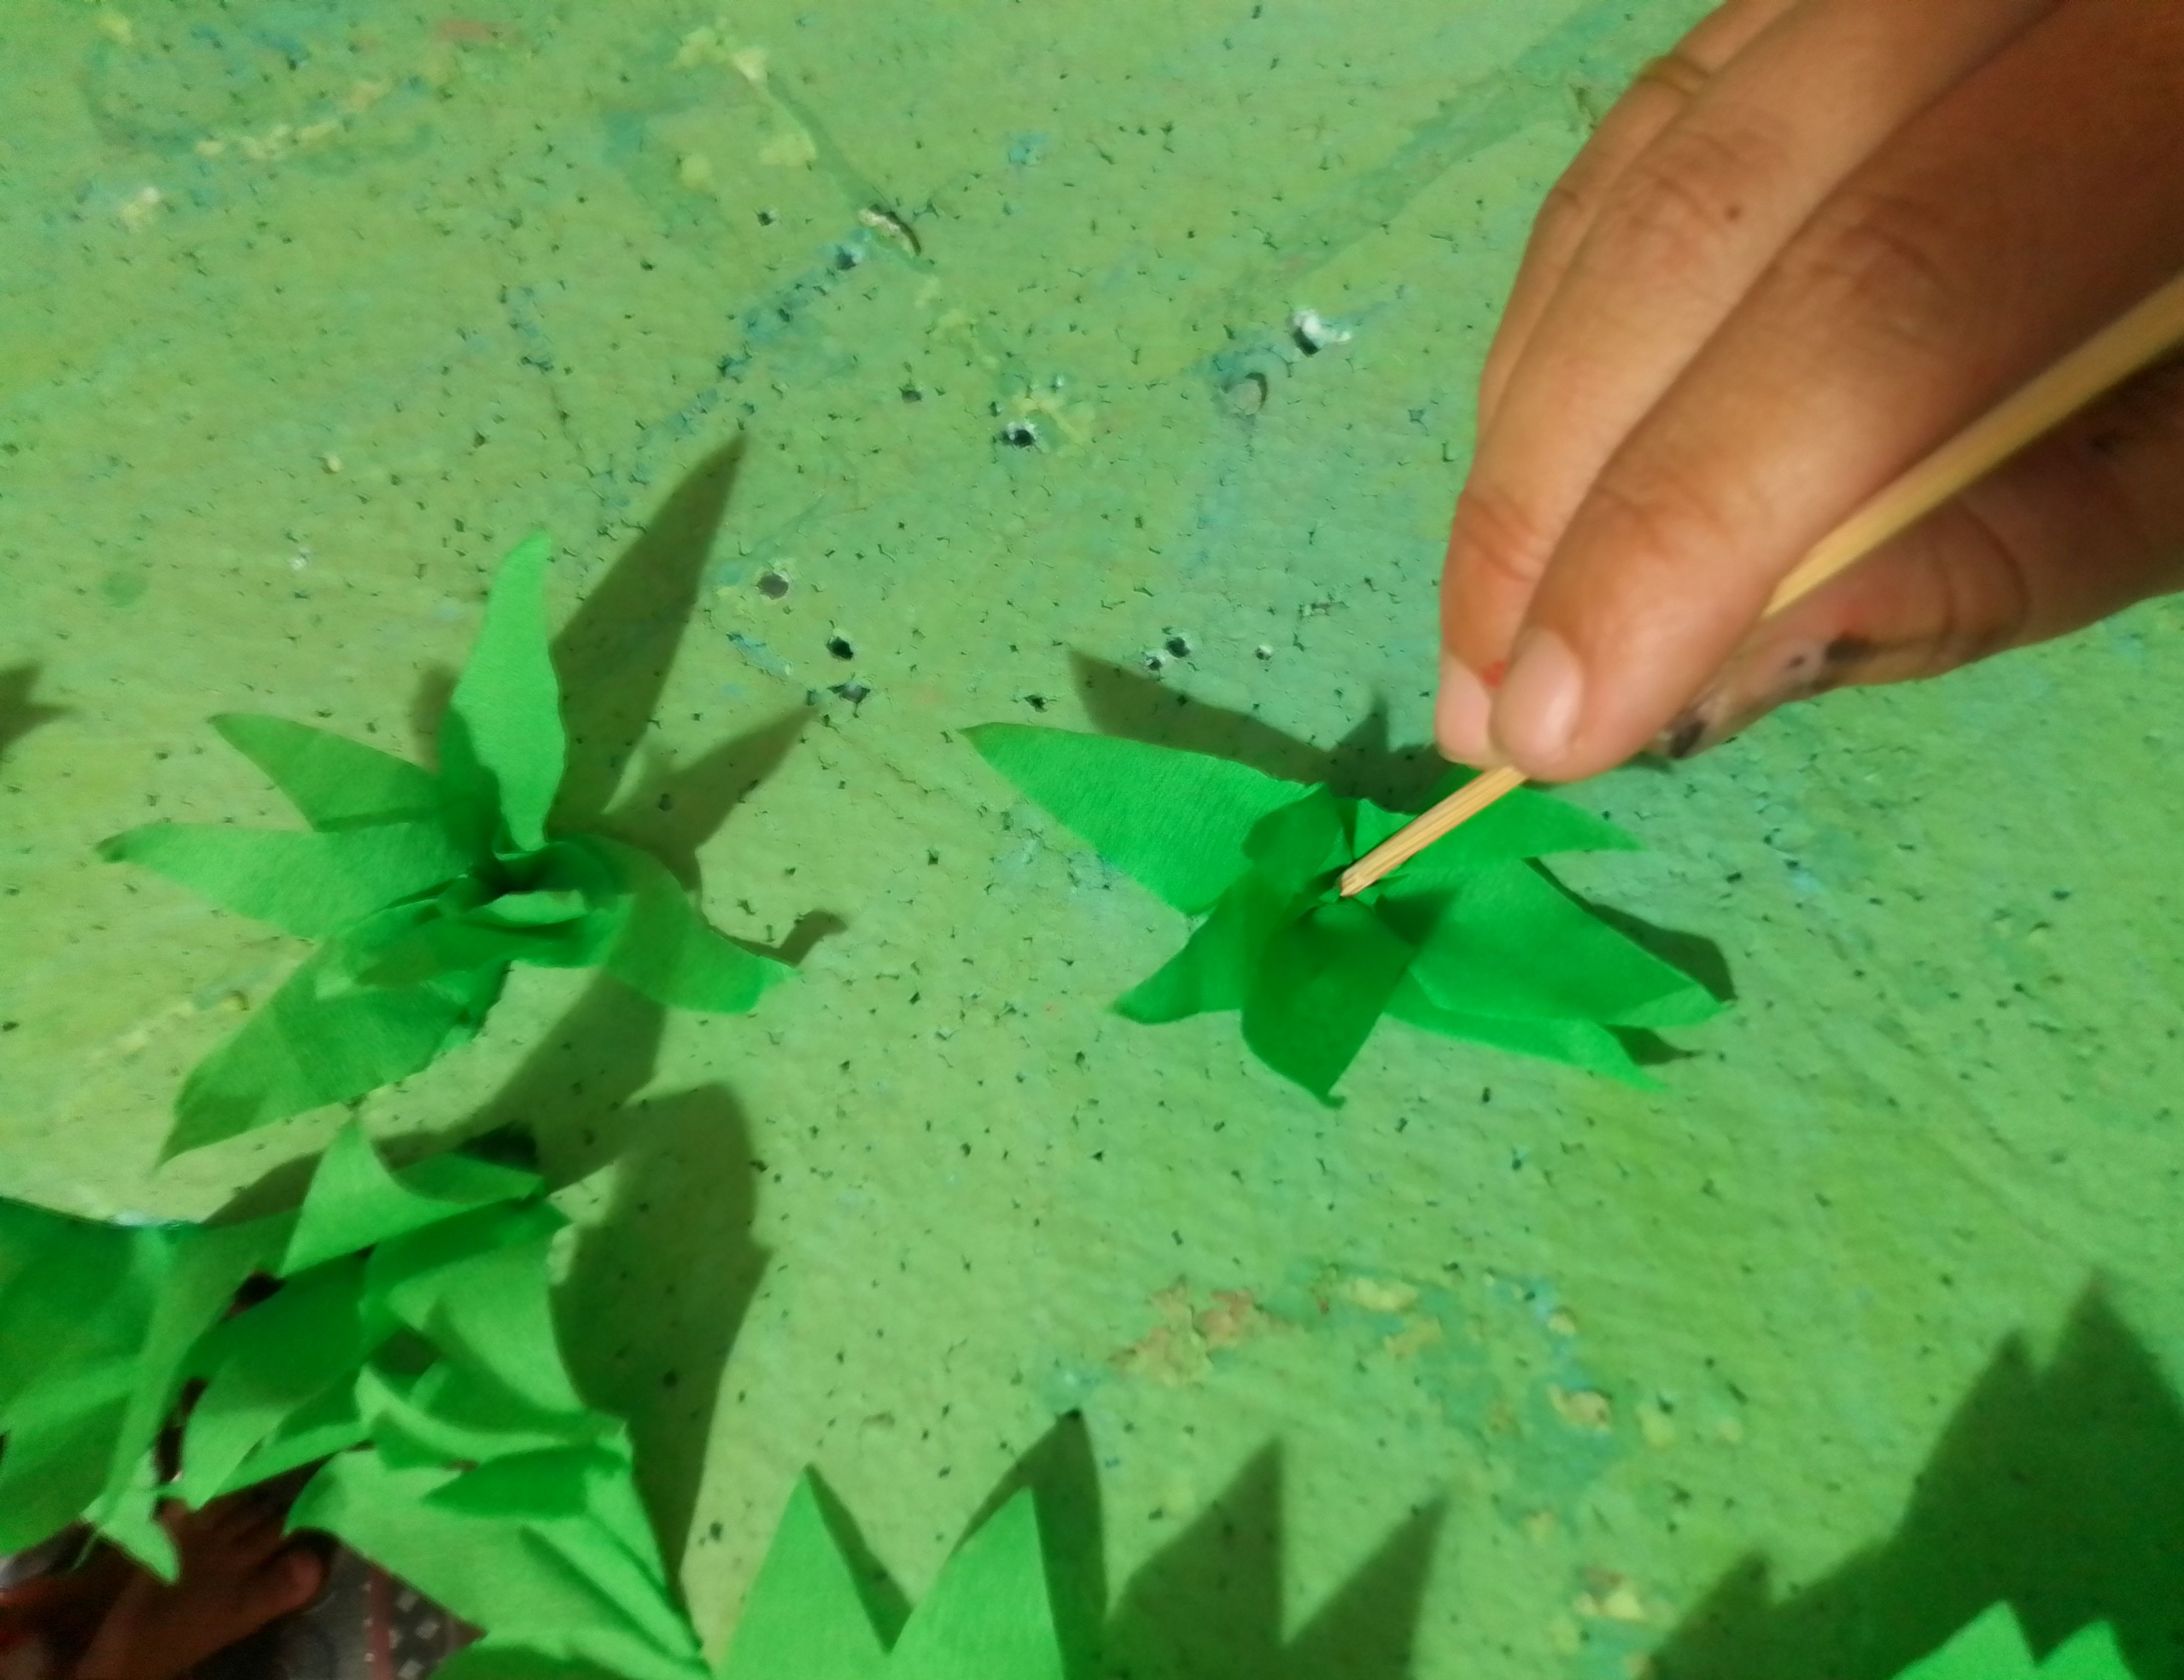
Ahora tomo el papel crepé verde y corto triángulo en contorno y con pegamento blanco vamos pegando en los bordes d ella flor verde para que se vea como cesped..
Step 07
Now I take the green crepe paper and cut a triangle in outline and with white glue we stick the green flower on the edges so that it looks like grass..
Paso 08
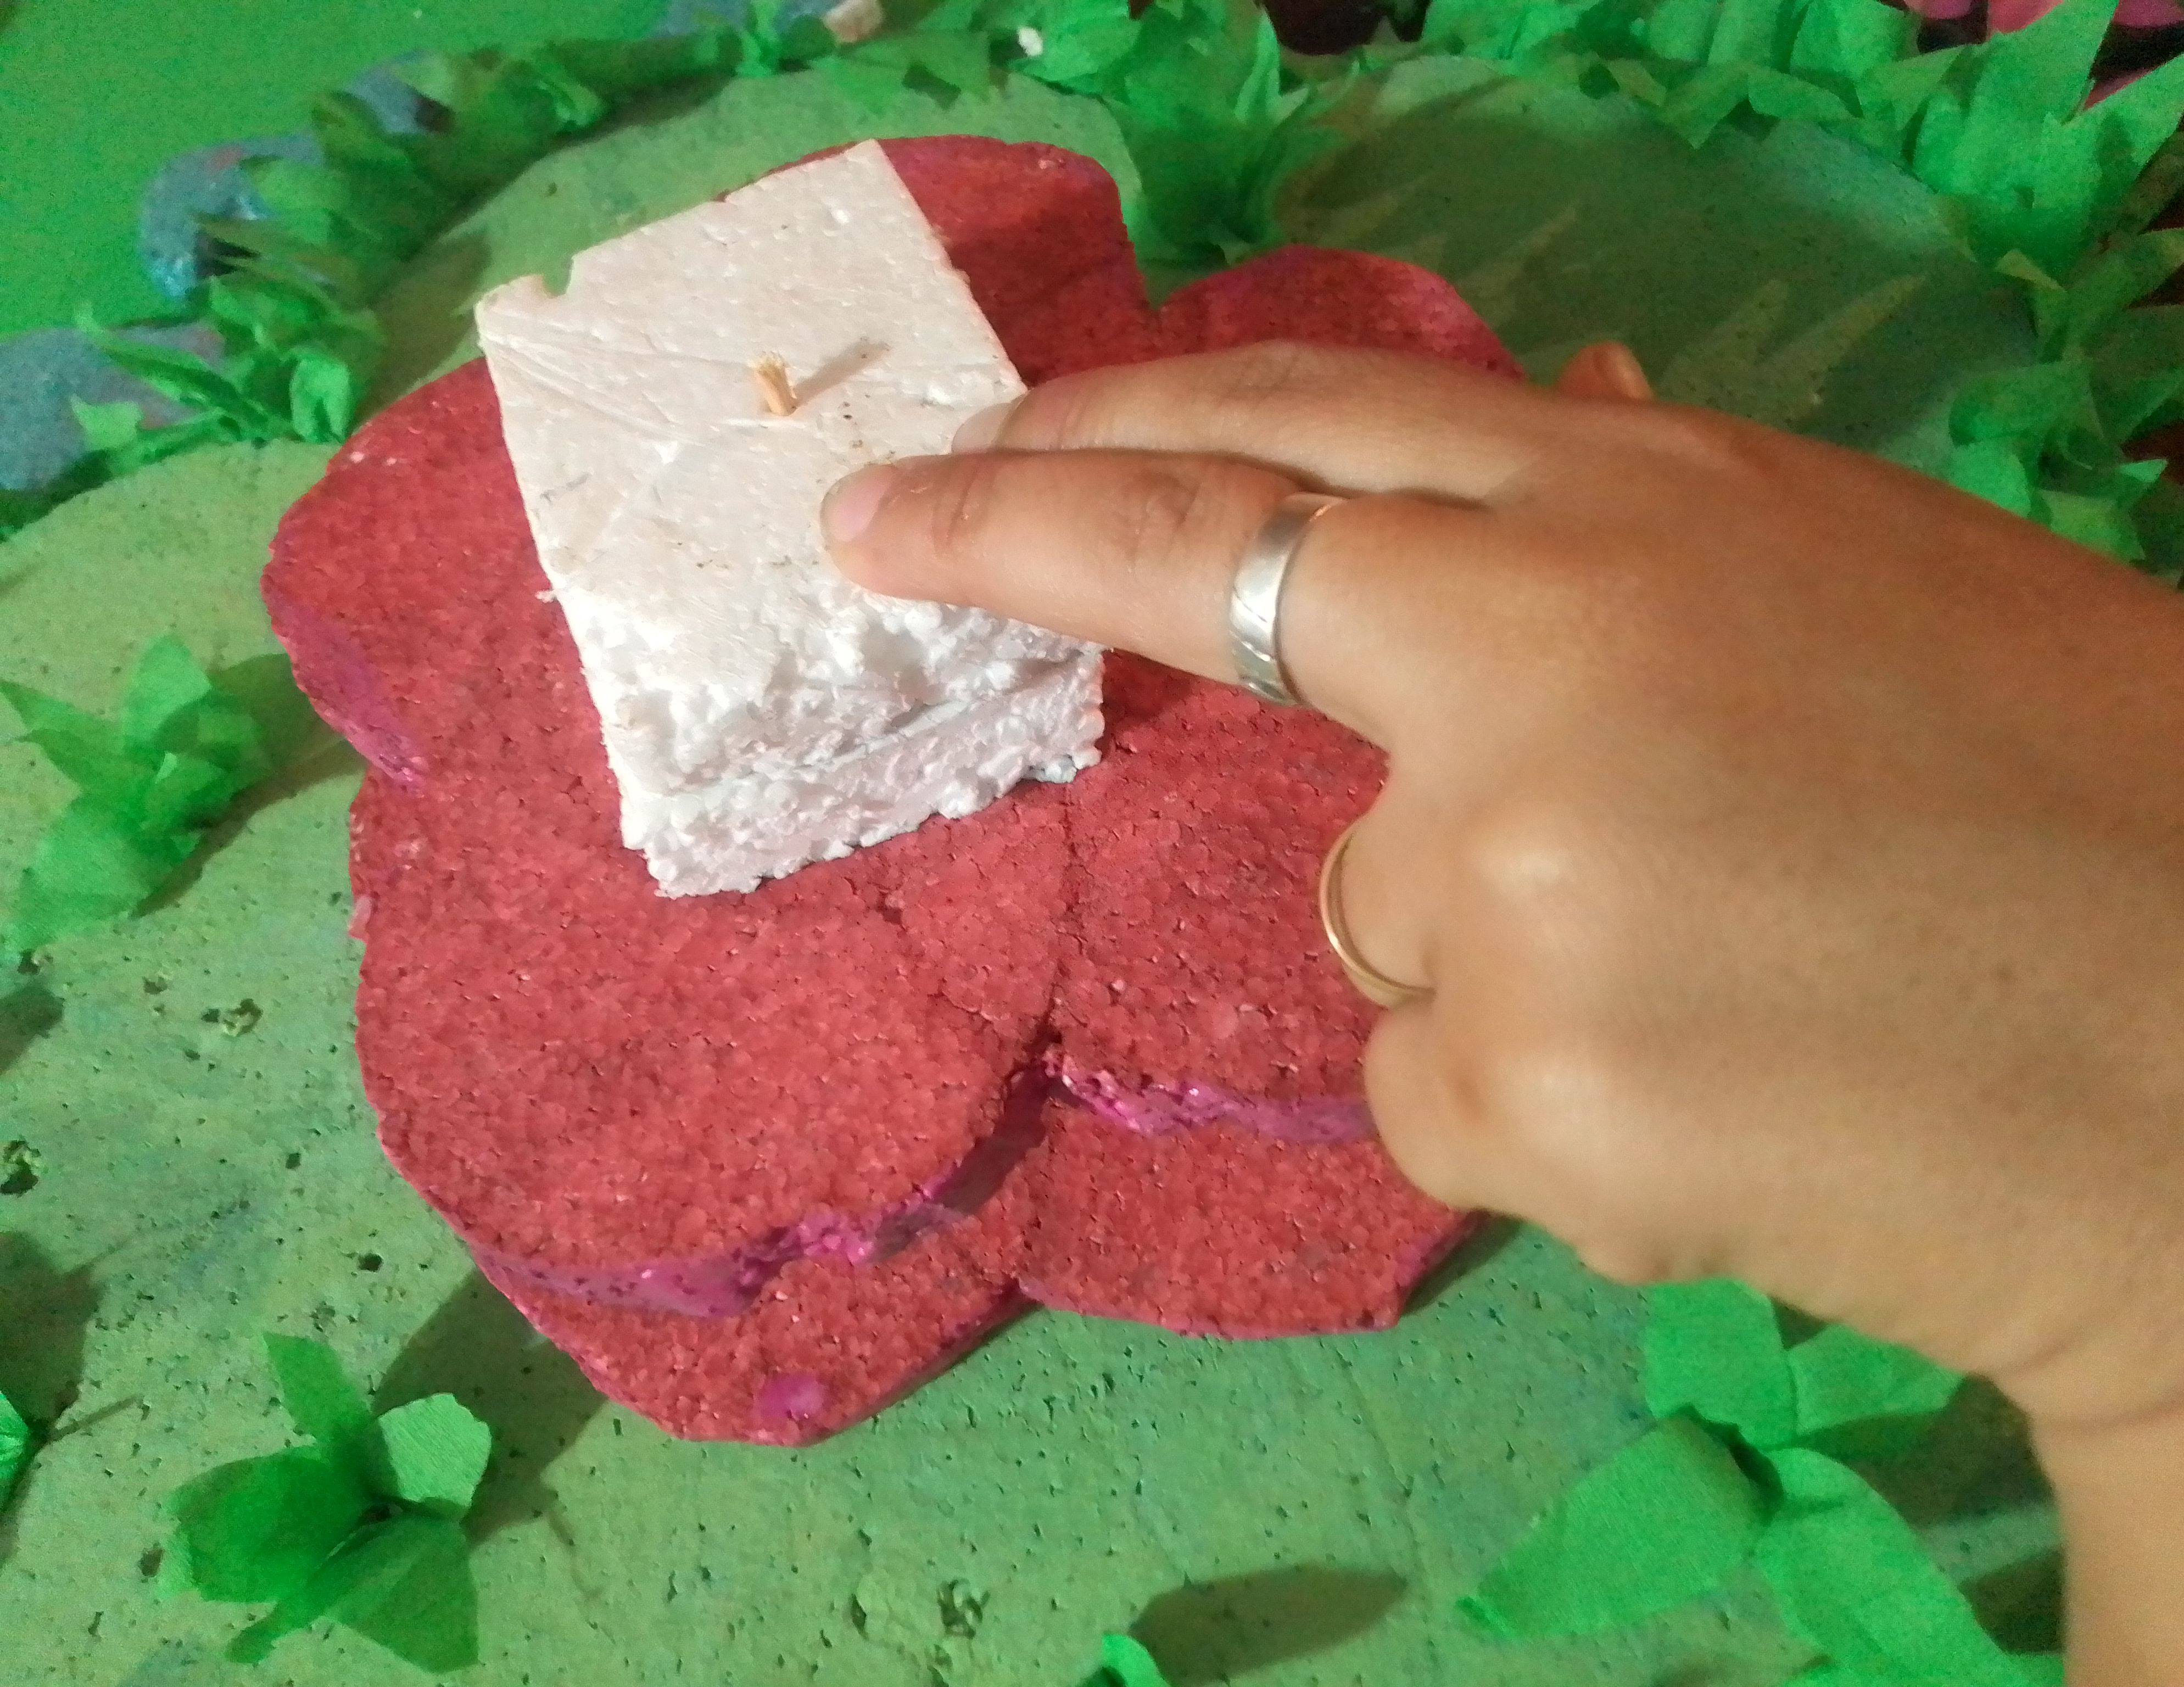
Corto triángulos del mismo papel y los introduzco en los pasados huecos de las chupetas para taparlos. Te recomiendo colocar un poco pega en los huequito s para que se fijen mejor.
Step 08
I cut triangles from the same paper and insert them into the past holes of the lollipops to cover them up. I recommend you put a little glue in the little holes so they stick better.
Paso 09
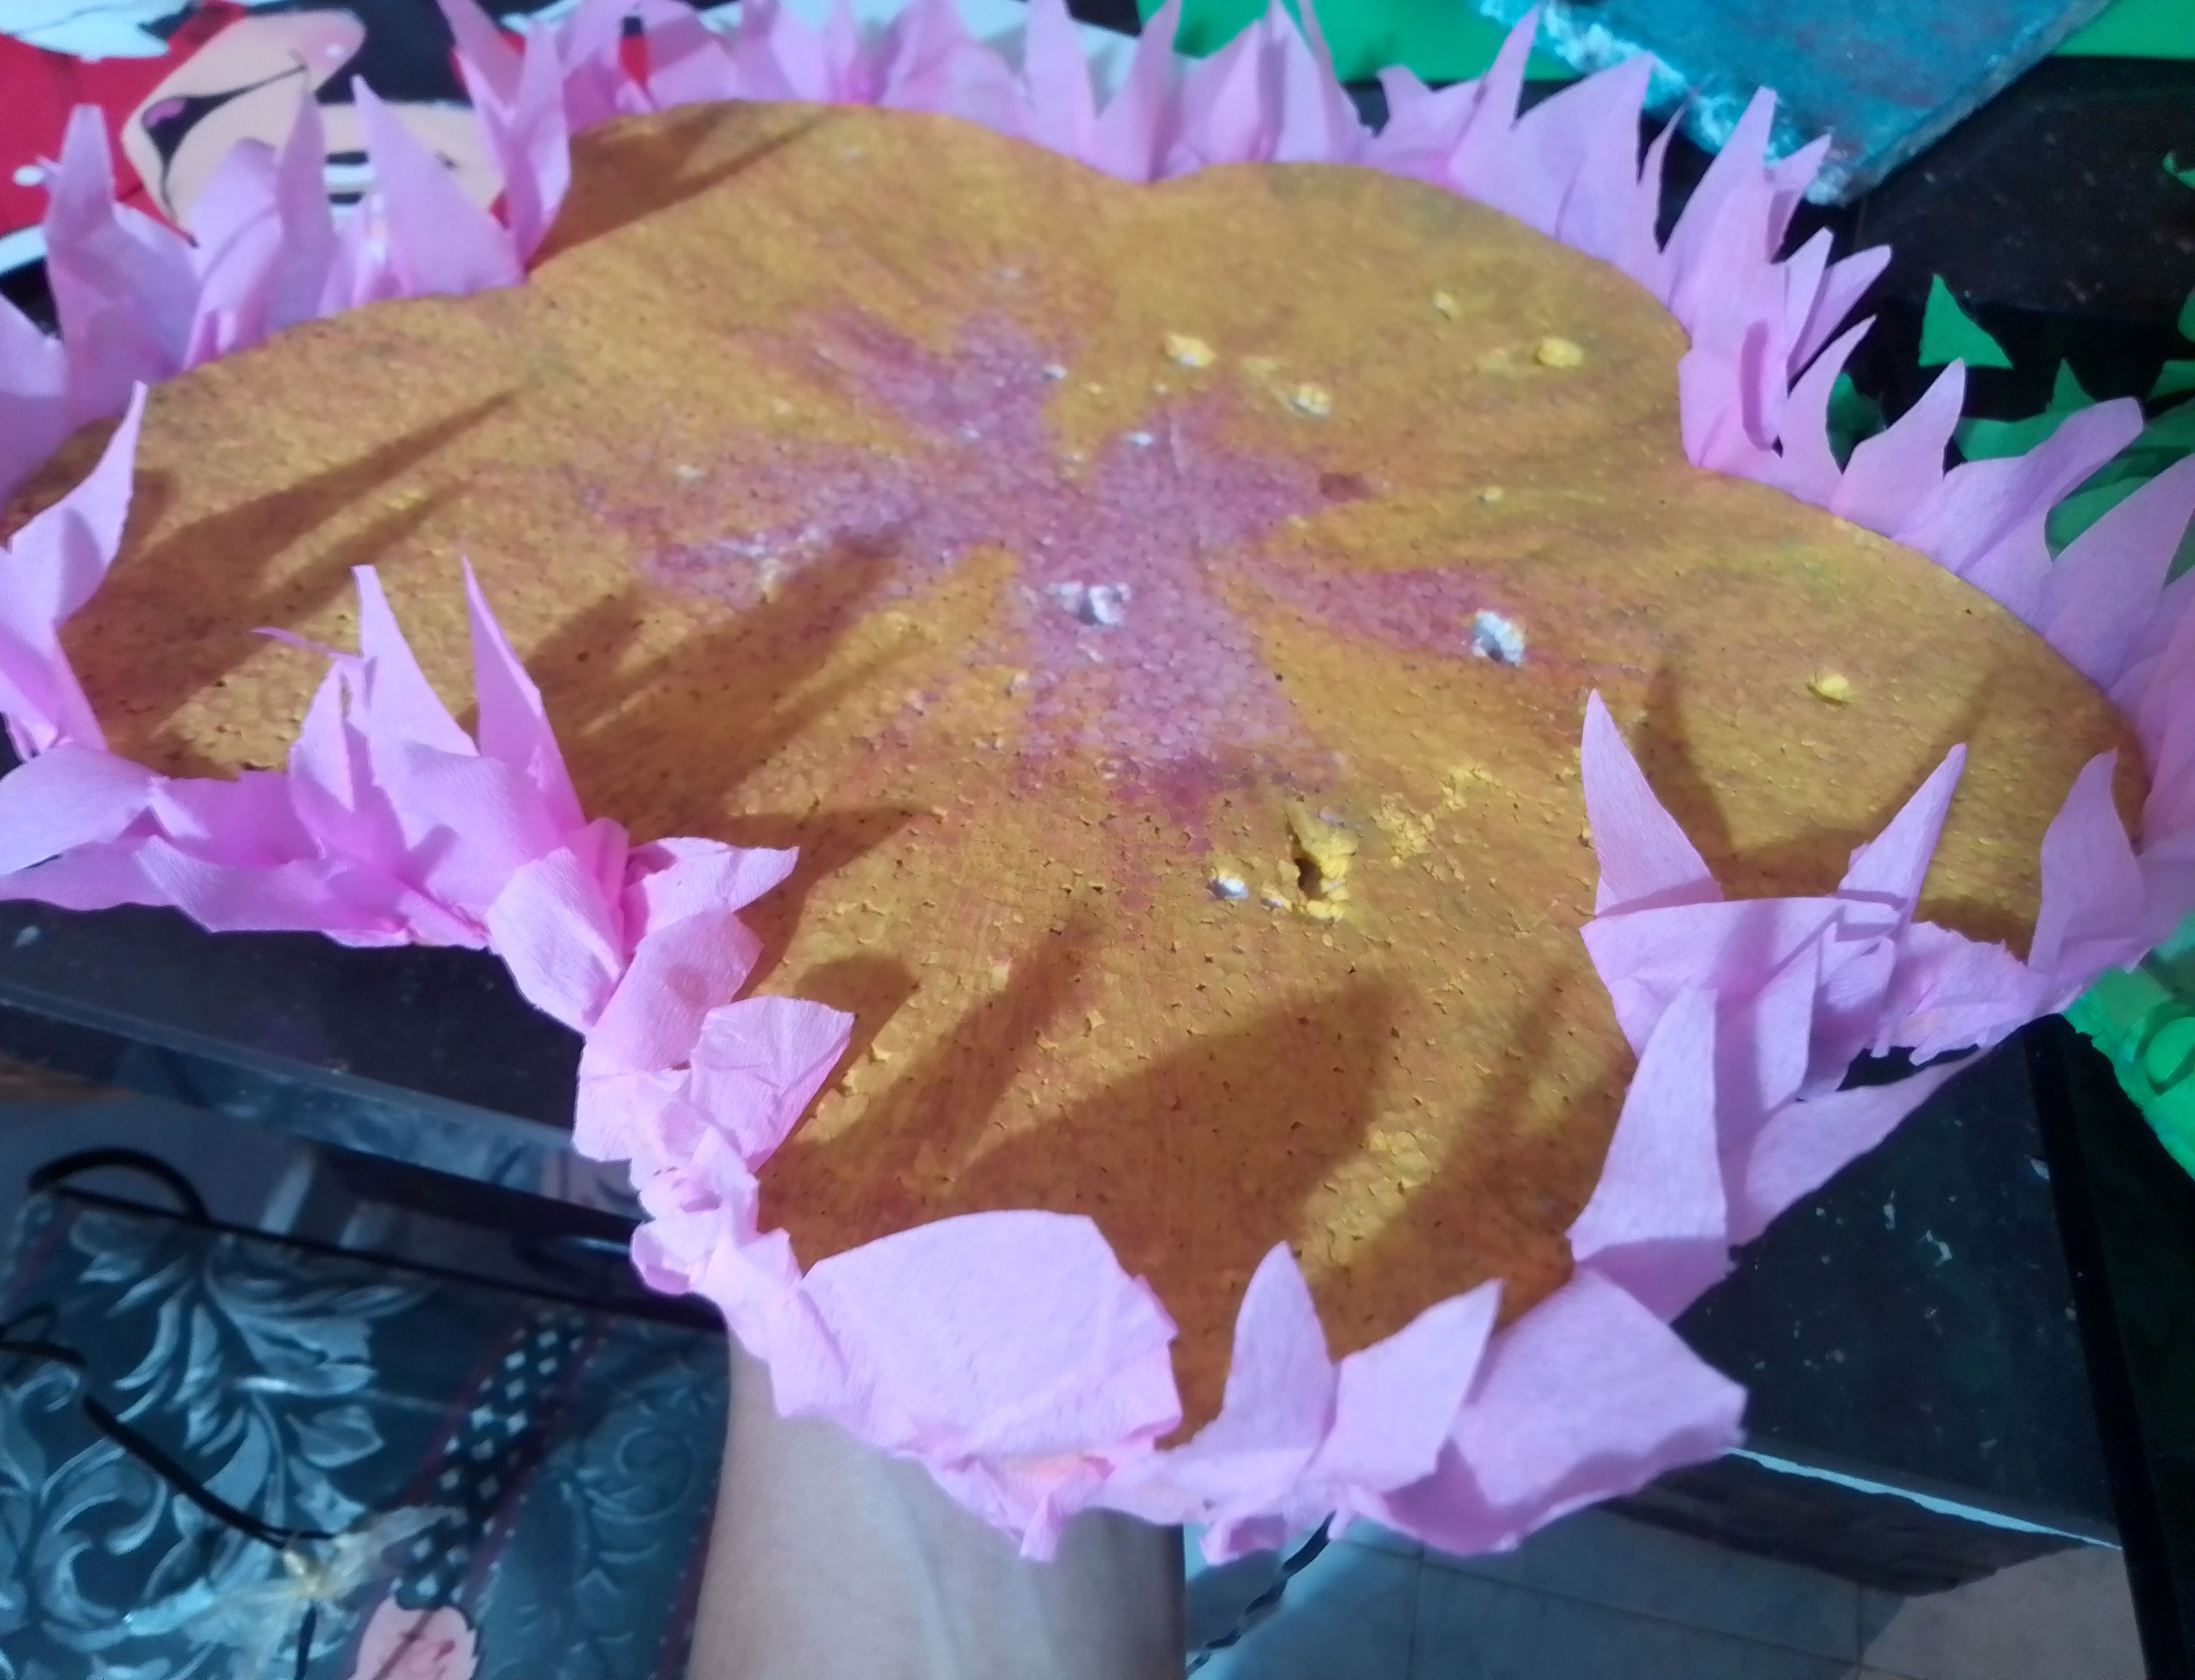
Ahora coloco las flores pequeñas en el centro y un poco más de anime en el centro de la flor y fijo con palillos de altura. Con pegamento blanco colo papel crepé rosado alrededor de la flor mediana y fijo con un palillo sobre las demás flore. Finalmente corro pequeñas flores blanca de margaritas y coloco en la chupetera junto a Minnie Mouse y el número 3.
Step 09
Now I place the small flowers in the center and a little more anime in the center of the flower and fix with height sticks. With white glue I put pink crepe paper around the medium flower and fix it with a toothpick on the other flowers. Finally I spread small white daisy flowers and place them in the lollipop holder next to Minnie Mouse and the number 3.
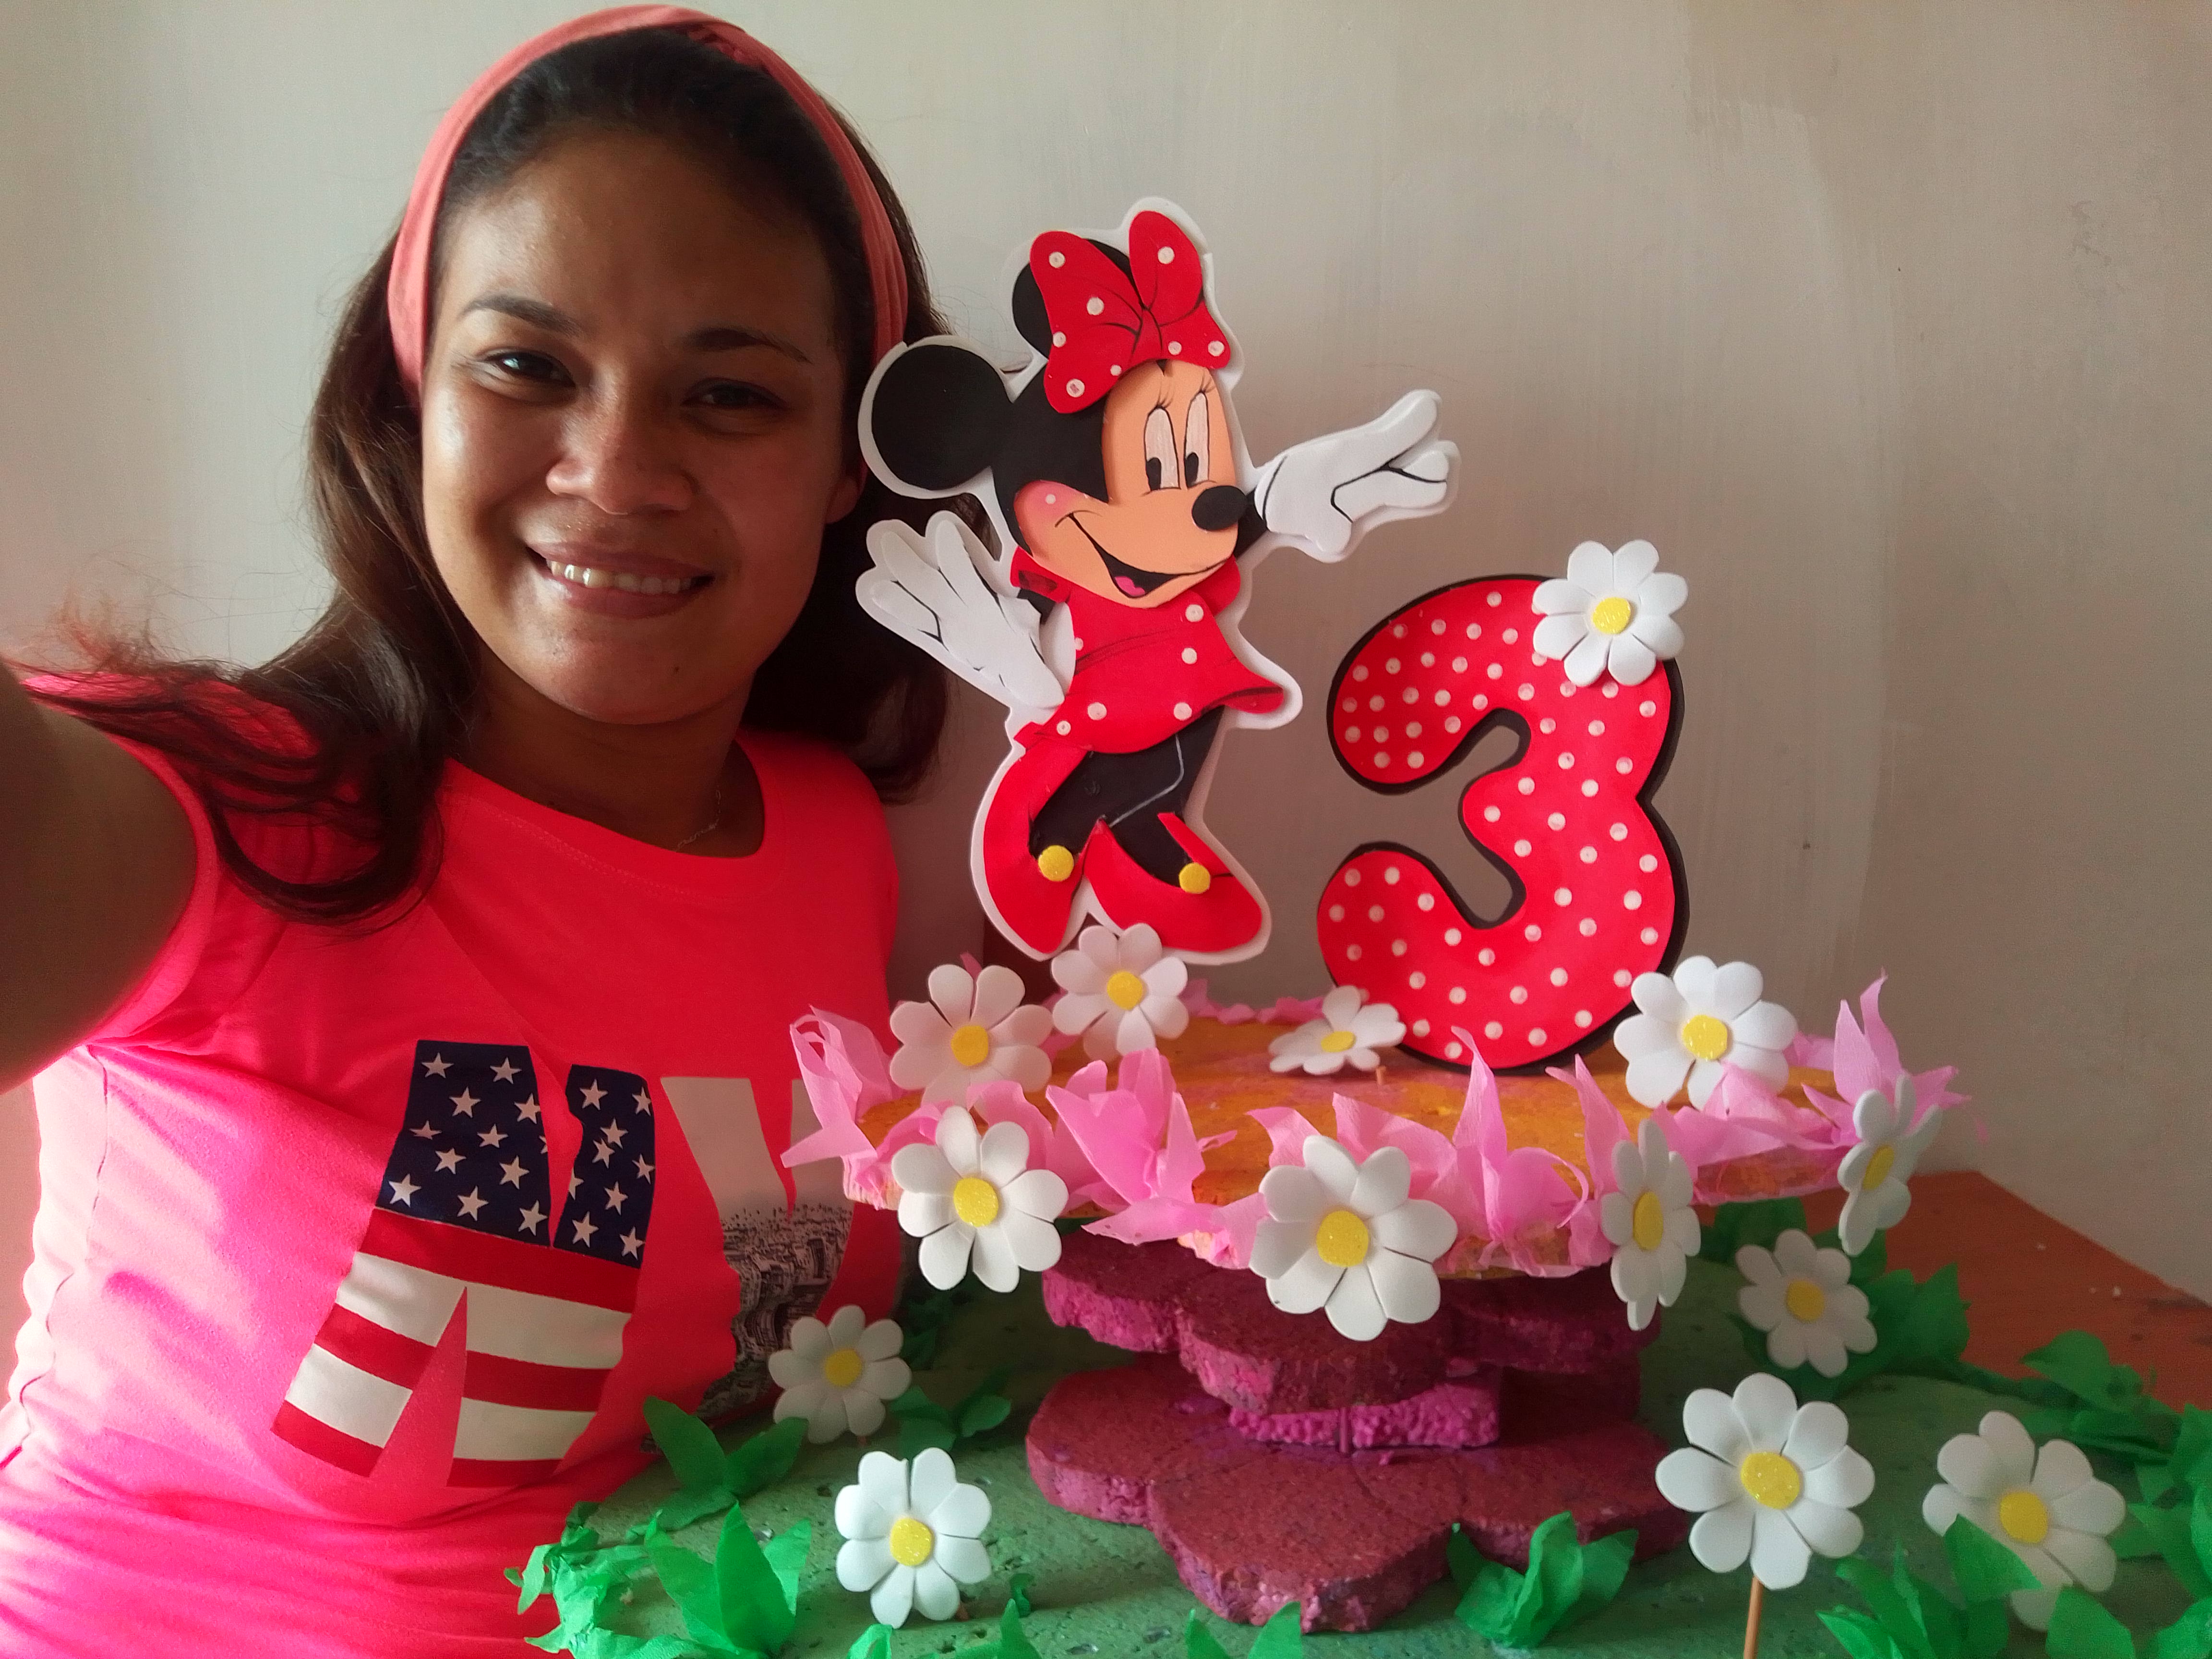
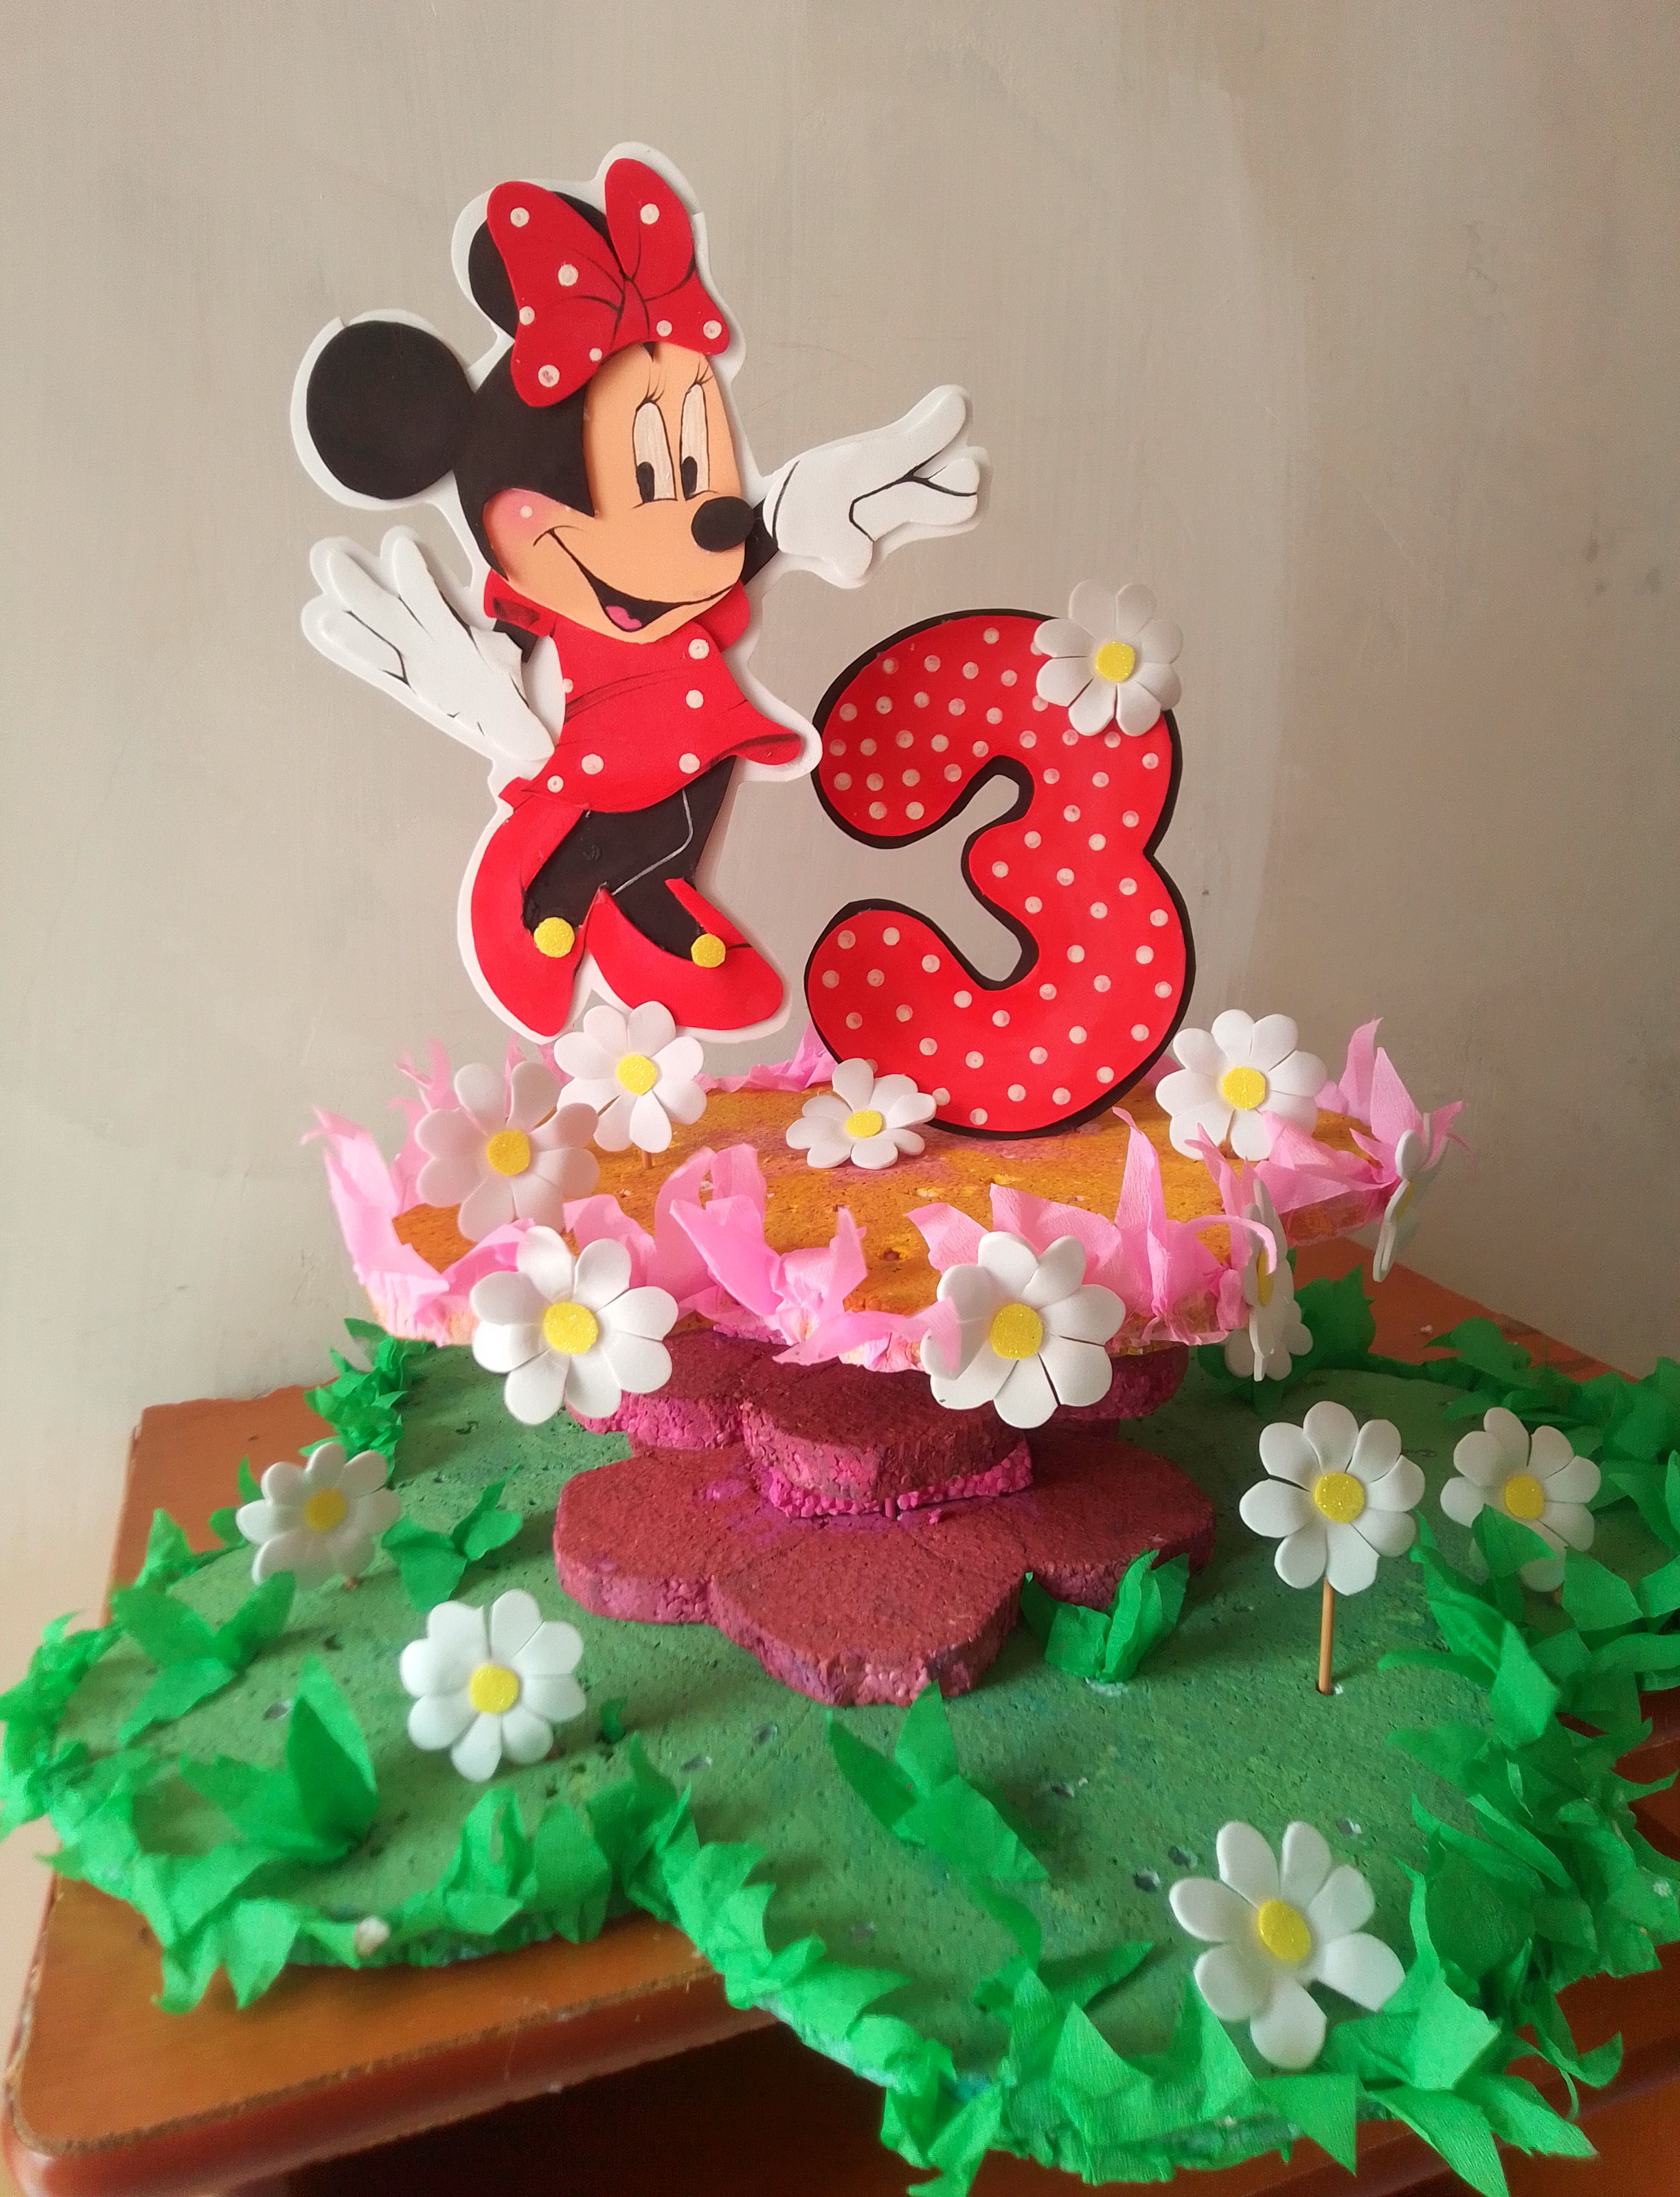
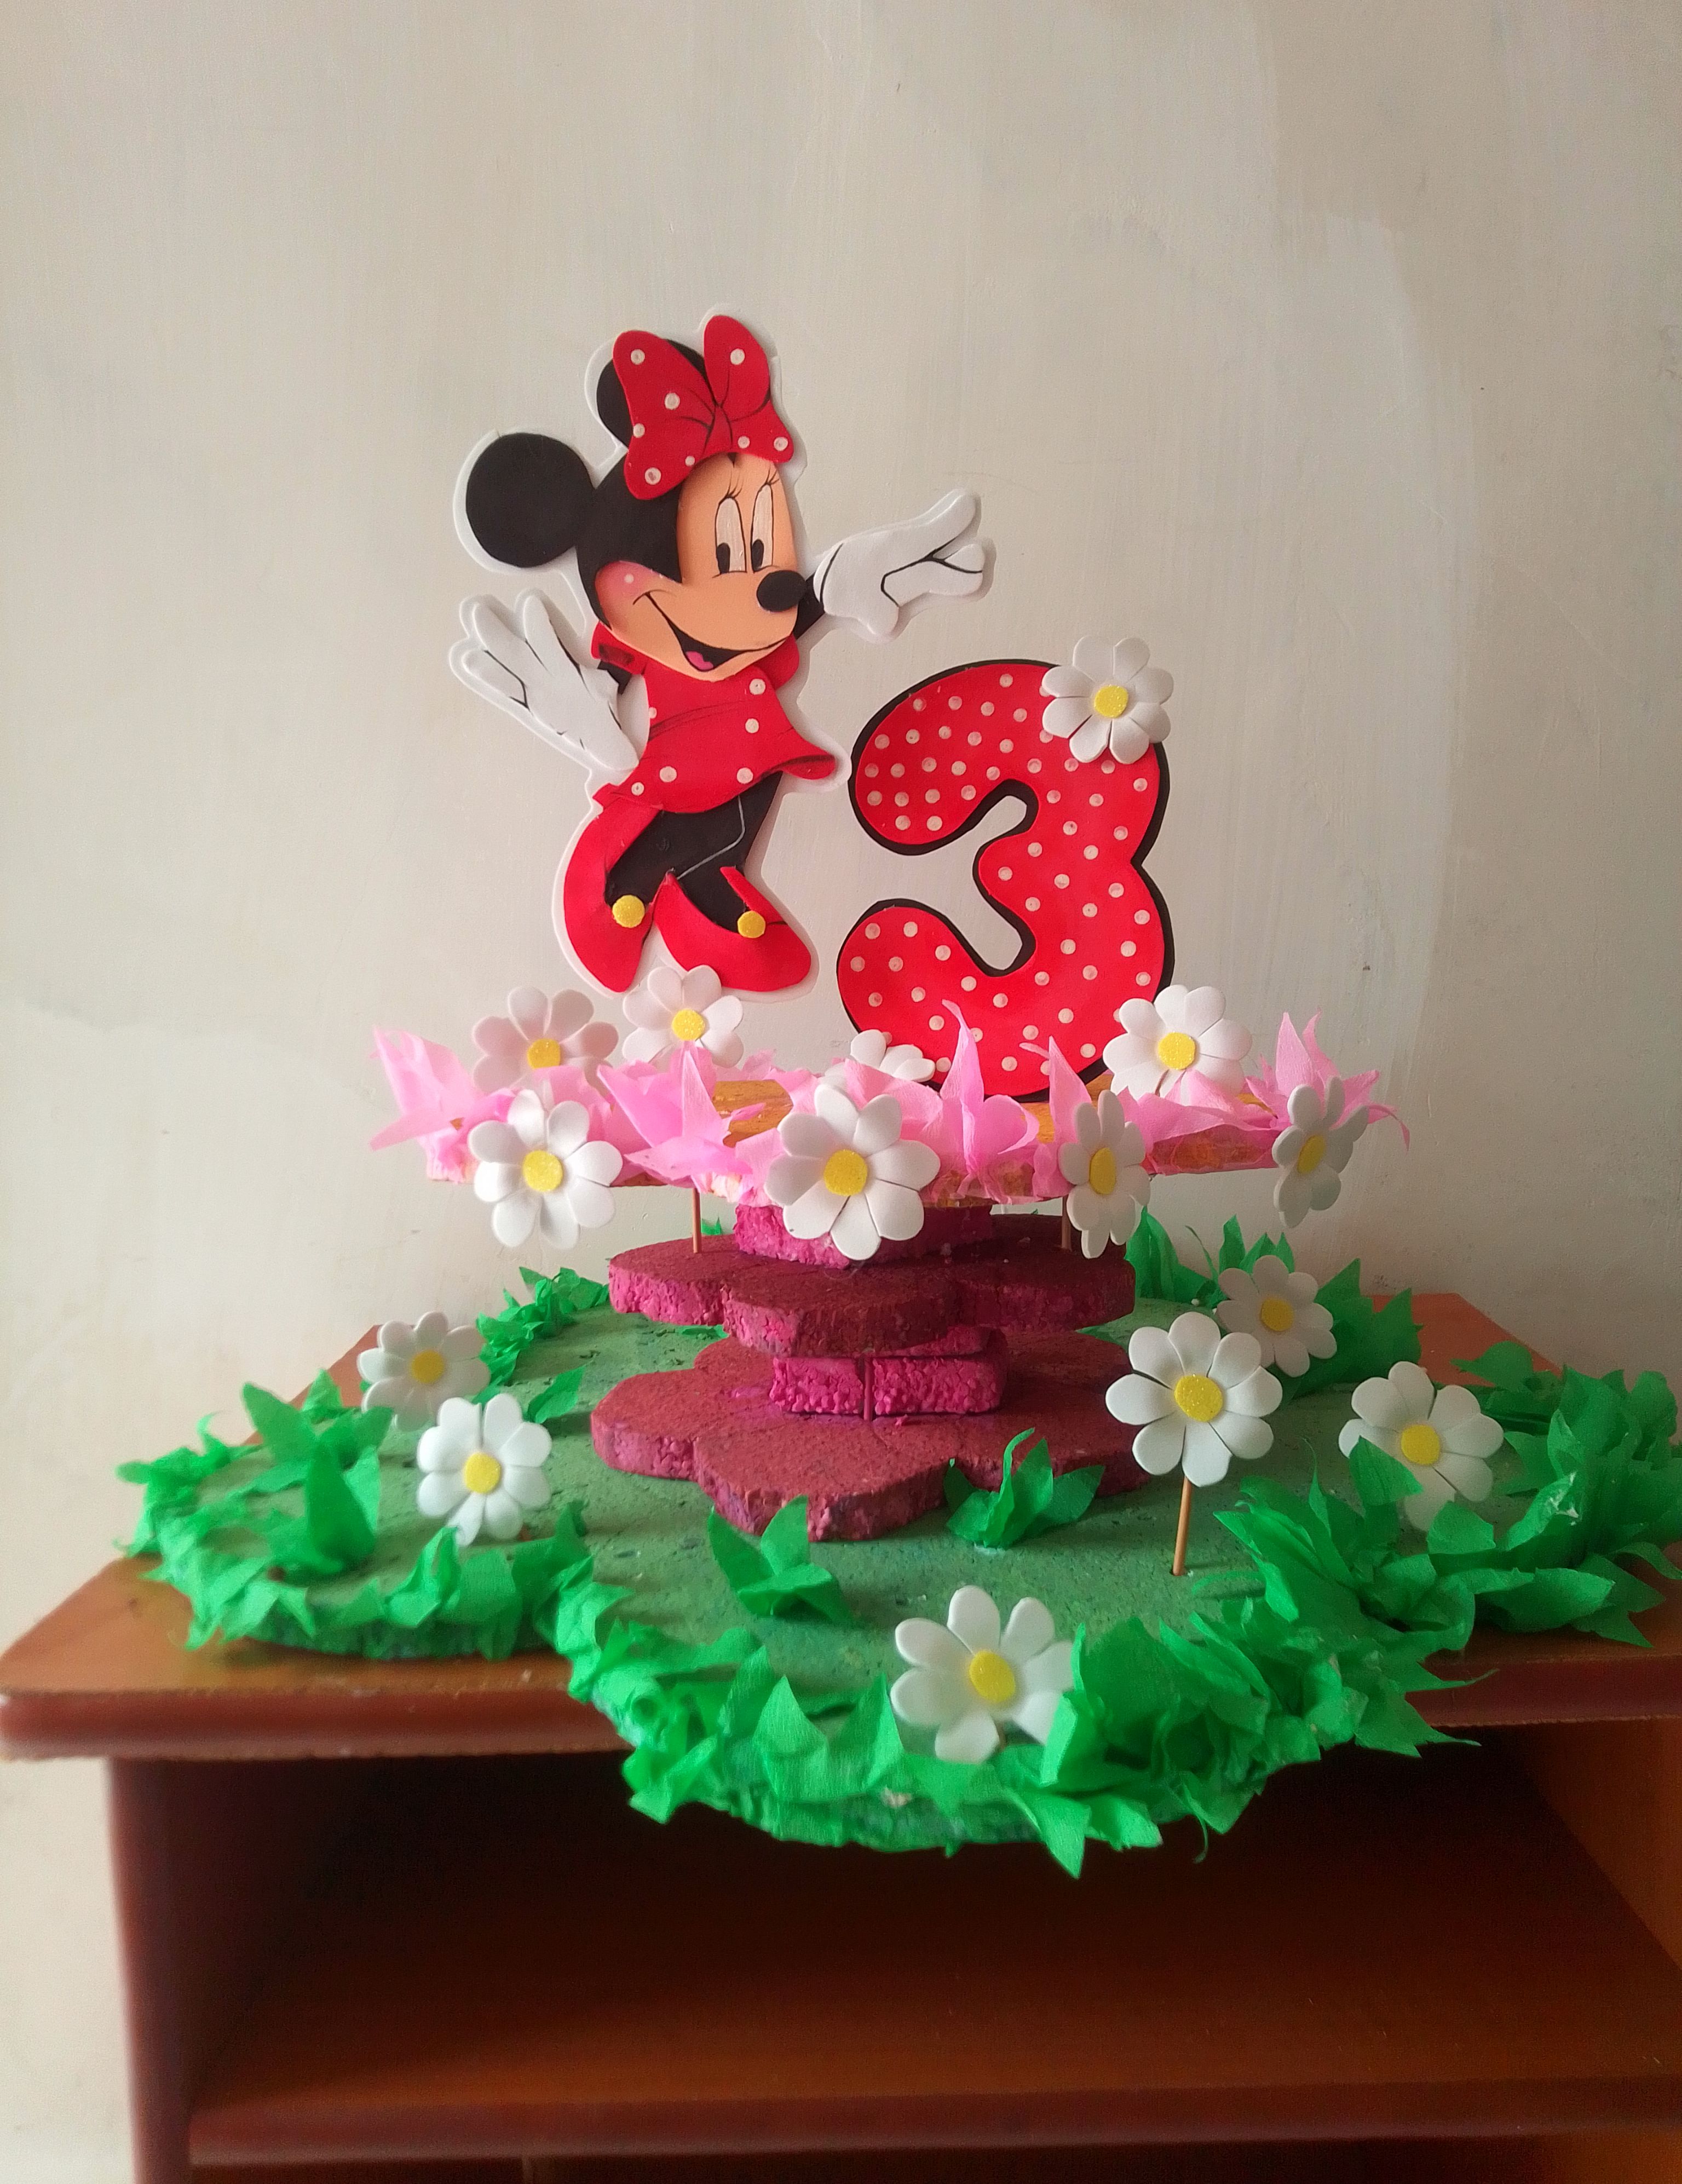
🎀Resultado! 🎀
Hemos terminado mis bellos amigos! Aquí les muestro este hermoso resultado. Espero te haya gustado mi trabajo el día de hoy! Y que está idea le sea de beneficio en algún momento.
We are done my beautiful friends! Here I show you this beautiful result. I hope you liked my work today! And may this idea be of benefit to you at some point.
☺ Gracias por mirara hasta el final. ☺
I wish you a happy elaboration, a beautiful day may God take care of you and protect you and give you a beautiful and blessed Saturday. Happy weekend, until the next idea!!/div
Beautiful
Thanks friend!!
You're welcome 😘
Reciclar y reusar siempre debe ser una opción, tu restauración quedó hermosa como nueva esa chupetera, las técnicas que has usado las tendré en mente cuando requiera hacer una restauración como esta, gracias por compartir.
Hola mi estimada amiga @jennyzer, es un verdadero gusto ver un comentario suyo! Y me alegra un montón que sea de su agrado mi trabajo reciclado, lo hice con mucho amor primeramente para mi hija y segundo con la idea de mostrarles algo que precisamente sirviera de ayuda a todos! Gracias por todo el apoyo.. Saludos y muchas bendiciones!
Que estupendo que pudieras restaurar esa chupetera y volverla a utilizar, más aún en estos tiempos en que todo está tan costoso y difícil pero, el reciclar da la opción de convertir algo sin uso, en algo hermoso y que le dé alegría a nuestros hijos. Seguro que todo lo de la fiesta quedará hermoso.
Muchas gracias por compartir tu creación y por aportar en positivo con tu publicación a nuestra comunidad. Un abrazo! 🤗
Hola mi bella!! Gracias por su grato comentario! Si estás en lo cierto, todo es muy costoso y difícil, pero me alegra haber hecho algo que gustará mucho y que sobre todo haya sido de su agrado... Muchas gracias por todo el apoyo.! Bendiciones para usted y un abrazo! Un placer tener un su comentario!
Le diste una segunda oportunidad a ese porta chupetas...te quedó estupendo.
🎆🎇🎉🎊🌧️💐✨🌾🌱🌹🌙🌿🍃🥀⚡🌺☘️🍀🌈🌷⭐🪴🌵🌸🌟💮🌴🌳💫☀️💮☔🌲🌳🌍🌌🌠☄️🏵️🐝🌻🌼🍄🐞🦋💙☕💜🍍🎆🎇🎉🎊
Sin duda mi bella! Desde que la use la primera vez supe que no podía desecharla y que serviria para algo más!! Muchas gracias, es grato que te guste! Saludos!