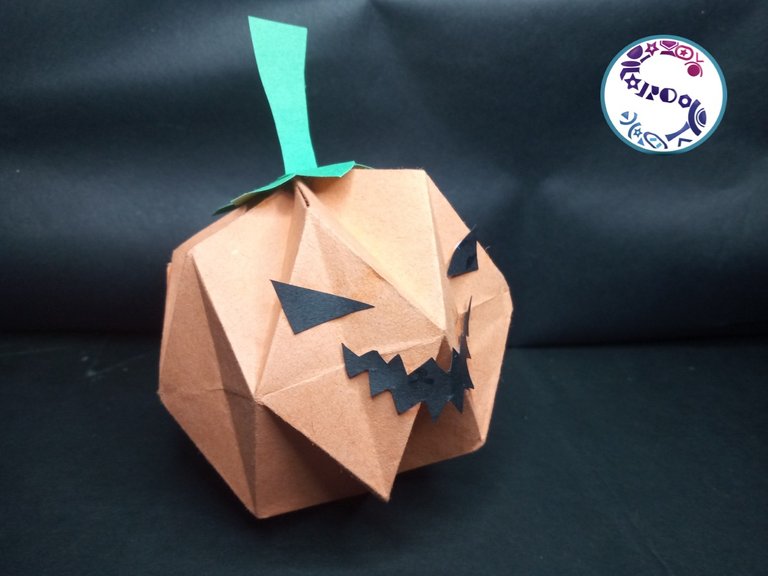
Greetings my dear friends readers, today I want to present an origami craft which ends in a small and monstrous Halloween Pumpkin that will serve to decorate any space in the home or office in these days of horror.
Saludos mis queridos amigos lectores, el día de hoy quiero presentarles un manualidad de papiroflexia la cual termina en una pequeña y monstruosa Calabaza de Halloween que nos servirá para adornar cualquier espacio en el hogar u oficina en estos días de horror.
Making this craft is really very simple, we only need to have the paper we want to use, a scissors and a little bit of glue. This craft is very inexpensive to make but results in a very special ornament for this season.
Hacer este trabajo es realmente muy sencillo, solo deberemos tener a mano el papel que queremos usar, una tijera y un poquito de pega. Esta manualidad es sumamente económica para hacer pero resulta en un adorno muy especial para esta época.
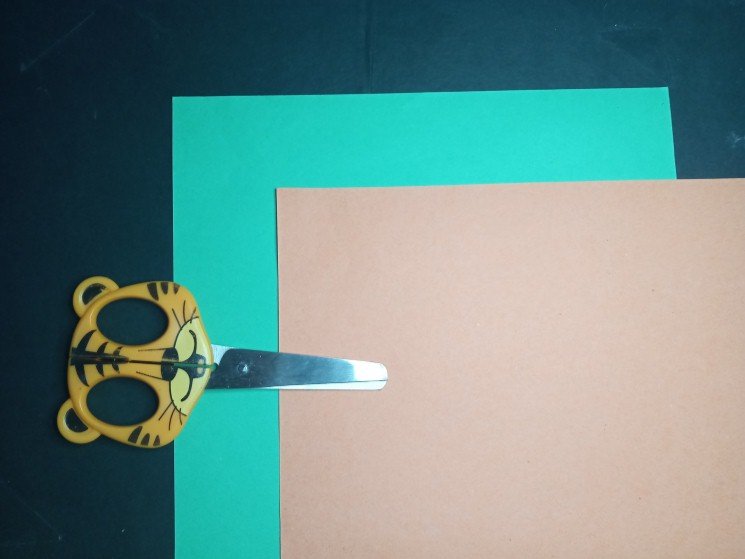
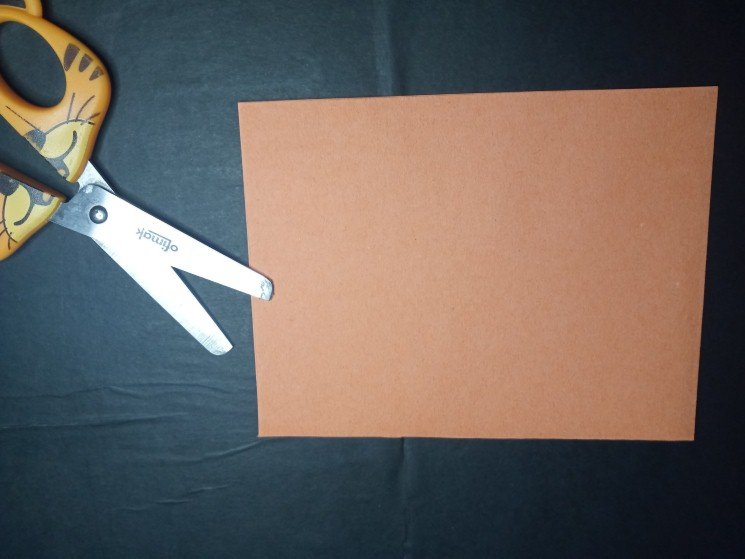
The materials we will use for the Pumpkin are:
- Two sheets of colored paper (in this case construction paper).
- A scissors
- a little bit of glue.
Los materiales que usaremos para la Calabaza son:
- Dos pliegos de papel de colores (en este caso cartulina de construcción)
- Una tijera
- un poco de algún pegamento.

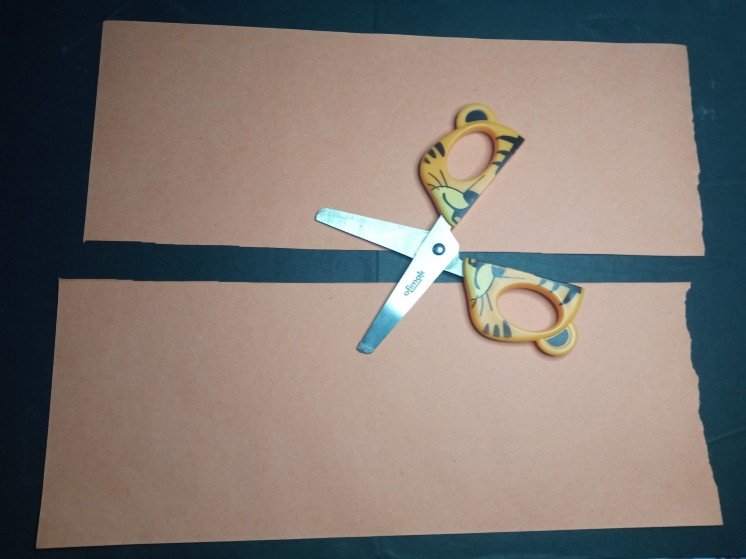
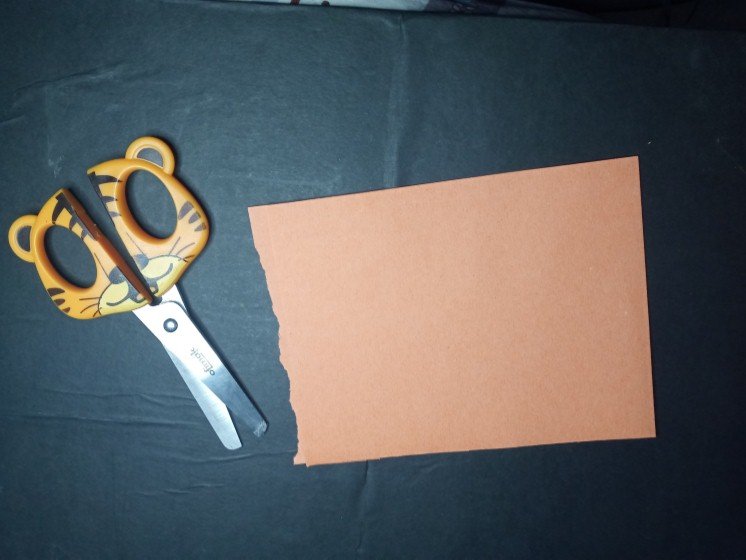
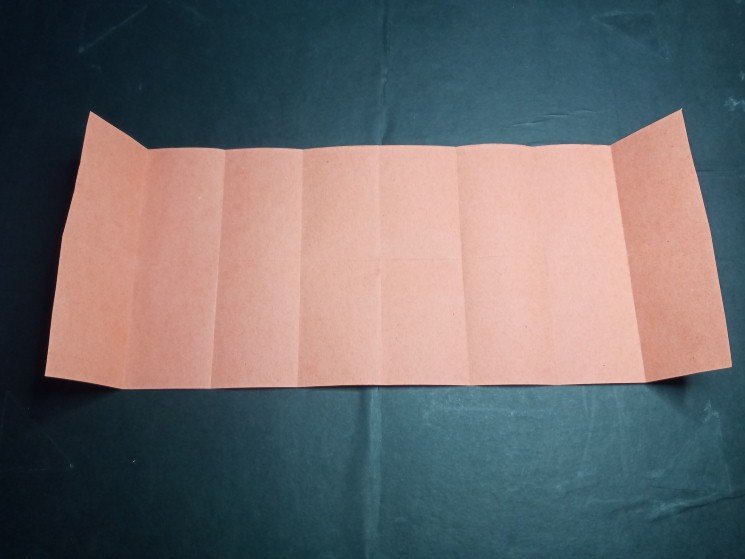
The first thing we do is to select the orange cardboard and cut it in half, then as in my case the top was irregular, I matched it by folding it almost in half and cutting it with the scissors.
Lo primero que hacemos es seleccionar la cartulina de color anaranjado y la picamos por la mitad, luego como en mi caso la parte de arriba estaba irregular, la empareje doblando casi a la mitad y cortando con la tijera.
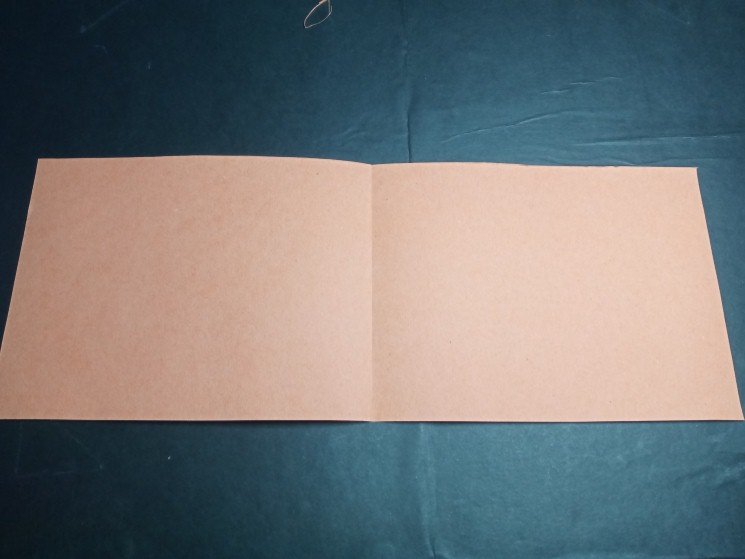

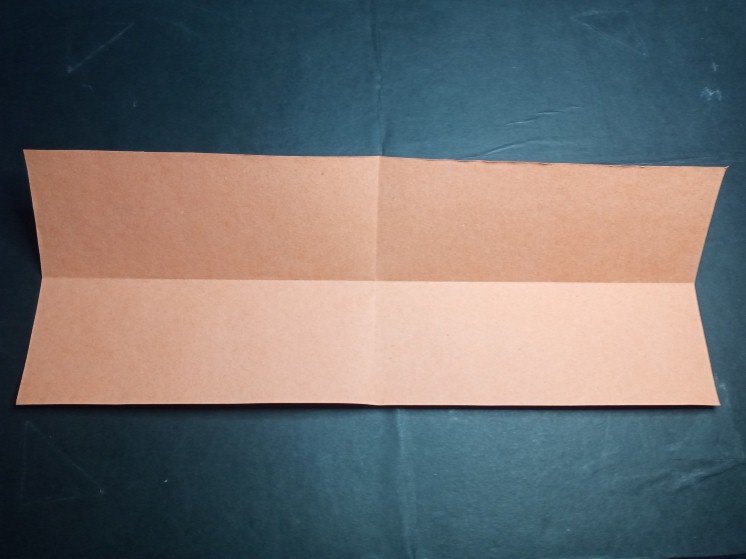
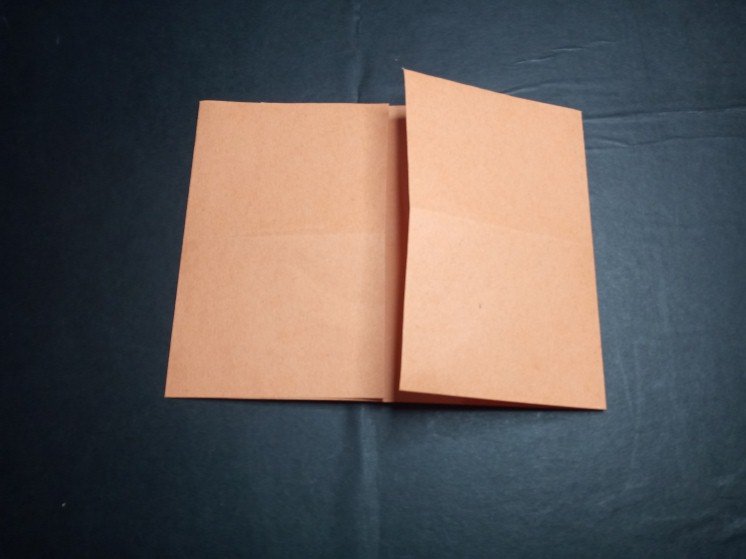
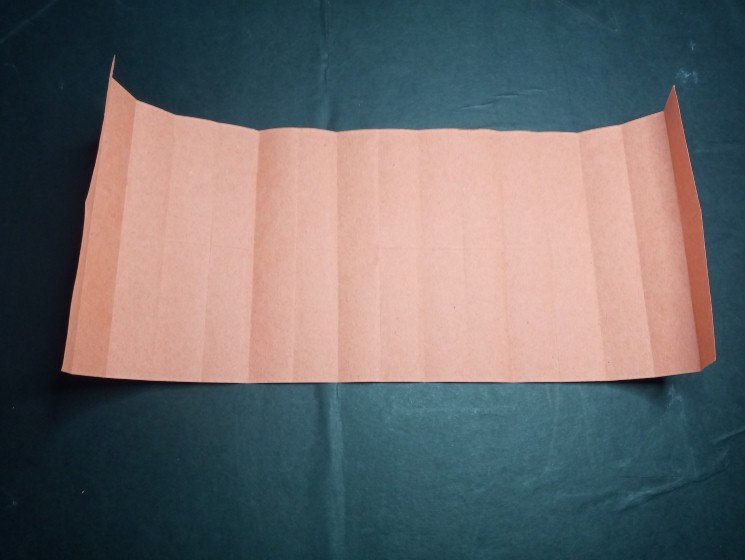
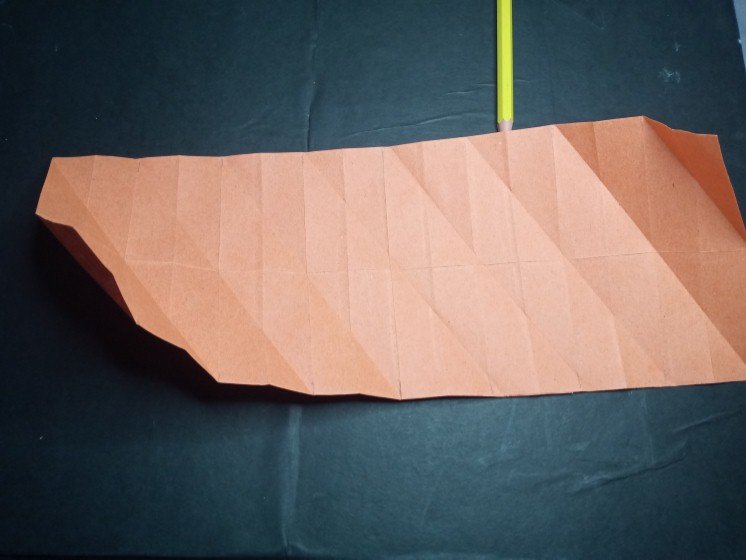
With the first half done, I proceeded to fold to the same side each half that was done from the center and opened the paper again, repeating this several times, leaving at the end, 16 spaces.
Con la primera mitad realizada, procedí a doblar hacia un mismo lado cada mitad que se hizo desde el centro y abrí nuevamente el papel, repitiendo esto varias veces, quedando al final, 16 espacios.
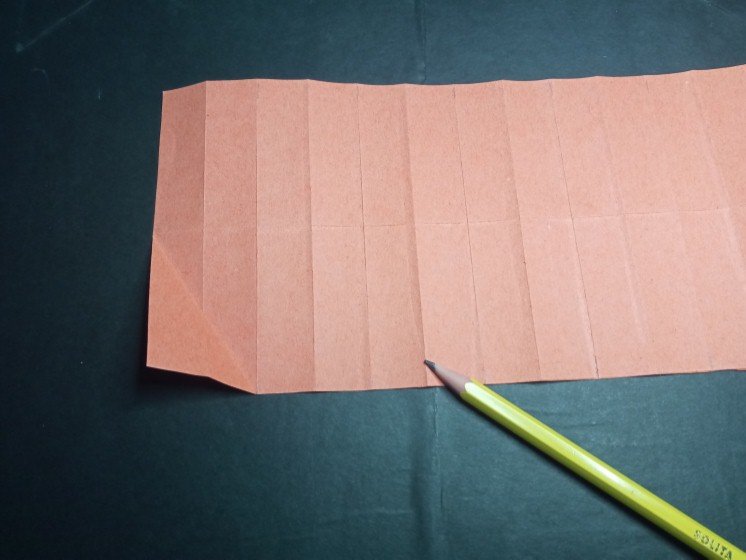
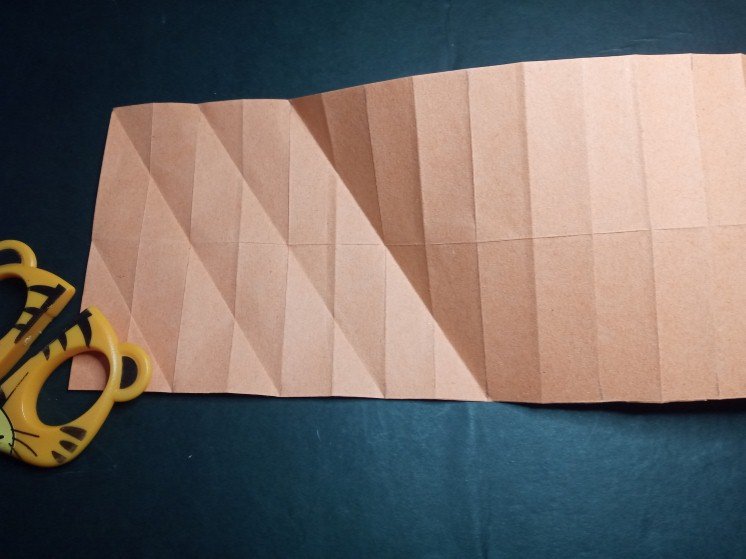
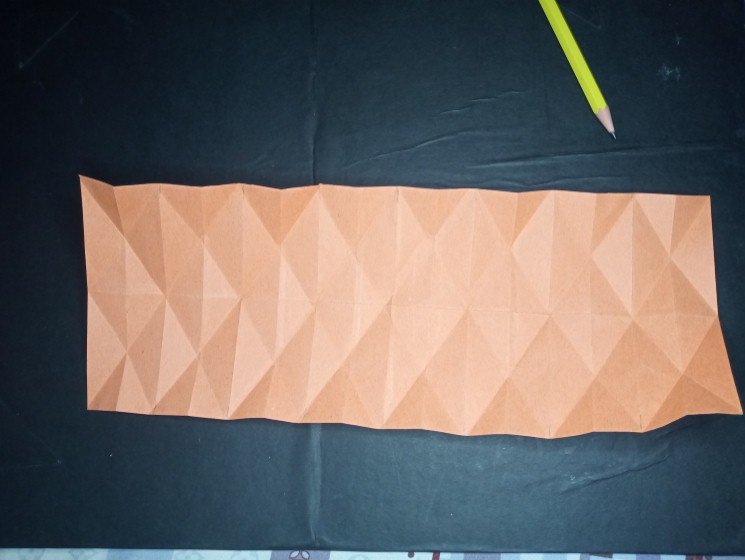
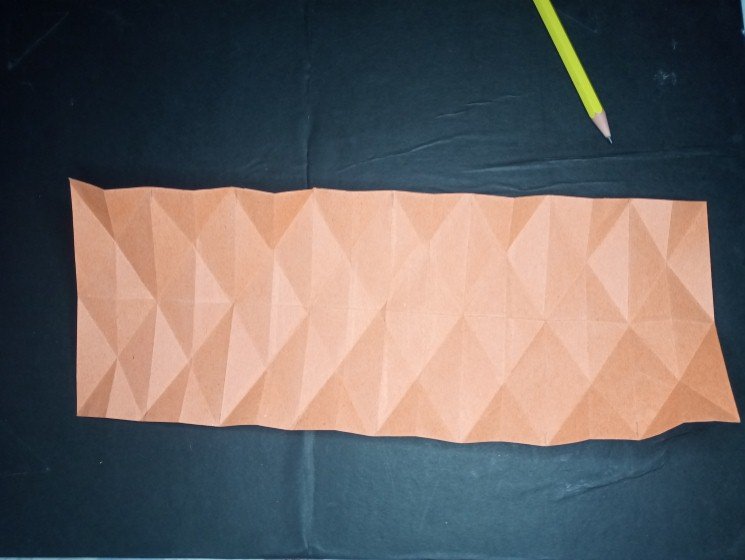
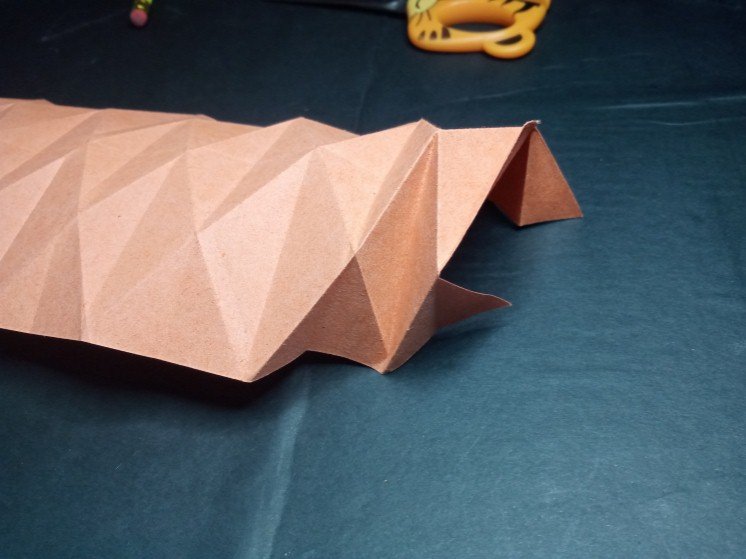
The complicated part comes now, in this step we fold diagonally opposite to the vertical folds, every two spaces joining from the center to the end of the sheet. Then we repeat this process on the opposite side achieving a very nice diamond pattern.
La parte complicada viene ahora, en este paso doblamos en diagonal al contrario de los dobleces verticales, cada dos espacios uniendo desde el centro hasta el final de la hoja. Luego repetimos este proceso del lado contrario logrando un patrón de rombo muy lindo.
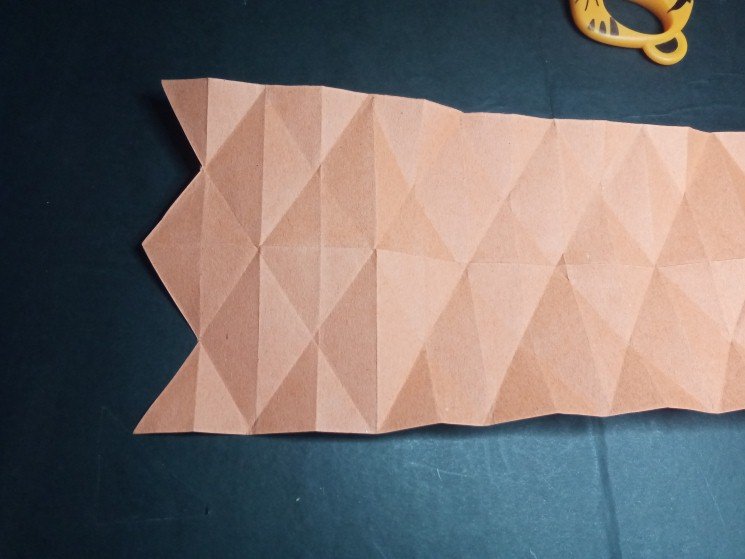
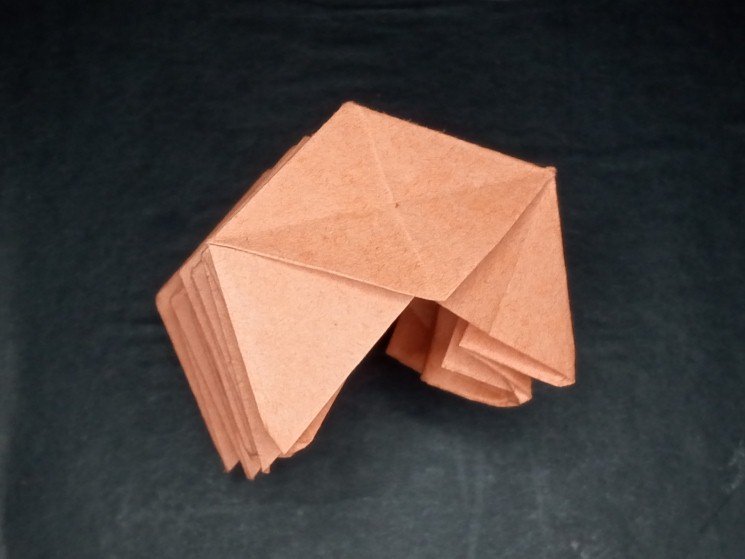
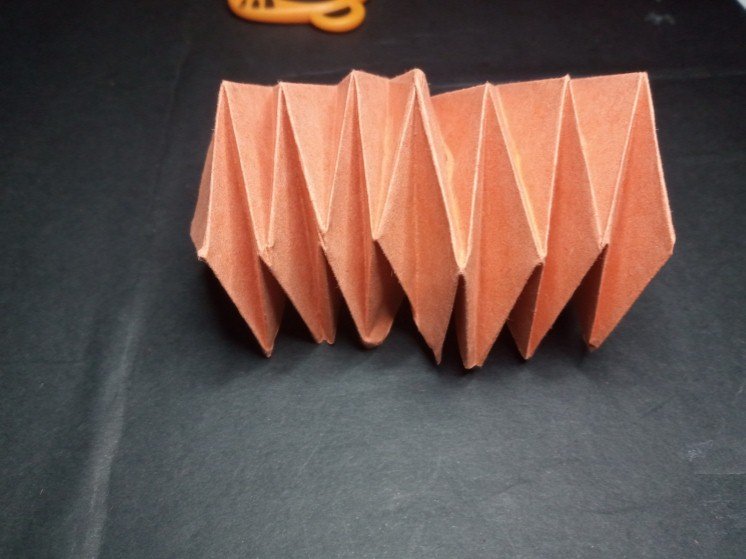
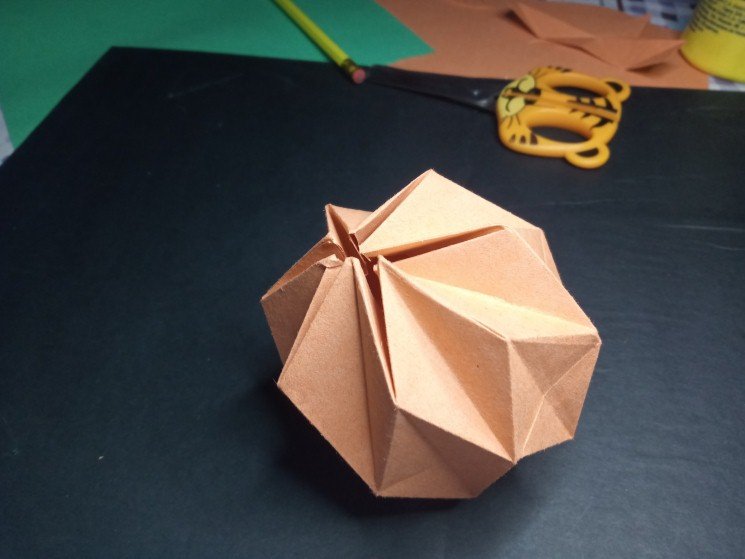
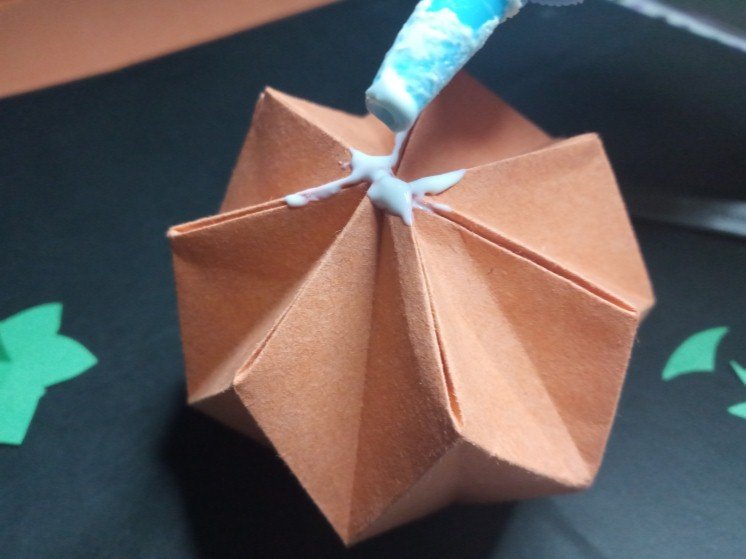
In this step we only cut the two triangles of one of the sides, we start the double as shown in the photos, obtaining a well-defined accordion which we will join with a little glue achieving a geometric figure similar to a circle.
En este paso solo cortamos los dos triángulos de uno de los lados, iniciamos el dobles tal y como se aprecia en las fotos, obteniendo un acordeón bien definido el cual uniremos con un poco de pega logrando una figura geométrica parecida a un circulo.
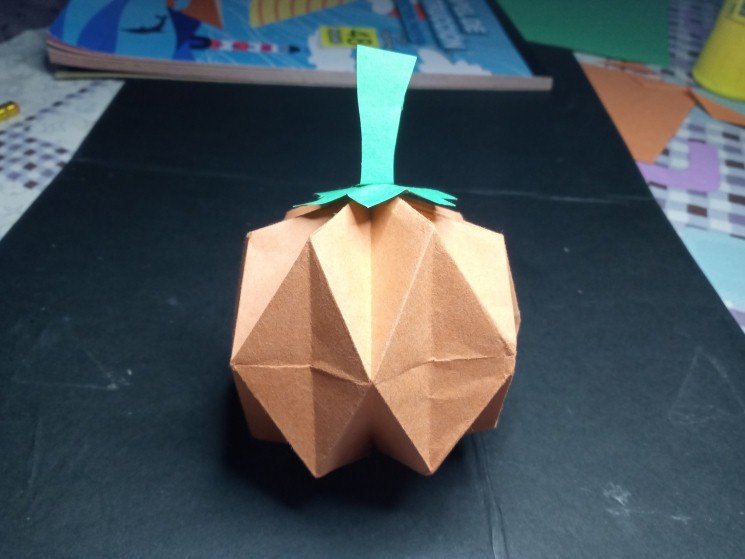
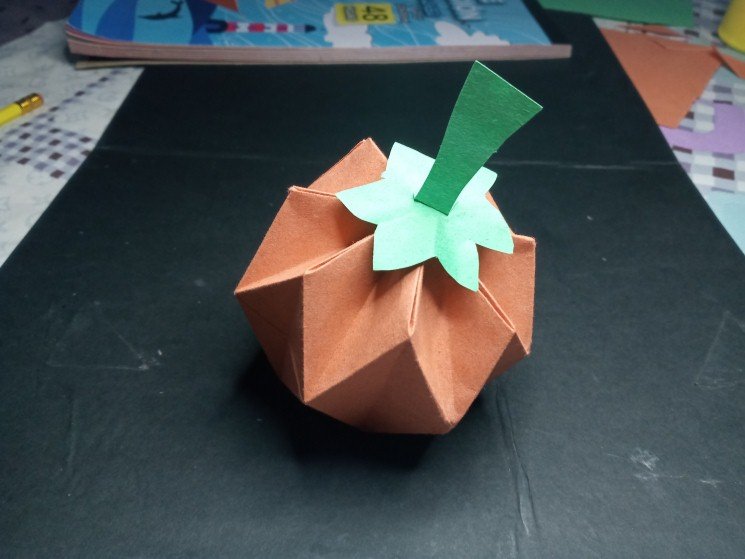
With a bit of green we make what will be the pumpkin stem and glue it on top of the previously made piece.
Con un poco de verde hacemos lo que será el tallo de calabaza y pegamos en la parte de arriba de la pieza lograda anteriormente.


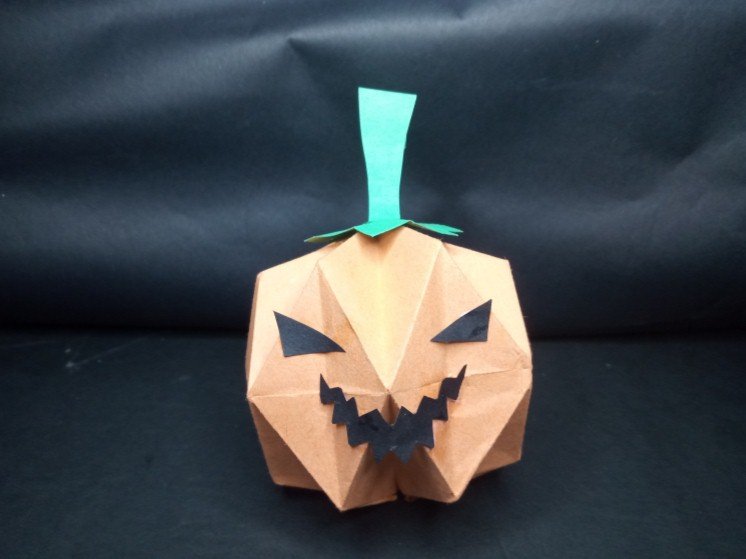
The last step, with a piece of black cardboard we make some evil eyes and smile and ready, we have our wonderful Halloween pumpkin.
El último paso, con un trozo de cartulina negra hacemos unos ojos y sonrisa malvadas y listo, tenemos nuestra maravillosa calabaza de Halloween.
 )
)

I hope you liked this cute and scary craft can serve as a complement to the decoration. Love you @shirahoshi and I look forward to seeing you in an upcoming post.
Espero que les gustara esta linda y terrorífica manualidad puede servir como complemento a la decoración. Los quiere @shirahoshi y los espero en un próximo post.

The photographs are my own and were taken by me with a Redmi 9 and were edited in powerpoint.
The Step by Step Gif was made by me in AdobePhotoshop CC2014.
The logo was designed by me in Adobe Illustrator CC 2015 and its animated version was made in After Effects CC 2017.
Language corrector used Deepl.
~~~ embed:1580988709897326592 twitter metadata:MTQyMjQxMzkxNTI3NTgxMjg2NHx8aHR0cHM6Ly90d2l0dGVyLmNvbS8xNDIyNDEzOTE1Mjc1ODEyODY0L3N0YXR1cy8xNTgwOTg4NzA5ODk3MzI2NTkyfA== ~~~
The rewards earned on this comment will go directly to the people( @mariajcastro28 ) sharing the post on Twitter as long as they are registered with @poshtoken. Sign up at https://hiveposh.com.
Congratulations @shirahoshi! You have completed the following achievement on the Hive blockchain and have been rewarded with new badge(s):
Your next payout target is 12000 HP.
The unit is Hive Power equivalent because post and comment rewards can be split into HP and HBD
You can view your badges on your board and compare yourself to others in the Ranking
If you no longer want to receive notifications, reply to this comment with the word
STOPTo support your work, I also upvoted your post!
Check out the last post from @hivebuzz:
Support the HiveBuzz project. Vote for our proposal!
Gran trabajo, a mi no se me da eso de hacer formas doblando papel, nunca me salen, pero esta calabaza te quedó muy bien y hasta da miedo, yo la colocaría en un escritorio o un librero, te quedó lindo 😃
Thank you for sharing this post on HIVE!
Your content got selected by our fellow curator rezoanulvibes & you received a little thank you upvote from our non-profit curation initiative. Your post will be featured in one of our recurring curation compilations which is aiming to offer you a stage to widen your audience within the DIY scene of Hive.
Next time make sure to post / cross-post your creation within the DIYHub community on HIVE and you will receive a higher upvote!
Stay creative & hive on!
Me gustó el resultado final. Increíble tantos dobles y obtener mi calabaza. Excelente, amiga. Aprendí mucho contigo en este paso a paso. Continúa con el buen contenido. Saludos.
Pd: Me gustó mucho tu tijera, quiero una (jaja)