Hello great Hive Diy community! Again it is a pleasure to share with you as usual, I wish you all a good day, afternoon or evening full of wonderful things and blessings everywhere, for you and your loved ones.
En está espectacular ocasión estoy participando con este post en el concurso de San Valentín de la comunidad, dónde podemos hacer la manualidad o diy que más nos guste, porsupuesto una idea inspirada en este Día de el amor y la amistad, en dónde nuestra creatividad y empeño sean los protagonistas, así que los invito a participar, para más información pueden visitar y apoyar el post original del concurso con los detalles más específicos, les dejaré el link a esta justo debajo.
Aquí
On this spectacular occasion I am participating with this post in the Valentine's Day contest of the community, where we can make the craft or diy that we like the most, of course an idea inspired by this Day of love and friendship, where our creativity and commitment are the protagonists, so I invite you to participate, for more information you can visit and support the original post of the contest with more specific details, I will leave the link to this just below.
Fuente
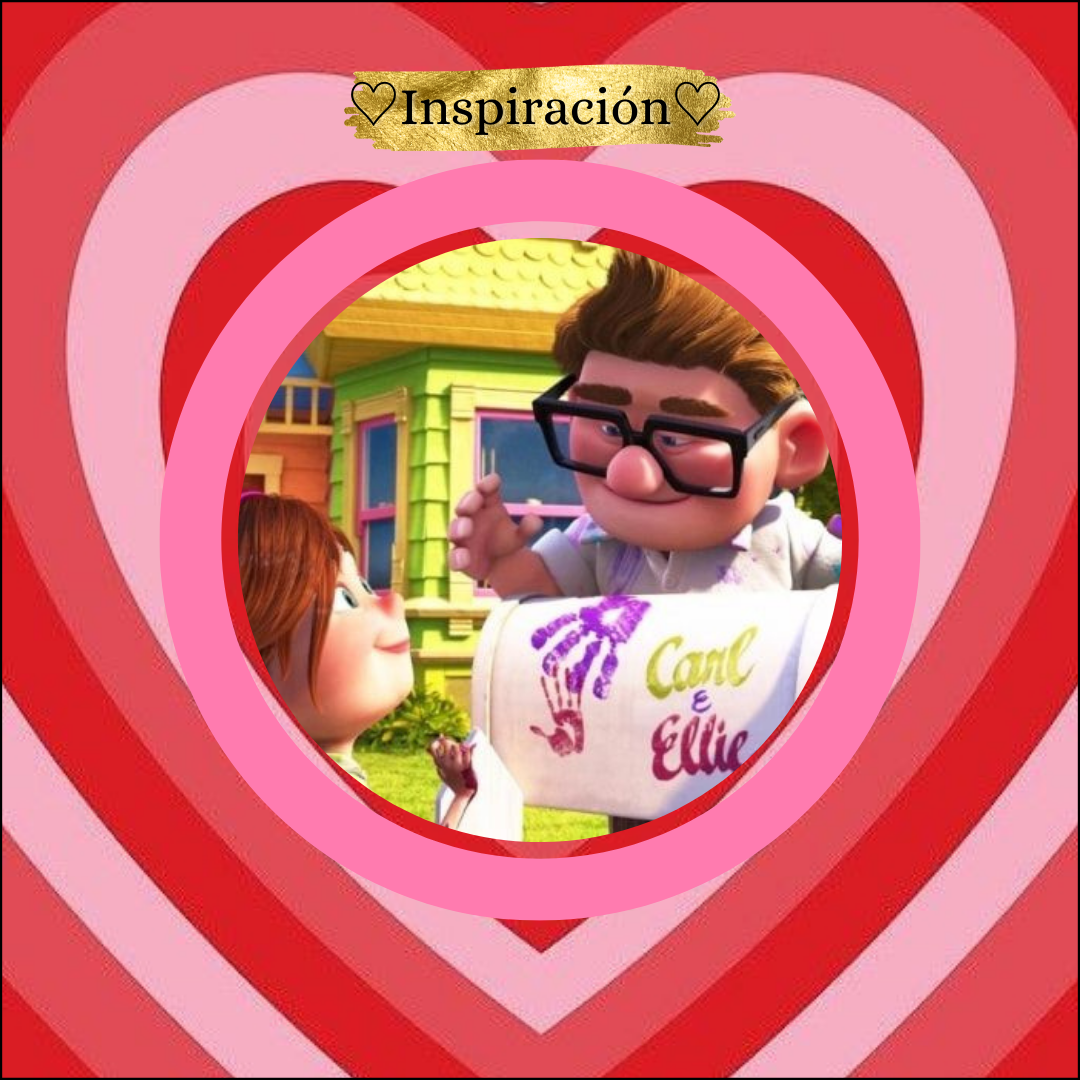
Primeramente quiero comentarles que necesitaba hacer un par de regalos para el día de San Valentín hace unos días, busque un par de ideas, pero estaba aún un poco indecisa, de repente en un día estaba viendo una película con mi hermana que siempre nos ha gustado y que teníamos tiempo sin ver, la cuál es "Up: una aventura de altura", típica maravillosa película de infancia, en fin, hay una escena dónde está el protagonista con su esposa cuando era joven y pintan sus manos en un buzón de cartas y escriben sus nombres, cosa que me llamo mucho la atención, así que comencé a buscar ideas de buzones decorados y me enamoré inmediatamente. Ahora bien, cabe señalar que el buzón no es idéntico a este, ya que lo que hice fue un buzón, pero no del mismo modelo, la cosa es que tienen la misma funcionalidad, por lo que se mantiene la idea inicial, además también quería mencionar que me gusta escribir cartas a mano y regalarlas a mis seres queridos, así que es la idea perfecta para todas esas personas que les gusta obsequiar un regalo tan valioso como las cartas escritas a mano, que están llenas de amor, así que no dude en ponerme manos a la obra.
First of all I want to tell you that I needed to make a couple of gifts for Valentine's Day a few days ago, I looked for a couple of ideas, but I was still a little undecided, suddenly one day I was watching a movie with my sister that we have always liked and that we had time without seeing, which is "Up: a high adventure", typical wonderful childhood movie, well, there is a scene where the main character is with his wife when he was young and they paint their hands on a mailbox and write their names, which caught my attention, so I started looking for ideas of decorated mailboxes and I fell in love immediately. Now, it should be noted that the mailbox is not identical to this one, since what I did was a mailbox, but not the same model, the thing is that they have the same functionality, so the initial idea is maintained, plus I also wanted to mention that I like to write letters by hand and give them to my loved ones, so it is the perfect idea for all those people who like to give a gift as valuable as handwritten letters, which are full of love, so do not hesitate to get down to work.
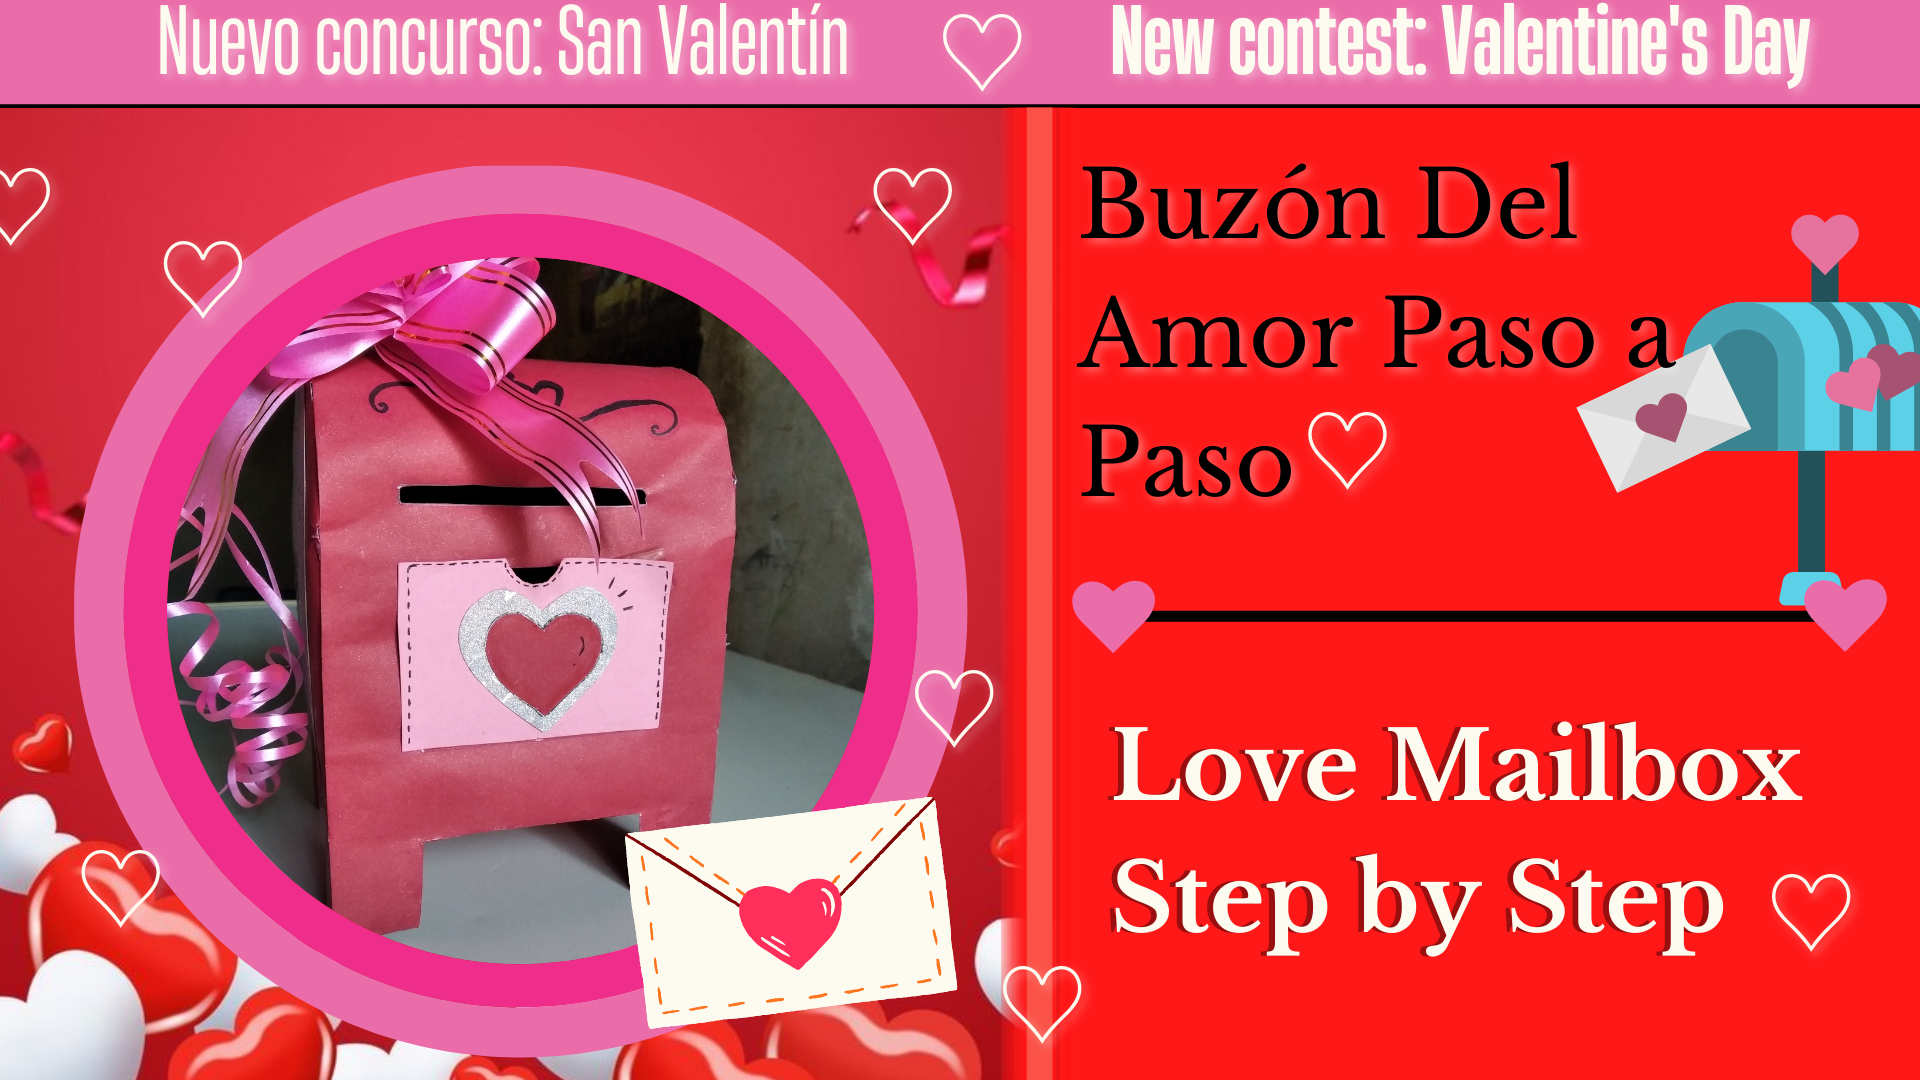
Así que sí, les traigo el "buzón del amor♡" ideal para obsequiar en fechas especiales, porque aunque haya pasado el 14 de febrero hace unos días, nunca está demás obsequiar un lindo regalo hecho a mano con todo el amor del mundo a nuestras personas especiales, así que sin más que decir les muestro el paso a paso, para que puedan realizar este hermoso buzón para regalar cartas y demás cosas.
So yes, I bring you the "love mailbox " ideal for gifts on special dates, because although February 14 has passed a few days ago, it is never too much to give a nice handmade gift with all the love in the world to our special people, so without further ado I show you the step by step, so you can make this beautiful mailbox to give letters and other things.
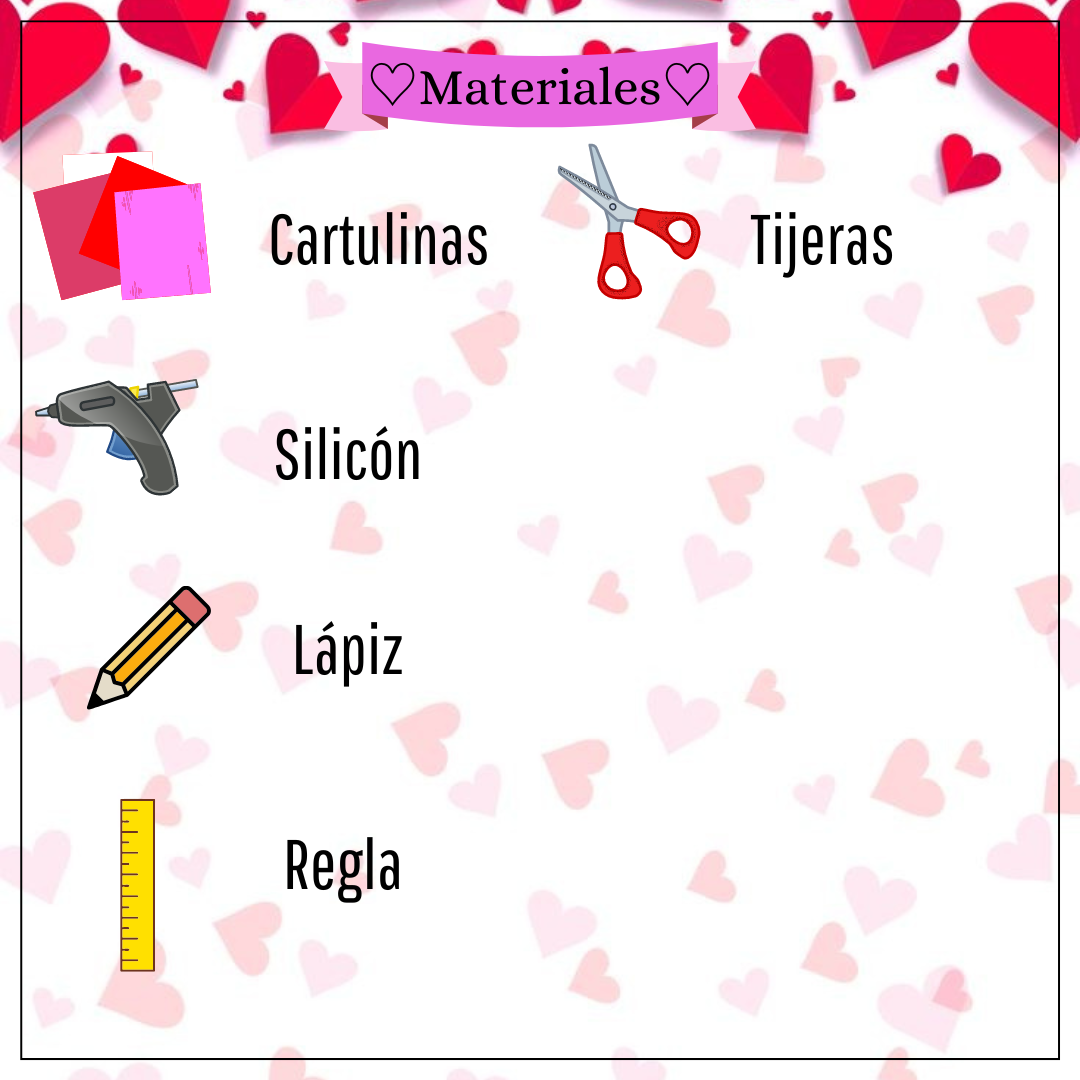
♡Materials♡
- Cartulina principal del color que más nos guste
- Cartulina decorada
- Silicón
- Lápiz
- Regla
- Tijeras
- Main cardboard in the color of your choice
- Decorated cardboard
- Silicone
- Pencil
- Ruler
- Scissors
♡Step by Step♡
Step 1:
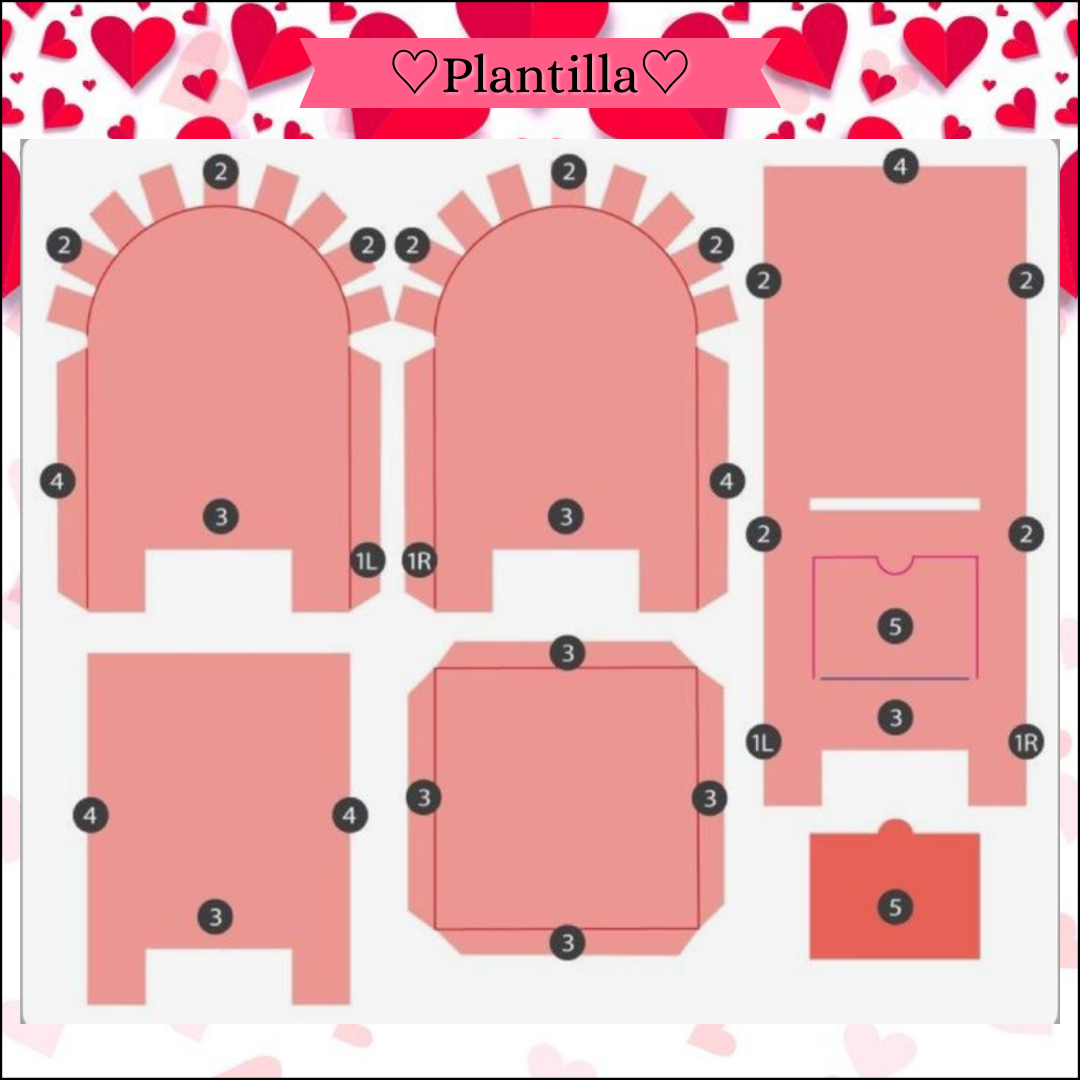
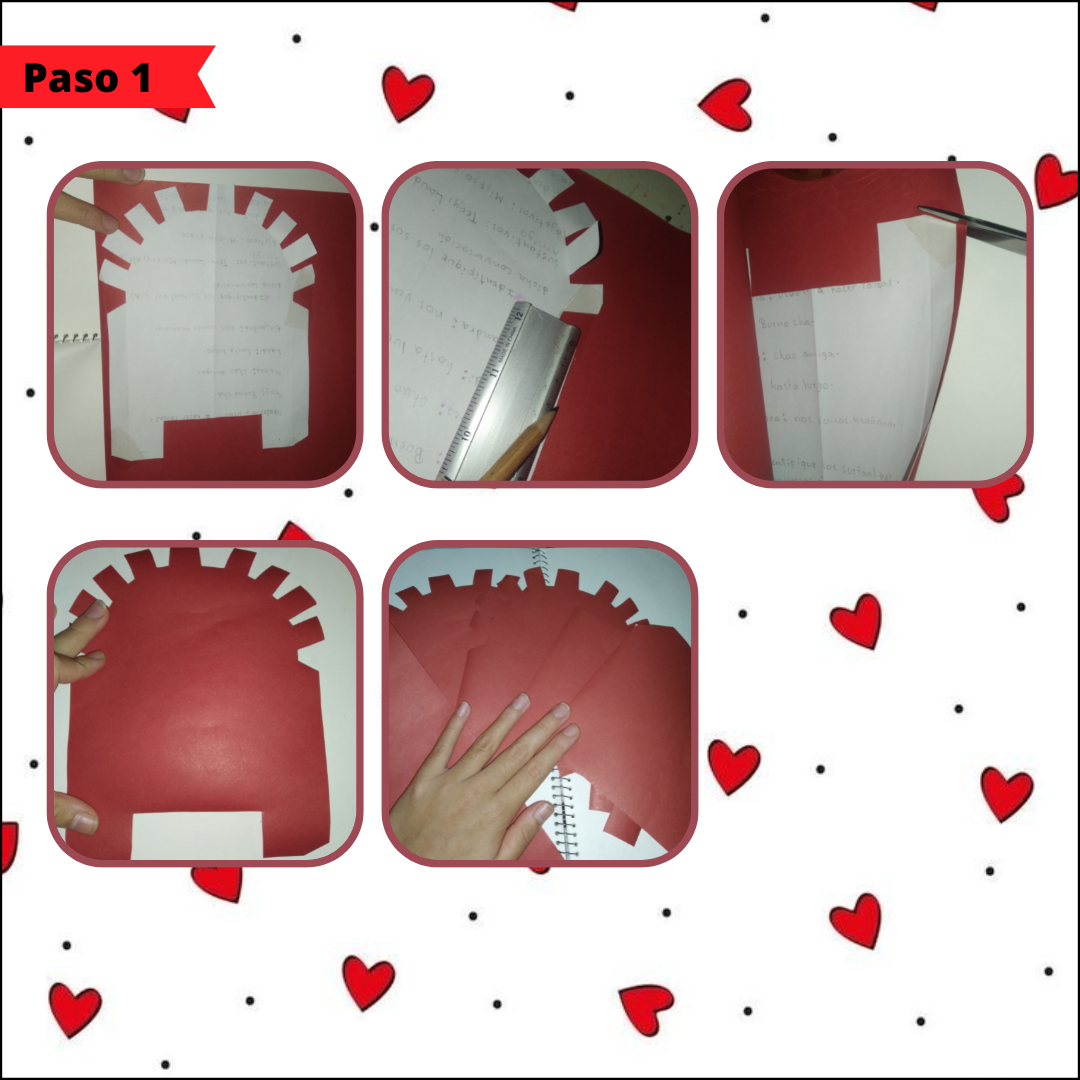
Como primer paso vamos a comenzar sacando la plantilla de cada pieza (les dejo la plantilla entera arriba), luego extenderemos nuestra cartulina principal a lo largo y vamos a empezar a acomodar cada pieza para marcar una por una con nuestro lápiz en esta, nos podemos ayudar de una regla para algunas partes rectas. Después solamente vamos a recortar todas y cada una de estás piezas con cuidado.
As a first step we will start by taking out the template of each piece (I leave the entire template above), then we will extend our main cardboard lengthwise and we will begin to arrange each piece to mark one by one with our pencil on it, we can help us with a ruler for some straight parts. Then we are just going to cut out each and every one of these pieces carefully.
Paso 2:
Step 2:
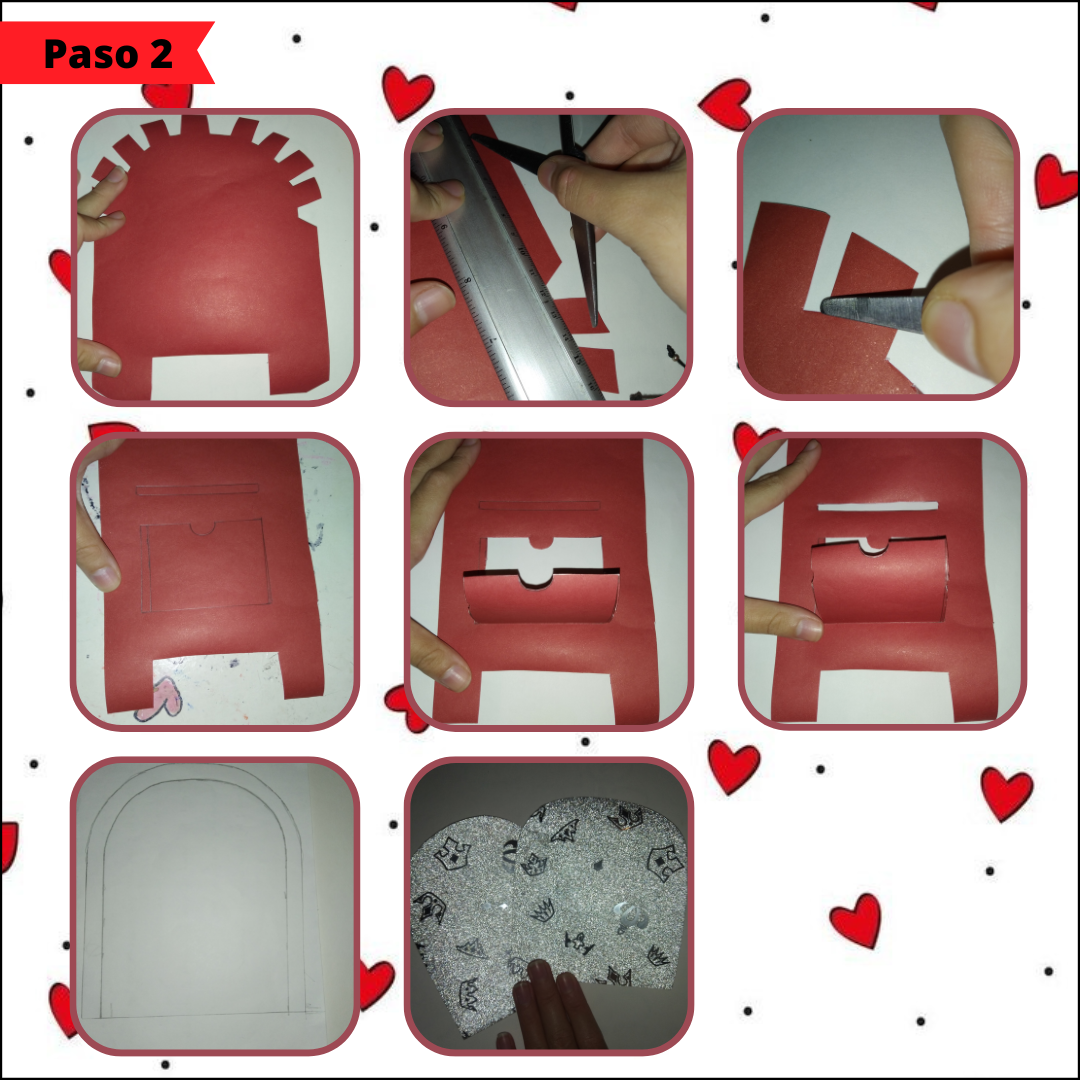
Ahora para culminar unos pequeños detalles en las piezas, proseguimos a marcar los dobleces con la tijera, después vamos a recortar con la ayuda de un cúter las ranuras de la pieza de en frente de nuestro buzón, teniendo en cuenta que en la puerta solo vamos a recortar a ambos laterales, igual luego con un borrador borraremos las marcas del lápiz. También vamos a hacer por nuestra parte una plantilla extra para luego decorar, está con nuestra cartulina decorada, dónde vamos a marcar la pieza de los lados y le vamos a quitar a cada lado 1cm de ancho, para hacer está más pequeña, luego marcamos en la cartulina y recortamos muy bien.
Now to finish some small details in the pieces, we continue to mark the folds with the scissors, then we will cut with the help of a cutter the grooves of the piece in front of our mailbox, taking into account that the door we will only cut on both sides, then with an eraser we will erase the pencil marks. We are also going to make on our part an extra template to decorate later, it is with our decorated cardboard, where we will mark the piece on the sides and we will remove 1cm wide on each side, to make it smaller, then we mark on the cardboard and cut very well.
Paso:3
Step 3:
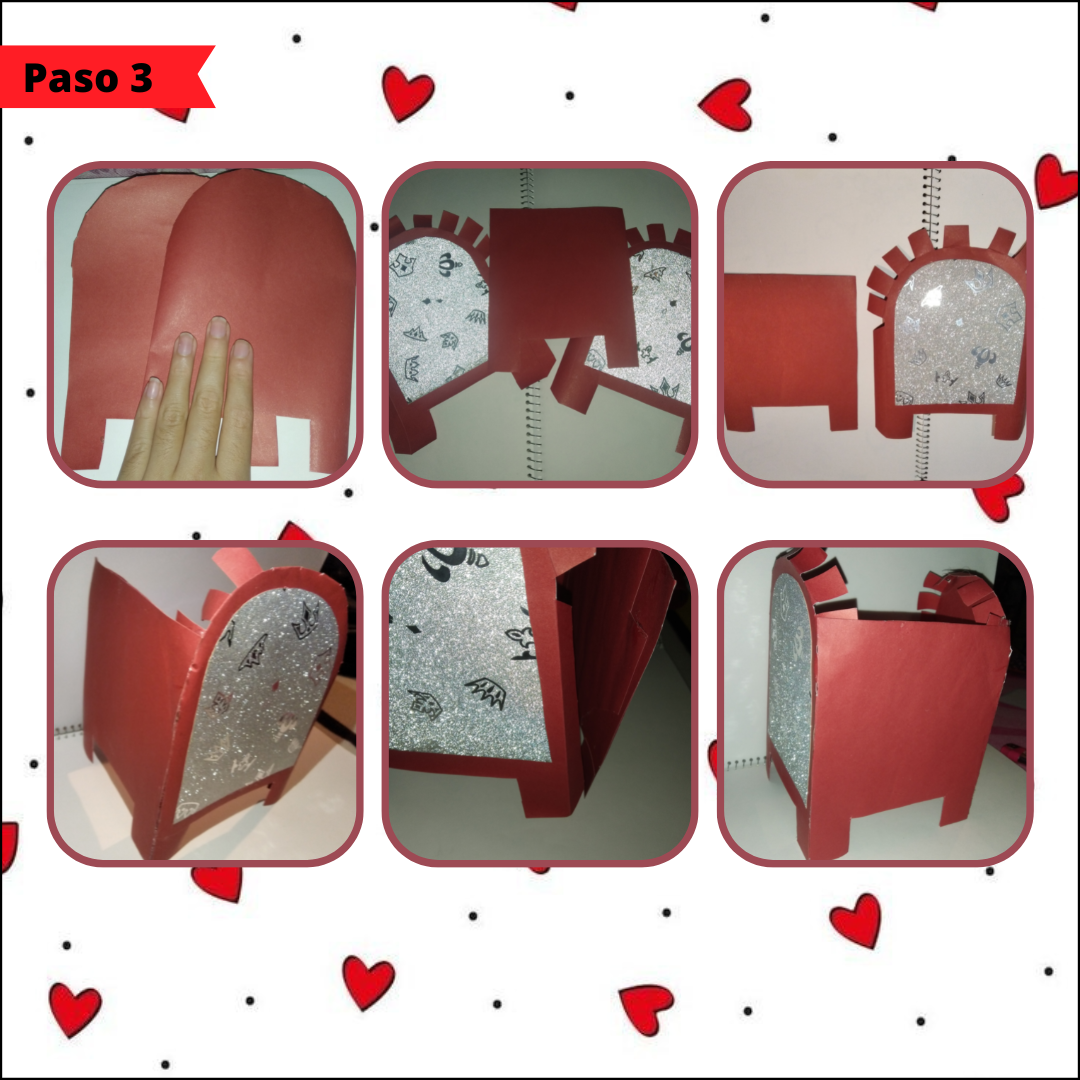
Al tener nuestras piezas recortadas y marcadas, nos queda armar poco a poco, así comenzaremos tomando nuestras dos piezas de los lados y la de atrás, ahora en una de las piezas de los lados vamos a agregar silicón en una de las solapas y pegamos presionando sutilmente estas, luego del otro lado repetiremos lo mismo con la otra pieza restante.
Once we have our pieces cut out and marked, we have to assemble little by little, so we will start by taking our two pieces on the sides and the back, now on one of the pieces on the sides we will add silicone on one of the flaps and glue by subtly pressing them, then on the other side we will repeat the same with the other remaining piece.
Paso:4
Step 4:
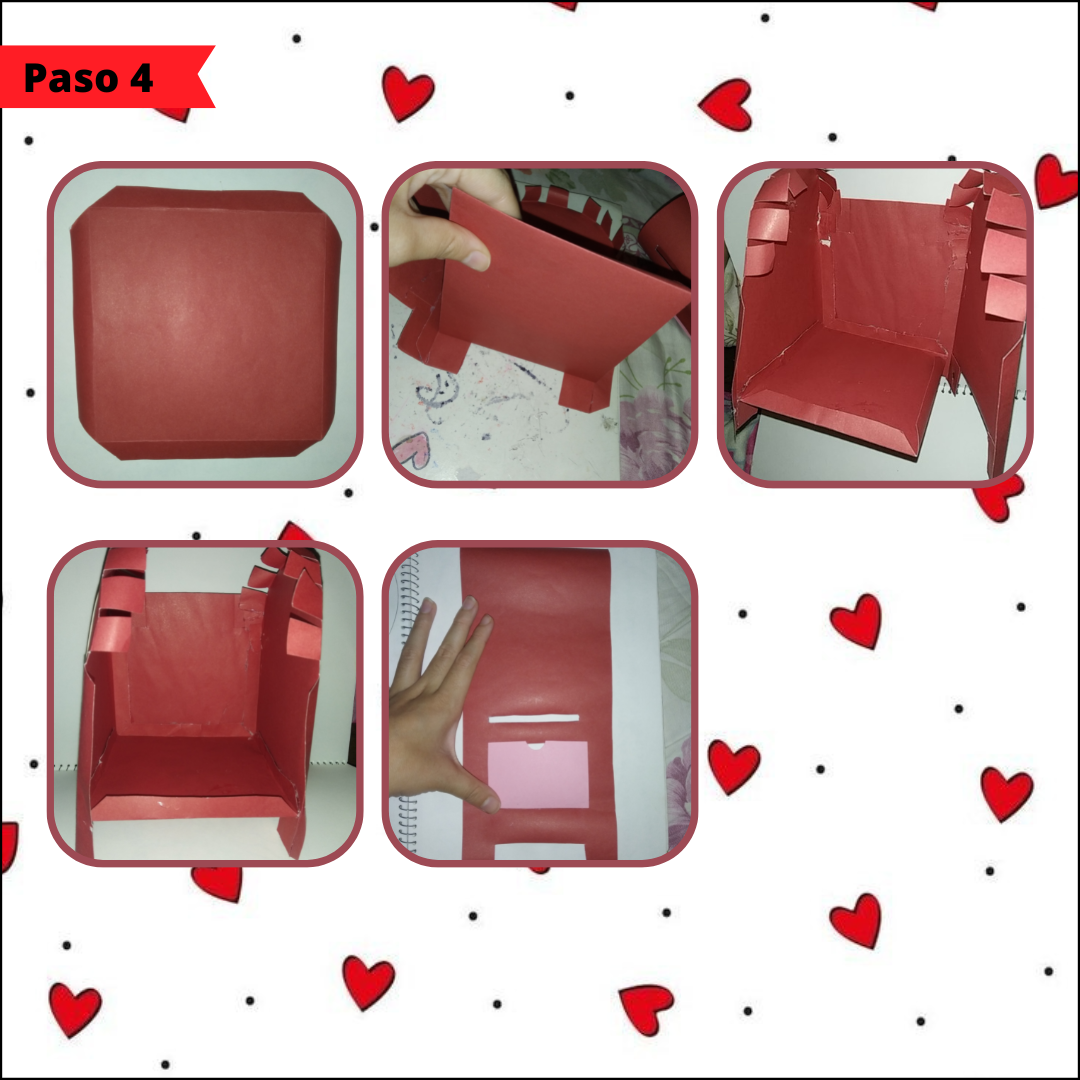
Después tomamos la pieza que se puede observar (la parte de abajo) y agregaremos nuevamente silicón en las solapas, de manera que iremos pegando estás a cada uno de los extremos de la figura armada, una por una con cuidado y precisión acomodando y cuadrando poco a poco. A continuación tomamos la parte de enfrente y le pegamos la figura de diferente color en la ranura de la puerta de este, cabe resaltar que le hice un pequeño ajuste y la hice igual a la de la puerta, como se puede apreciar.
Then we take the piece that can be seen (the bottom) and add silicone again on the flaps, so that we will glue them to each of the ends of the assembled figure, one by one carefully and accurately arranging and squaring little by little. Next we take the front part and glue the figure of a different color in the groove of the door of this one, it is worth noting that I made a small adjustment and made it the same as the door, as you can see.
Paso 5:
Step 5:
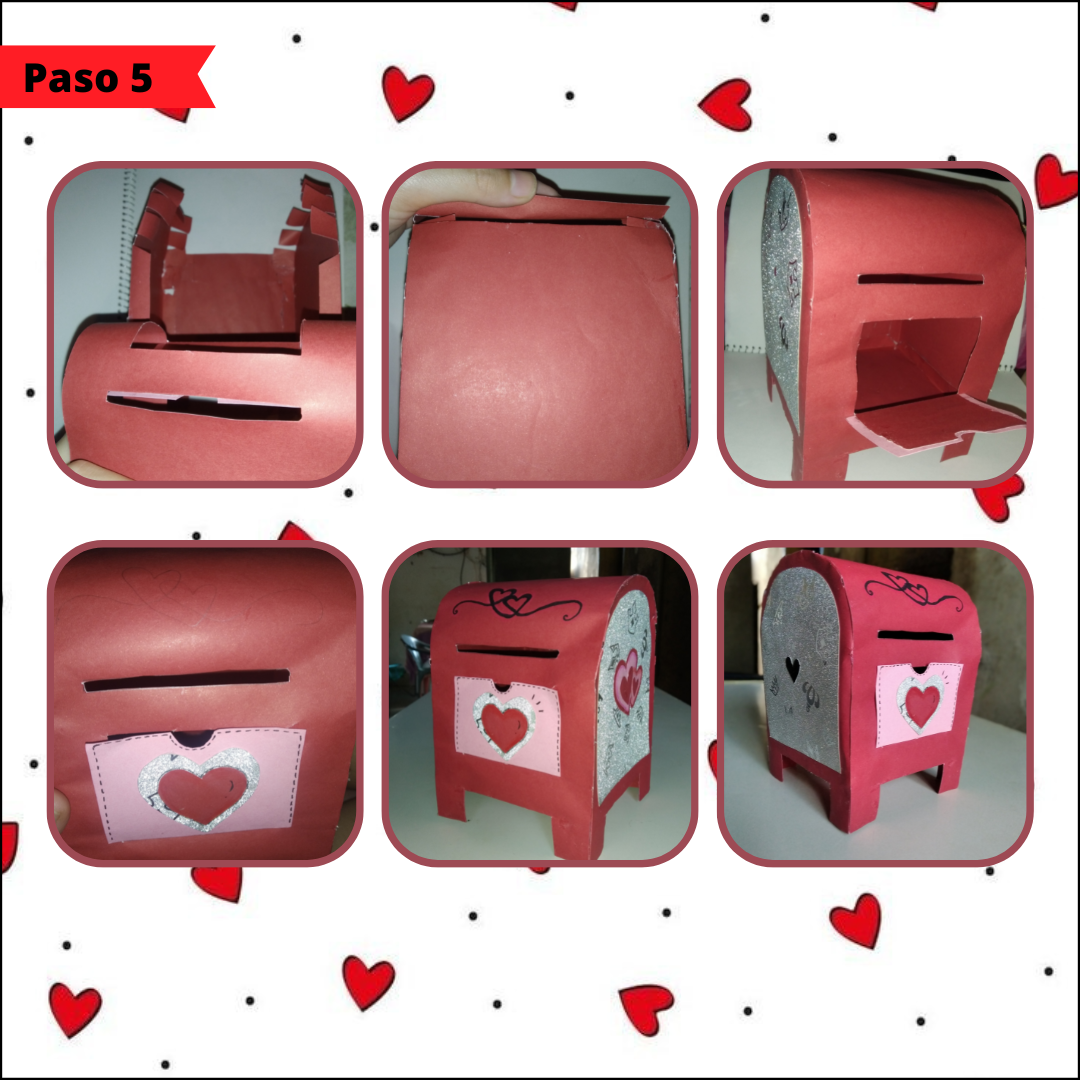
Tomaremos la pieza que nos queda, que es la parte de en frente e iremos pegando con silicón desde abajo, dónde empiezan las solapas, así acomodando con paciencia hasta llegar al final. Después para terminar agregaremos la decoración a nuestro gusto, muchos corazones, cartitas dibujadas, hay varias opciones, yo solamente hice unos cuantos corazones distribuidos y los acomode para luego pegarlos muy bien nuevamente con el silicón, agregué uno en cada lateral, otro en la puerta y el último lo dibujé sobre la ranura dónde pasan las cartas.
We will take the remaining piece, which is the front part, and we will glue with silicone from the bottom, where the flaps begin, and we will patiently arrange them until we reach the end. Then to finish we will add the decoration to our liking, many hearts, drawn cards, there are several options, I only made a few hearts distributed and arranged them and then glued them very well again with the silicone, I added one on each side, another on the door and the last one I drew on the slot where the cards pass.
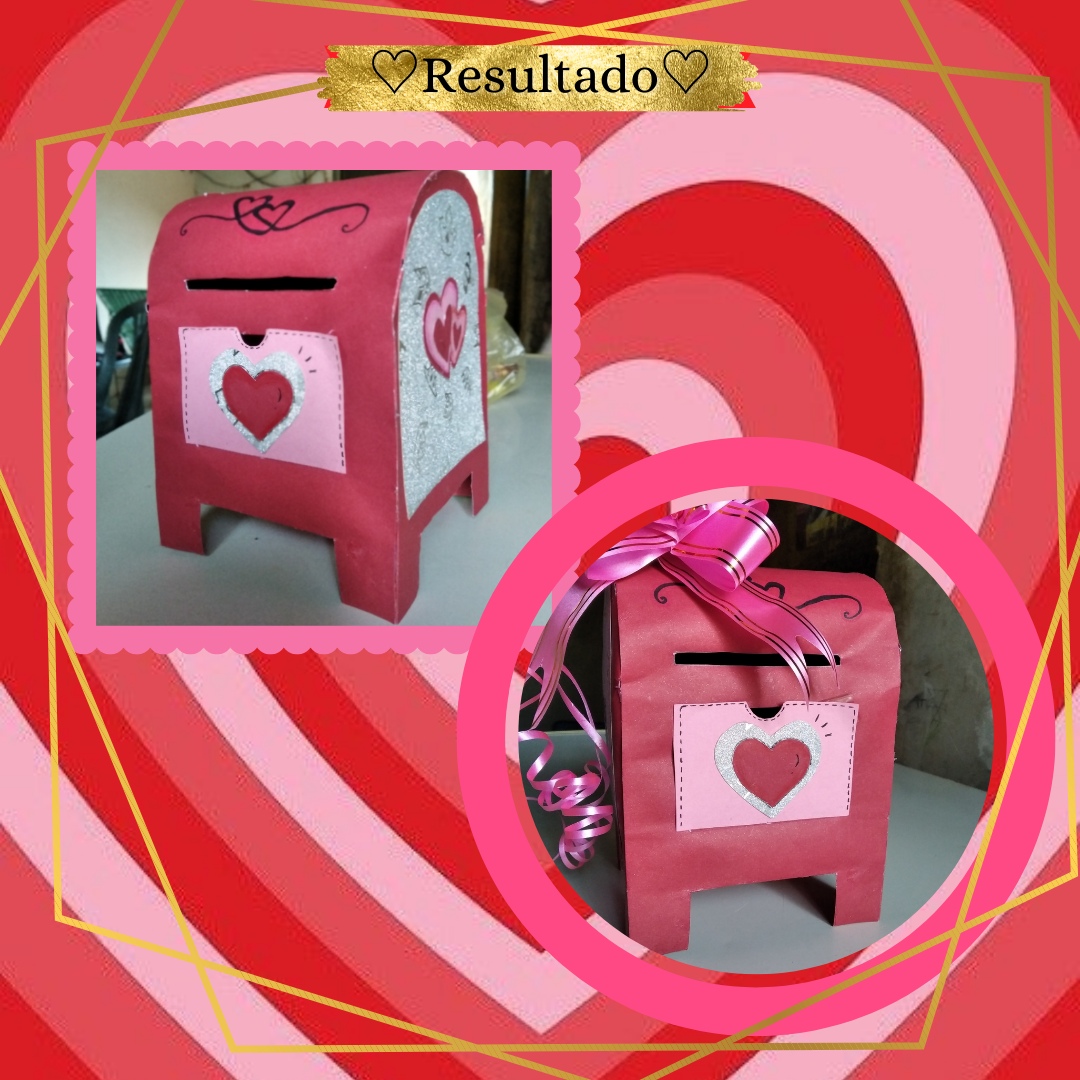
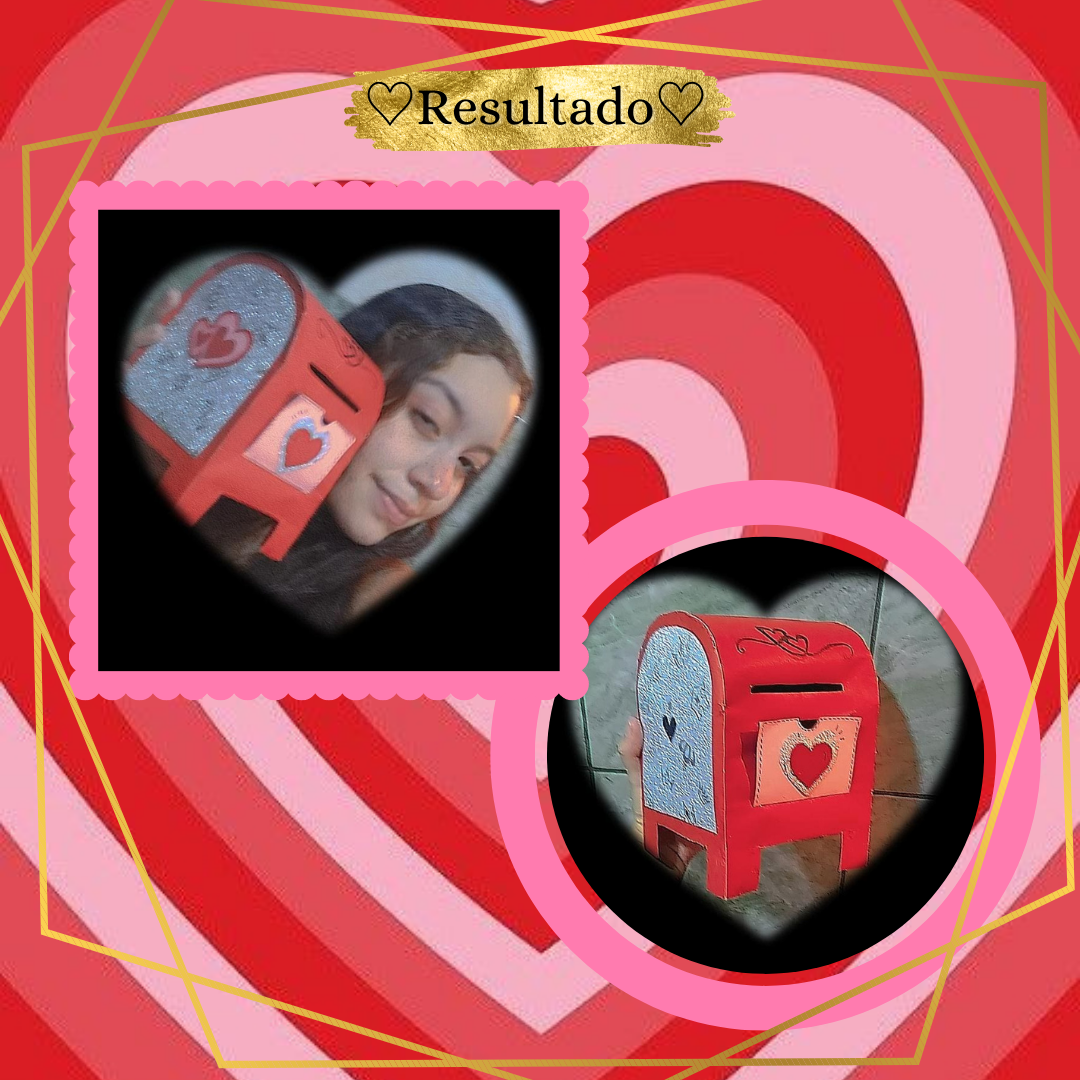
¡Y listo! Ya tenemos nuestro buzón del amor, una cajita con una linda temática, dónde podremos colocar un regalo dependiendo del tamaño, además de muchas cartas bonitas, es ideal de hacer si eres una persona detallista que quiere regalar algo diferente y original, al igual que hermoso, yo quedé enamorada sinceramente, está muy lindo y espero que les guste tanto como a mí, disfrute mucho hacerlo, aunque lleva su cierto proceso, pero el resultado vale la pena totalmente, espero les sea de utilidad en cualquier ocasión.♡
And that's it! We already have our love mailbox, a box with a nice theme, where we can place a gift depending on the size, plus many beautiful letters, it is ideal to do if you are a detail person who wants to give something different and original, as well as beautiful, I was in love sincerely, is very nice and I hope you like it as much as I do, I really enjoy doing it, although it takes some process, but the result is totally worth it, I hope you find it useful on any occasion.♡
Fuente
Fuente
Fuente
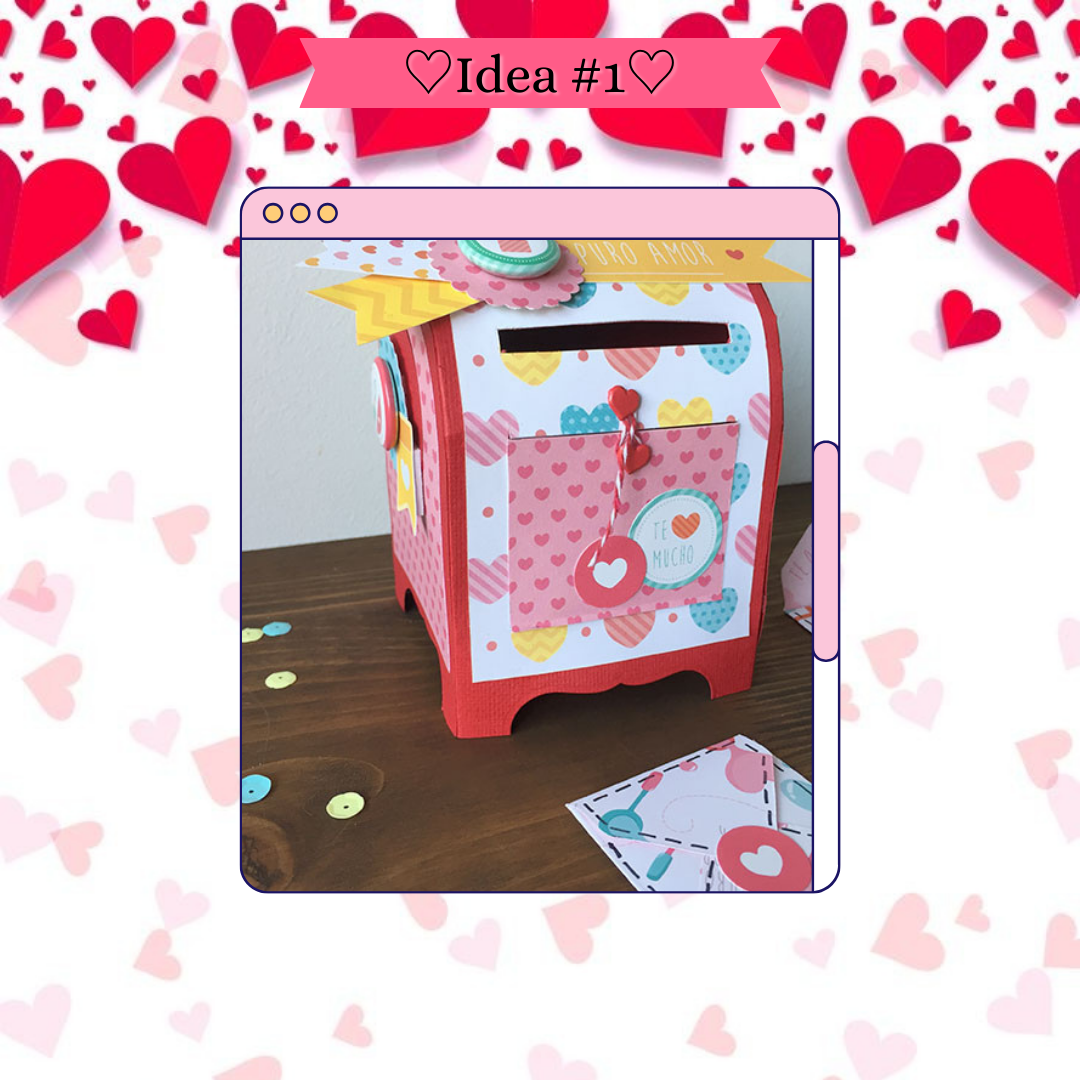
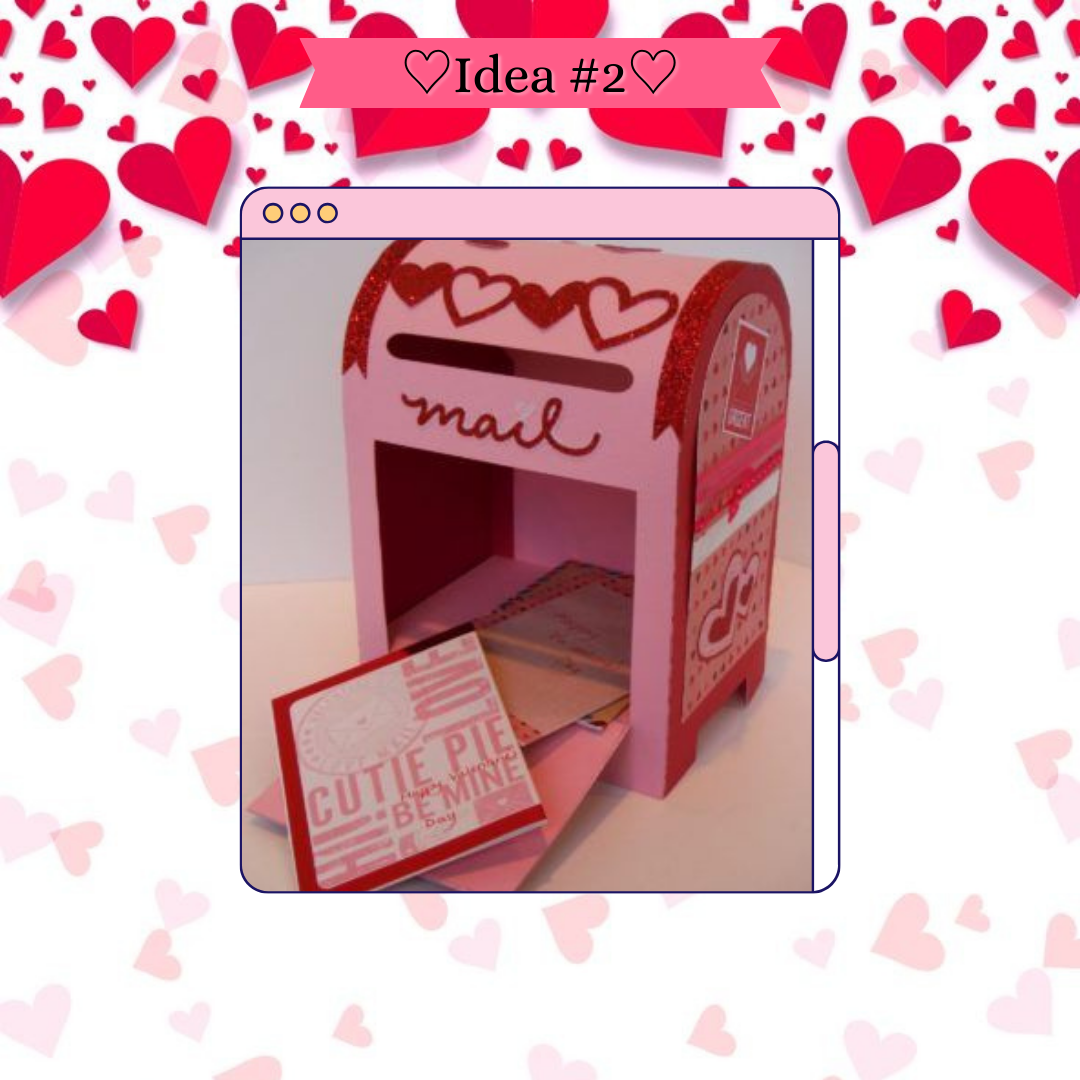
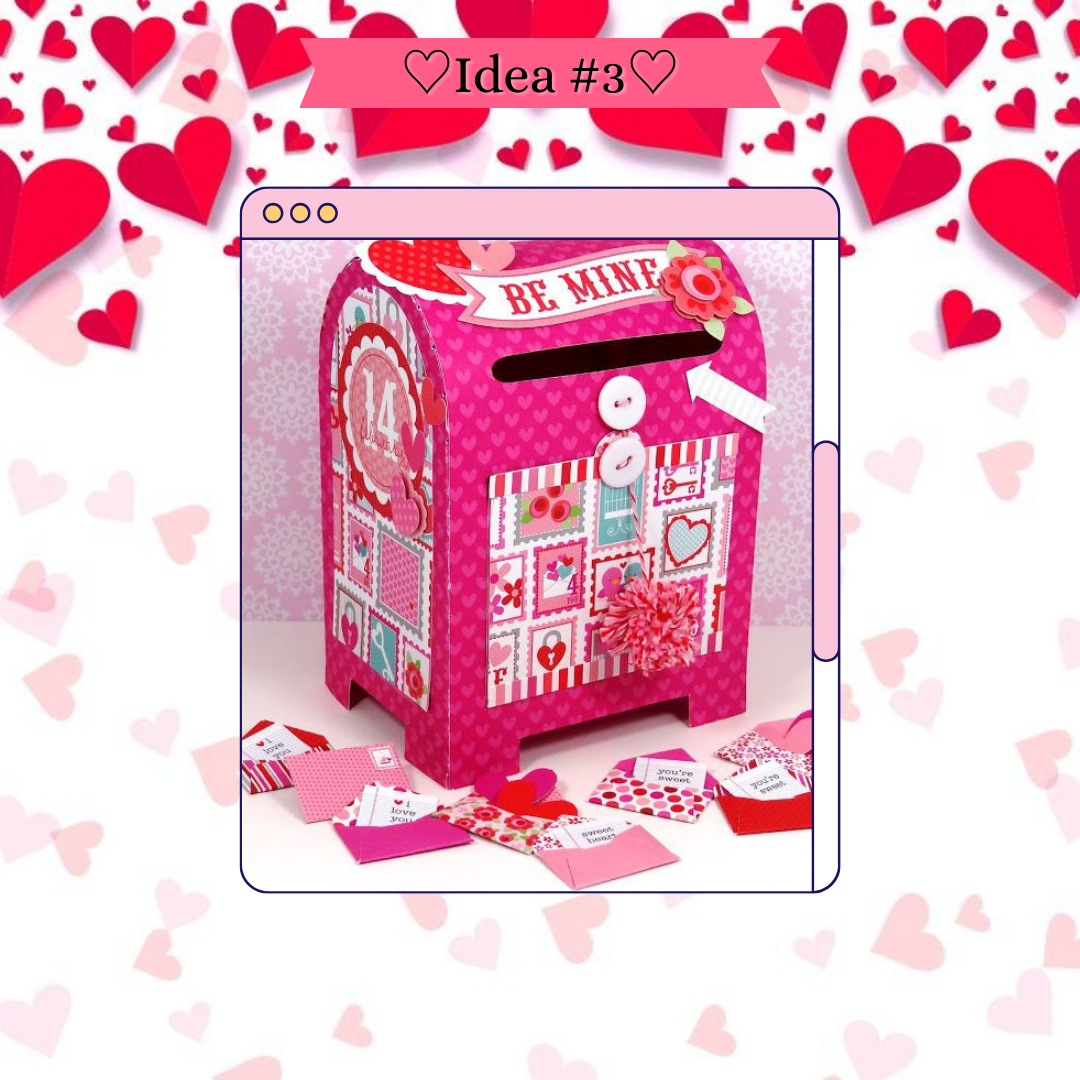
Por aquí en la parte de arriba les dejaré un par de ideas para que se inspiren y la decoren cómo más les guste, con mucho color y sabor, por así decirlo.♡
Here at the top I'll leave a couple of ideas for you to get inspired and decorate it as you like, with a lot of color and flavor, so to speak.♡
Esto es todo por el tutorial de hoy, agradecida de que hayan llegado hasta aquí, antes de despedirme me gustaría invitar a participar en este concurso a @jennyzer sería increíble ver otra manualidad inspirada en el día del amor y la amistad de ella, ya que ya ha publicado unas ideas increíbles, ahora sí, espero que tengan un lindo resto de semana, un abrazo, cuídense.♡
That's all for today's tutorial, thankful you made it this far, before I say goodbye I would like to invite @jennyzer to participate in this contest it would be amazing to see another love and friendship day inspired craft from her, since she has already published some amazing ideas, now yes, I hope you have a nice rest of the week, a hug, take care.♡
¡Gracias por Leer una vez más, nos vemos en el siguiente Diy!.♡
Thanks for Reading once again, see you on the next Diy!.♡
Photos of my authorship taken from my Xiaomi Redmi 7 phone, edited in the free version of Canva.
Thank you for sharing this post on HIVE!
Your content got selected by our fellow curator stevenson7 & you just received a little thank you upvote from us for your great work! Your post will be featured in one of our recurring compilations which are aiming to offer you a stage to widen your audience within the DIY scene of Hive. Stay creative & HIVE ON!
Please vote for our hive witness <3
Muchas gracias.💗✨
!discovery 25
!diy
💙✨
This post was shared and voted inside the discord by the curators team of discovery-it
Join our community! hive-193212
Discovery-it is also a Witness, vote for us here
Delegate to us for passive income. Check our 80% fee-back Program
De maravilla, muchas gracias, y revisaré, saludos.💙
💙
Hermoso un lindo detalle como para ponerlo en las oficinas o en cualquier trabajo o en la casa con la familia para que cada quien se regale un mensaje de amor y cariño felicidades
La verdad es una gran idea, me gustó y estaría interesante, gracias, saludos.💙
Congratulations @stefania16! You received a personal badge!
You can view your badges on your board and compare yourself to others in the Ranking
Check out our last posts:
Support the HiveBuzz project. Vote for our proposal!
Totally amazing, how wonderful to have been here for a year already in this fantastic family! 🧡✨
With pleasure, thank you for being there all this time @stefania16. We are glad to have you with us and hope you will be here for a long time 🌹😄
Thank you very much, I love this family and it will be so God willing, thank you. ✨🧡
Hi @stefania16,
Consider joining this contest by @devann, for the opportunity to win LEO, LIST and BUIDL tokens.
Best of luck.
Hi I'm still a bit confused about that kind of stuff, but with like I'll do some research, thanks 💙.
Qué belleza! me ha encantado mucho, Se me ocurren muchas cositas hermosas, jaja, Gracias por participar! Te quedó precioso.
Hola, me alegra mucho que le haya encantado, y ya imagino que si JSJAJS✨, muchas gracias a usted por todo, muy buen concurso, saludos y un abrazo.❤️✨
I've never seen a mailbox in DIY, but I love it. You did a great job, your mailbox is very cute :)
Well I'm glad this was the first one an honor JSJAJS💗, thank you very much friend, greetings.❤️
The rewards earned on this comment will go directly to the people( @yagelybr ) sharing the post on Twitter as long as they are registered with @poshtoken. Sign up at https://hiveposh.com.
Que maravilla, gracias por compartir.😍❤️
Precioso tu buzón del amor una linda idea para cualquier ocasión
Así es nunca está de más obsequiar algo original, gracias amigaa.💗
🤗
Unaiy buena idea, me encanta, gracias
Me alegra mucho, gracias a ti por tu lindo comentario.💗
Hace un año hice un buzón del amor, pero admito que el tuyo uff lleva esta idea a otro nivel de ternura, esa forma clásica del buzón en rosa es muy hermosa.
No tenía idea, pero de seguro te quedó fantástico, igual muchas gracias por tu valoración y tu lindo comentario, saludos amiga.💗
Me encanta la idea! Tu creación ha quedado hermosa! Felicidades y mucha suerte!
Muchas gracias amiga, un abrazo. ☺️❤️
@stefania16 te quedó súper lindo👏👏. No tengo habilidades para las manualidades, por tal me parece un poco difícil de elaborar.
Graciass, tal vez por eso se te dificulta un poco, pero el querer es poder, nunca está de más aprender algo nuevo, saludos.❤️