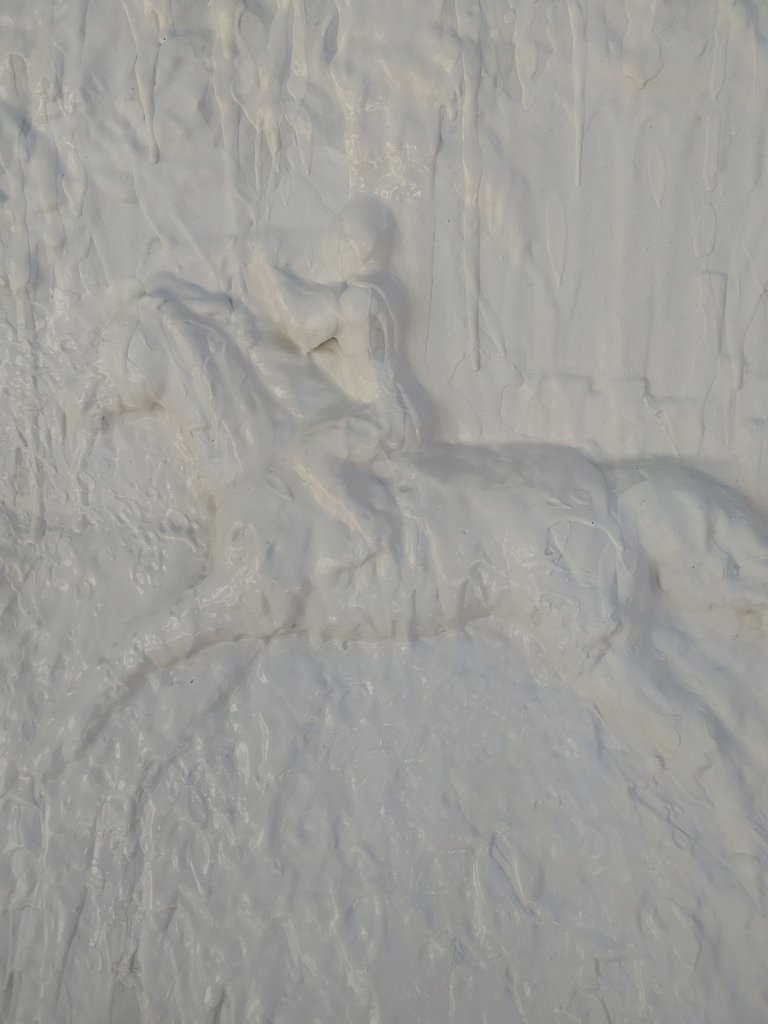
OPTICAL ILLUSION IN THE PLASTER CAST, ALL EXPLAINED 😮
Hello dear friends,
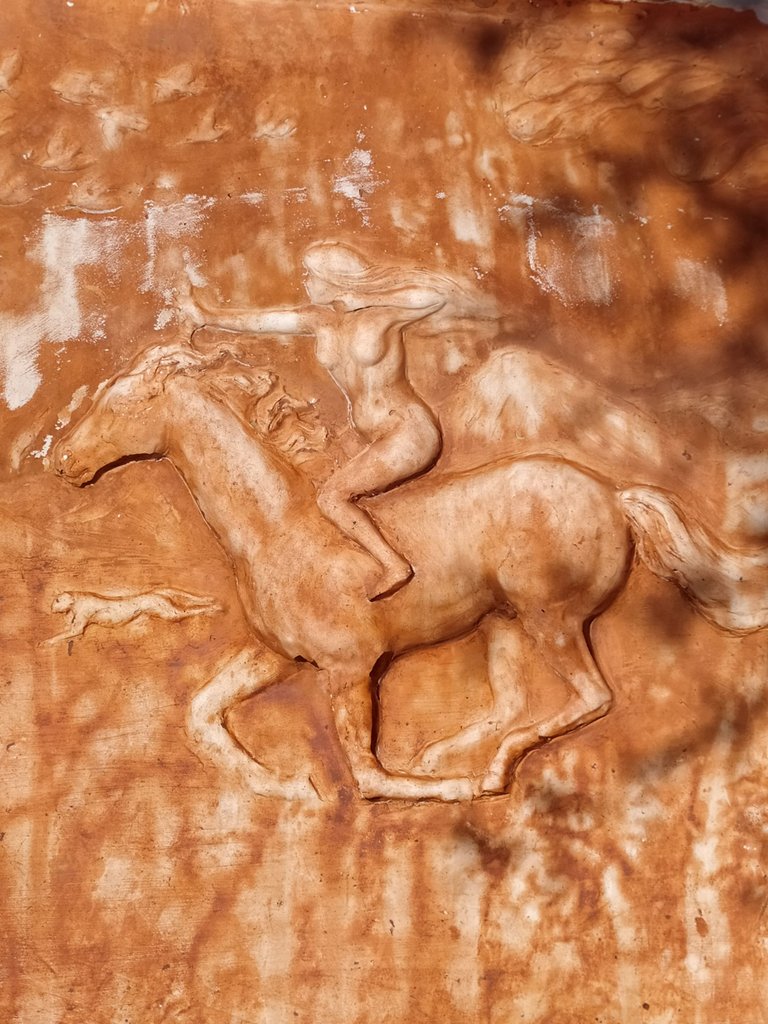
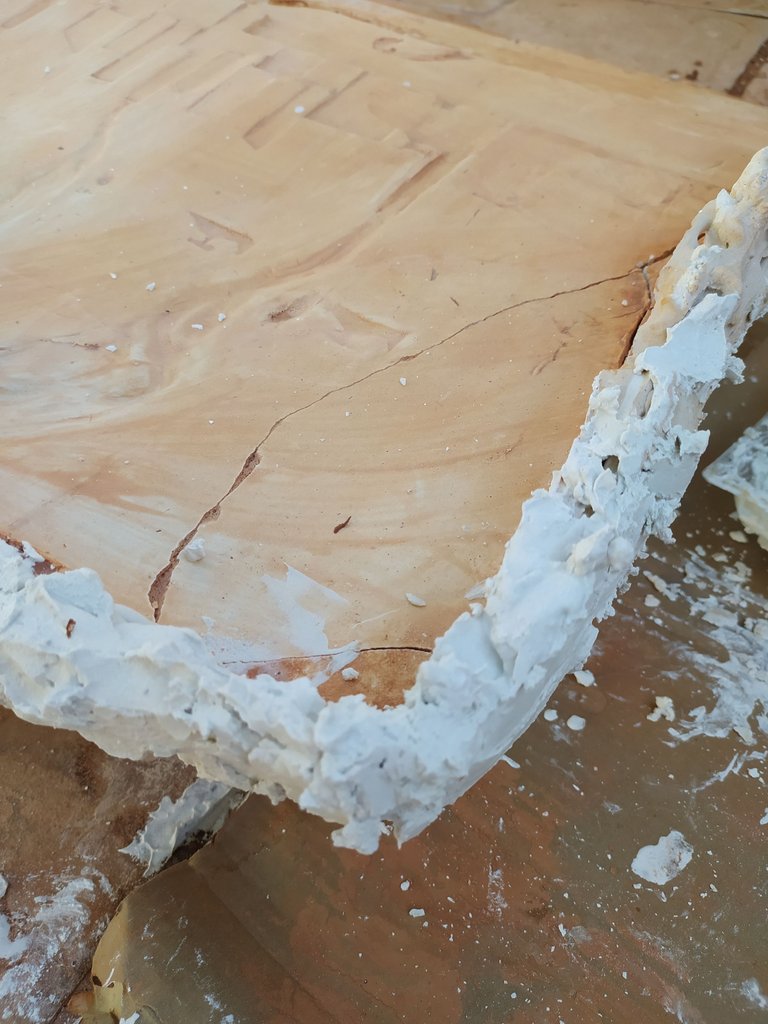
what you see is not convex but concave, so it doesn't come out of the plaster but goes in...
I finally made the caaaaaast 😅
And today I will explain what we need to make it.
First of all, of course we need plaster, but preferably the alabaster plaster because it dries differently.
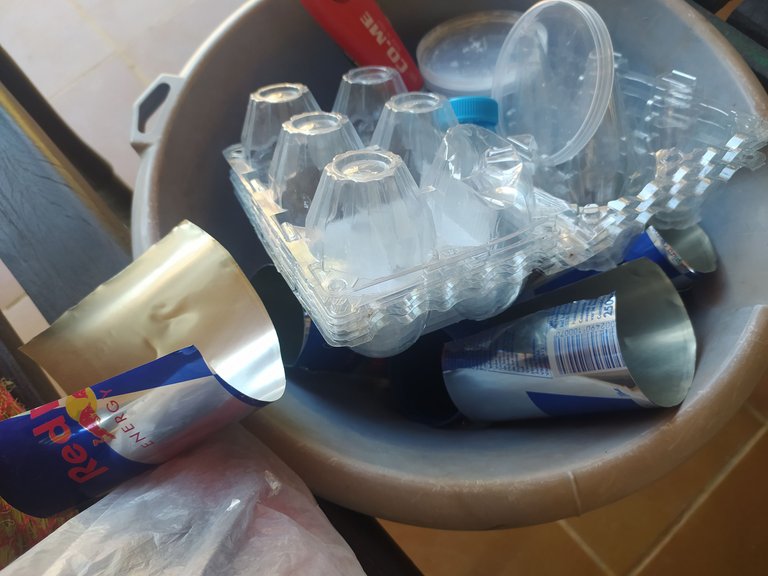
Then we need malleable containers, so not glass but rubber or plastic.
If the sculpture is an all round or very large you have to make the cast in pieces by dividing the pieces logically, which will then be reassembled. These are divided with a metal blade.
ILLUSIONE OTTICA NEL CALCO IN GESSO, SPIEGO TUTTO 😮
Ciao cari amici,
ció che vedete non é convesso ma concavo, cioé non esce dal gesso ma entra...
Finalmente ho fatto il calcooooo 😅
e oggi vi spiego cosa ci serve per farlo.
Innanzitutto ovviamente serve il gesso, ma prendete preferibilmente quello alabastrino e non la scagliola, perché secca differentemente.
Poi ci servono dei contenitori malleabili, sicché non di vetro ma di gomma o plastica.
Se la scultura é un tutto tondo o molto grande dovete fare il calco a pezzi dividendo in maniera logica i pezzi, che poi verranno riassemblati. Questi si dividono con una lama di metallo.
The metal blades and containers are recovered from cans, plastic bottles, etc....
Le lame di metallo e i contenitori vengono recuperati da lattine, bottiglie in plastica, ecc...
For those who want to play it safe, I recommend using for the first layer of the cast a colored pigment that will be added to the plaster. This is because when we pull out the sculpture with the hammer and chisel we can see that we are close to the final result and therefore beat less hard.
When we are ready we fill our container with water and spread (and don't throw) the plaster in it until we see that it comes to the surface and doesn't go down anymore, at which point it will be ready.
Per chi vuole andare sul sicuro consiglio di utilizzare per il primo strato del calco un pigmento colorato che verrá aggiunto al gesso. Questo perché quando tireremo fuori la scultura con il martello e lo scalpello potremo vedere che siamo vicini al risultato finale e battere perció meno forte.
Quando siamo pronti riempiamo il nostro contenitore di acqua e ci spargiamo (e non buttiamo) il gesso finché vediamo che arriva a galla e non scende piú, a questo punto sará pronto.
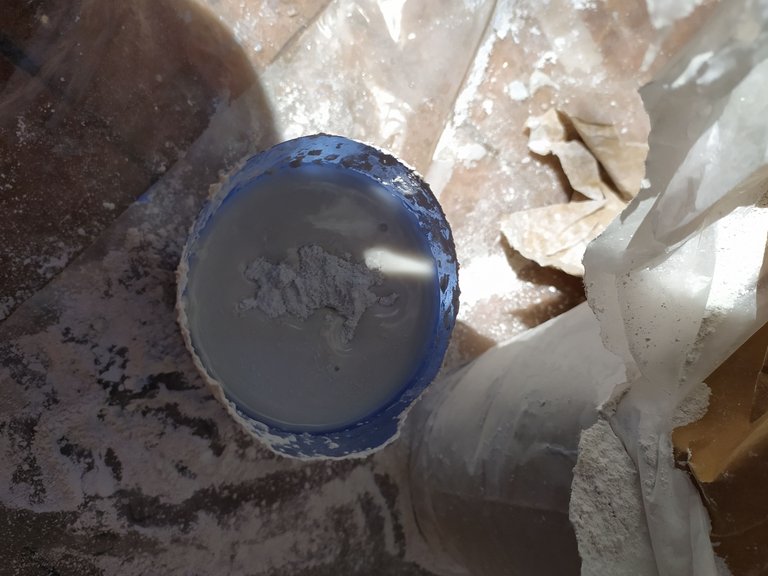
We mix it by hand removing lumps, then from liquid we splash it on the sculpture so that it gets into all the little parts.
Lo misceliamo con la mano eliminando i grumi, poi da liquido lo schizziamo sulla scultura in modo che entri in tutte le piccole parti.
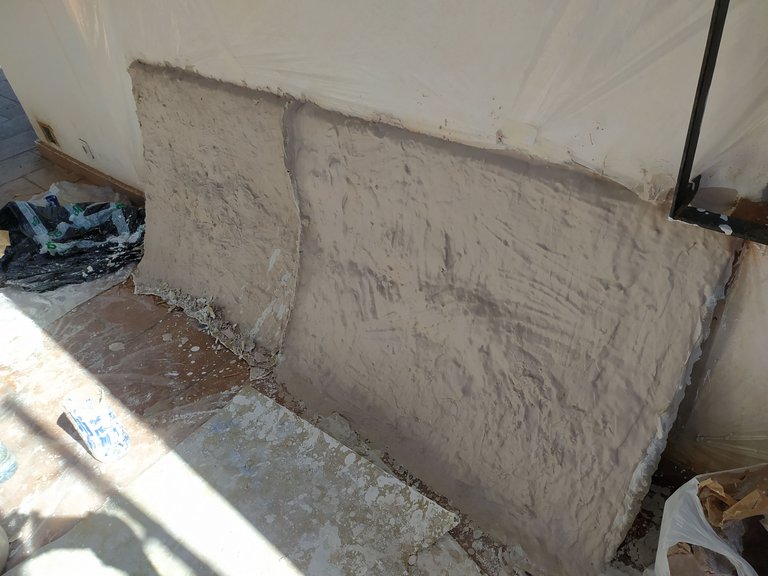
When we have done the first layer we give one after 'another until we reach about 4 cm, depending on the size of the sculpture.
After the first few layers we can help ourselves with a spatula, and the more plaster there is in the water the harder it gets.
Quando avremo fatto il primo strato ne diamo uno dopo l' altro fino a reaggiungere circa 4 cm, a dipendenza della grandezza della scultura.
Dopo i primi strati ci si puó aiutare con una spatola, e piú gesso c' é nell' acqua piú duro diventa.
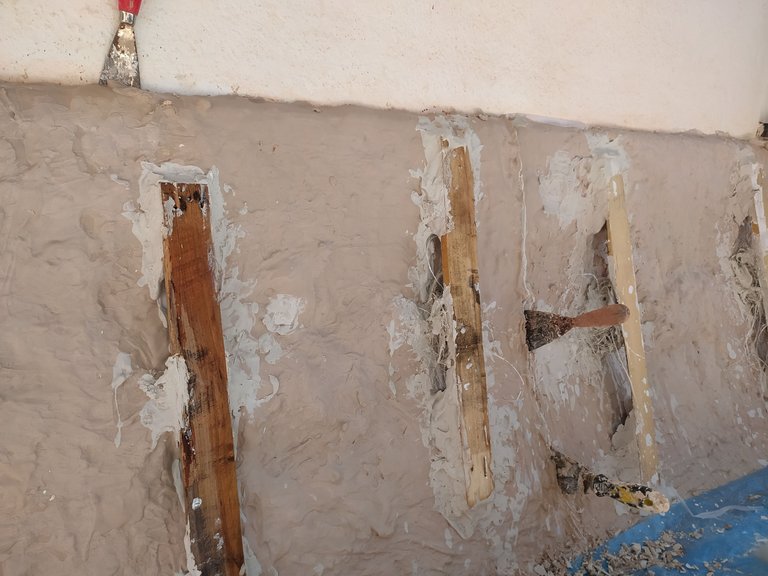
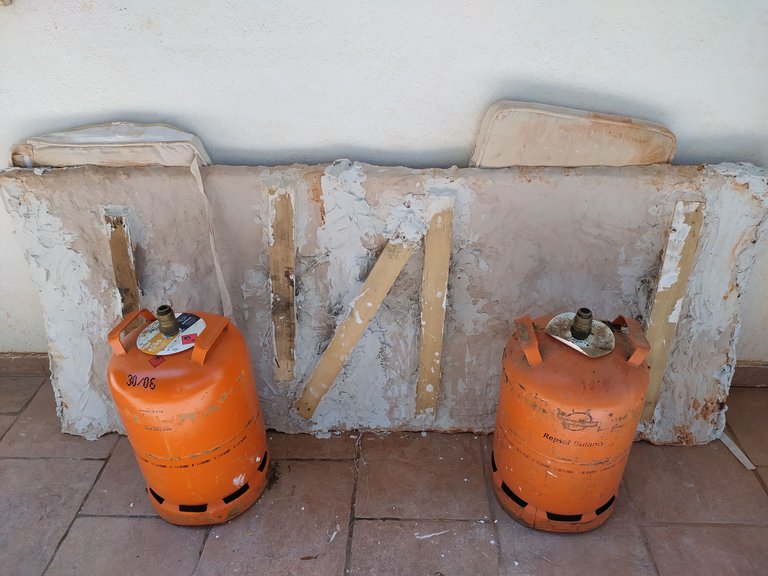
If the size is large it is best to lightly arm the cast with pieces of wood so that it does not break.
Se le dimensioni sono grandi conviene armare leggermente il calco con dei pezzo di legno, in modo che non si spezzi.
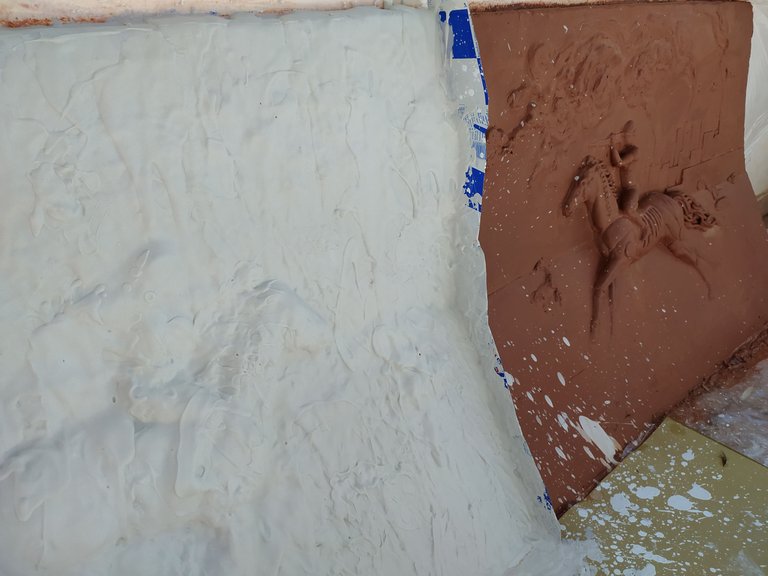
Once dry we remove it from the 'clay and we have the bad part finally,
Una volta asciutto lo togliamo dall' argilla e abbiamo la parte negativa finalmente,
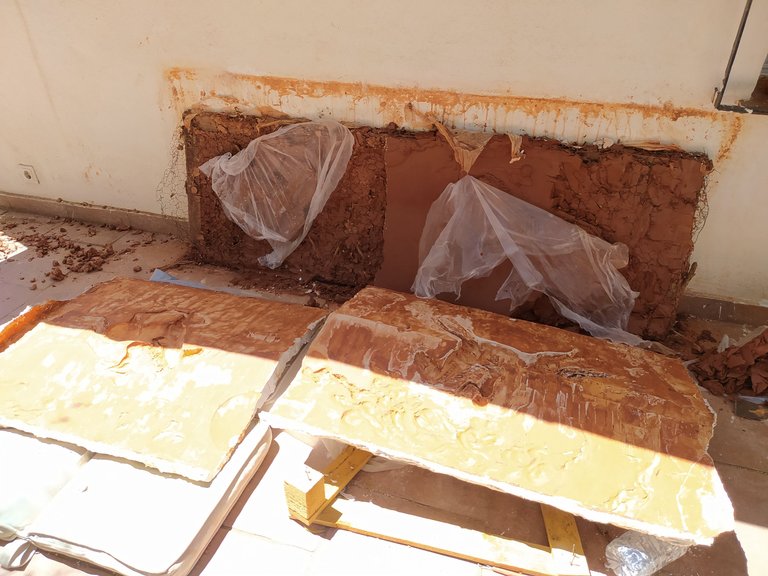
If we have more parts we assemble them.
Once we have the negative we have to clean it up with soap making it foam which we will not remove but dry on our cast. We do this to remove later the cast from the positive part we will make.
Se abbiamo piú parti le assembliamo.
Una volta che abbiamo il negativo dobbiamo ripulirlo con il sapone facendogli fare la schiuma che non toglieremo ma faremo seccare sul nostro calco. Questo perché si possa staccare poi dal gesso della parte positiva che faremo.
Now all that is missing is the positive, so the final sculpture, which I will do soon and keep you updated
Ora manca solo il positivo, cioé la vera e propria scultura che faró presto e vi terró aggiornati
I hope I explained everything well and thanks for following me 😍
Spero di aver spiegato tutto bene e grazie per seguirmi 😍
Wow! Beautiful handcraft.
Thank you so much 😃
Forte, l'illusione ottica del gesso😍
!LOLZ
Grazie 😜
oddio tutto quello che vedo è bello!
!discovery 45
Grazie mille 😃, sono riuscita a salvare delle minime parti ma vediamo se si lascieranno cuocere senza spaccarsi 😅
Wowowow. Really impressive work. Gruss in die Schweiz. A bit German I am able to speak tooo. Lol
Rehived
Thank you sooo much! Einen lieben Gruss zurück 😄
🍀🙏🏼🤗☀️🎶💃🎨👩🏼🎨
@tipu curate
Upvoted 👌 (Mana: 31/41) Liquid rewards.
Ma graaaaazie 🤗
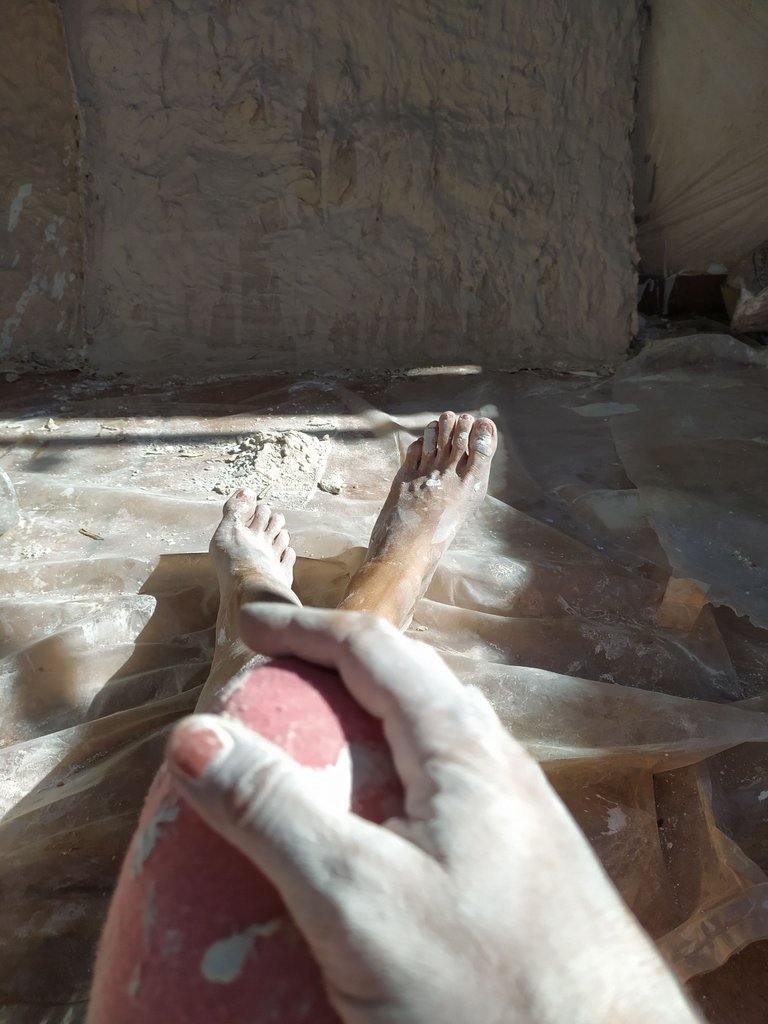
piedi segnati da tanto lavoro :)
Ero tutta bianca come una Geisha 🤣
grande!
Hello dear Carolinchen,
I am a bit lost, but maybe I am too dense to understand, lol. Just like all the instructions about AI lately.
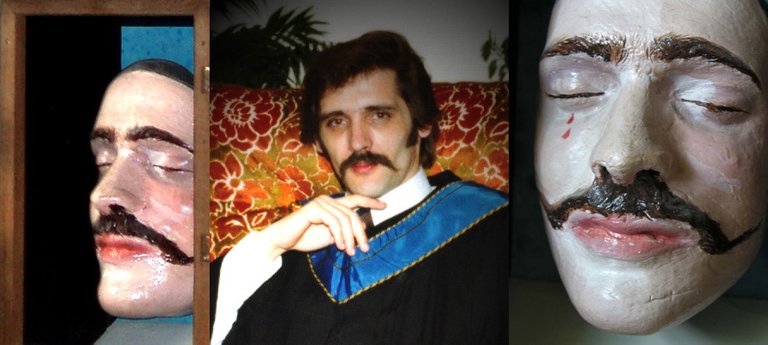
The one experience with casting I never forget is doing my own face. Guess there wasn't enough vaseline used, but when trying to remove the mold, my mustache was stuck. The buddy who was doing this with me said the only way would be to break the mold .... with a hammer! No way I said, are you going to hit me with a hammer. Eventually we came to the conclusion of reachin in from underneath (the chin) with a cardboard strip on which he had mounted a razor blade. Pulling the cast as far away from my face as possible (pulling on the mustache) hurt quite a bit, then trying to cut it I could not tell, because of the pain, if I was just cutting hair, or cutting into flesh.
So there, this story would be worth a post, lol ..... maybe I did post it before, in the days of Steemit.
anyway, this was the result - I got one good copy out of it. That was prior to Graduation in 1982.
PS: I really miss you - just realized, it has been a long time since last we visited!
Augen, Bart und Augenbrauen gehören geschützt und sollten mit einem feuchtem Watte patch abgedeckt werden, das wird sonst gefährlich... und durch die Nasenlöcher gehören natrlich Strohhalme... Noch dazu darf man nie hinter das Ohr gehen ohne eine trennung zu machen sonst kann man den Gips nicht mehr abziehen 😜 sieht aber gut aus Dein Abdruck... ein wenig wie ein Totenmaske 😂
danke, ja, das mit der Totenmaske hat hoffentlich wohl noch Zeit 😁
Ich hatte Strohhalme in der Nase. Ja, hab auch etwas von den Augenbrauen verloren. Der Student mit dem ich damals arbeitete ist heute ein bekannter Architekt in Kanada!
Geil.... wenigstens können ihm als Architekt solche Fehler nicht passieren 😅
Is using clay in drawing good or is it incompatible?
I want to make flowers sculpture ☺️
You can draw into the clay when it is wet, or draw on the clay when it is dry 😊
Sculpting is difficult. I prefer nature drawings. It is a source of strength and calm. Plaster with heat may stay for a long time, right?
I like difficult things, but this is more modelling than sculpting... plaster will heat just when it' s drying... like for 15 minutes
This post was shared and voted inside the discord by the curators team of discovery-it
Join our community! hive-193212
Discovery-it is also a Witness, vote for us here
Delegate to us for passive income. Check our 80% fee-back Program
This is just gorgeous and I love the color terra cotta has in the sun @carolineschell truly beautiful.
@carolineschell, this comment has been manually curated with LUV