We made it - after about 12-13 hours of building, and 867 steps the Land Rover is finished. And best of all it's all runs well and looks amazing - okay there were some issues along the way - particularly in these final steps but we got there and I'm very pleased.
If you want to follow the whole journey here is the link to part 5 and then you can get the rest of the links from there.
Well I guess without further adieu and to get a clickbaity type of lead image here is the final model...
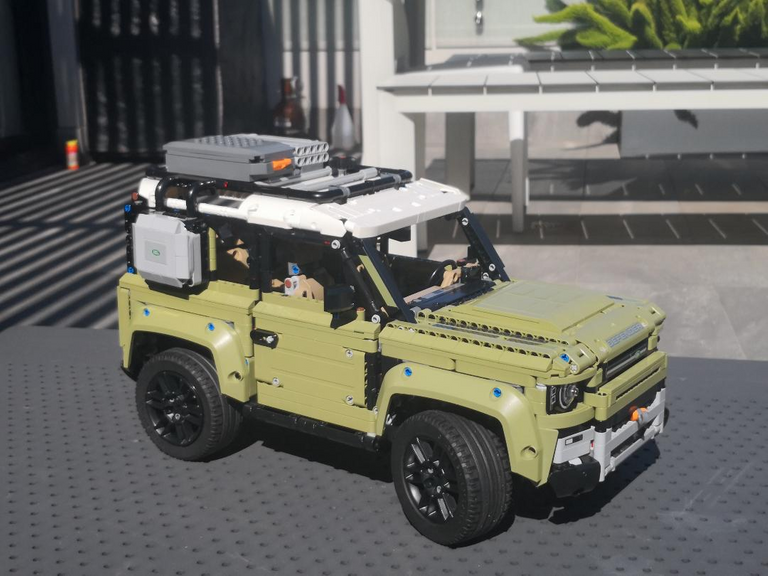
as you can see she is gorgeous - the technic aesthetic suits this car so well, it's a short wheel base as all good 4WD should be (did I ever tell you I used to drive a Suzuki Sierra/Samurai/Jimny so I like a tall short vehicle, although now I drive a long bonneted low convertible, so I think I just like cars which could be drawn by children) it has what I feel is a classic olive green with white roof look.
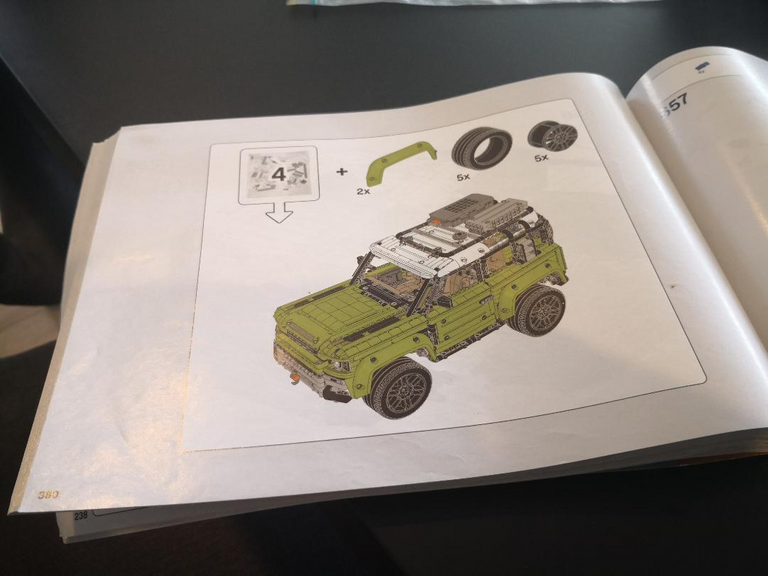
But let's take it back a few steps - 210 to be exact and we can see what we are aiming for. I thought this one was going to be easy, as it was basically skin of the first third of the vehicle, the stuff on the roof and some wheels. It was more difficult than that
One of the cooler bits was the front light assembly - you basically build the whole front quarter, apparently one of the tricks with the design is that the original car has a cut off circular headlight and Lego pieces are perfectly circular, so they get around it by tucking the light behind a the green piece to give it a cut-off look - good thinking.

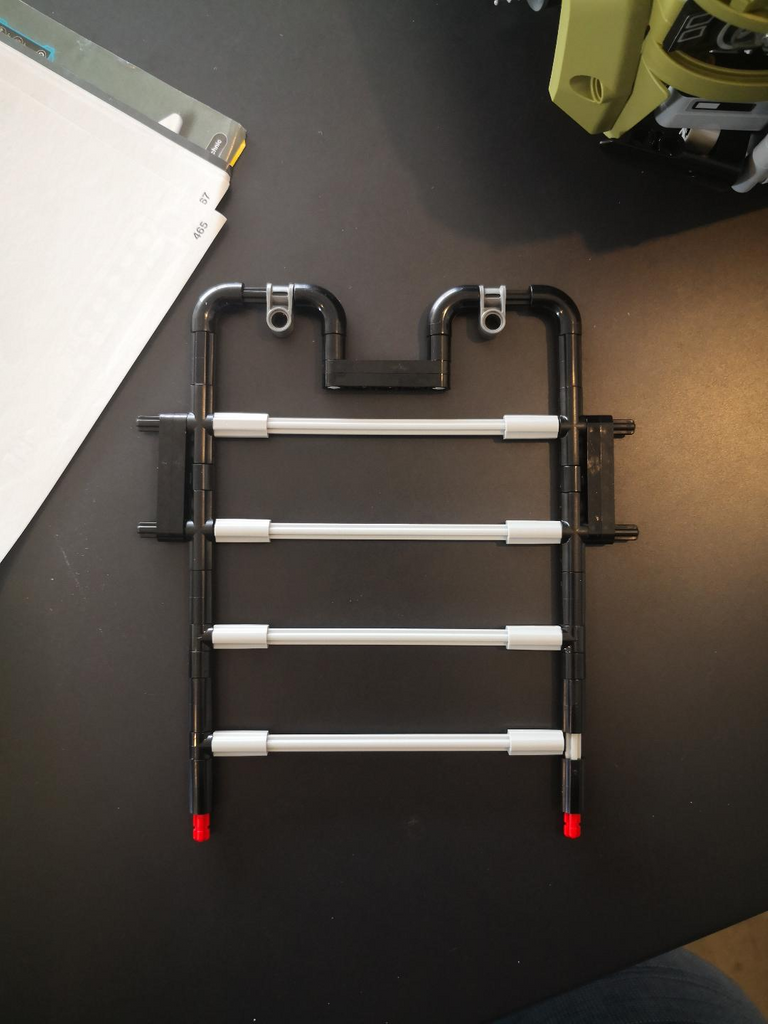
From there it's more system pieces as the 'sill' of the car is extending across the front '
It was then that I hit my first problem - Now I'd been worried about the sticker pieces for the whole build - this is a secondhand set so the pieces already had stickers attached, and I thought I was doing well to make sure not to use any pieces with stickers in the wrong places, somehow I didn't think of the only way it could go wrong - as I was putting the bonnet together I realised I needed a piece without a sticker and the only piece I had left had a sticker on it - which means I stuffed up somewhere else - Cue about 30 mins of trying to work out where the piece that was meant to have that sticker on it went. Turns out it was in the door, and of course I done it wrong on both doors, one was simple enough, take of the door, replace the non-stickered piece in the door with the stickered piece in my hand, rebuild door, but the other plain piece in the other door meant that there was a stickered piece buried somewhere in the model which I needed to find - thankfully it was only in the side panels, so whip of the wheel arch, take a few things off and you can find it.
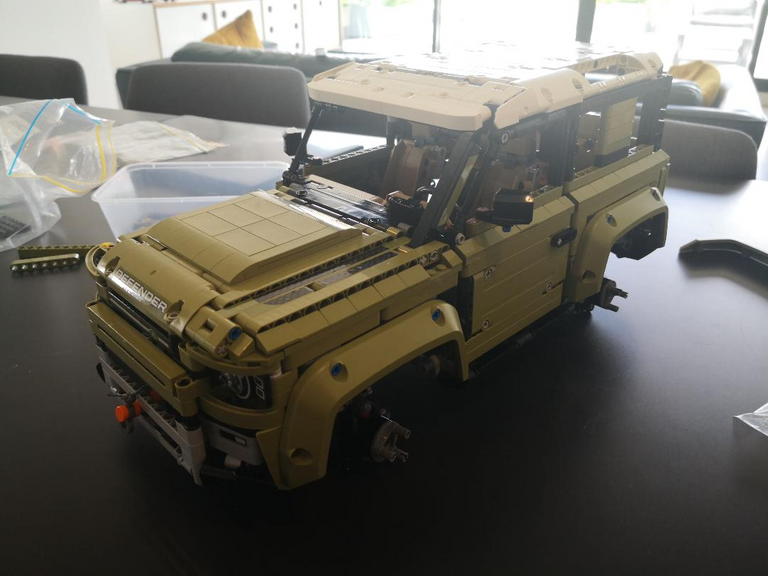
Back on track - I finished the bonnet and more tiles on the top of technic pieces and then only the roof rack and the wheels to go
The roof rack should be simple, except I hit problem two - we are getting down to the last pieces now, maybe only 15 or so to go, and......I'm missing a piece, A axle going into a loop, I have something similar (a pin into a loop) will that work? Nope, Do I have a spare of this part in my collection? No, can I build around it? (As I do in so many of other people's designs) No. This is what I feared all along, after 12 hours being on piece away from finishing. There are 17 of this parts in the build, have I put something in wrong elsewhere? Time for another check....
At about step 400 I notice that, although it's not right I can swap the wrong piece I have on hand for the piece I need - swap them over and I'm finished.
Yah
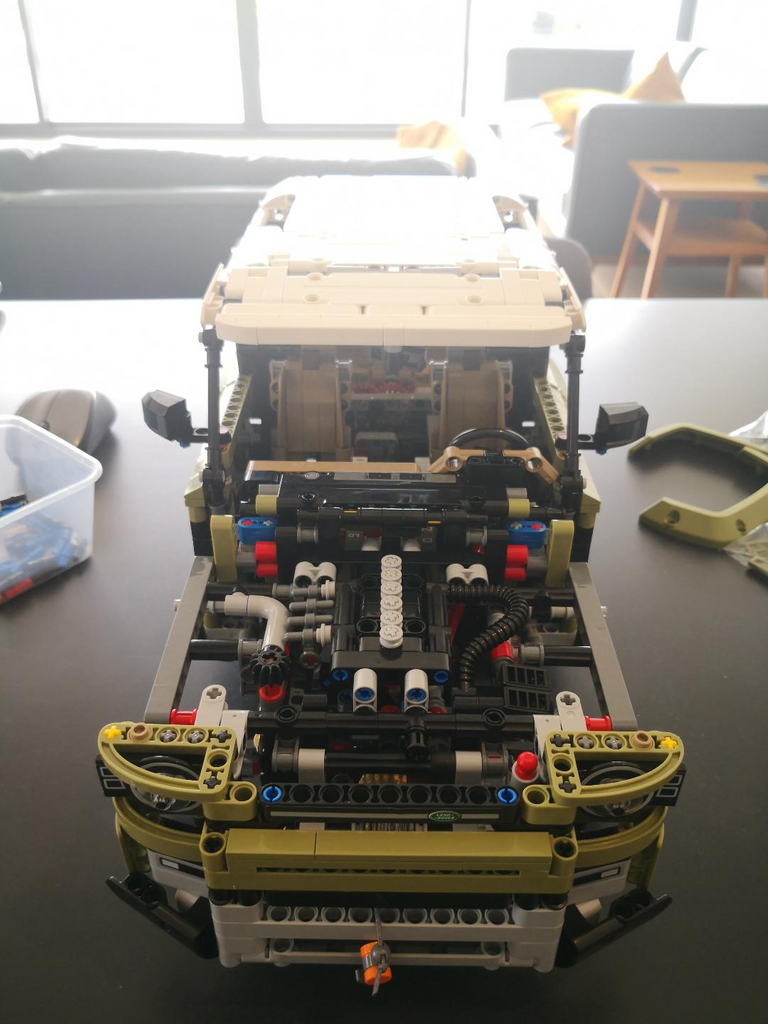
Then I start playing with it - why isn't the fake engine pistons going up and down, what is that cracking noise. Damn I haven't build this right. I'm going to have to deconstruct it to fix it, start all over again . I consult the internet, there are multiple videos on Youtube about this - after searching all over the model for the fault it's a single piece, one of the drive shafts is out of alignment with another one and it stops it working right, it's a 3 second fix - we are back on track.
And now it's perfect and I love it, and yeah it was worth it, It was (just) beyond my technic building skills, but that was the idea, it was challenging, and a bit frustrating at times, but ultimately a lot of fun.
And as for advice if you are building your own.
- Really pay attention during bags one and two, and at the end of bag two put the wheels on and test all of the gears, make sure the fake engine is working, and that it's quiet when you push it around - it will be much much easier to fix anything before you put the body on.
And now what happens - well I think I need to take it to be photographed in the great outdoors, and then displayed, and then, because it's more built into something new.
I'll be interested to see what you build it into next...I don't have the heart to take mine apart just yet. Lol.
I think it will be a little while before I do it - but I have my eye on a very cool forklift I saw on youtube
There's plenty of d ope with all those cogs and gears I guess. It's a pretty good build though right? I enjoyed it. Also, I liked your too, make sure it all works prior to putting the body on. That's a trap for young players.
I haven't started my Volvo A60H yet, been a bit busy, but it'll happen soon. I'm looking forward to that.