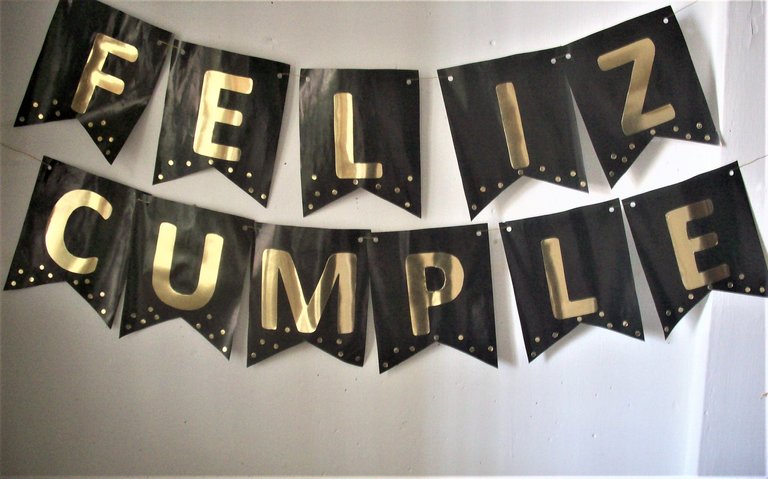
Hola amigos de hive, hoy quiero compartir con ustedes como hice este banderín de feliz cumpleaños el cual es sencillo de hacer y los materiales son fáciles de conseguir, lo mejor es que se puede hacer con el motivo y los colores que se prefieran. Este tipo de manualidades son muy útiles para cualquier ocasión que se les presente.
Hello friends of hive, today I want to share with you how I made this happy birthday banner which is simple to make and the materials are easy to get, the best thing is that it can be done with the motif and colors you prefer. This kind of crafts are very useful for any occasion that you may have.
Hello friends of hive, today I want to share with you how I made this happy birthday banner which is simple to make and the materials are easy to get, the best thing is that it can be done with the motif and colors you prefer. This kind of crafts are very useful for any occasion that you may have.
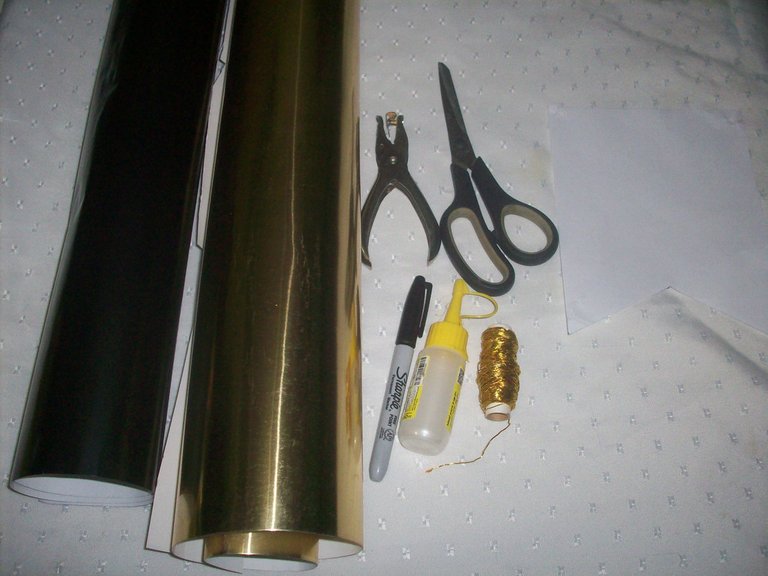
Materiales – Materials
- Papel lustrillo
- Cartulina
- Silicón
- Tijera
- Hilo
- Perforadora
- Marcador
- Regla
- Shine paper
- Cardboard
- Silicone
- Scissors
- Thread
- Drill
- Bookmark
- Rule
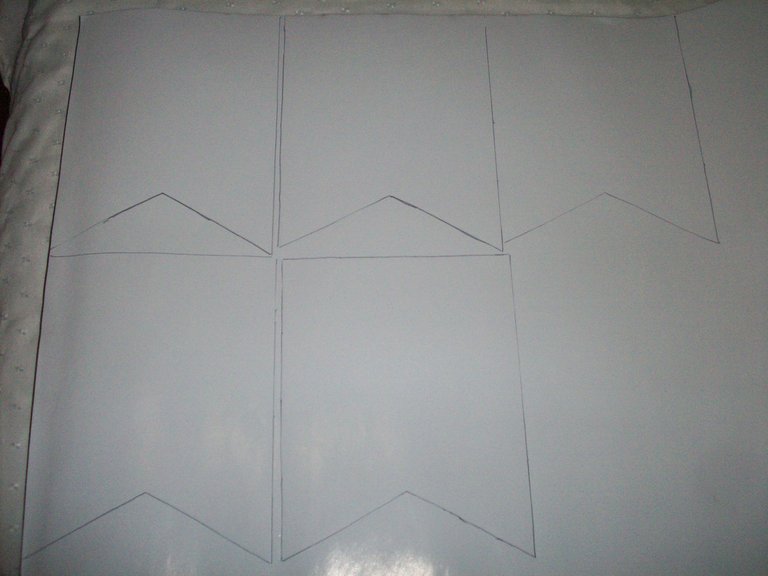
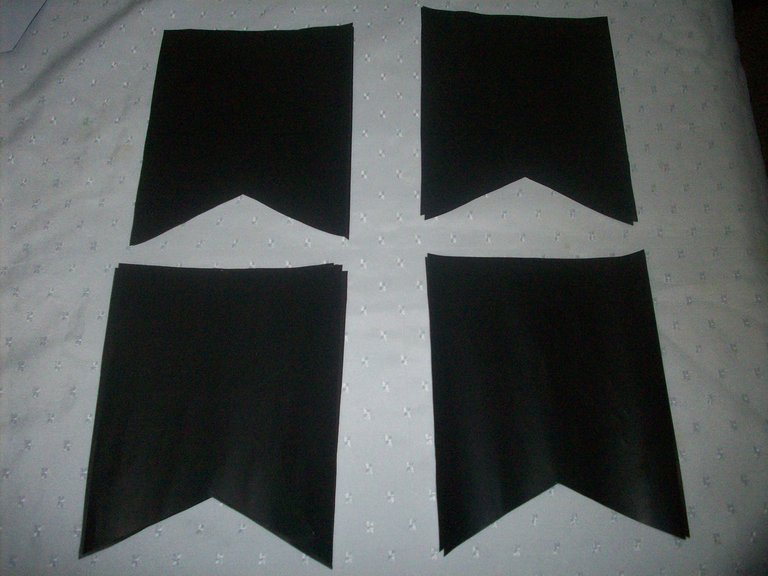
Primero sacamos un molde en papel de 19x 15 cm para que sea más cómodo marcar en el papel lustrillo y también en la parte superior del cuadro se marca una v del tamaño que quieran, luego de haber marcado todo empezamos a recortar cada uno de los banderines.
First we take out a 19x 15 cm paper mold to make it more comfortable to mark on the glossy paper and also on the top of the picture we mark a v of the size you want, after we have marked everything we start to cut out each of the flags.
First we take out a 19x 15 cm paper mold to make it more comfortable to mark on the glossy paper and also on the top of the picture we mark a v of the size you want, after we have marked everything we start to cut out each of the flags.
Después de recortar todos los banderines lo dejamos de lado un momento para empezar con las letras, para más comodidad las imprimí para que sean los moldes.
After cutting out all the banners we left it aside for a moment to start with the letters, for more comfort I printed them to be the moulds.
After cutting out all the banners we left it aside for a moment to start with the letters, for more comfort I printed them to be the moulds.
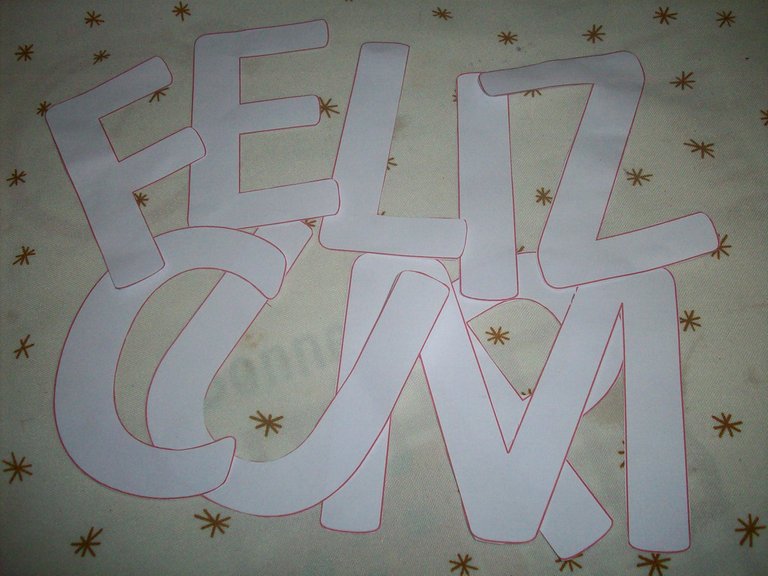
Luego con ese molde marcamos en la cartulina y un dato es si la cartulina el color es de un solo lado se marca la letra al revés para que cuando se recorte salga la letra al derecho con el color.
Then with that mold we mark in the cardboard and a data is if the cardboard the color is of a single side the letter is marked upside down so that when it is cut out it leaves the letter to the right with the color.
Then with that mold we mark in the cardboard and a data is if the cardboard the color is of a single side the letter is marked upside down so that when it is cut out it leaves the letter to the right with the color.

Ahora recortamos las letras de la cartulina para empezar a pegarla al banderín.
Now we cut out the letters from the cardboard to start gluing it to the pennant.
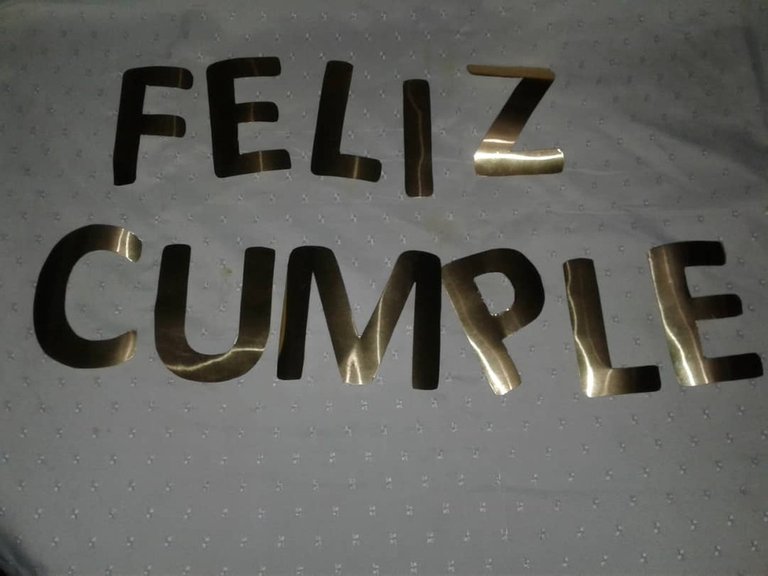
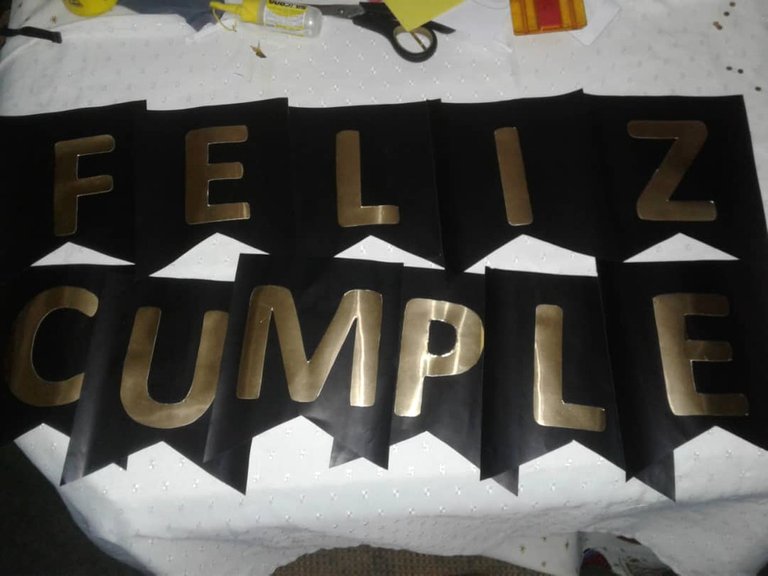

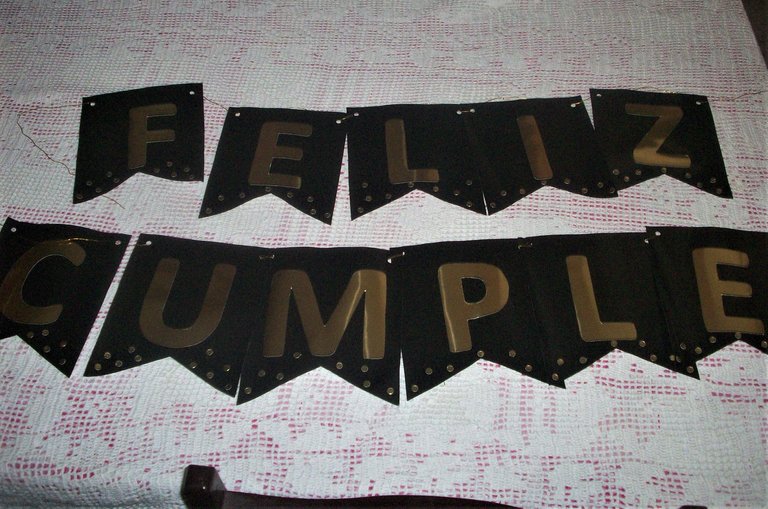

Now we cut out the letters from the cardboard to start gluing it to the pennant.
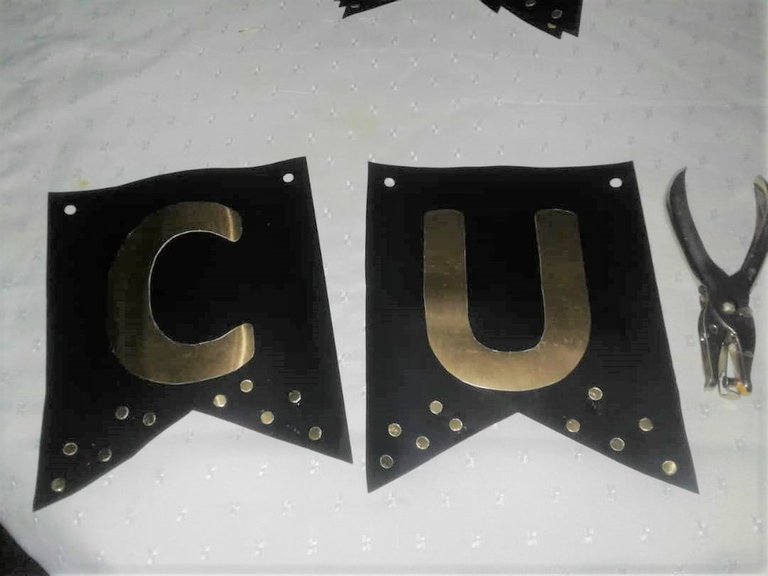
Luego con una perforadora sacamos puntos de cartulina para adornar y también en la parte de arriba del banderín ya que por ahí se colgará.
Then with a punch we take out cardboard points to decorate and also on the top of the flag as it will hang there.
Then with a punch we take out cardboard points to decorate and also on the top of the flag as it will hang there.
Por ultimo pasamos el hilo por los huecos que previamente hicimos y tendremos listo el banderín.
Finally we pass the thread through the holes we previously made and we will have the pennant ready.
Finally we pass the thread through the holes we previously made and we will have the pennant ready.
Espero les guste.
I hope you like it
Gracias por Leer.
Thanks for reading
Fotos de mi propiedad.
Cámara Kodak M753