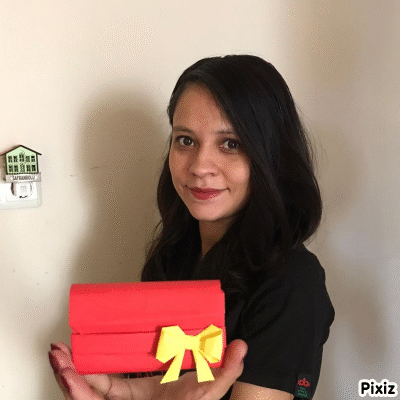
Hello everyone, dear friends, today I will show you how to make a very stylish wallet. You can gift it to your friends. It is very useful. You can get more robust wallets by using different materials.
Herkese merhaba sevgili arkadaşlar bugün sizlere çok şık bir cüzdan yapımını göstereceğim.Arkadaşlarınıza hediye edebilirsiniz.Oldukça kullanışlı.Daha farklı materyaller kullanarak daha sağlam cüzdanlar elde edebilirsiniz.
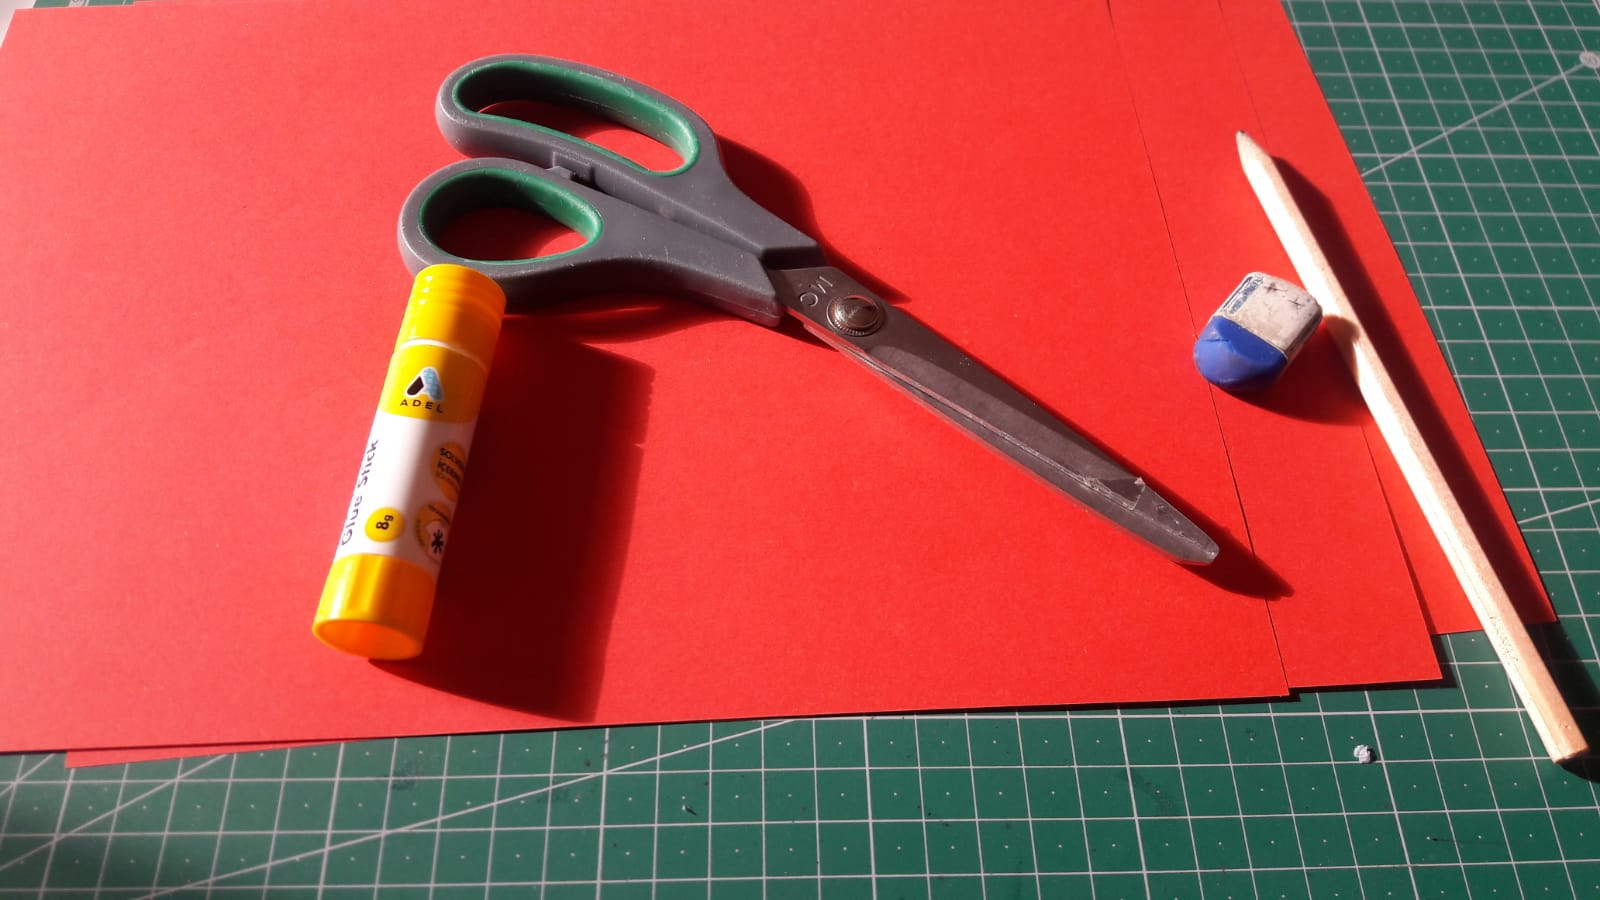
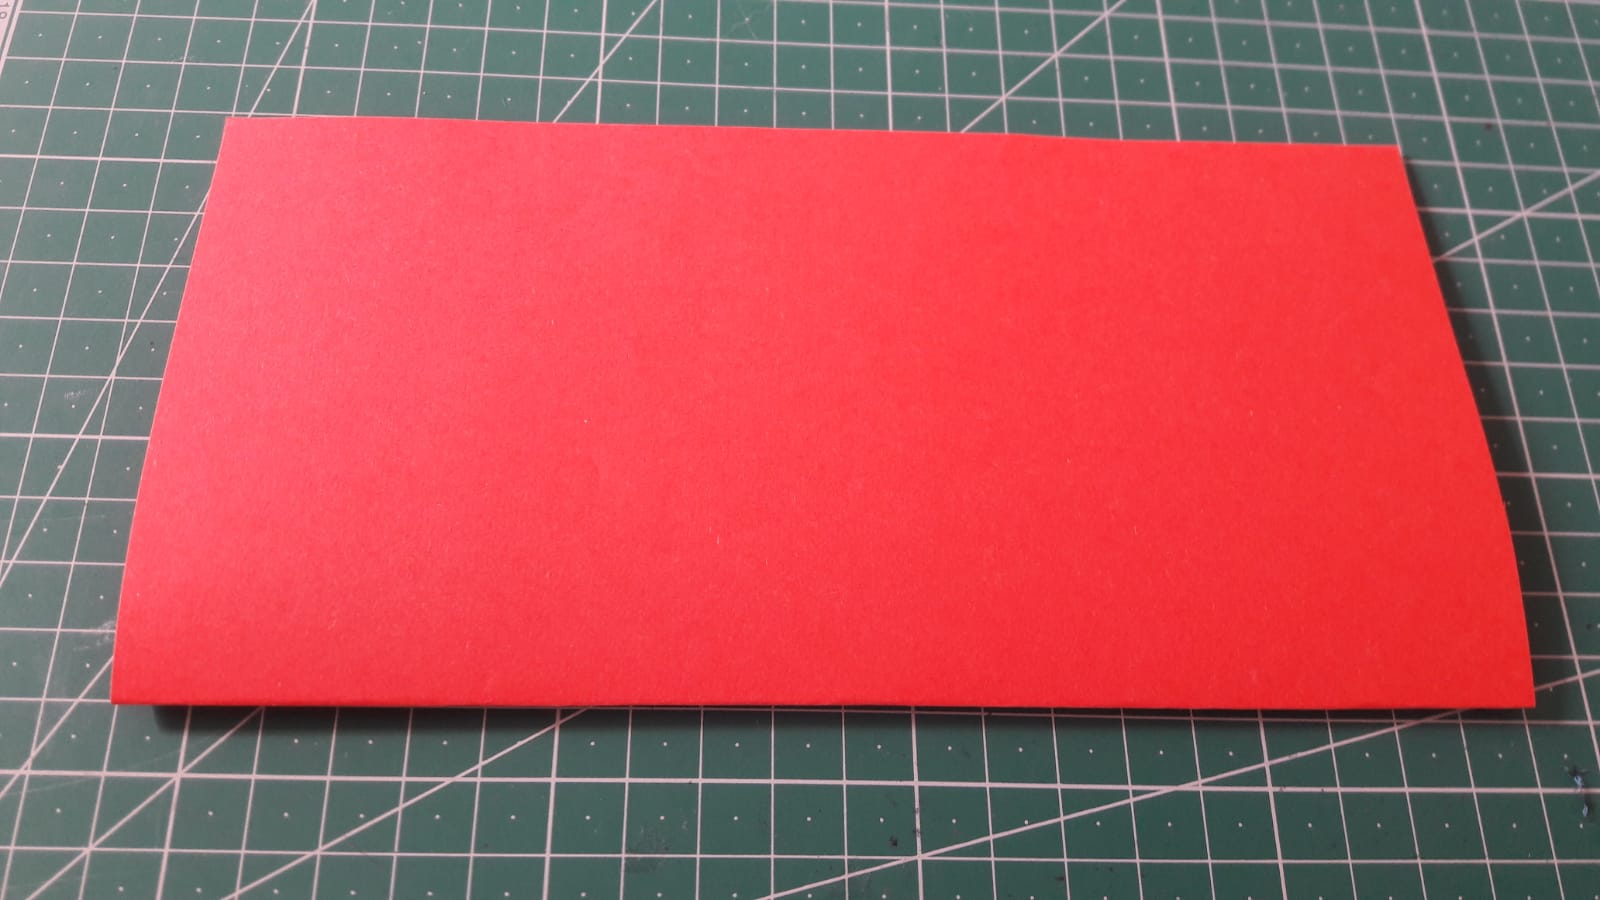
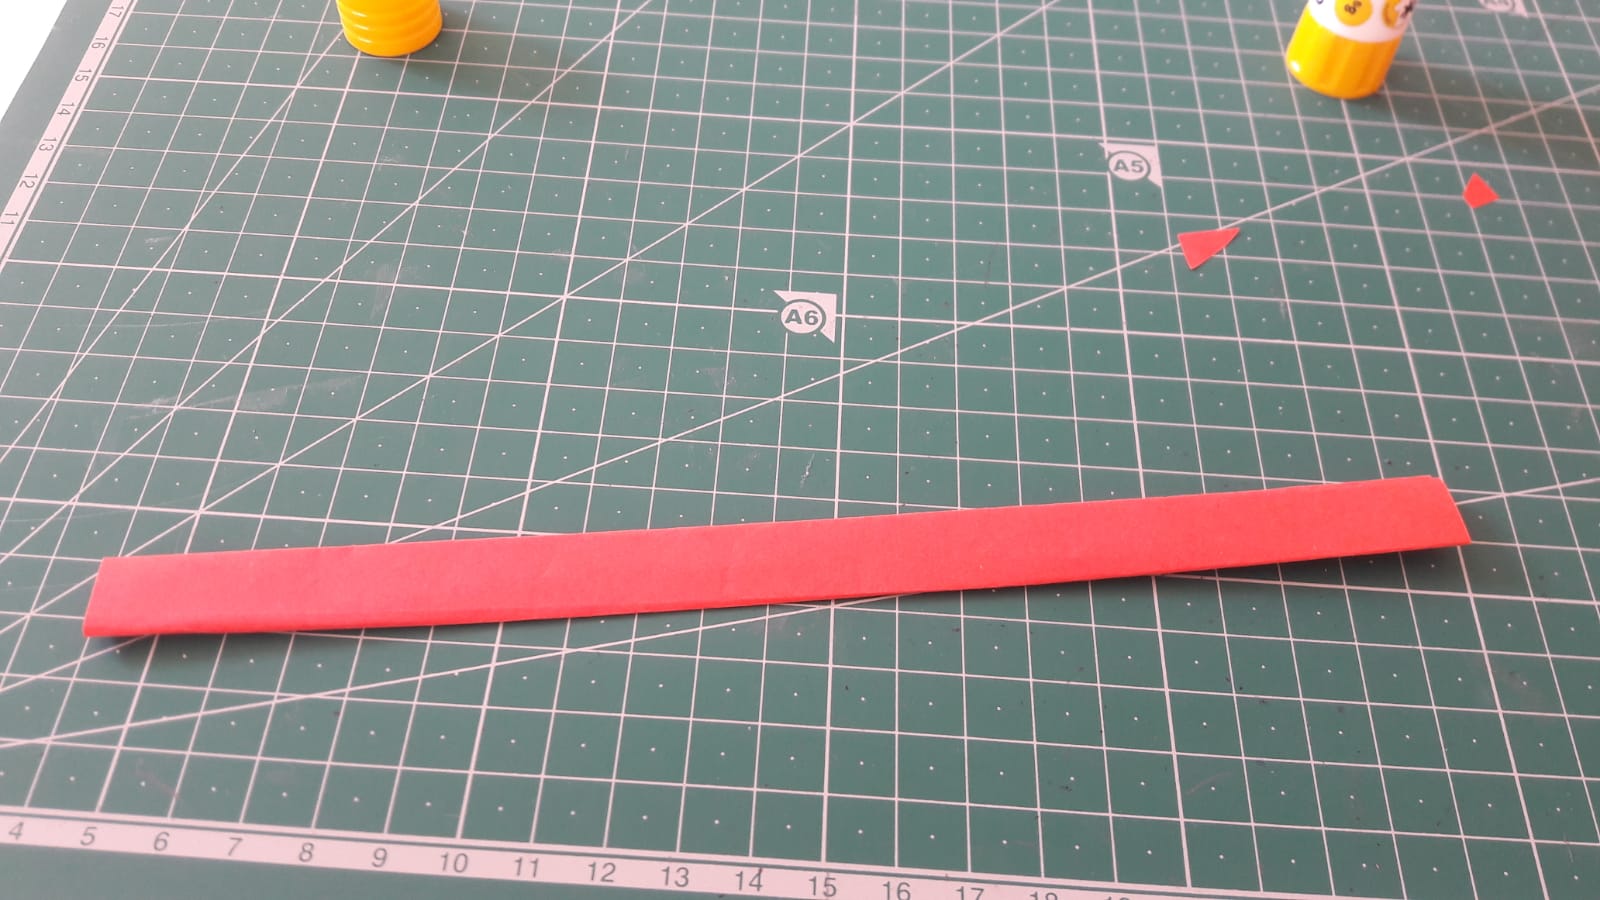
First, the materials we need are 3 sheets of A4 paper in the color you want, glue, scissors and a ruler.
İlk olarak ihtiyacımız olan malzemeler istediğiniz renkte 3 adet a 4 kağıdı, yapıştırıcı,makas ve cetvel.
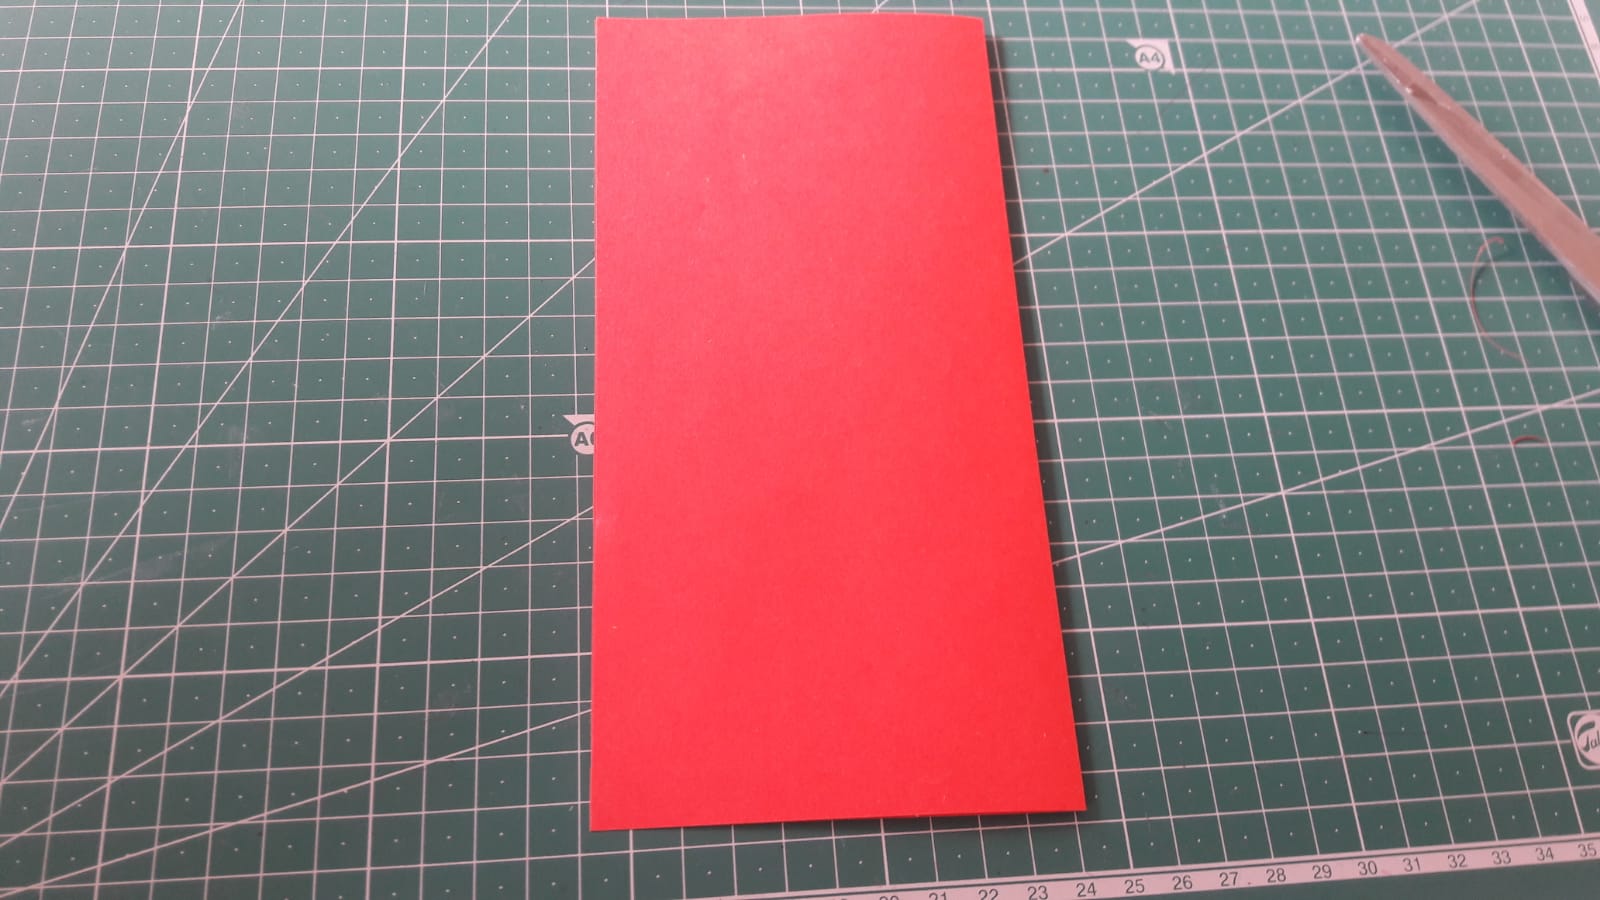
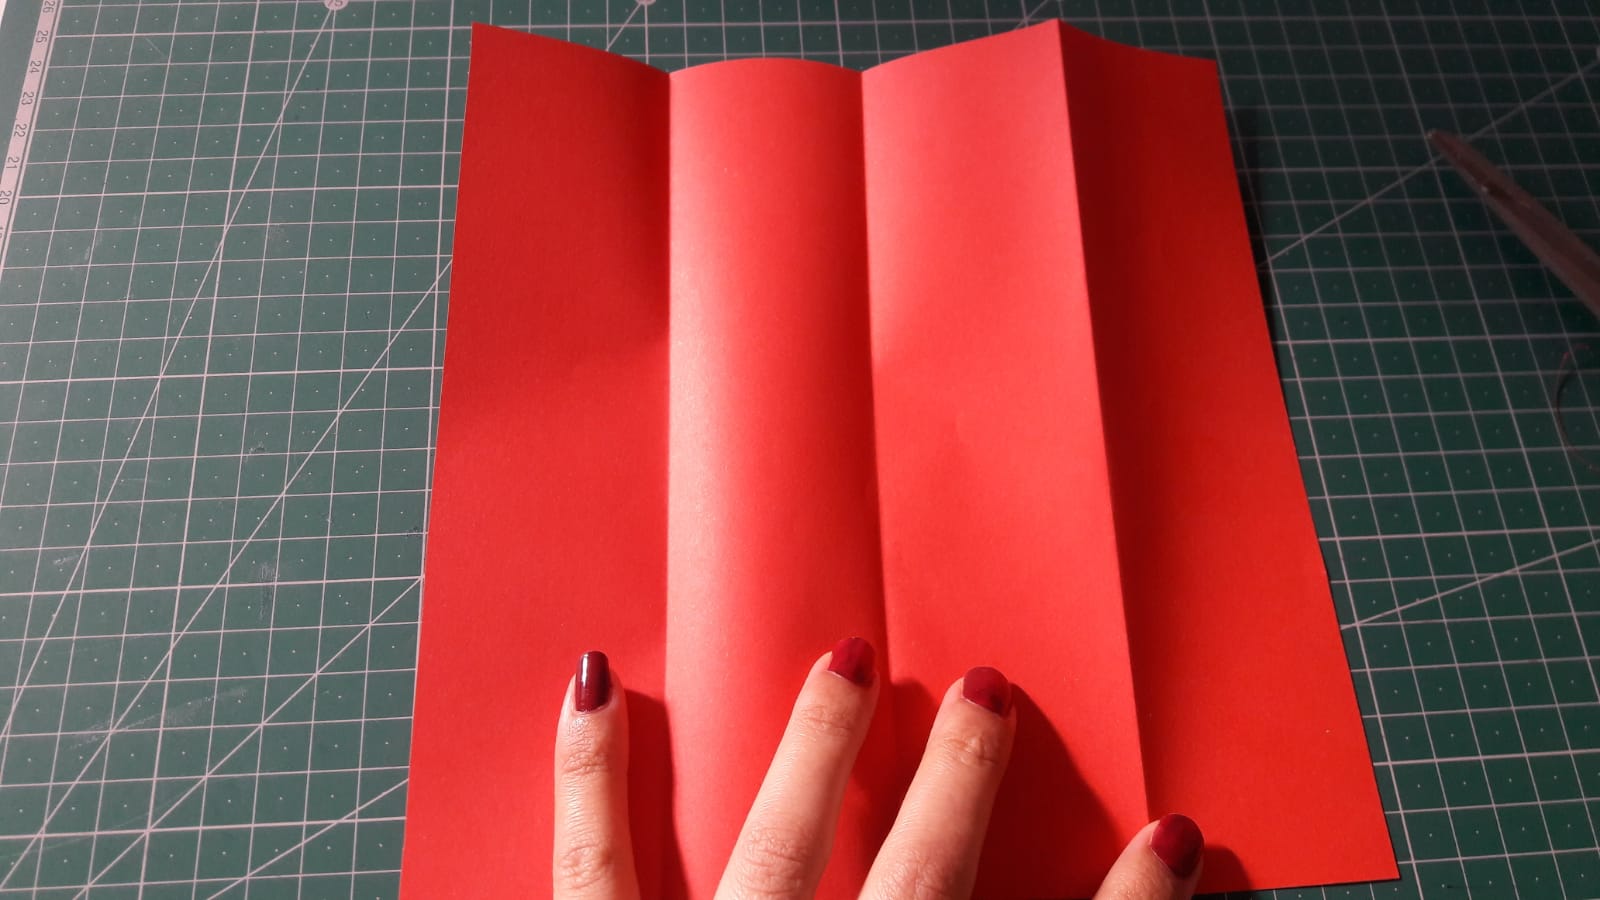
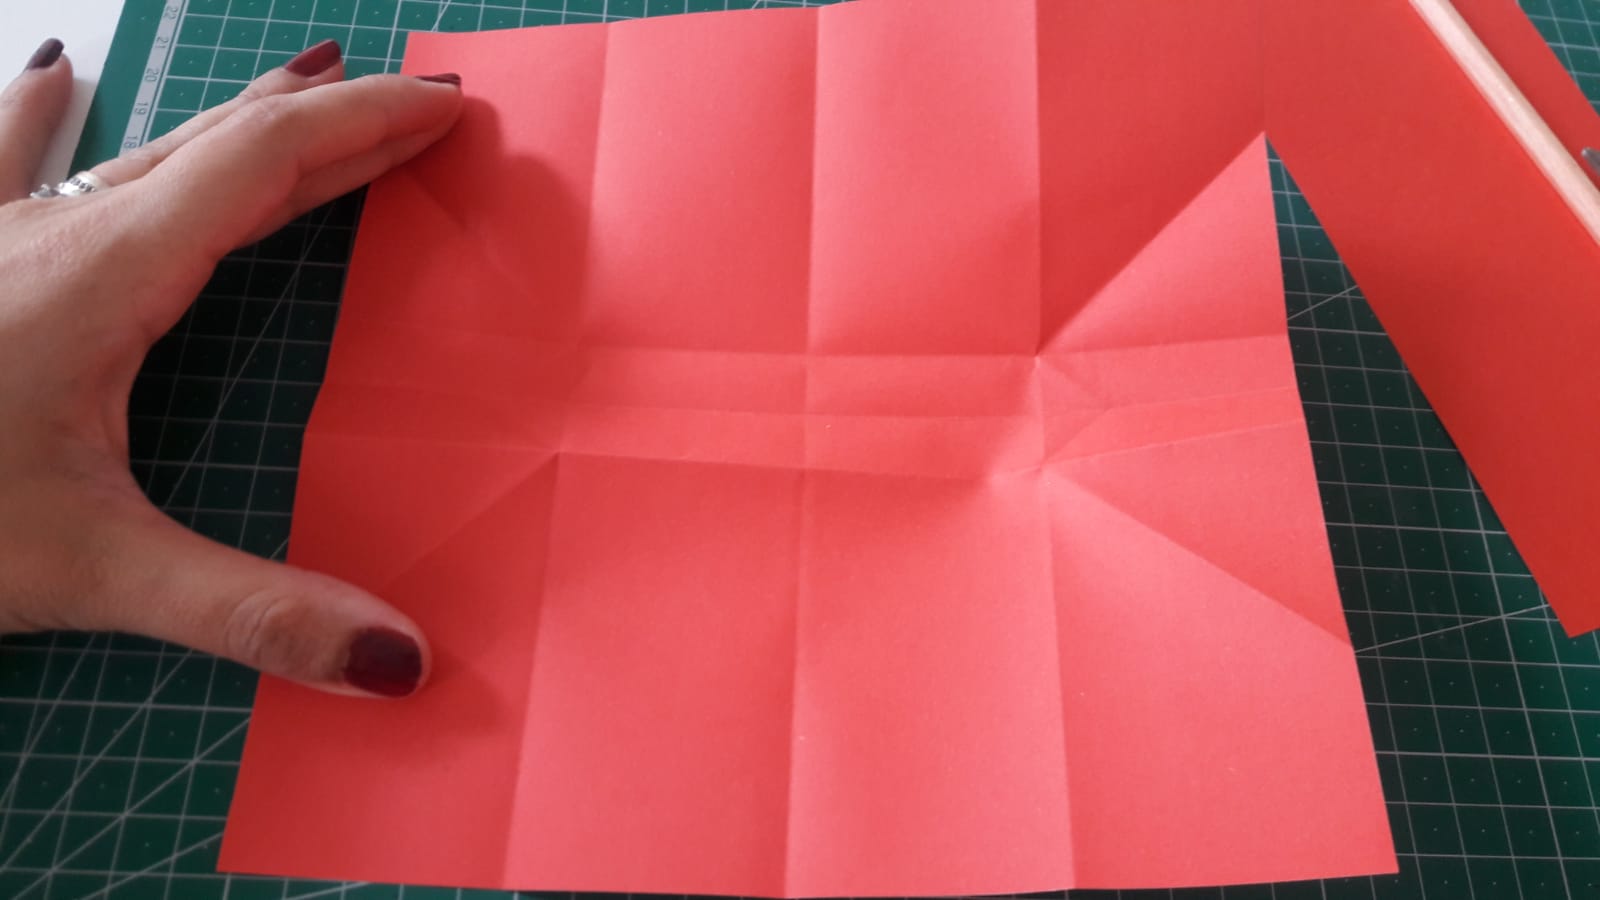
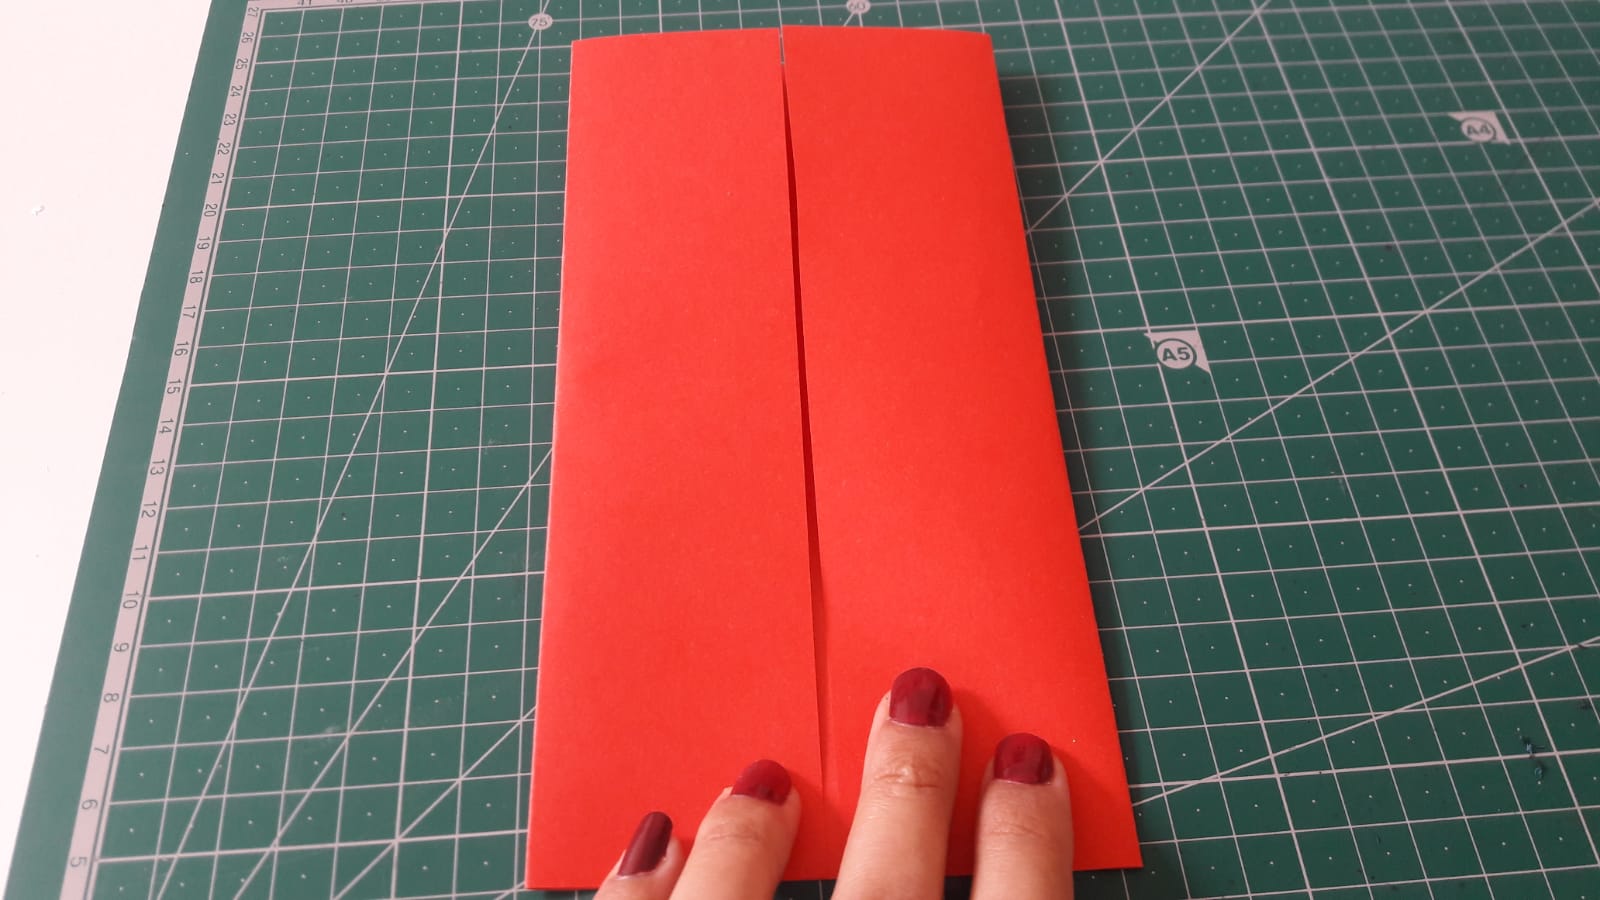
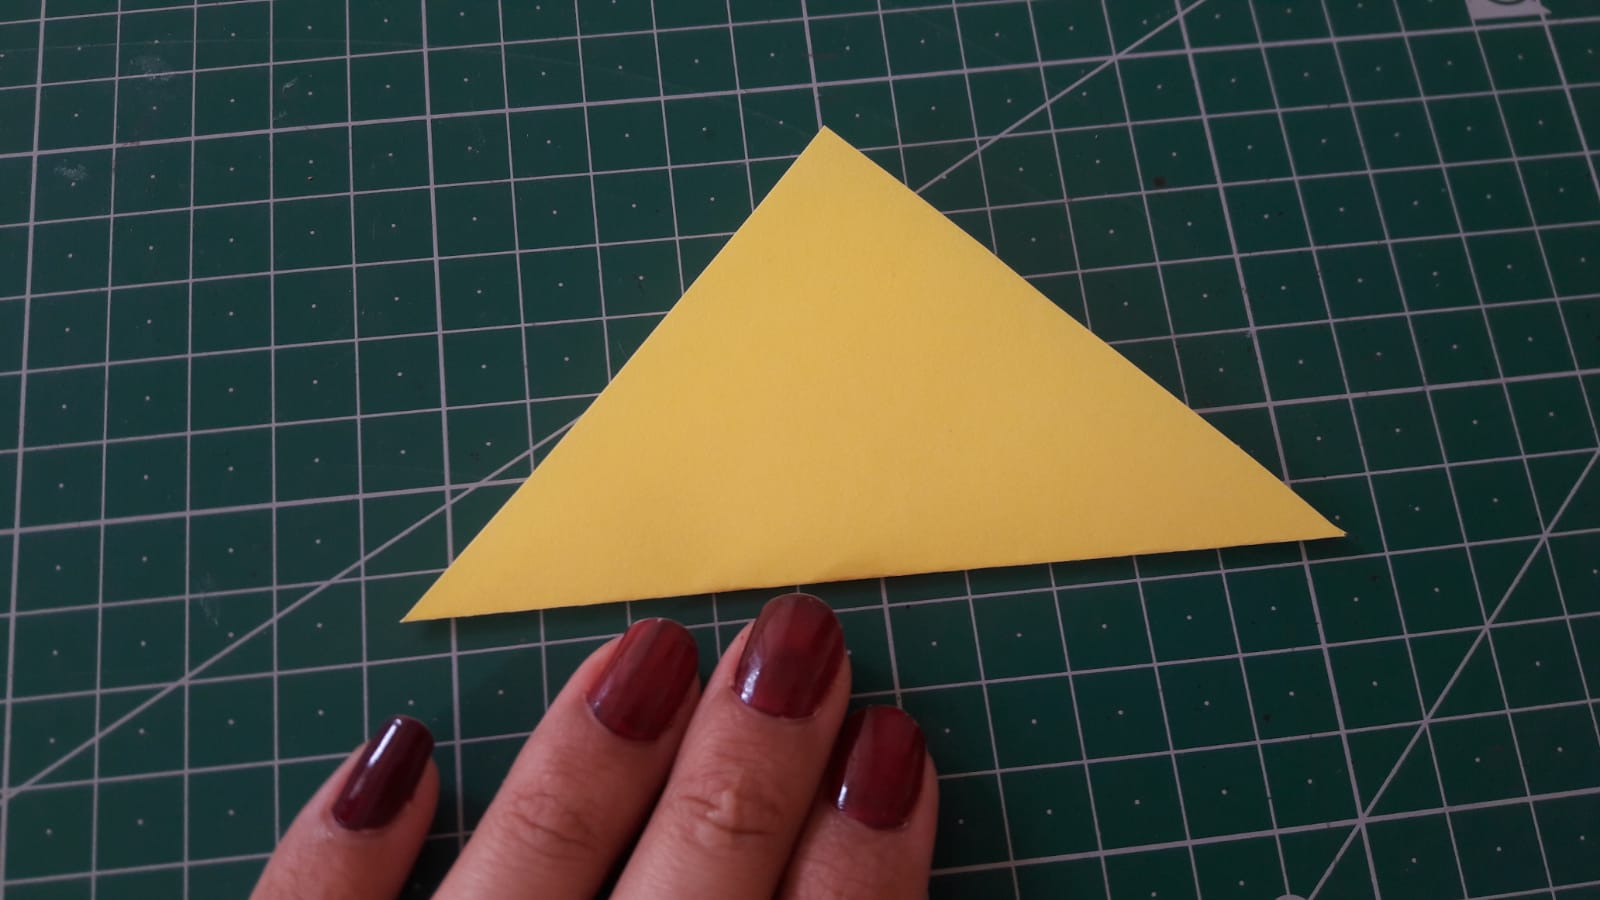
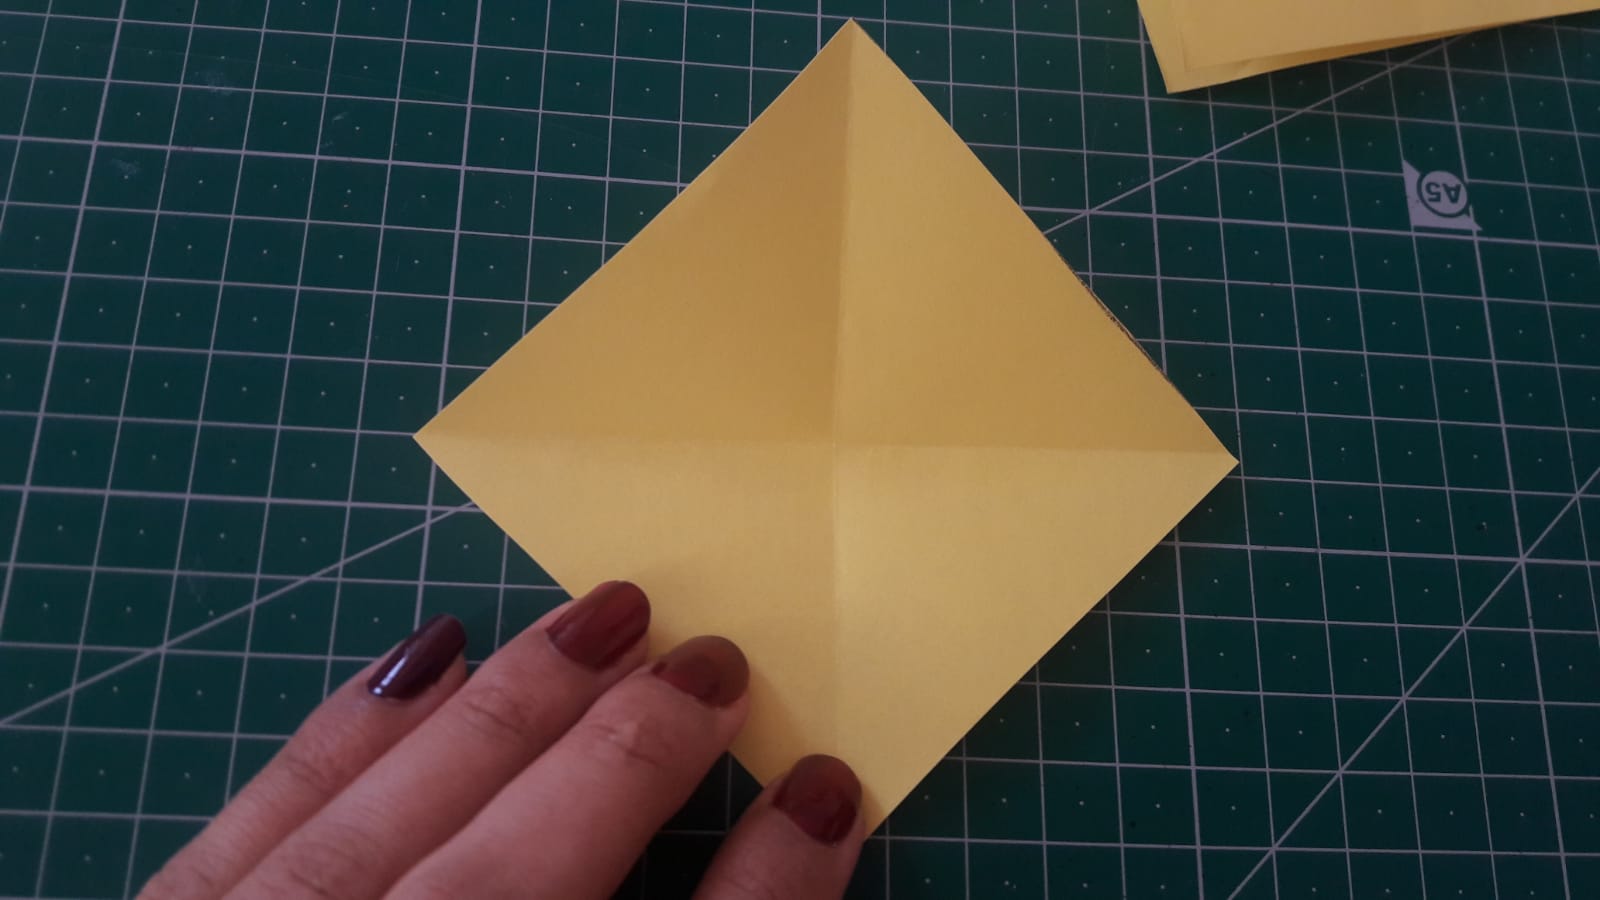
Let's cut our papers to be 20 * 20 cm. Let's fold it in half. Let's do the same process again. Let's open our paper. And fold it in half on the other side.
Kağıtlarımızı 20*20 cm olacak şekilde keselim.İkiye katlayalım.Tekrar aynı işlemi uygulayalım.Kağıdımızı açalım.Ve diğer tarafından ikiye katlayalım.
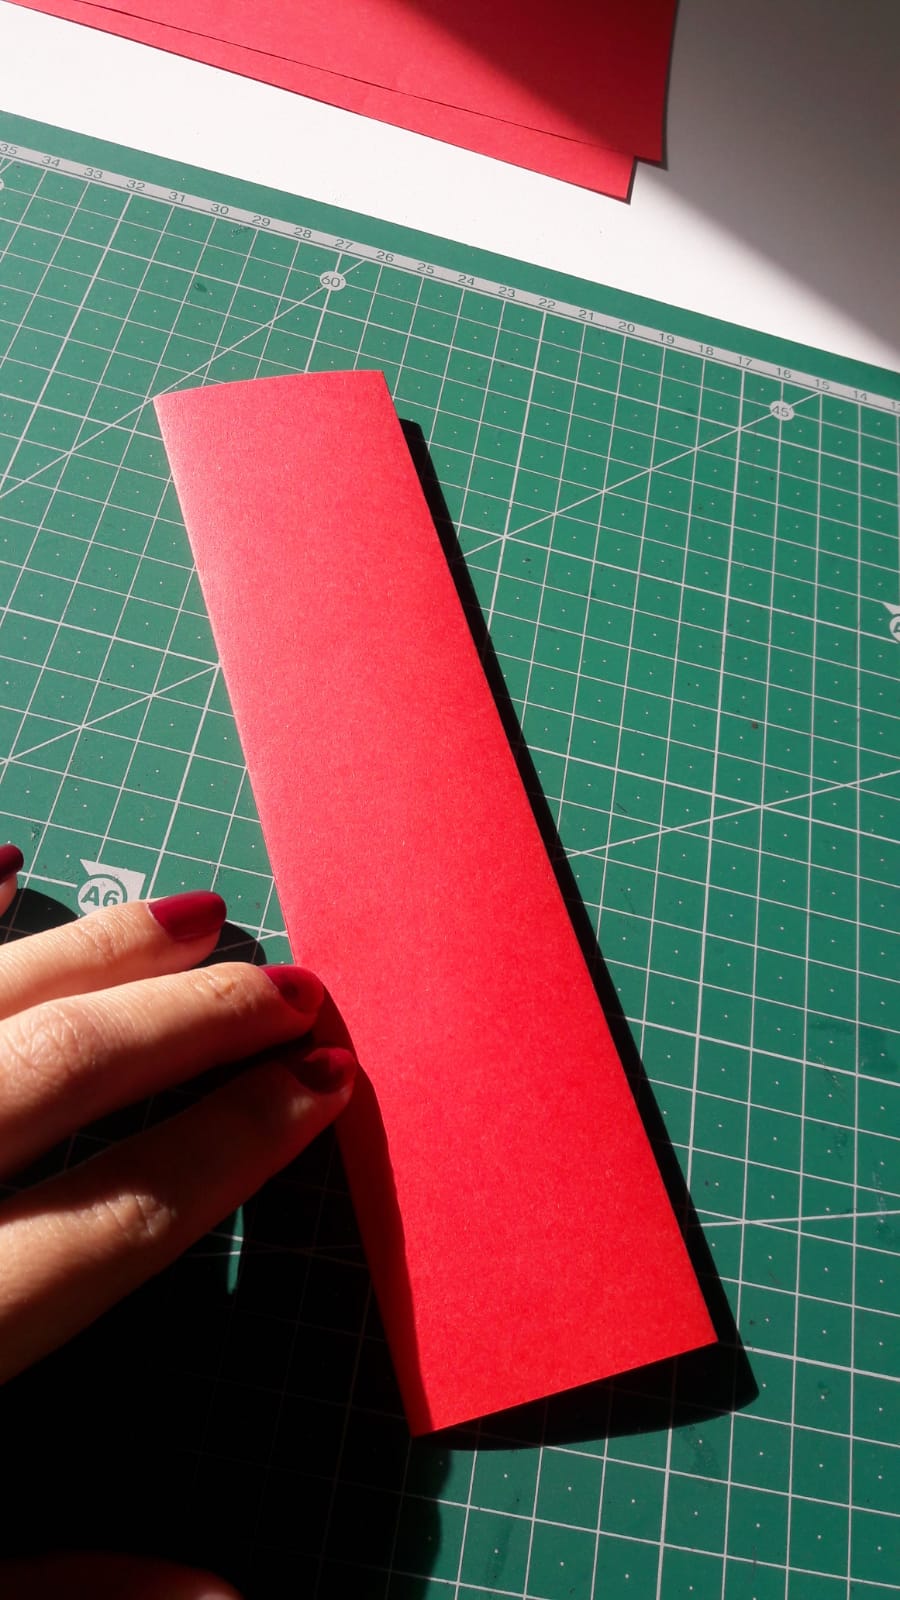
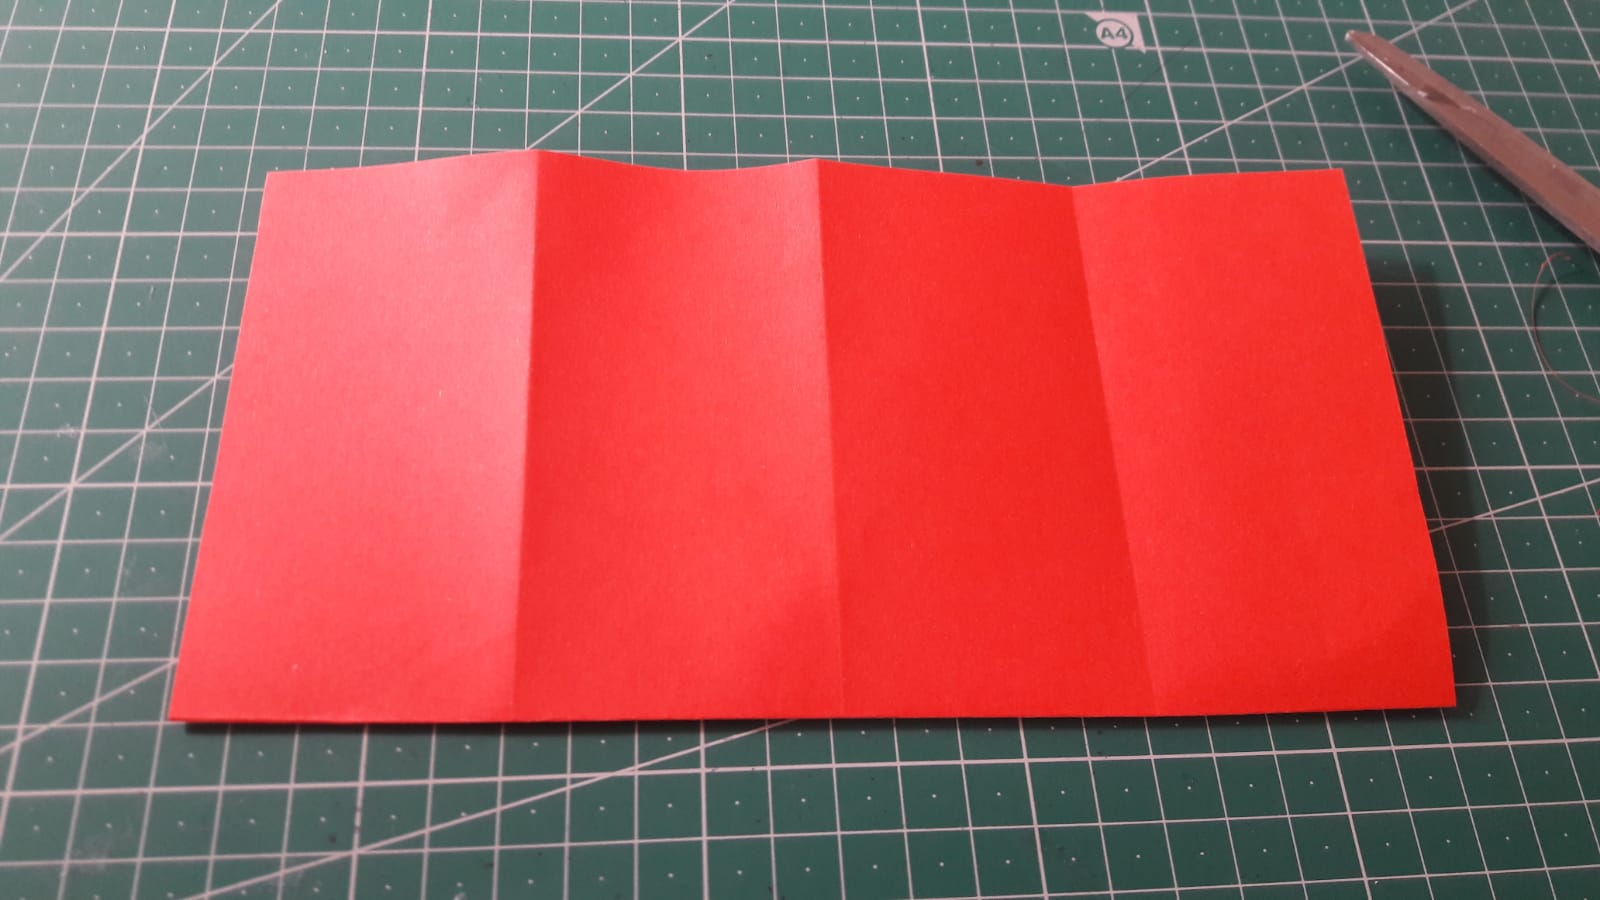
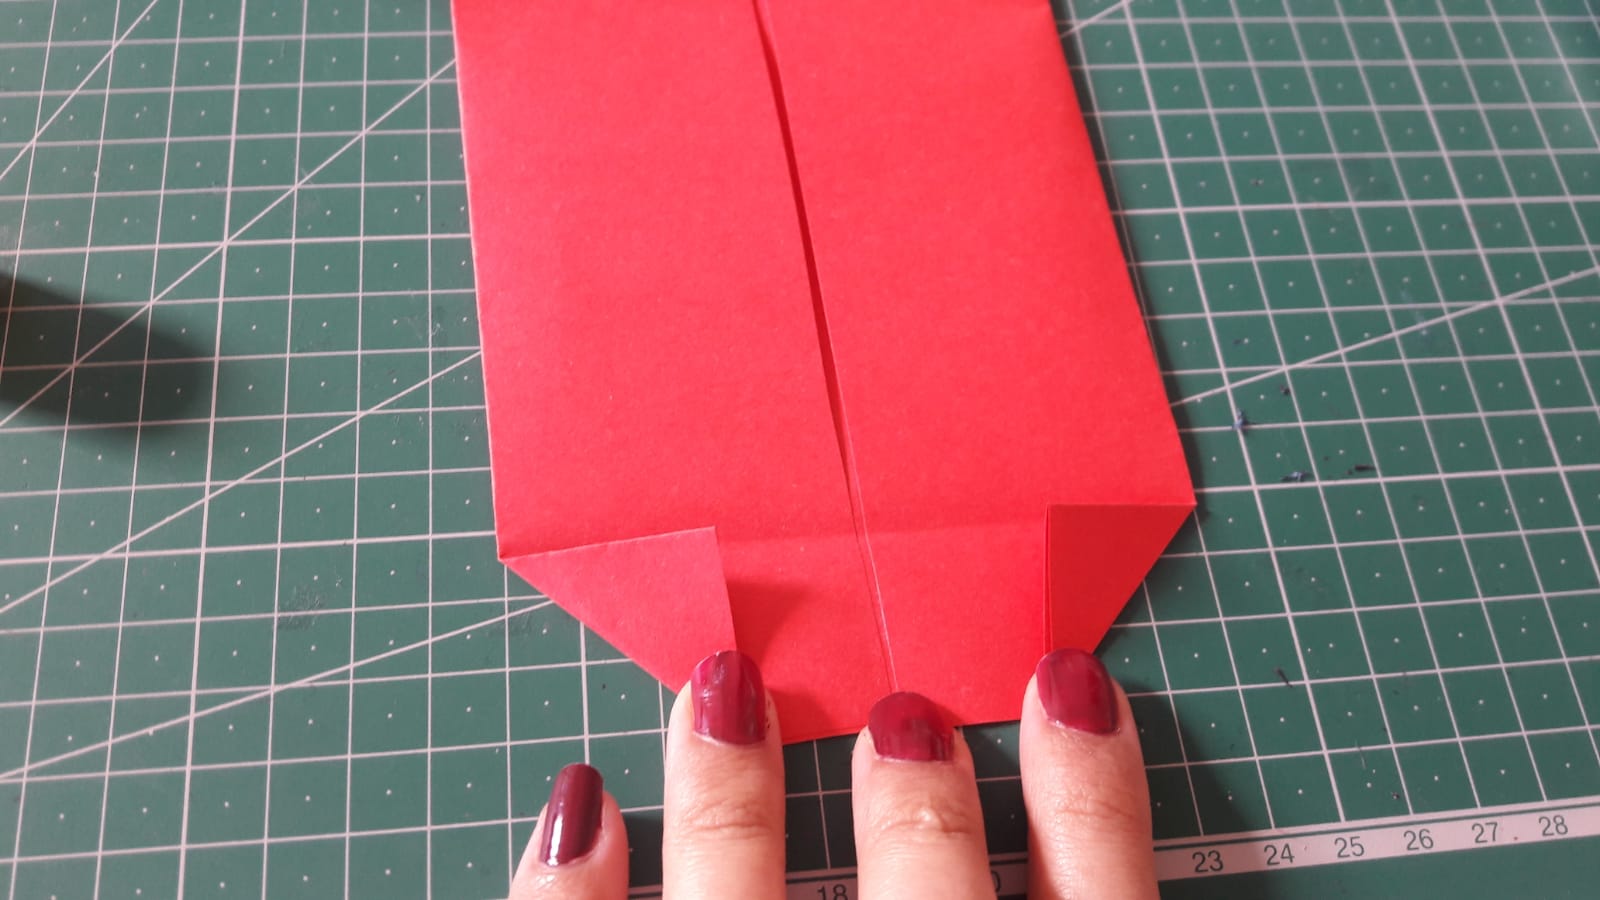
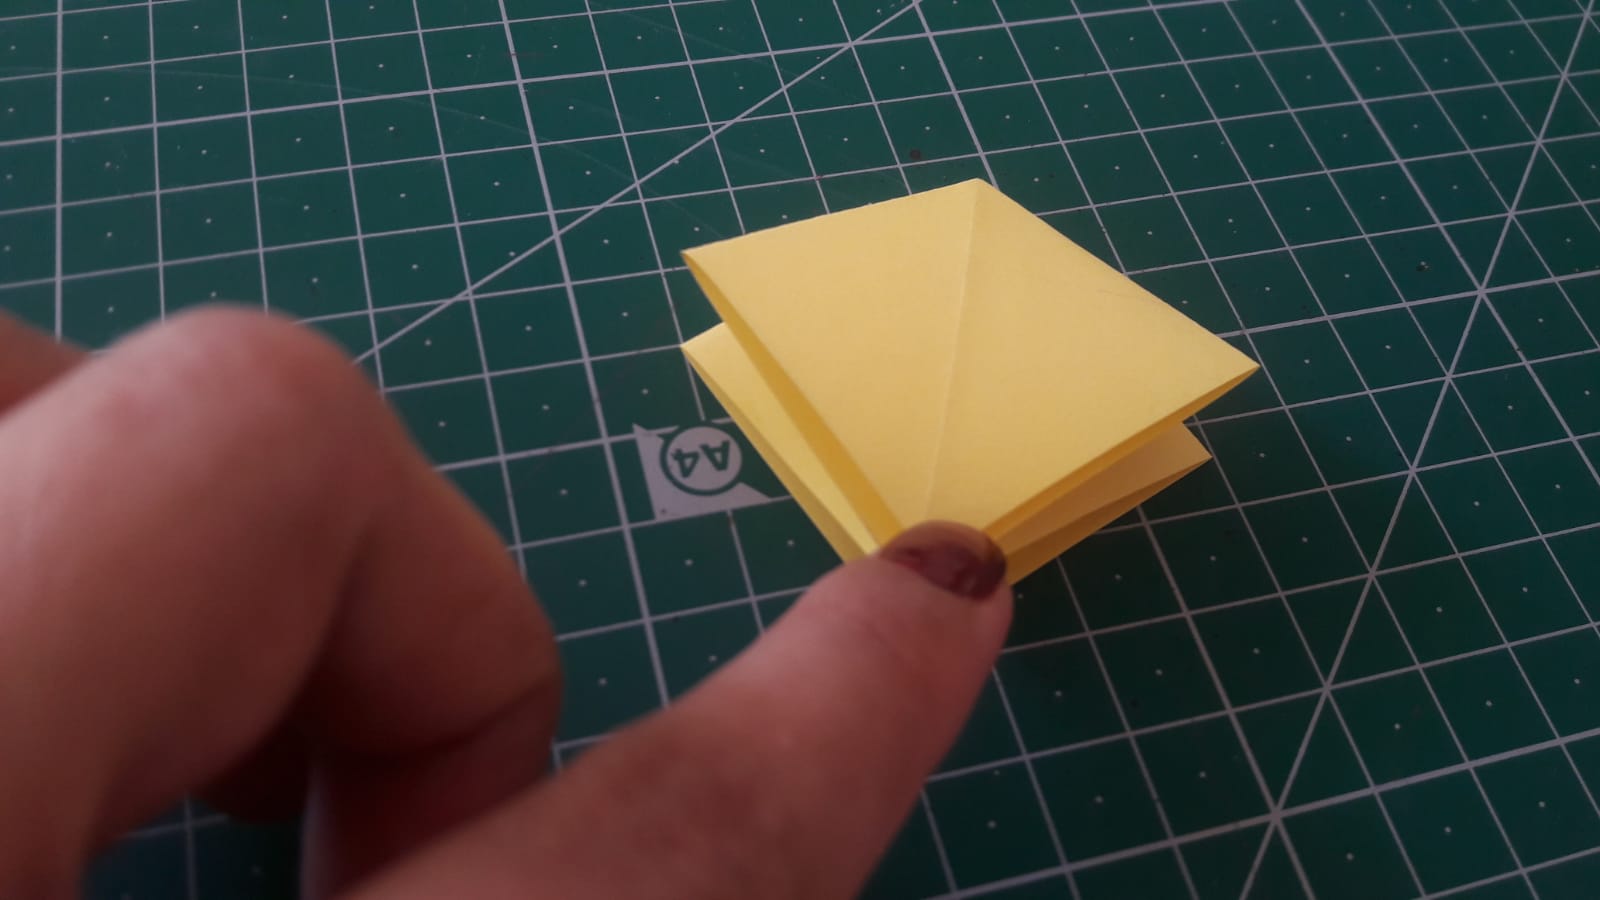
Let's set 1.5 cm under the folded shape and bend it. Let's bend the edges as in the shape. Let's open our paper. Let's go over the lines.
Katladığımız şeklin altından 1,5 cm ayarlayalım ve kıvıralım.kenarlarını da şeklideki gibi kıvıralım.Kağıdımızı açalım.Çizgilerin üzerinden geçelim.
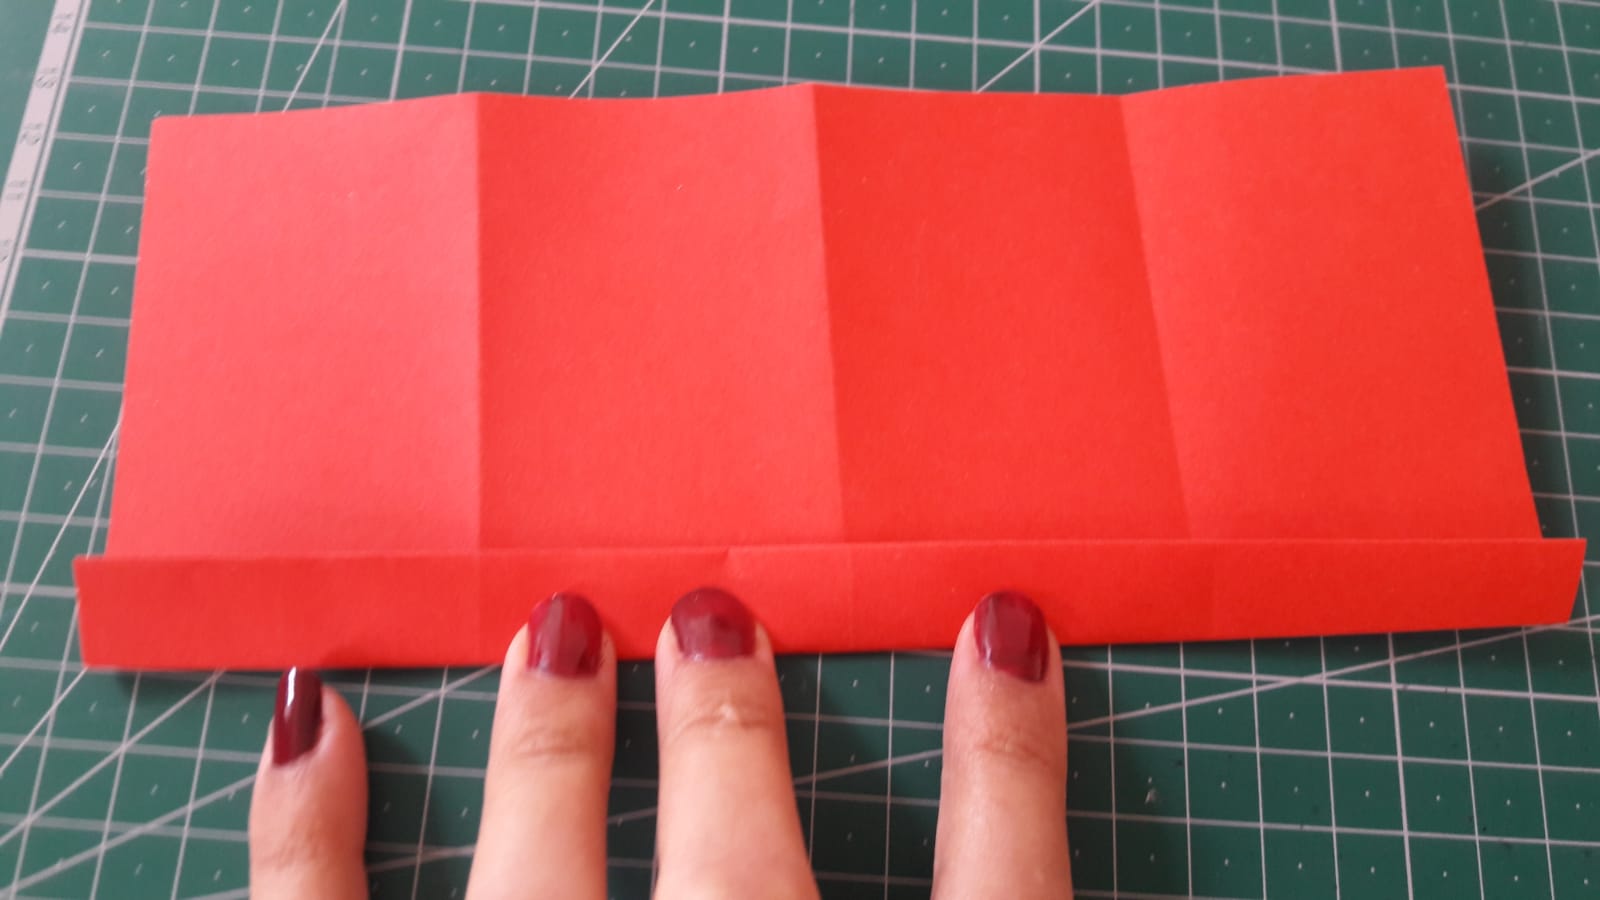
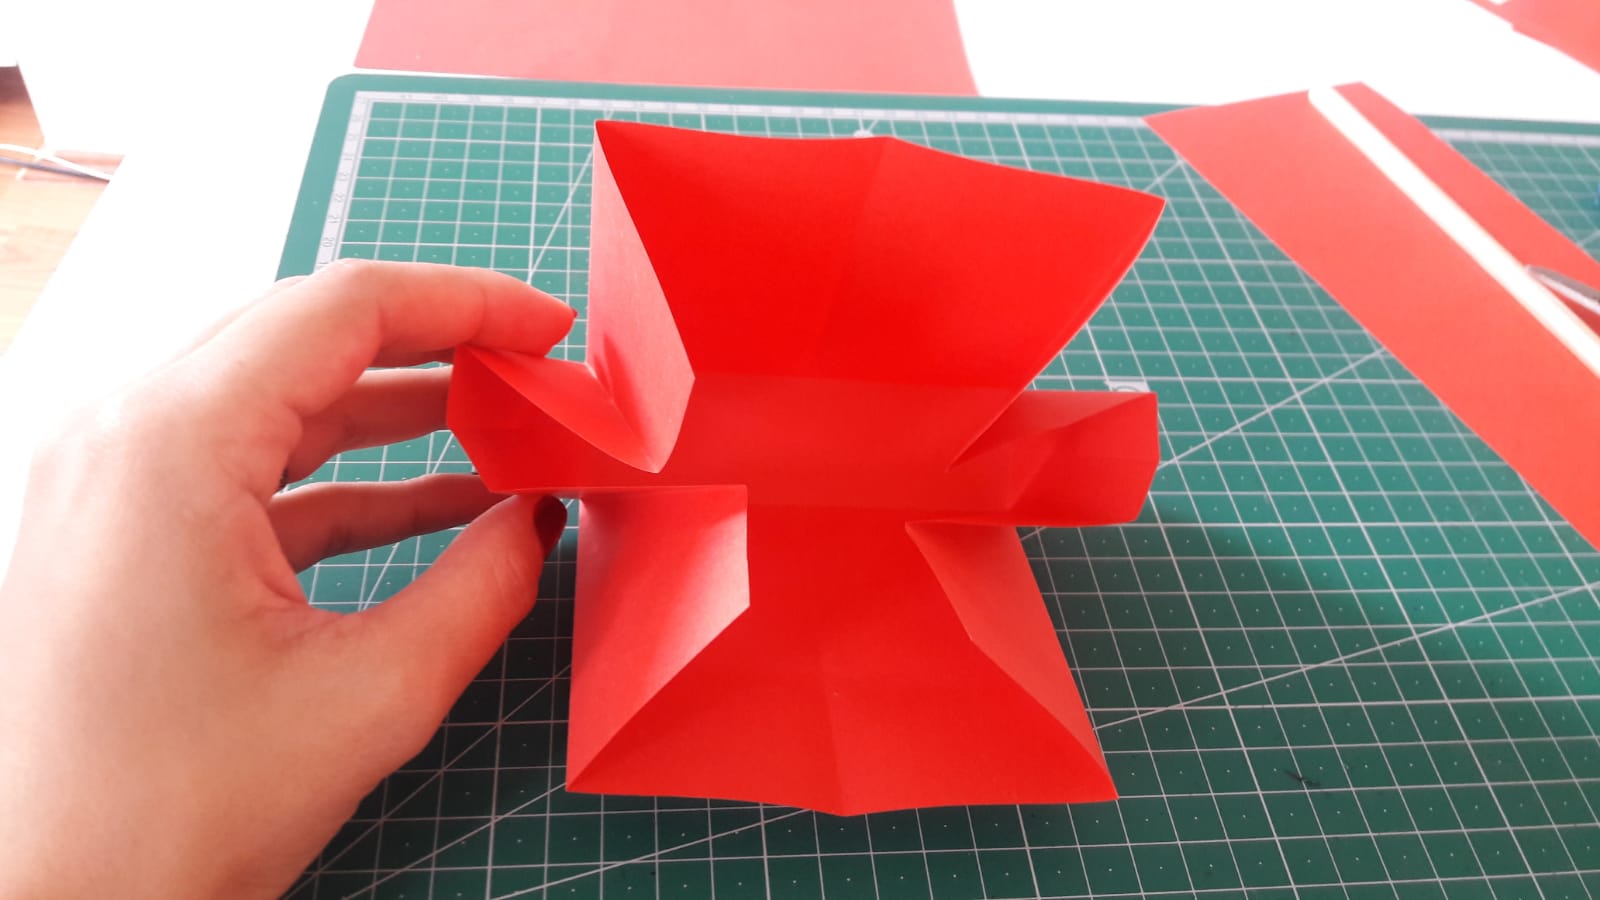
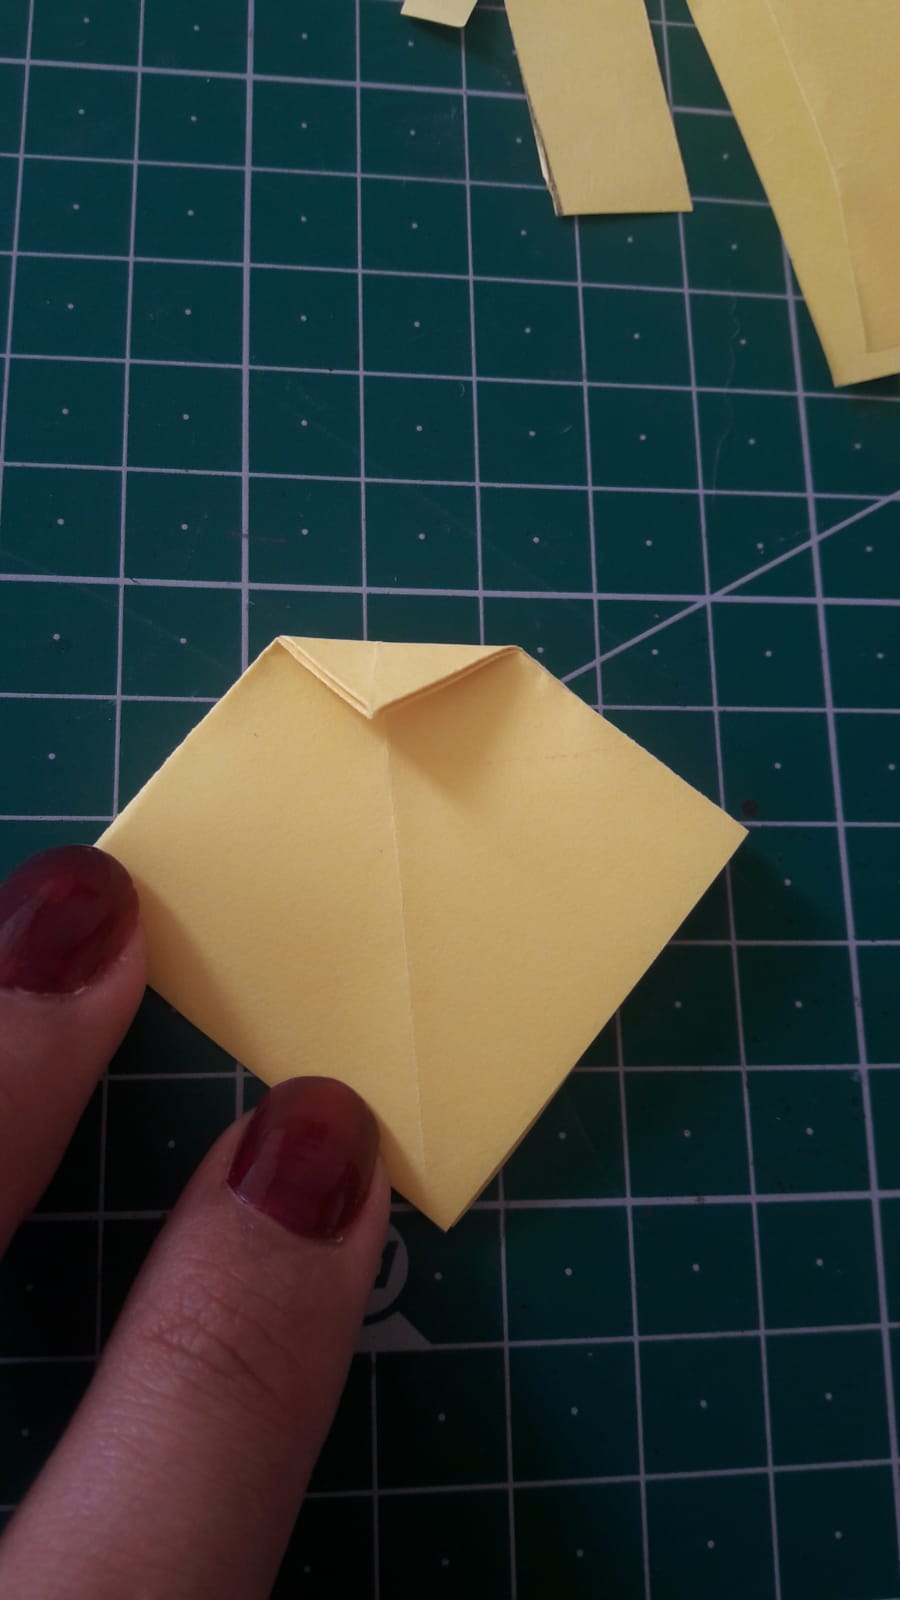
Let's fold the paper from the edges as in the picture. Let's bend the places where there are lines.
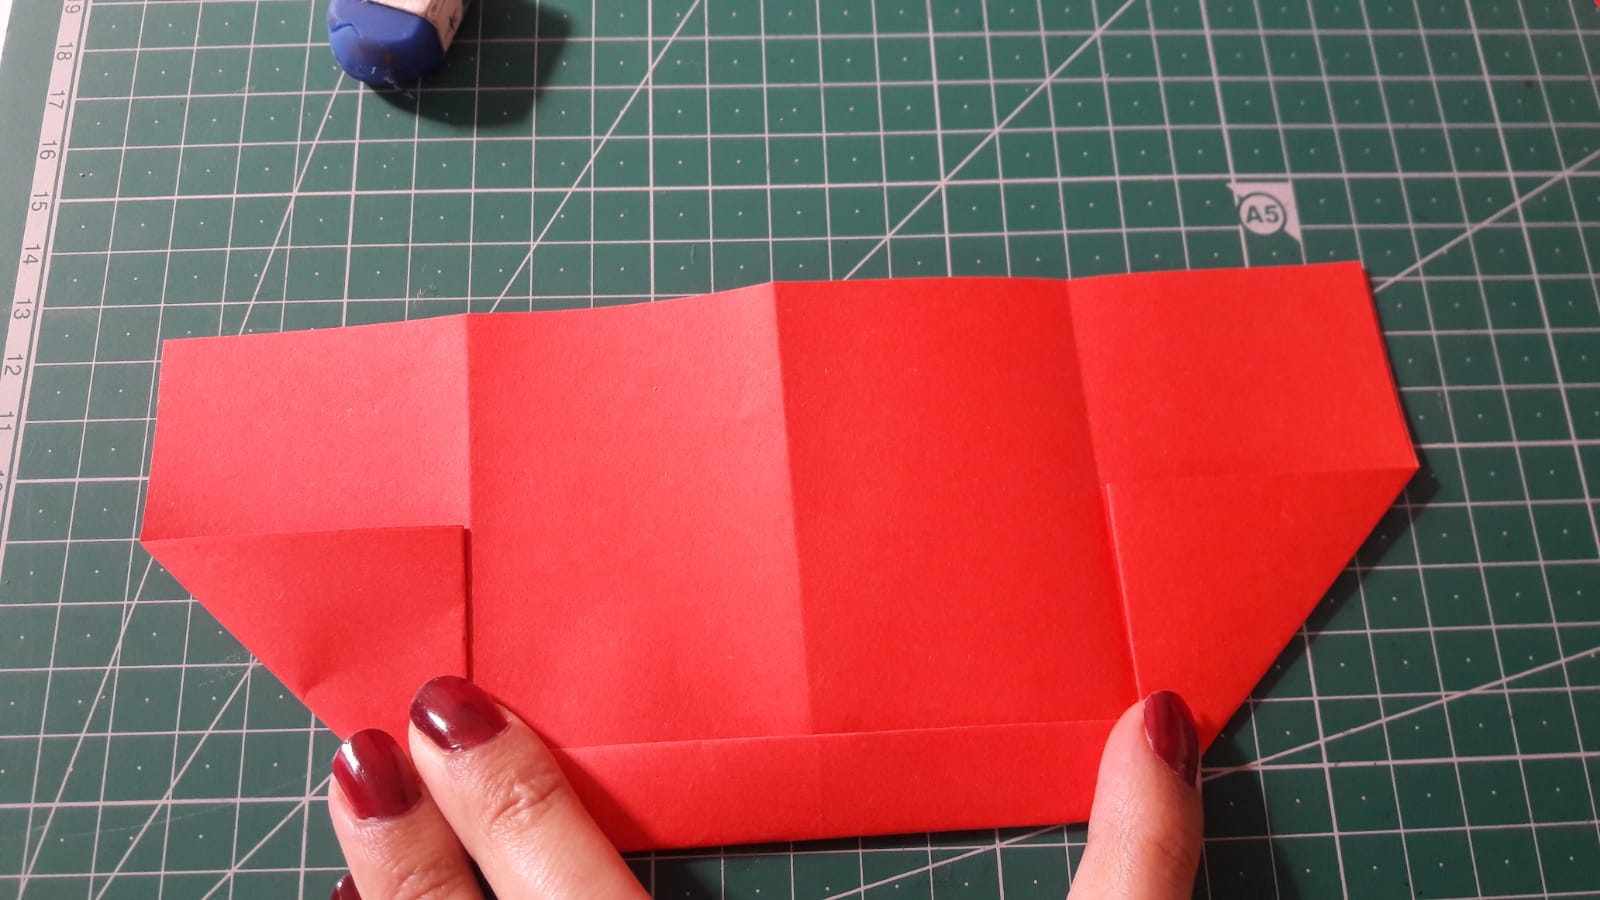
Kağıdı şekildeki gibi kenarlardan katlayalım.Çizgilerin olduğu yerlerden kıvıralım.Şekildeki adımları takip eebilirsiniz.Kenarlarını yapıştıralım.Ardındn uzun kenarları içeriye kıvıralım ve yapıştıralım.
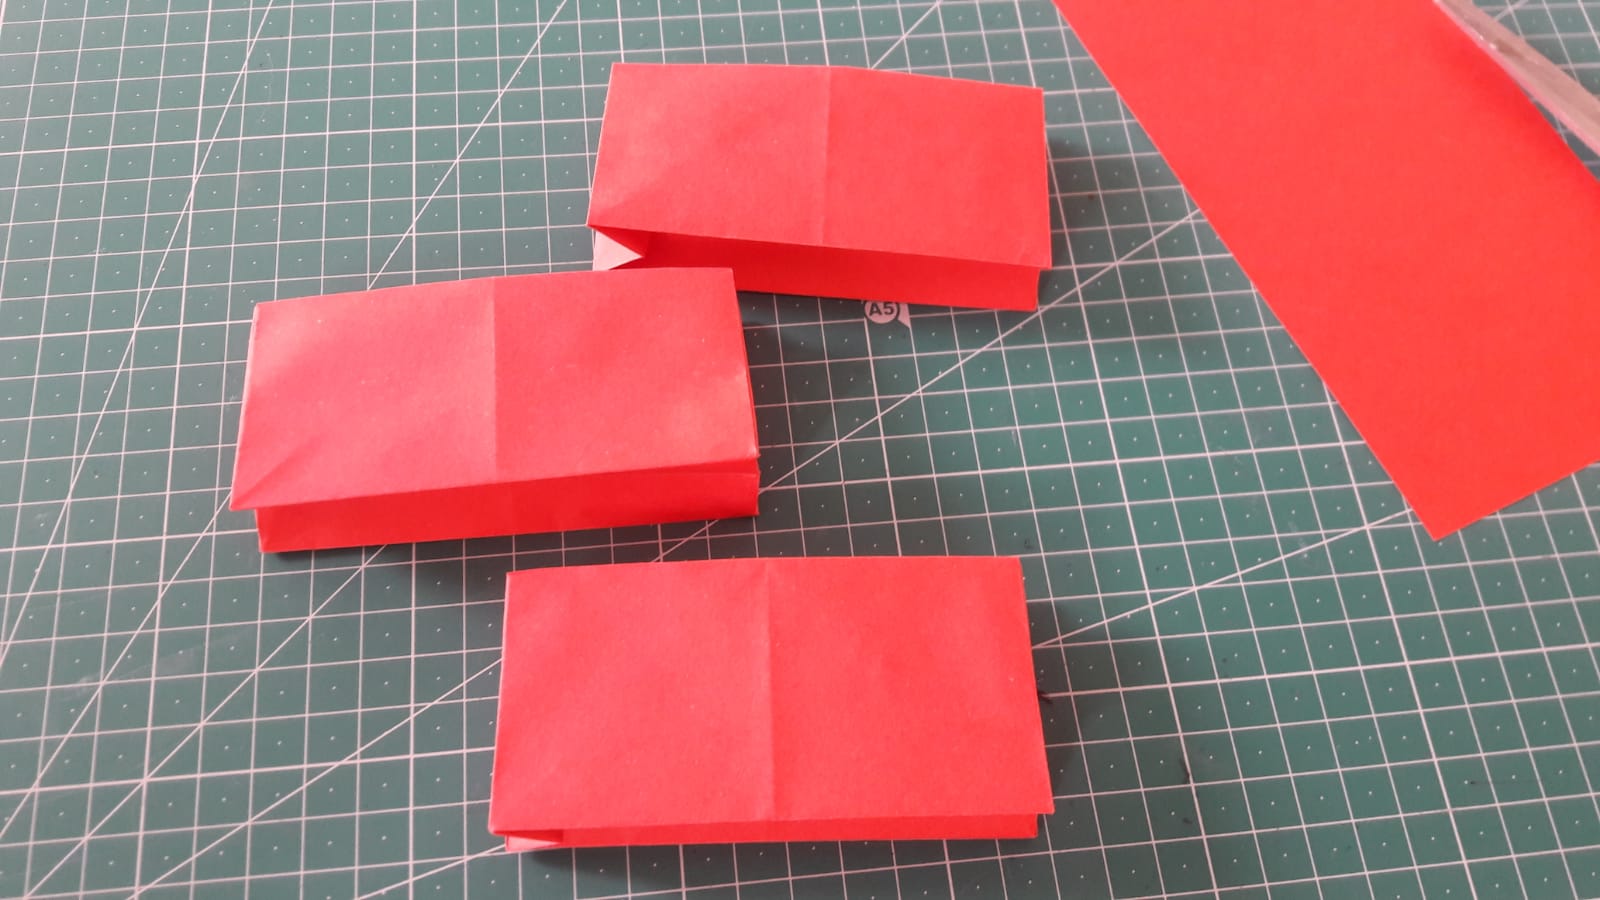
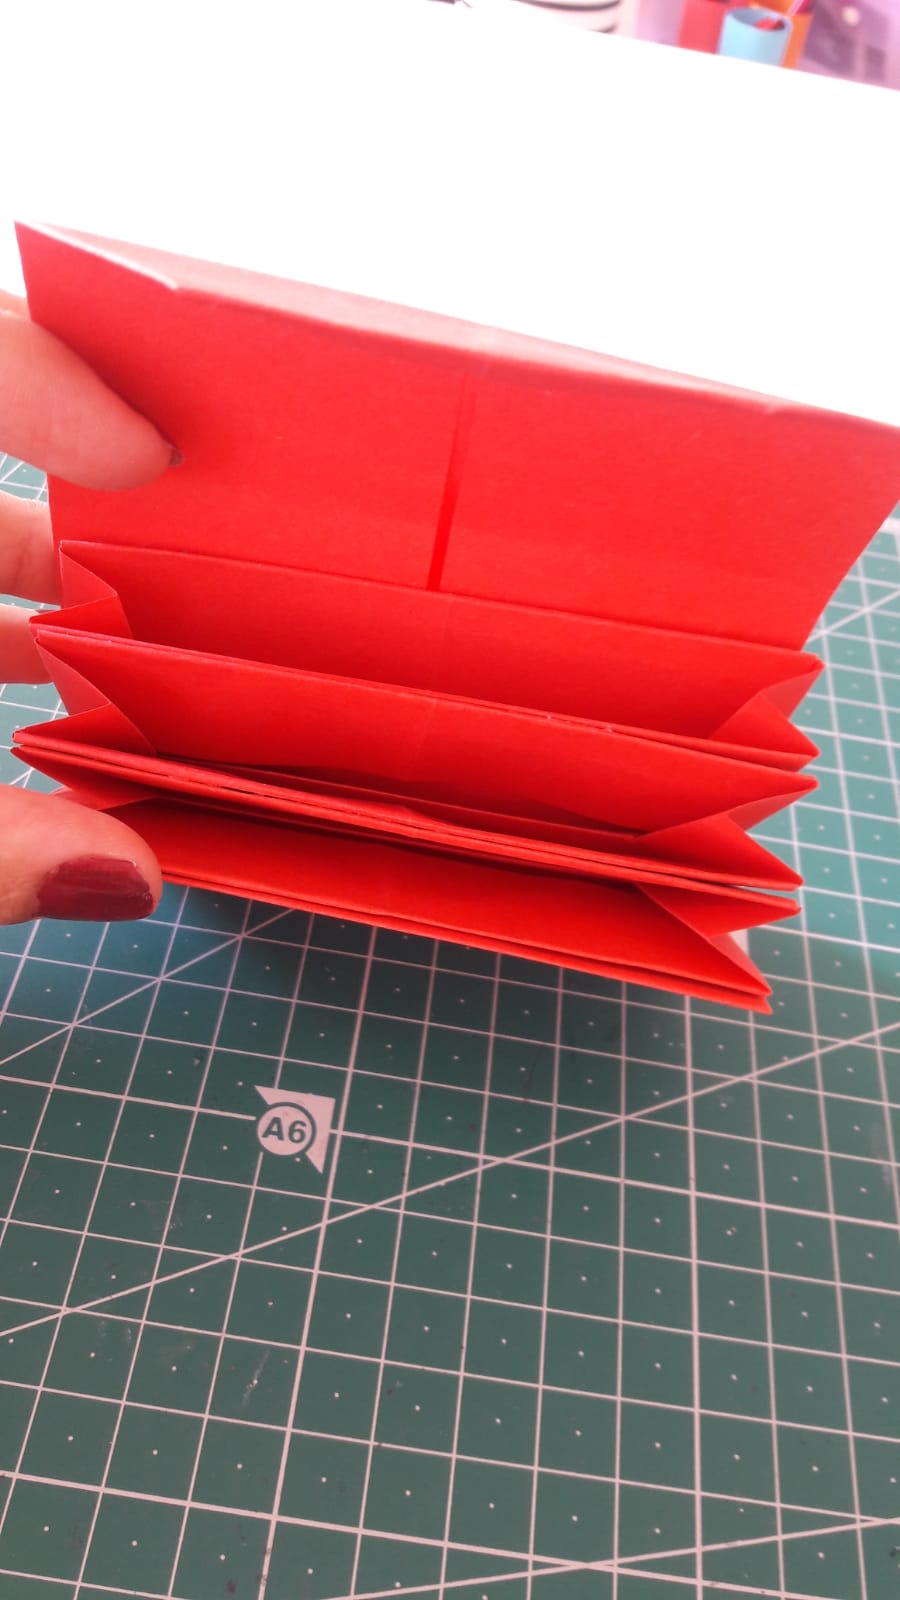
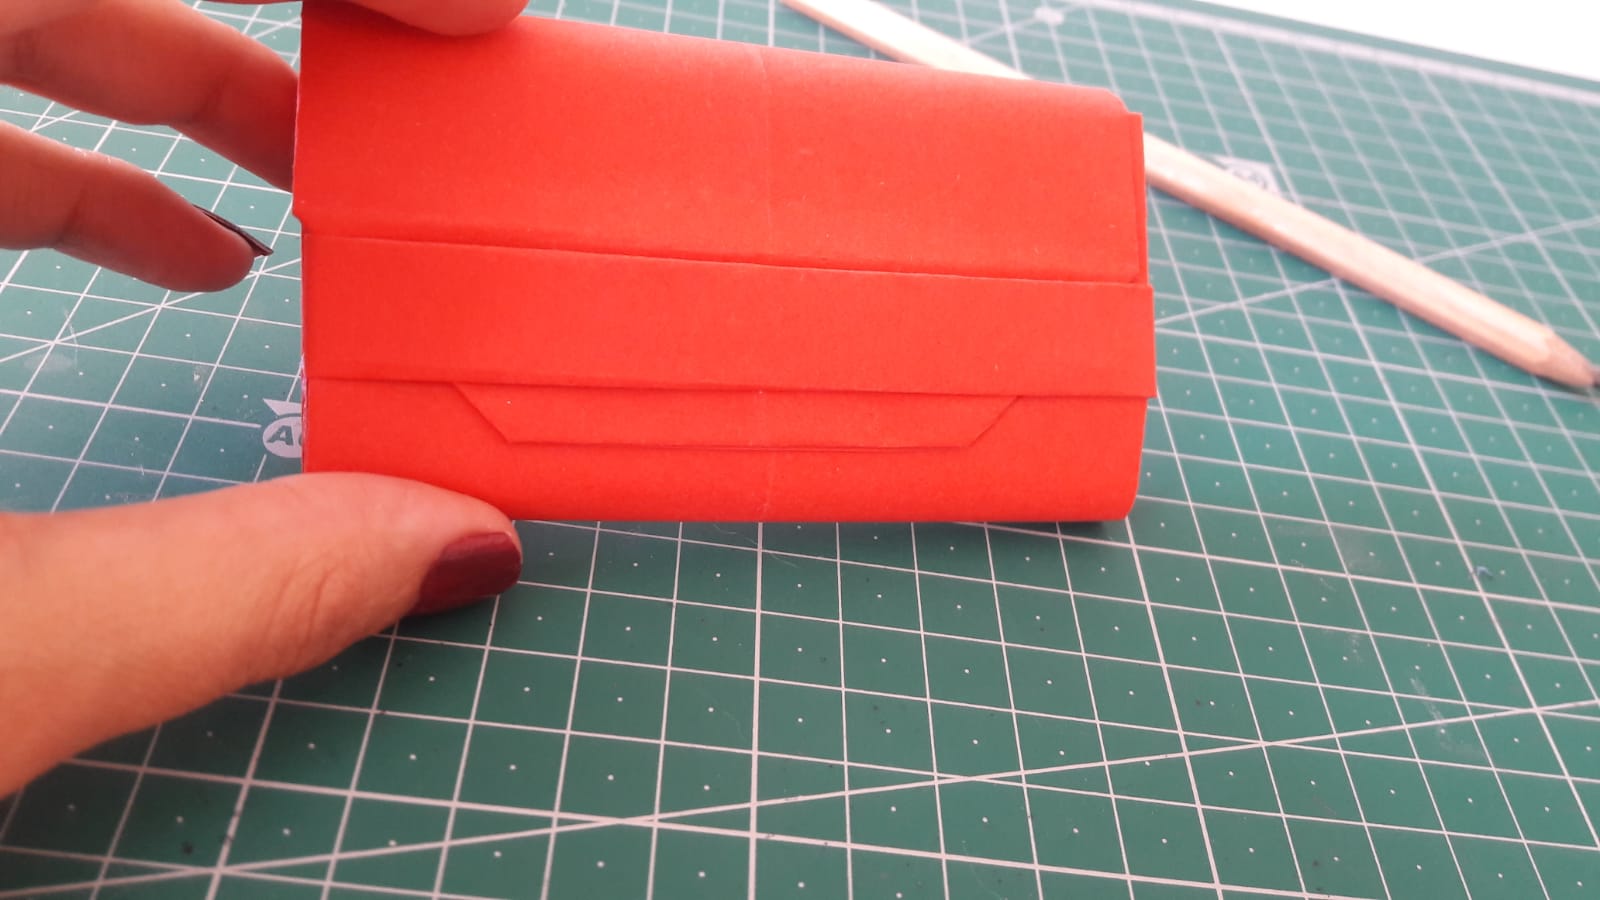
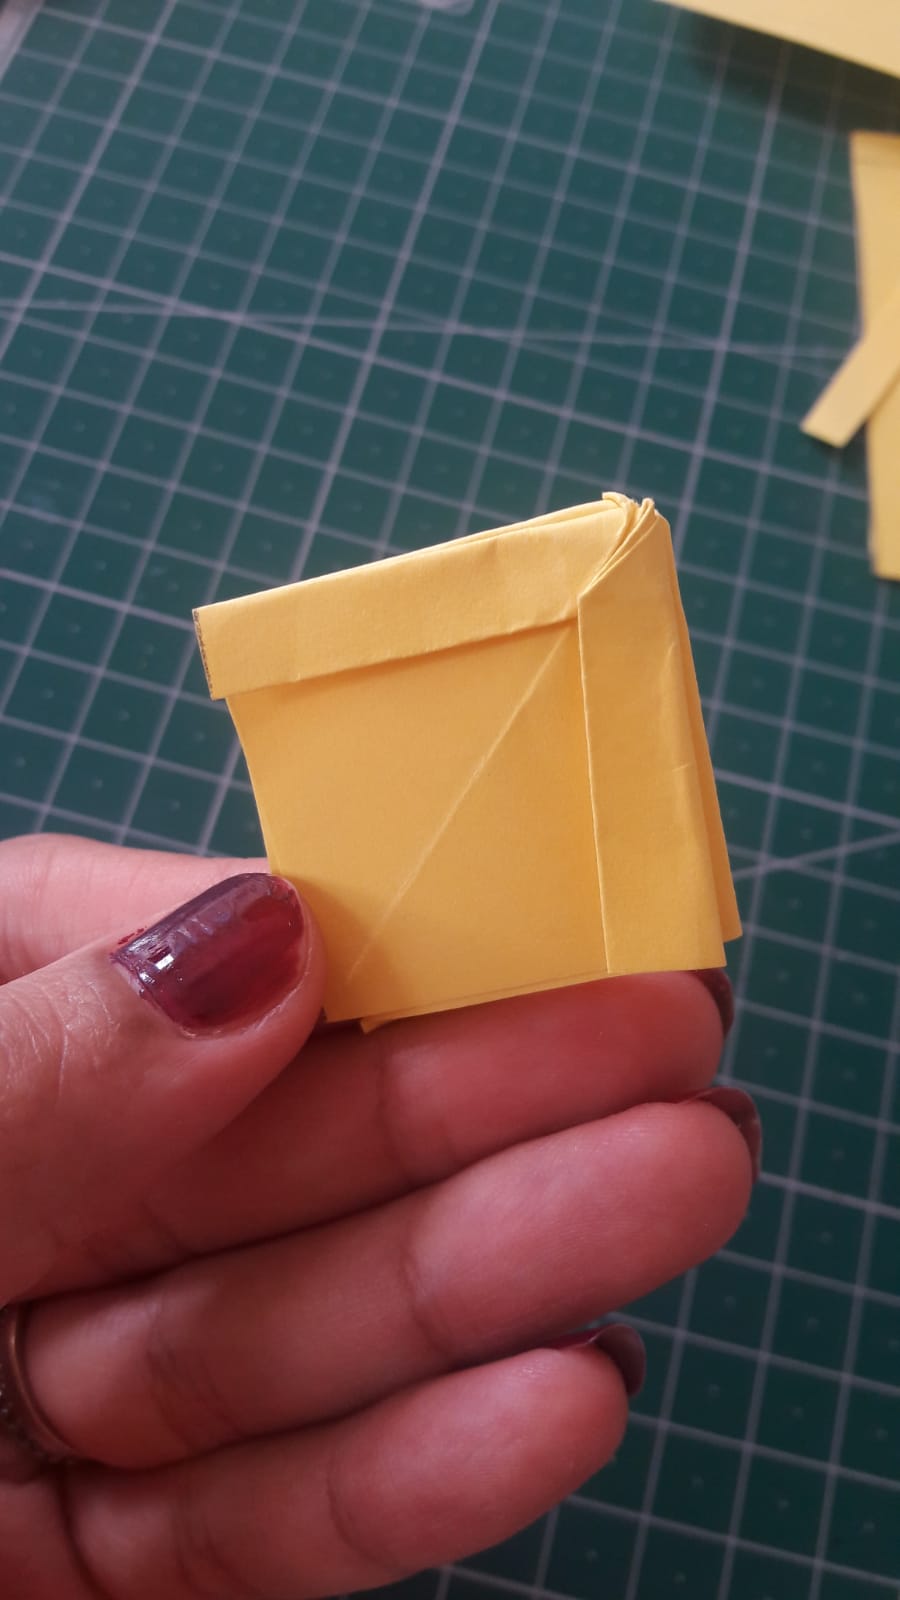
Let's do 2 more by following these steps. We will have 3 boxes in total. Let's bend the boxes. Let's stick them together. Make sure they all face the same direction.
Bu adımları izleyerek 2 tane daha yapalım.Toplamda 3 adet kutumuz olacak.Kutuları kıvıralım.Birbirine yapıştıralım.Hepsinin aynı yöne bakmasına dikkat edin.
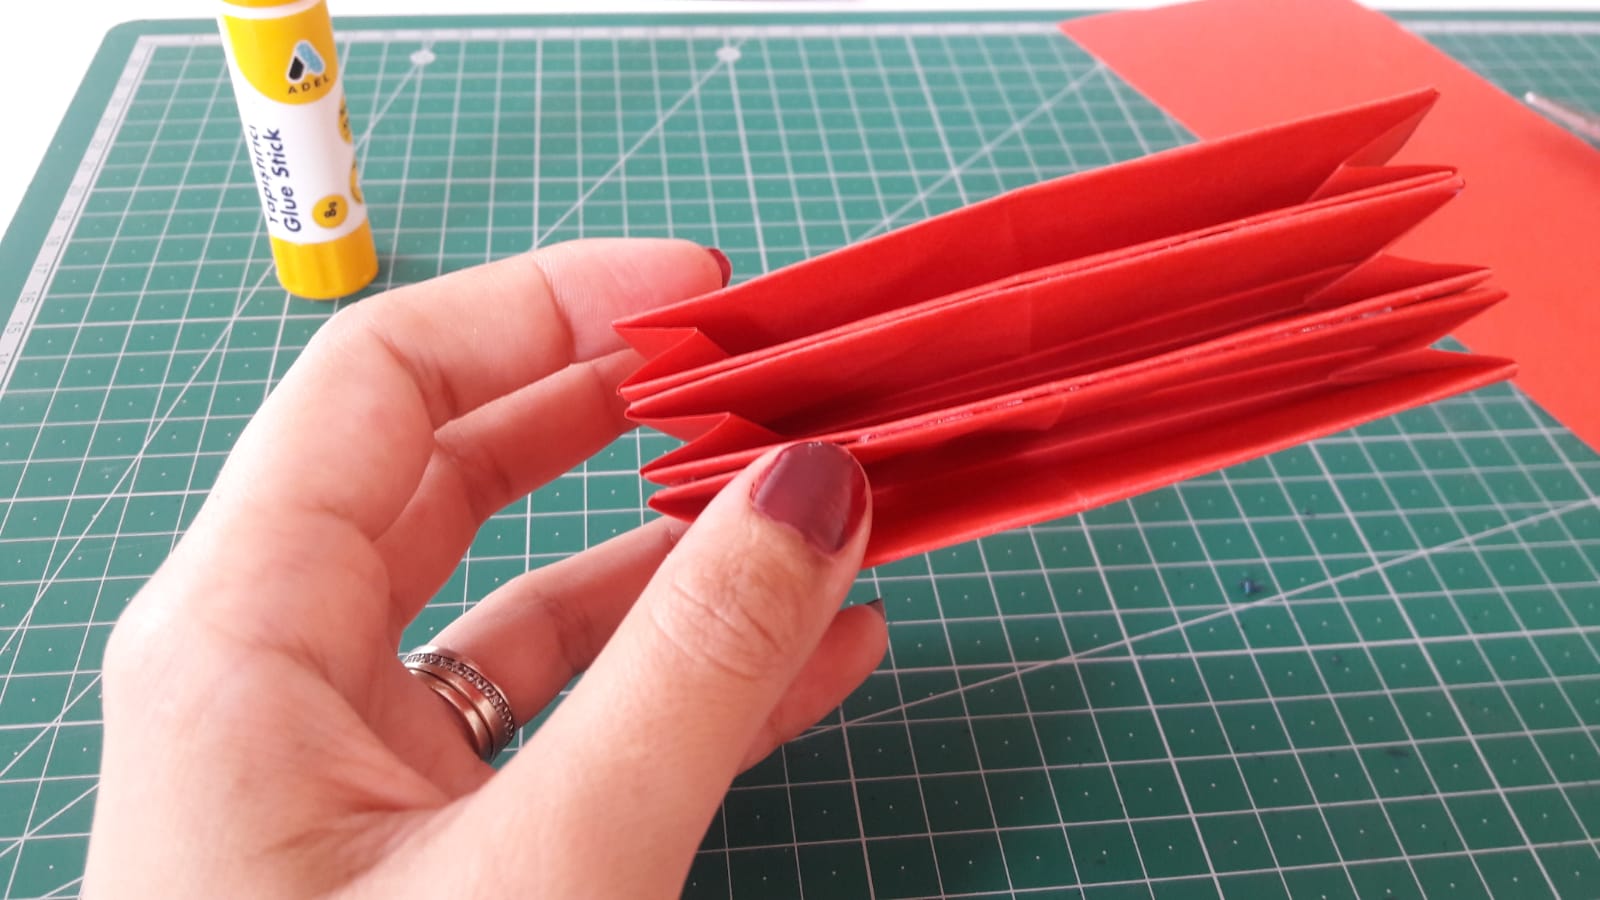
Let's take a new A4 sheet of paper. Cut it into 20 * 20 cm. Fold it in half. Open the shape. Fold the edges again. Curl the bottom part and glue it. Switch to the other side and curl it as shown in the figure.
Yeni bir a 4 kağıdı alalım.20*20 cm boyutunda kesin.İkiye katlayın.Şekli açın.Kenarlarından tekrar katlayın. Alt kısmını kıvırın ve yapıştırın.Diğer tarafa geçin ve şekildeki gibi kıvırıp yapıştırın.
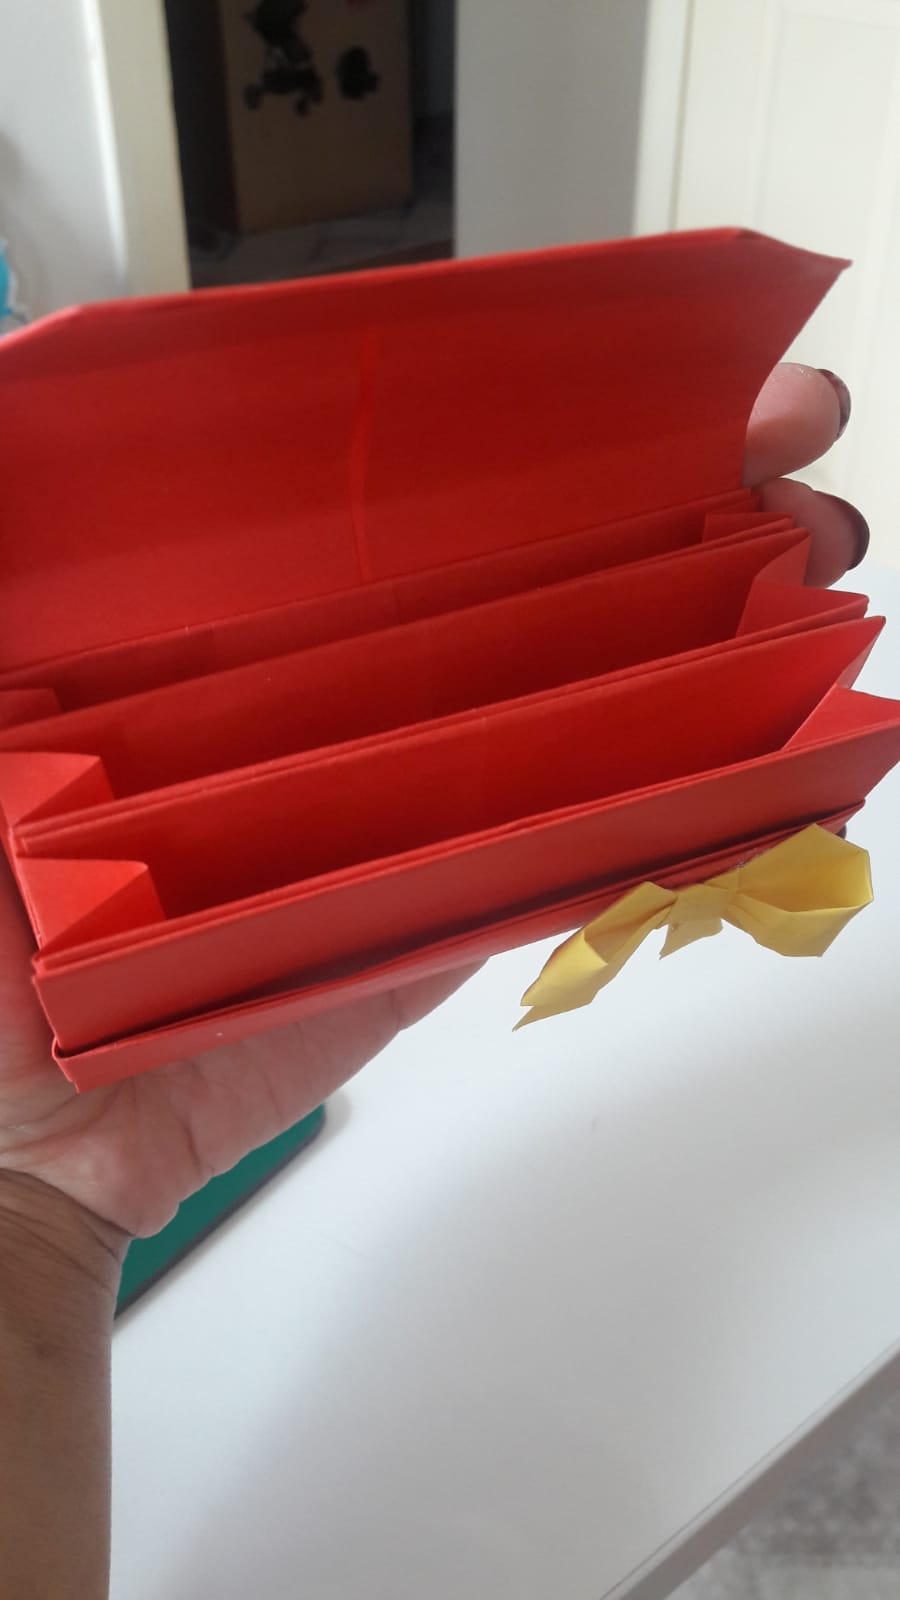
Let's stick our boxes to the shape we have obtained as shown in the figure. Let's buy a new paper of 15 * 5 cm length, fold it and glue it like in the figure. Let's cut the long parts with scissors.
Elde ettiğimiz şekle kutularımızı şekildeki gibi yapıştıralım. 15 *5 cm boyunda yeni bir kağıt alalımşeklideki gibi kıvırıp yapıştıralım.Uzun gelen yerleri makasla keselim.
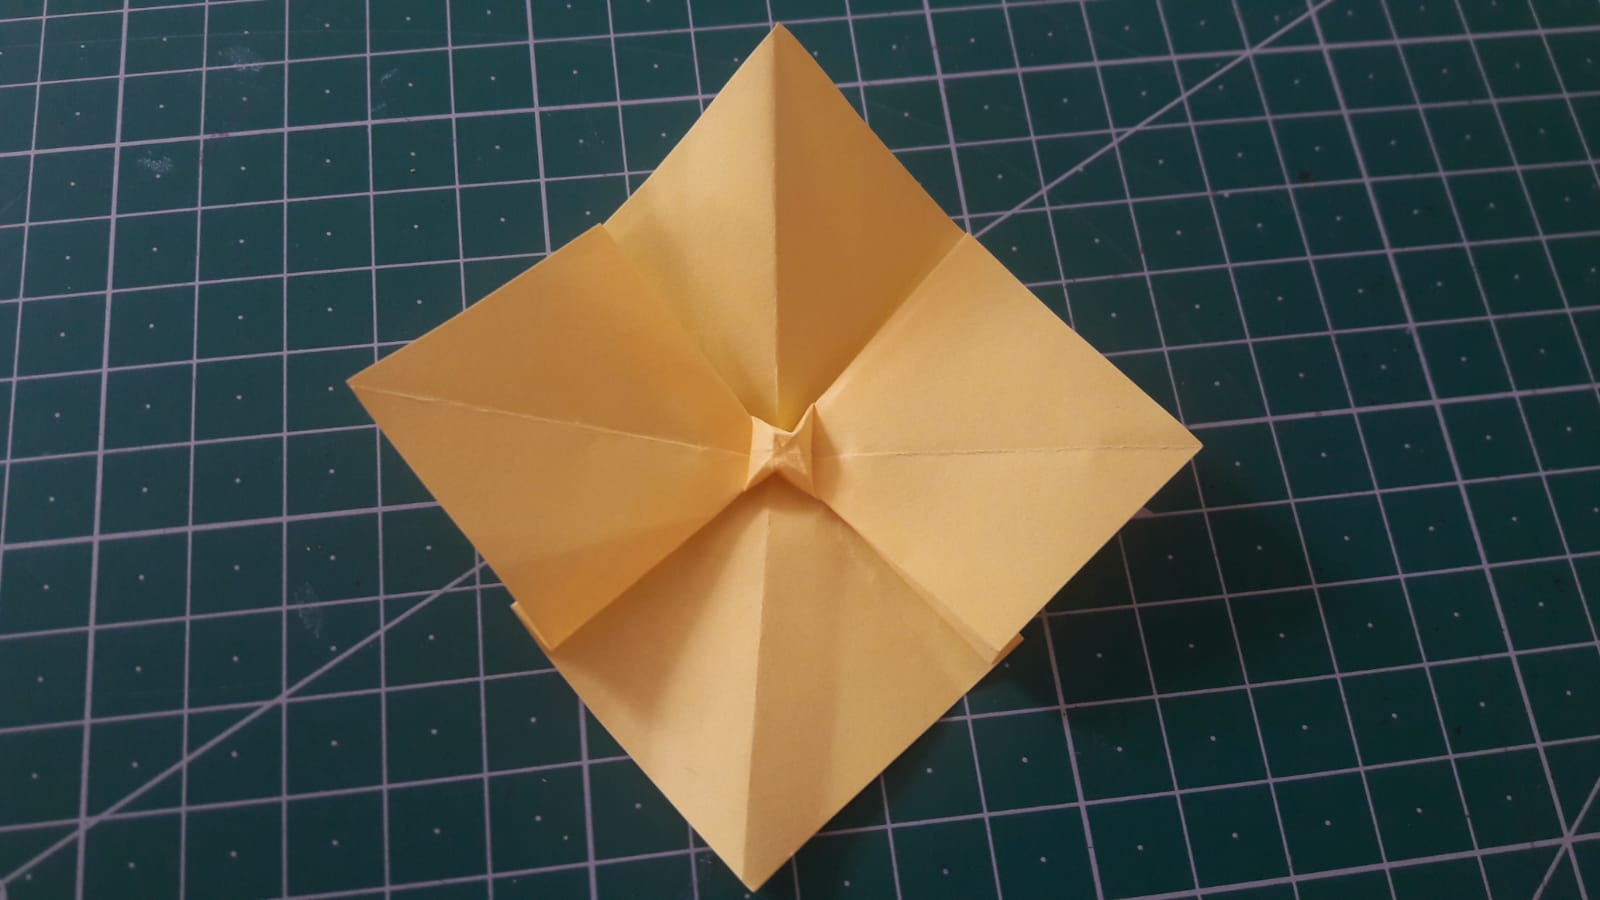
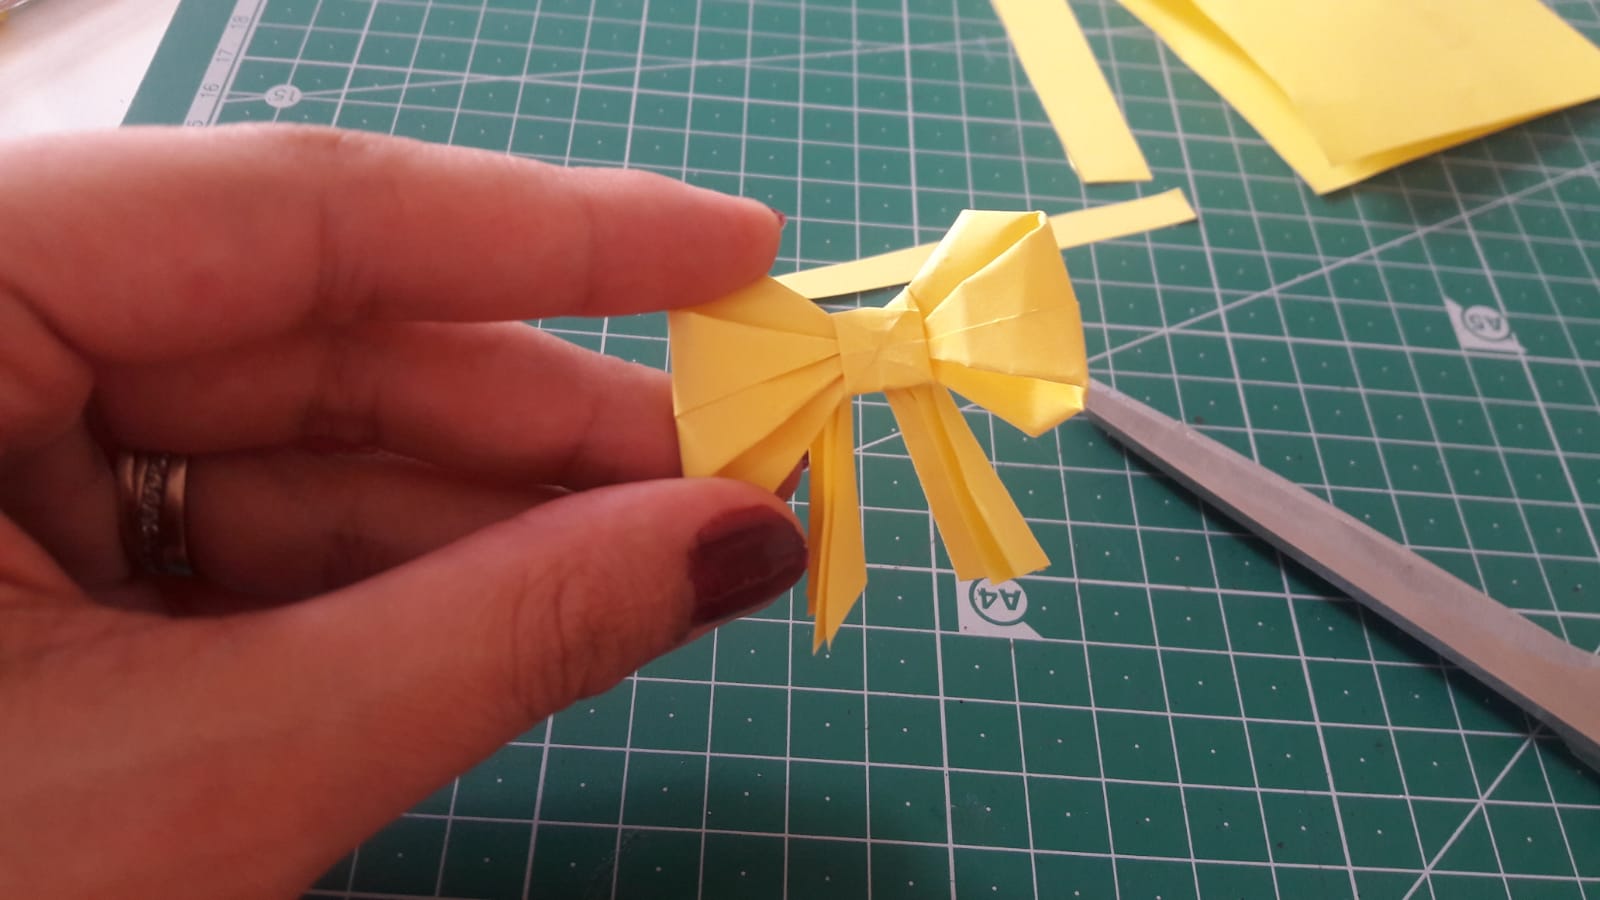
Now, to decorate our wallet, take the paper in the color you want, cut it into 8 * 8 cm. Fold it in two. Do the same for the other side. Then fold both sides in half.
Şimdi cüzdanımızı süslemek için istediğiniz renkte kağıt alın.8*8 cm olacak şekilde kesin.ikiye kıvırın.Diğer taraf için de aynı işlemi yapın.Ardından her iki tarafı da ikiye katlayın.
Fold the folds as shown in the figure. Follow the steps in the figure. Open the other side of your paper. Turn the paper over. Cut the non-ribbed parts at the edges.
Kıvrımların olduğu yerden şekildeki gibi katlayın.Üstünden kıvırın. Şekildeki adımları takip edin.Kağıdınızınızın diğer tarafını açın.Kağıdı ters döndürün.Kurdele olmayan kısımları kenarlarından kesin.
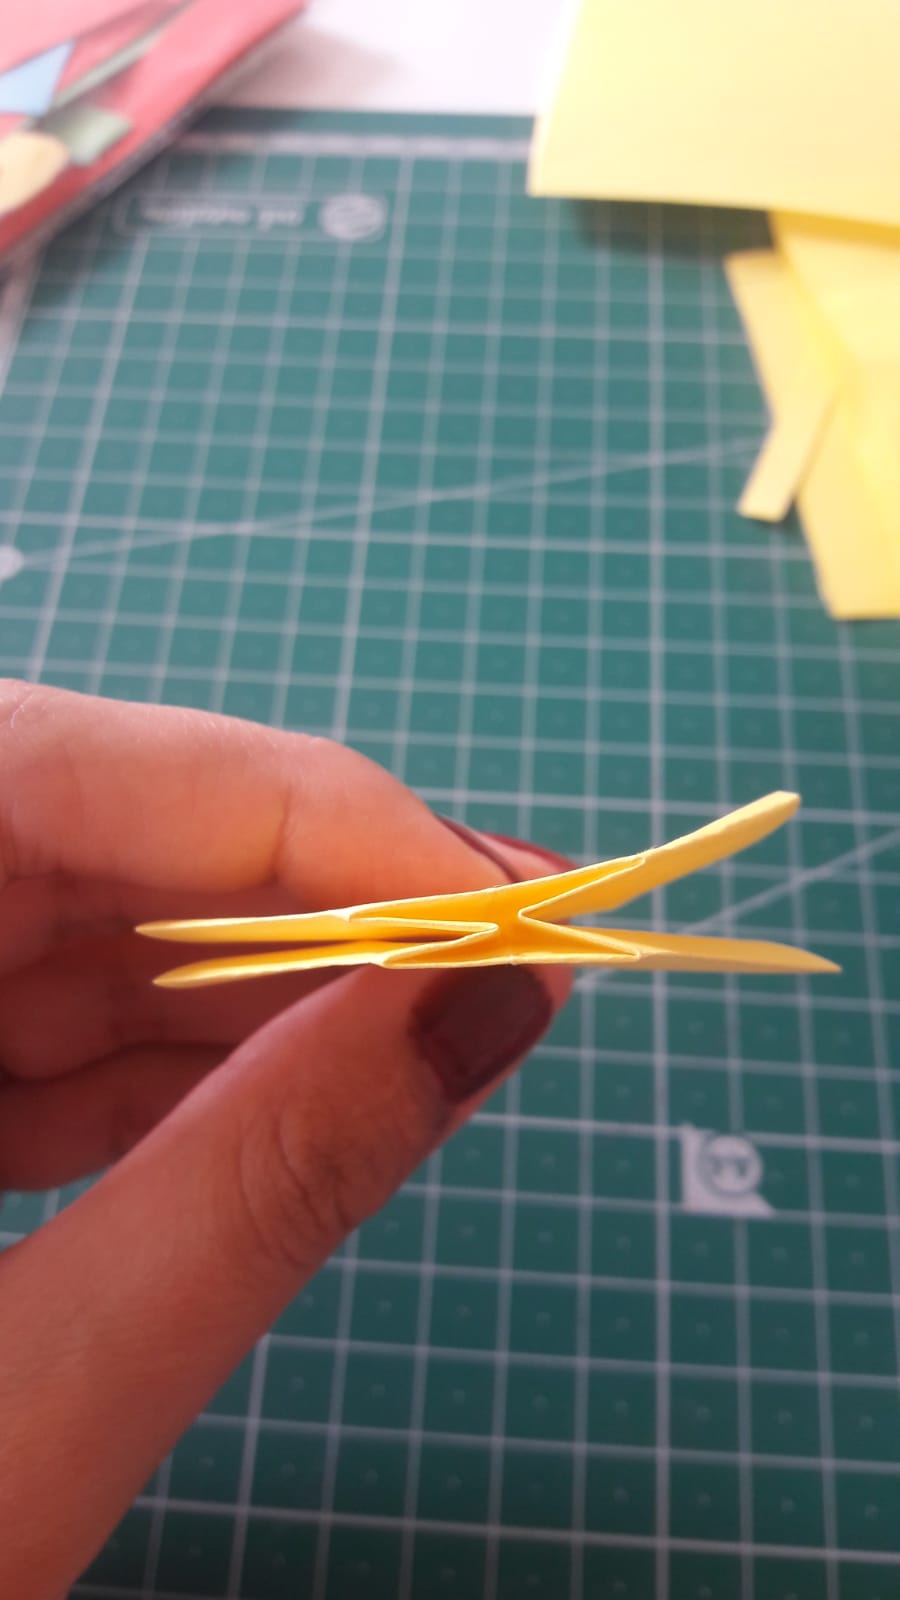
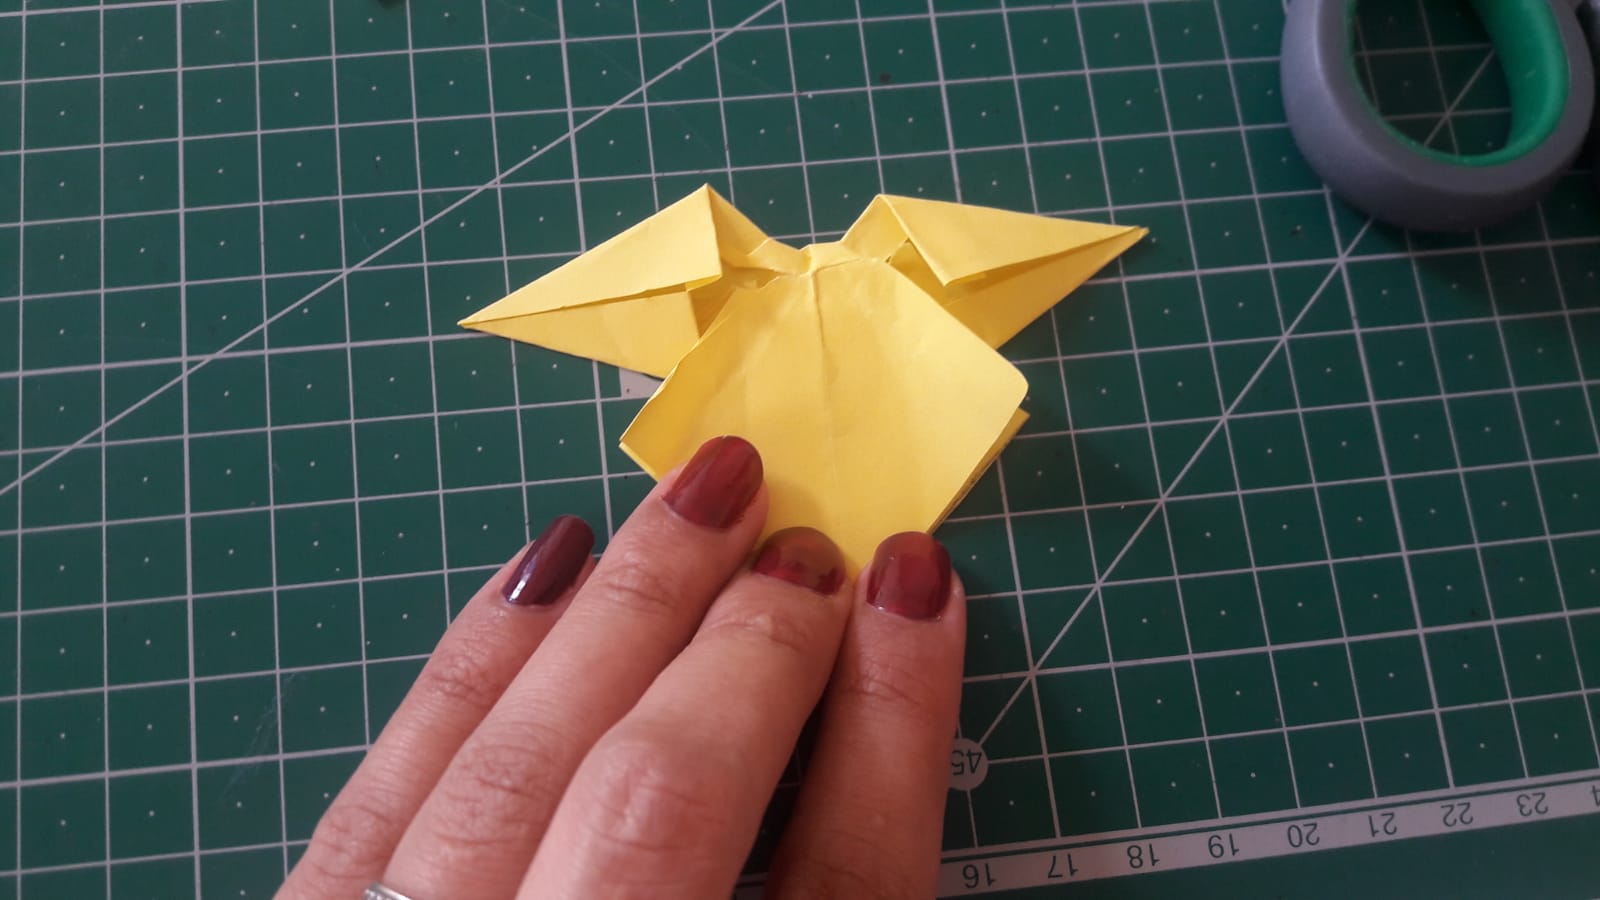
Overlap the part you have cut. Fold the back of the ribbon-like part as shown in the figure. And turn it over to the other side of the shape. Pass the pointed parts through the middle.
Kestiğiniz kısmı üst üste getirin.Kurdele görünümlü kısmın arkasını şekildeki gibi kıvırın.Ve şeklin diğer tarafına çevirin.Sivri kısımları ortadaki yerden geçirin.
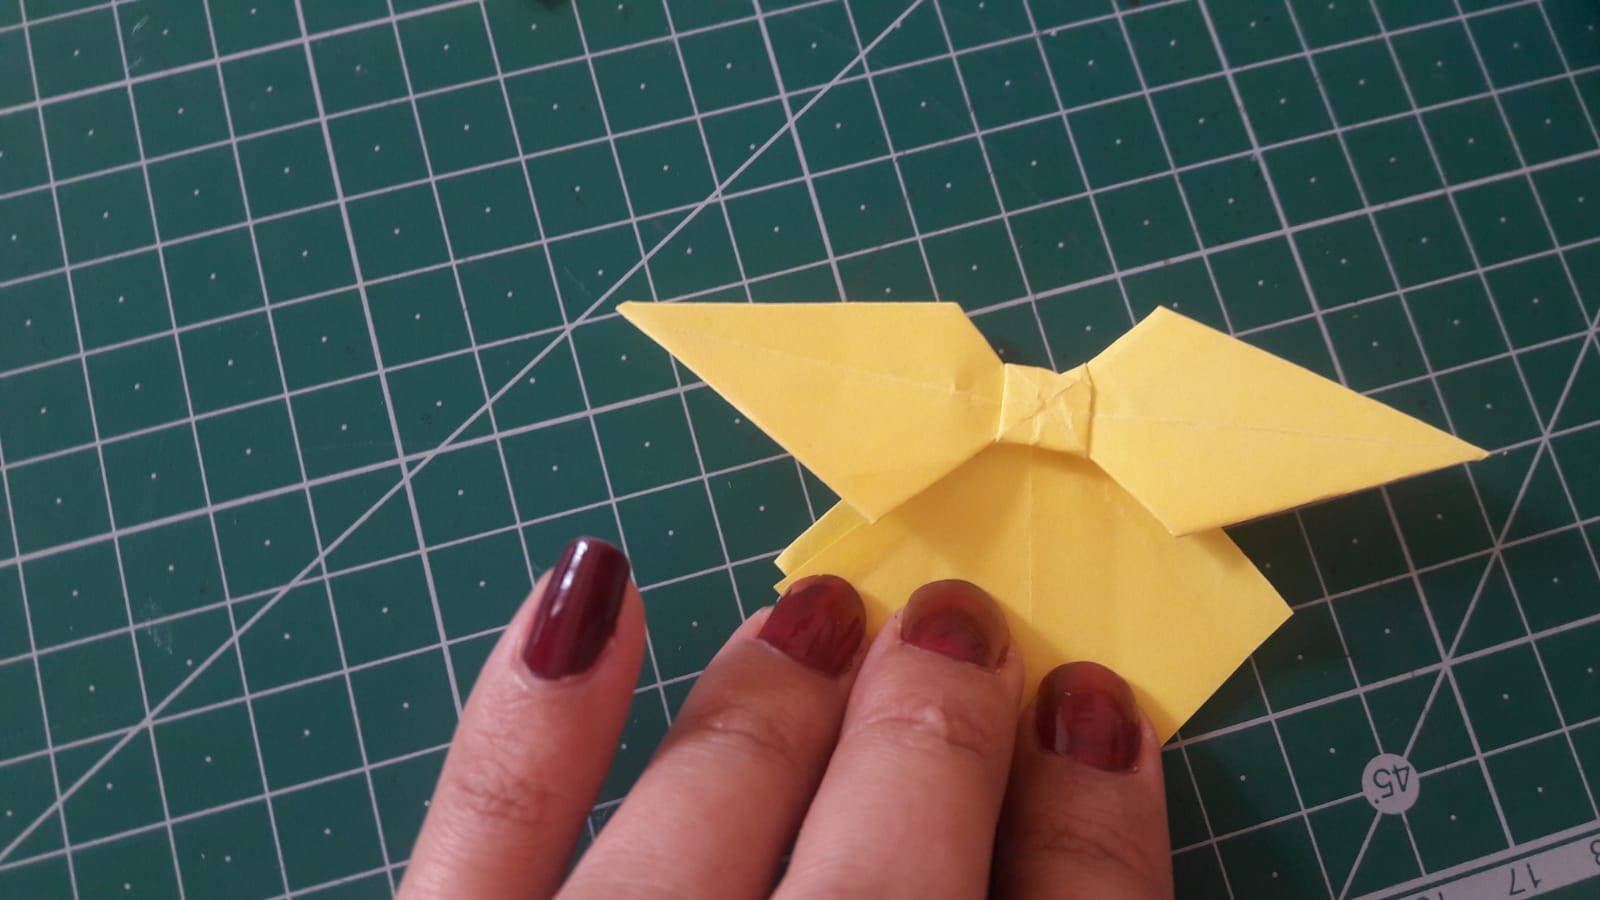
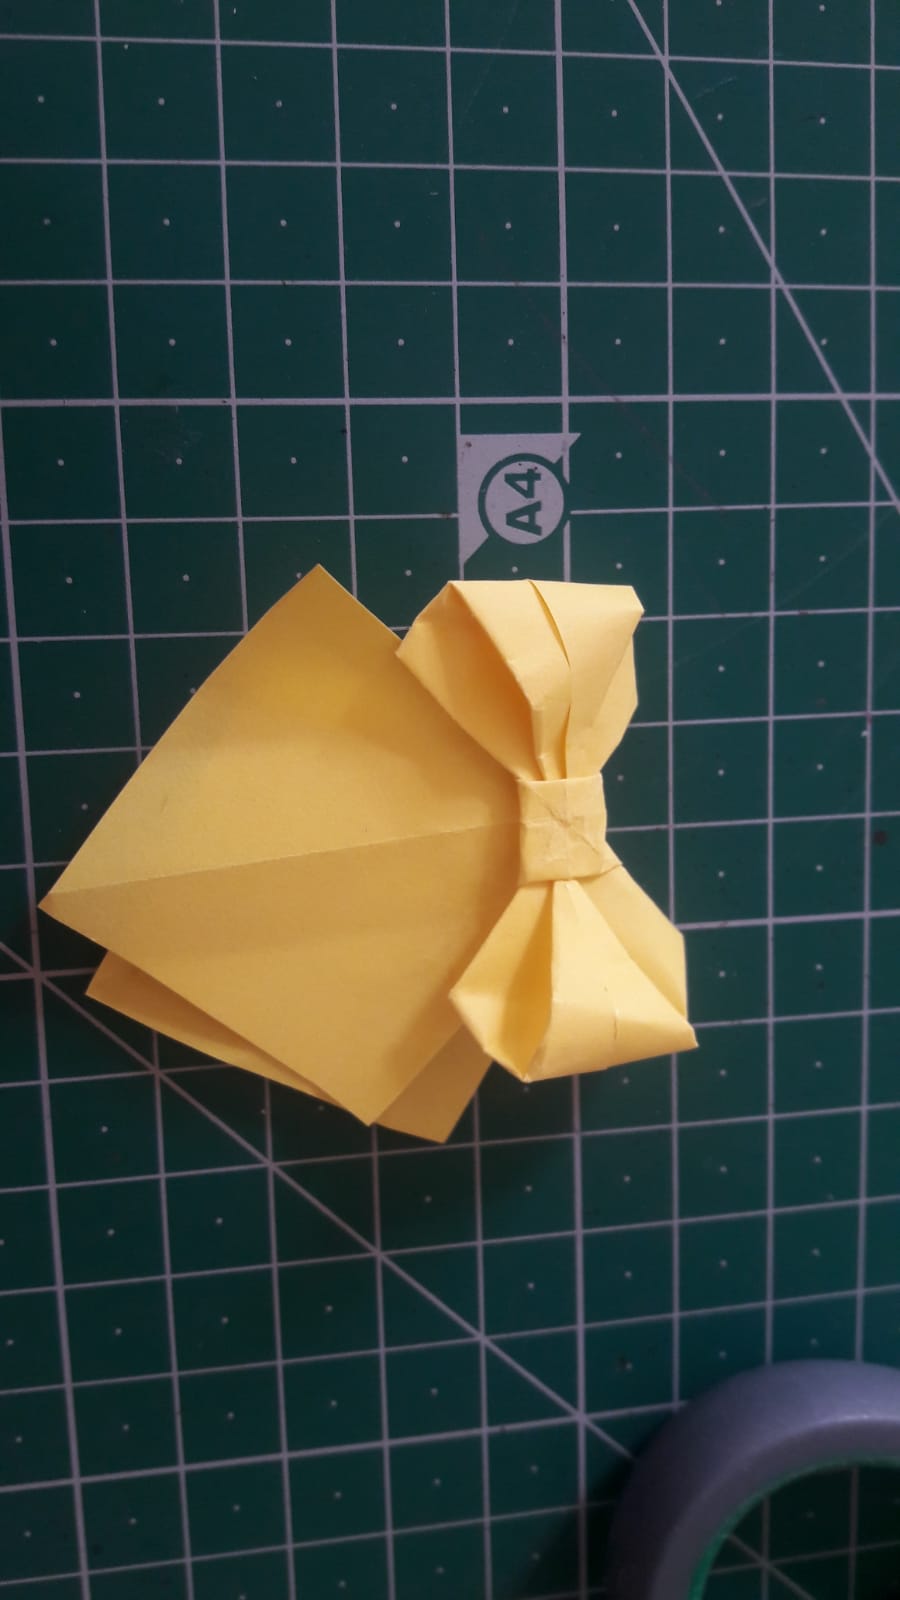
Roll the remaining parts. Glue it. Our ribbon is ready. Finally, let's stick our ribbon to our wallet. And our wallet is finished.
Kalan kısımları kıvırın.Yapıştırın.Kurdelemiz hazır.Son olarak kurdelemizi cüzdanımıza yapıştıralım.Ve cüzdanımız bitti.
Hope to see you in the next projects. Take care. Thank you all for your support. Take care of yourself <3
Sonraki projelerde görüşmek dileğiyle.Kendinize iyi bakın.Destekleriniz için hepinize teşekkür ederim.Kendinize iyi bakın <3

Congratulations, your post has been upvoted by @dsc-r2cornell, which is the curating account for @R2cornell's Discord Community.
Enhorabuena, su "post" ha sido "up-voted" por @dsc-r2cornell, que es la "cuenta curating" de la Comunidad de la Discordia de @R2cornell.