
Today I share with you an idea for a Mother's Day gift and with it I join the nice initiative of @canelarecetas that you can read here and, like me, join to make gifts for our dear mothers, sisters and friends.
Hoy les comparto una idea para regalito del Día de las Madres y con ella me sumo a la linda iniciativa de @canelarecetas que pueden leer aquí y, como yo, unirse para elaborar los obsequios para nuestras queridas madres, hermanas y amigas.
Every year, I have the habit of making little gifts with my hands to give to the mothers around me. In each detail I leave a little bit of myself and my creativity. I really enjoy making them and I like to know that it will be a detail that they will be able to keep because it is not the simple wrapping paper or the bag that can be discarded just like that.
Cada año, tengo por costumbre hacer detallitos con mis manos para obsequiarle a las madres que están a mi alrededor. En cada detalle dejo un poco de mí y de mi creatividad. Disfruto mucho hacerlos y me gusta saber que será un detalle que, además, podrán guardar porque no es el simple papel de regalo o la bolsa que pueden desecharse sin más.
Now, as there are many mommies in my family, this initiative is favorable to elaborate, with time, the gifts.
Ahora, como son muchas las mamitas de mi familia, esta iniciativa es propicia para elaborar, con tiempo, los regalitos.
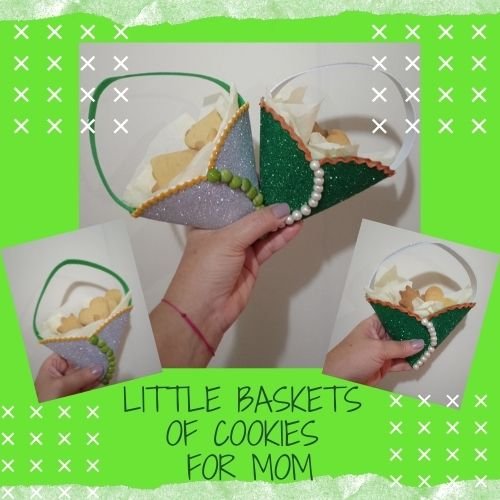
So, I start with these little baskets made of Foami to fill with cookies. They can also be candies or chocolate chocolates. I will decide when the day comes, but I will have them ready. For the photos in this publication, I put cookies in them, the same ones that no longer exist because I ate them after I finished the photo session (laughs).
Así, comienzo con estas cestitas hechas de Foami para llenar con galletitas. También, pueden ser caramelos o bombones de chocolate. Llegado el día, lo decidiré, pero ya las tendré listas. Para las fotos de esta publicación, les puse galletas, las mismas que ya no existen porque me las comí, después que terminé la sesión fotográfica (risas).
Let's go through the step by step
Materials
- Frosted Foami sheets in the color of your choice.
- Scissors
- Graphite pencil
- Cold silicone, I also used a silicone gun.
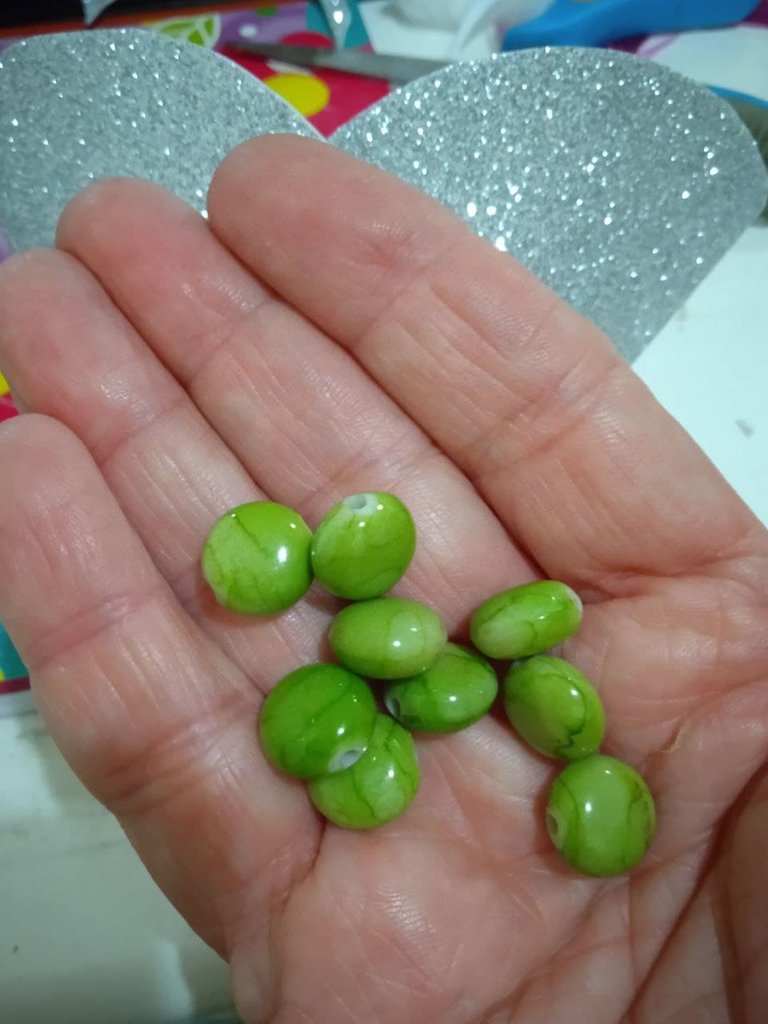
- Beads for costume jewelry
Zigzag ribbon for decorating * Crepe paper - Crepe paper
Vamos con el paso a paso
Materiales
- Láminas de Foami escarchado del color de su preferencia.
- Tijeras
- Lápiz de grafito
- Silicón frío, también usé una pistola de silicón
- Abalorios para bisutería
- Cinta zigzag para decorar
- Papel crepé
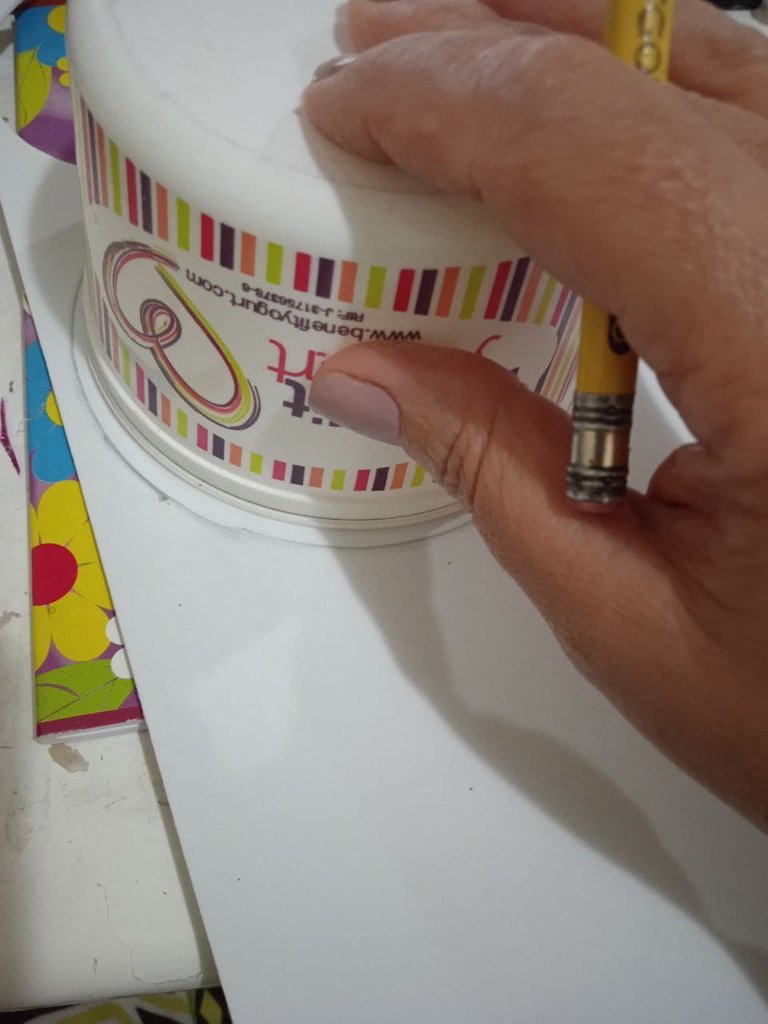
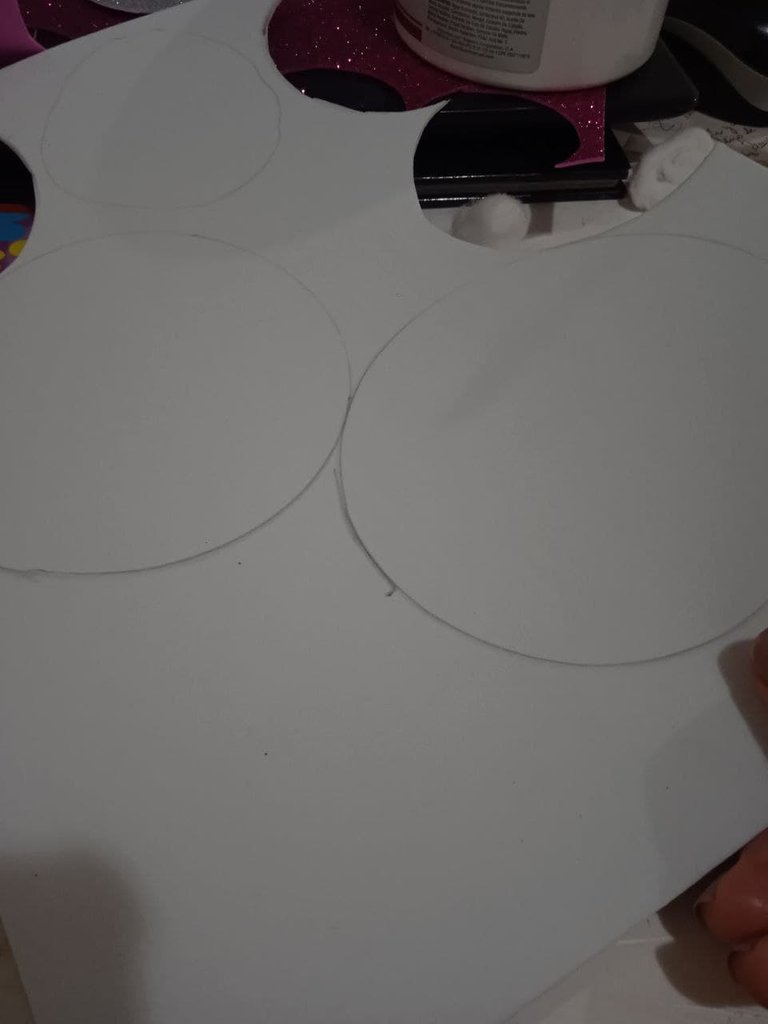
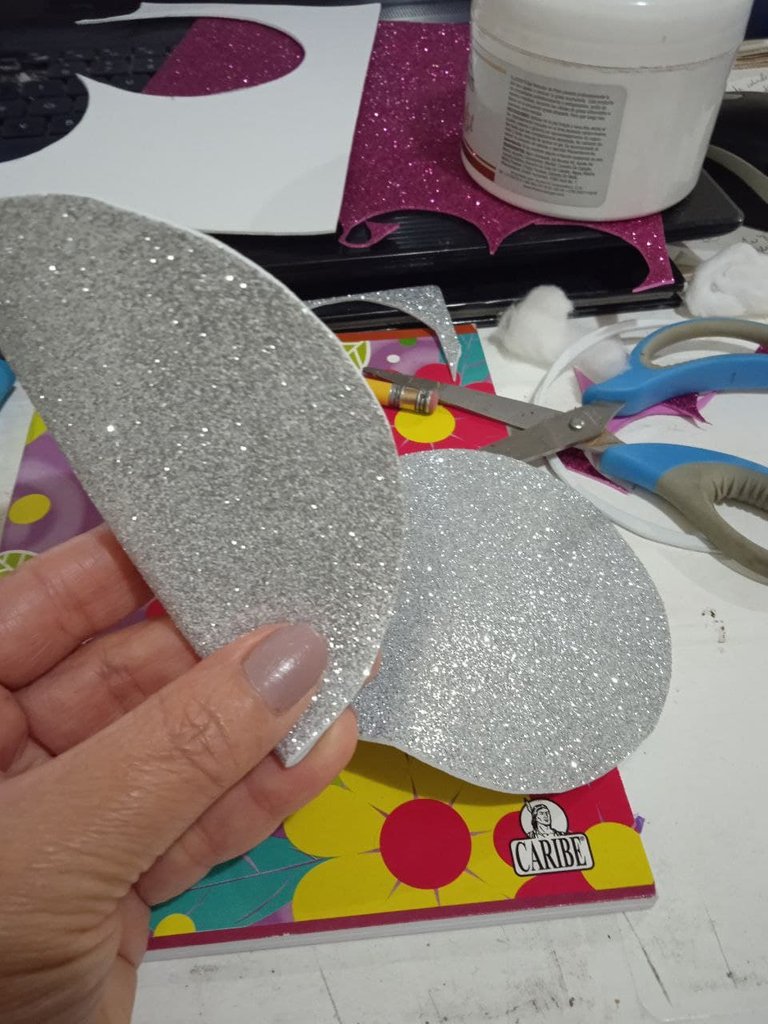
The first thing to do is to mark two large circles on the foami sheet, according to the size we want for our baskets.
Lo primero que debemos hacer es marcar dos círculos grandes en la lámina de foami, según el tamaño que queremos para nuestras cestitas.
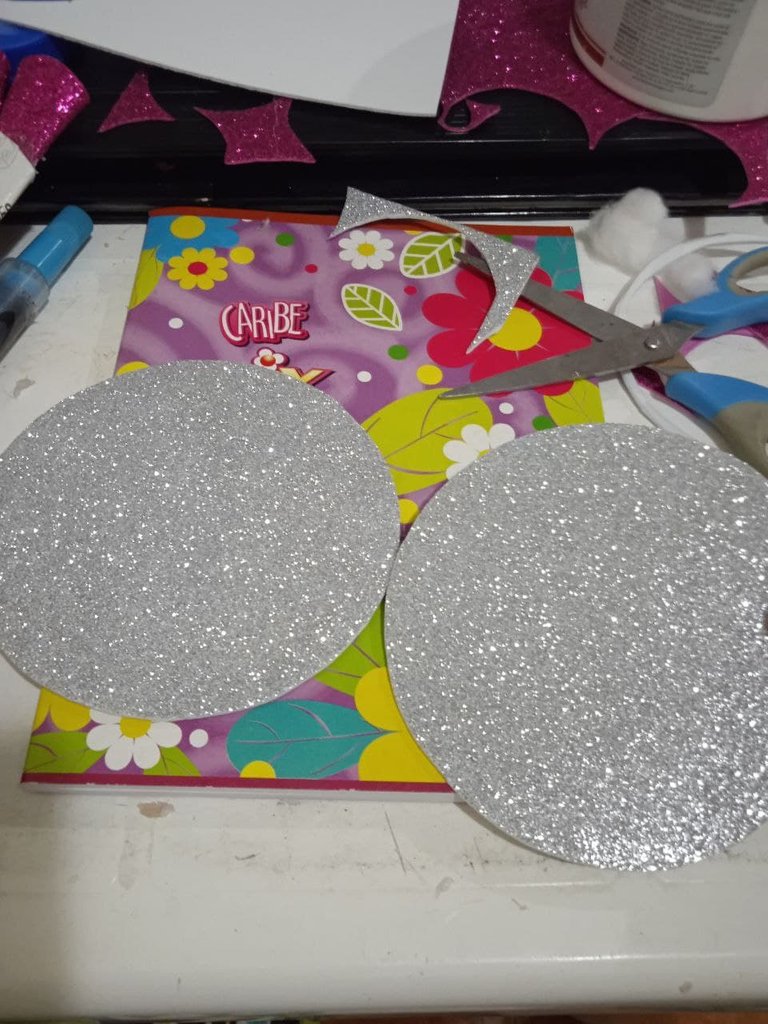
Cut out the circles, trying to make the edge as even as possible.
Recortamos los círculos, tratando que el borde quede lo más parejo posible.
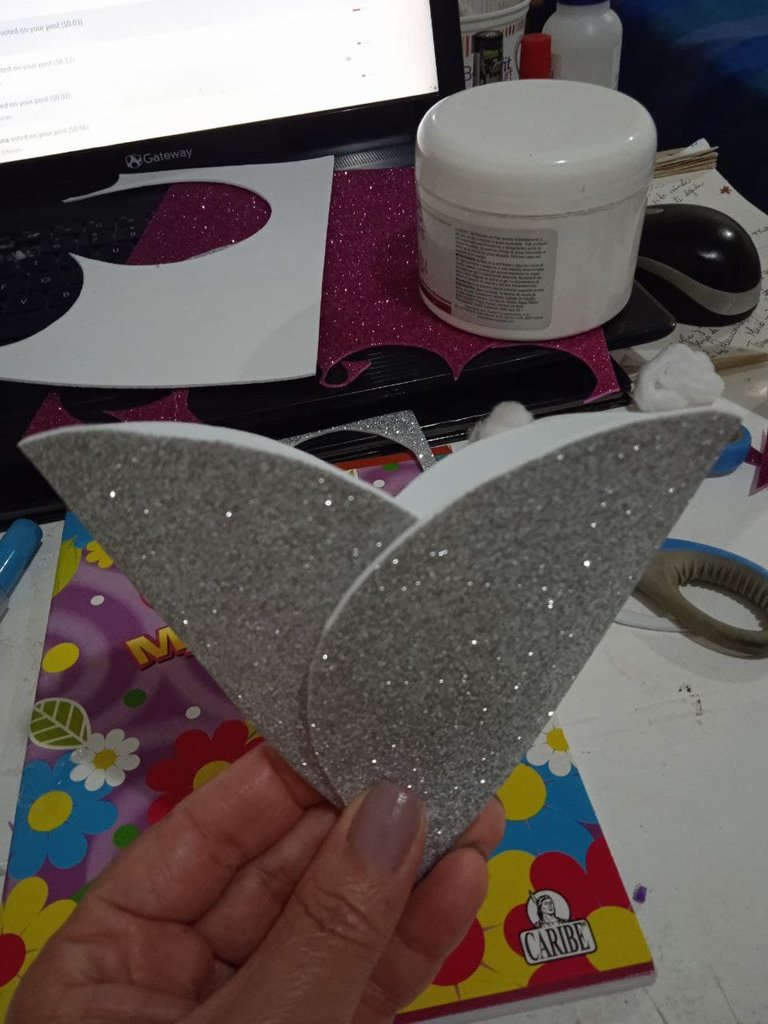
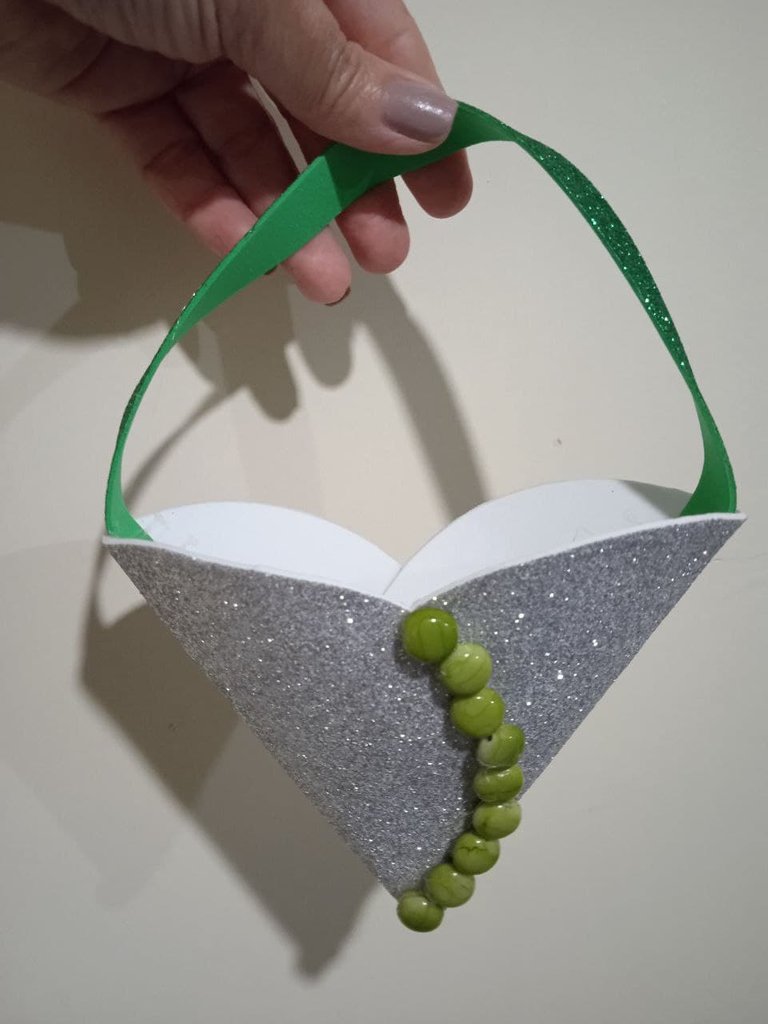
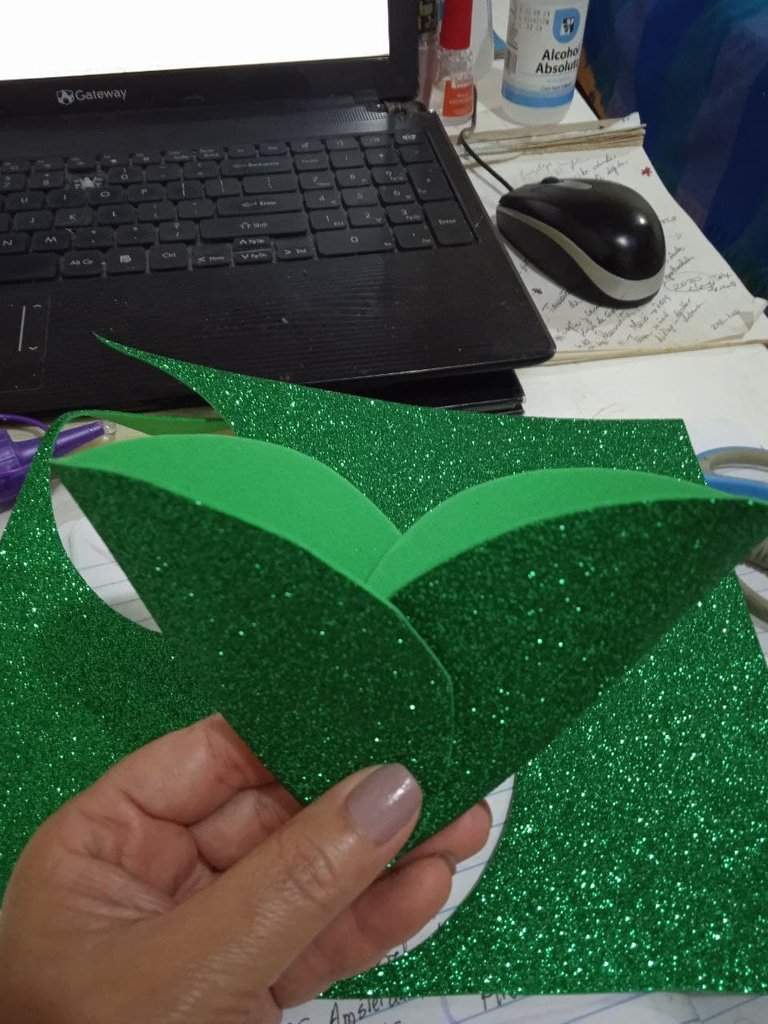
Fold each circle in half and then glue them together with cold silicone, forming a "V". We wait for it to dry very well and continue.
Doblamos por la mitad cada círculo y luego los pegamos con silicón frío entre sí, formando una "V". Esperamos que seque muy bien y continuamos.
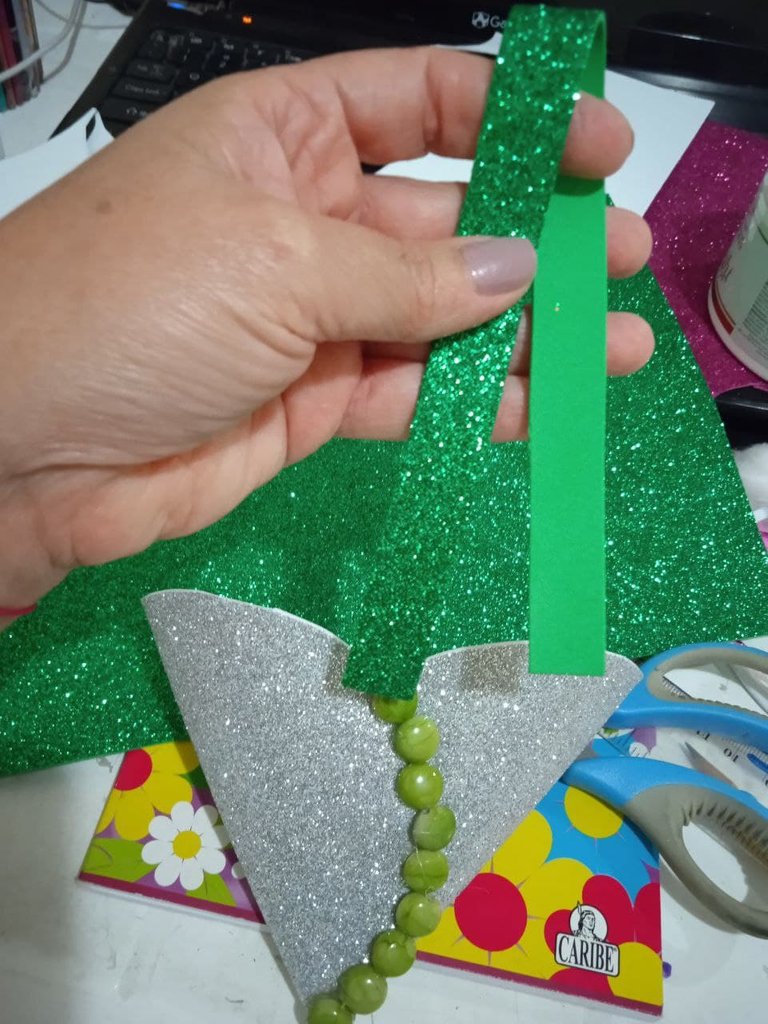
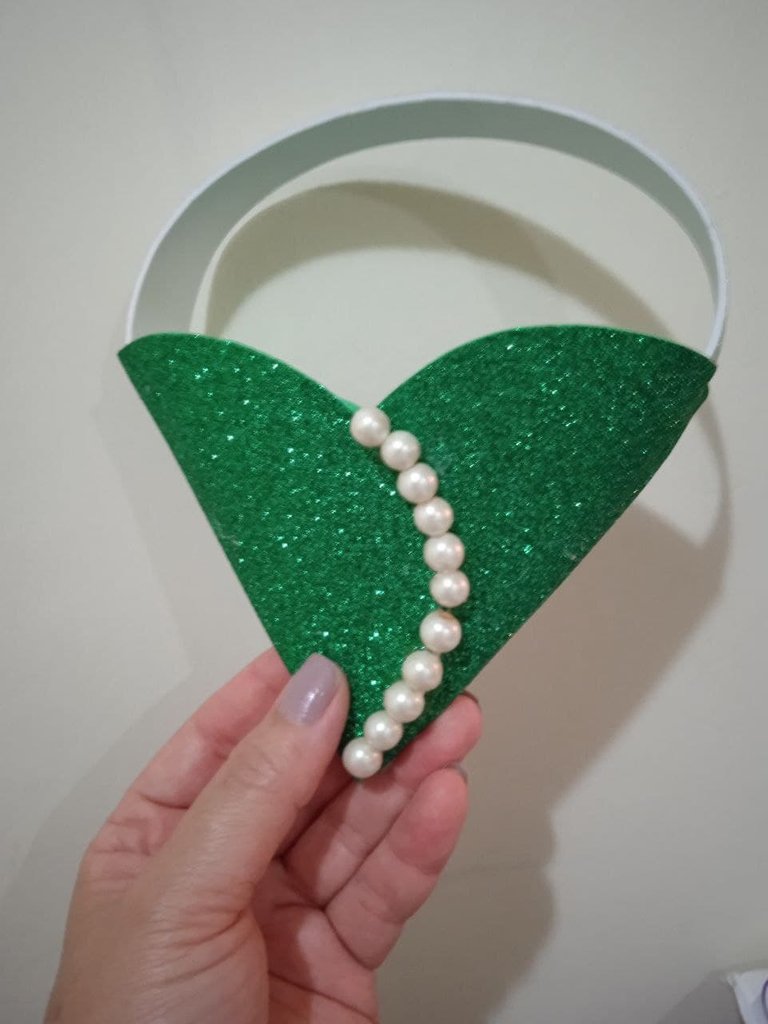
Once the beads or costume jewelry beads have been chosen, we proceed to glue them, one by one, along the edge of the joint, thus determining the front of the basket.
Escogidos los abalorios o cuentitas de bisutería, procedemos a pegarlas, una a una, por el borde de la unión y determinando así, el frente de la cestita.

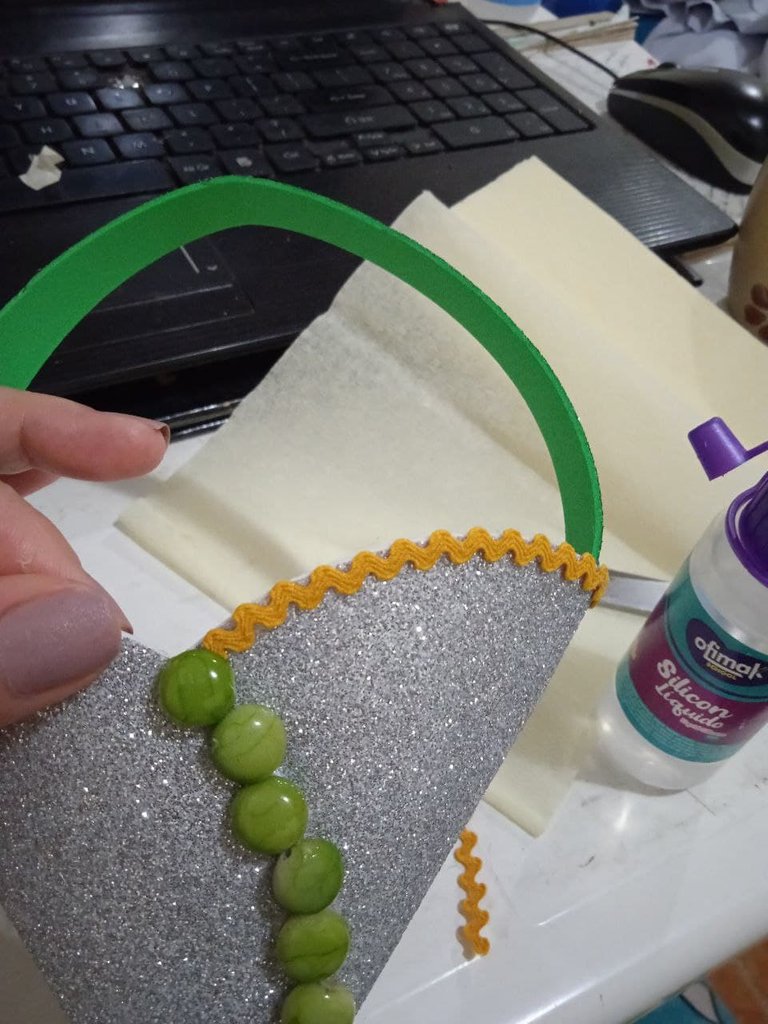
Then, we cut a ribbon for the handle of the basket, according to the size we want and we glue it to the sides with cold silicone. We wait for it to dry well, I put some little hooks to make pressure, while they were glued.
Luego, recortamos una cinta para el asa de la cesta, según la medida que queramos y pegamos a los lados con el silicón frío. Esperamos que seque bien, yo le puse unos ganchitos para hacer presión, mientras se pegaban.
This is how our basket looks like. We can leave it as simple as this or add all the decorations we want.
Así queda nuestra cestita. Podemos dejarla así sencilla o agregar todos los adornos que queramos.
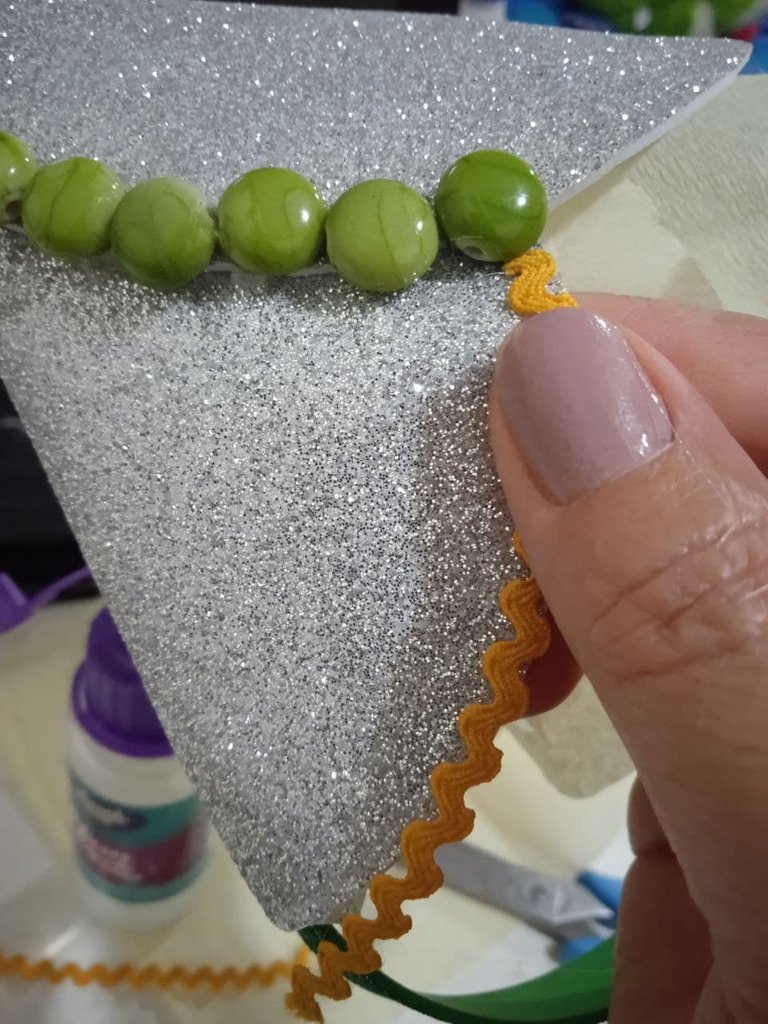
This time, I put a zigzag ribbon around the edge. I think it gave it a very flirtatious and delicate final touch.
En esta oportunidad, yo le puse una cinta de zigzag por el borde. me parece que le dio un toque final muy coqueto y delicado.
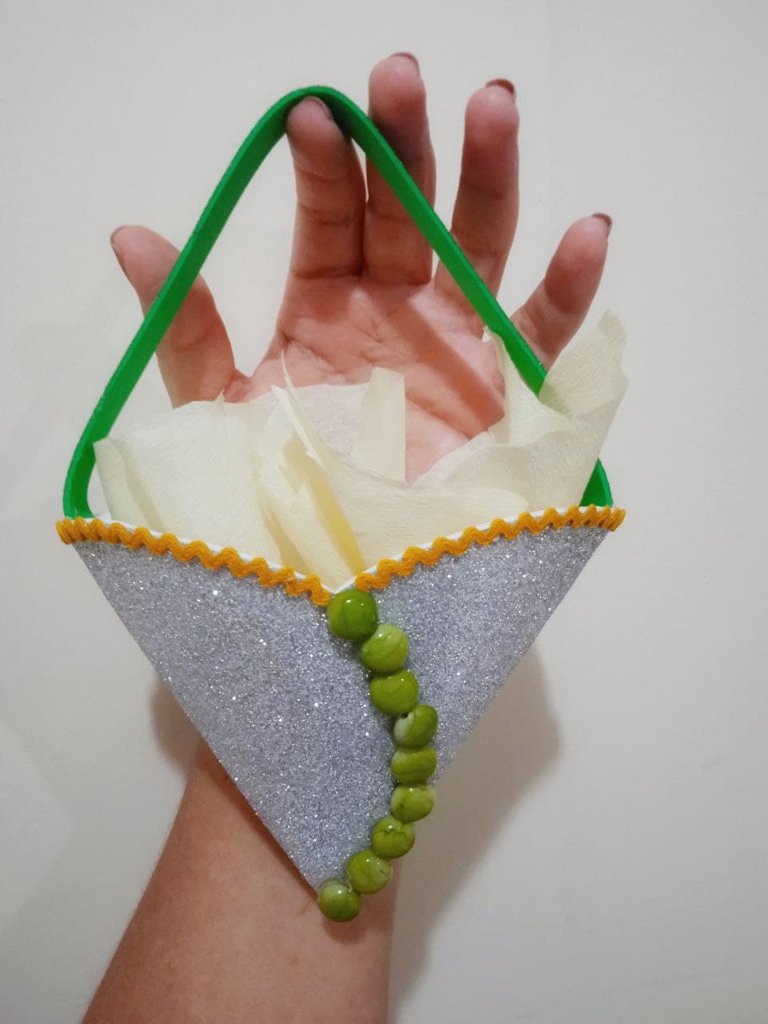
It's ready! I put crepe paper to put the cookies in.
¡Lista! Le puse papel crepé para meter las galletitas.
I loved how it turned out and I decided to make another one with the combination of the colors of the previous one. Here are some steps and at the end the two finished and filled with cookies.
Me encantó como quedó y me dispuse a hacer otra con la combinación de los colores de la anterior. Les dejo algunos pasos y al final las dos terminadas y rellenas con las galletas.
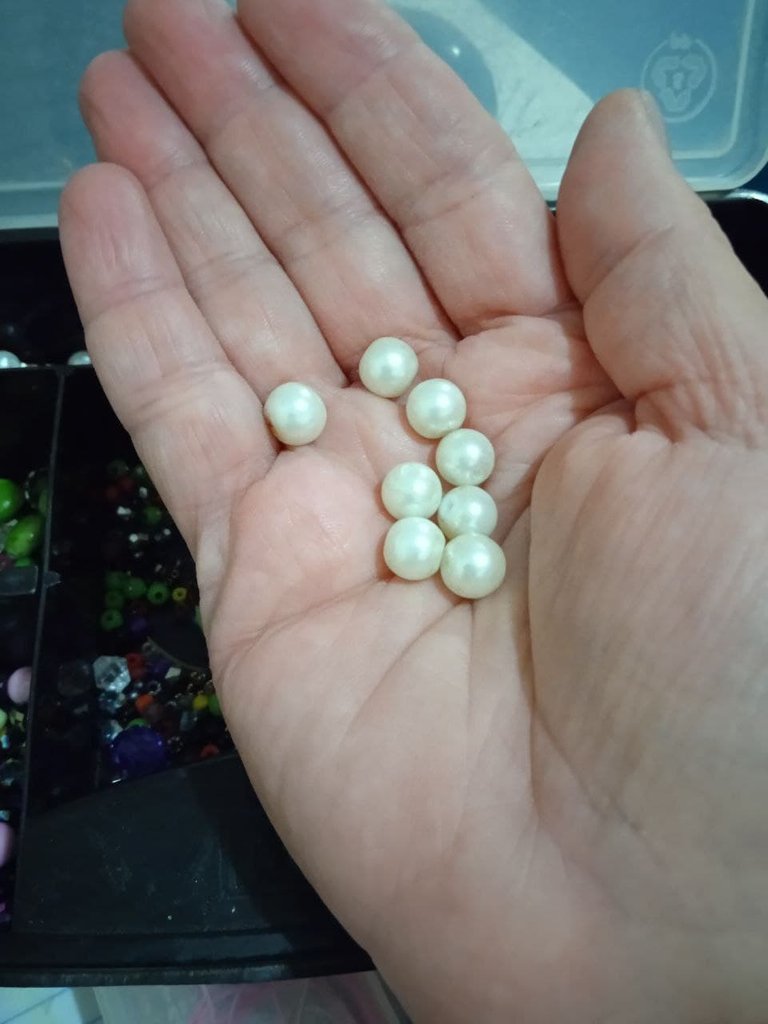
I embellished this model with pearls. I really liked the result, it looks very elegant. I also put a zigzag ribbon on the edge as a finishing touch.
Este modelo lo adorné con perlitas. Me gustó mucho el resultado, se ve muy elegante. También, le puse en el borde una cinta de zigzag como toque final.
This is how cute they are, a simple gift, easy to make, but made with lots of love to give to moms on their day.
Así de lindas quedaron, un regalo sencillo, fácil de elaborar, pero hecho con mucho amor para regalar a las mamitas en su día.

I'm going to keep making more of these, I loved them! and soon I'll share other gift ideas for mom.
Voy a seguir haciendo más de estas, ¡me encantaron! y pronto comparto otras ideas de regalitos para mamá.
Todo el contenido de esta publicación es contenido original y trabajo creativo personal. La foto de portada es un diseño con la imagen del reto. Todas las fotos son de mi propiedad. Los separadores y banners son mis diseños en Canva.
All content in this publication is original content and personal creative work. The cover photo is a design with the challenge image. All photos are my property. The dividers and banners are my designs in Canva.
Que hermosas quedaron! Me encantó esta idea, es super creativa y linda. Muchas gracias por compartir y por unirte a esta iniciativa ❤️
Me alegra mucho que te hayan gustado, cariño. A mí me encantó hacerlas, seguiré buscando ideas para hacer más regalitos para las mamás. Saludos, un abrazo.
Me encanto esta idea muy lindas 😍
Qué bueno que te gustaron, amiga. Gracias por pasar. Un abrazo.
Me gusta el regalo de tu mama mucho. Creo que tu mama ya esta muy feliz. Es muy bonito. !Bien hecho! :)
Hola, @jadeaca, gracias por tu apreciación. Me alegra que te gustaran, a mi me encanta todo lo que tiene que ver con manualidades, es una actividad que me relaja y con estas voy a agasajar a las mamás de mi familia. Saludos.
Oye que buena idea, tienes mucha creatividad. Algo sencillo pero que cualquier madre lo recibe como si fuera un tesoro valioso! 💜
Amiga, las manualidades son importantes en el desarrollo de la creatividad y solución de problemas porque un proyecto varían según el propósito.
Te felicito, abrazos @aurodivys