Hola mis amigos de #hive como están hoy estoy por aquí una vez más gracias a Dios para mostrarles un poco sobre mis humildes trabajos espero lo disfruten
Hello, my #hive friends how are you today I'm here once again thank God to show you a little bit about my humble works I hope you enjoy it.
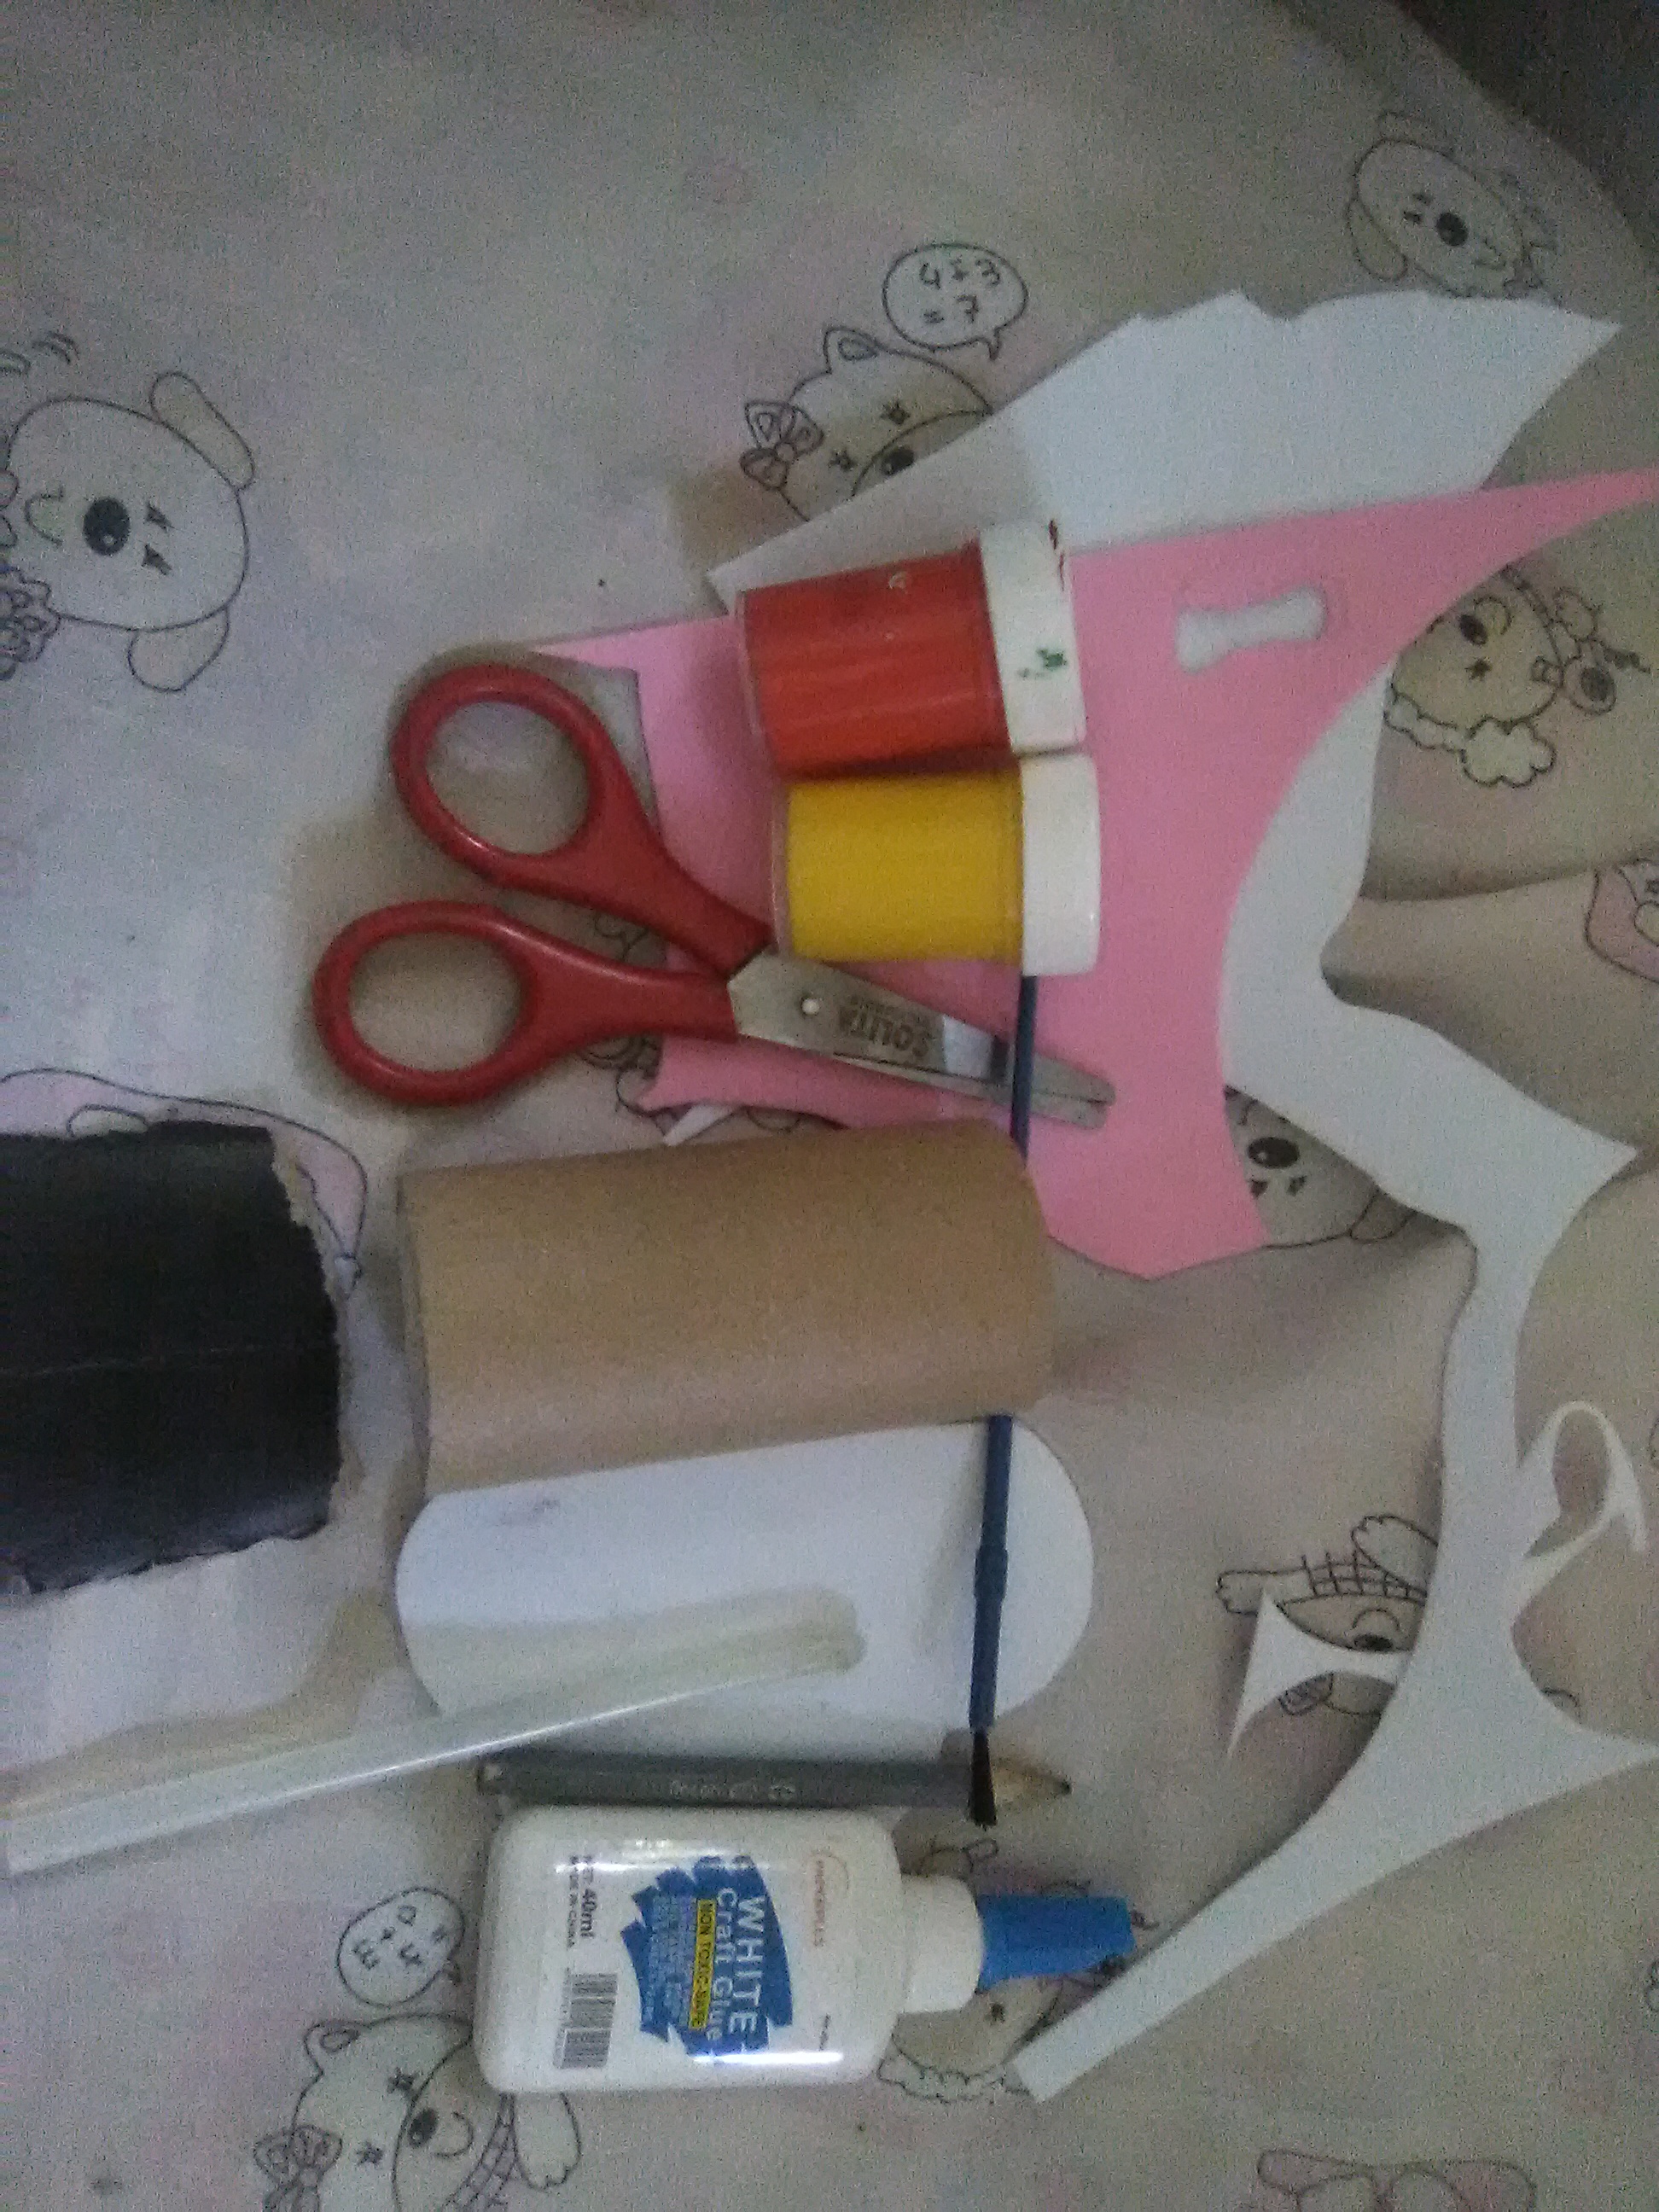
Lista de materiales empleados:
- Cilindro de cartón
- Tijera
- Foami rosado,blanco
- Silicón en barra
- Pega blanca
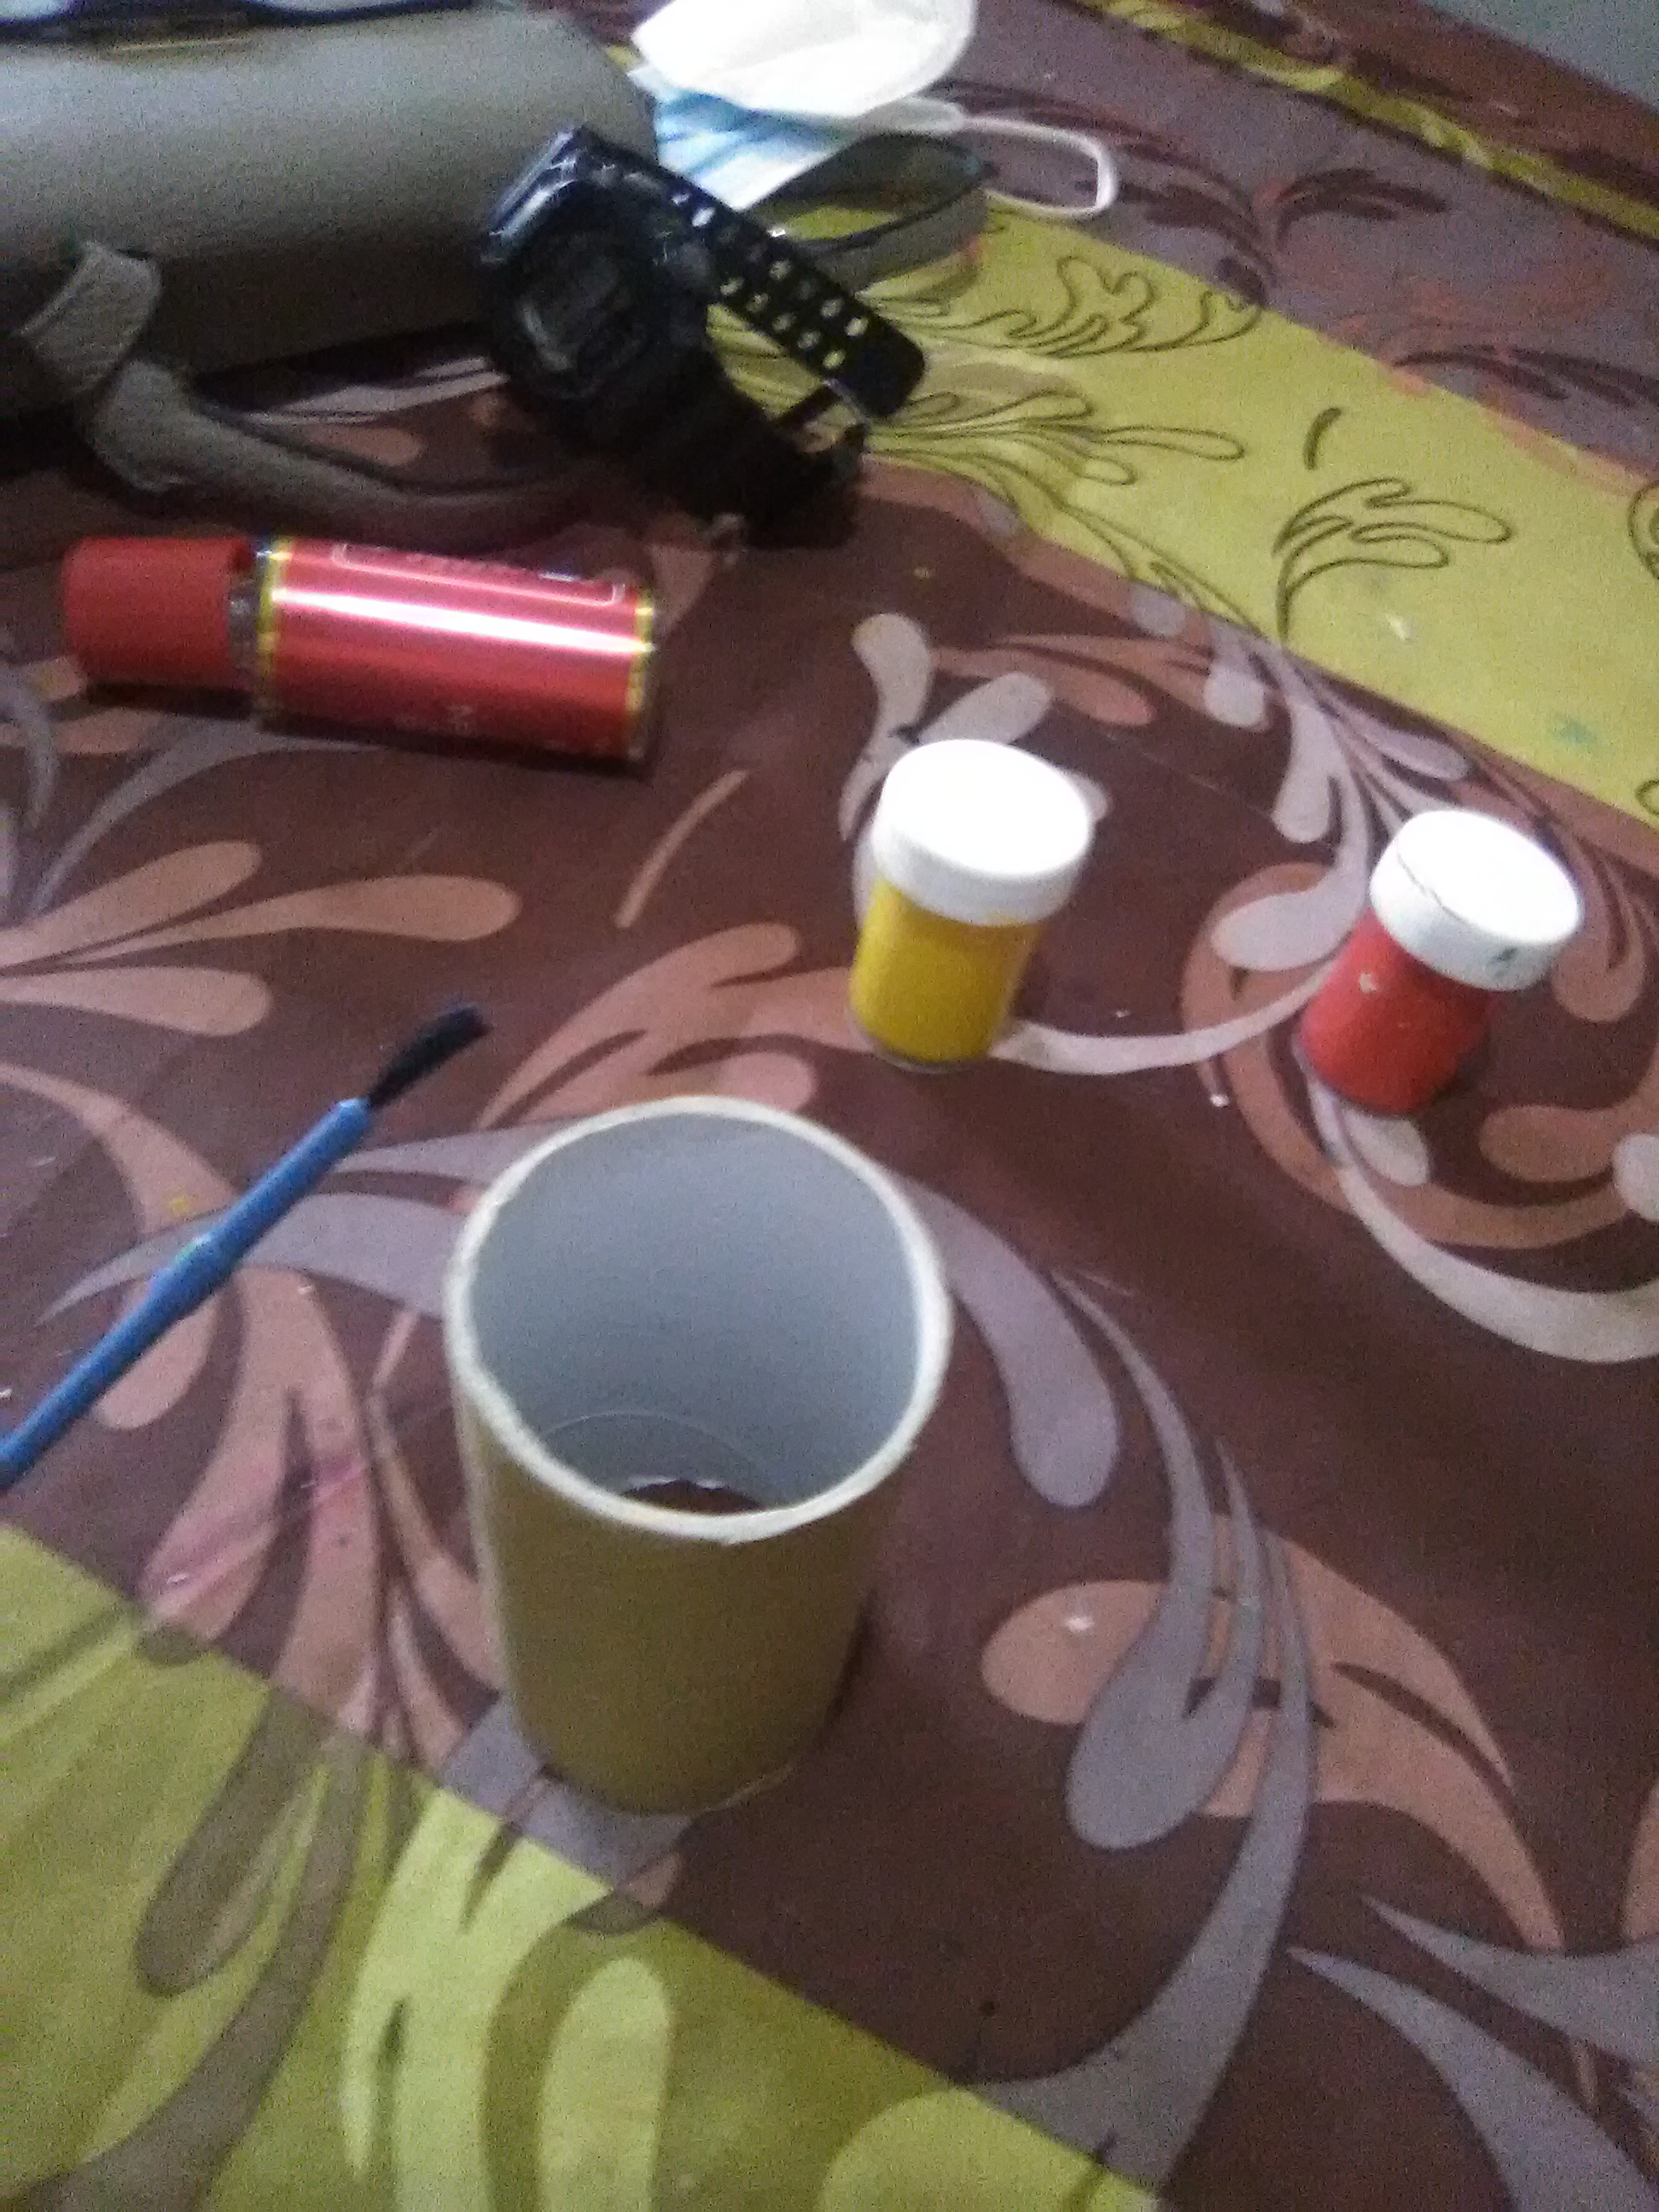
- Tempera roja, amarilla
- Lápiz de grafito
- Pincel
- Cartón negro
List of materials used:
- Cardboard cylinder
- Scissors
- Pink, white Foami
- Silicone stick
- White glue
- Red, yellow tempera
- Graphite pencil
- Paintbrush
- Black cardboard
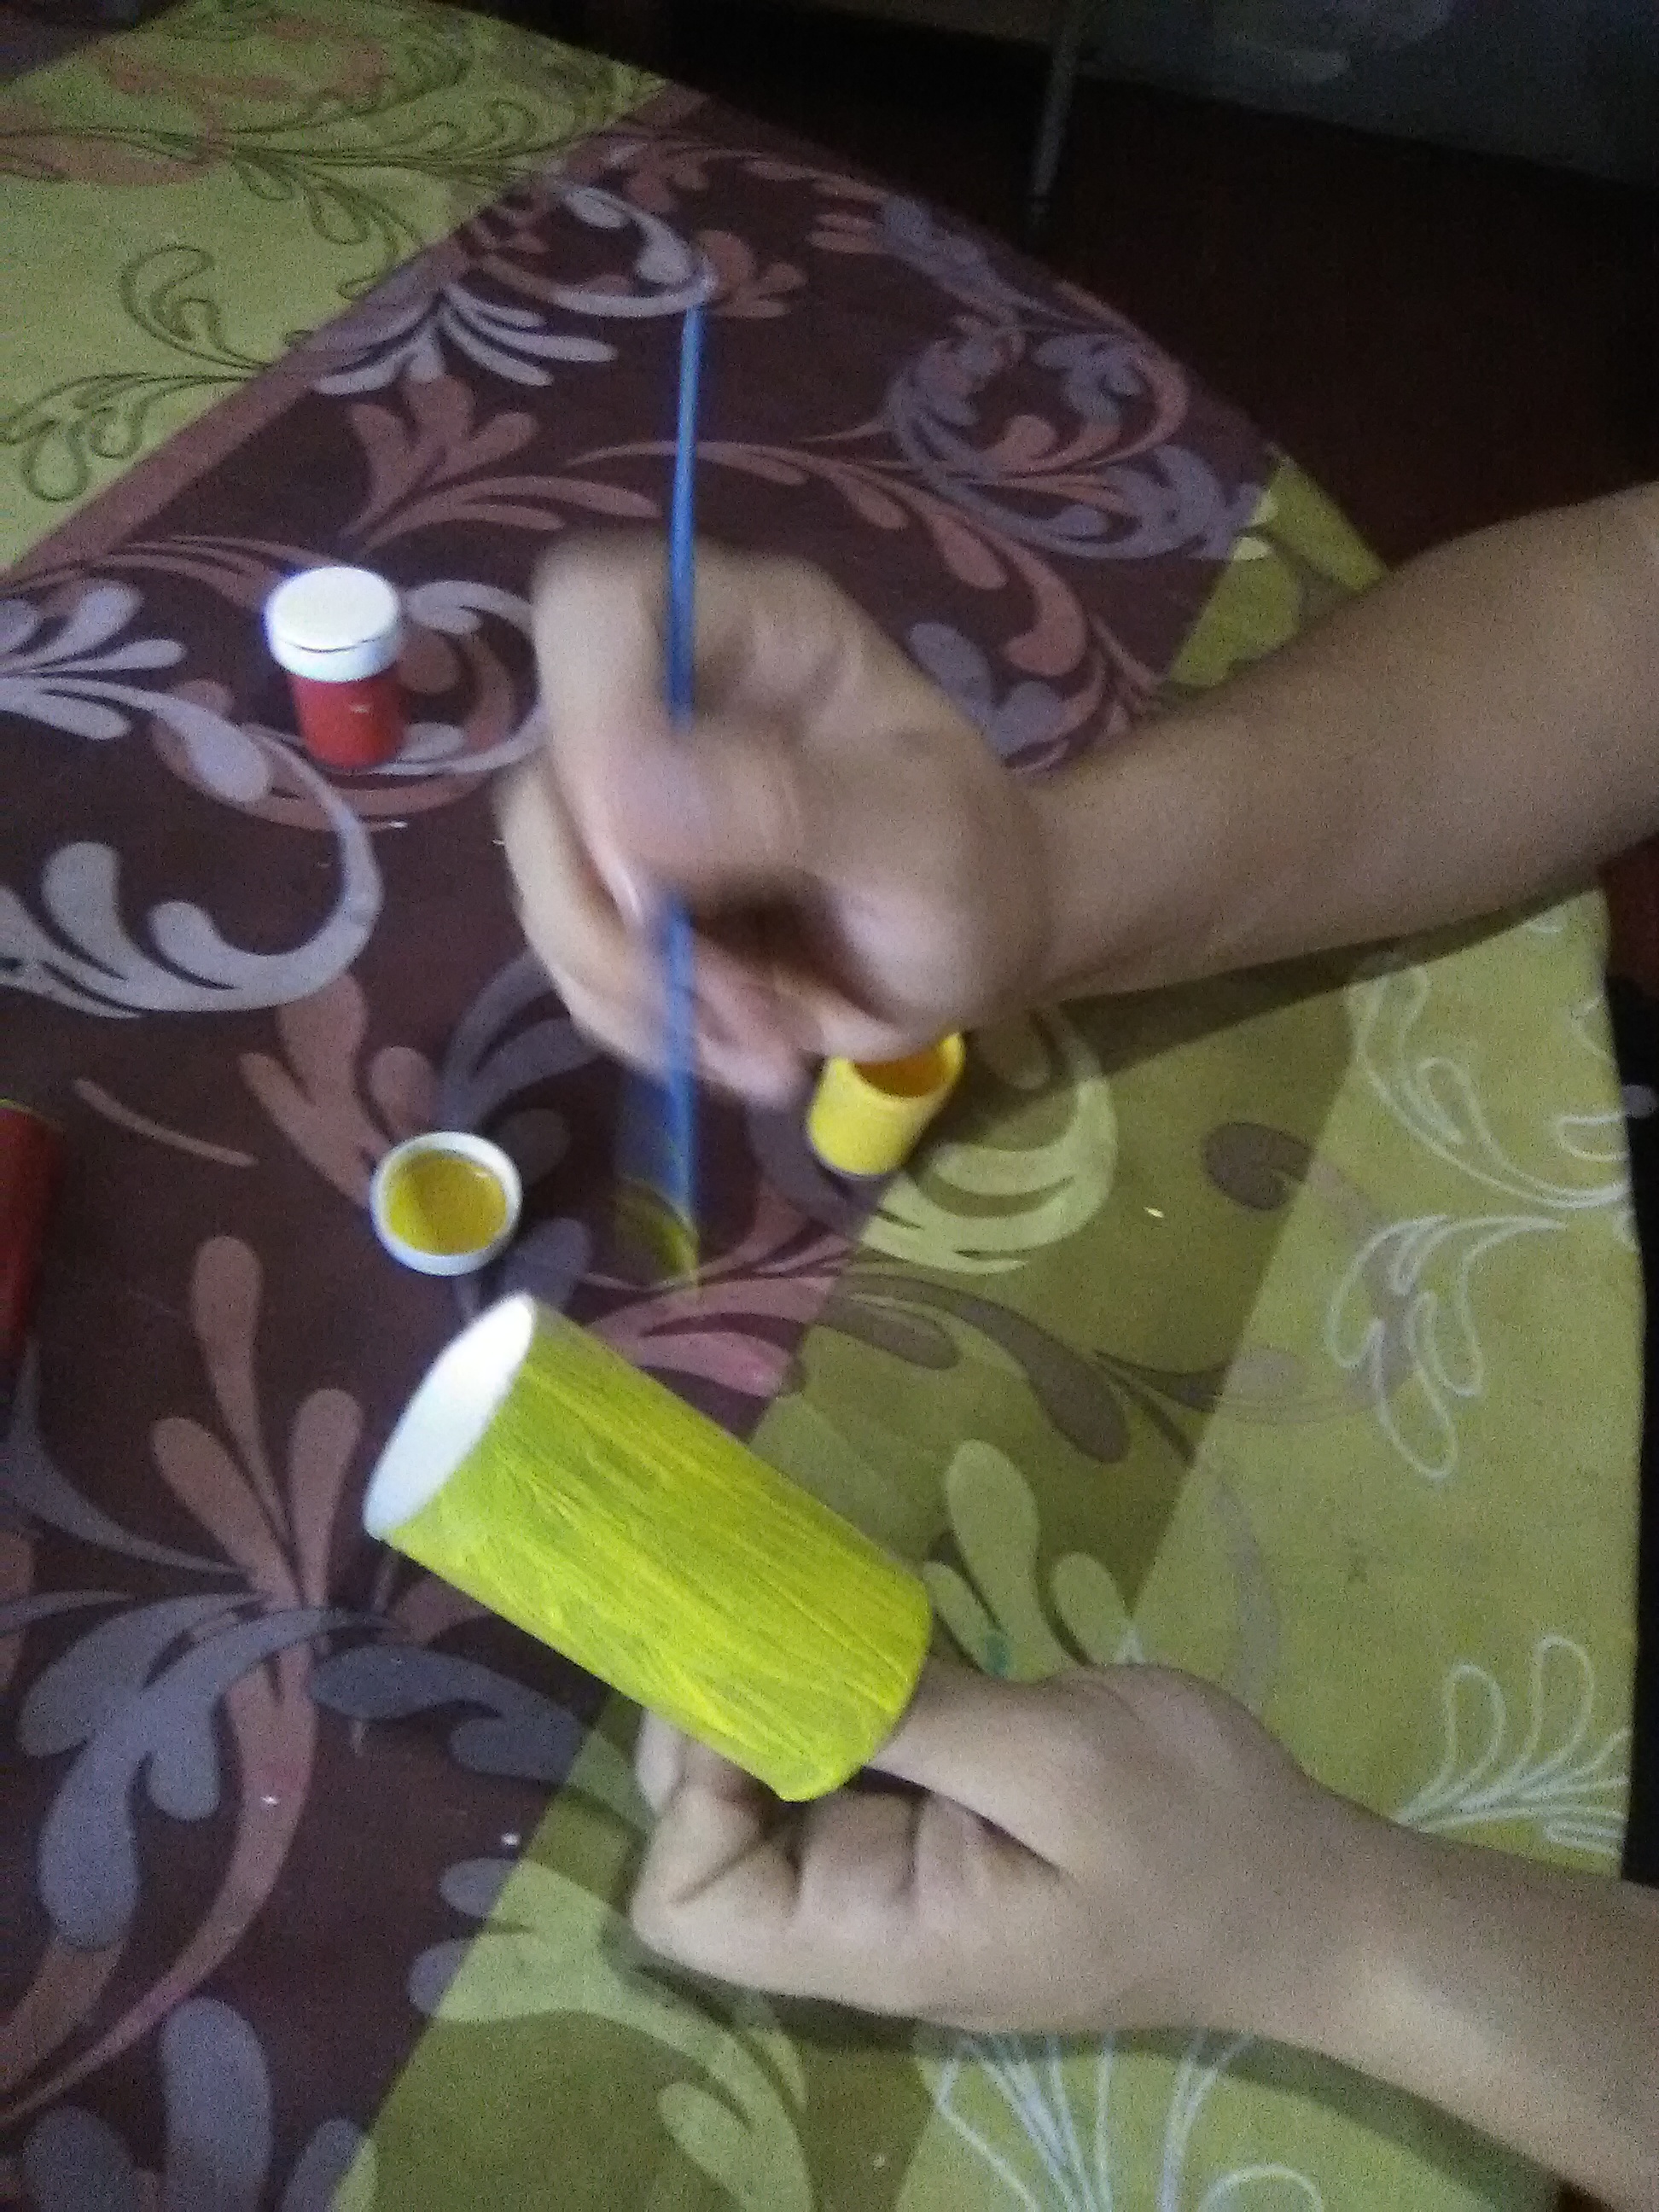
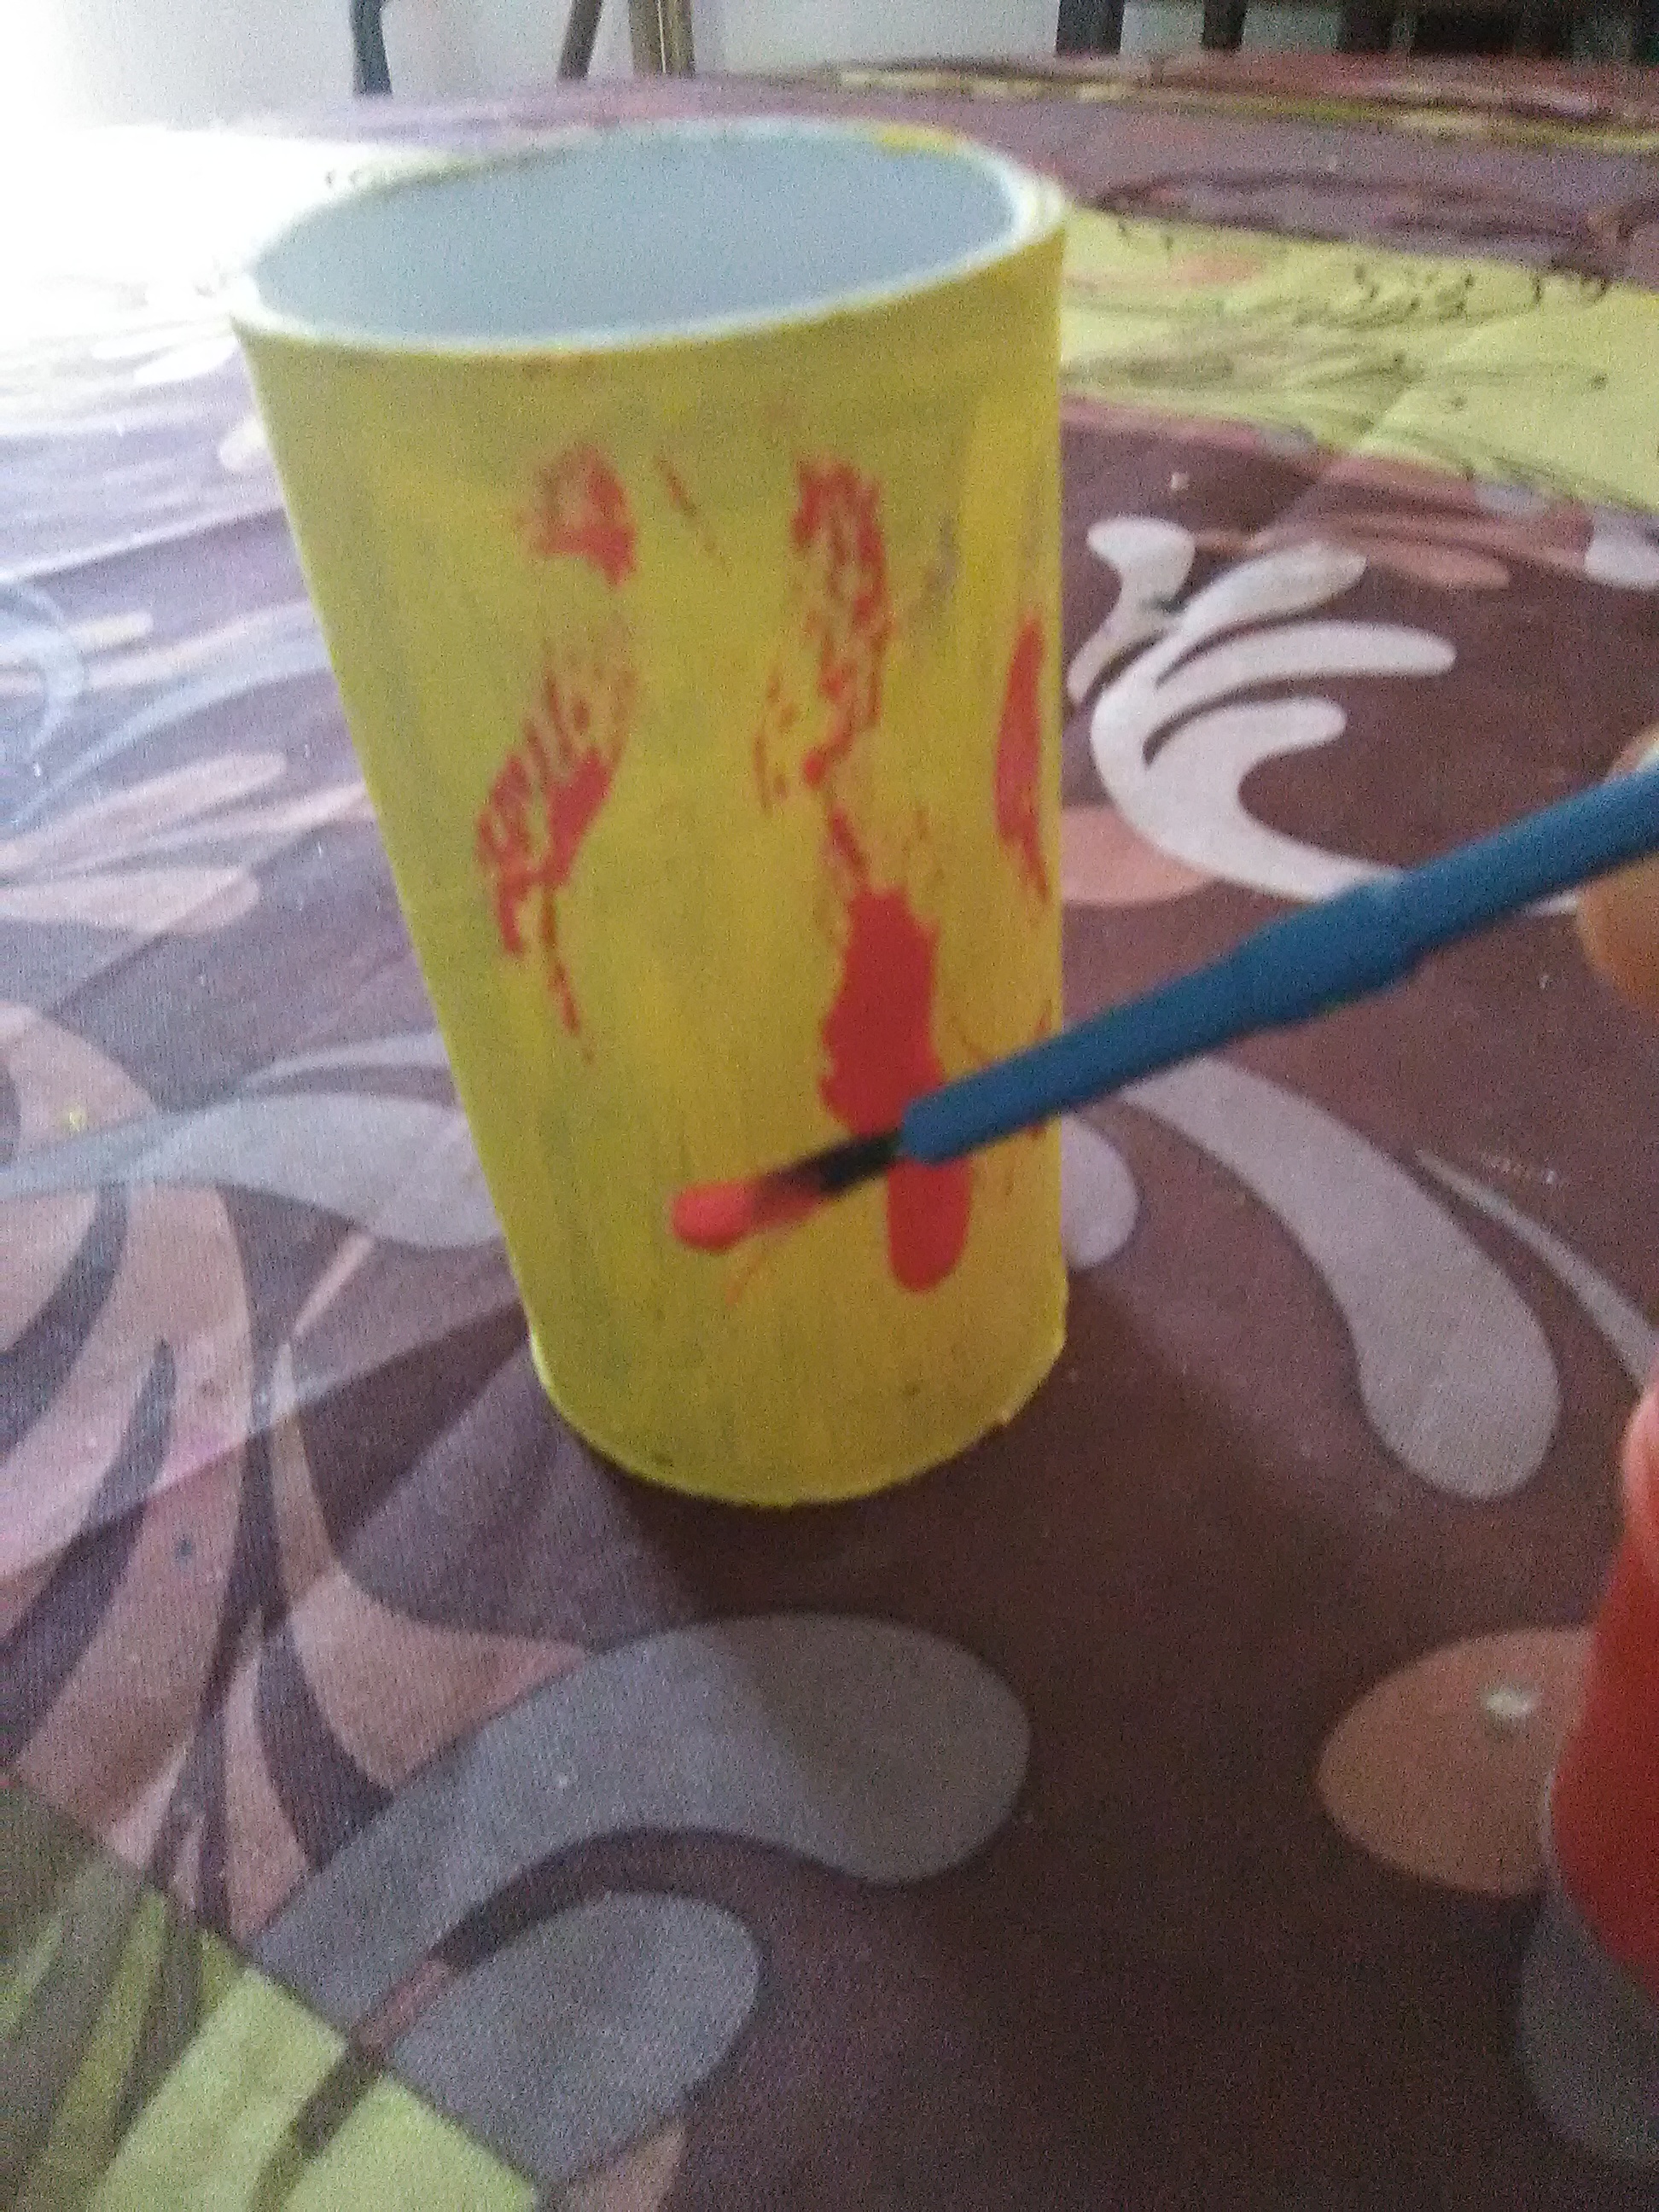
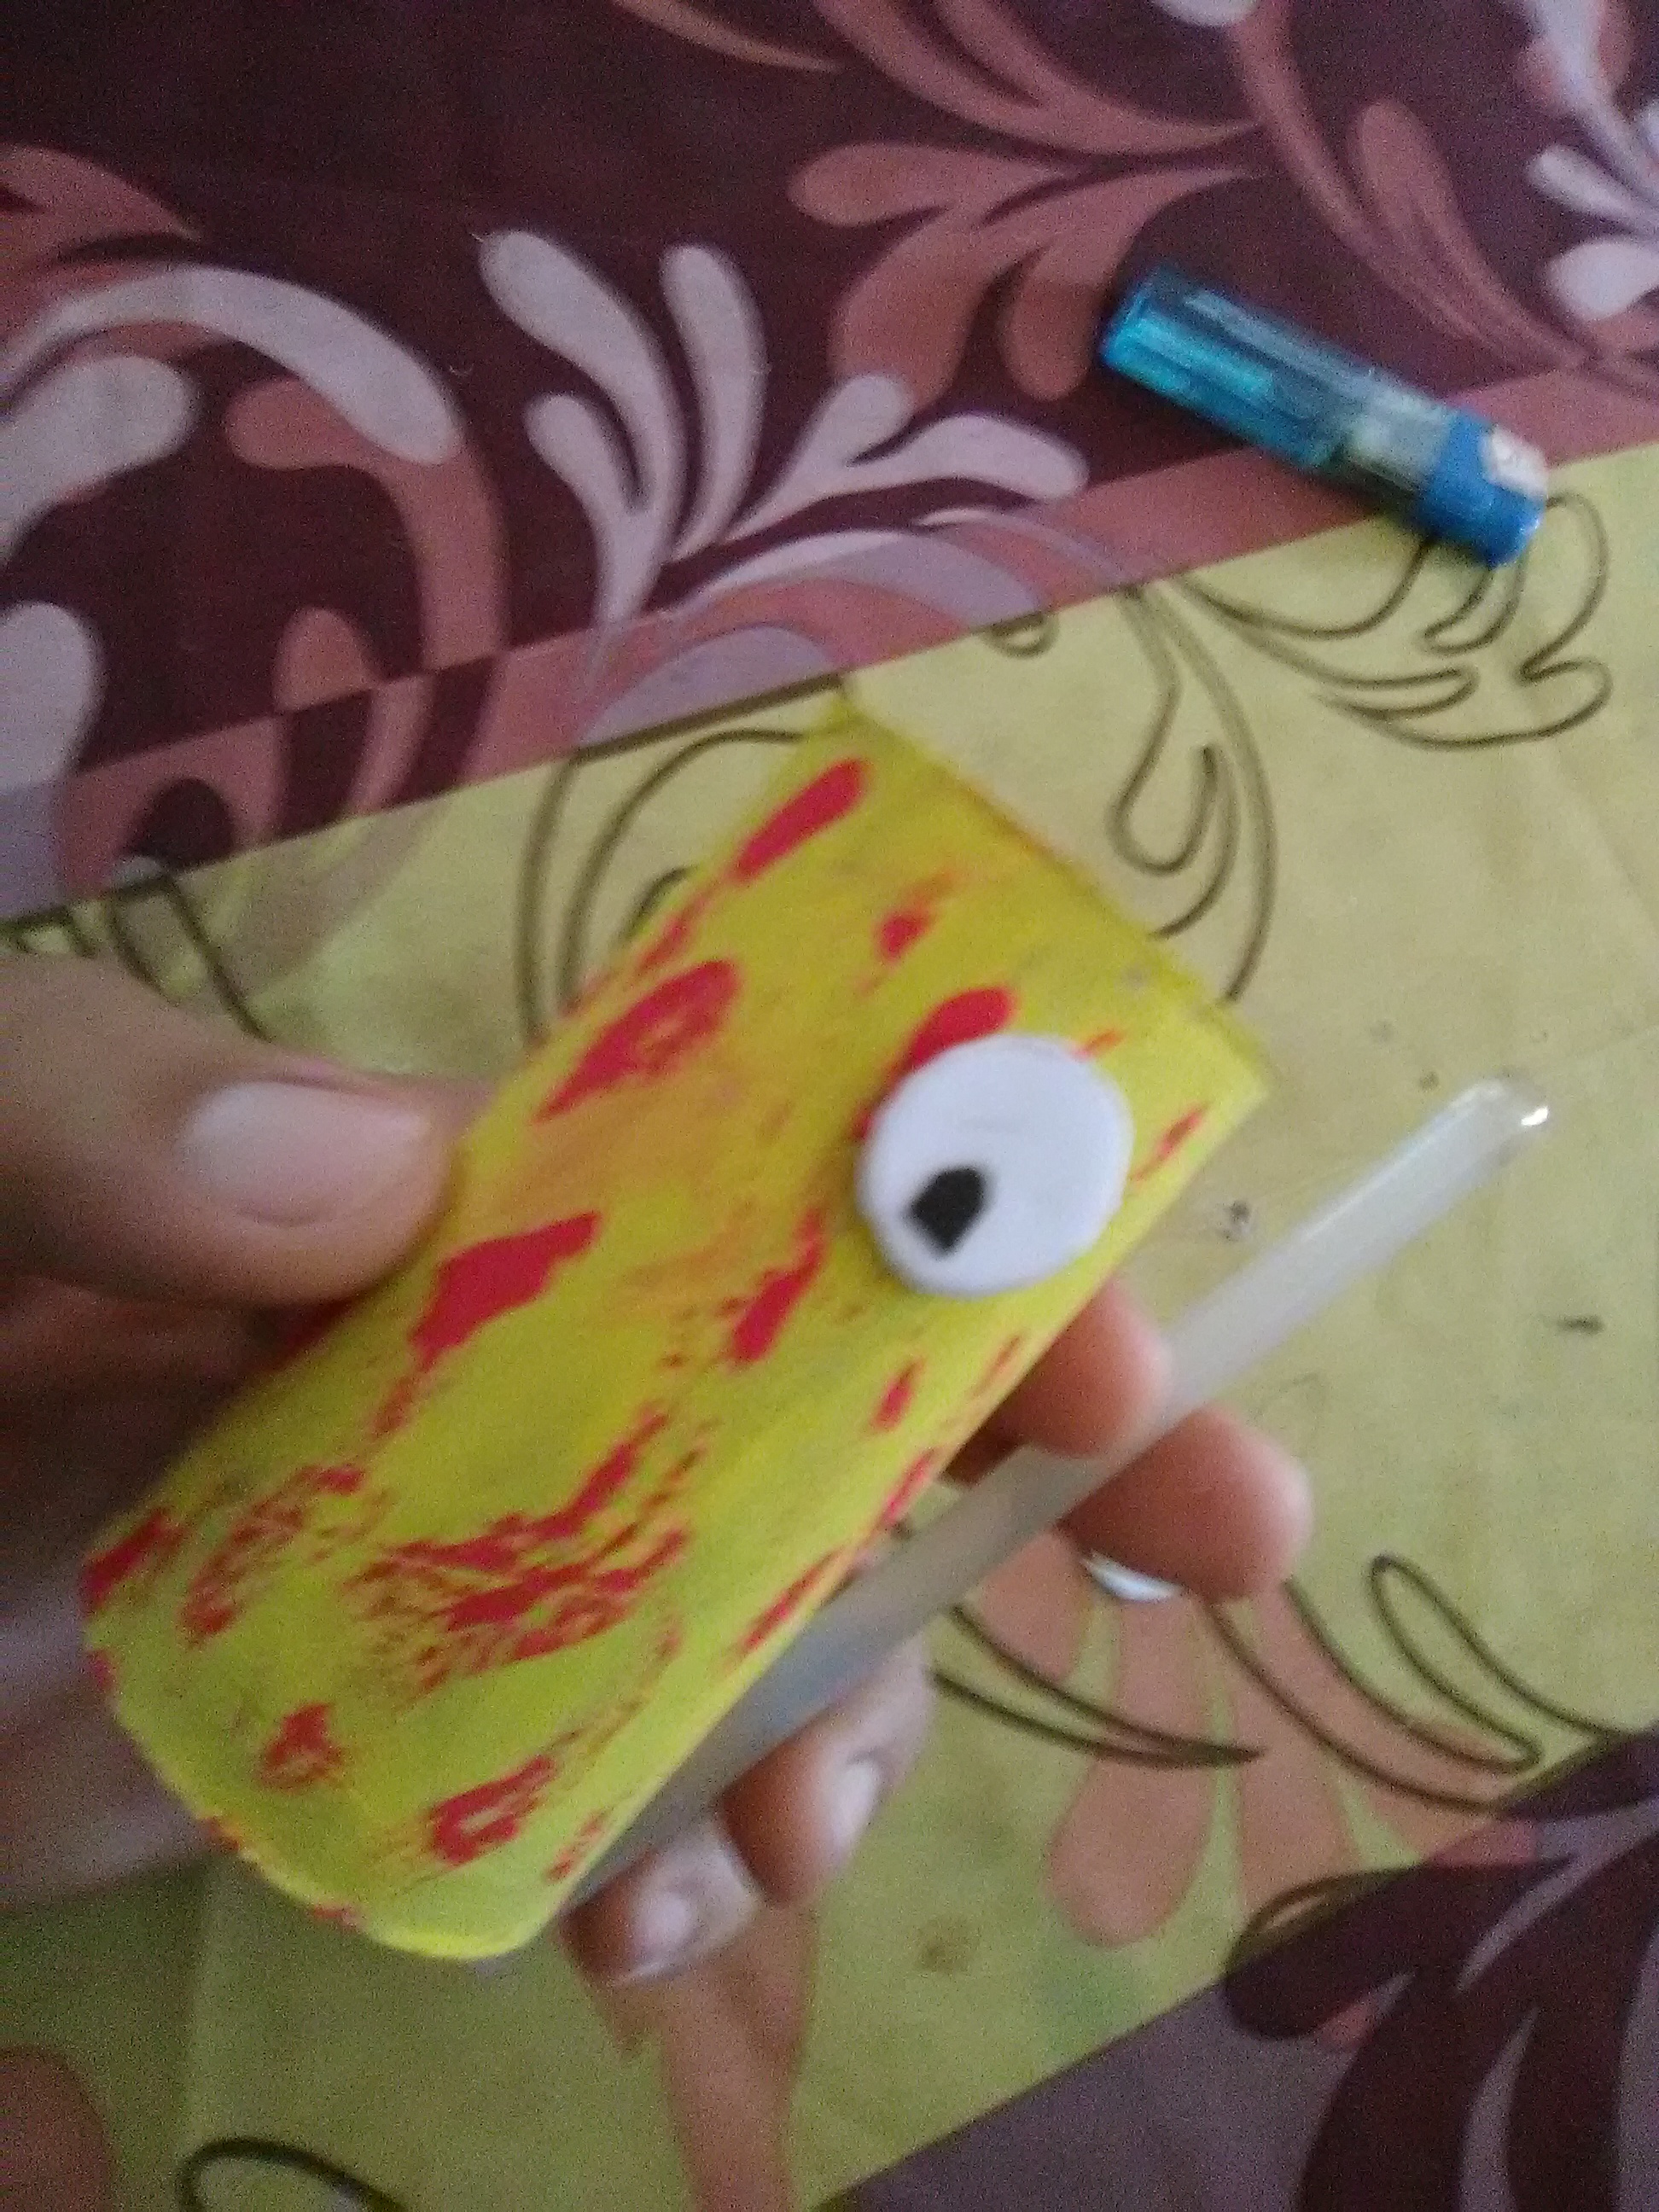
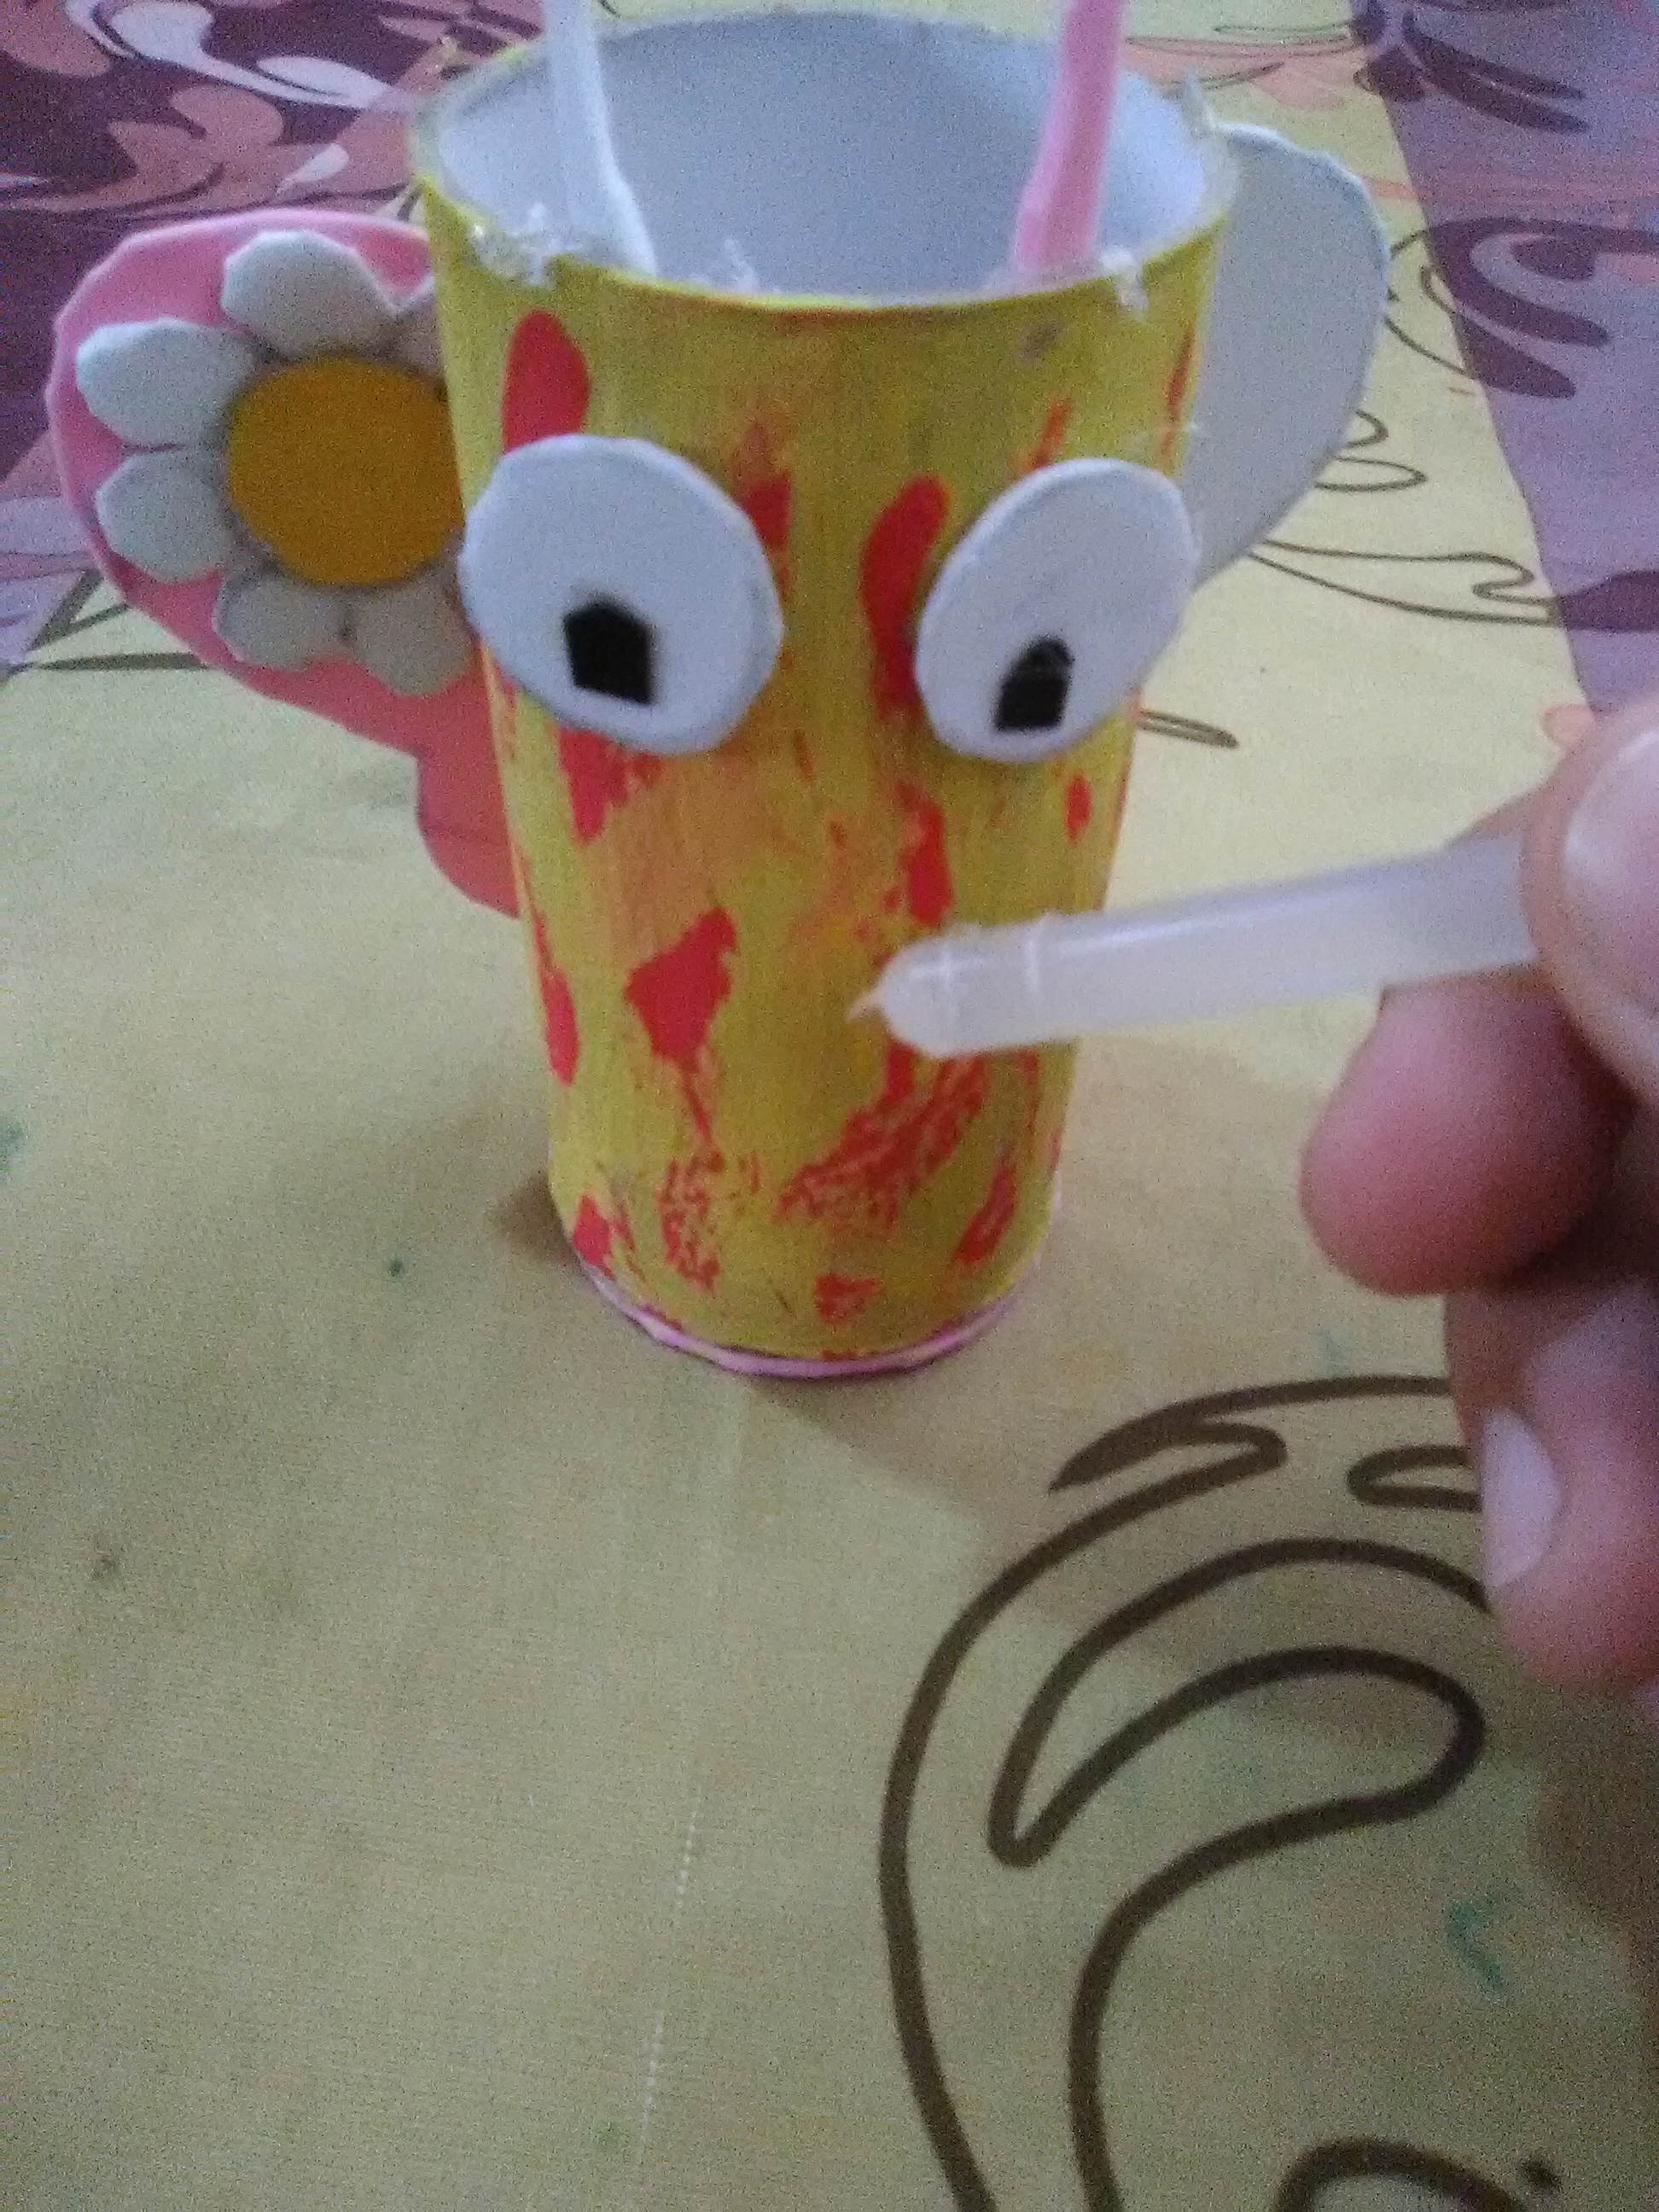
paso 1:
- Tomamos el cilindro de cartón y pintamos
step 1:
- We take the cardboard cylinder and paint.
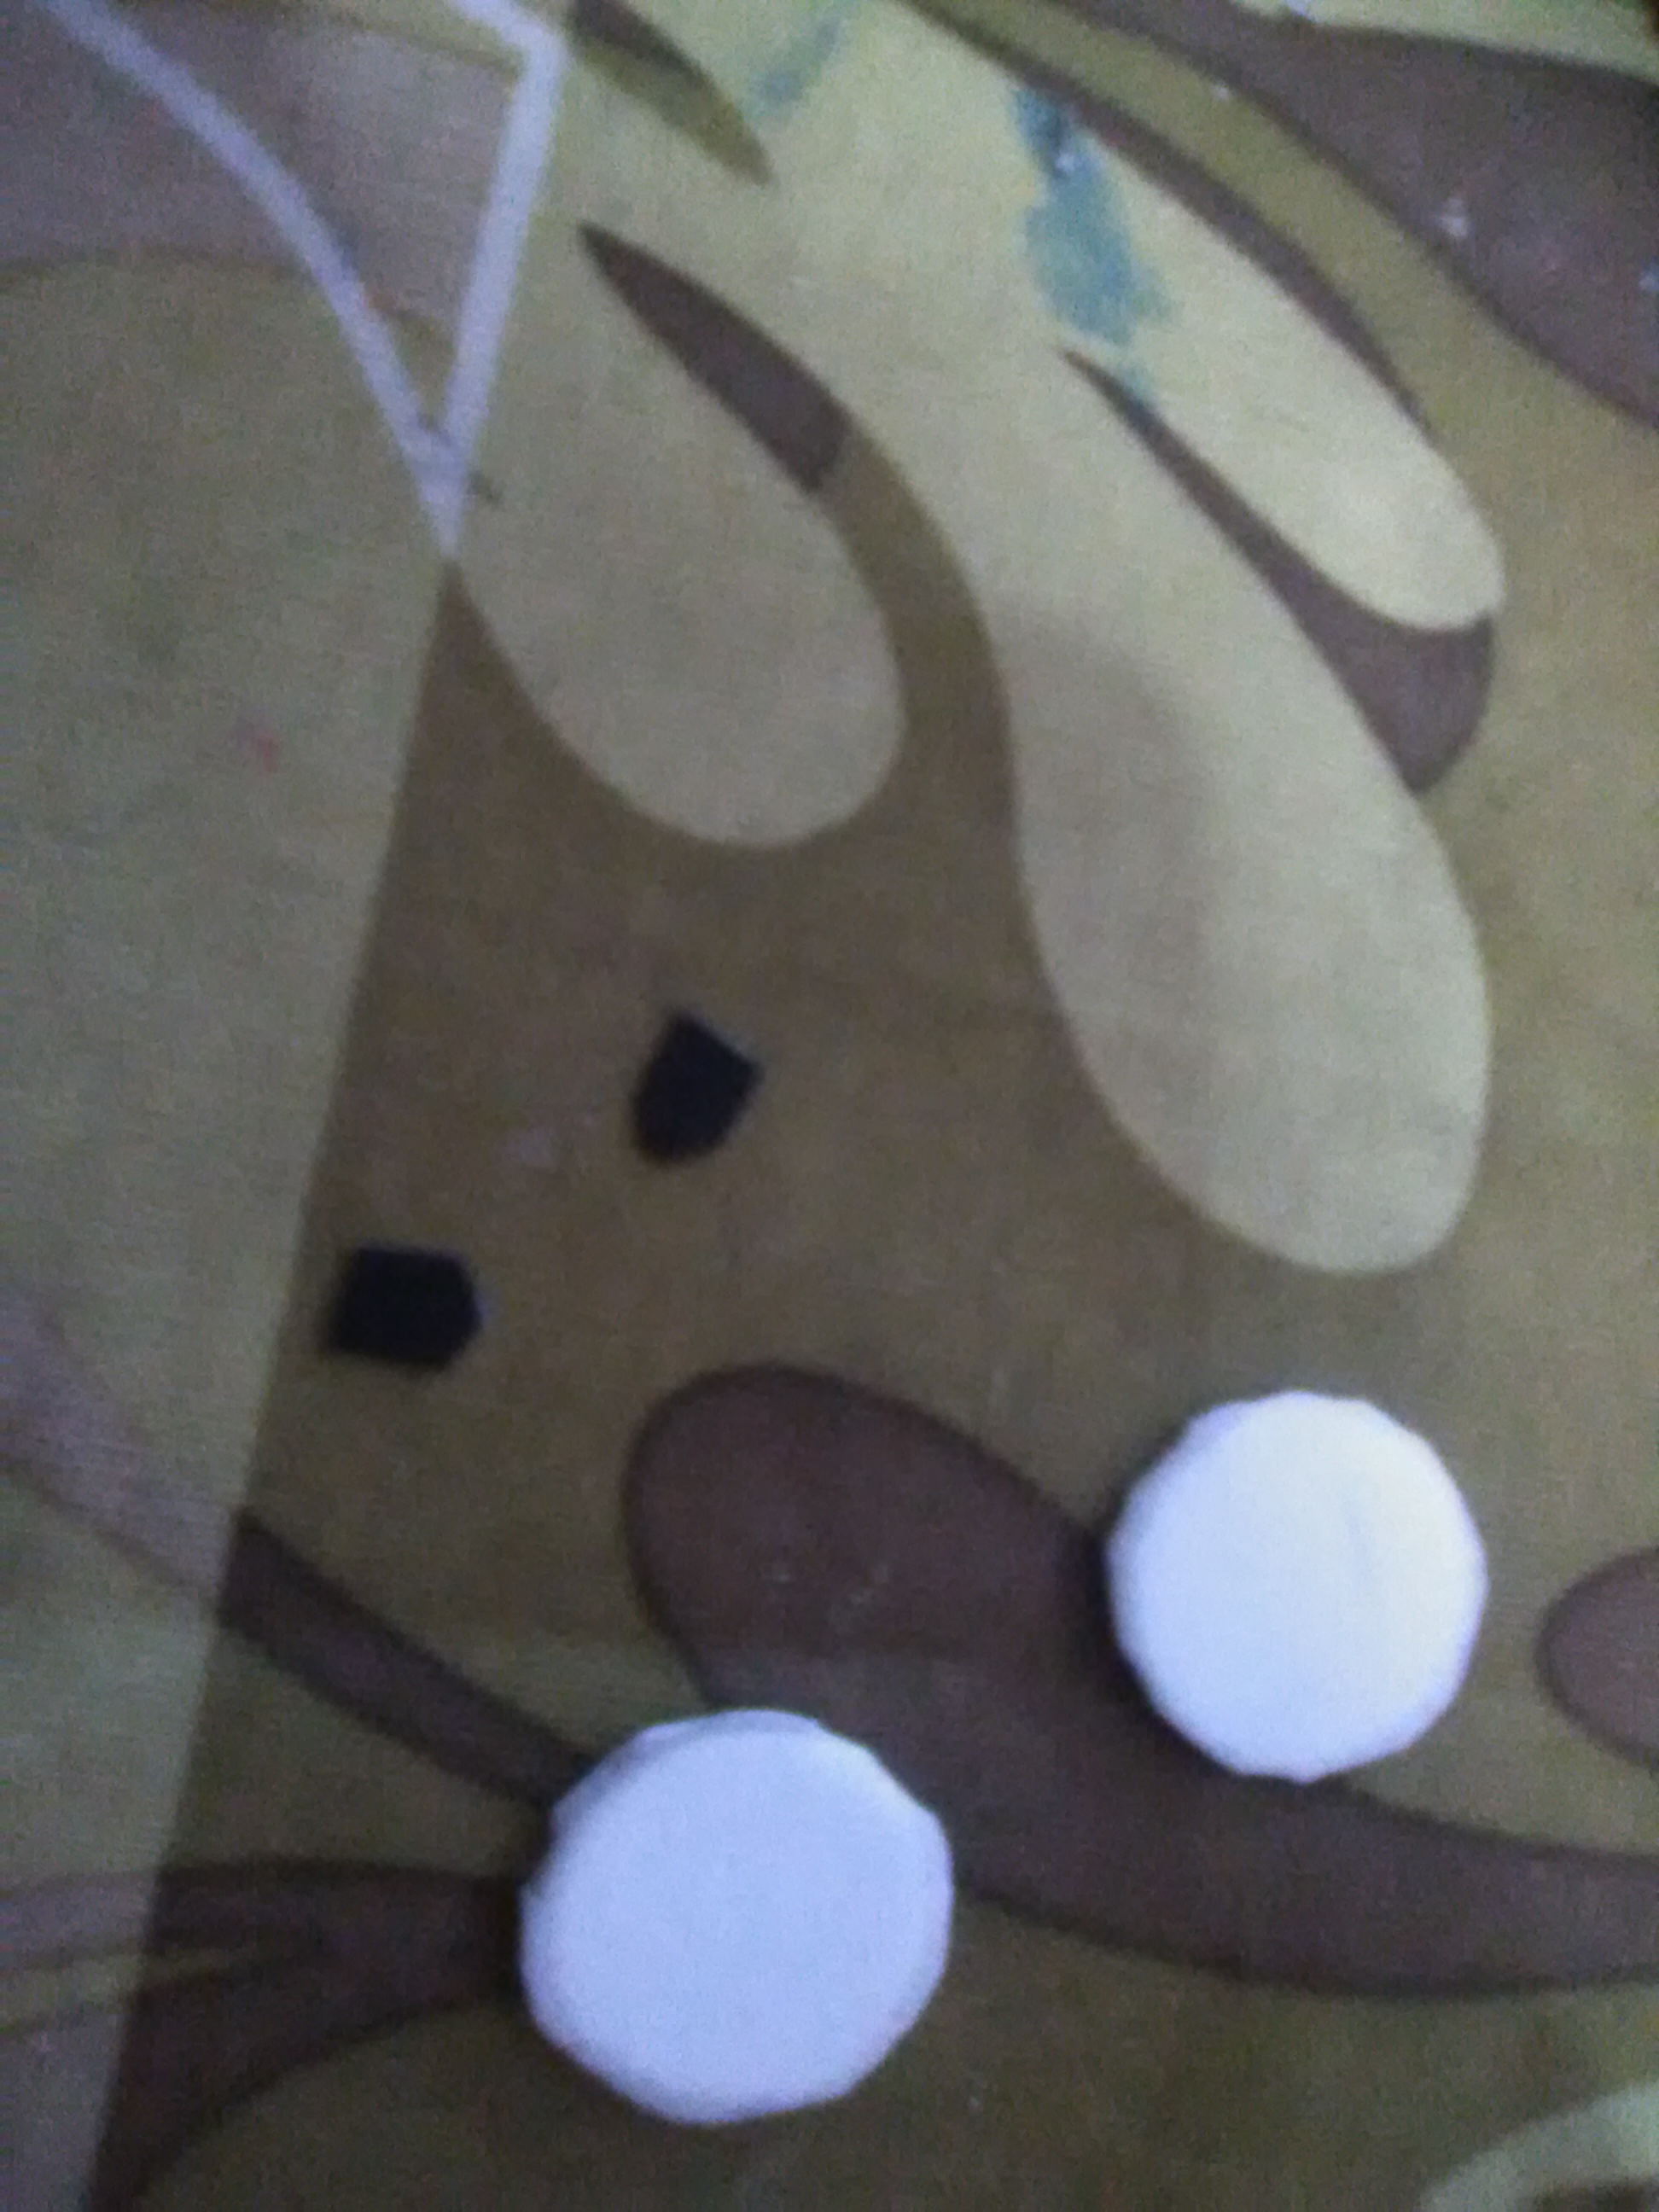
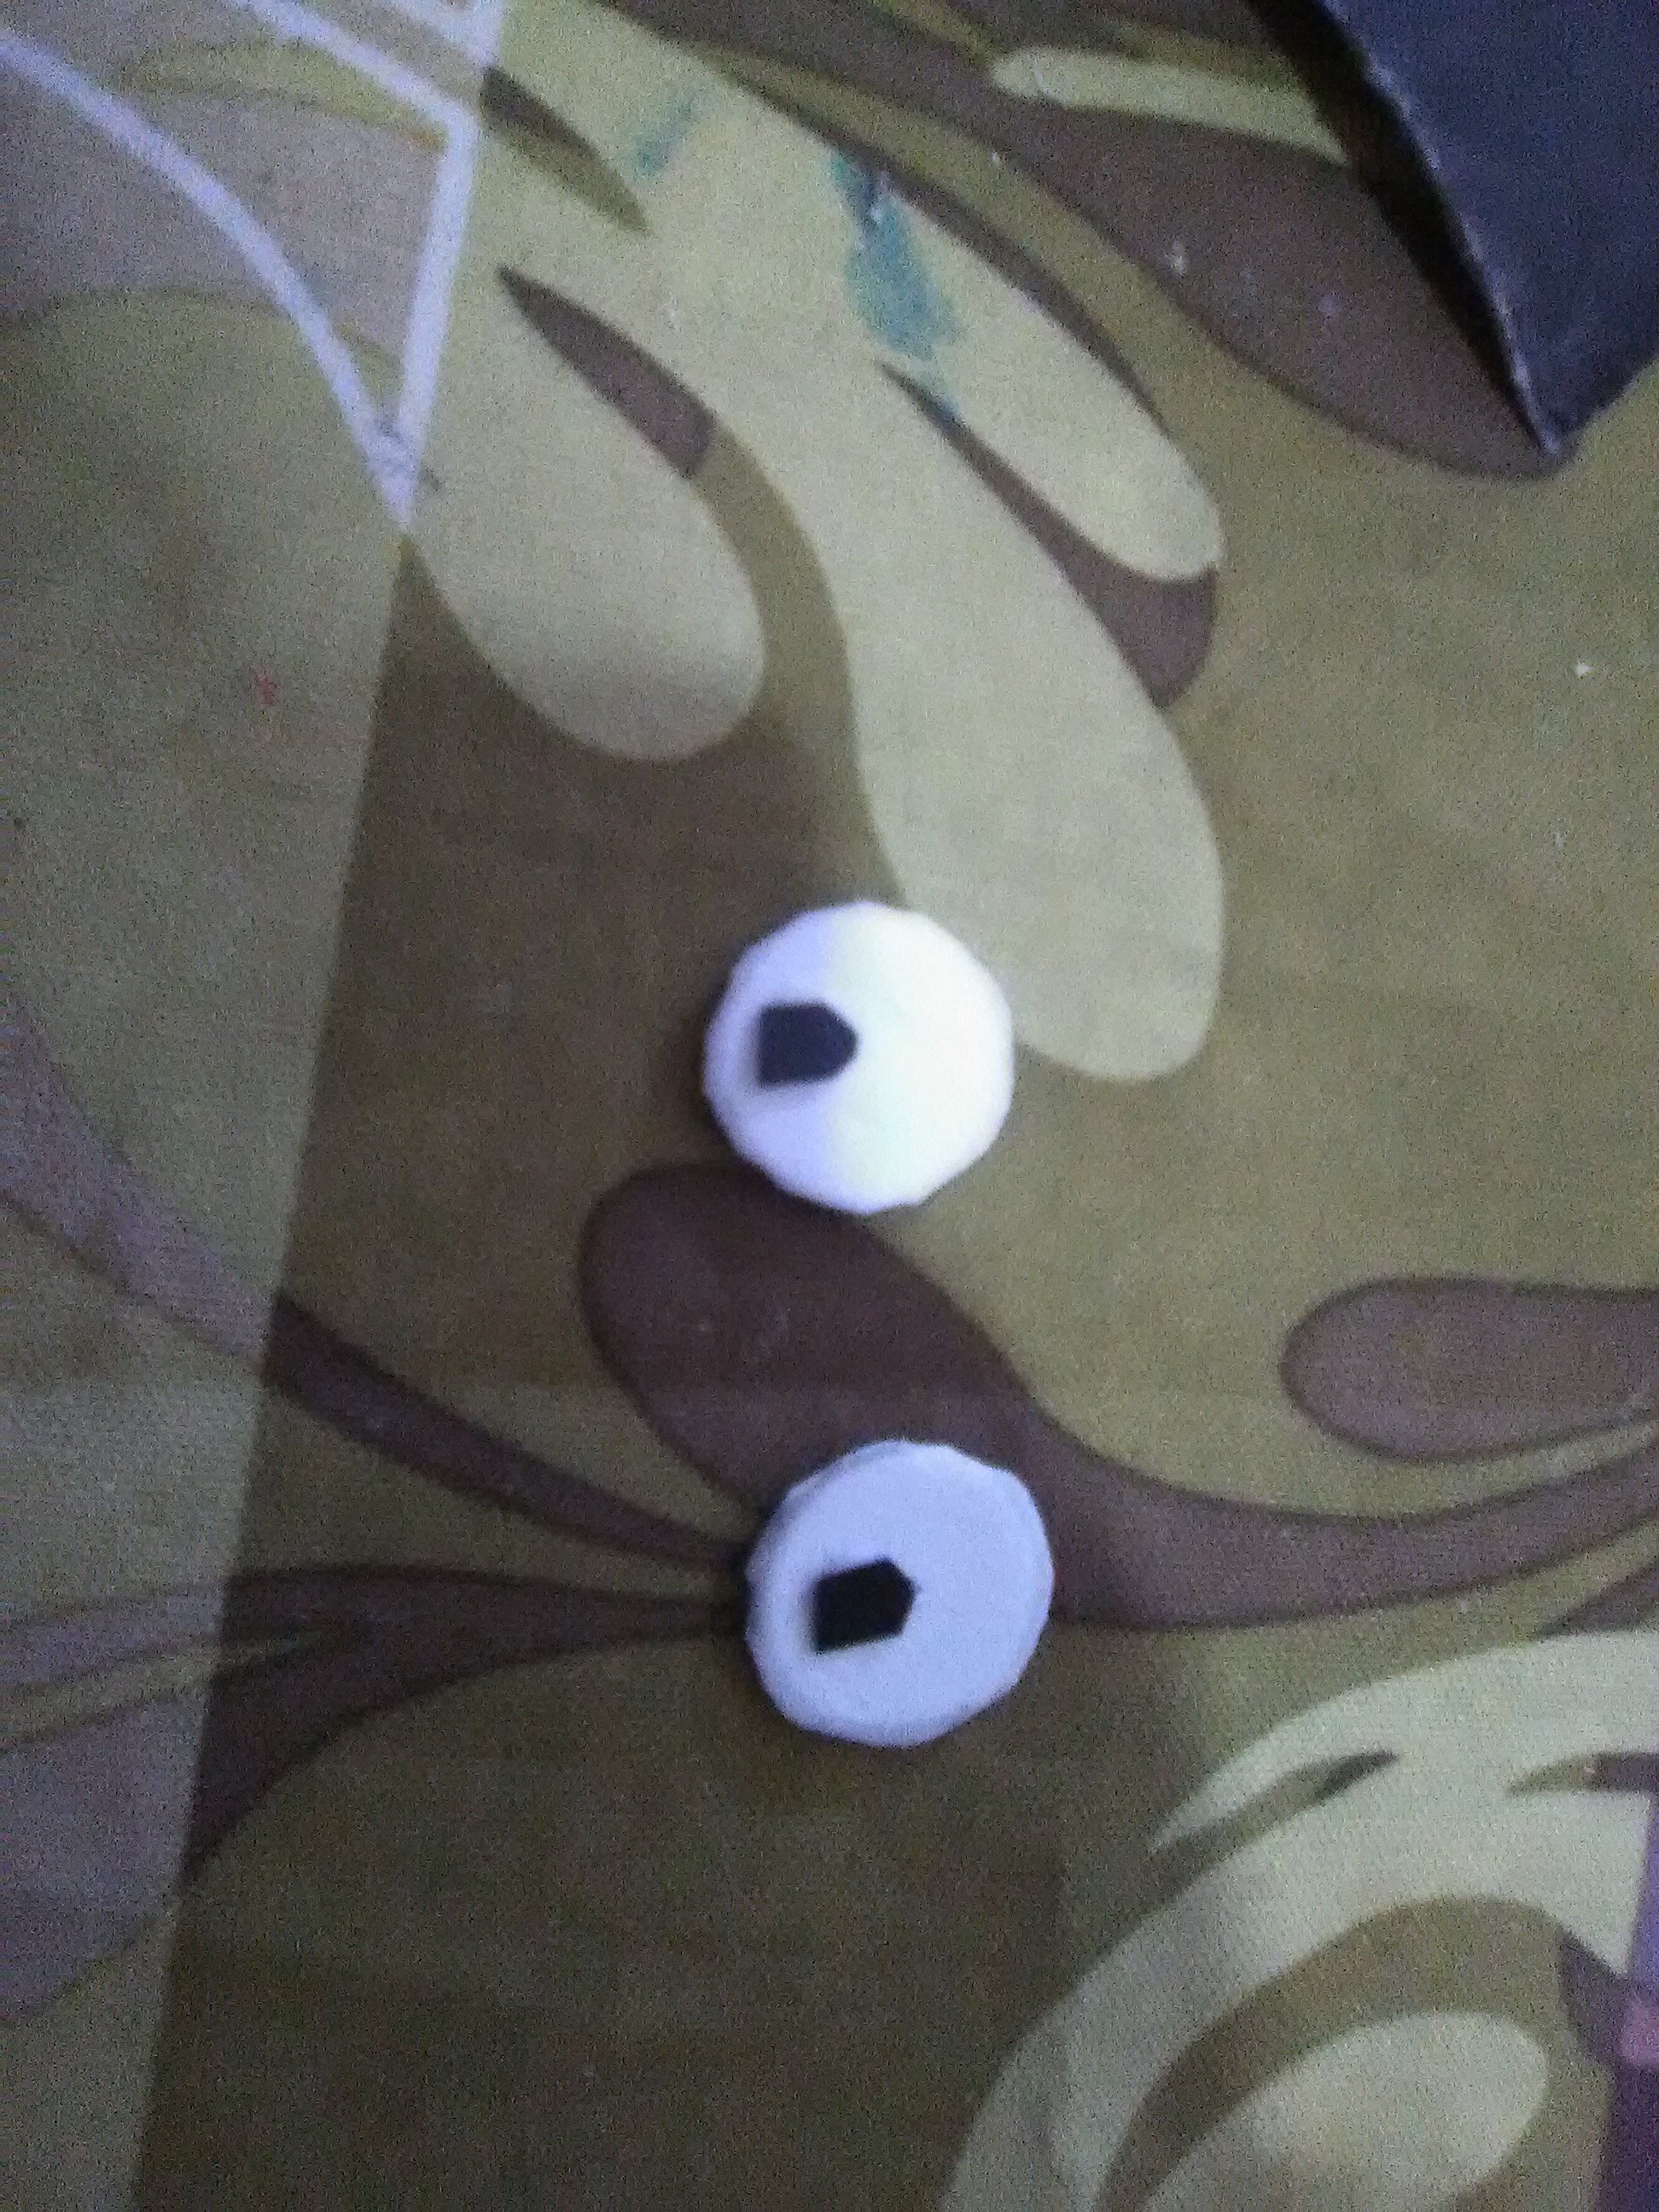
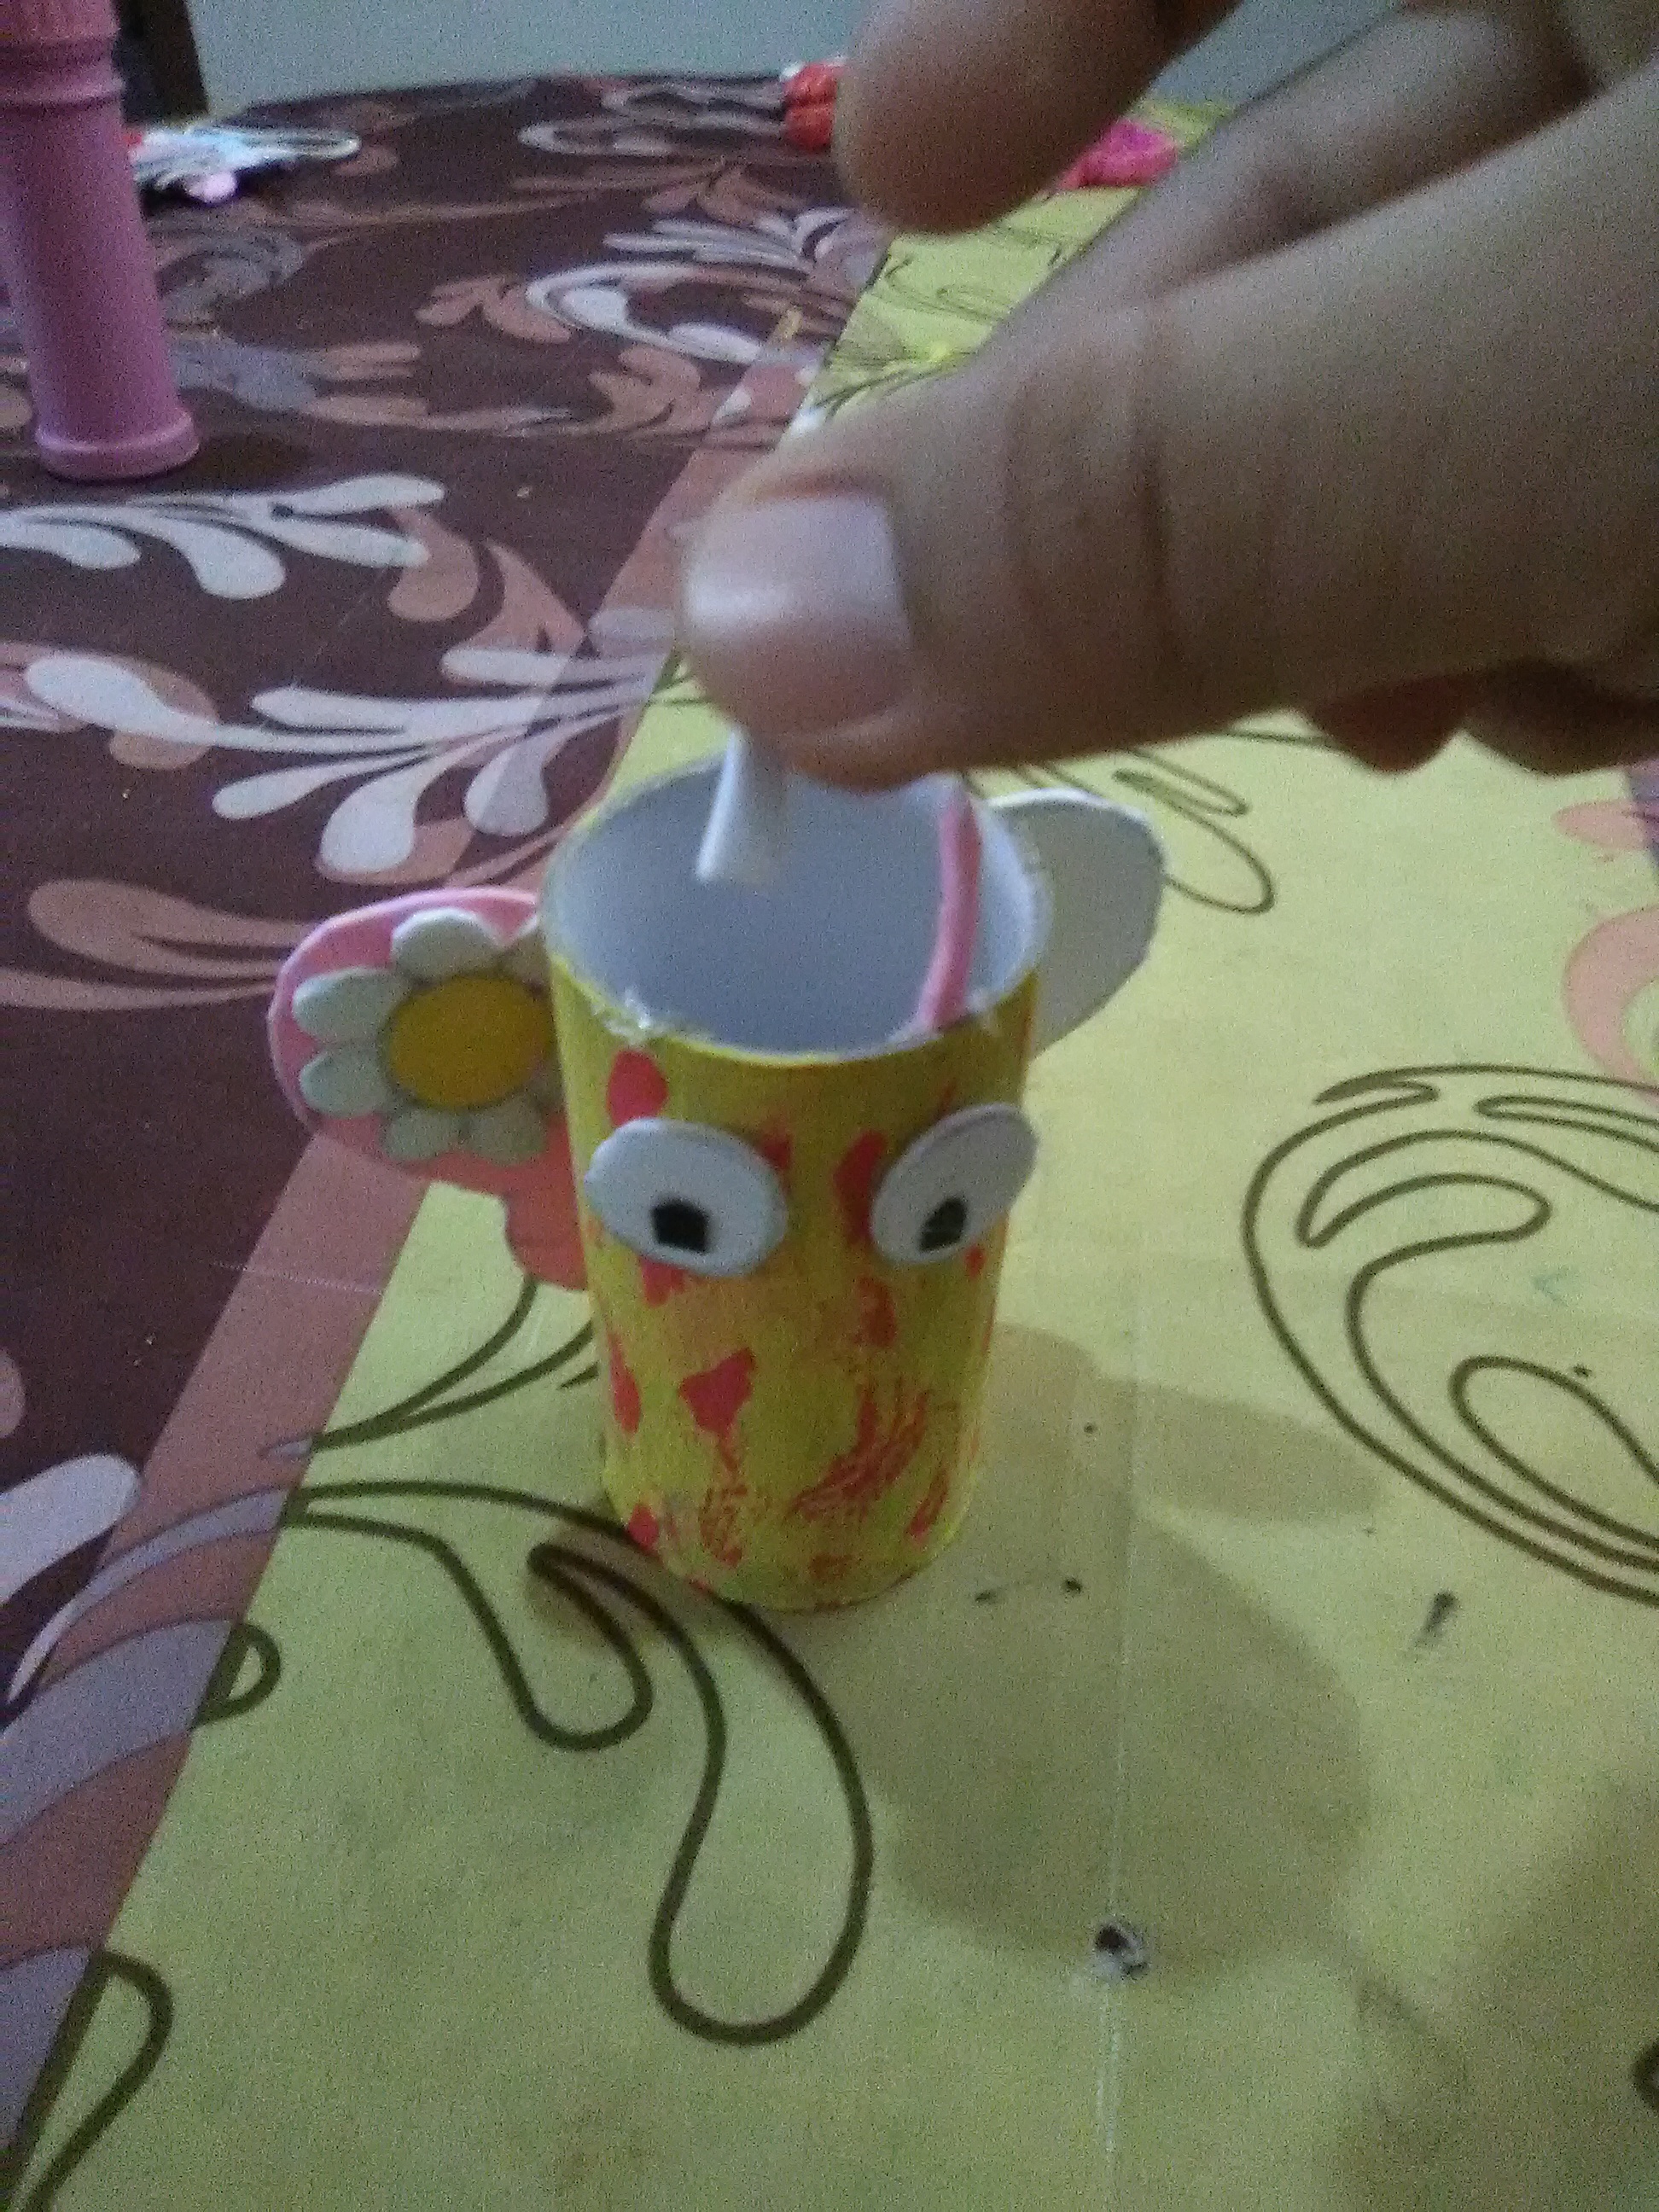
Paso 2:
- Tomamos 2 pedazos de foami blanco para hacer los ojos con ayuda de un centavo
Step 2:
- We take 2 pieces of white foami to make the eyes with the help of a penny.
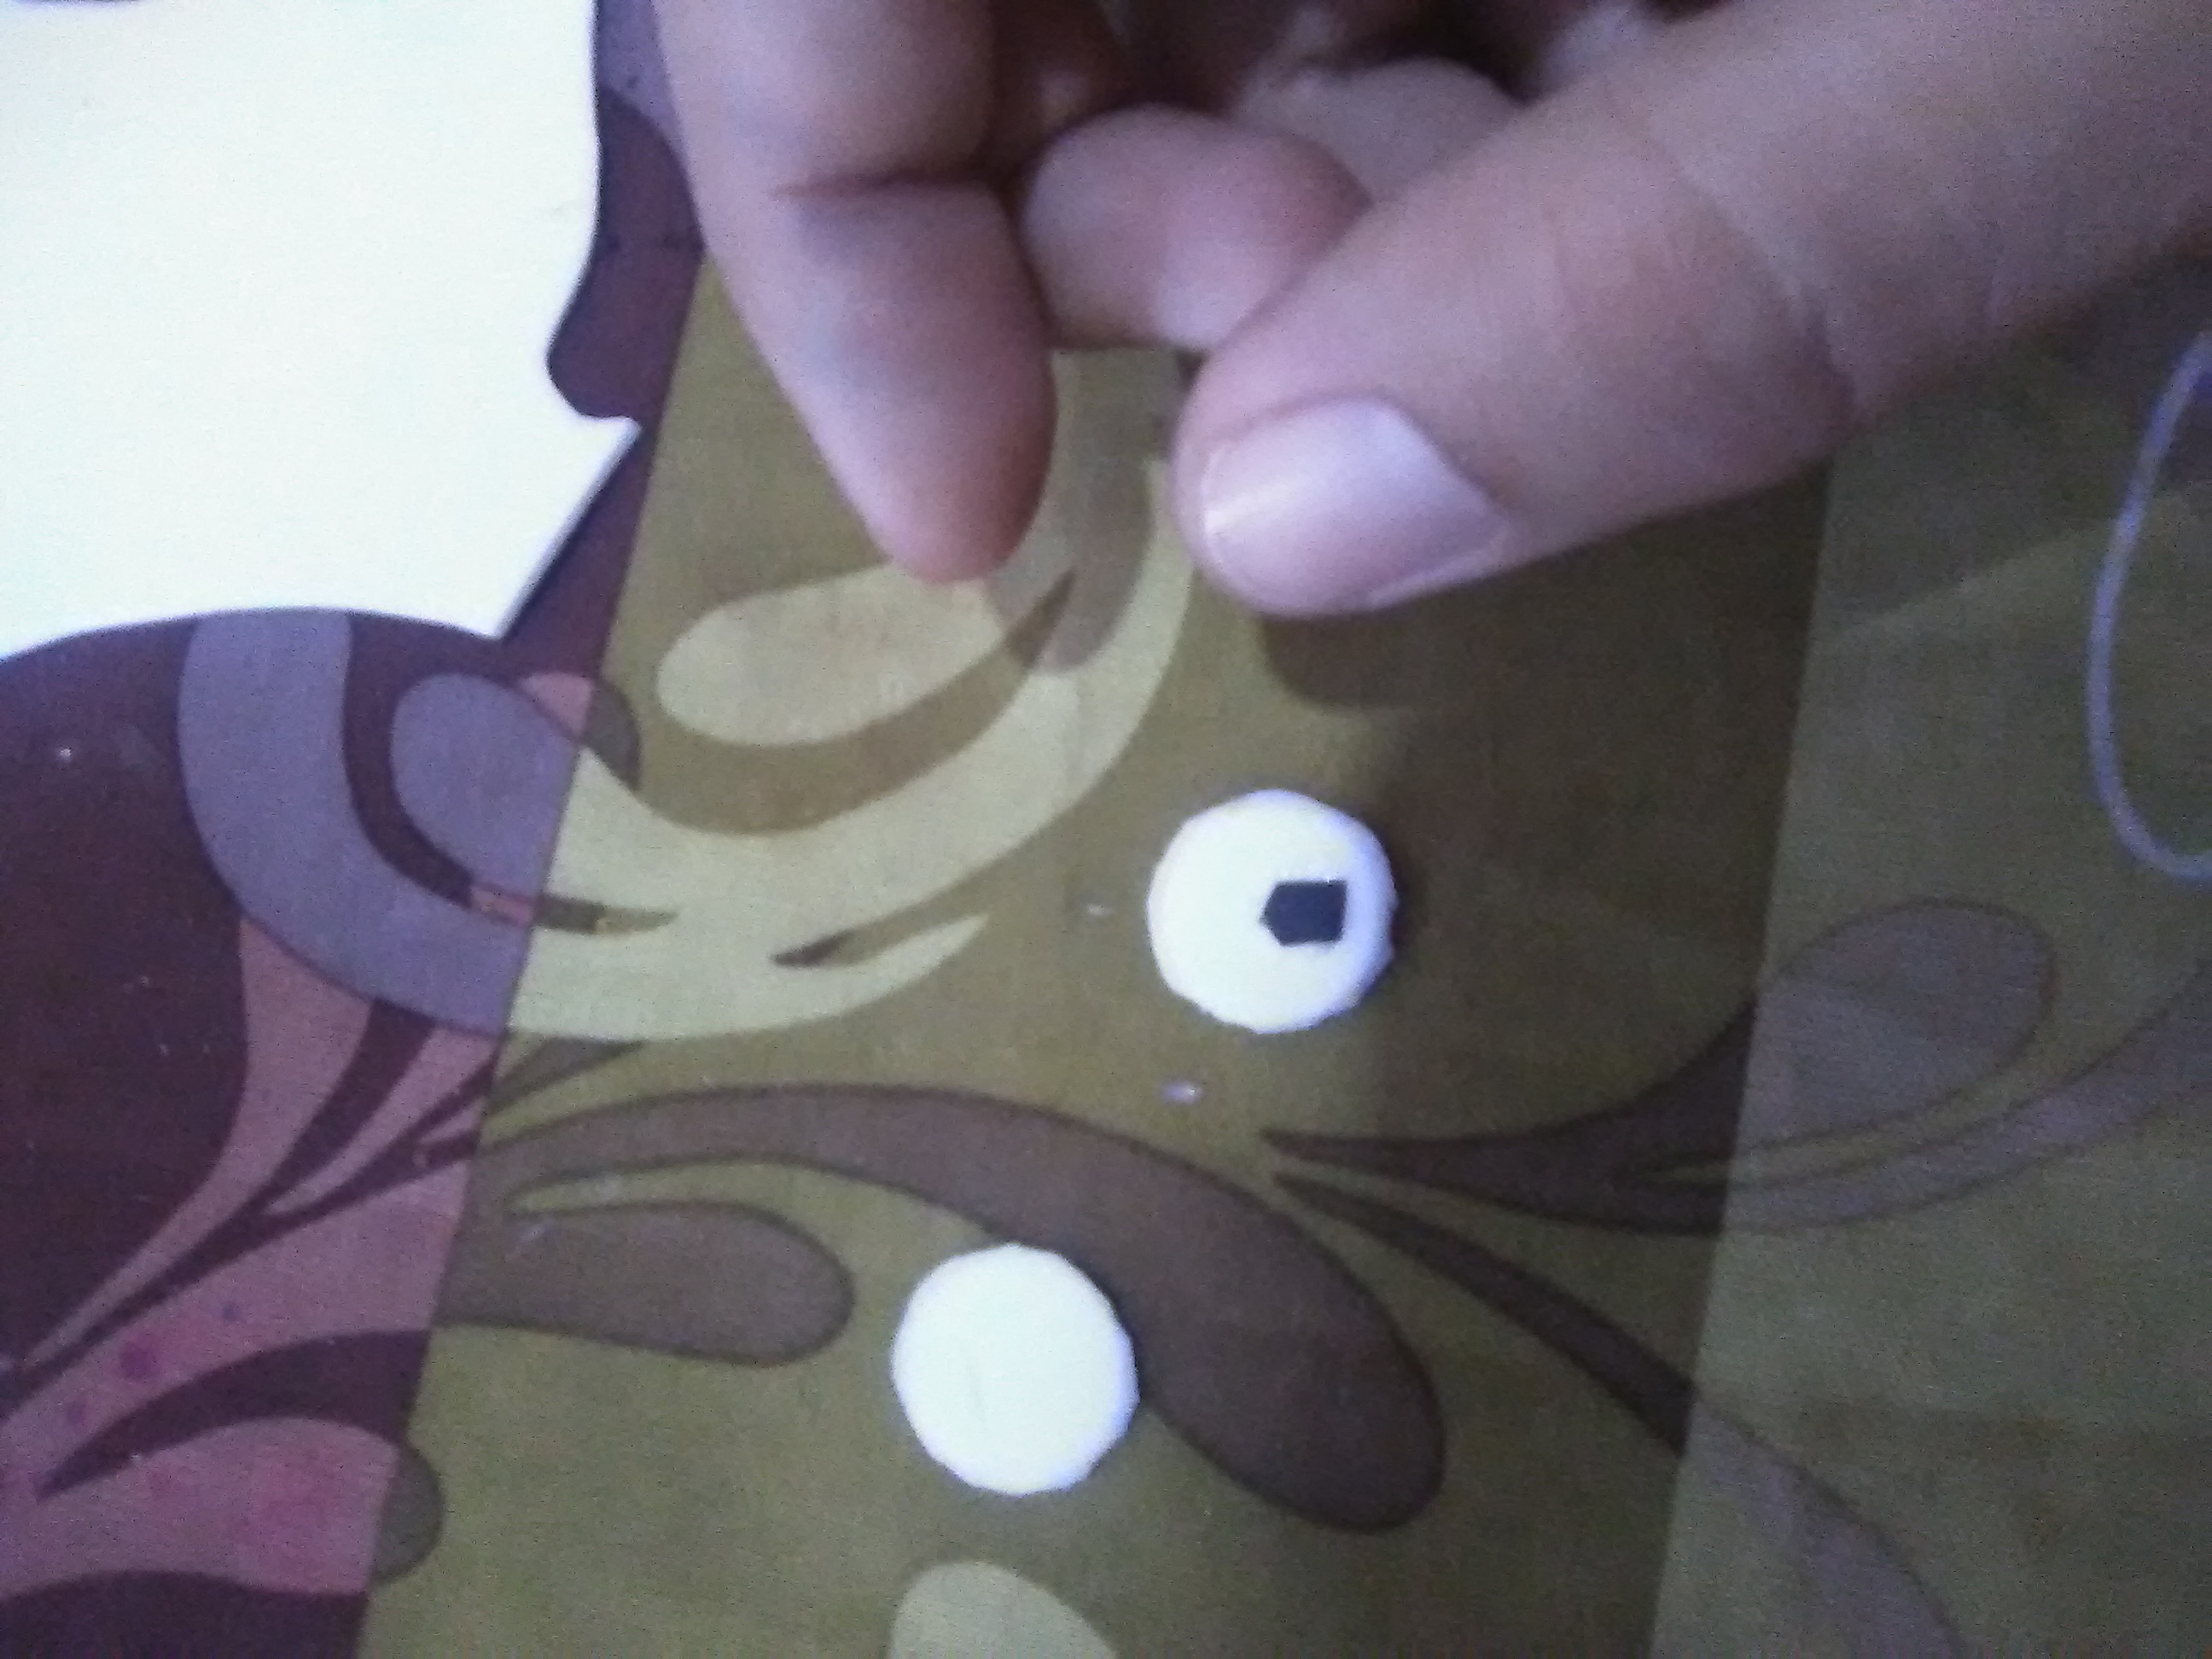
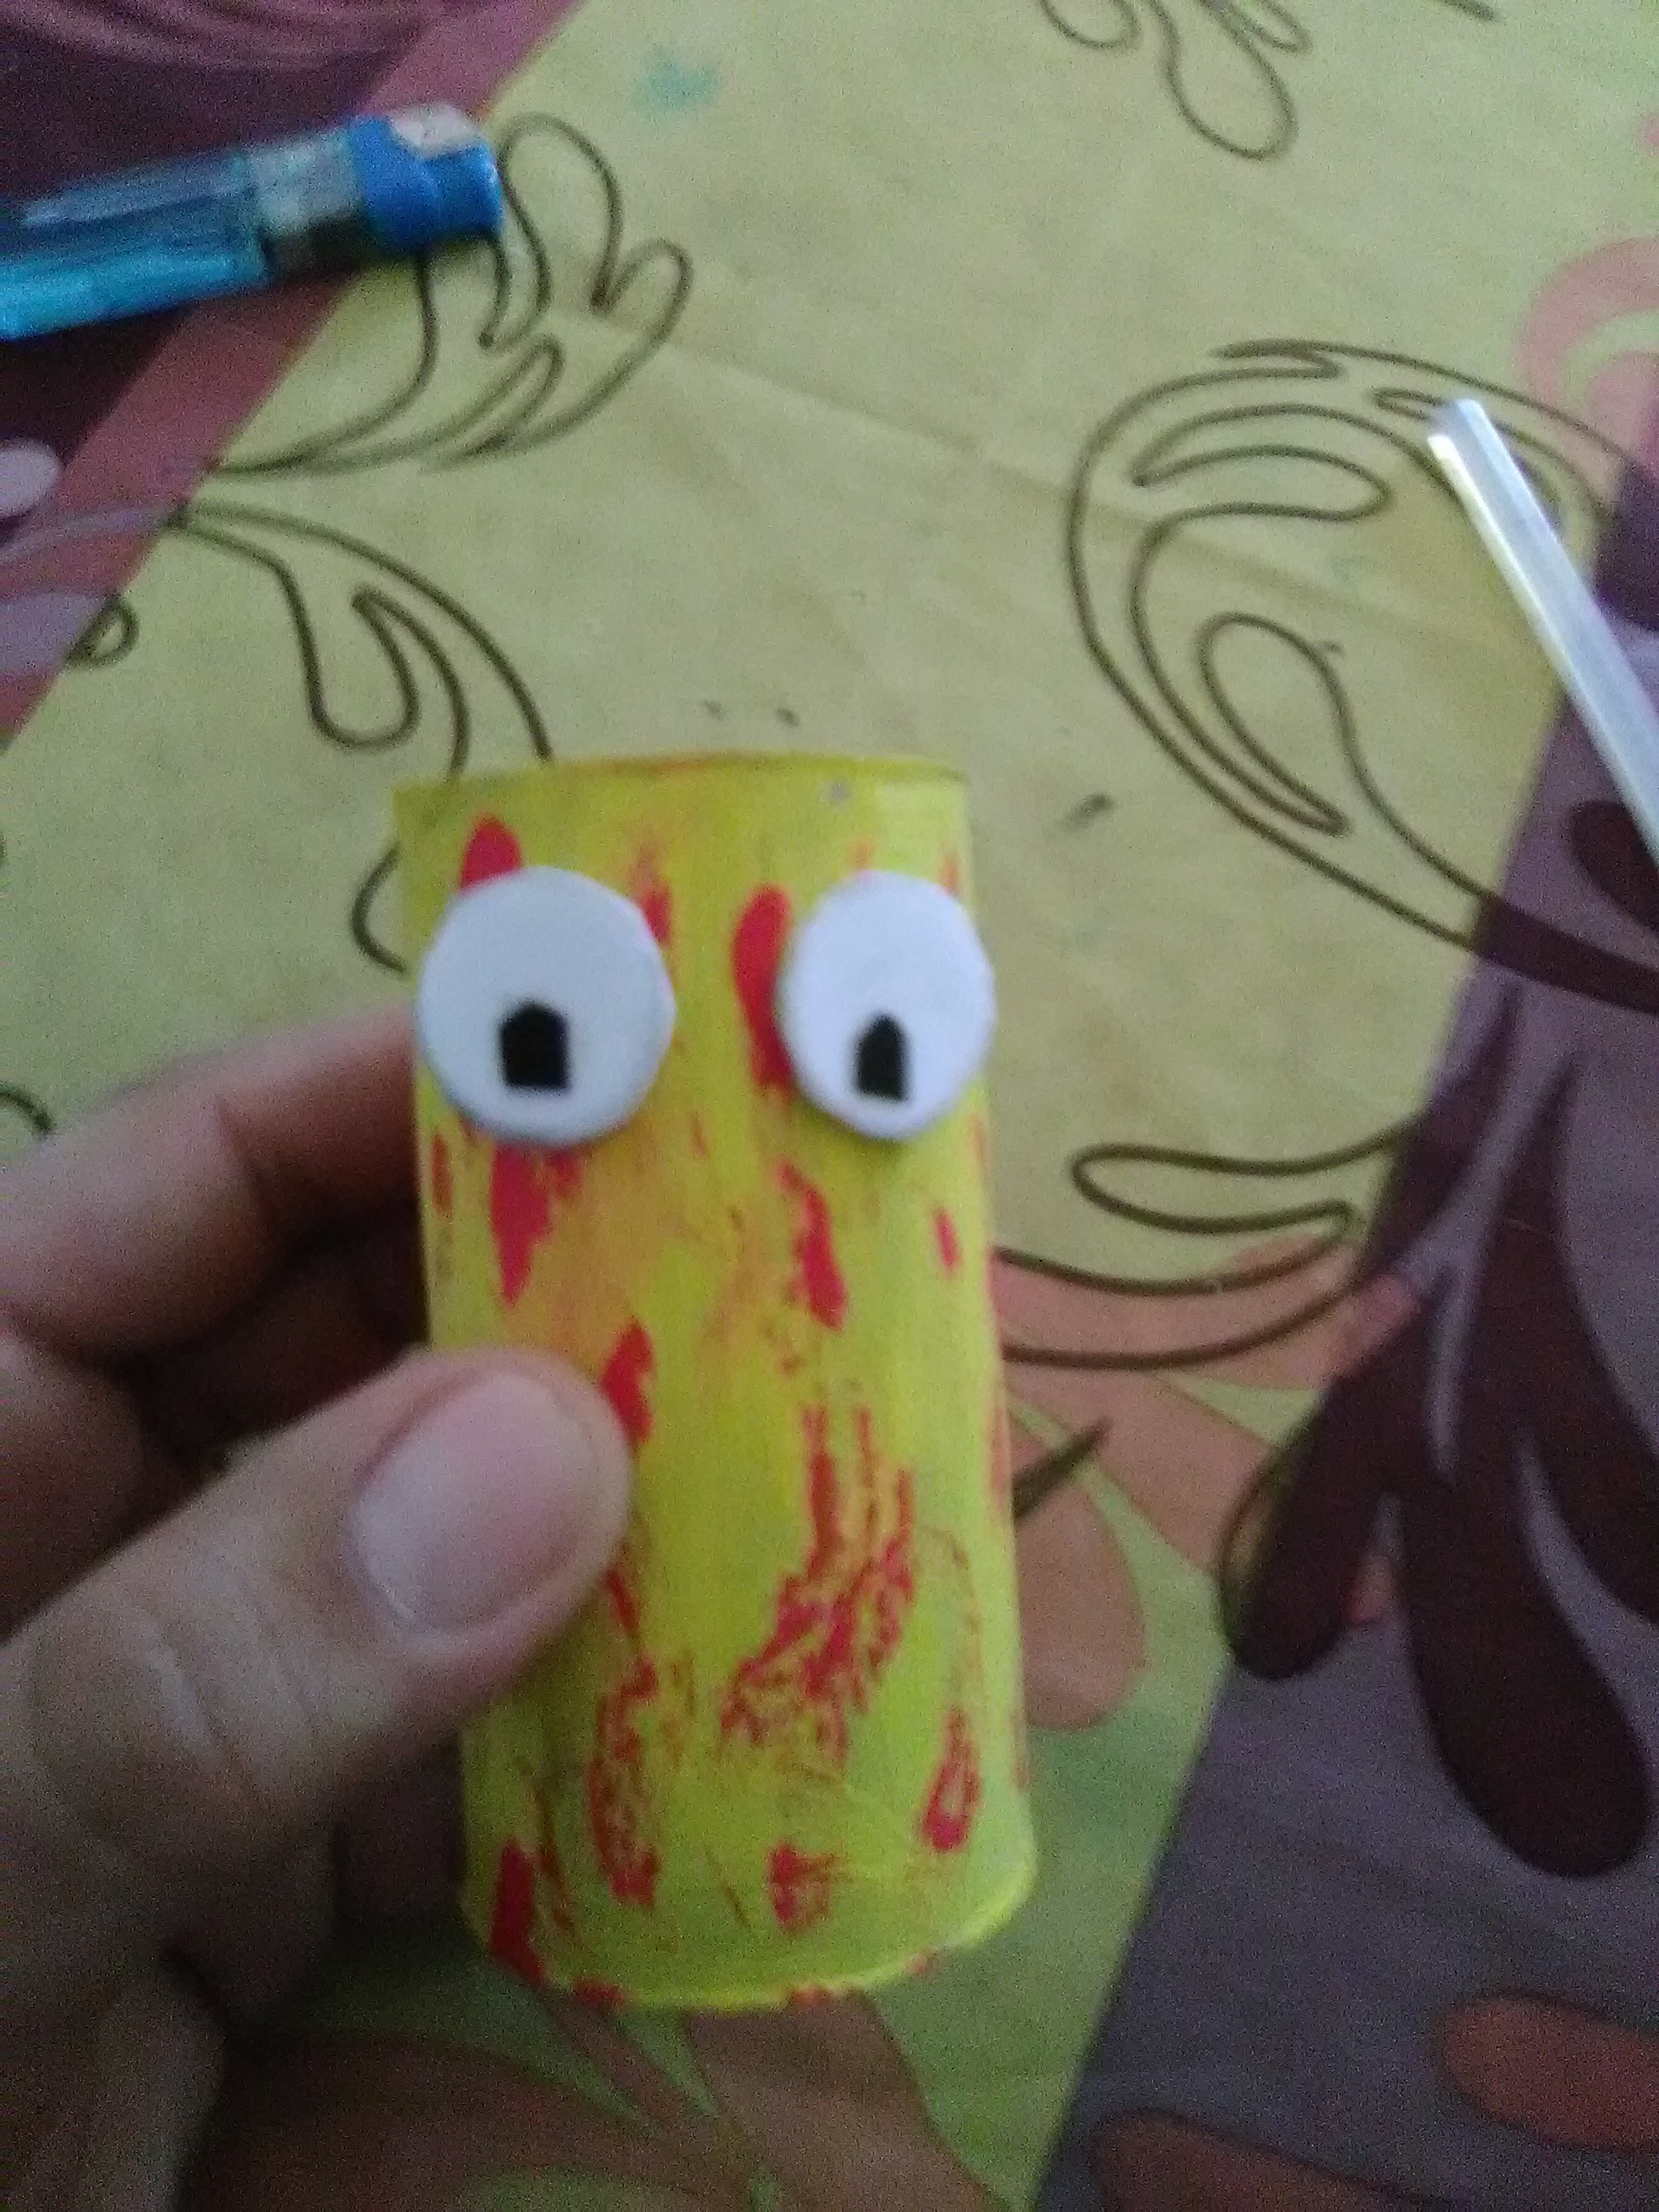
Paso 3:
- Con silicona pegamos los ojos al cilindro de cartón
Step 3:
- With silicone we glue the eyes to the cardboard cylinder.
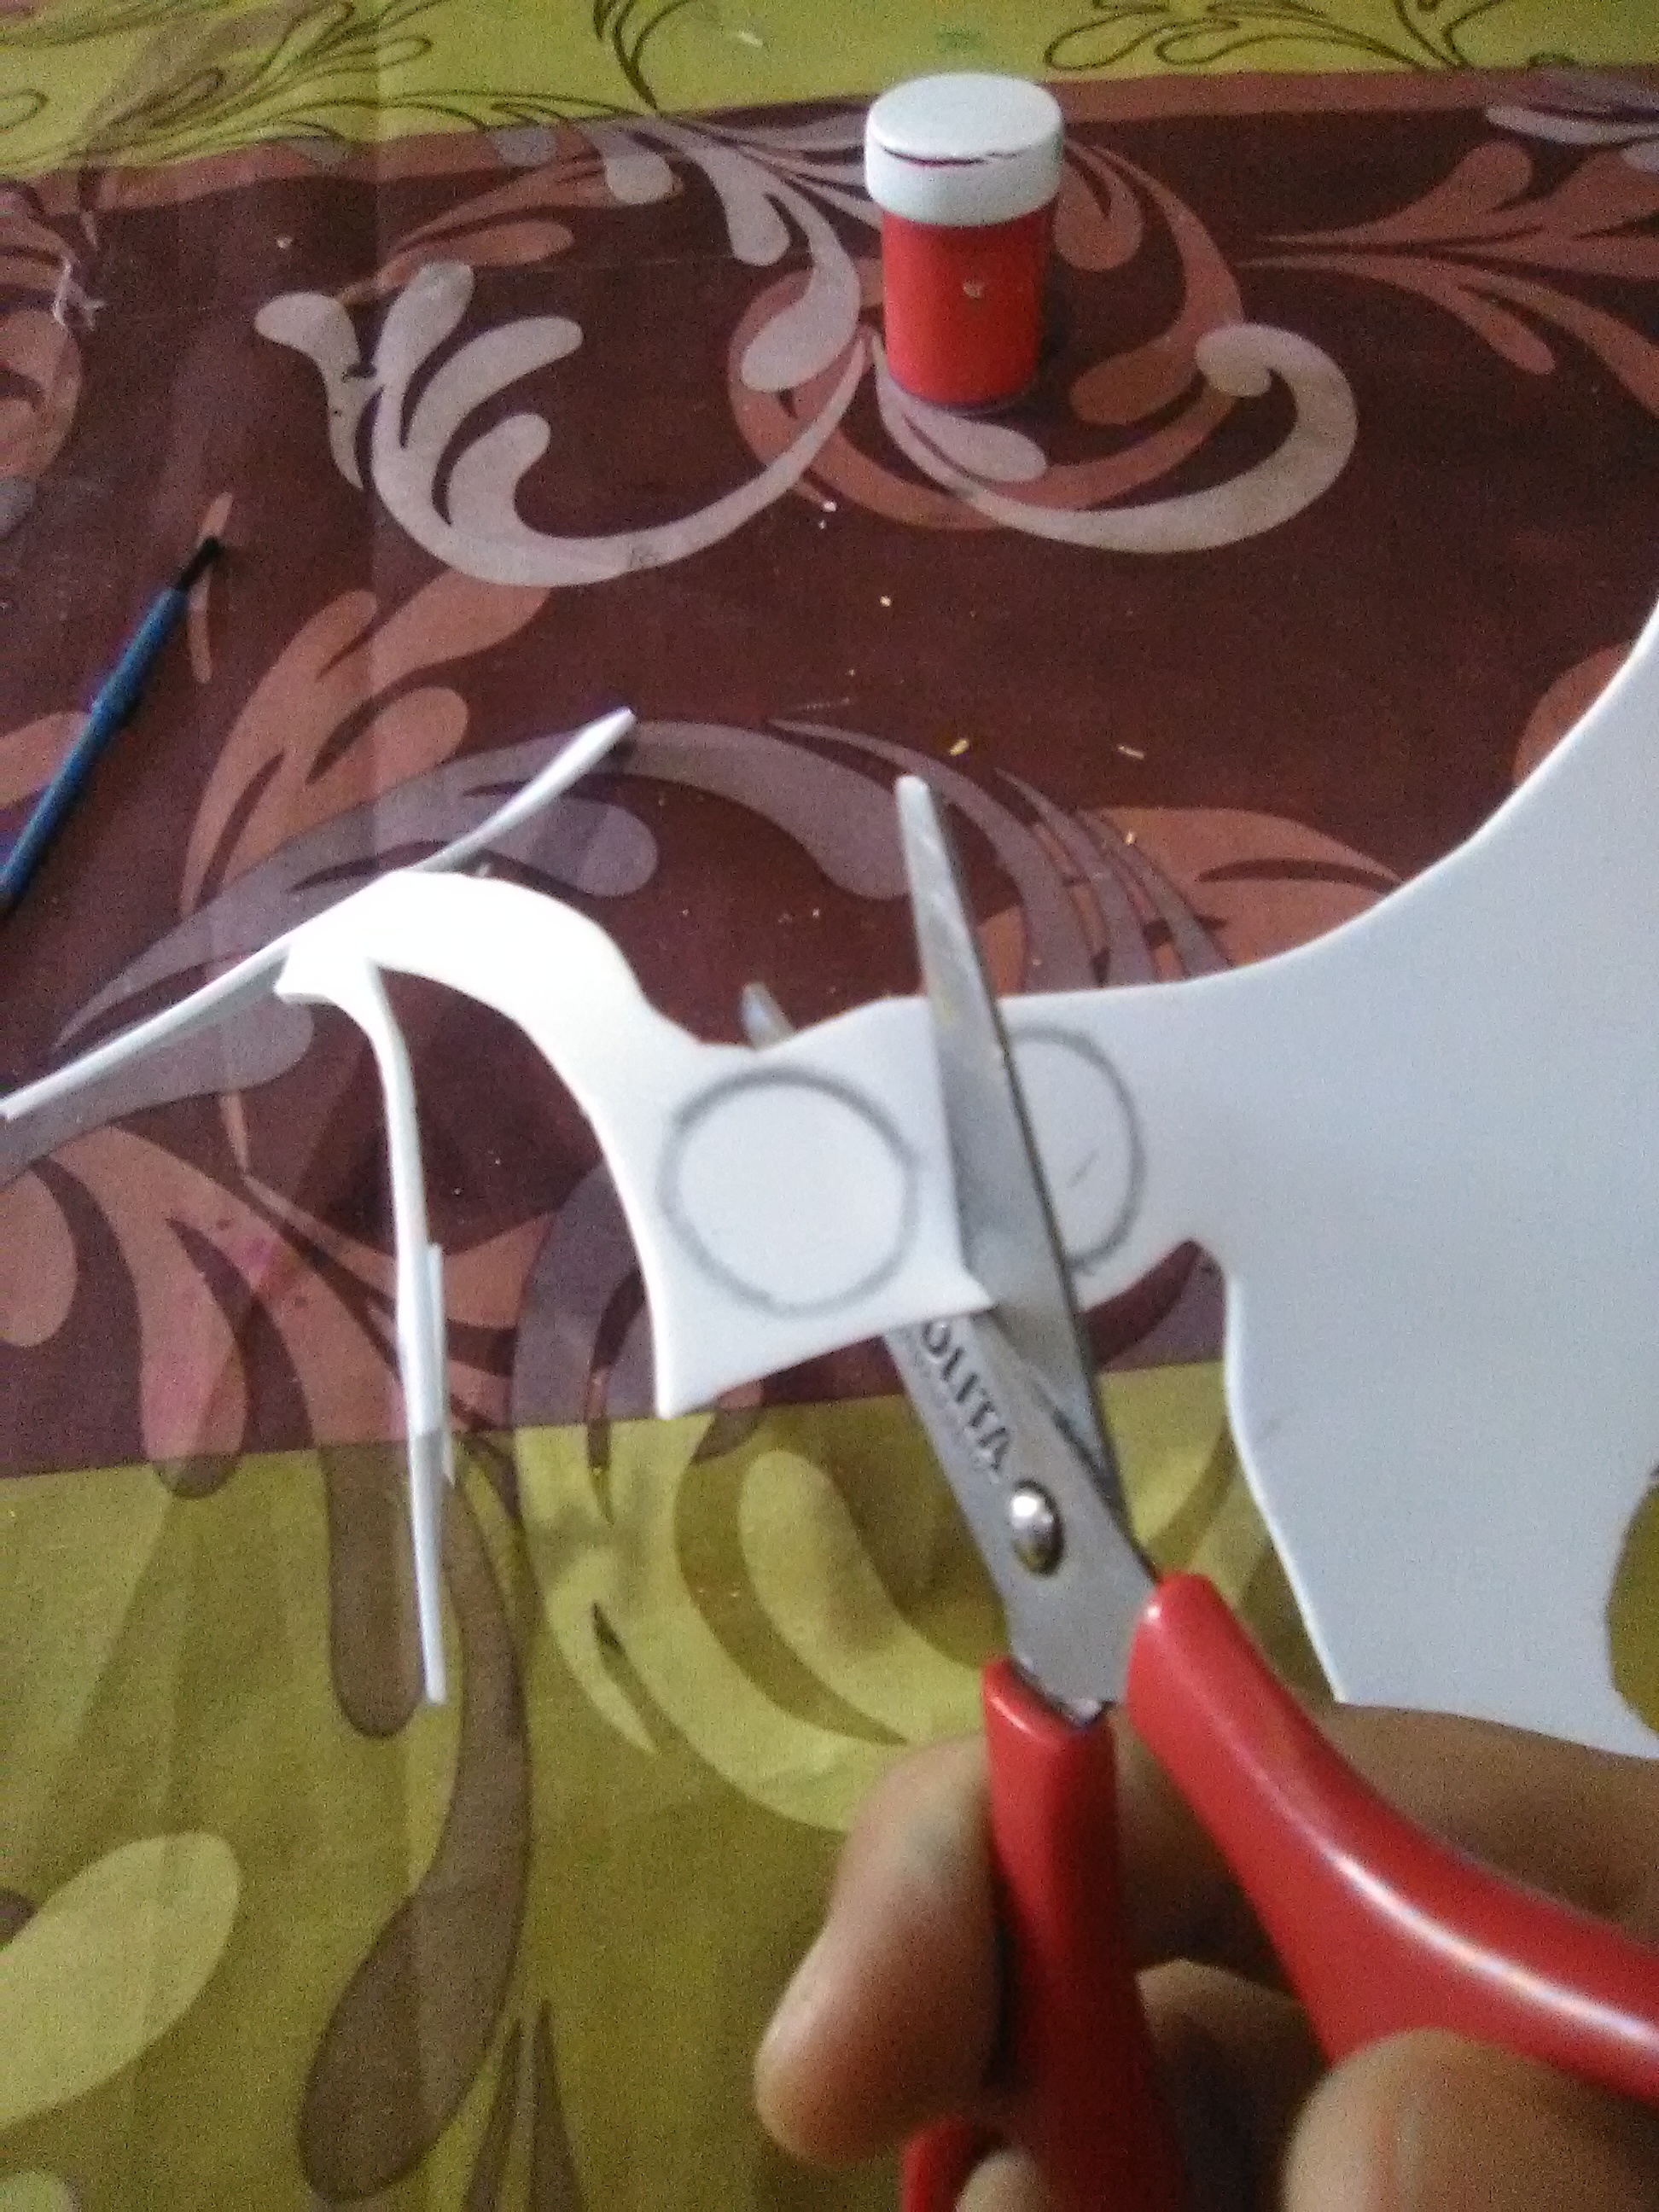
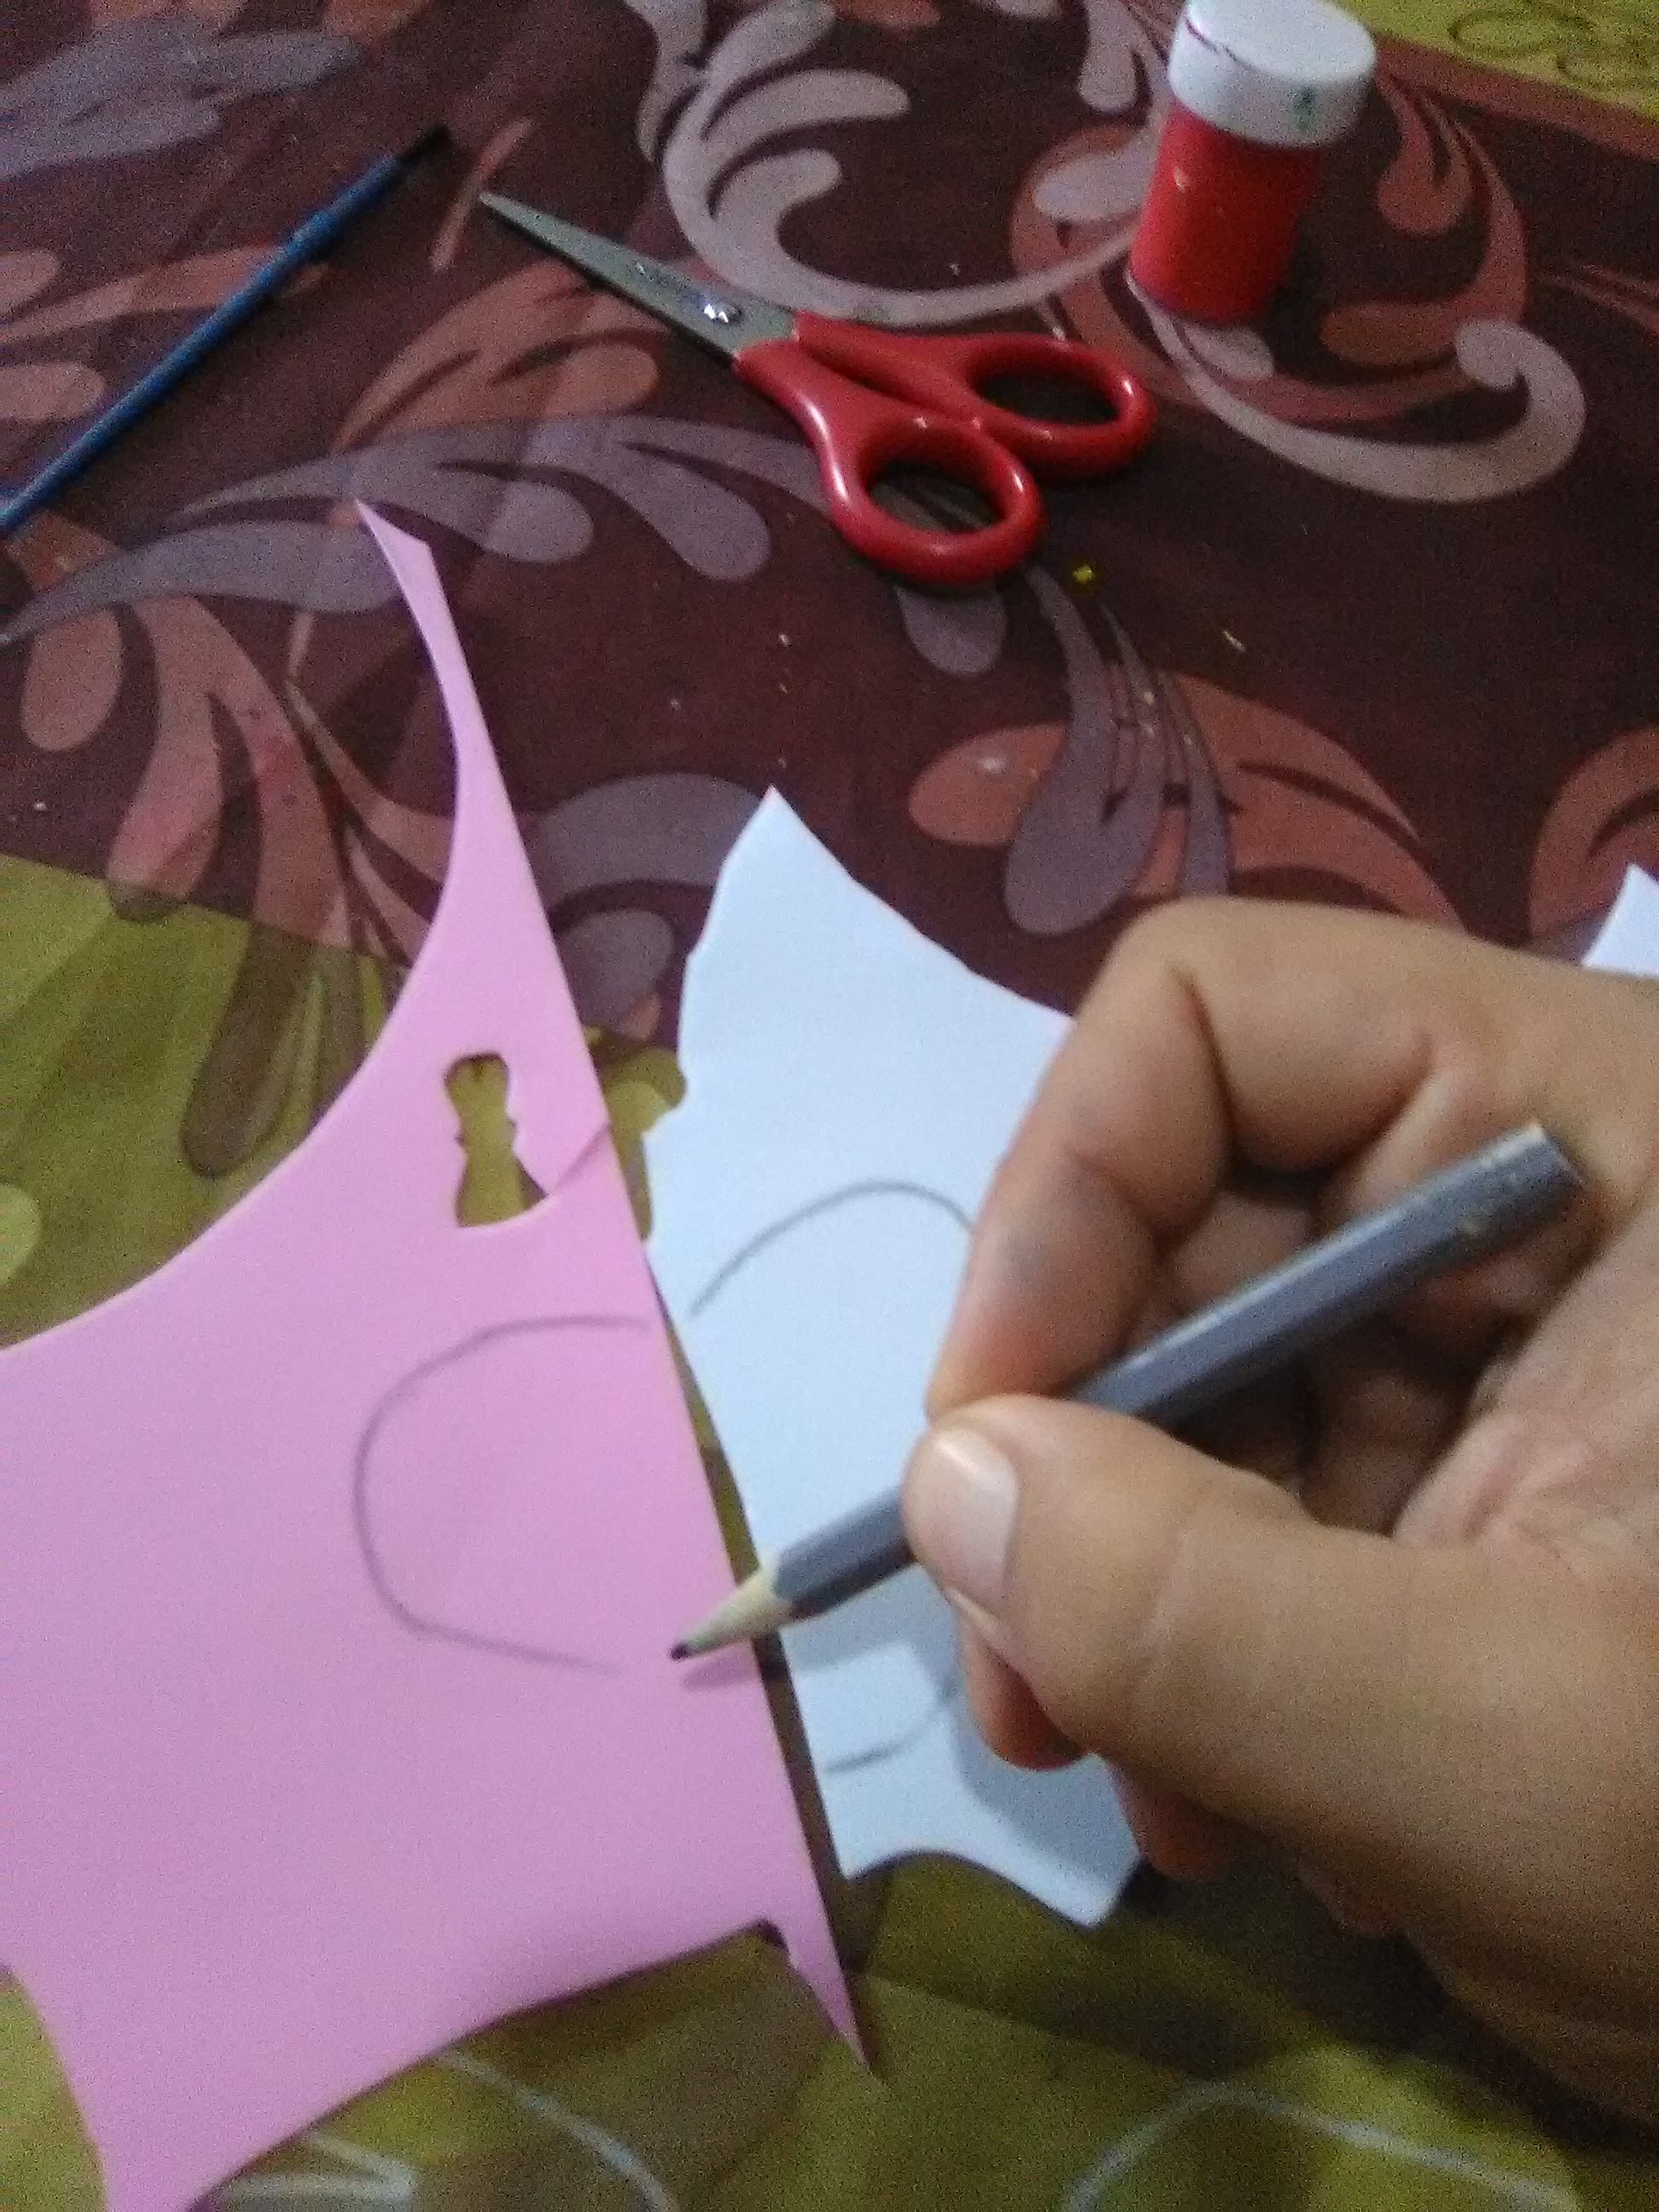
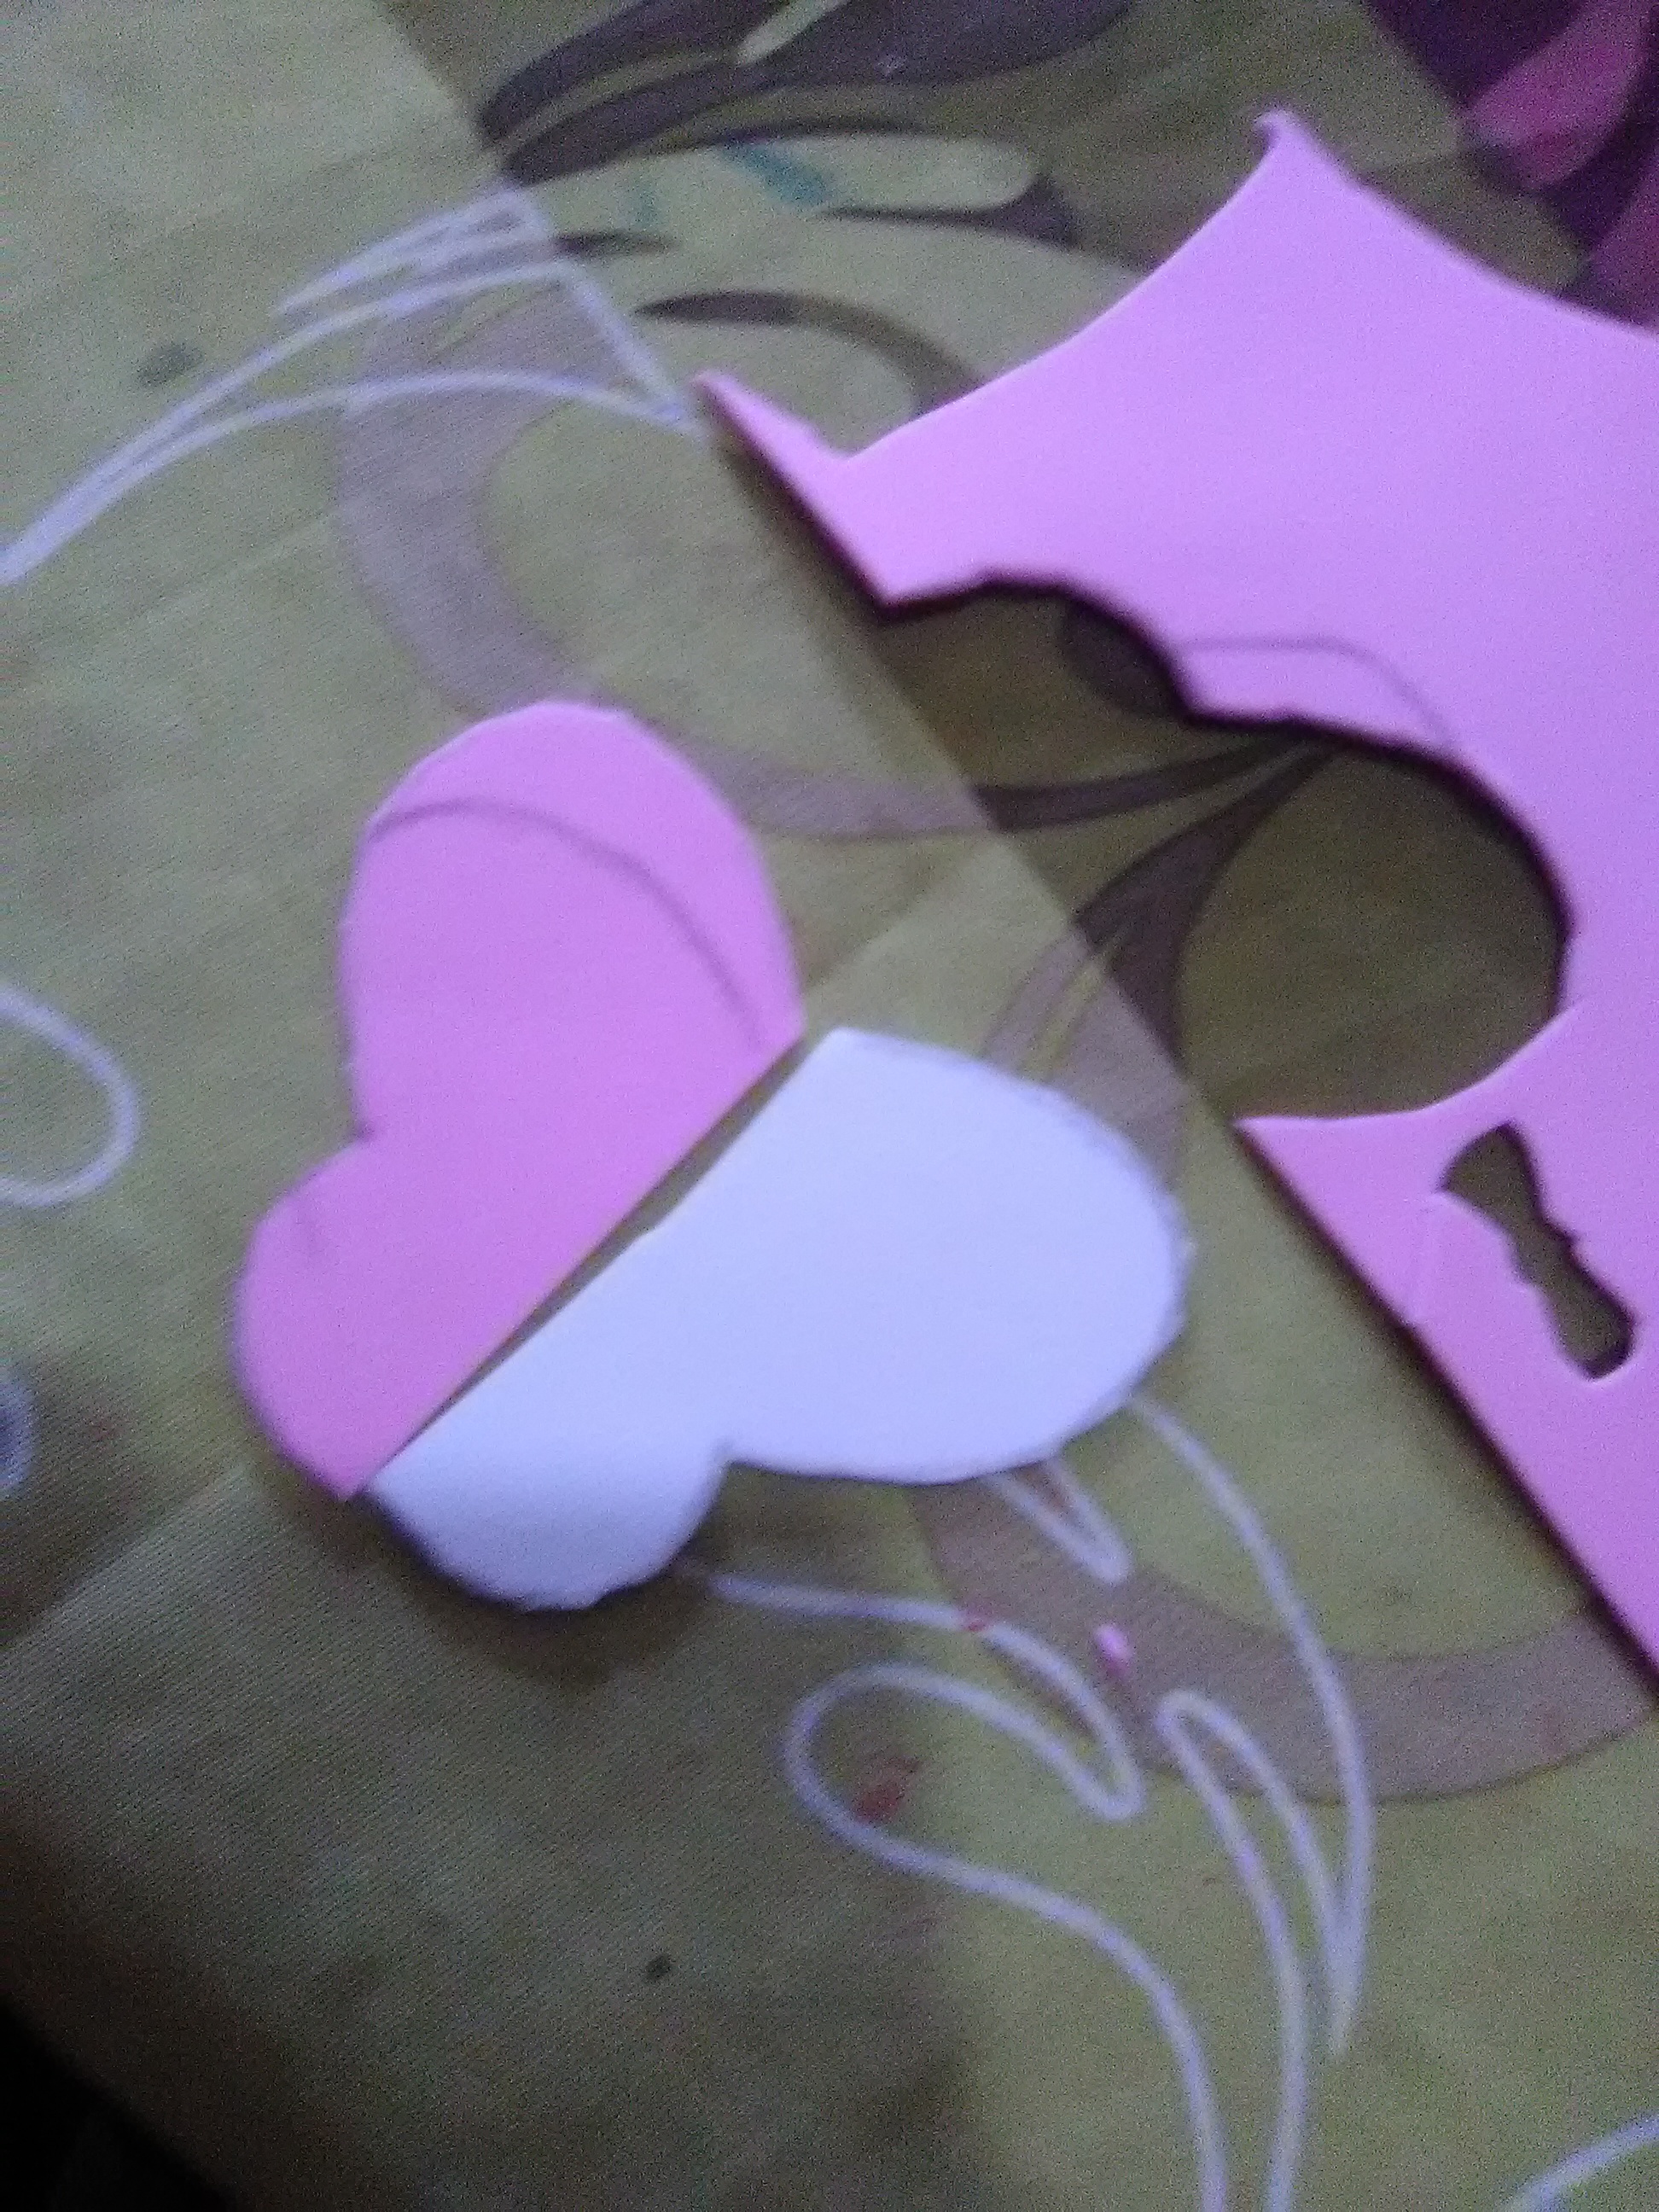
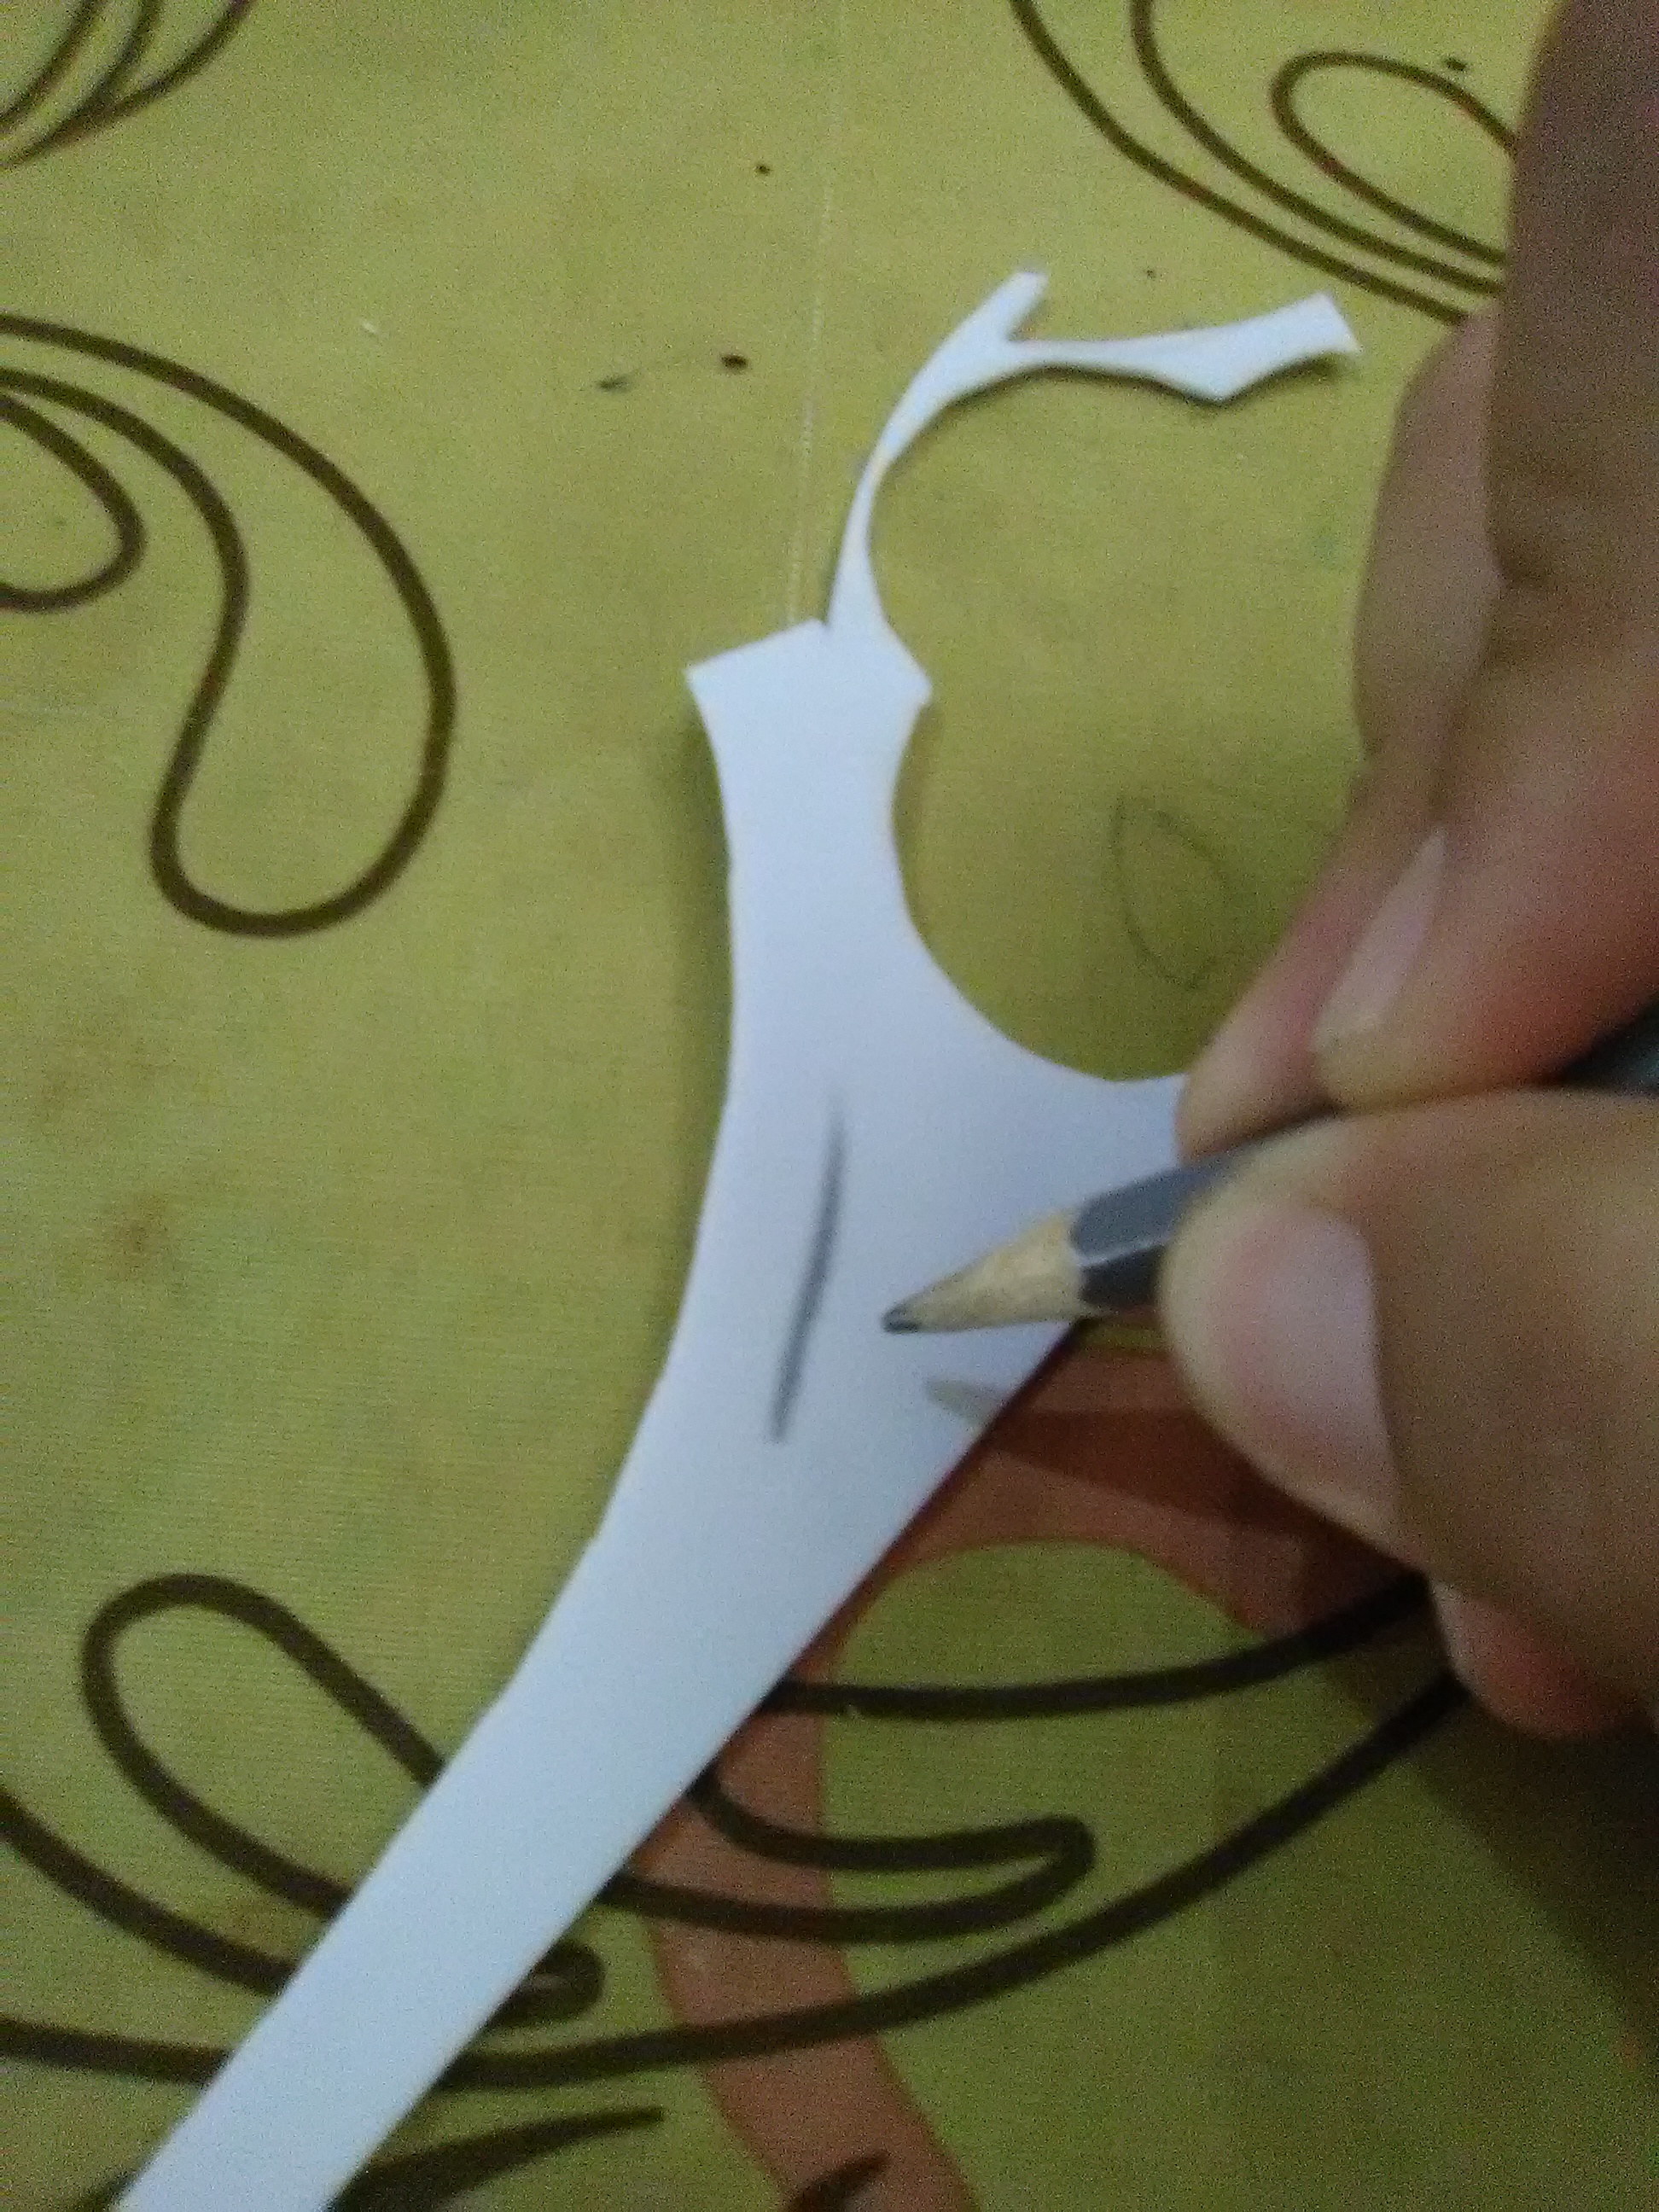
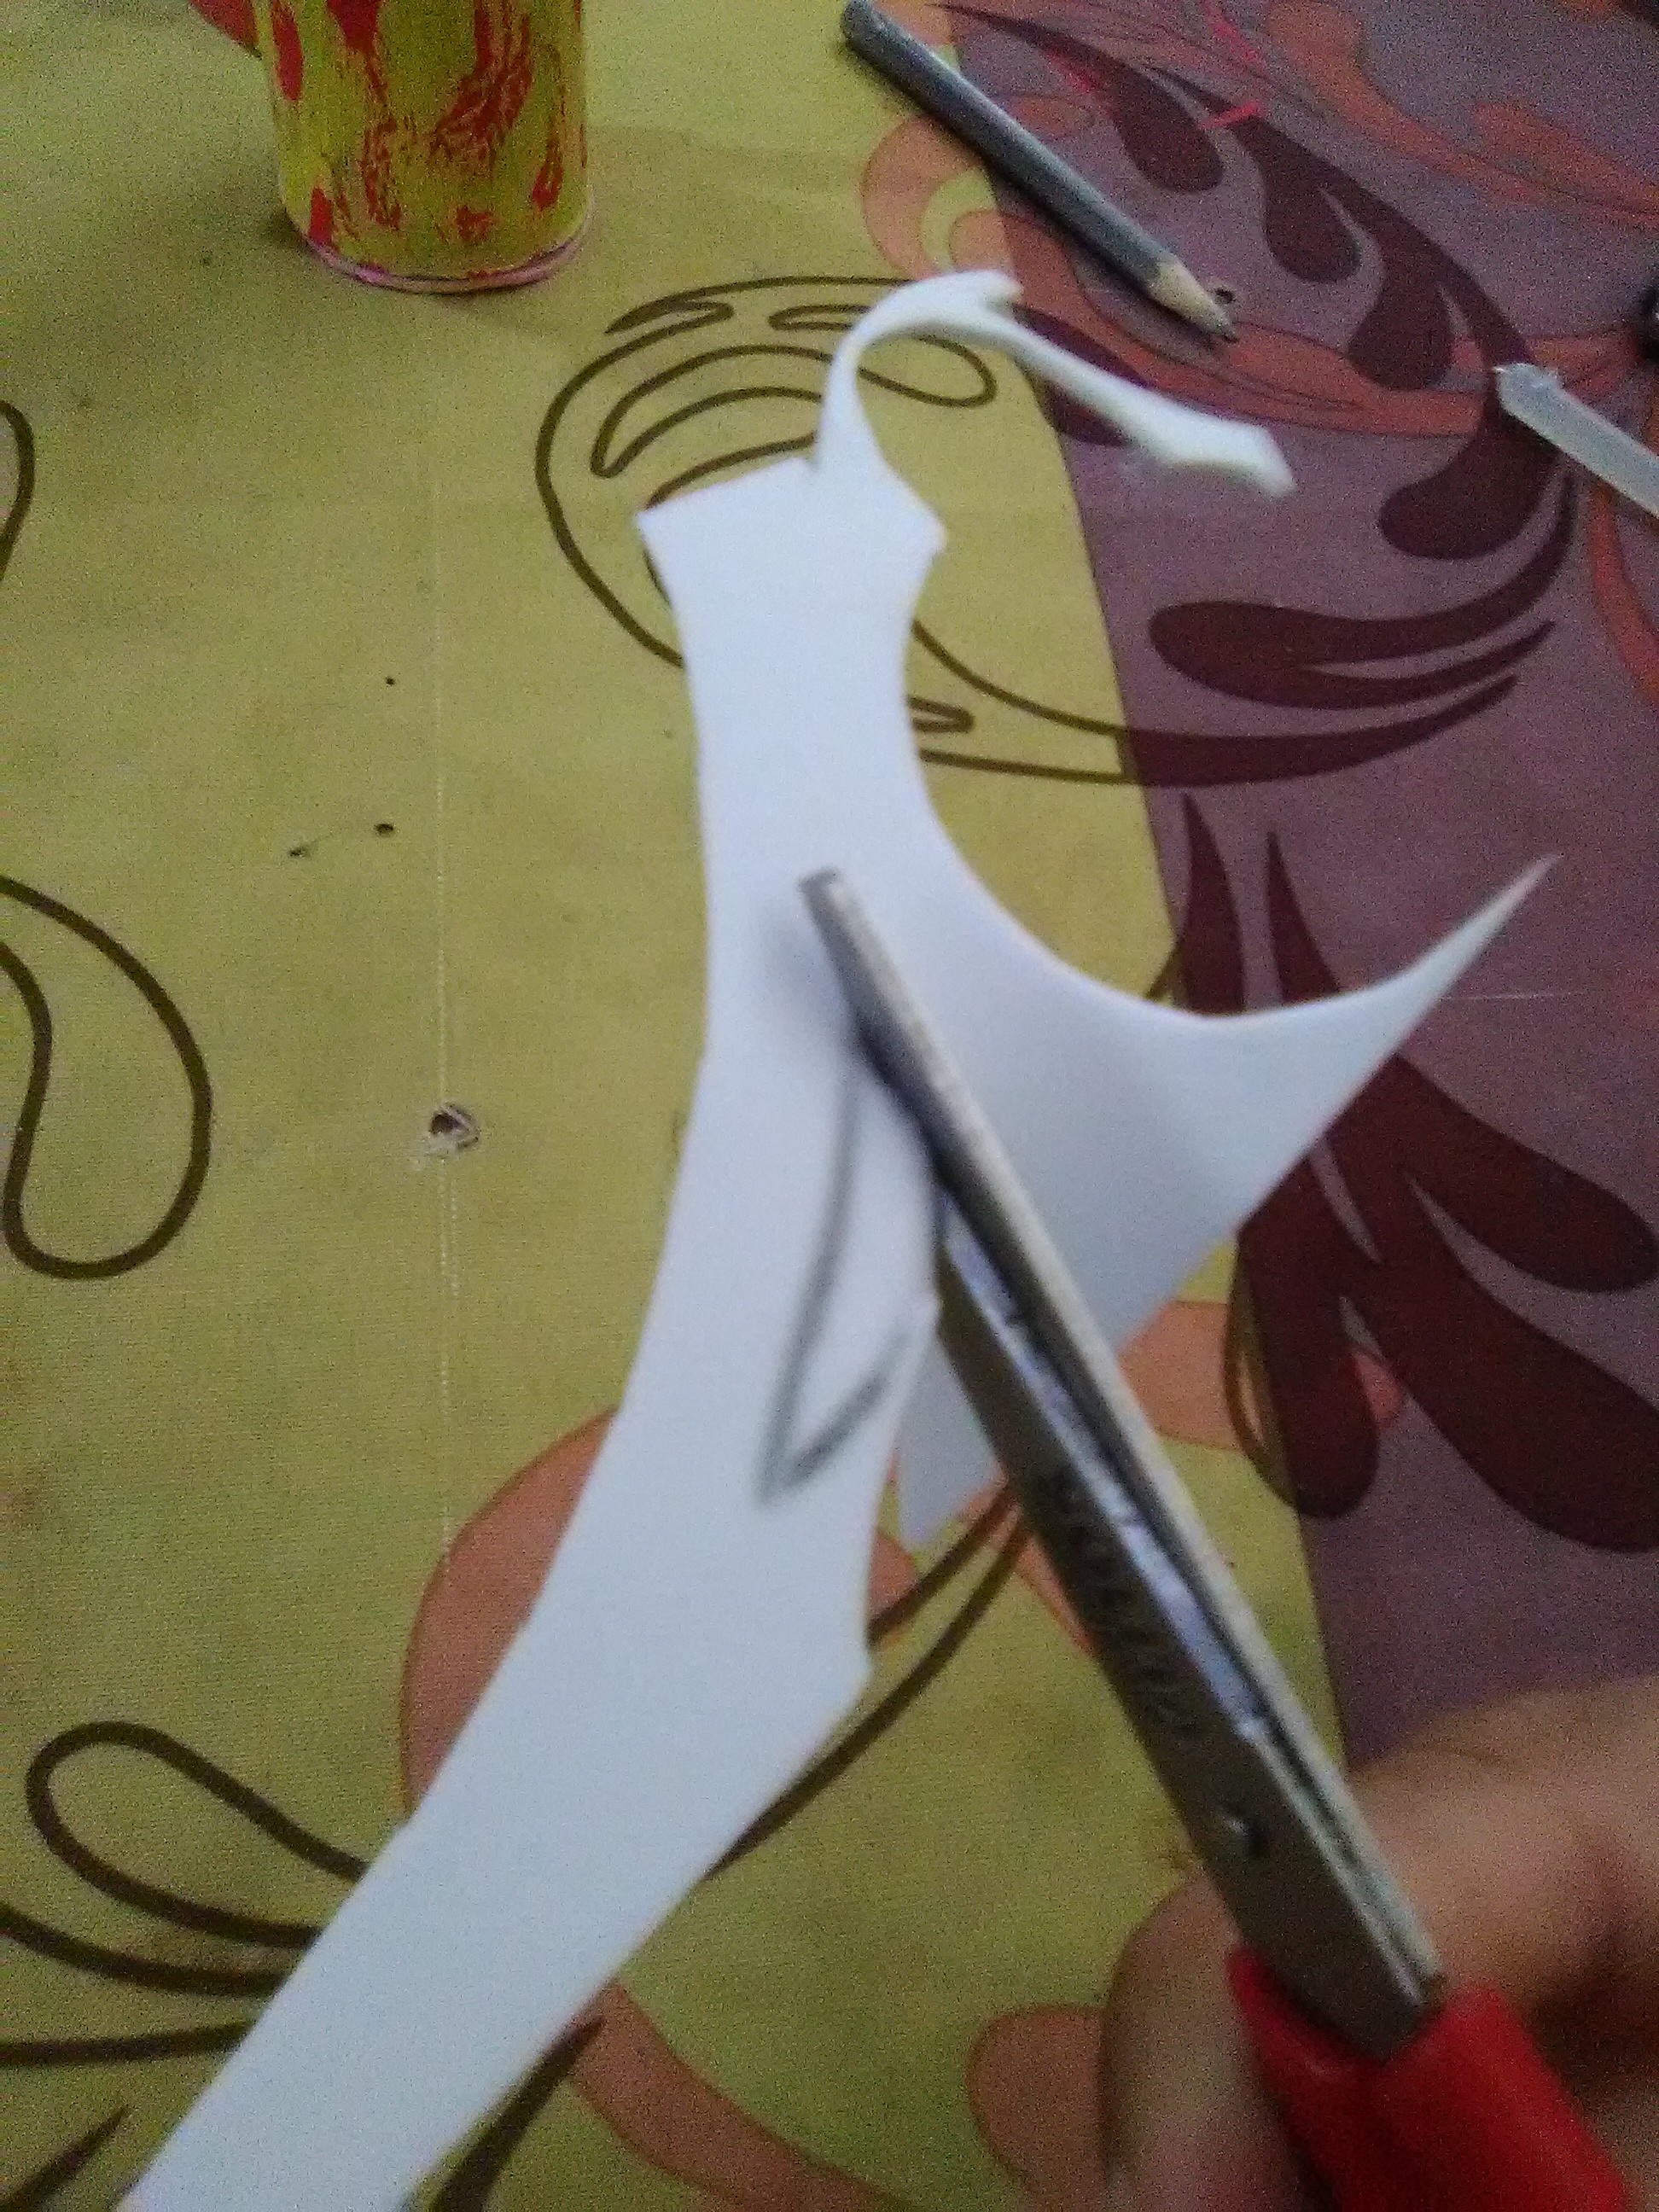
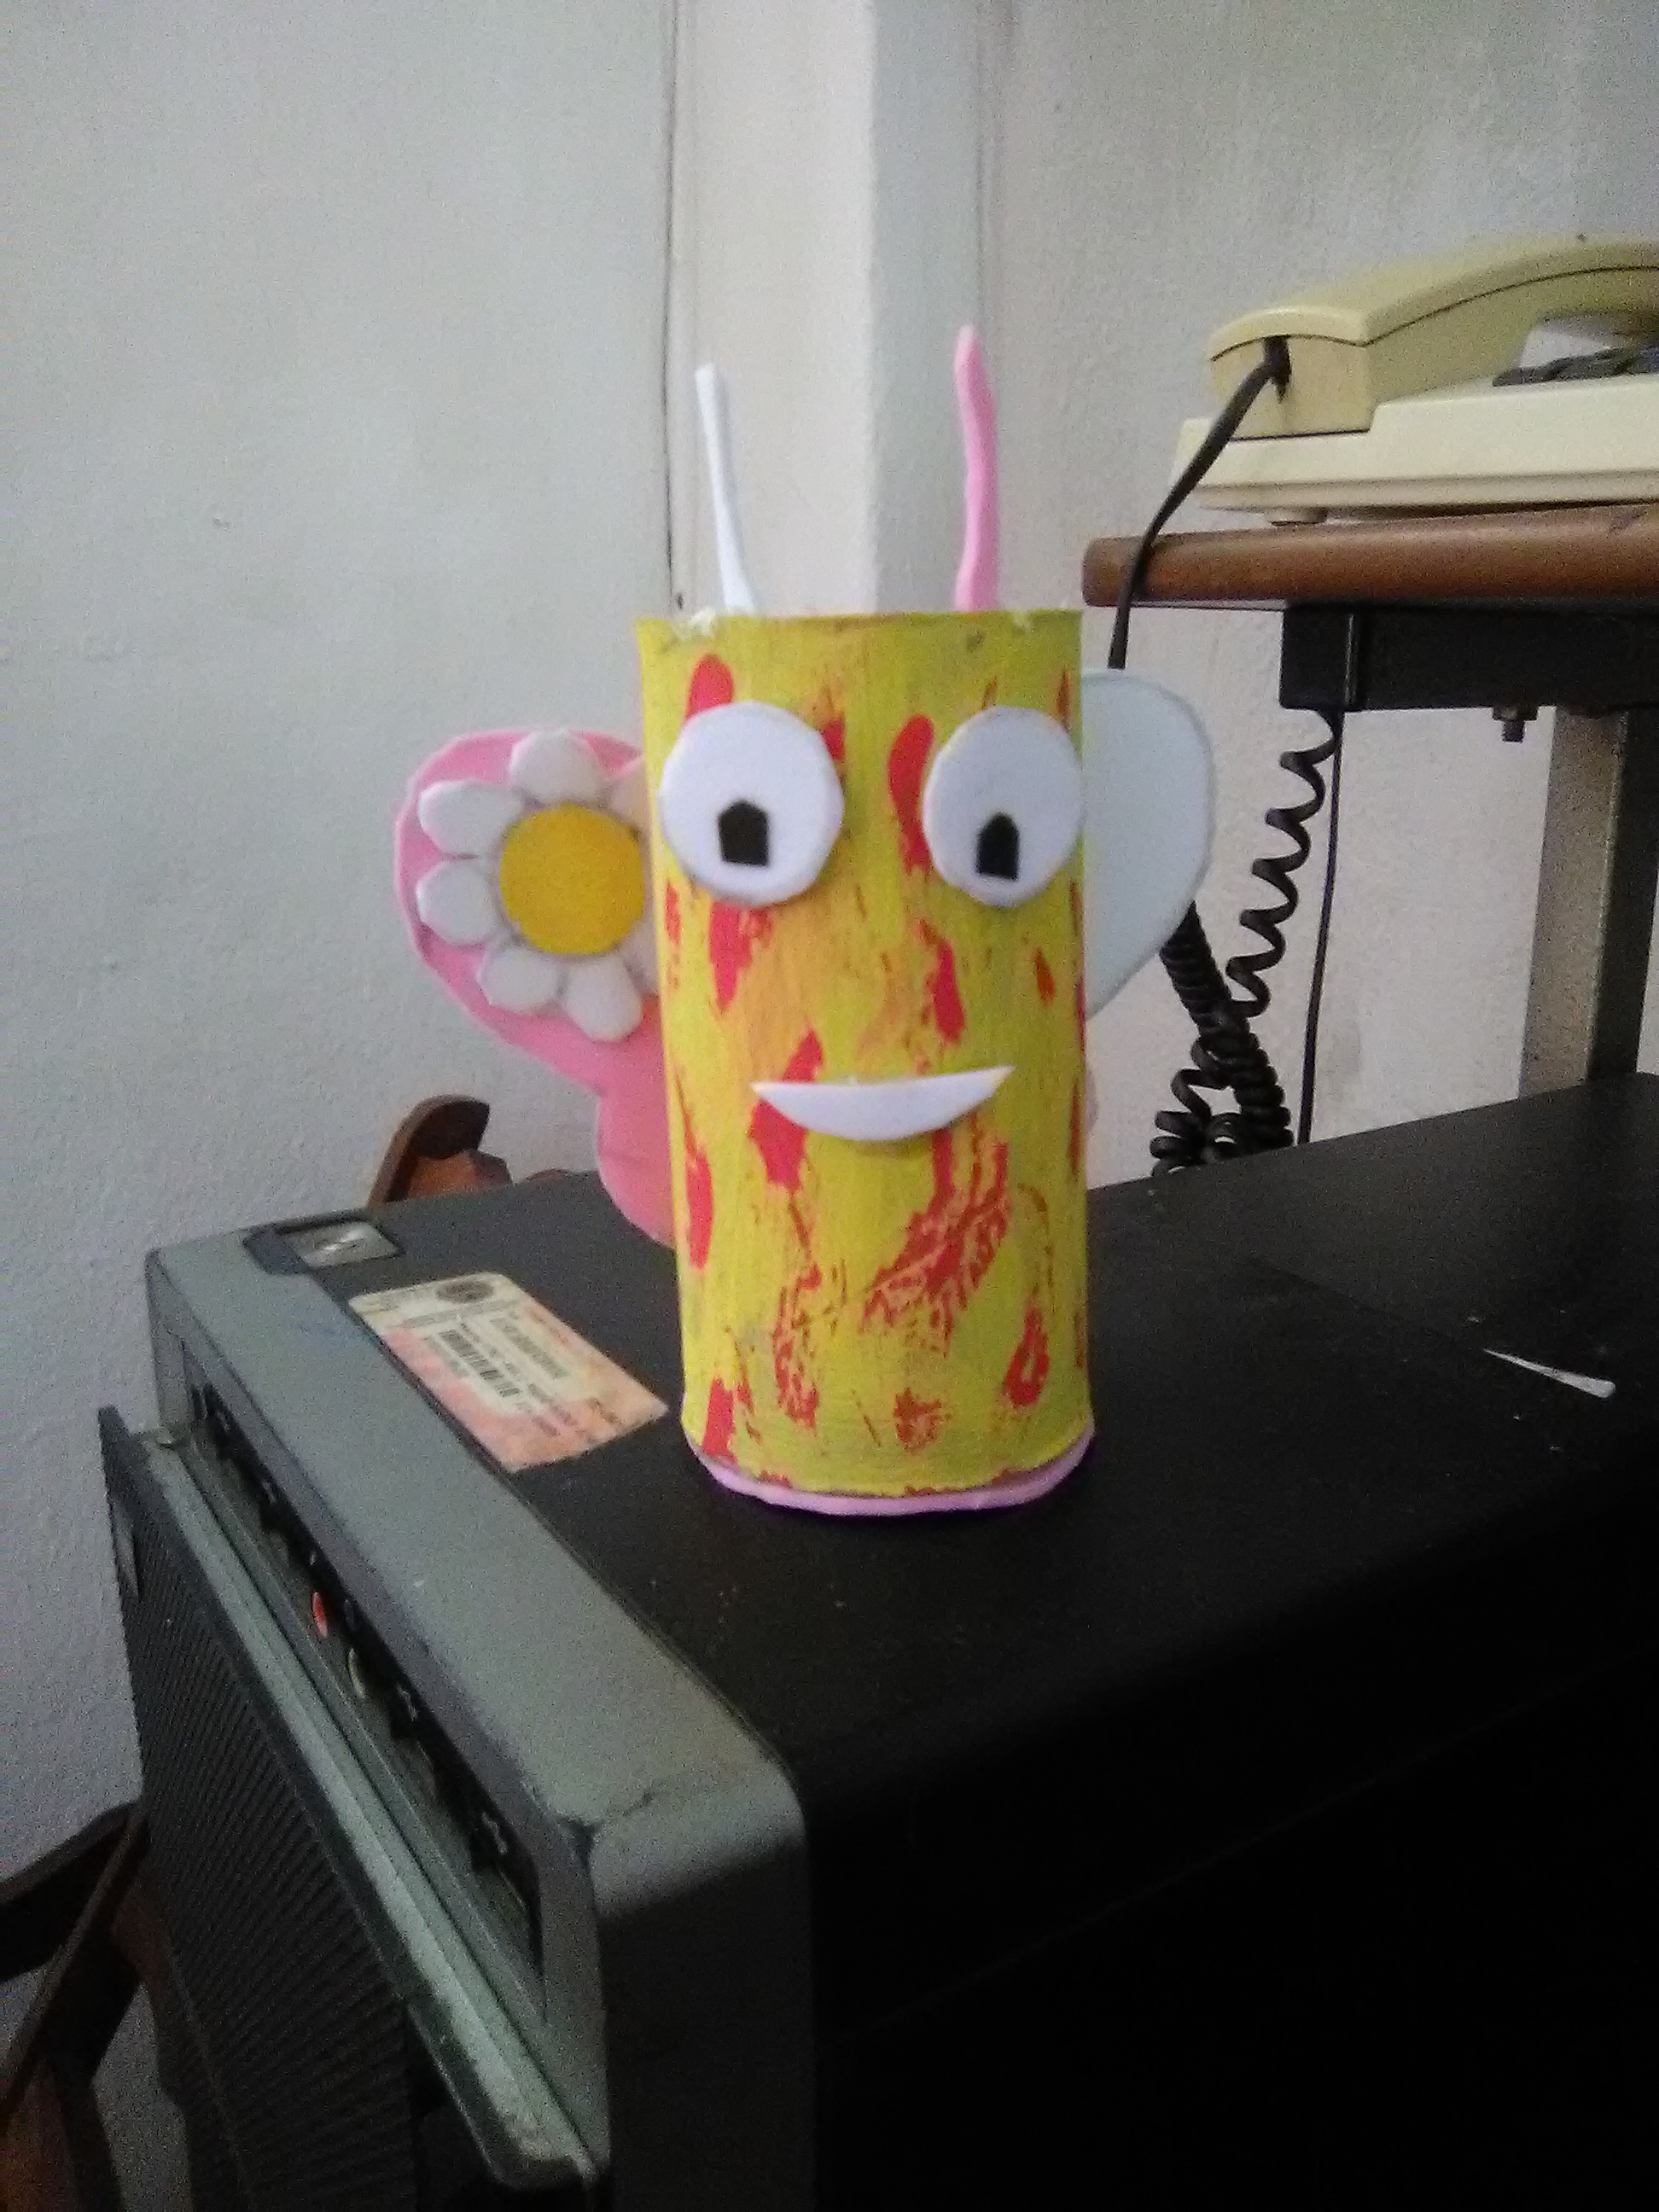
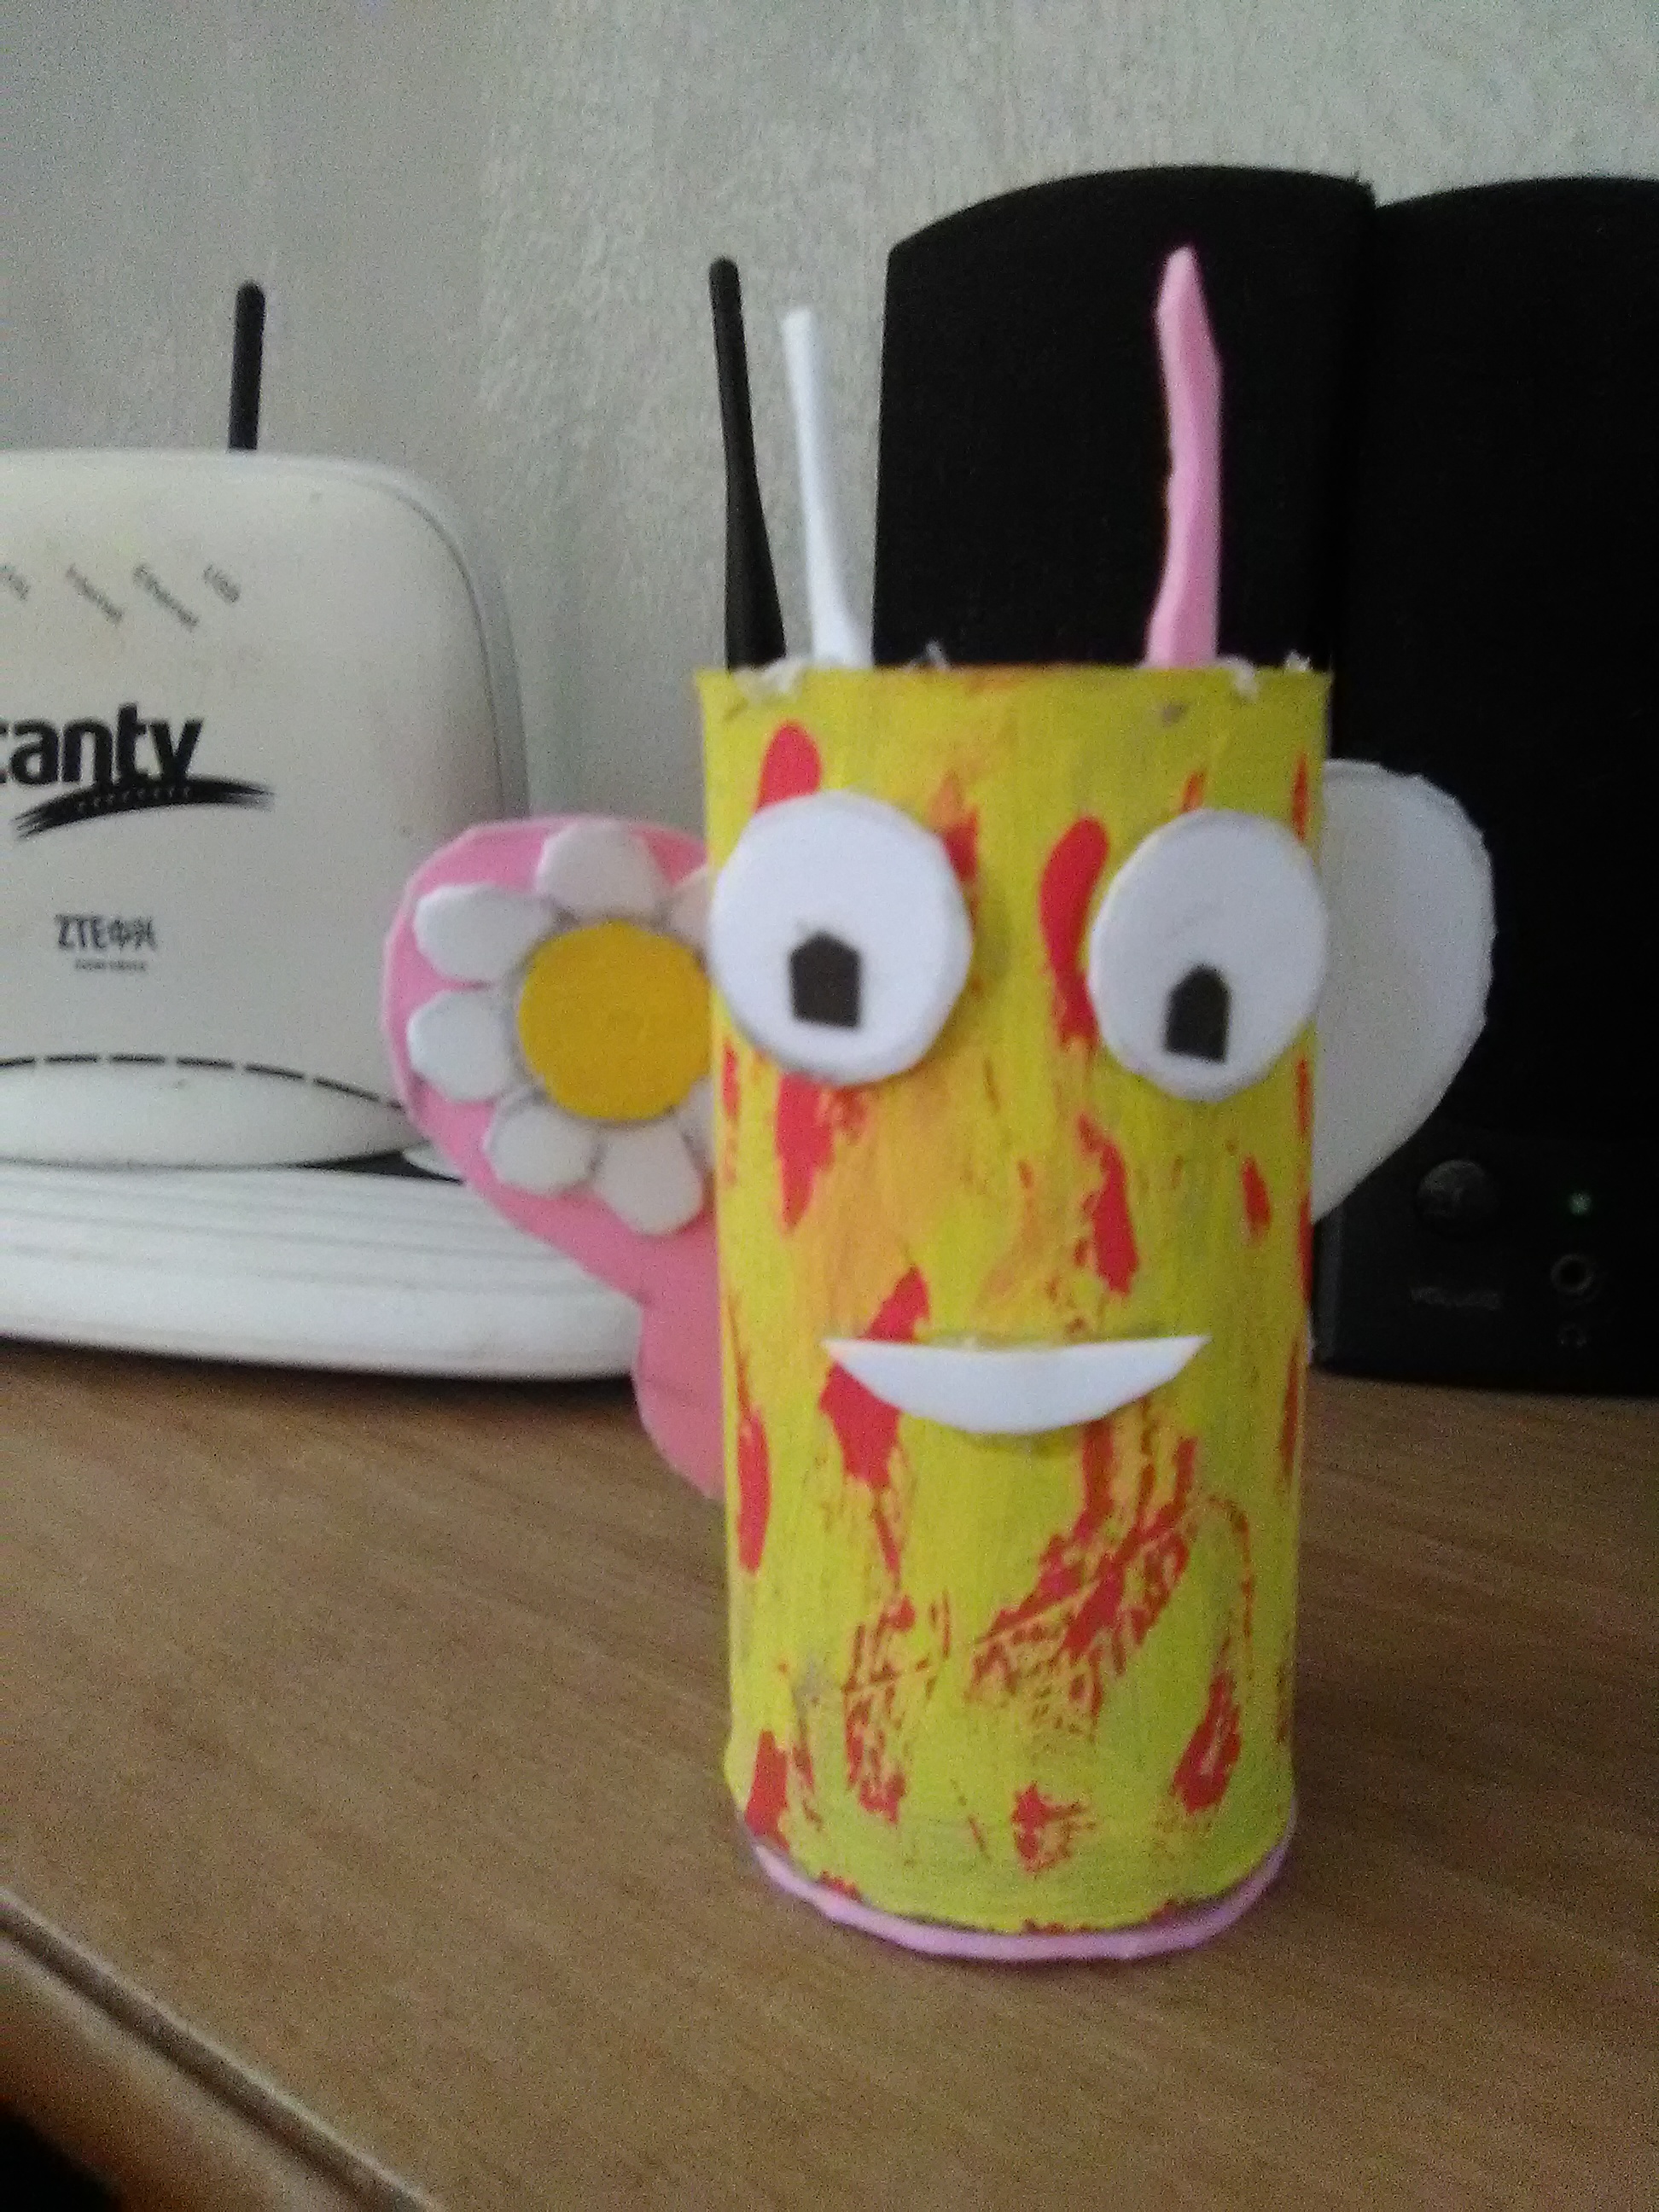
Paso 4:
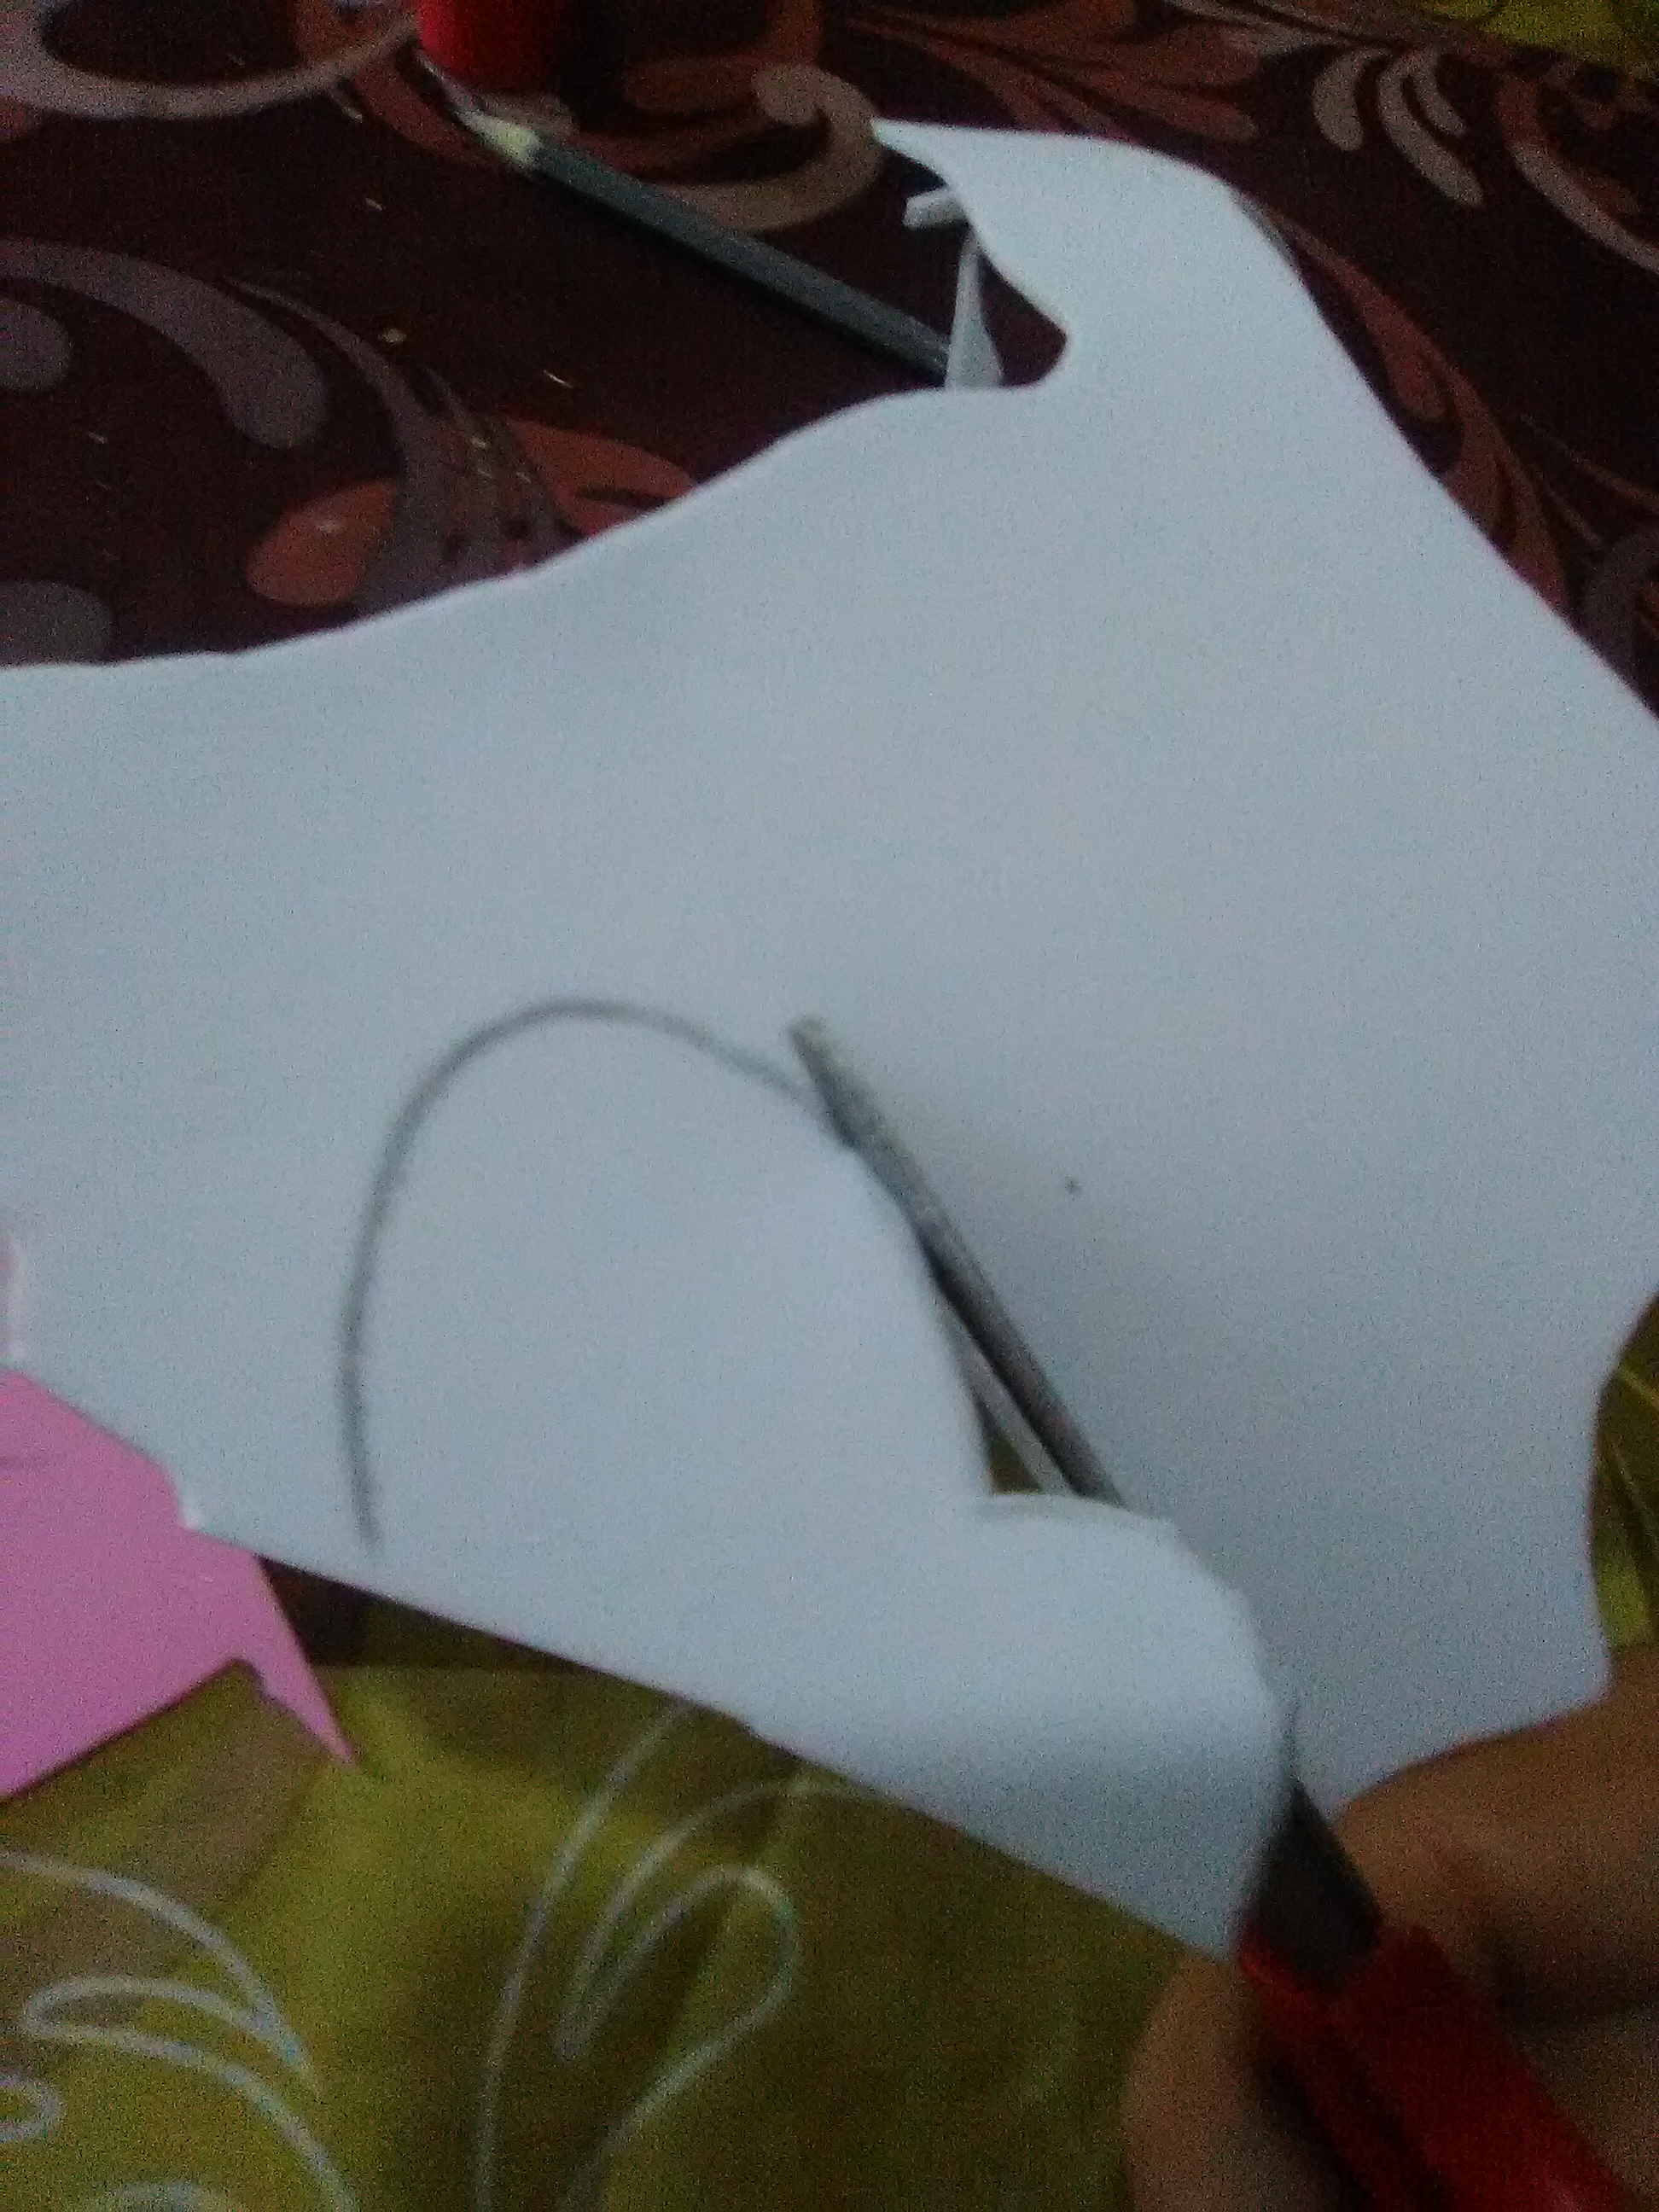
- Tomamos el foami y marcamos con un lápiz de grafito las alas de una mariposa
Step 4:
- We take the foami and mark with a graphite pencil the wings of a butterfly.
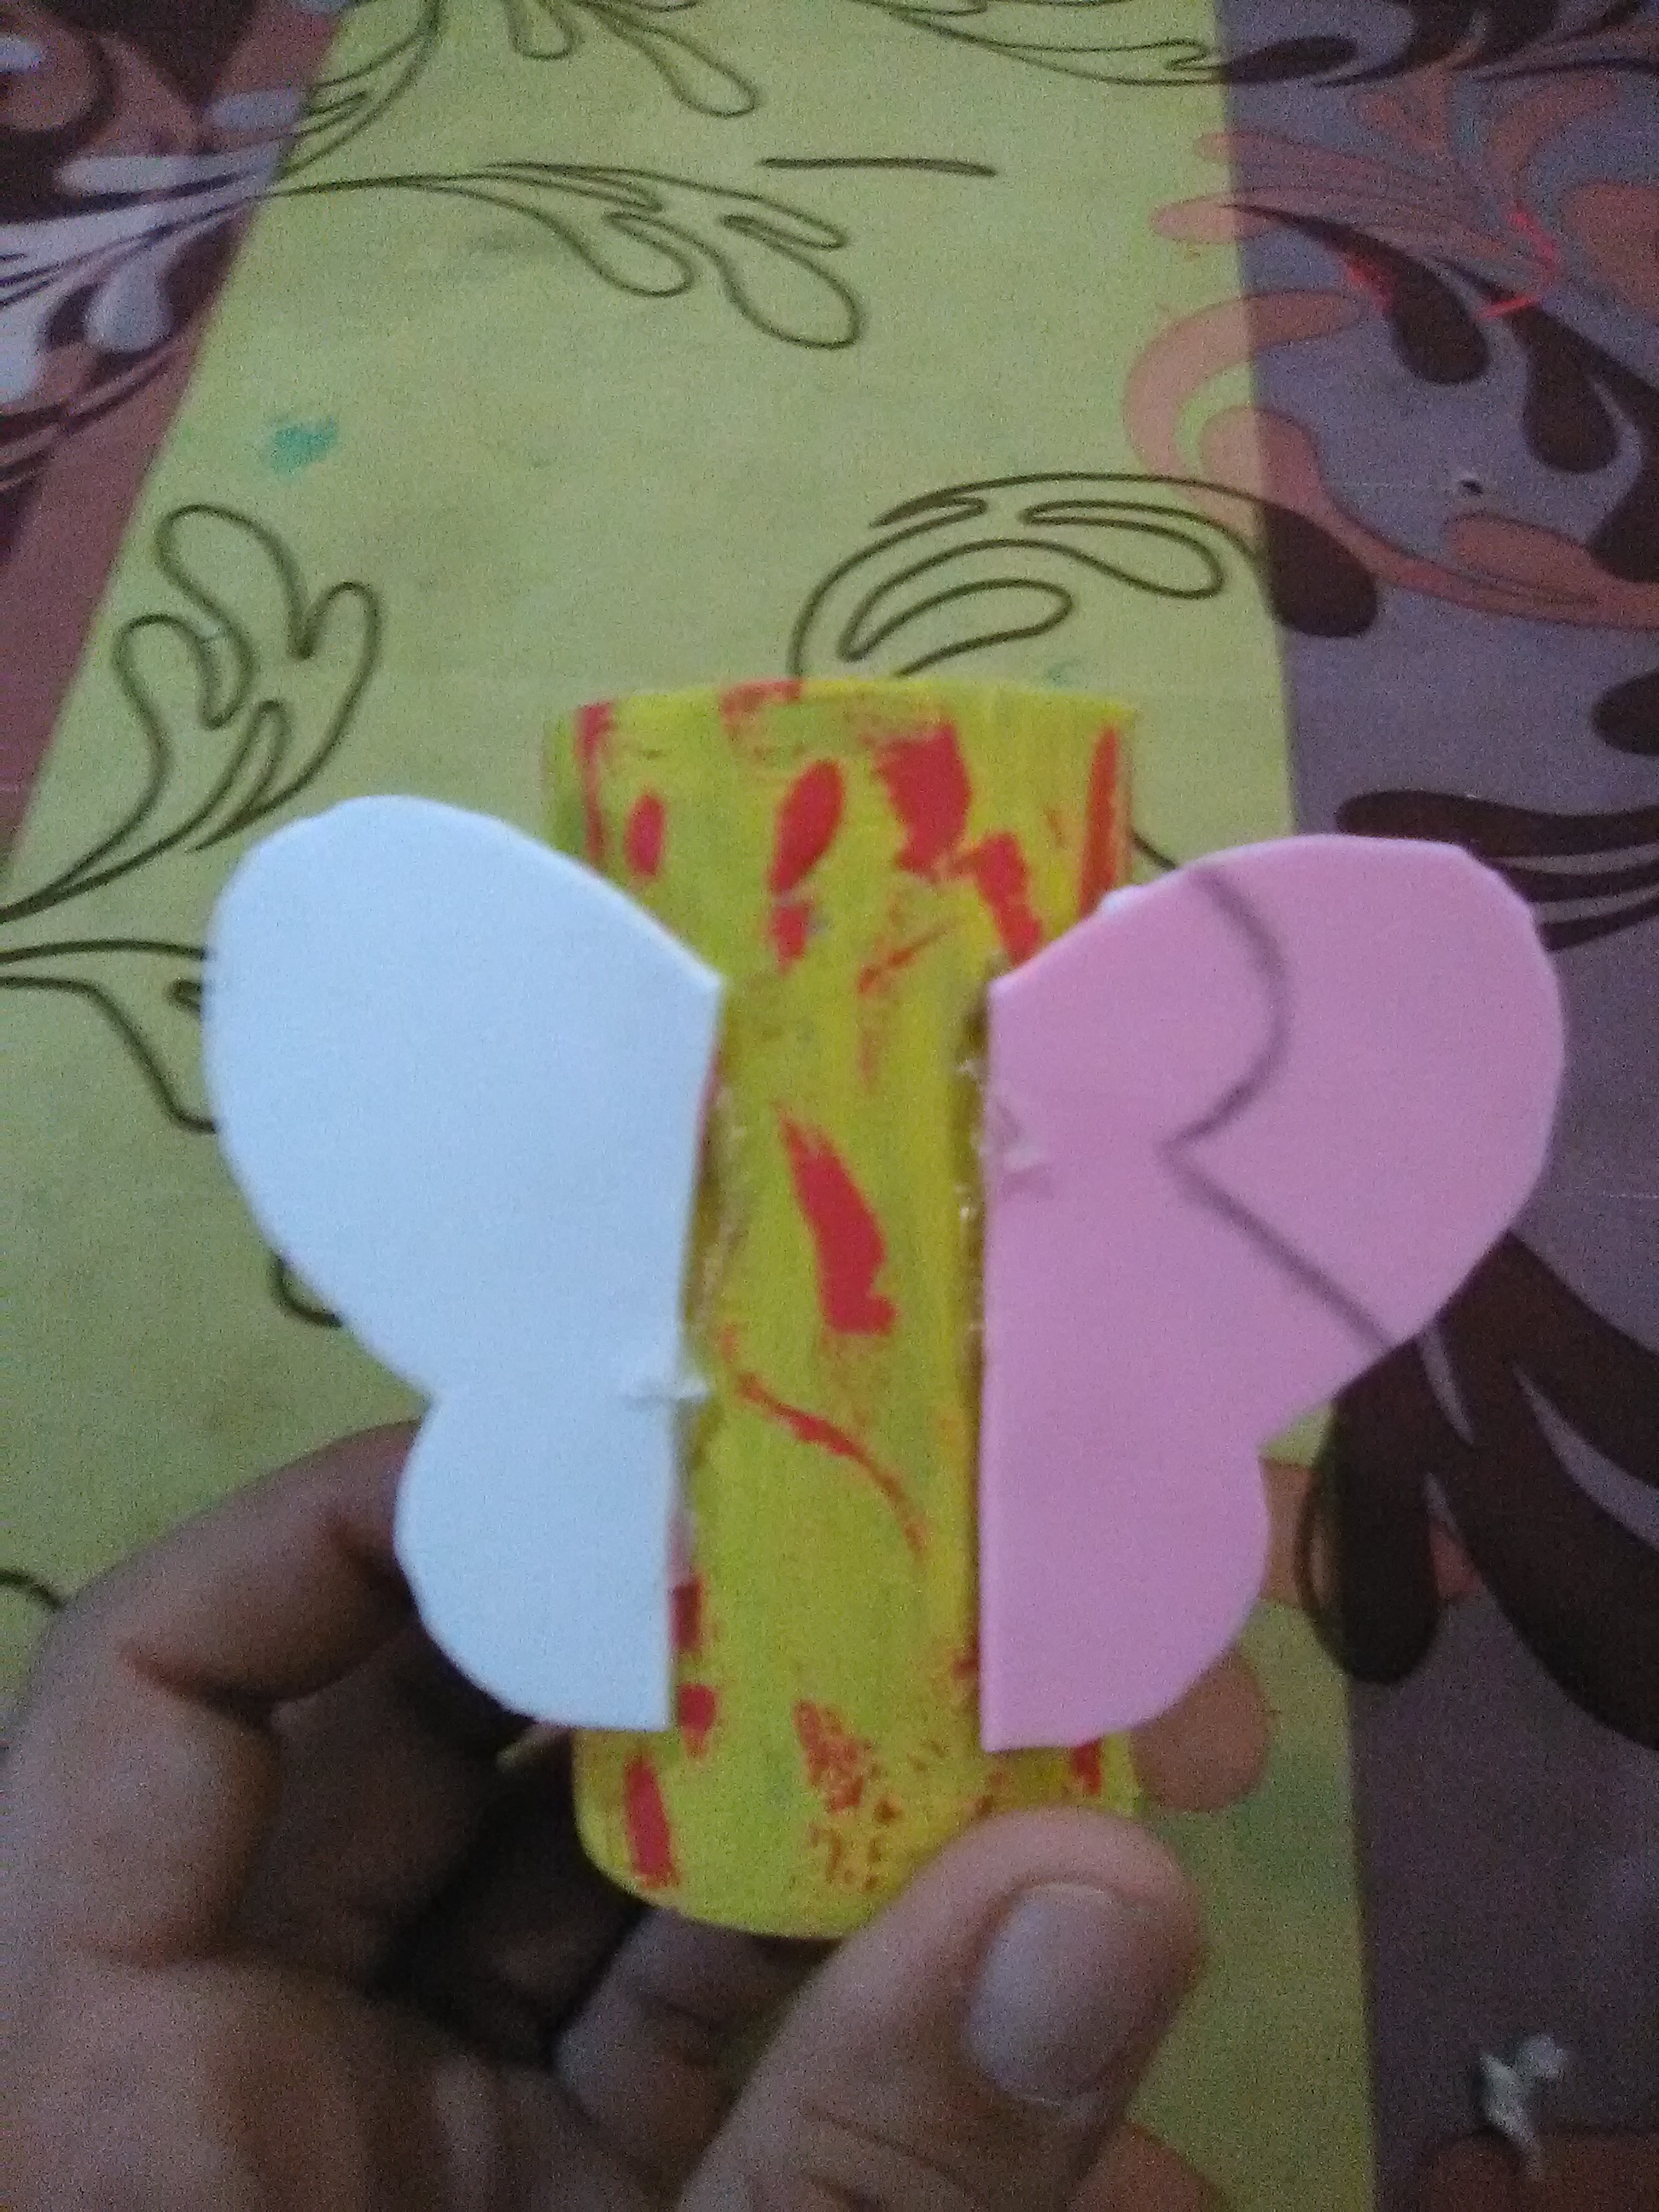
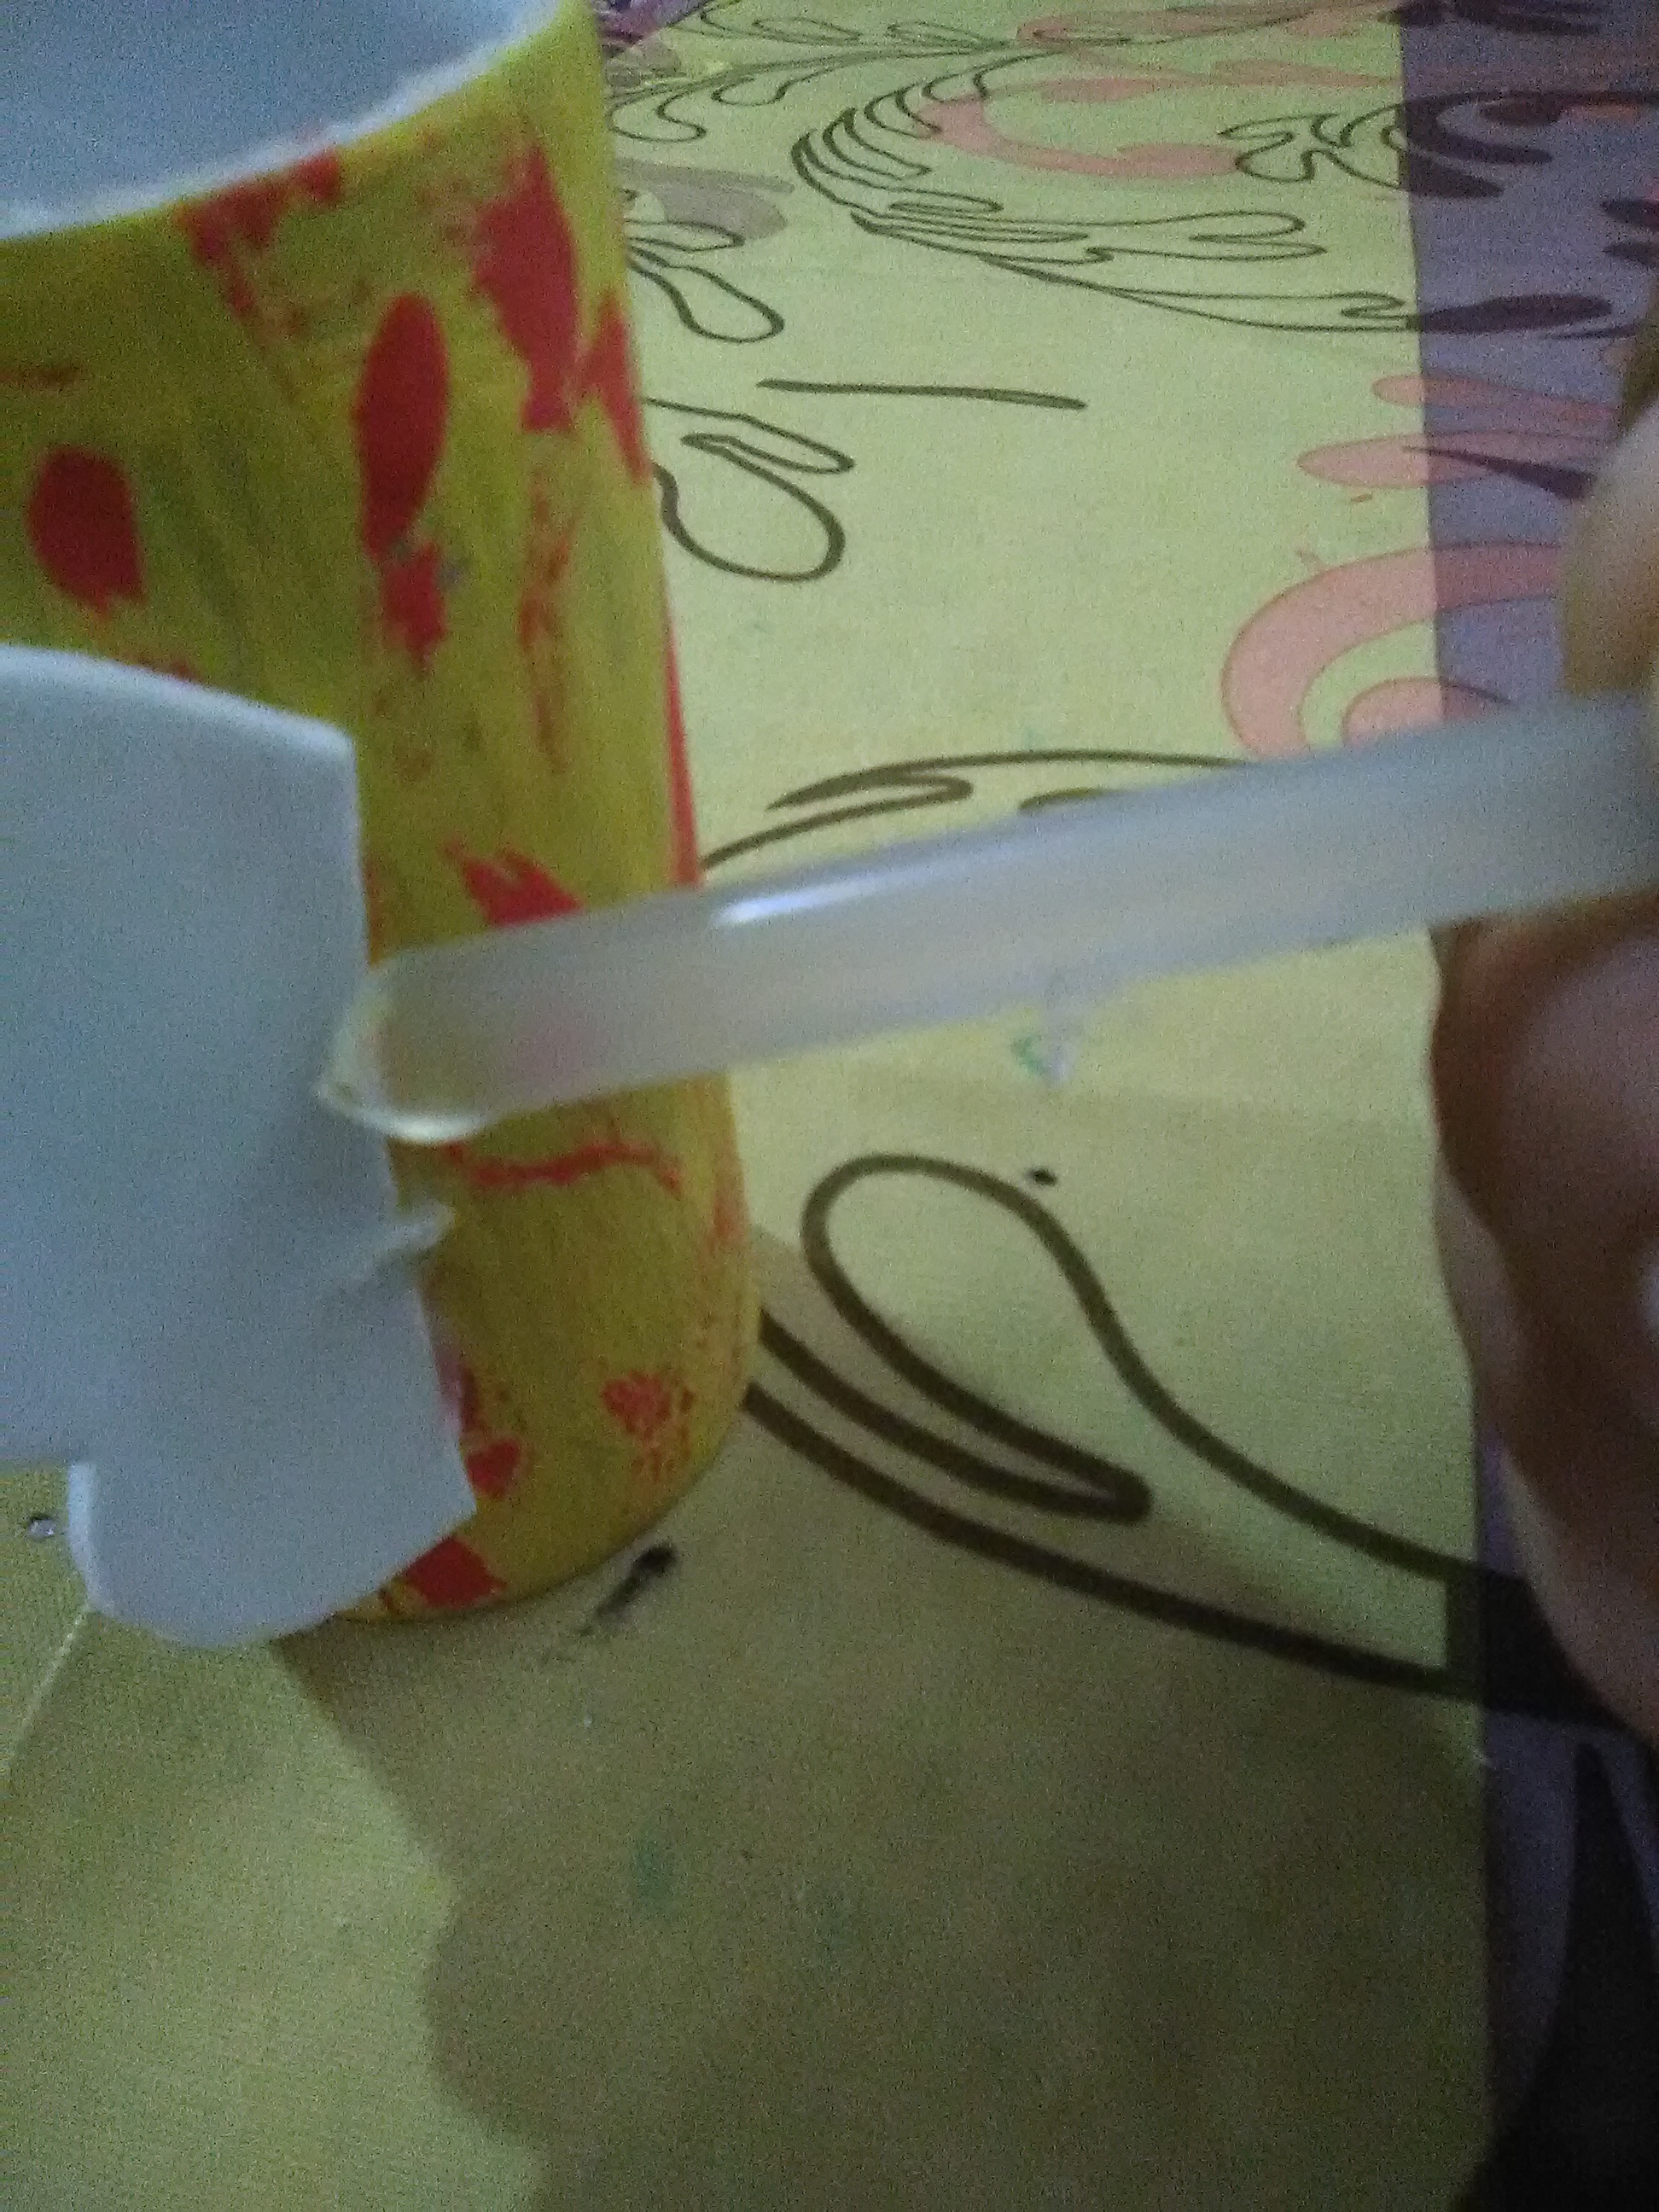
Paso 5:
- Con silicona en barra pegamos las alas de mariposa al cilindro de cartón
Step 5:
- With silicone stick we glue the butterfly wings to the cardboard cylinder.
Paso 6:
- Tomamos dos tiritas de foami y hacemos unas antenistas
Step 6:
- We take two strips of foami and make antennae.
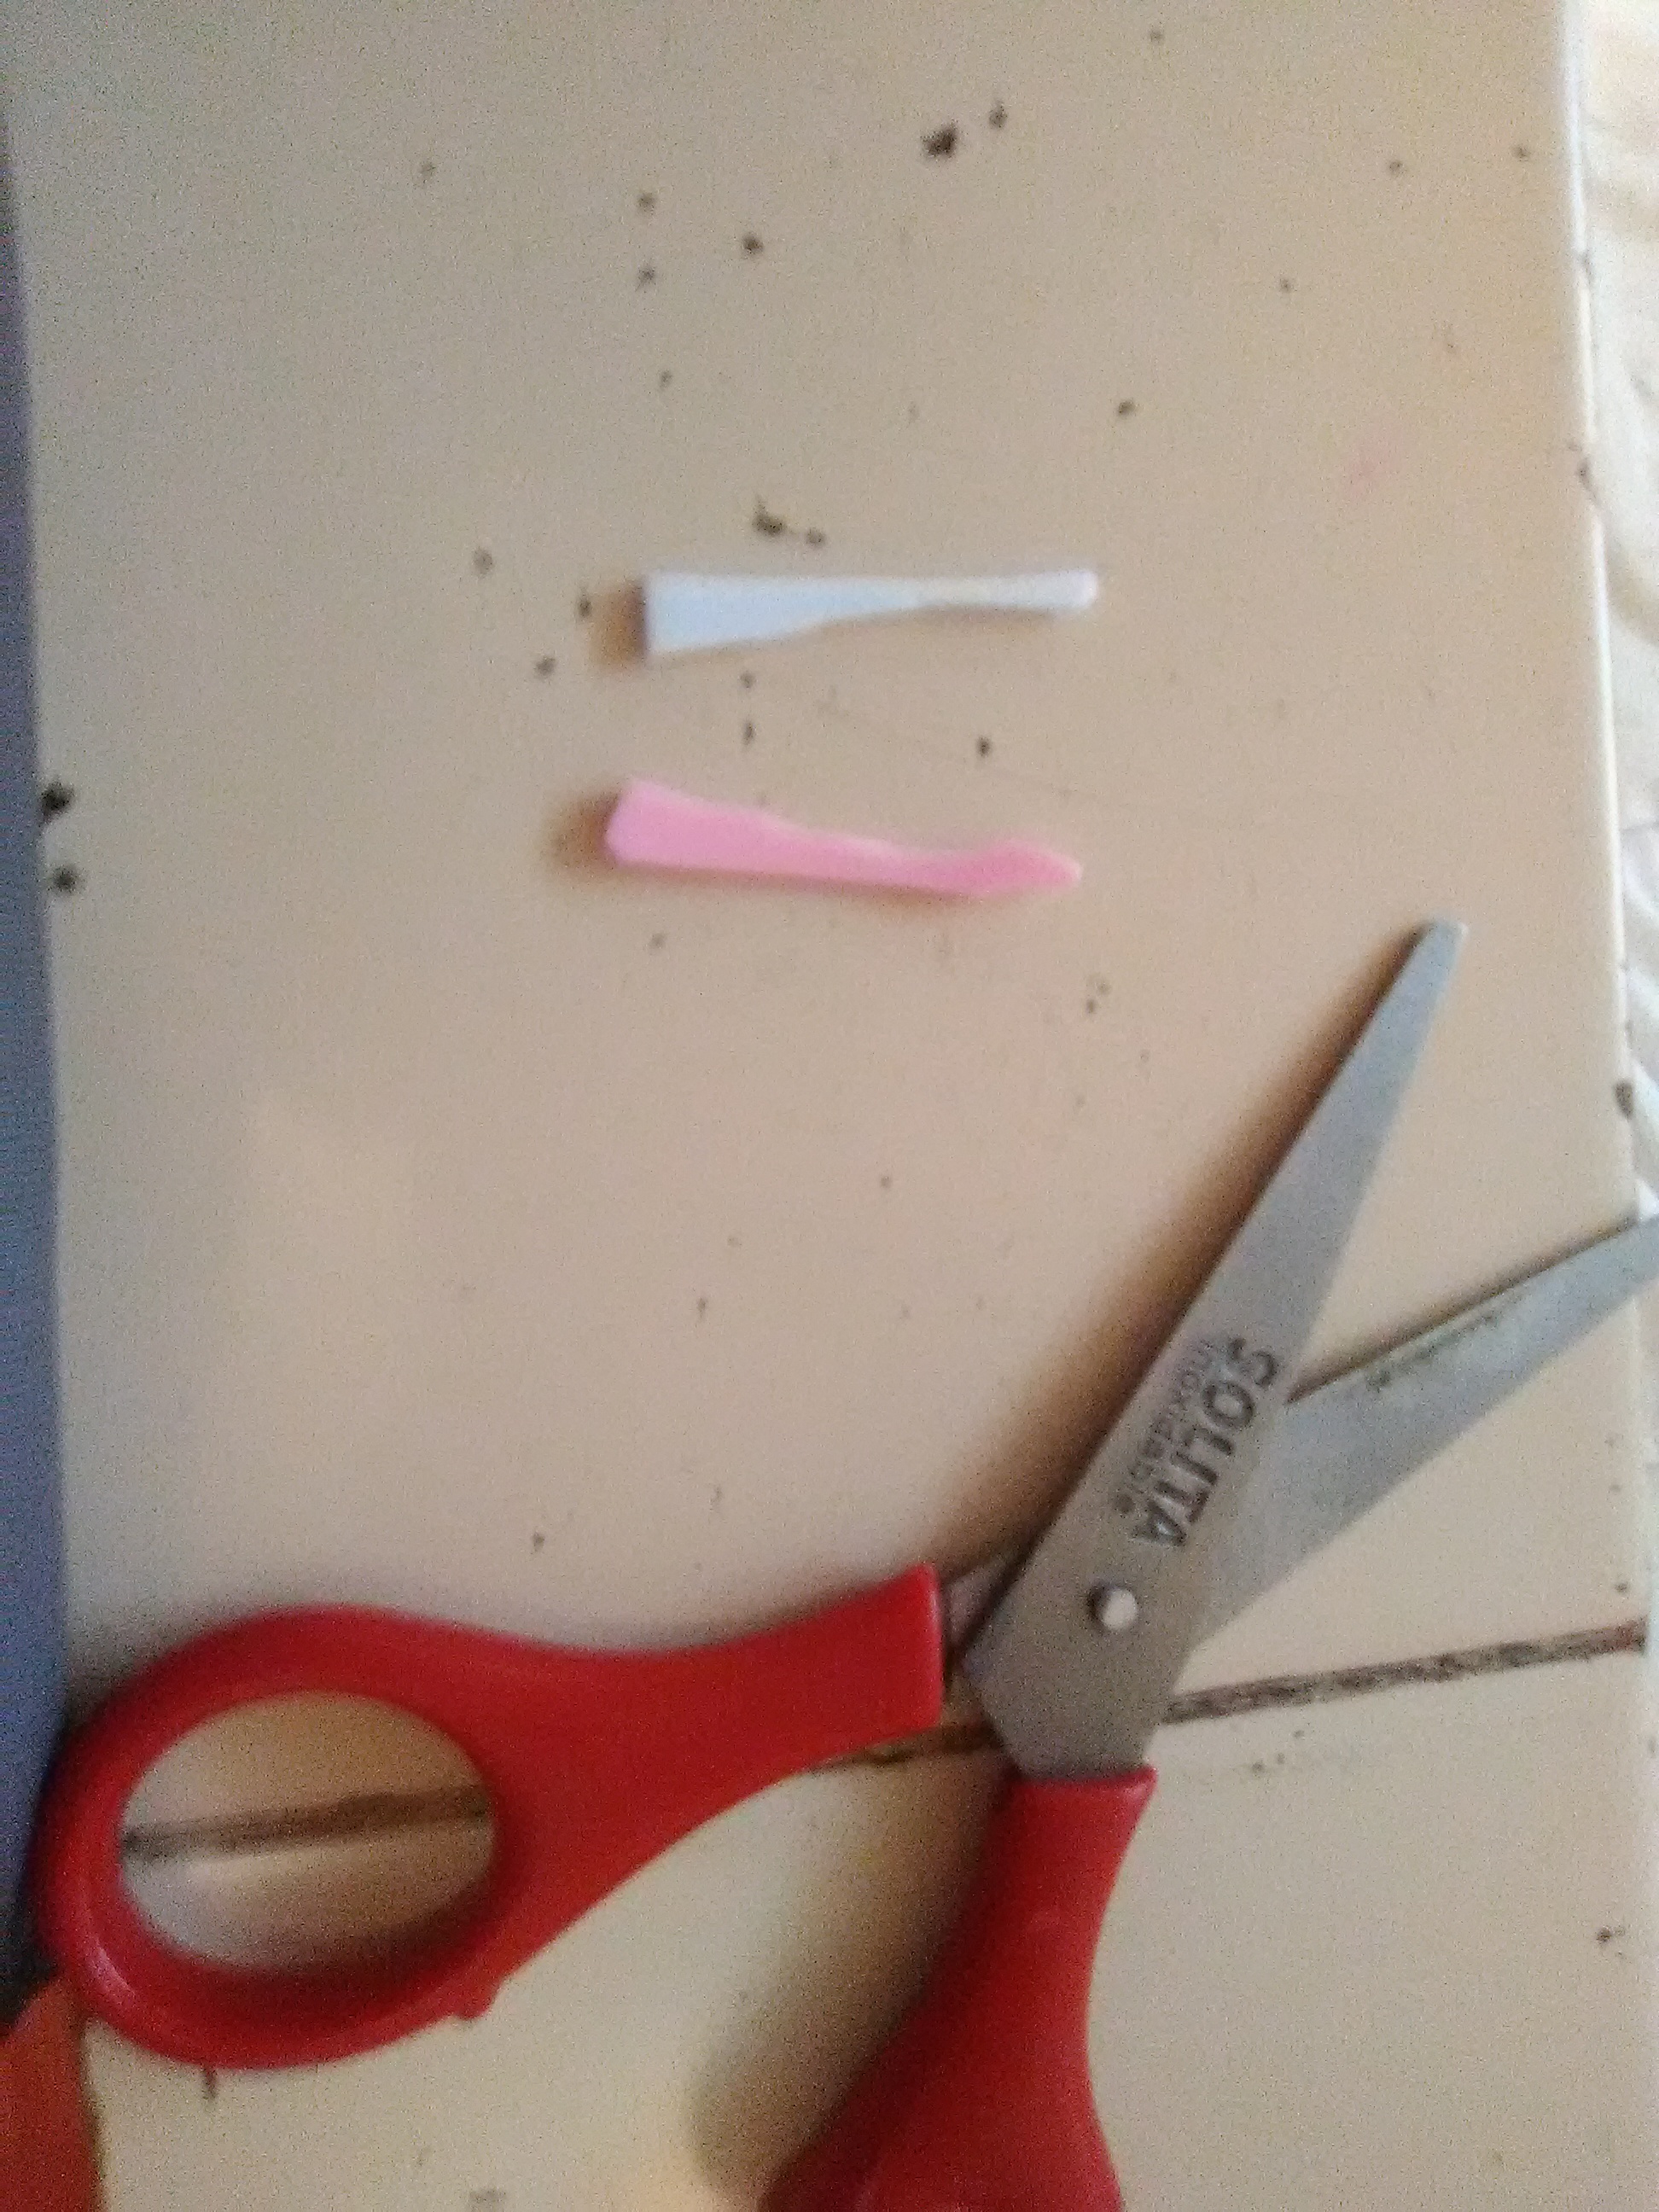
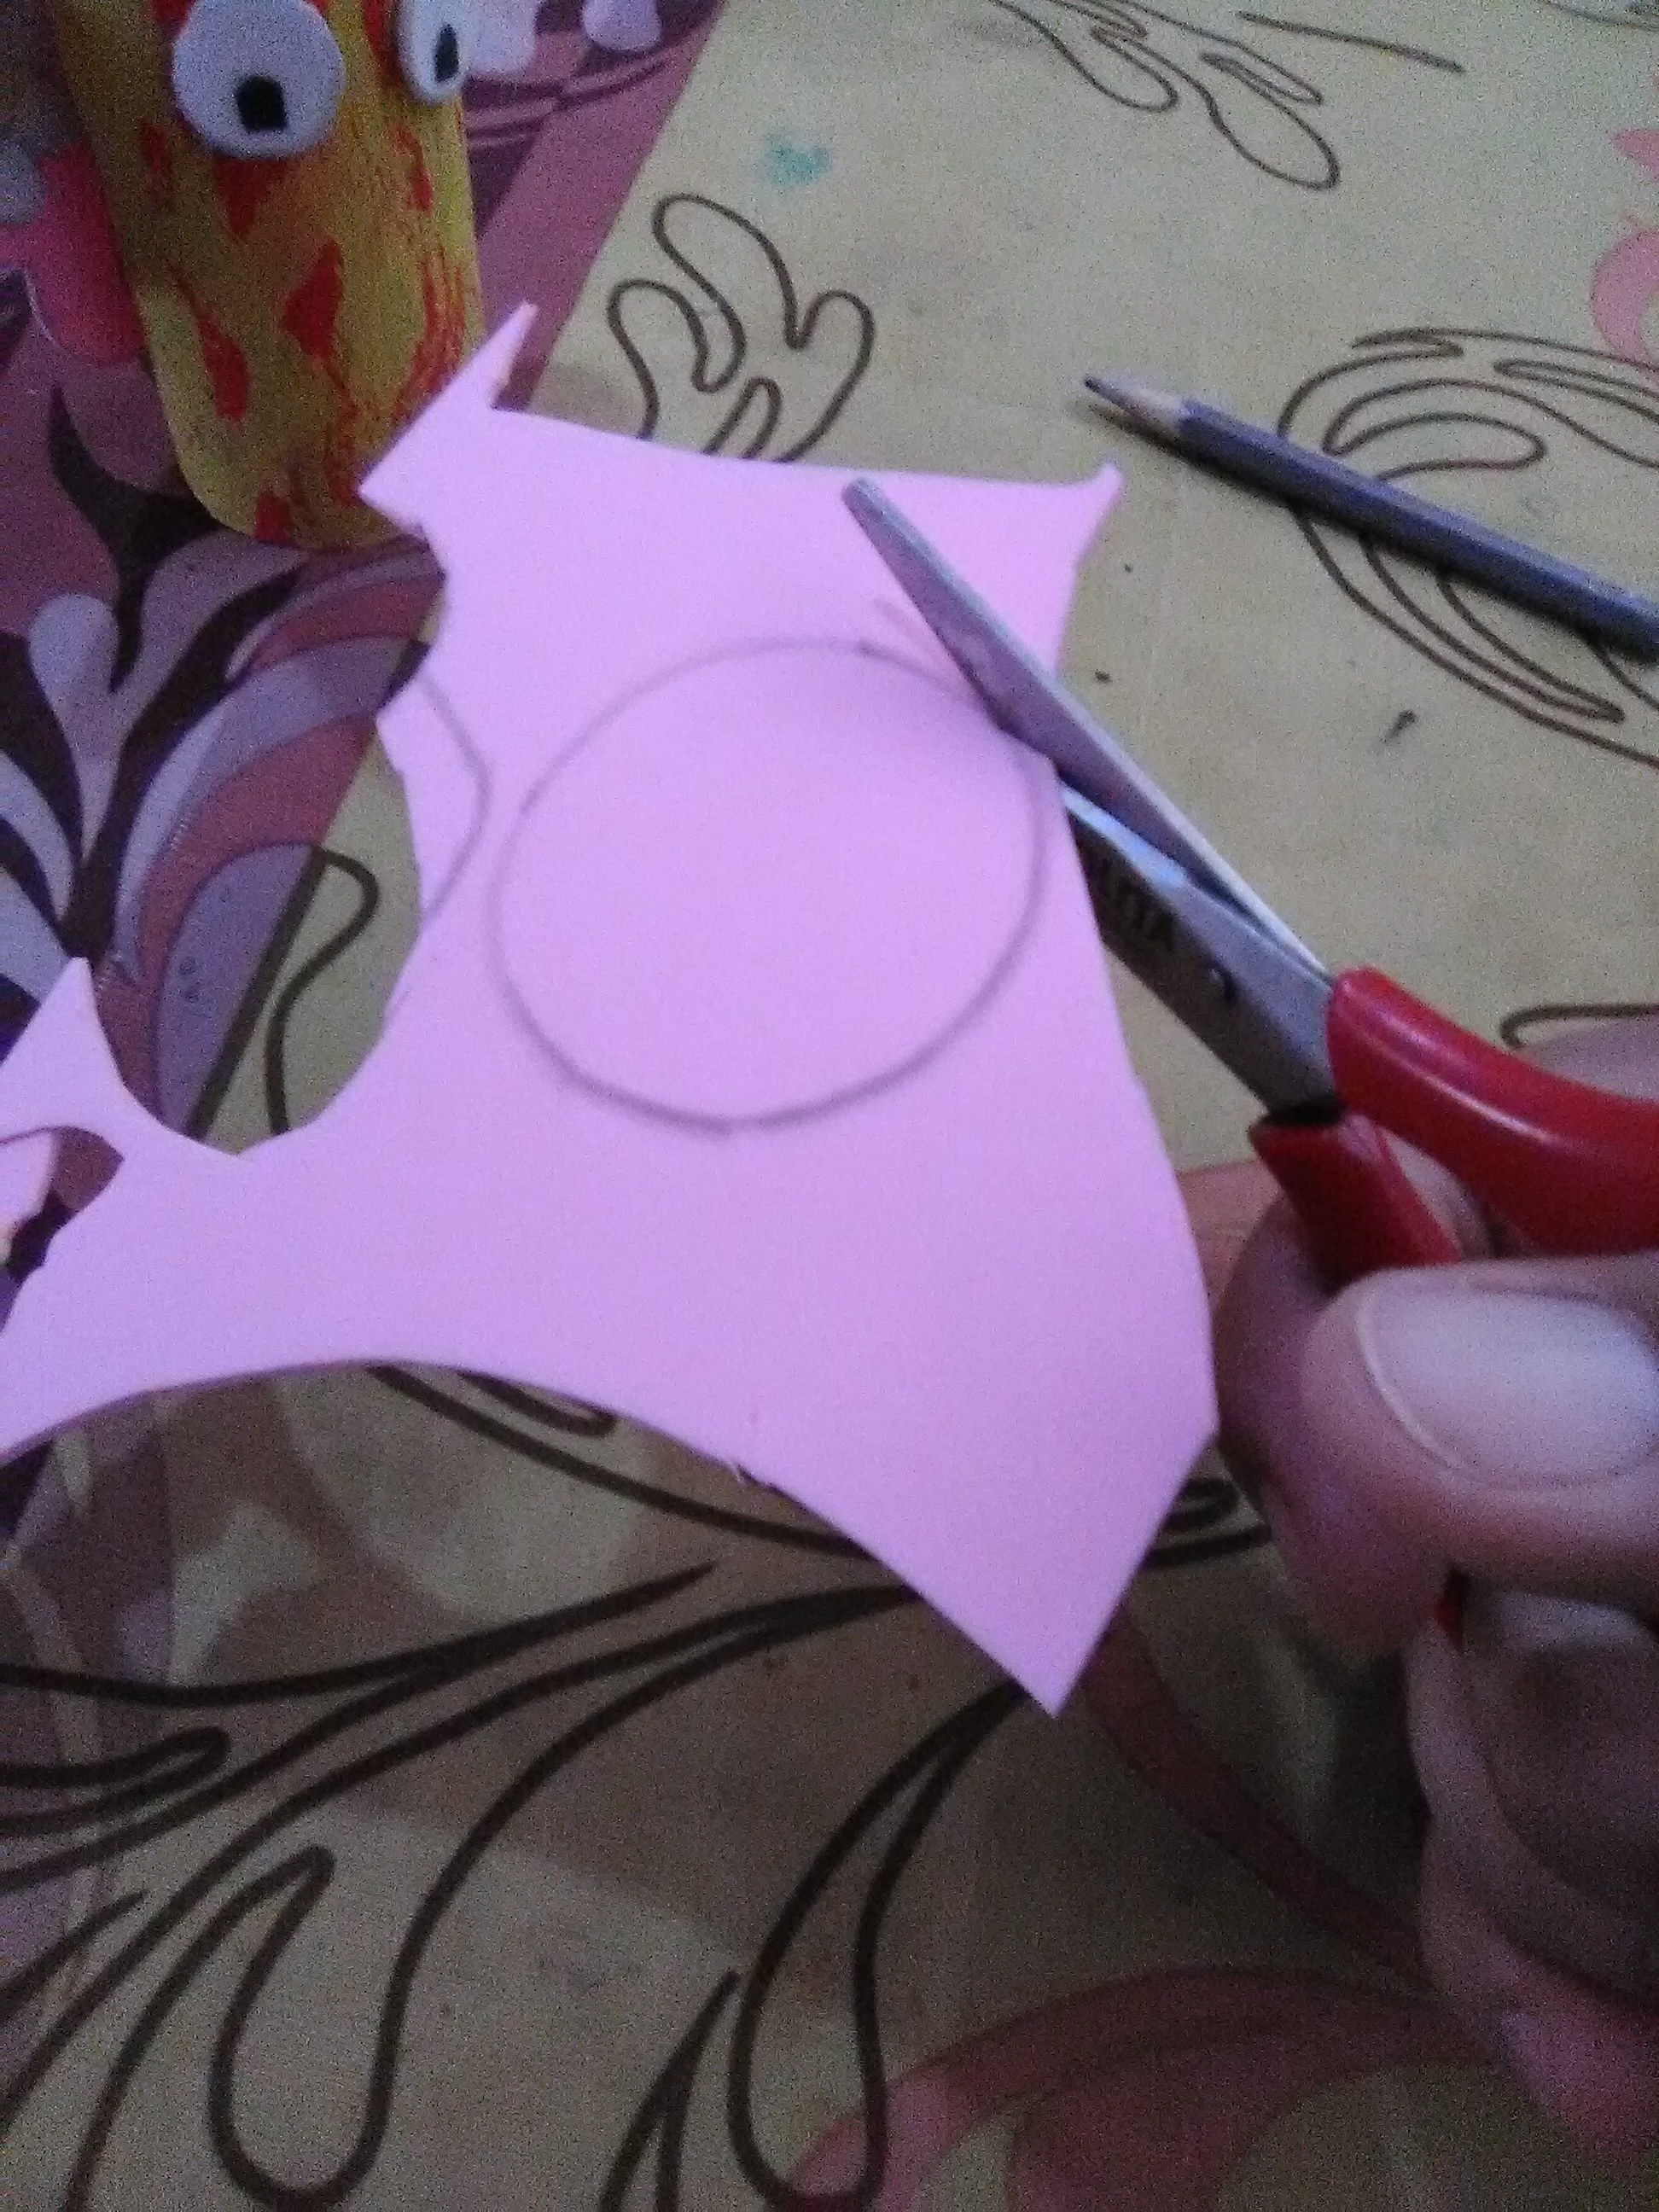
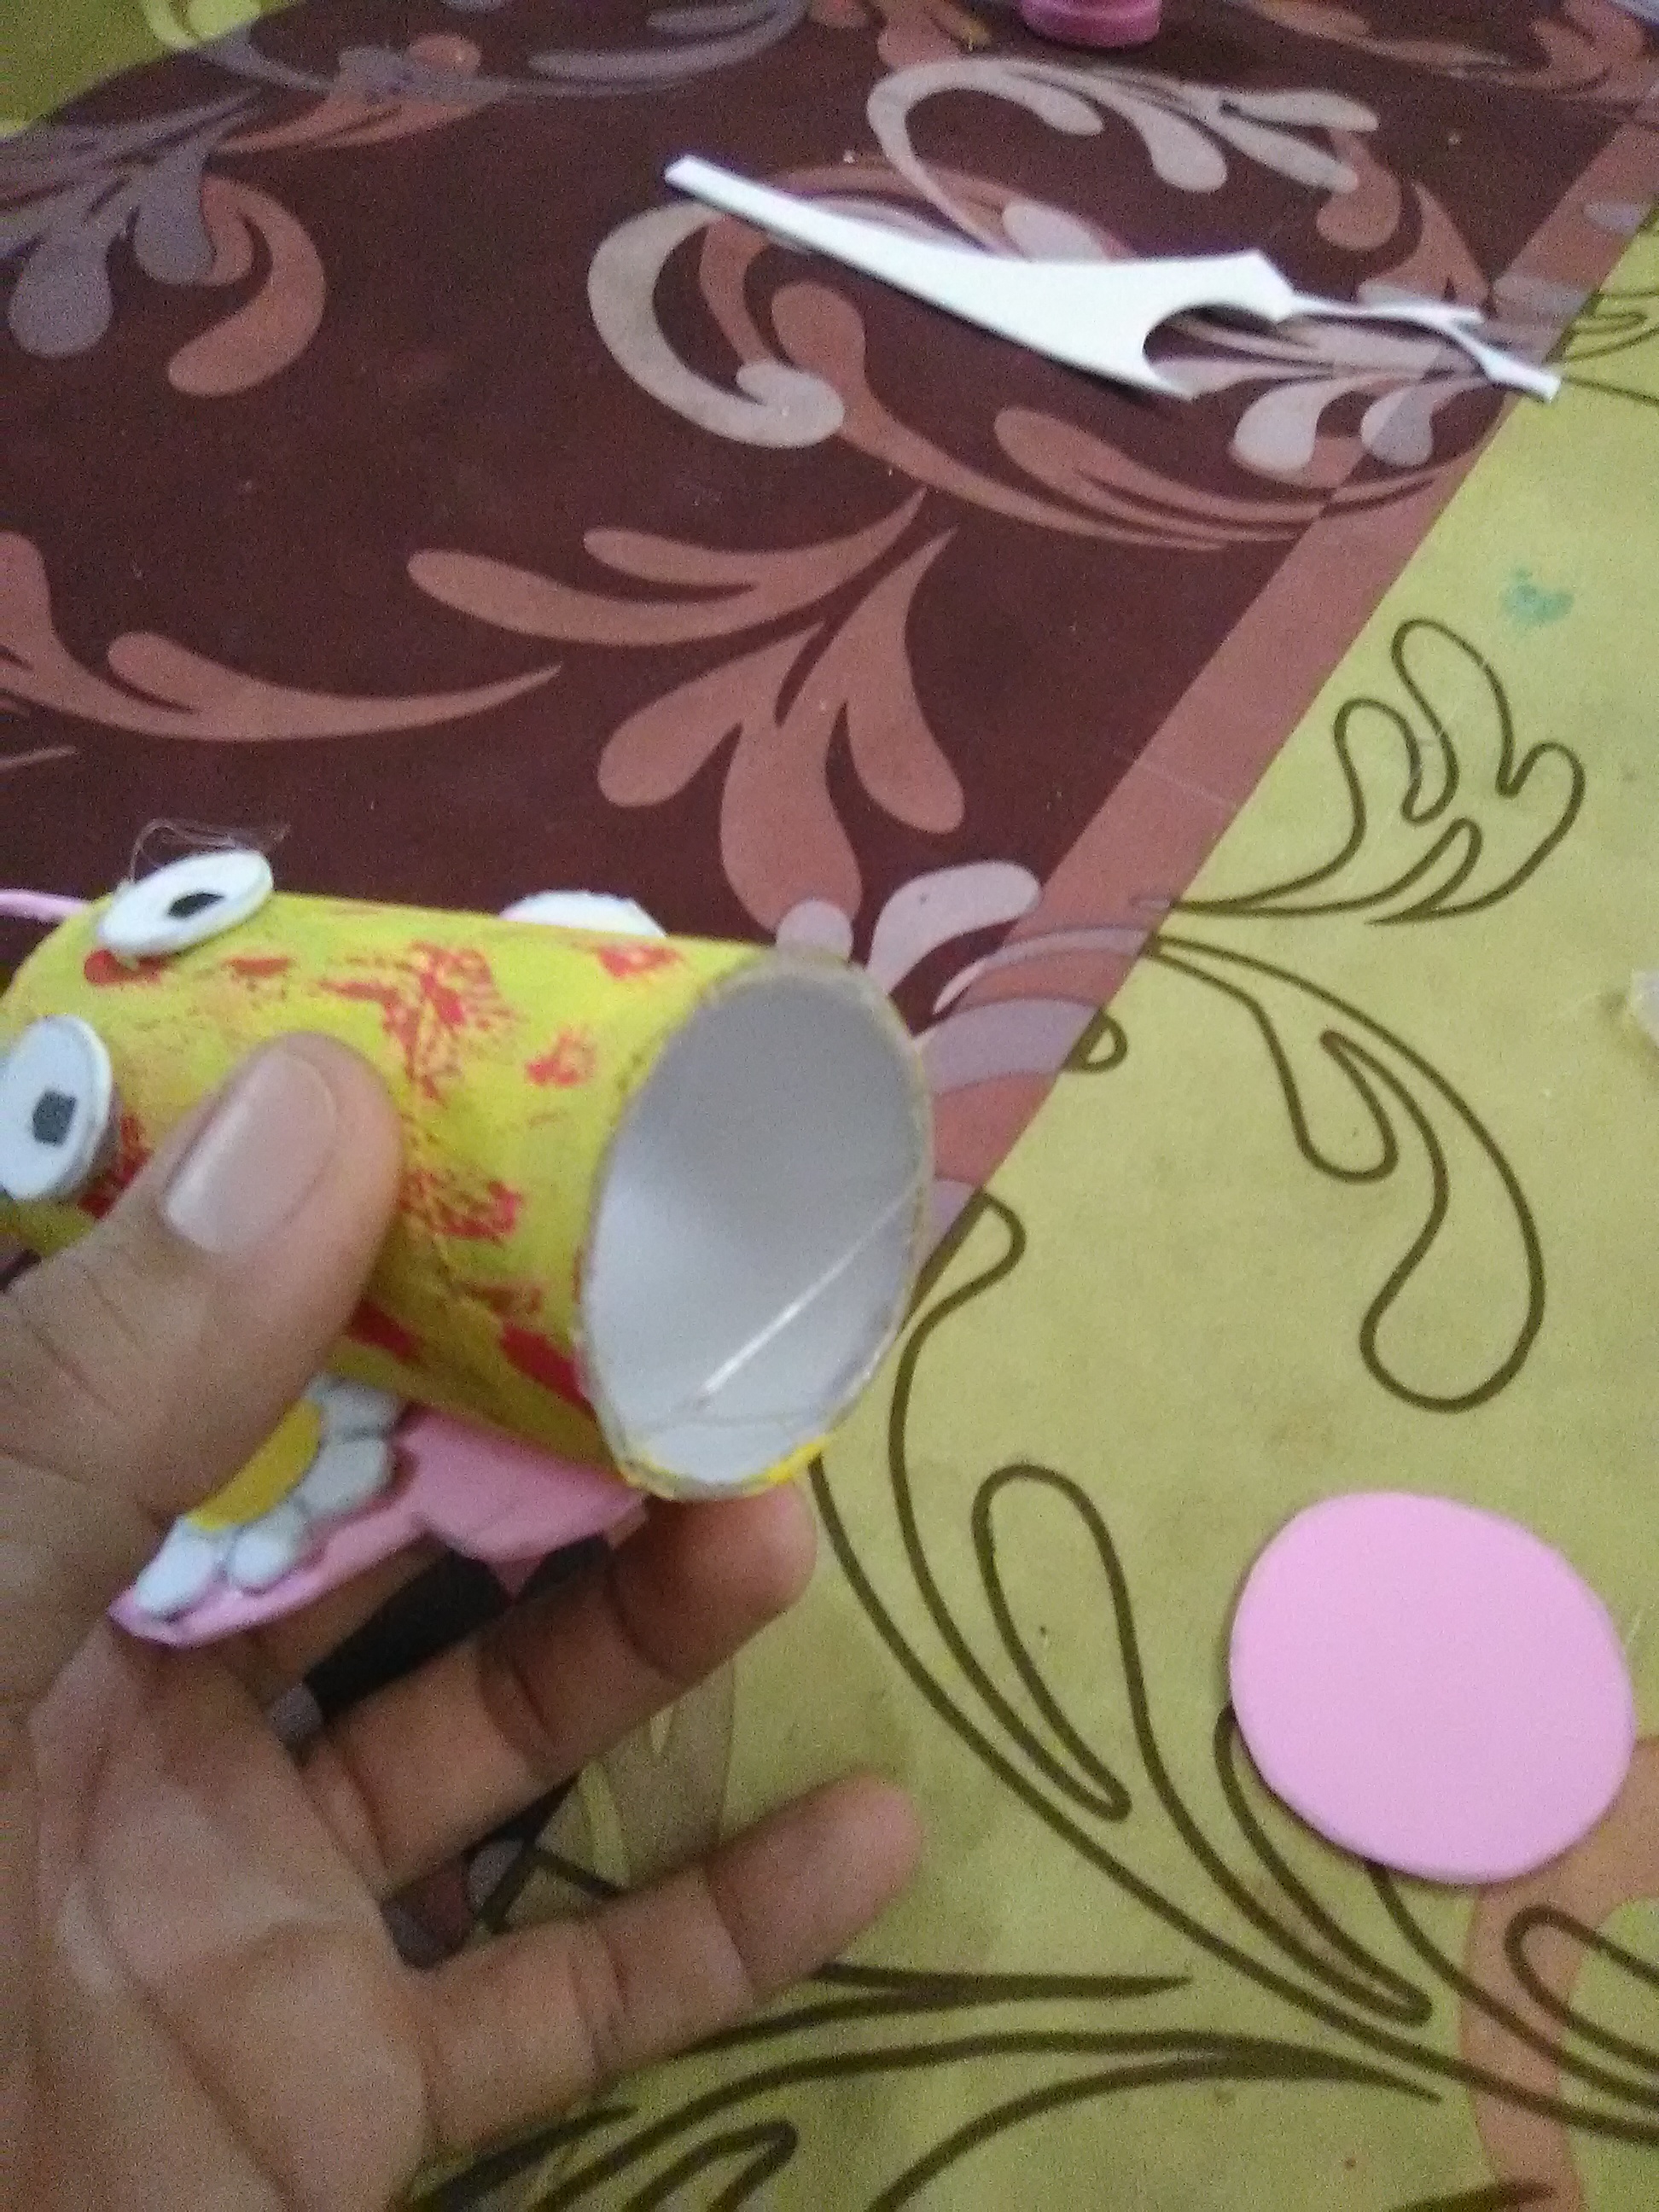
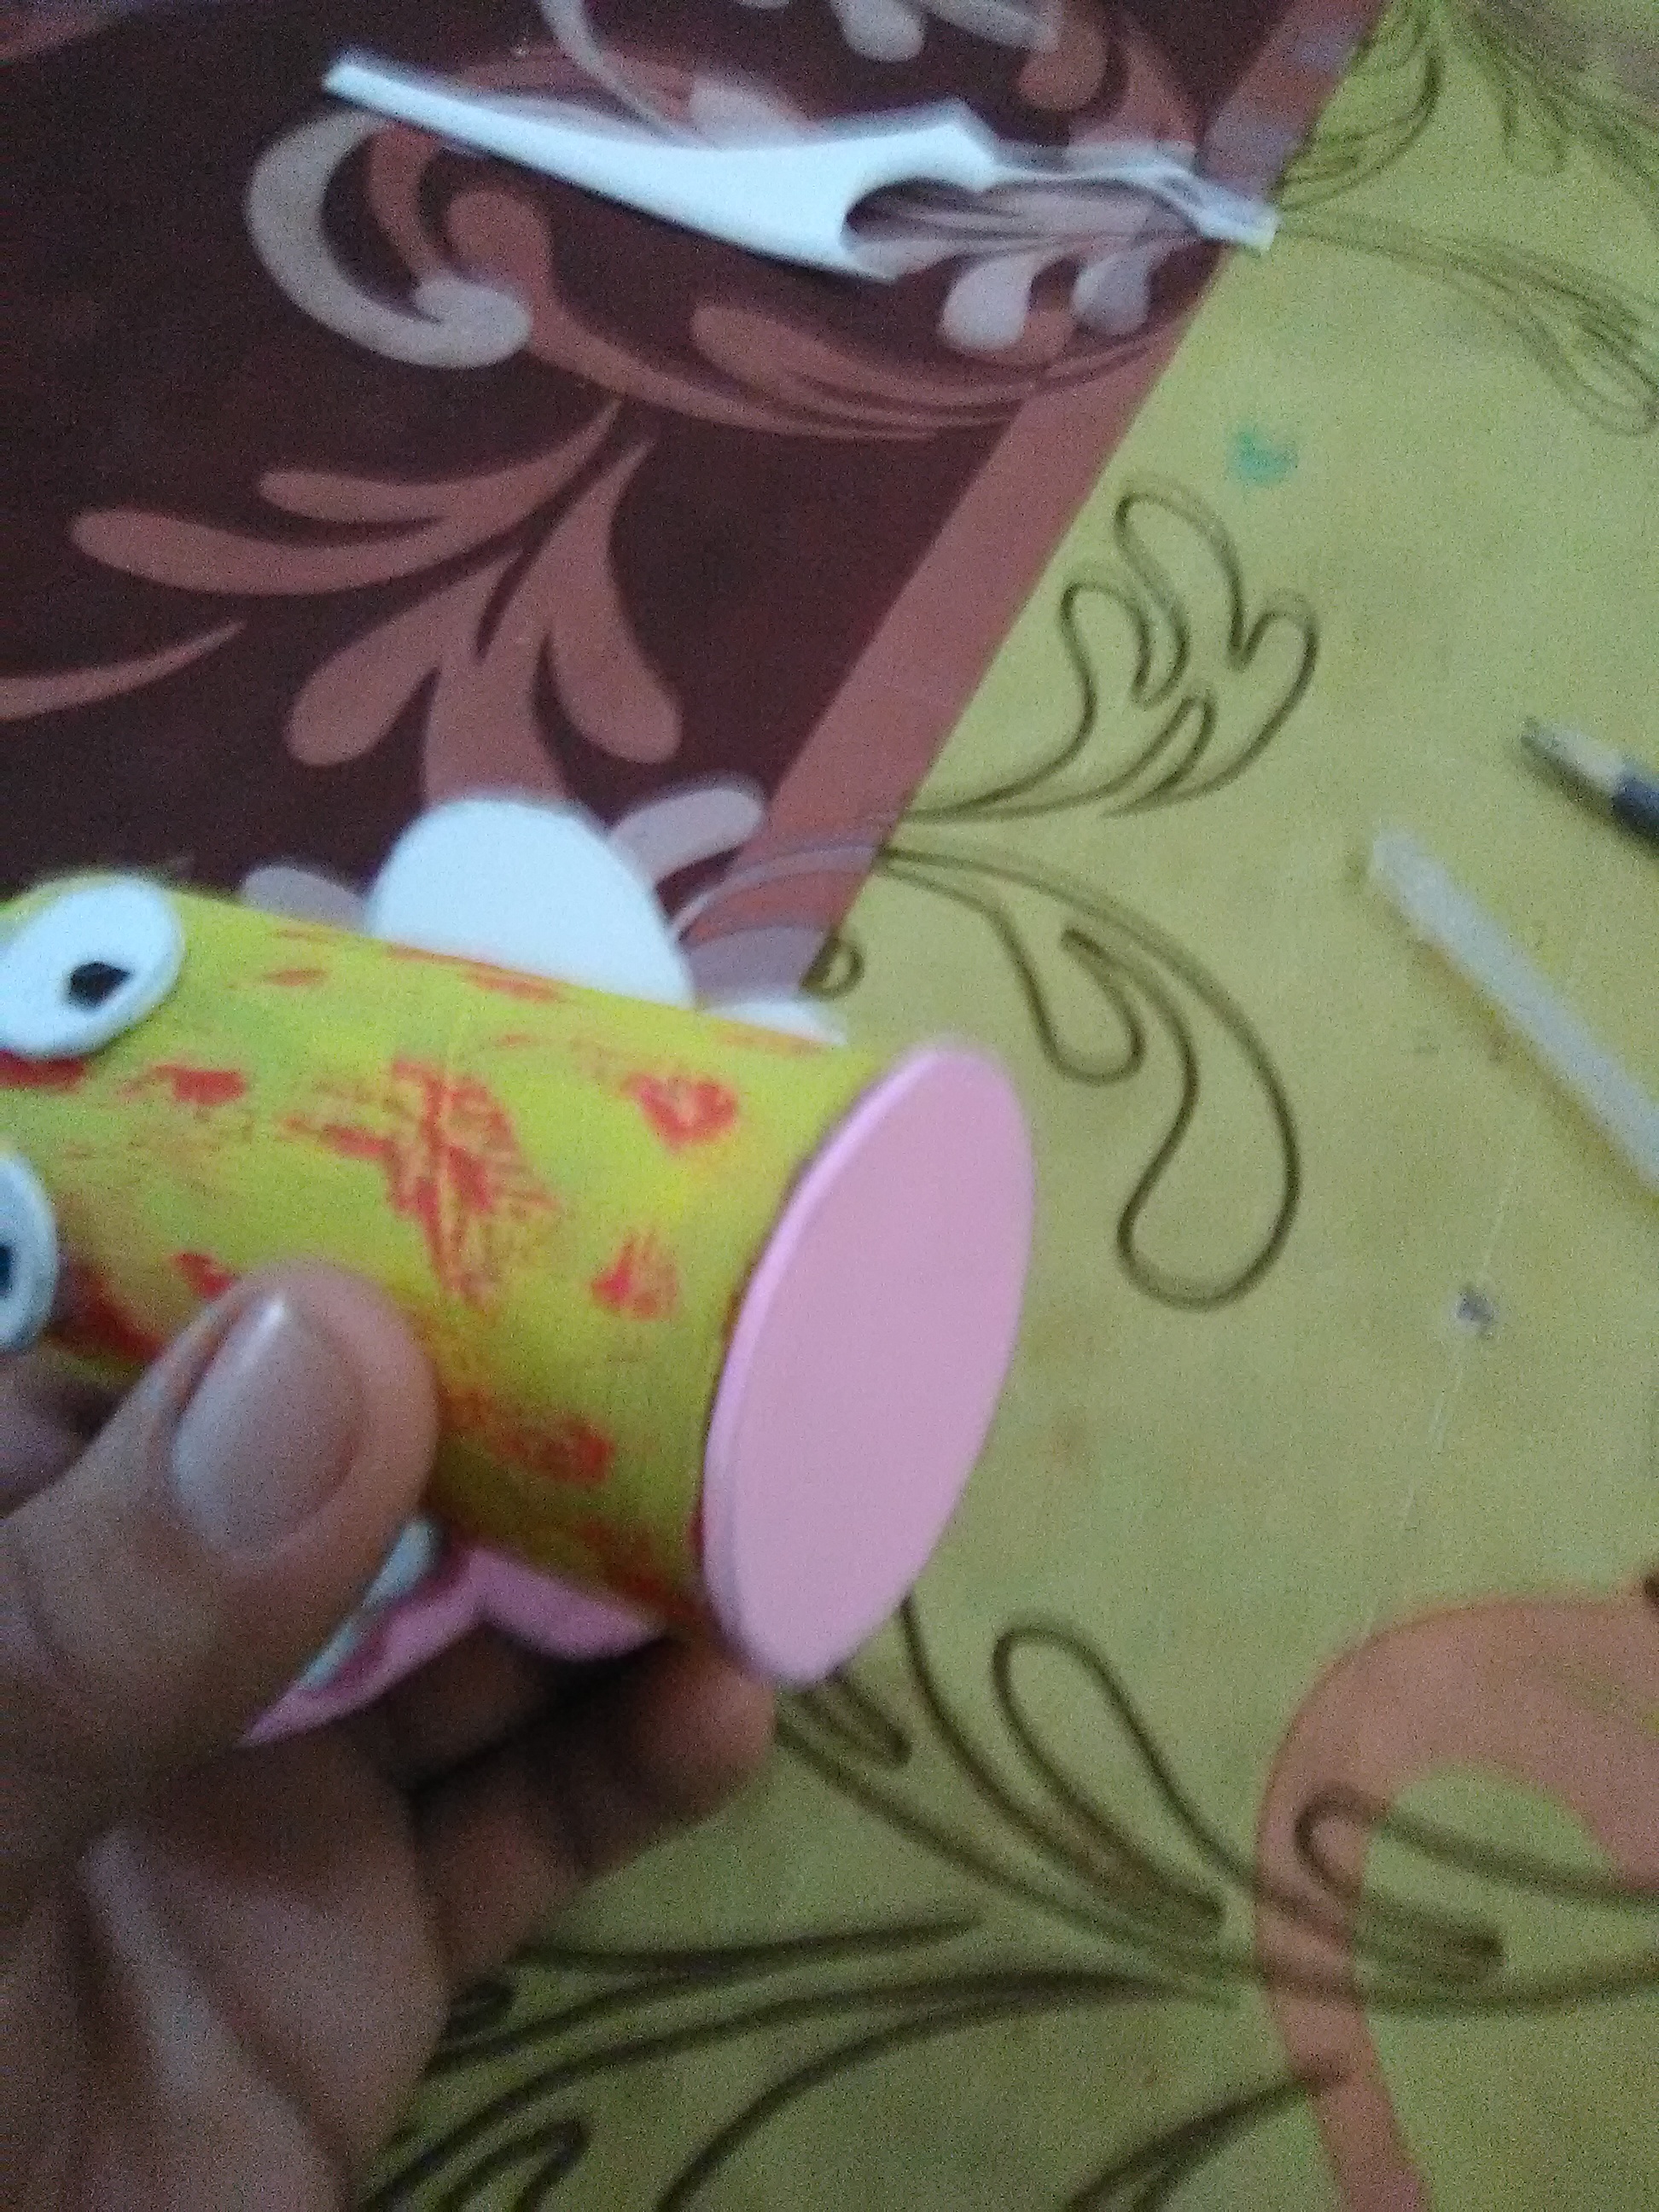
Paso 7:
- Recortamos un círculo de foami rosado para hacer una tapa a la parte de abajo
Step 7:
- We cut out a circle of pink foami to make a lid to the bottom.
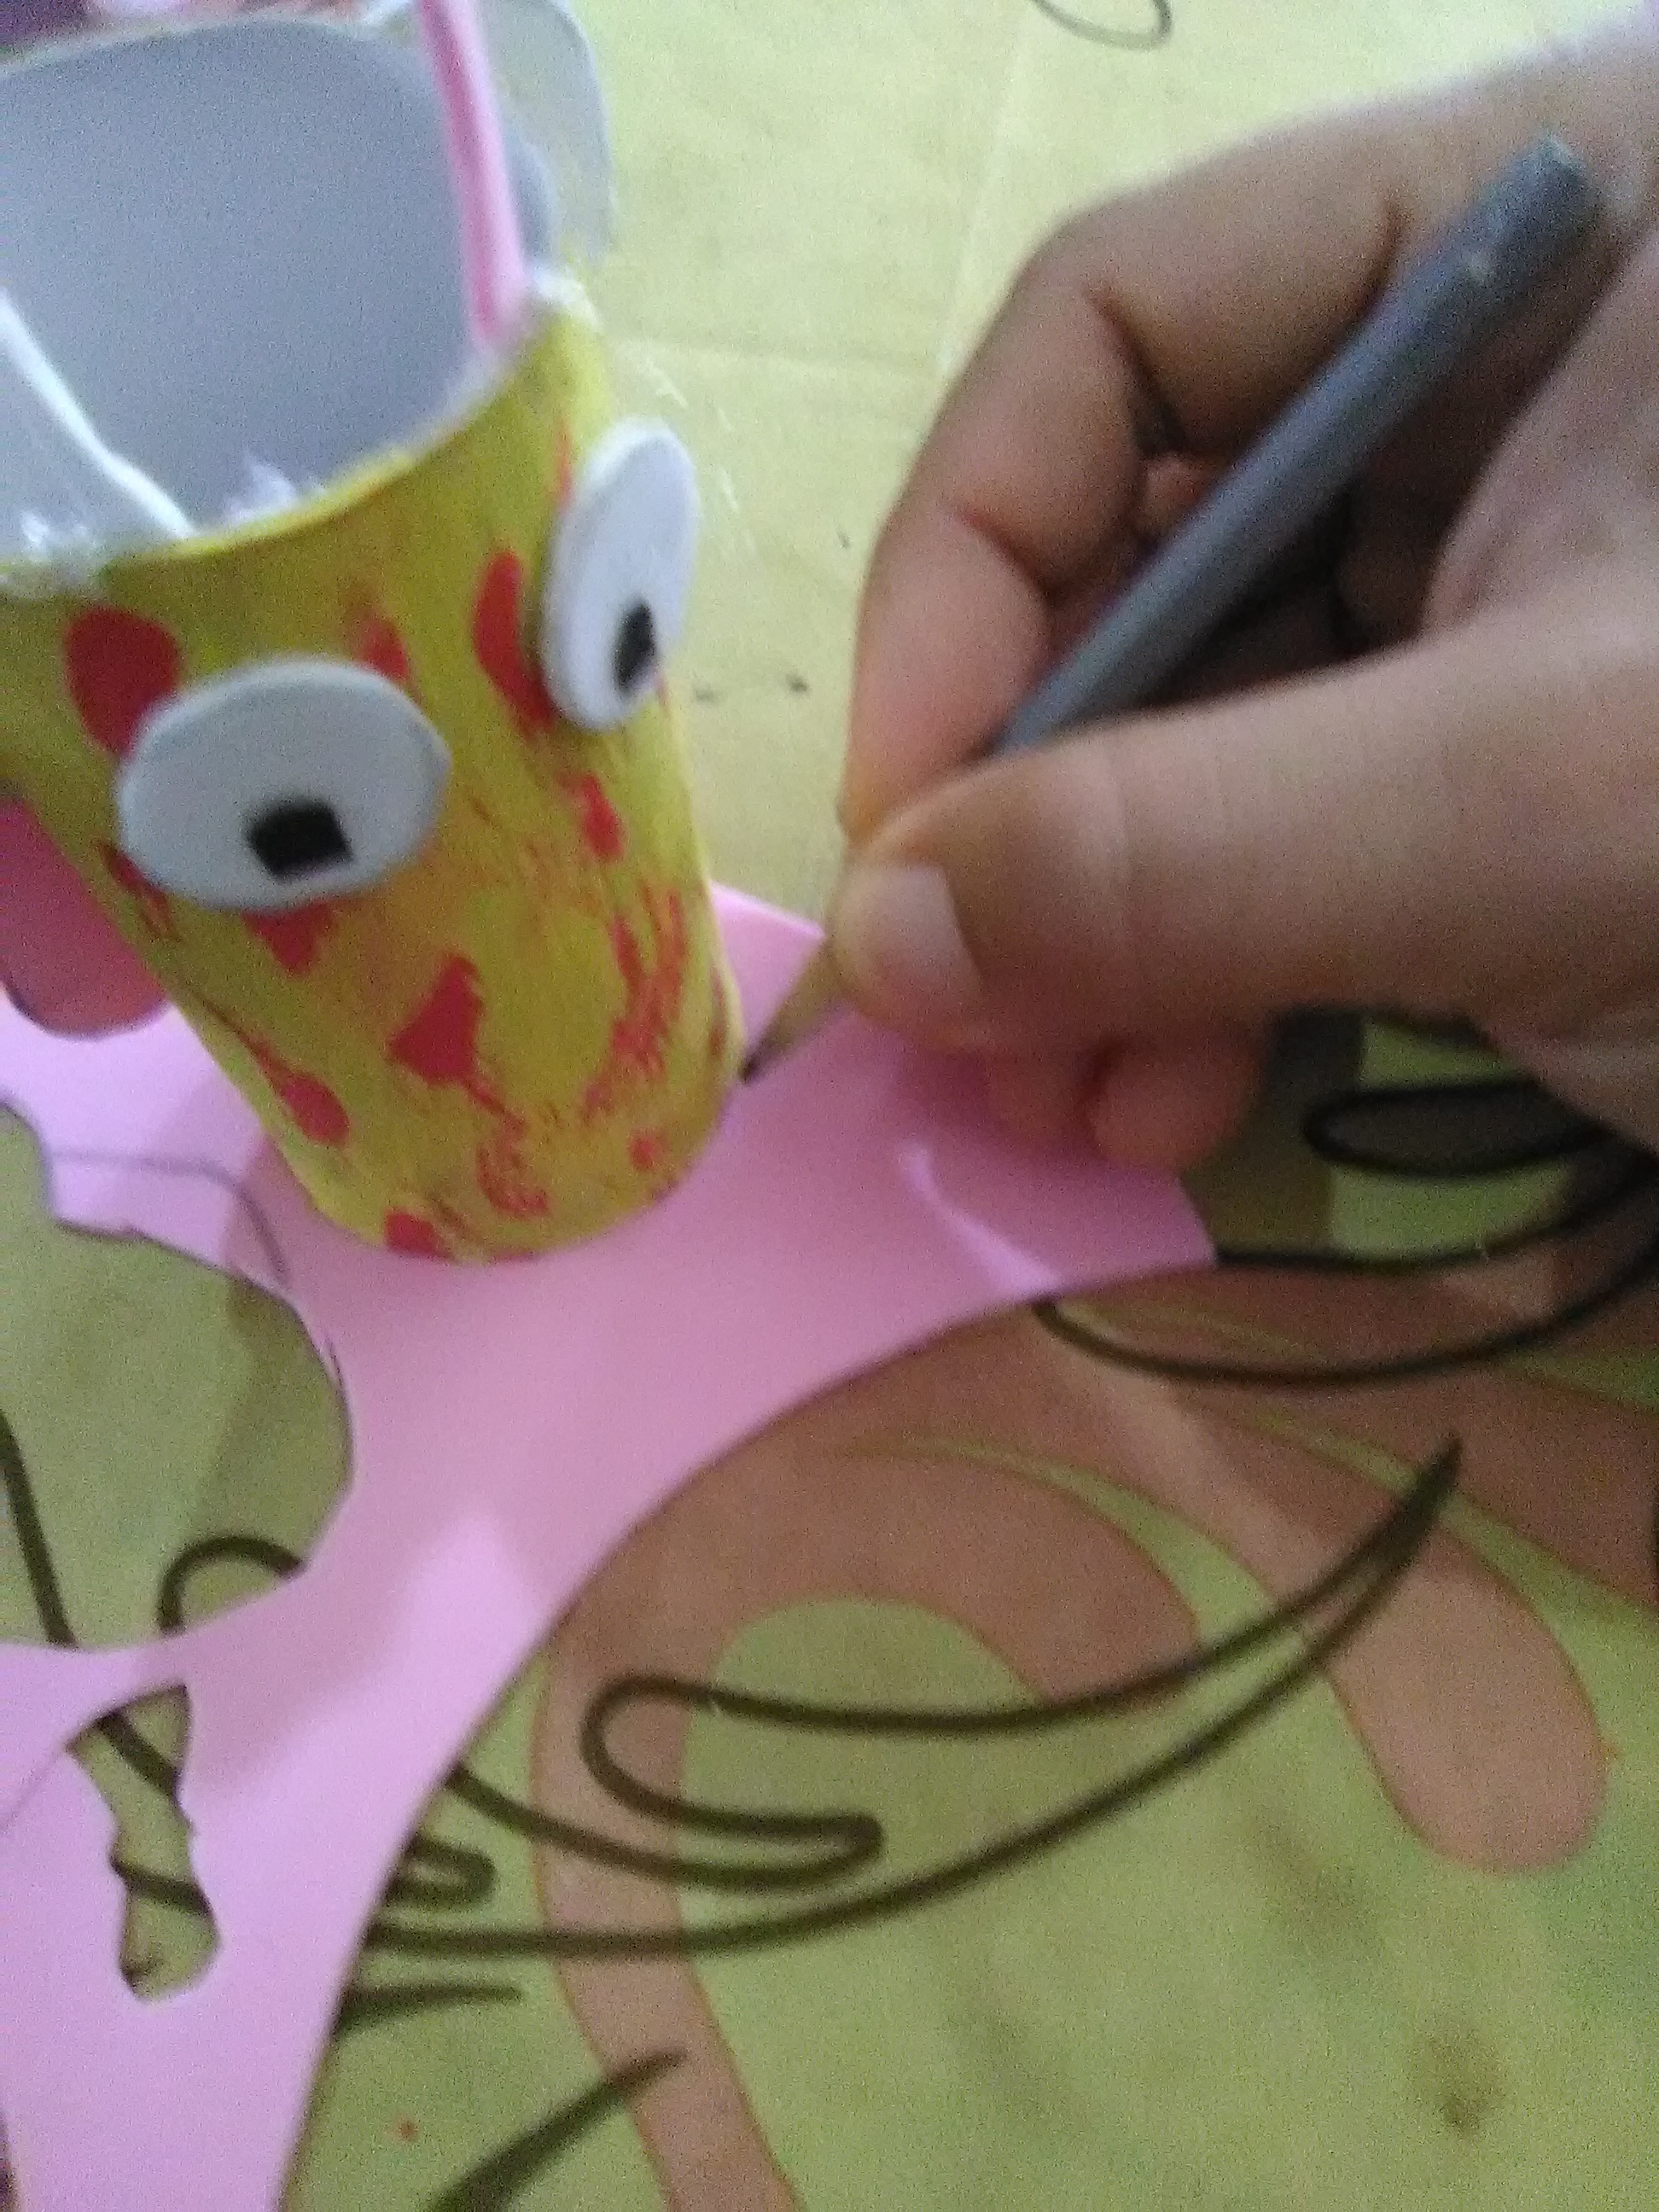
Paso 8:
- Recortamos un pedazo de foami blanco para hacer la boca
Step 8:
- Cut out a piece of white foami to make the mouth.

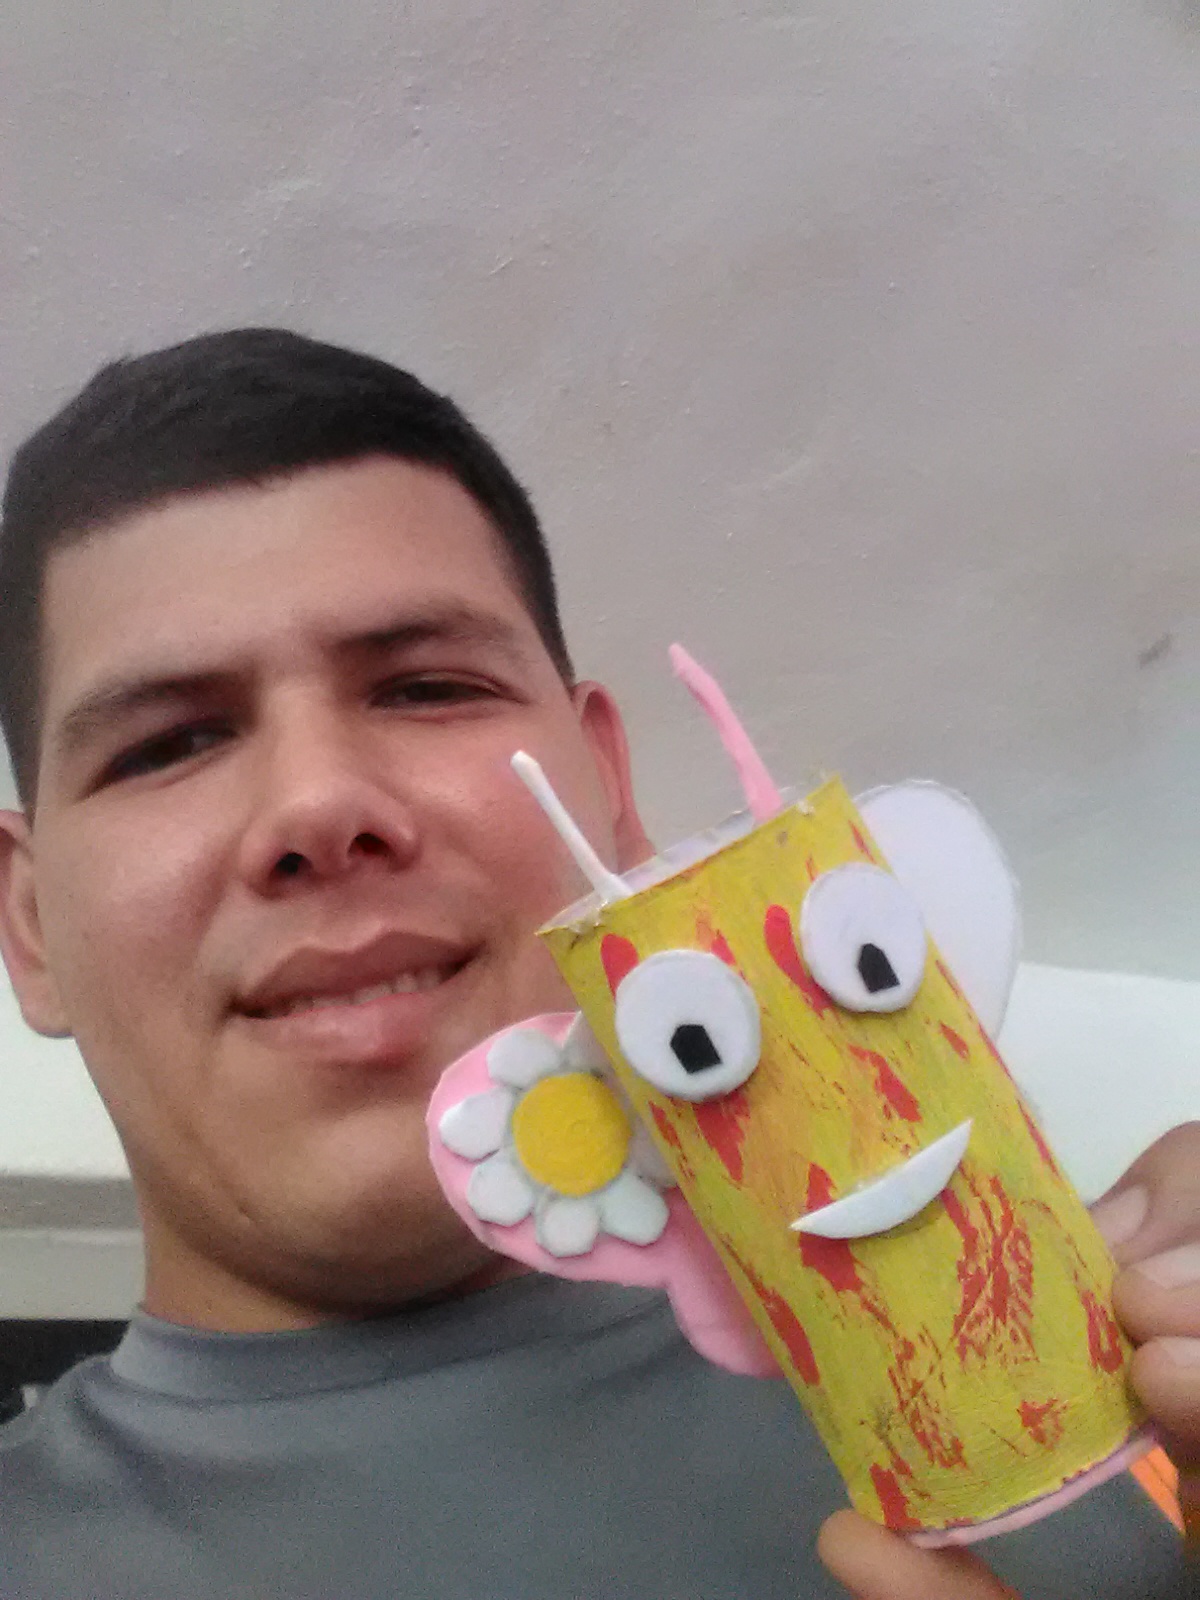
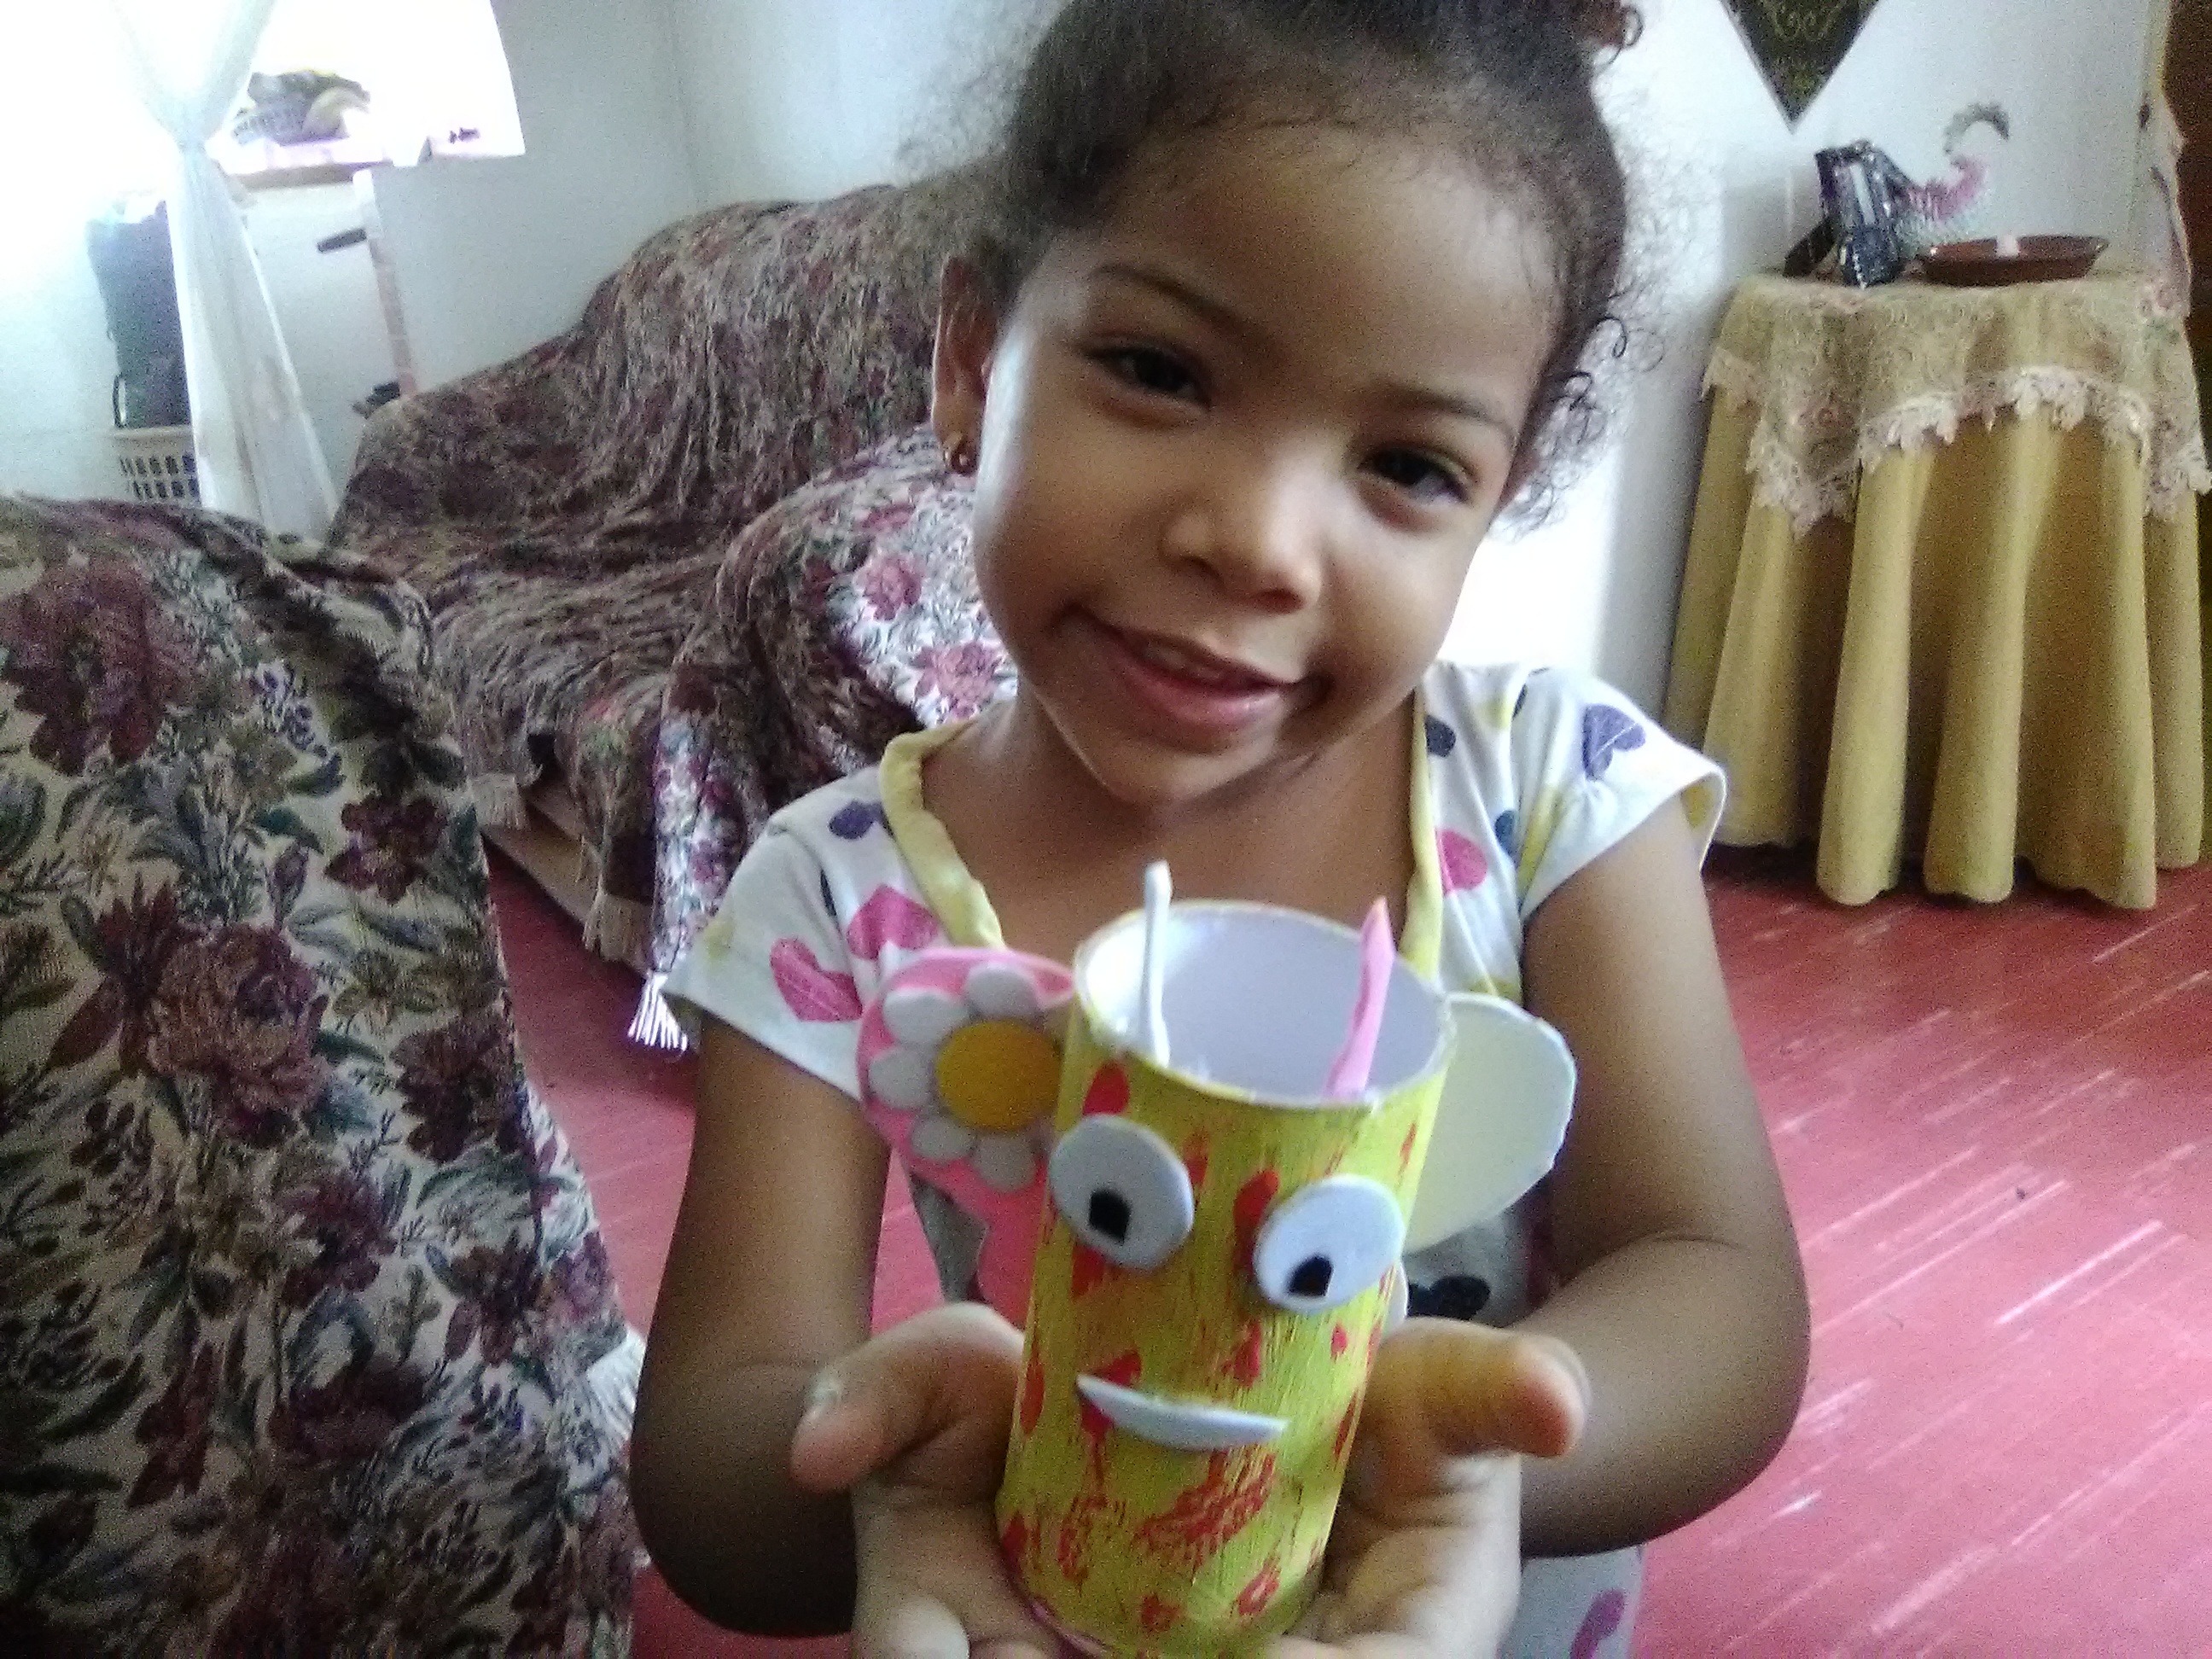
Amigos espero les haya gustado mi humilde trabajo siempre pensando en los pequeños de la casa que tengan una feliz noche
Friends, I hope you liked my humble work, always thinking of the little ones at home, have a happy evening.
💎Gracias por su visita 💎
Herramientas usadas:
Fotos tomadas desde mi teléfono Alcatel A55 44
www.corrector-castellano.com
www.deepl.com/es/
Congratulations @beyker21! You have completed the following achievement on the Hive blockchain and have been rewarded with new badge(s) :
Your next target is to reach 3000 upvotes.
You can view your badges on your board and compare yourself to others in the Ranking
If you no longer want to receive notifications, reply to this comment with the word
STOPCheck out the last post from @hivebuzz: