

Spanish
Buenas buenas…
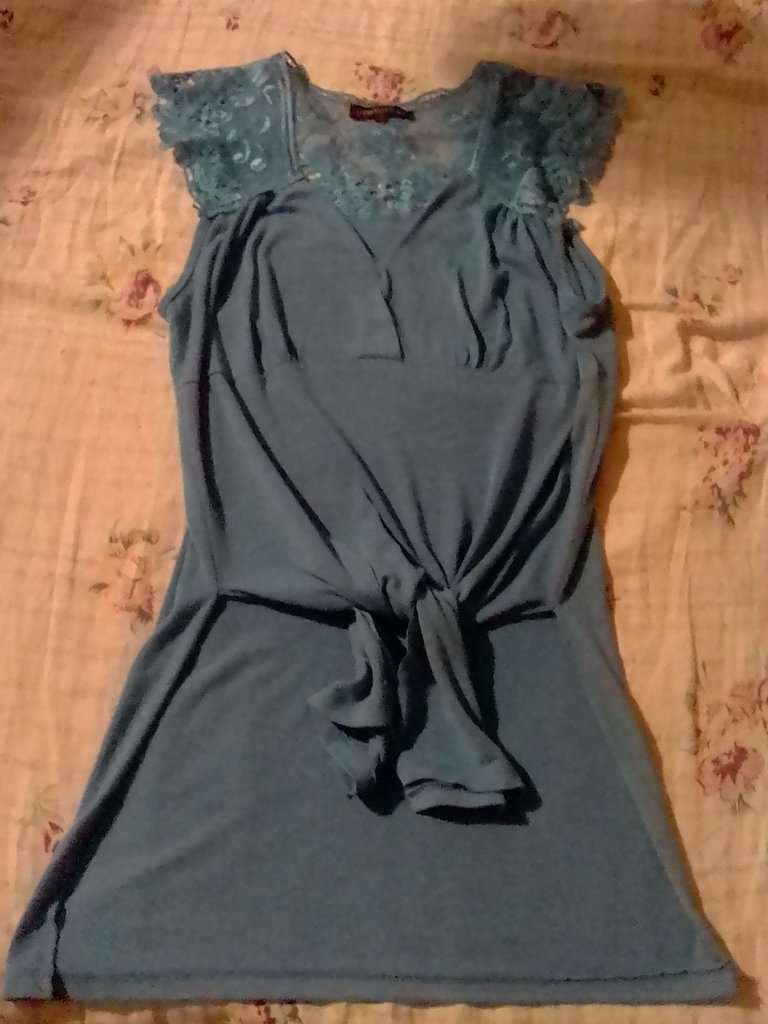
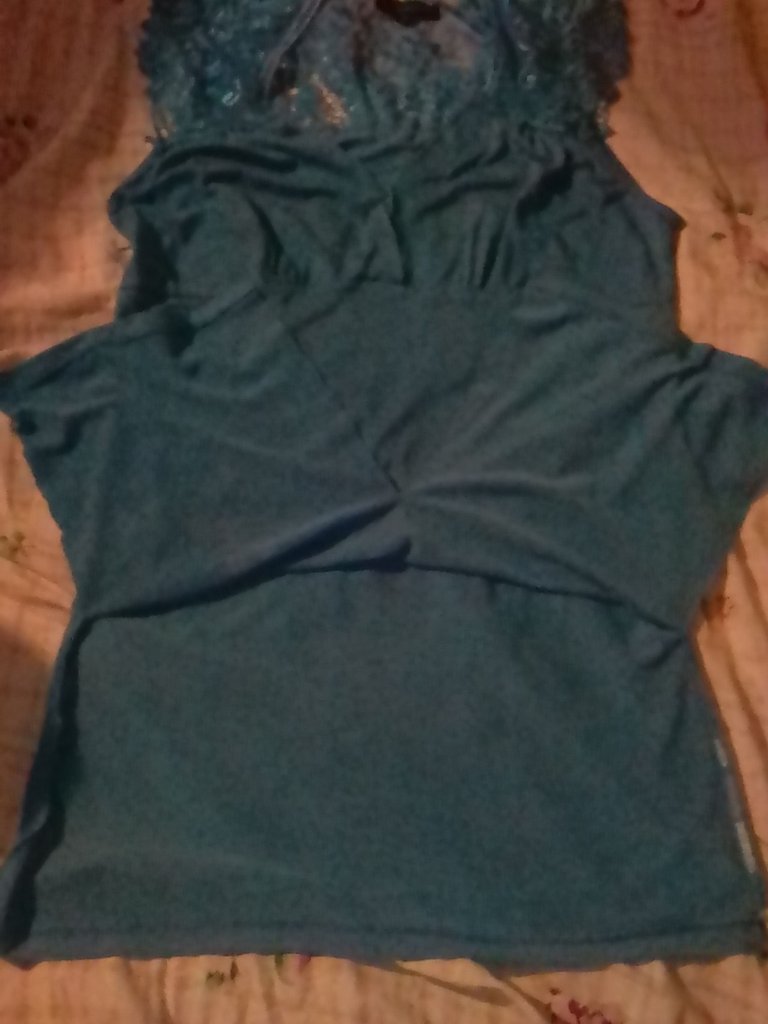
Hoy estoy feliz y quiero compartirlo con ustedes. Realice un cambio a una camisa que me gusta mucho, pero me quedaba demasiado larga, entonces en estos días que salí al centro, vi una camisa con ese modelo (tiene como una cola atrás y adelante se amarra), me gusto y decidí que eso era lo que le iba a hacer a mi camisa, y así fue. Les cuento el paso a paso de la pequeña transformación de mi camisa.
Los materiales son:
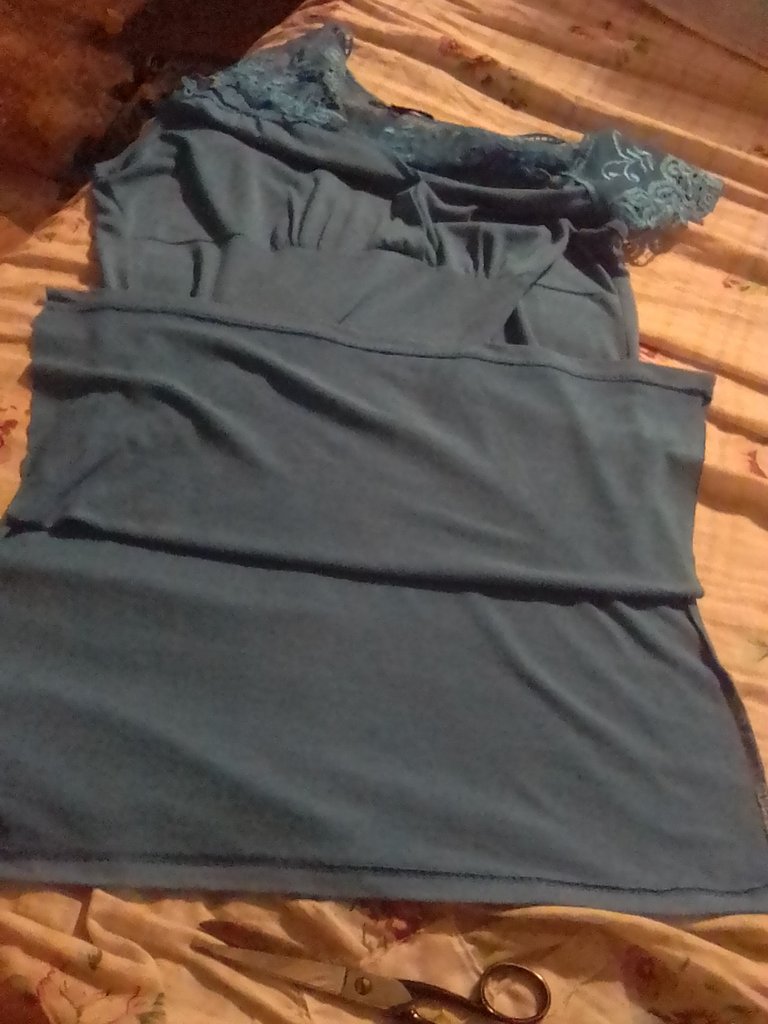
La camisa
Tijera
Lápiz
Regla
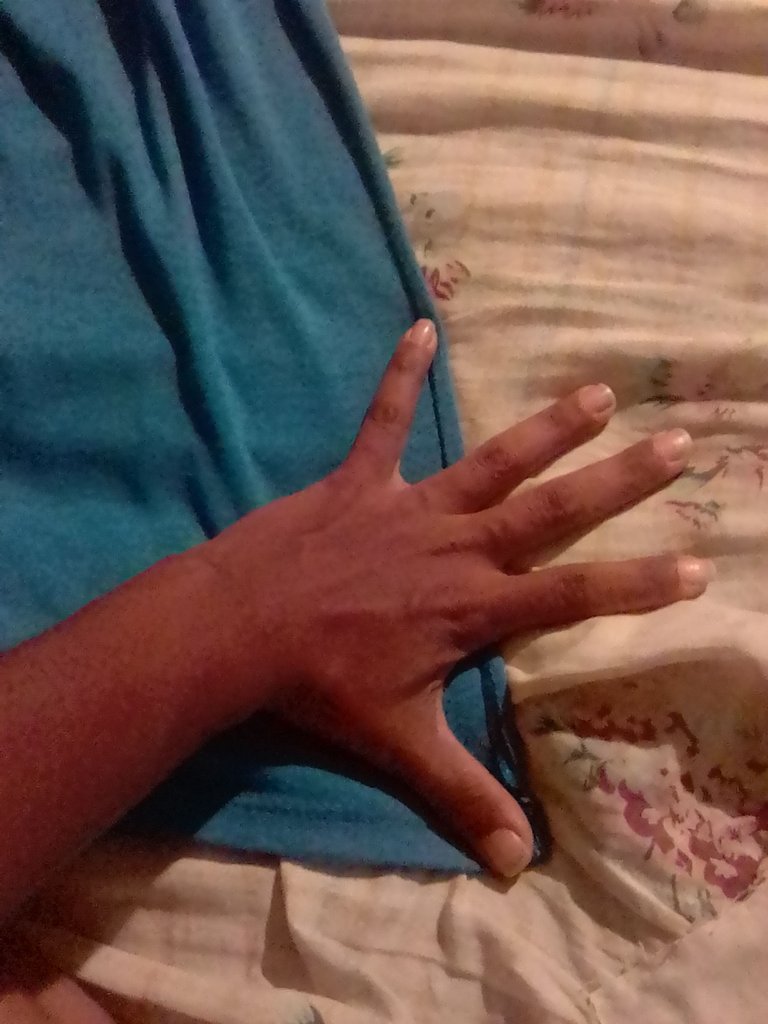
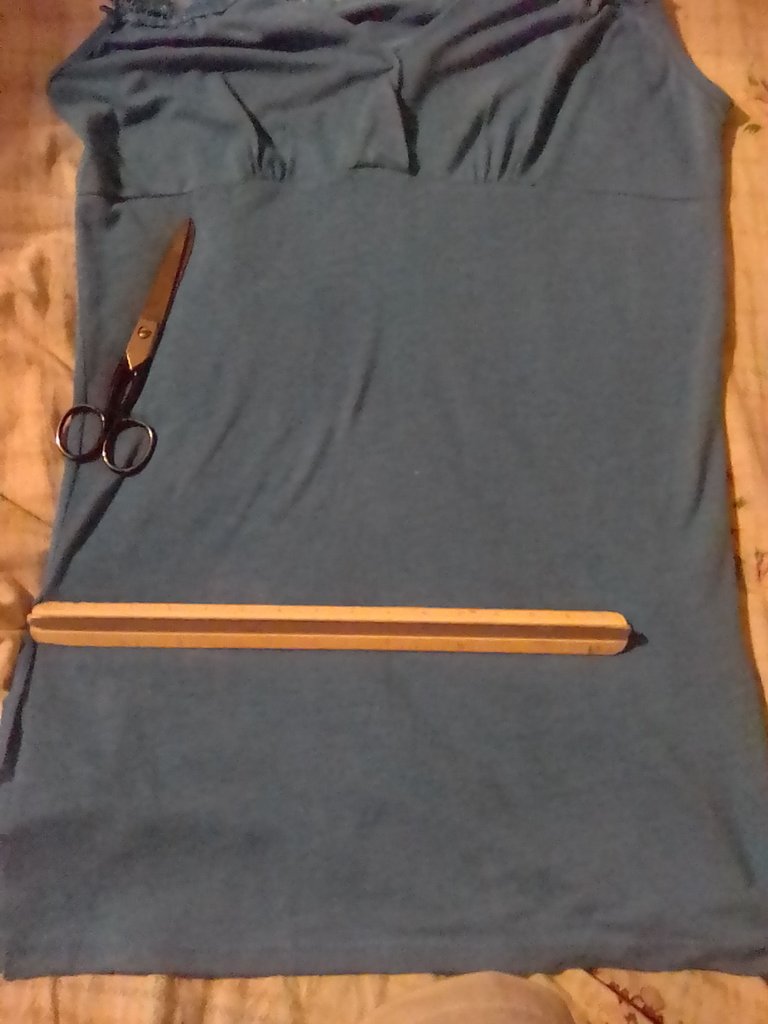
Primero me medí la camisa para saber a qué altura la iba a cortar.

La medida que tome fue de una cuarta (use mi mano para esa medida)
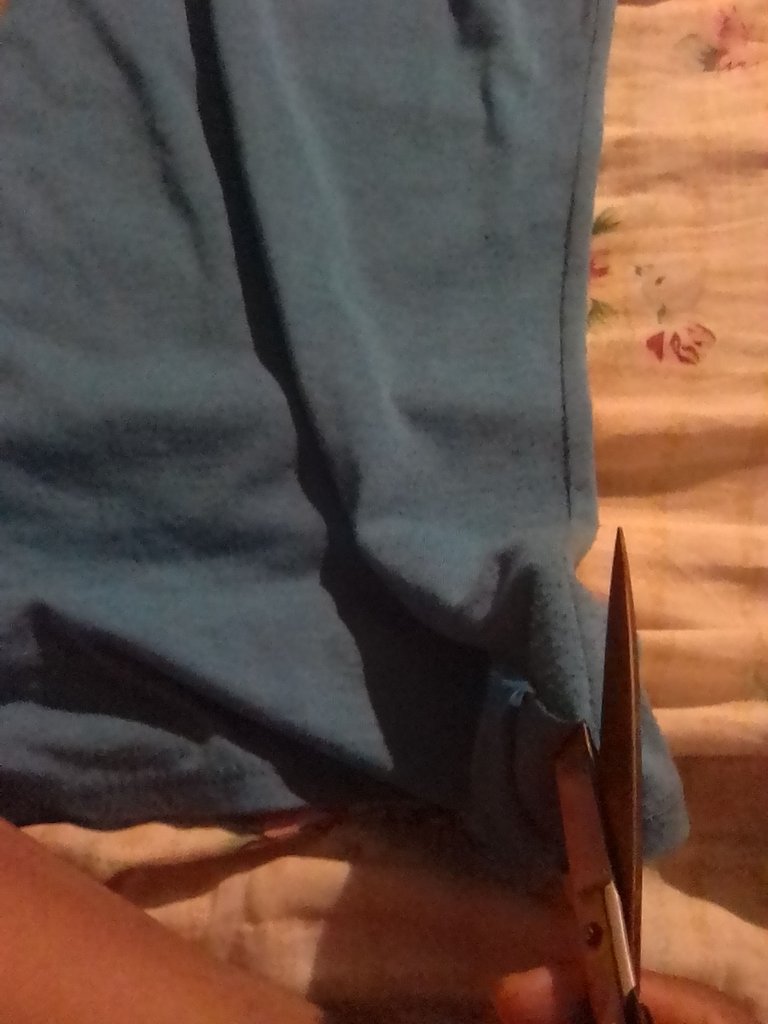
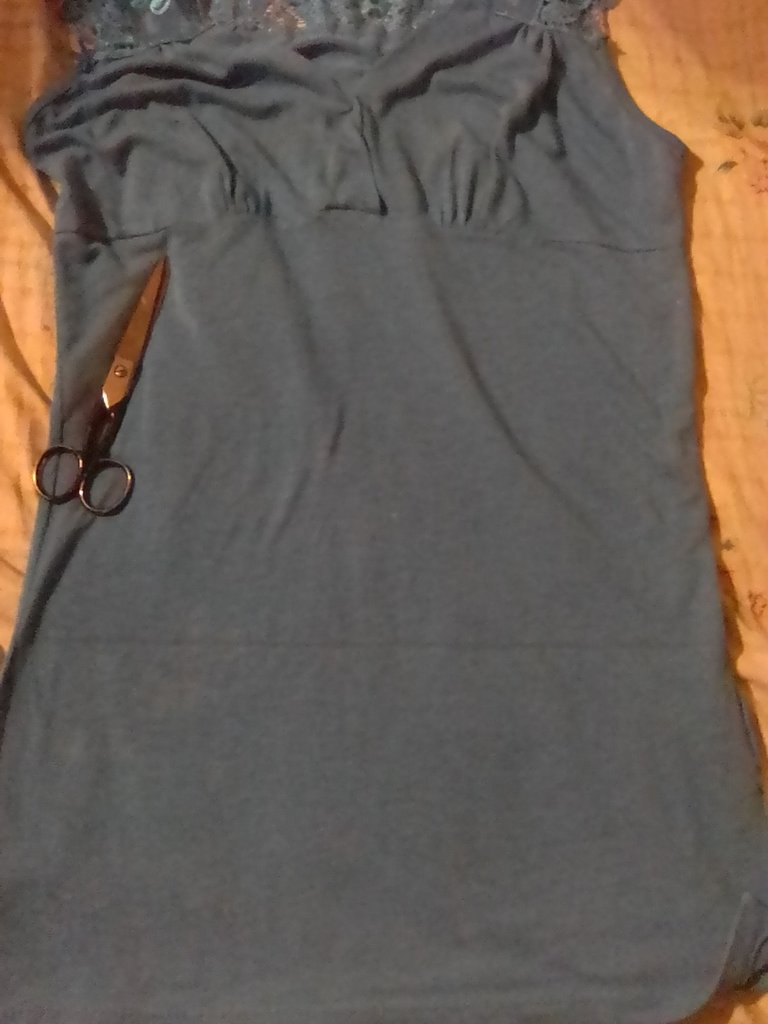
Con eso procedemos a cortar por los lados, donde está la costura
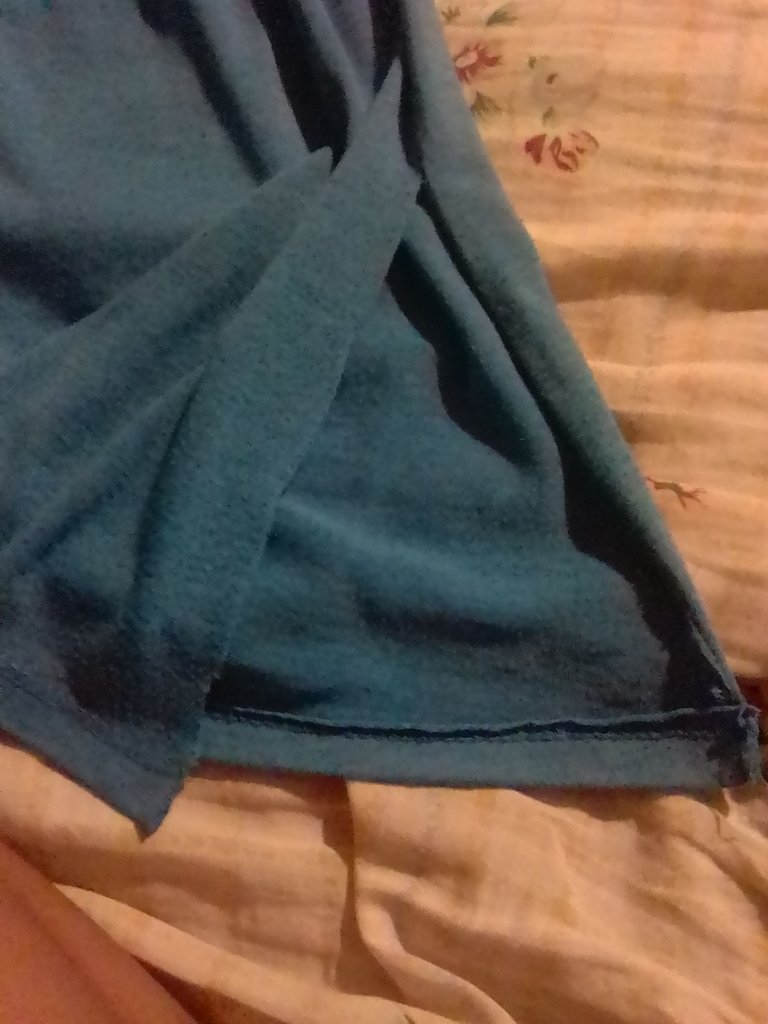
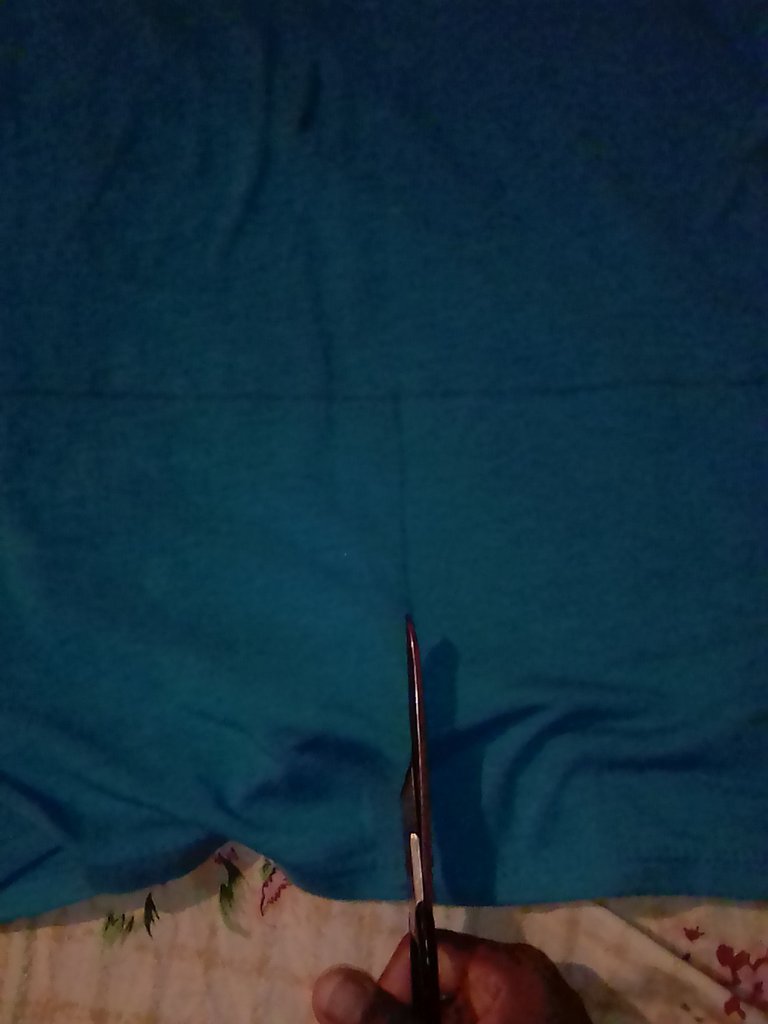
Después de eso agarre una regla para trazar una raya de un extremo a otro para que las aberturas estén al mismo nivel
Sucesivamente mido cual es la mitad para realizar el ultimo corte, el cual va a permitir que se pueda amarrar.
Bueno esta lista la nueva creación, y por mi parte feliz con el resultado.


Les cuento que las fotos a la camisa del paso a paso las tome yo, pero las enteras, donde se ve como me queda la camisa, me las tomo mi hijo mayor de 3 años. Qué tal?
Espero que les guste esta iniciativa que tuve con la transformación de la camisa y les sirva de motivación si lo necesitan.
Hasta una próxima publicación, Derzweile se despide.
English
Good good...
Today I am happy and I want to share it with you. I made a change to a shirt that I really like, but it was too long, then these days I went out to the center, I saw a shirt with that model (it has a tail in the back and in the front it is tied), I liked it and I decided that that was what I was going to do to my shirt, and so it was. I'll tell you the step by step of the small transformation of my shirt.
The materials are:
The shirt
Scissors
Pencil
Ruler
First I measured my shirt to know how high I was going to cut it.
The measurement I took was a quarter (I used my hand for that measurement).
With that we proceed to cut along the sides, where the seam is.
After that, take a ruler to draw a line from one end to the other so that the openings are at the same level.
I successively measure which is the middle to make the last cut, which will allow it to be tied.
Well, the new creation is ready, and I am happy with the result.
The photos of the shirt in the step by step were taken by me, but the whole photos, where you can see how the shirt fits, were taken by my oldest son, who is 3 years old. What's up?
I hope you like this initiative I had with the transformation of the shirt and I hope it will serve as motivation if you need it.
Until next time, Derzweile says goodbye.
Imágenes de mi propiedad
Texto traducido en Deepl
Baner y separador elaborado en Power point
Hola @derzweile, este post ha sido votado por la cuenta @Cervantes, saludos!