Hello, friends!
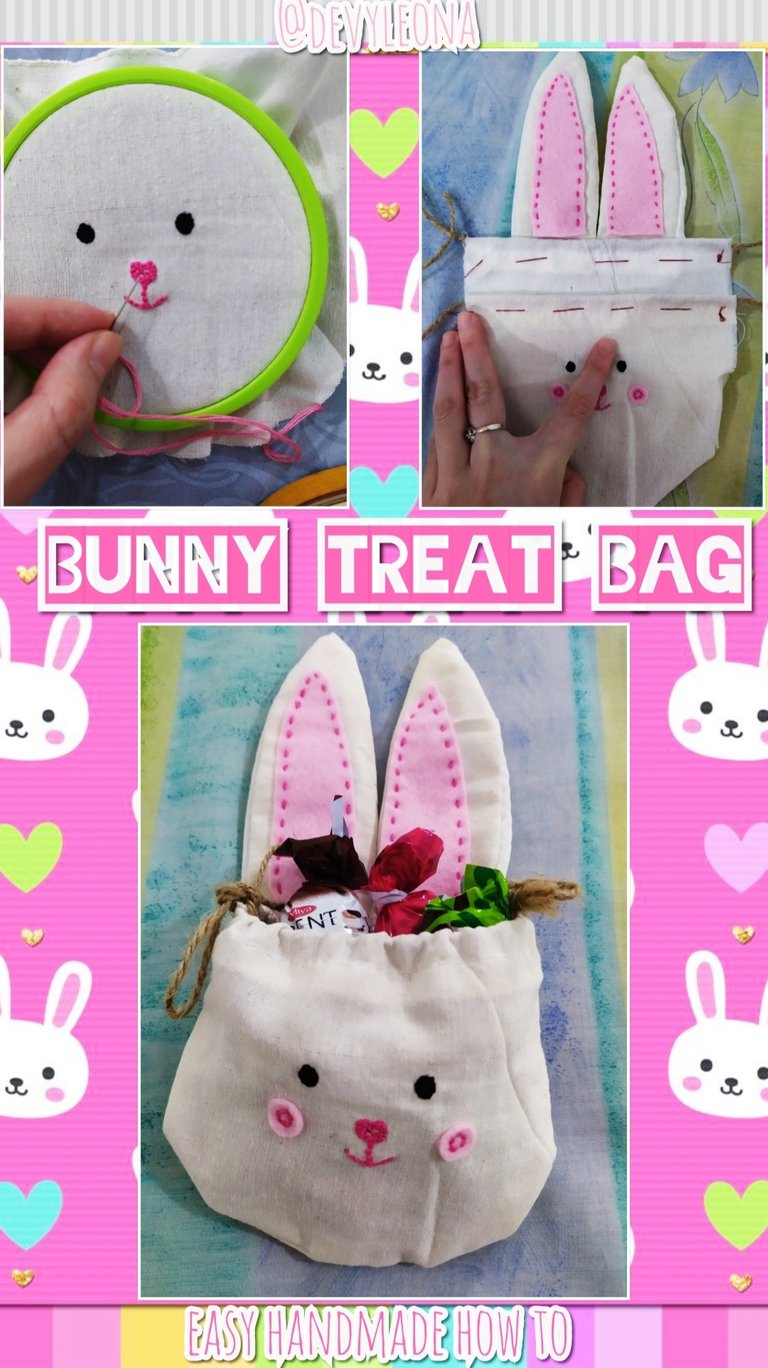
Today i would like to share how i made this cute useful easter decoration.
Materials & things needed:
unused paper
black marker
pencil
scissors
natural fabrics (thicker and thinner)
embroidery hoop
soft pink felt fabrics
black, pink and soft pink embroidery thread
red and white sewing thread
natural colour rope
How to make it:
First, draw the pattern for the bunny's head and also two long ears by using unused paper and also marker then cut it off. Then, measure the natural fabrics like the pattern, for the ears and also back, use both thinner and thicker fabrics. For in front, use only thicker fabric.

Draw the two eyes, nose and bunny's mouse with a pencil on the thicker fabrics for the front part. Then embroidery it from the side until it fullfill. Use 6 strains of embroidery thread. Black colour for the eyes, while the nose and mouth use the pink colour. Then inside of the nose, use the soft pink thread.

After finished, to prepare for ears, cut off the felt for both ears and also thicker fabrics. Also cut off the pink felt round shape for the cheeks, embroider it with the pink thread.

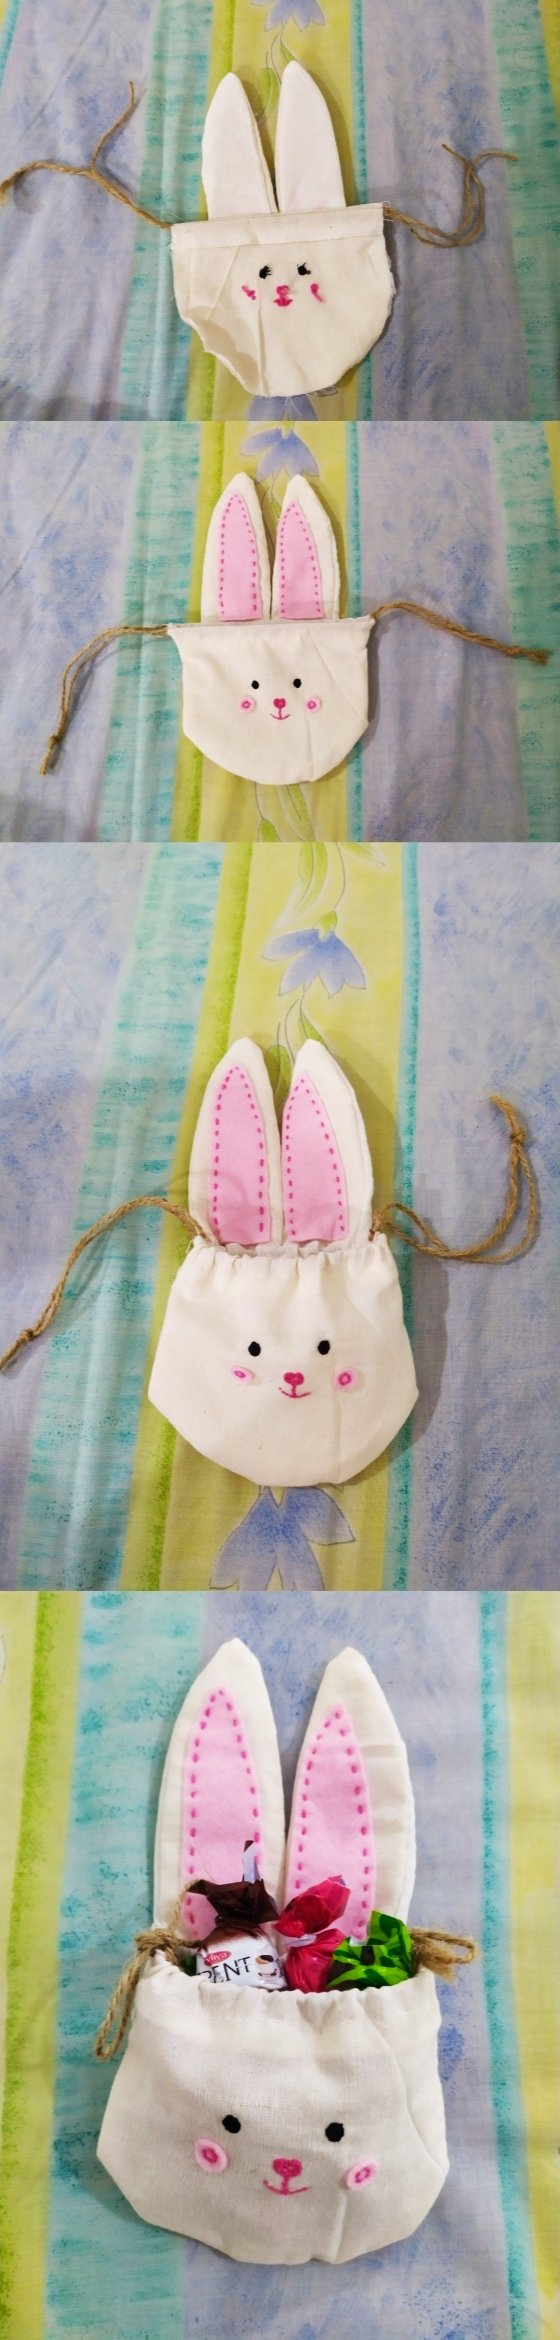
For the ears, use the pink embroidery thread, sew natural fabrics and also felt together. Then from inside, sew the front and back part, first larger with red thread then sew with the white thread. Last, release the red one then turn it around.

Then sew the two ears to the back part of the bunny's face, like in the pictures below. Like usually sew with the red colour as helper then with white thread, and last release the red sew. Put natural rope as drawstring on the back and also front part like below.

Join the back and front part of the bunny's head, now already with the rope inside. Sew them together, red larger as helper and last use the white thread to sew it then release the red thread. Turn it around then voila it's ready to use. You could put some treats inside then use it to decorate your house.
Hope you could enjoy the article!