Behind the scenes — "Yjonra Outskirts" images
.by @dpend.extra
.
Greetings!
It's been a long time since I did a behind-the-scenes post and I thought "Yjonra Outskirts" would be a great one to do it for, so that I could show the method I used to combine different Deep Dream Generator process "layers" into a composite image.
If you haven't heard of it, Deep Dream Generator is a platform where you can upload images and process them through other images or "layers" of a preset engine and get very interesting results. Playing around with processing my original photographs has been one of my favorite past-times in recent months.
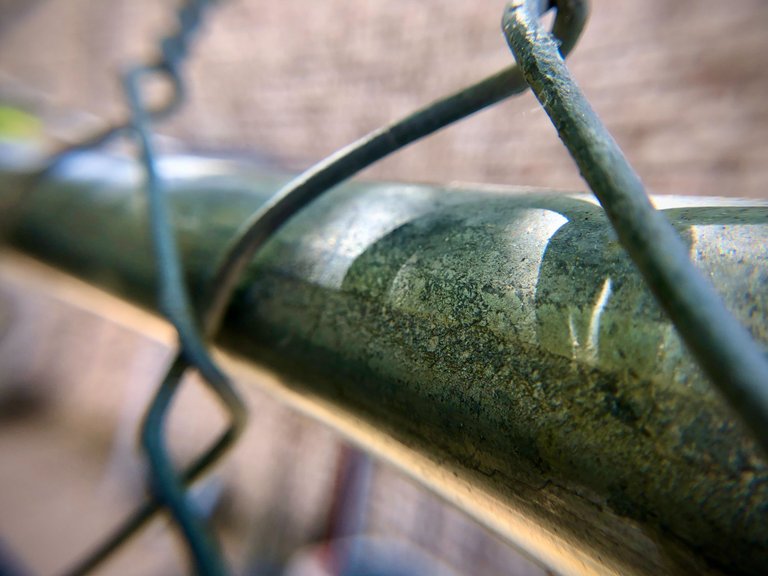
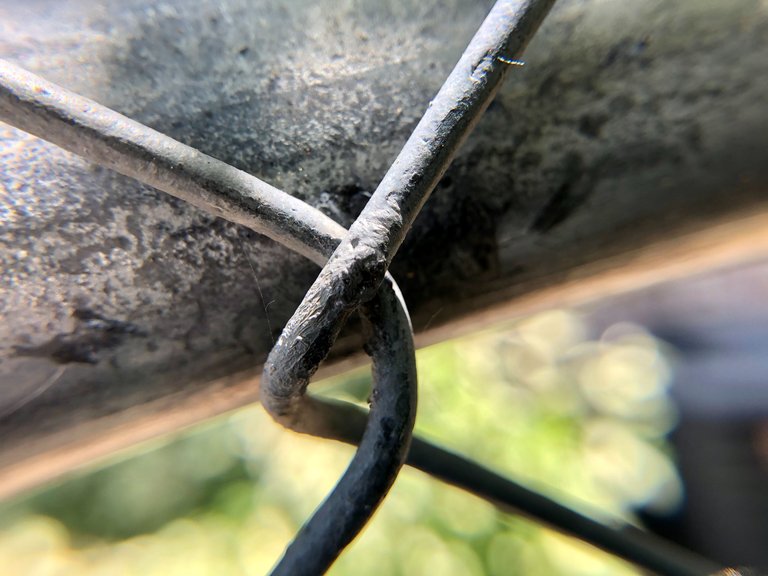
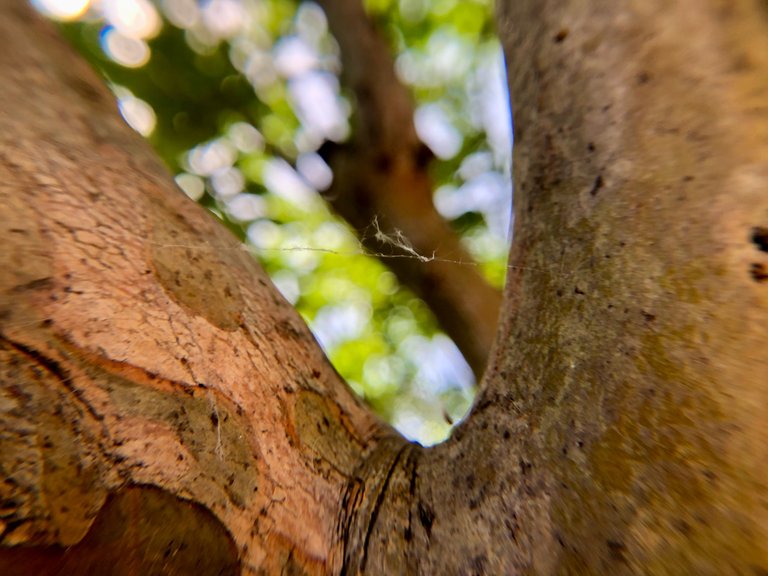
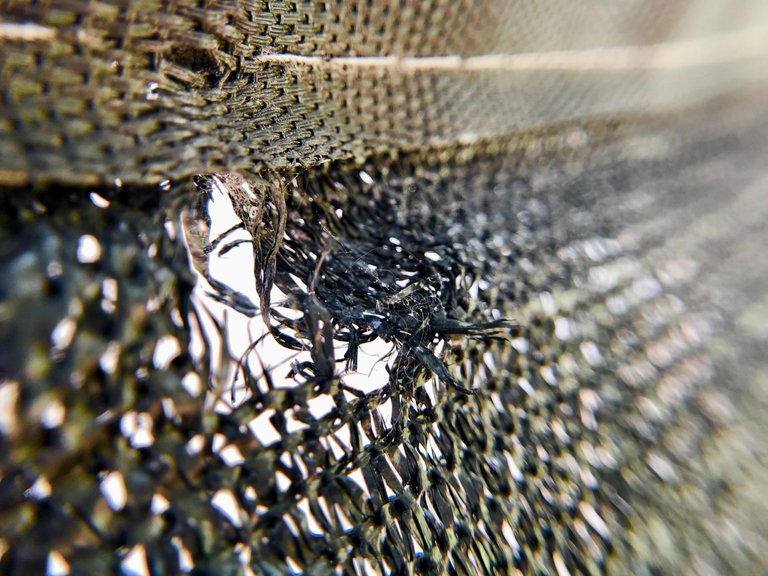
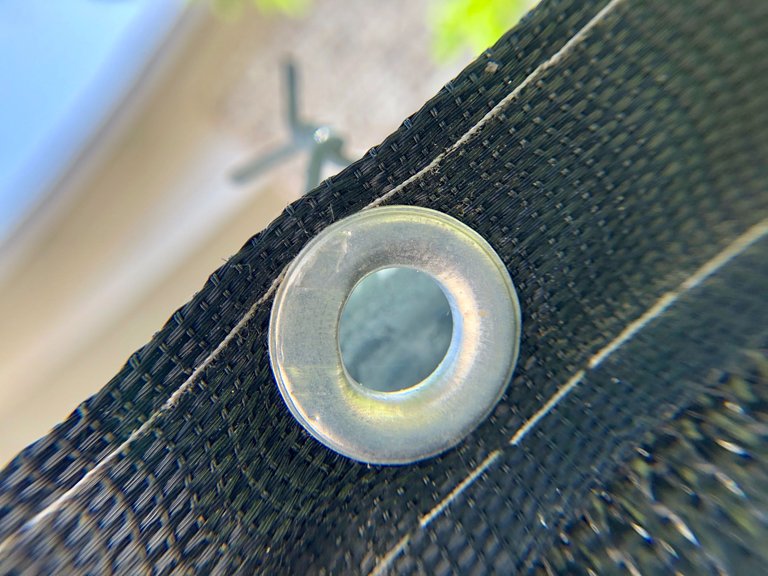
All of the images at the top of this post were taken by me with iPhone 8+ with a macro lens attachment in June of 2020. They are the base material I started with before beginning to process.
Now, to show the process for each image in this post would take quite a long time as I typically end up generating 5+ images for each starting image along the way to a finished one. So, I'll show it in detail for a few!
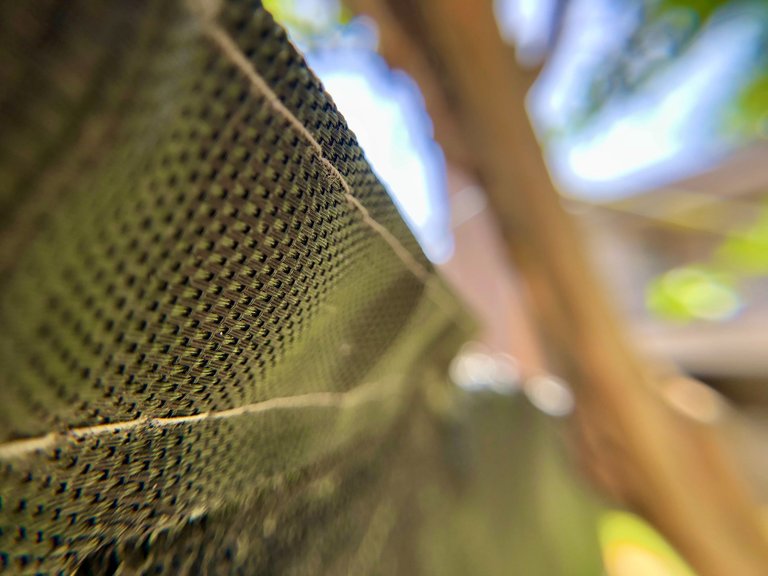
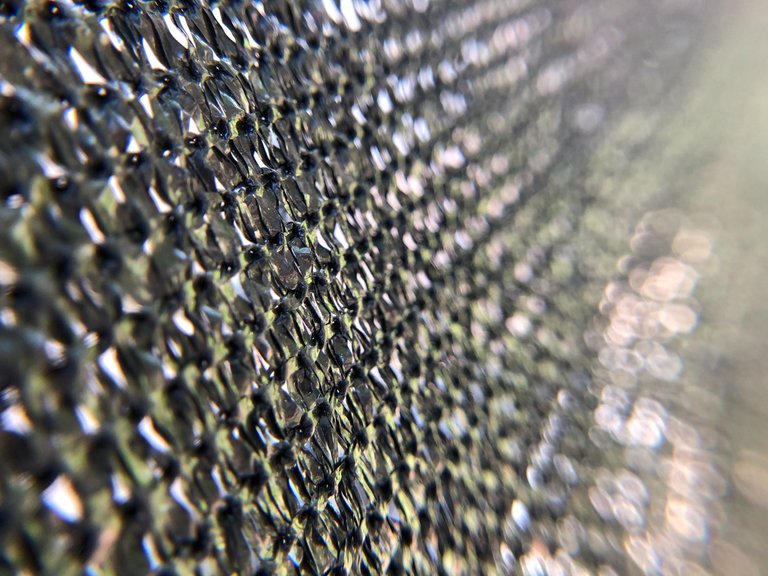
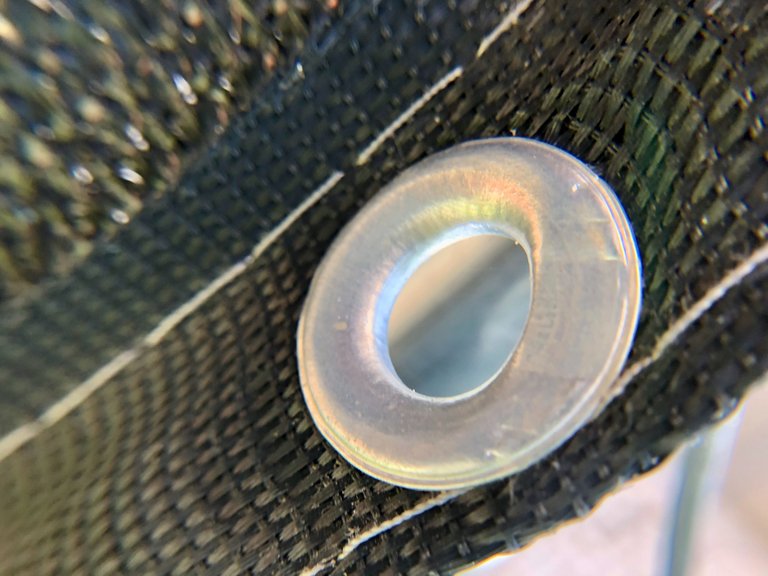
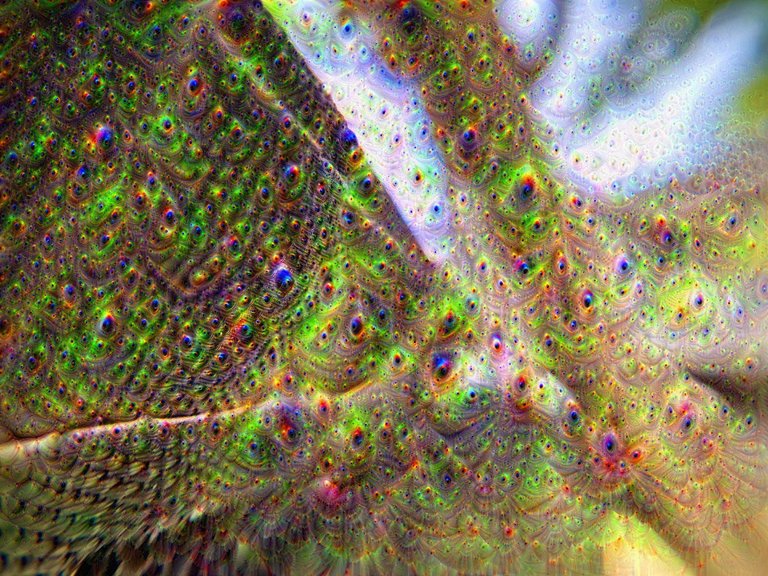
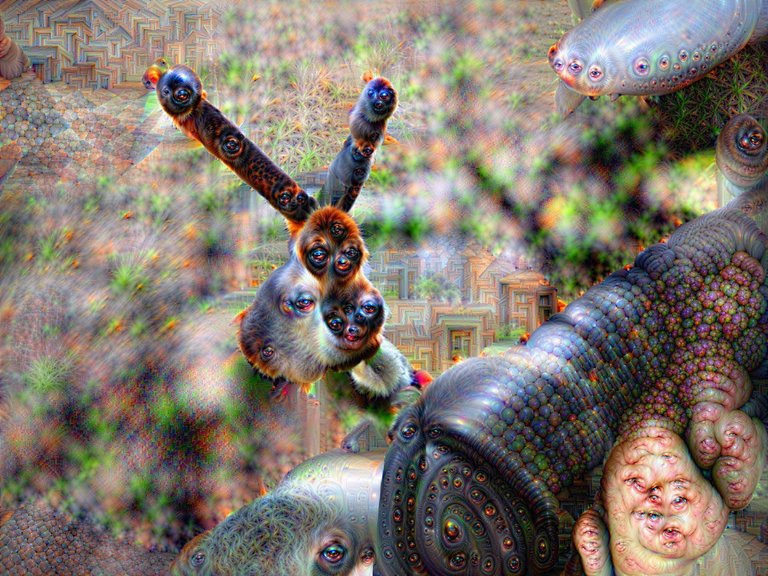
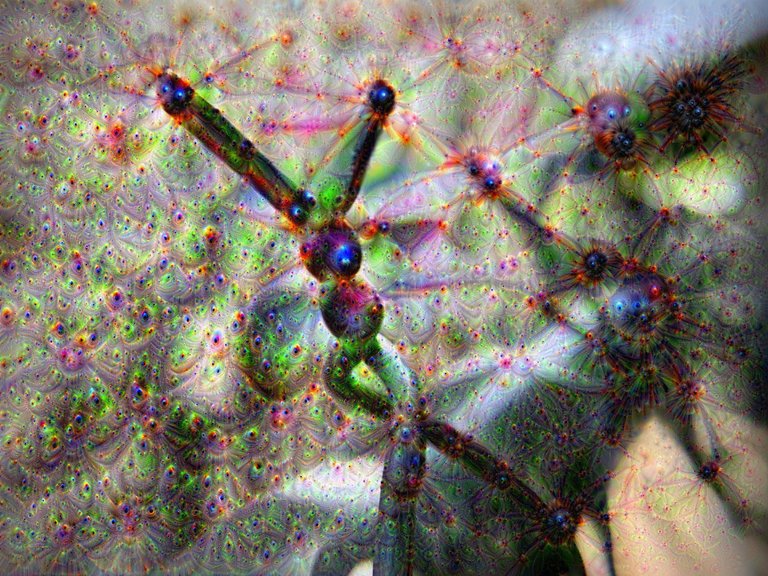
Let's start with this macro photograph of this black mesh fence with a blurry tree in the background:
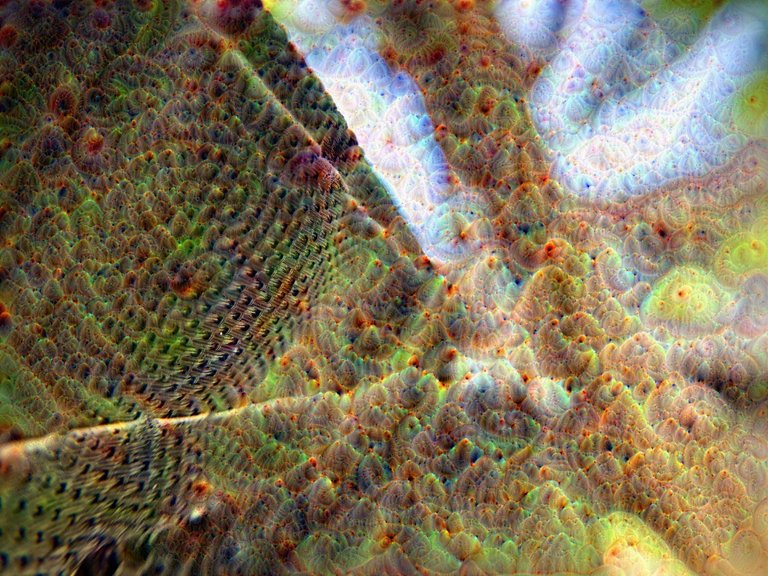
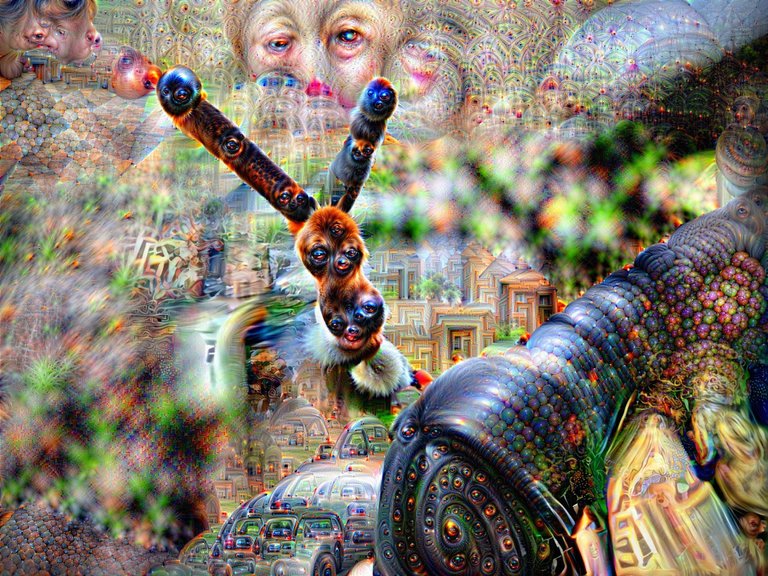
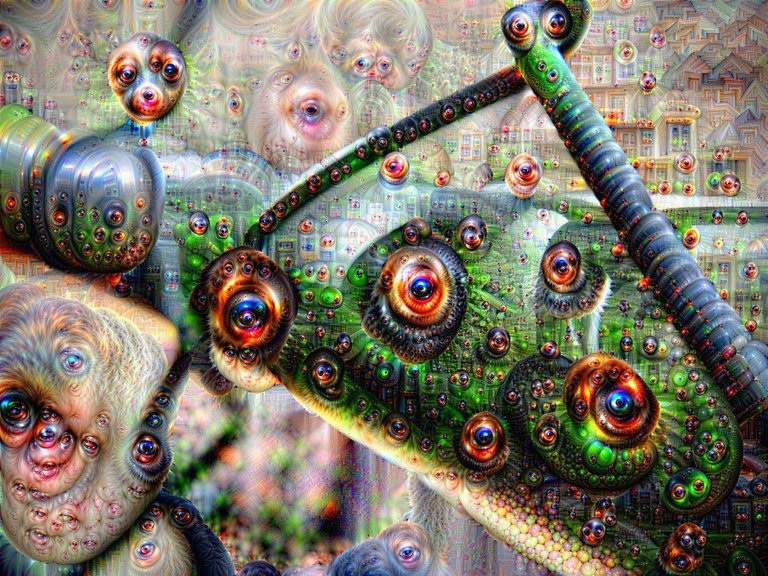
I processed this image through several pre-set "layers" of the Deep Dream engine to the deepest depth called "fathomless." Here are the results:
.
.
.
.
.
.
.
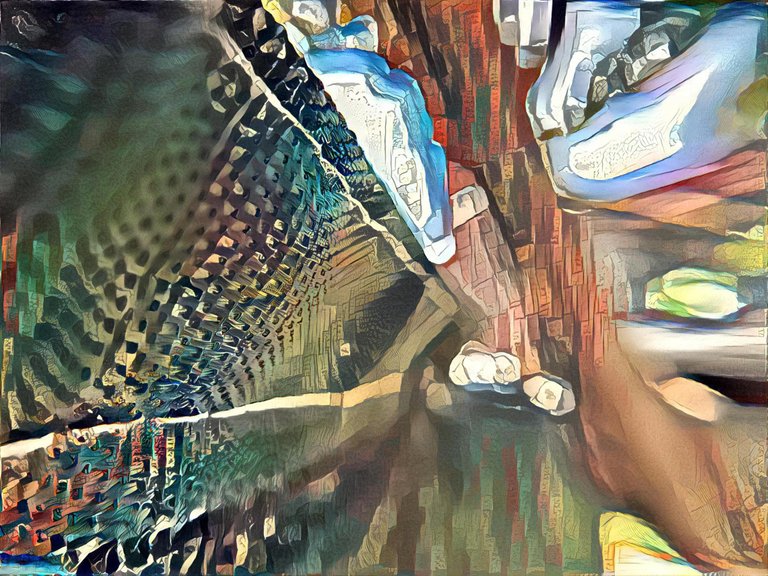
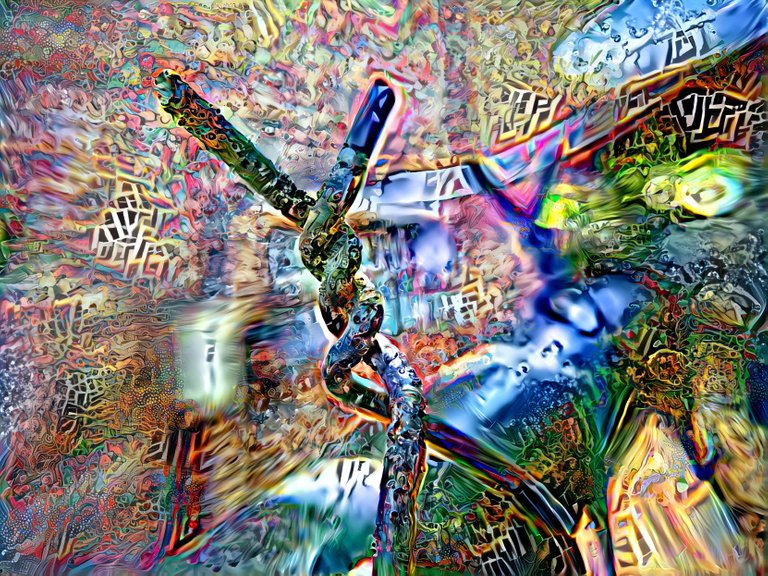
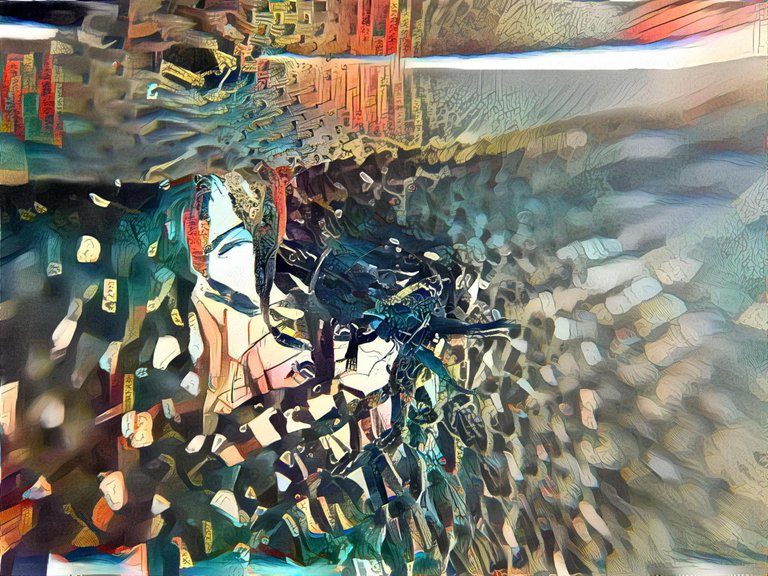
The final image was created with a different tool that allows you to use your own style filter. It was processed through this image of traditional Japanese woodcut art (ukiyo-e.)
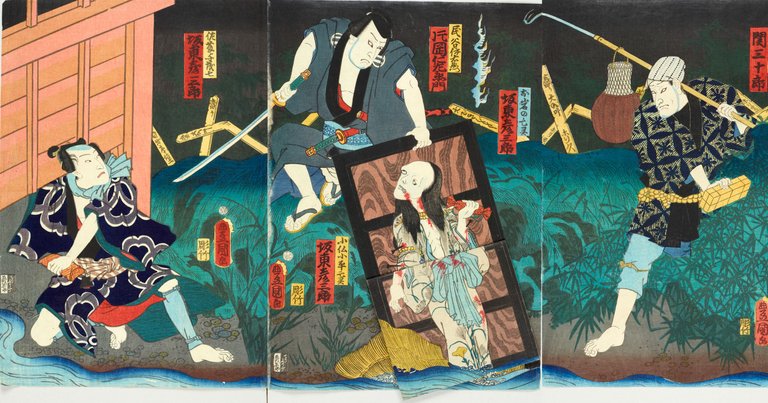
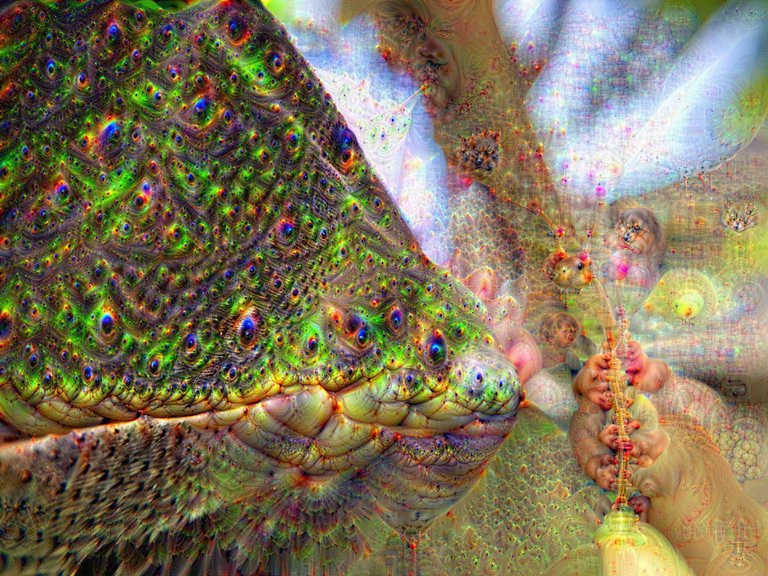
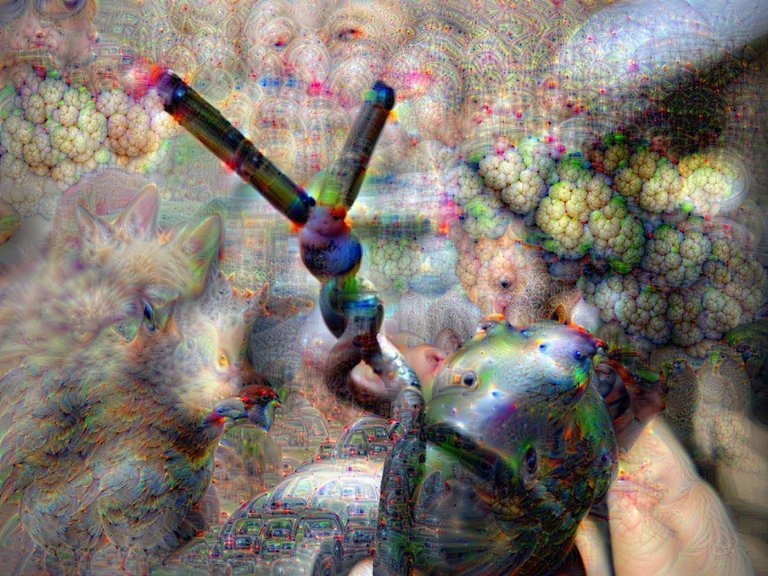
Once I had all those versions, I imported them into Final Cut Pro to apply draw masks over the parts of the processed images I wanted to be in the final image. In this case, I wanted to mostly use content from the Layer 13 version, but I did incorporate some textures from the others as well, including a subtle border of the ukiyo-e processed image. Here is the raw hybrid image:
Then it was time to re-import the image into Deep Dream Generator, and process the new hybrid to a "normal" depth on layer 13 to pull it all together. Here is the final version —
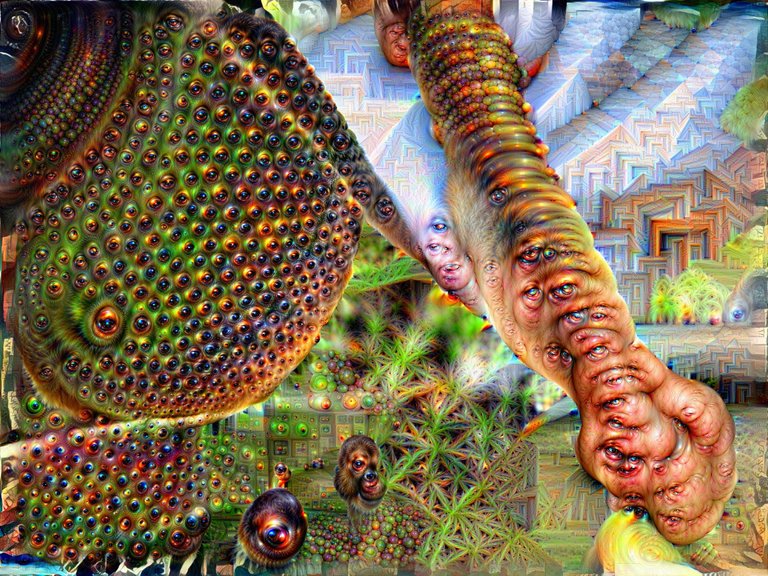


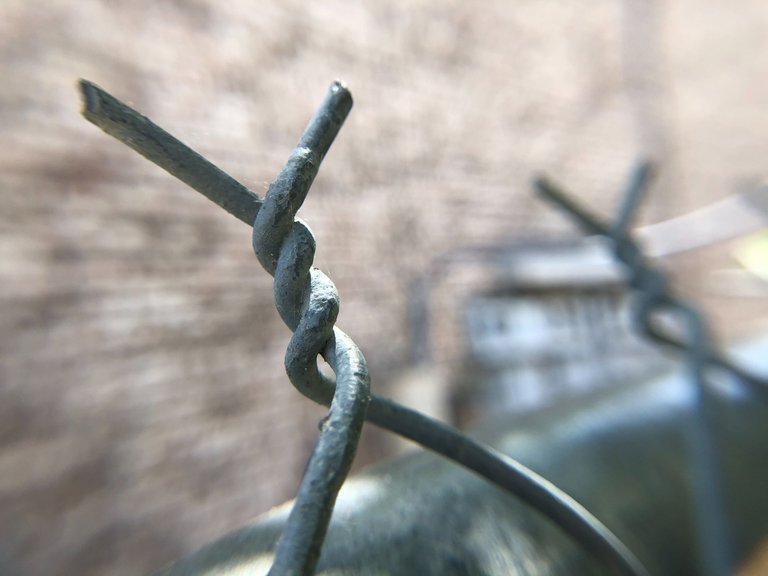
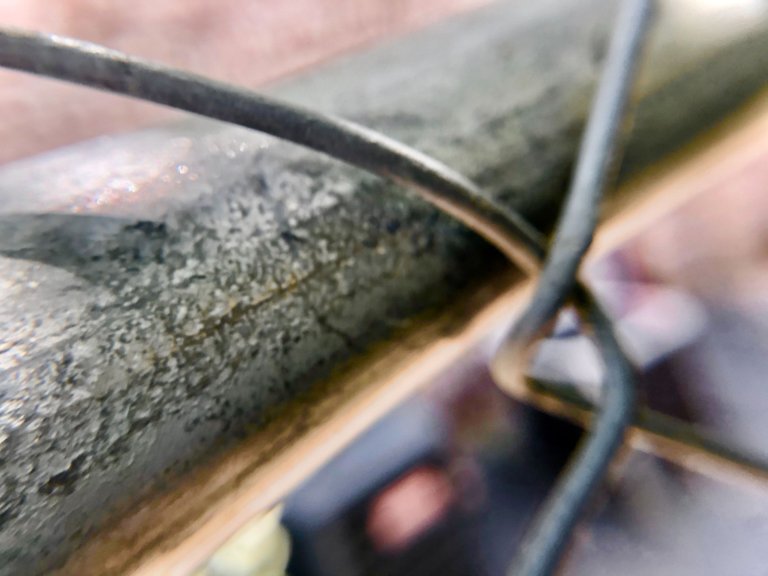
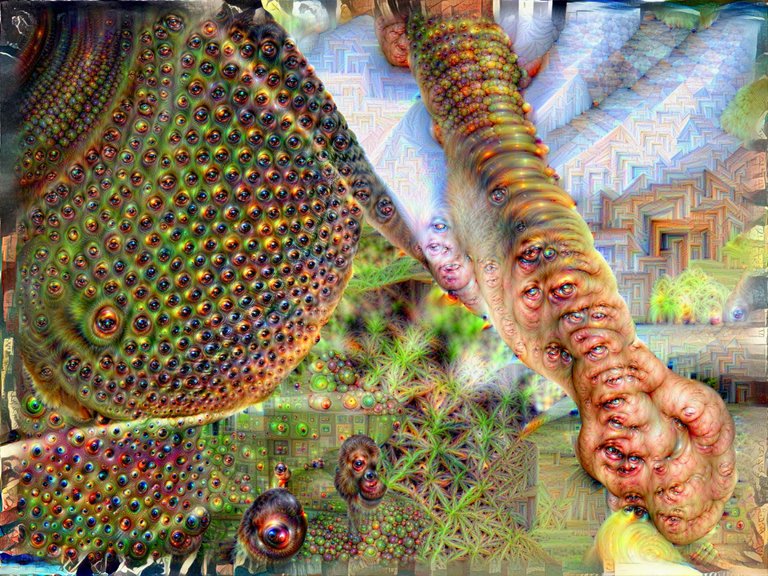
Image 2 — "Brutal Twist"
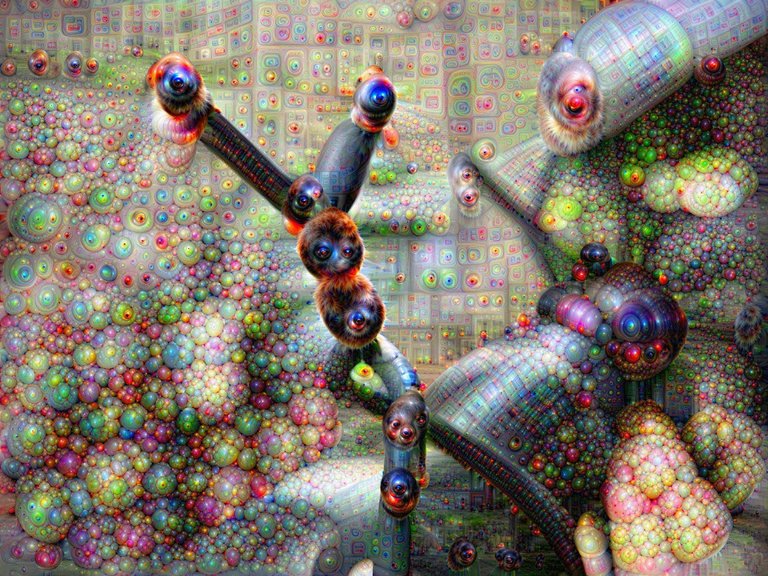
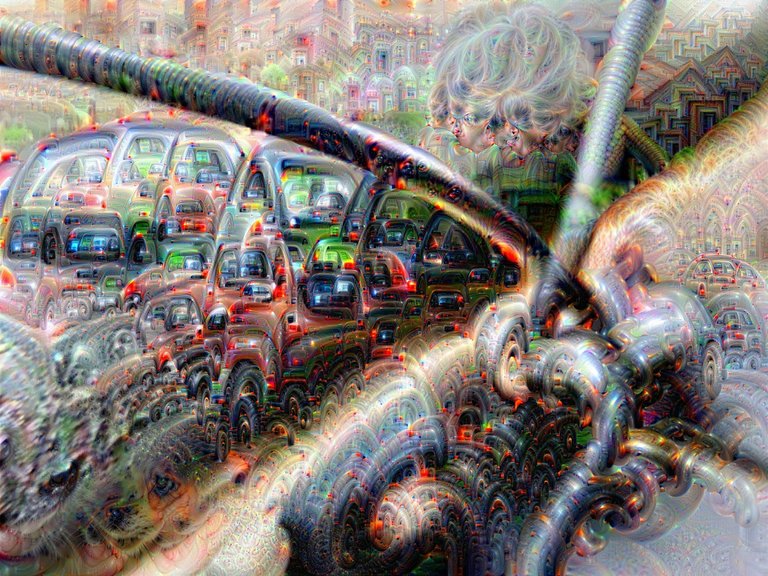
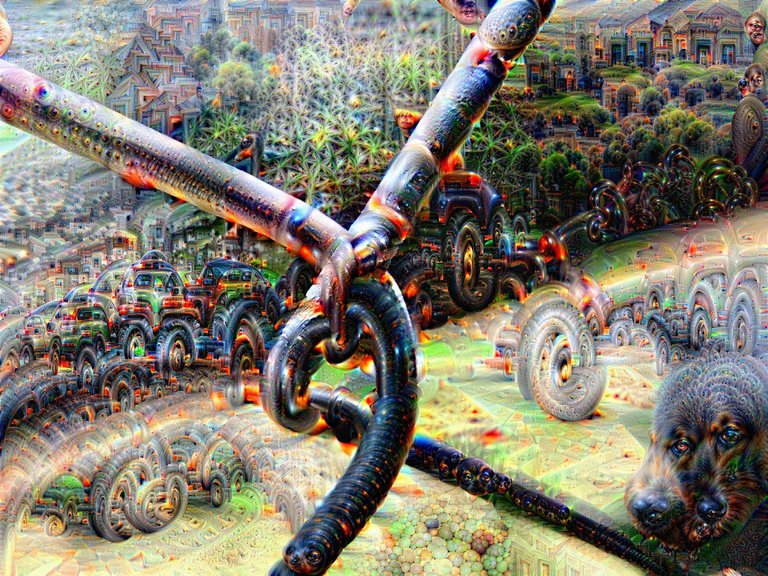
Let's look at another example, one that perhaps incorporated a more even mix of different images. How about this close-up of the twisted top of a metal fence?
.
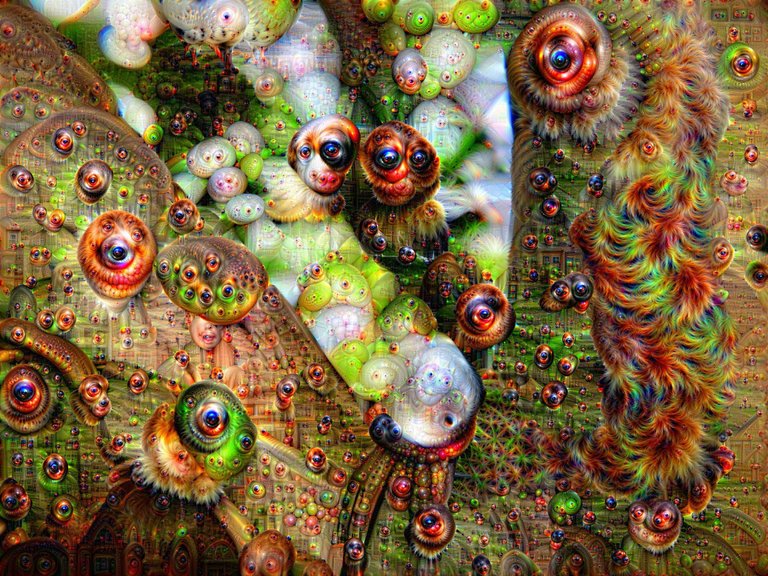
Layer 13 Fathomless
.
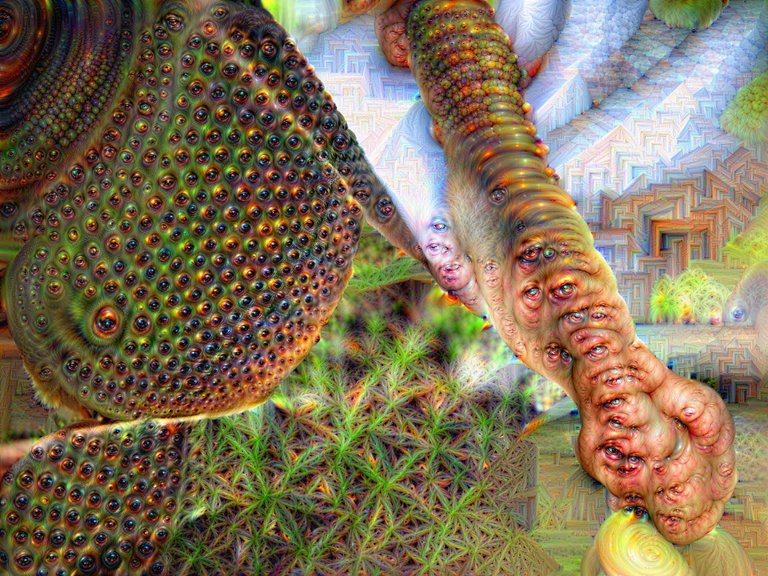
Layer 22 Fathomless
.
Layer 11 Fathomless
.
Layer 19 Fathomless
.
Layer 20 Fathomless
.
Processed through collage image designed by me
.
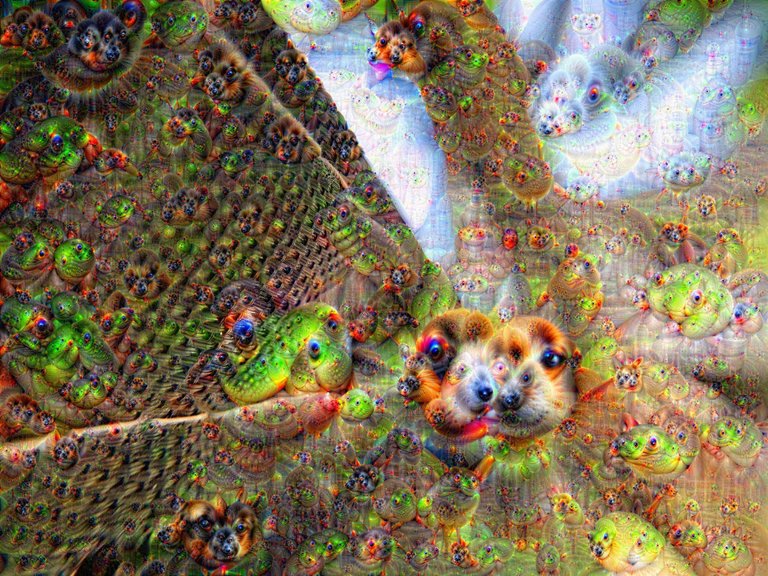
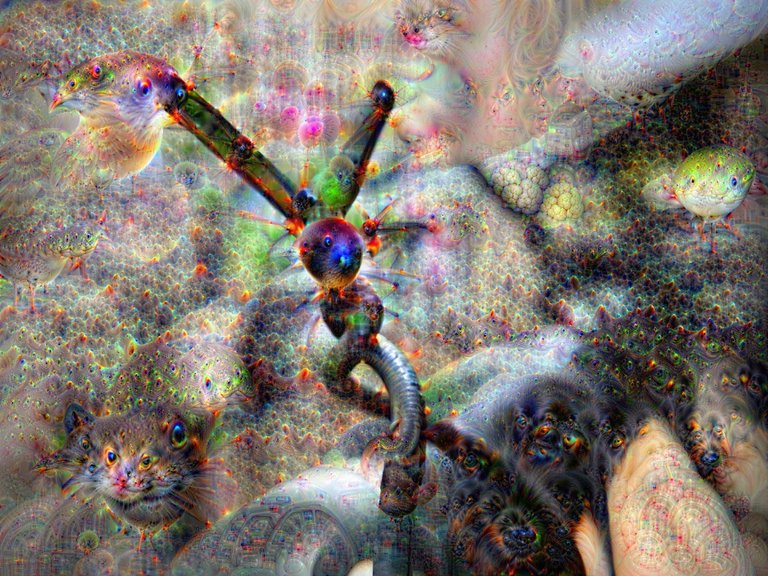
On this image, there were sections of many of the different processes that I wanted to include. Can you spot which parts of this hybrid image came from which original layer?
.
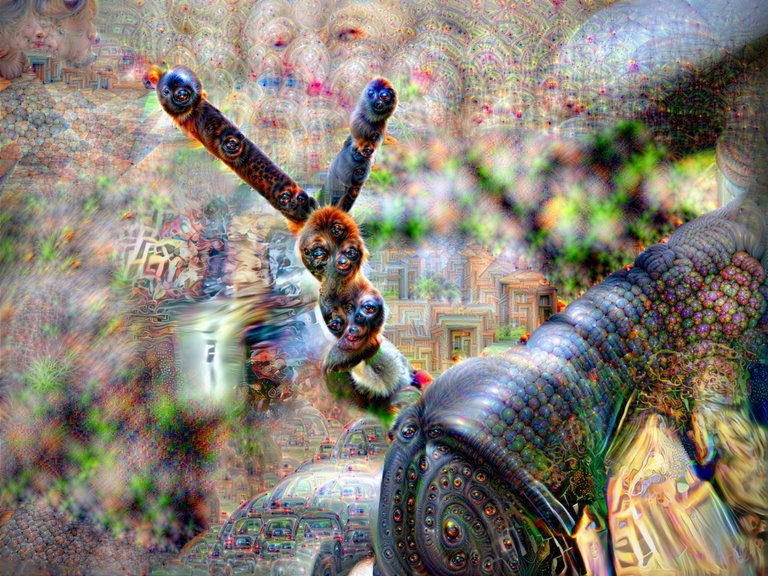
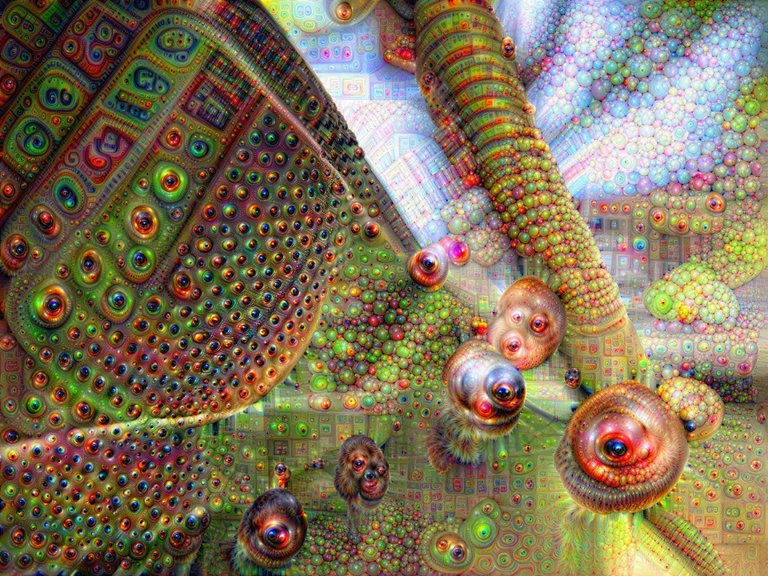
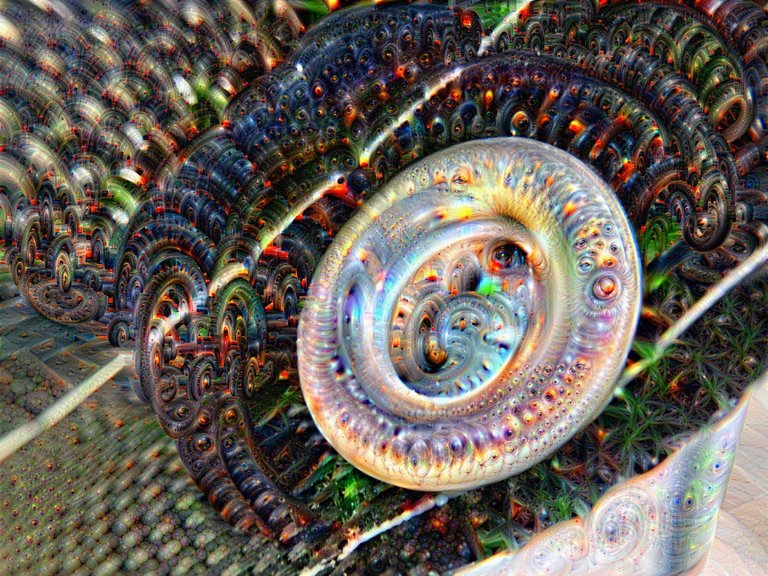
Now let's throw the whole thing back in through Layer 22 at Normal Depth.
.
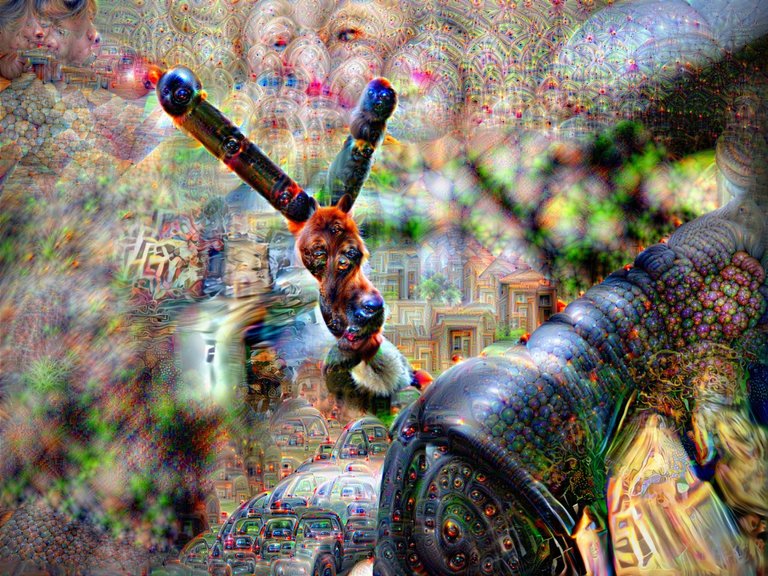
Very nice... we're getting somewhere. To top it all off, let's iterate once more to a normal depth on Layer 13.
.

Conclusion
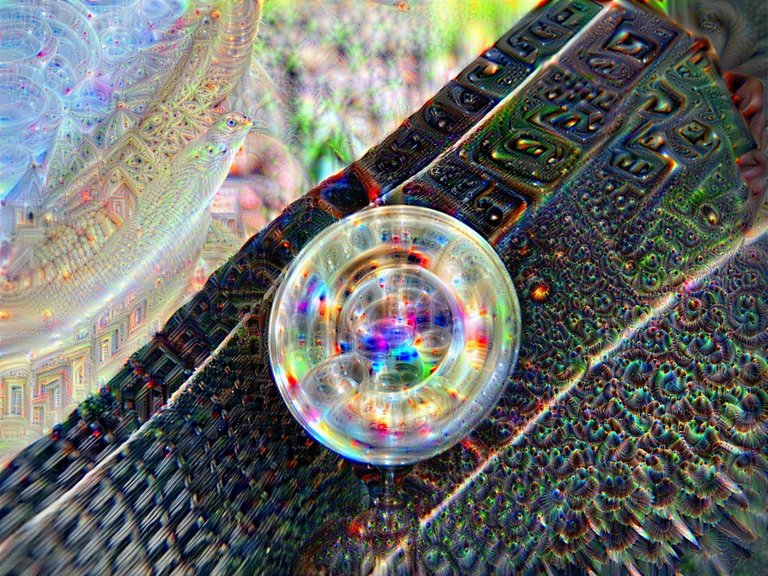
Now that I showed you the details for a couple of the images, I think you get a sense of the overall approach to creating these images, which did not differ too substantially for the remaining ones!
I hope you enjoyed this step-by-step behind-the-scenes post showing the process for creating the images in "Yjonra Outskirts!" If you have any questions or comments to add, please drop them in the comment section below :-)
Also, if you have a Deep Dream Generator account, do feel free to drop the link to it below so I can follow you there. ^_^ I am going to put the rest of the finished images below in case you missed the original Yjonra Outskirts post yesterday.
@d-pend / @dpend.extra
.
original post by @dpend.extra
created for GEMS on HIVE
on December 2, 2021.

Congratulations @dpend.extra! You have completed the following achievement on the Hive blockchain and have been rewarded with new badge(s):
Your next target is to reach 50 replies.
You can view your badges on your board and compare yourself to others in the Ranking
If you no longer want to receive notifications, reply to this comment with the word
STOPCheck out the last post from @hivebuzz: