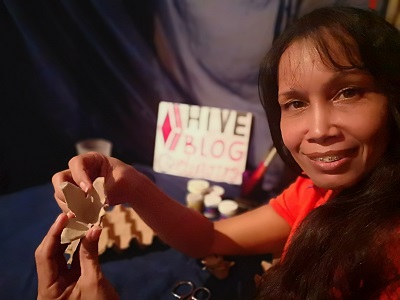
Un cordial saludo a toda la familia #hive. En esta oportunidad les voy a mostrar un tutorial de como hacer paso a paso unas flores con cartón de huevo, una manera de reciclar de lo que normalmente botamos en casa. Es importante observar bien las cosas que botamos a la basura. Pensemos y saquemos ideas de esas cosas que pueden ser de gran utilidad en nuestras vida. Por ejemplo, con el cartón de huevo que pensamos botar se pueden hacer manualidades y que también pueden ser utilizable. Aparte de eso puedes animar a los niños para realizar esta divertida manualidad.
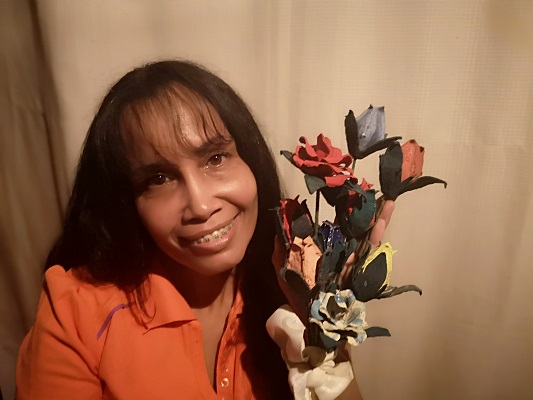
En este tutorial les voy a enseñar hacer un ramillete de rosas que lo podemos utilizar para bodas, arreglos de mesa o en lo que usted desee usarlo.
Kind regards to the entire #hive family. This time I am going to show you a tutorial on how to make some flowers with egg carton, a way to recycle what we normally throw away at home. It is important to observe well the things that we throw away. Let's think and get ideas from those things that can be very useful in our lives. For example, with the egg carton that we plan to throw away, you can make crafts that can also be used. Apart from that you can encourage children to make this fun craft.
In this tutorial I am going to show you how to make a bouquet of roses that we can use for weddings, table settings or whatever you want to use it for.
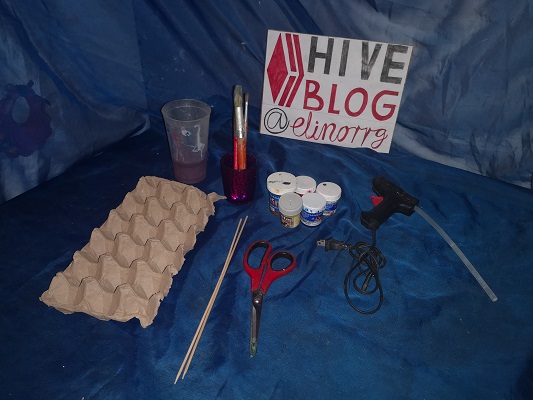
Para realizar este hermoso ramillete se va a necesitar los siguientes materiales:
Materiales:
- Cartón de huevo
- Tijera
- Pinturas para tela o en frió: piel, azul, rojo, amarillo, verde, azul.
- Palillo de altura
- Silicón
- Pincel
To make this beautiful corsage you will need the following materials:
Materials:
- Egg carton
- Scissors
- Fabric or cold paints: leather, blue, red, yellow, green, blue.
- Height stick
- Silicone
- Brush
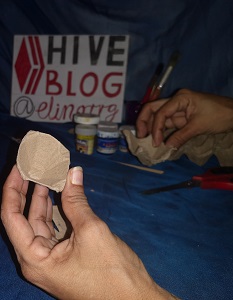
1er Paso
Cortar dos parte del cartón de huevo para obtener un botón de la rosa y su base, ver foto.
1st Step
Cut two parts of the egg carton to obtain a button of the rose and its base, see photo.
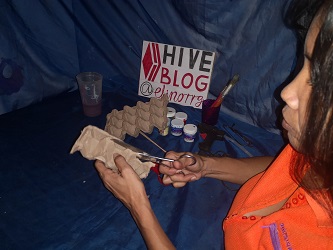
cortando el cartón de huevo
cutting the egg carton
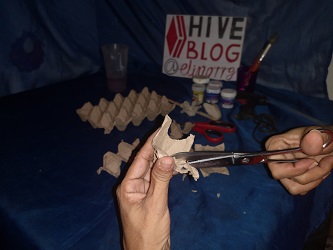
Aquí se saco una parte del cartón de huevo para el botón de la rosa
Here a part of the egg carton was removed for the rose button
Aquí tenemos ya el botón cortado
Here we already have the button cut
Con la mismo procedimiento se saca la base del botón. Aquí tenemos las dos piezas ya lista
With the same procedure, the base of the button is removed. Here we have the two pieces ready
2do Paso
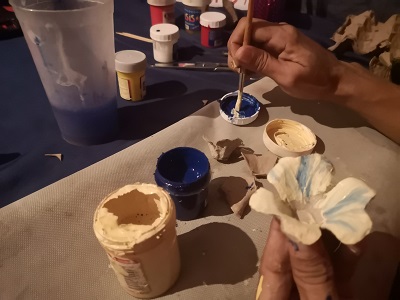
Pintamos cada una: el botón y su base, ver foto.
2nd Step
We paint each one: the button and its base, see photo.
Pintando el botón
Painting the button
Botón pintado
Painted button
Base de la rosa pintada de verde
Green painted rose base
Se puede hacer la cantidad de botones de rosas que desee para formar el ramillete
You can make as many rose buds as you want to make the corsage
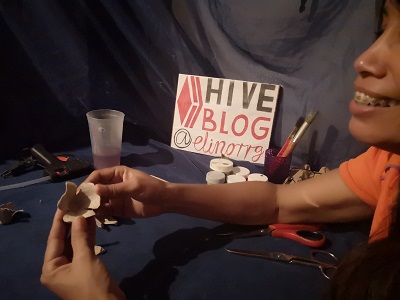
3er Paso
En este paso vamos hacer la rosa abierta y su base también
3rd Step
In this step we are going to make the rose open and its base too
Sacamos una parte del cartón de huevo
We take out a part of the egg carton

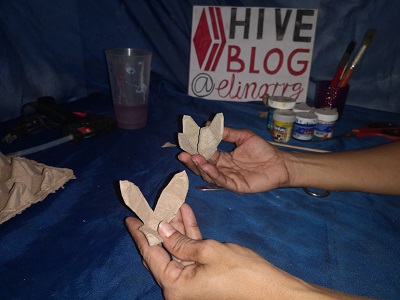
Le damos forma a los pétalos
We shape the petals
Pétalos de la rosa terminada
Petals of the finished rose
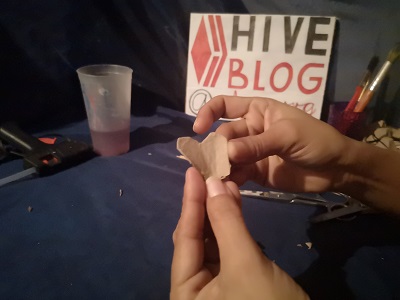
Este es un pétalo de las tres que se sacaron juntas
This is one of the three petals that were taken out together
De estos tres pétalos se van hacer dos mas para formar la rosa
From these three petals two more will be made to form the rose
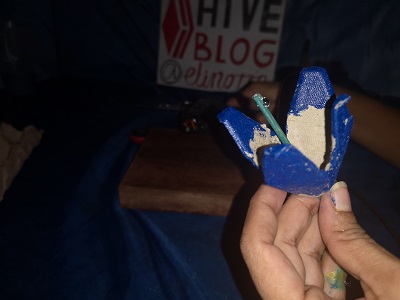
4to Paso
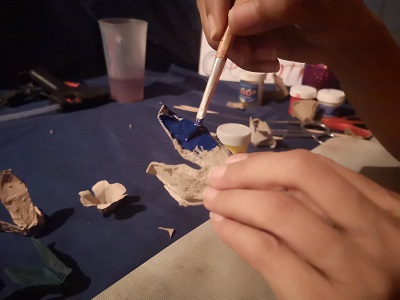
Pintamos la rosa abierta y su base.
Se puede hacer la cantidad de rosas abierta que desee para formar el ramillete
4th Step
We paint the open rose and its base.
You can make as many open roses as you like to form the corsage
Pintando y matizando los pétalos por los dos lados
Painting and nuancing the petals on both sides
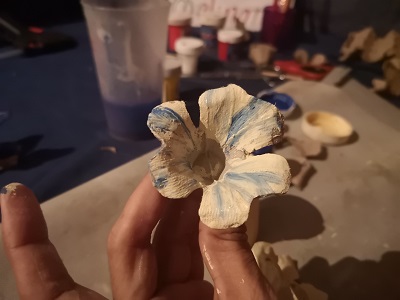
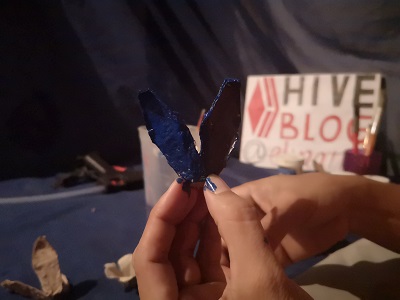
Pétalos terminado. De la misma forma se hacen con los demás pétalos.
Petals finished. In the same way they are made with the other petals.
5to Paso
Tomar los palillos de altura que desee y pintarlo de verde, dejar secar. Ver foto
5th Step
Take the chopsticks of height that you want and paint it green, let dry. View photo
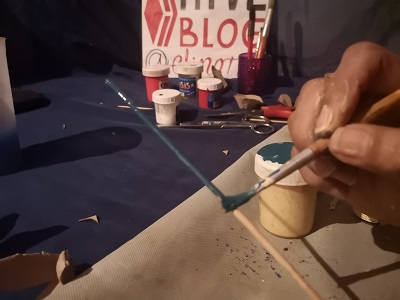
Pintando los palillos de altura
Painting the tall sticks
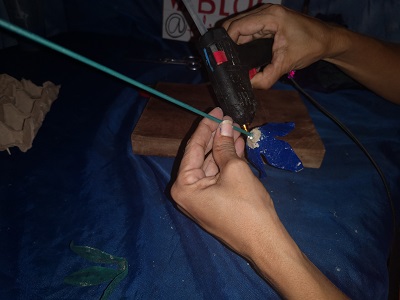
6to Paso
Una vez secado todo procedemos a pegar las piezas con los palillos de altura ya pintados.
6th Step
Once everything is dried, we proceed to glue the pieces with the height sticks already painted.
Se introduce el palillo de altura por el orificio hecho previamente a los pétalos
The height stick is inserted through the hole previously made to the petals
Pegamos los palillos con silicon a cada botón de rosa
We glue the sticks with silicone to each pink button
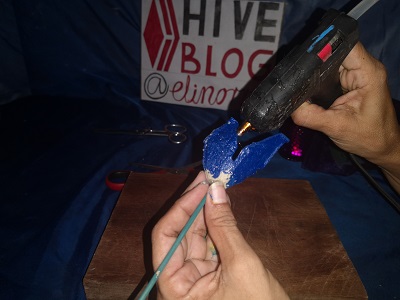
Se pega con silicon cada pétalo por la orilla para darle apariencia de botón
Each petal is glued on the edge with silicone to give it a button appearance
Pegamos con silicon el palillo en el pétalo
We stick the toothpick on the petal with silicone
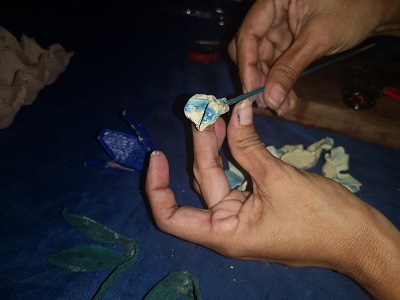
Introducimos el palillos en el pétalo
We put the chopsticks in the petal
Se introduce los demás pétalos pegándolos con el silicon y por ultimo la base verde
The other petals are inserted by gluing them with the silicone and finally the green base
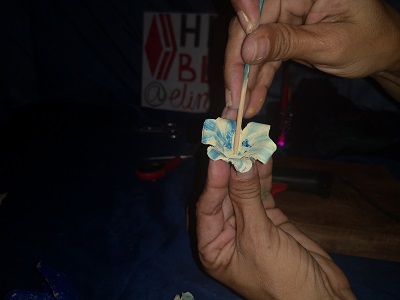
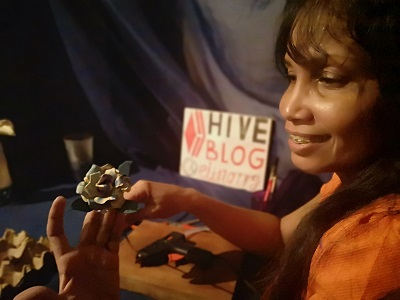
7mo Paso
Aquí podemos observar todas las rosas lista
Step 7
Here we can see all the roses ready

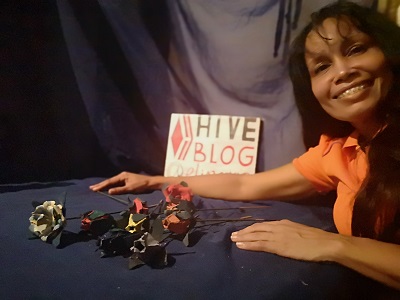
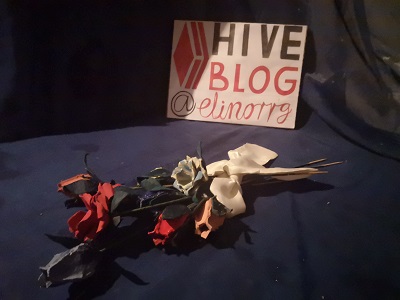
8vo Paso
Formamos el ramillete como desee.
Step 8
We form the corsage as you wish.
Se puede poner de adorno de esta forma o como obsequio
It can be adorned in this way or as a gift
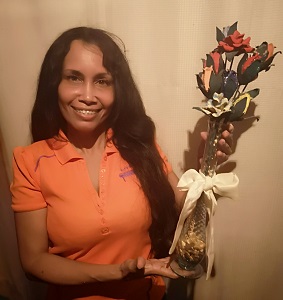
Se puede colocar en florero.
It can be placed in a vase.
Espero les haya gustado mi tutorial. Me divertí mucho haciéndolo. Los animo decoren su hogar con materiales de reciclaje que quedan muy bonito y así podrán compartir en familia.
Antes de despedirme quiero agradecer a #appreciator, #qurator, #community, #gems, #ocd, #dclub, #spanish, y todas aquellas comunidades que nos han apoyado y que siempre me han brindado confianza desde que comencé en la plataforma.
Tambien agradezco mucho a mi amor @davidcentenor por su constante apoyo en mis tutoriales
Before saying goodbye I want to thank #appreciator, #qurator, #community, #gems, #ocd, #dclub, #spanish, and all those communities >that have supported us and have always given me confidence since I started on the platform.
I also thank my love @davidcentenor very much for their constant support in my tutorials
Nos vemos en próximo tutorial
See you in the next tutorial.
Greetings and kisses to the whole #hive family
Fotografía por: David Centeno
Cámara p-20
Photography by: David Centeno
P-20 camera


Congratulations @elinorrg! You have completed the following achievement on the Hive blockchain and have been rewarded with new badge(s) :
You can view your badges on your board And compare to others on the Ranking
If you no longer want to receive notifications, reply to this comment with the word
STOPTo support your work, I also upvoted your post!
Support the HiveBuzz project. Vote for our proposal!
Gracias #hive por el apoyo. Saludos
Esto está pipirisney, te felicito, sigue así cariño, un abrazo.
Gracias amor por tu comentario y tu apoyo constante, te lo agradezco mucho..muchos besos y abrazos