Welcome to my blog
Good #Hive community, I hope you have a nice morning, I want to share with you a small but rewarding tutorial of a very fun experiment that everyone will like, is the creation of a mechanical arm with easily accessible materials and recycled materials I hope the material is to your liking and without more to say let's start.
Buenas comunidad de #Hive, espero tengan una linda mañana, quiero compartirles un pequeño pero gratificante tutorial de un experimento muy divertido y que a todos habrá de gustarle, es la creación de un brazo mecánico con materiales de fácil acceso y materiales reciclados Espero el material sea de su agrado y sin mas que decir comencemos.
The following materials will be needed for the elaboration:
Para la elaboración necesitaremos los siguientes materiales:
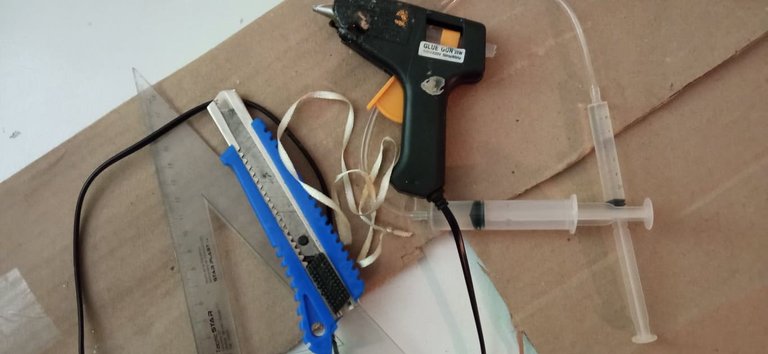
- Carton box
- Popsicle sticks
- Syringes
- Hose
- Pencil
- Ruler
- Cutter
- Tacks
- Cartón de caja
- Paletas de helado
- Jeringas
- Manguera
- Lápiz
- Regla
- Cutter
- Silicon caliente
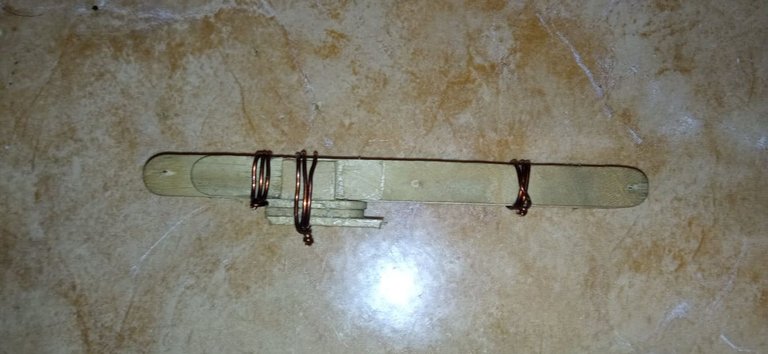
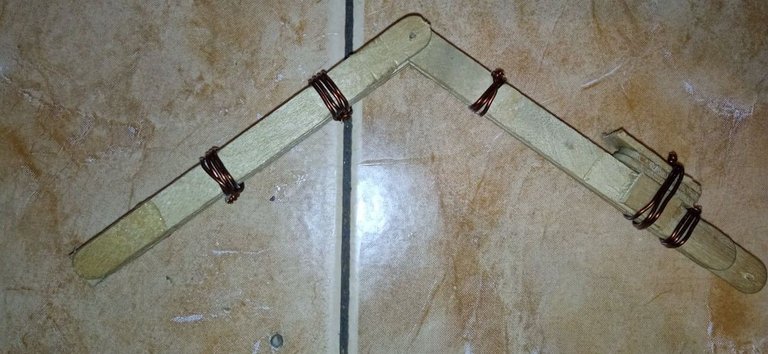
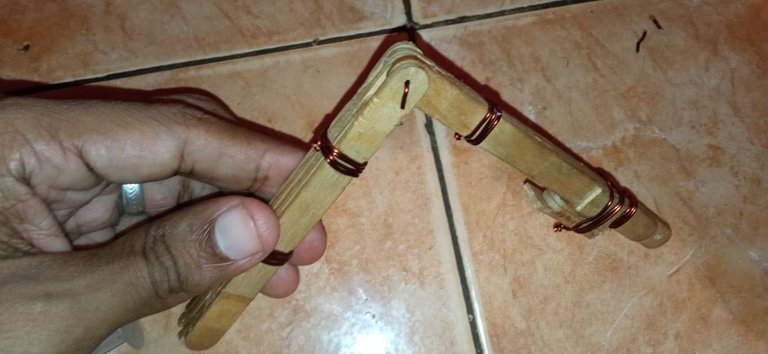
Step #1: To make the arm we use some plates which we will join with hot silicon and some wire to secure it better.
Paso #1: Para realizar el brazo usamos unas plateas las cuales uniremos con silicon caliente y un poco de alambre para asegurarle mejor

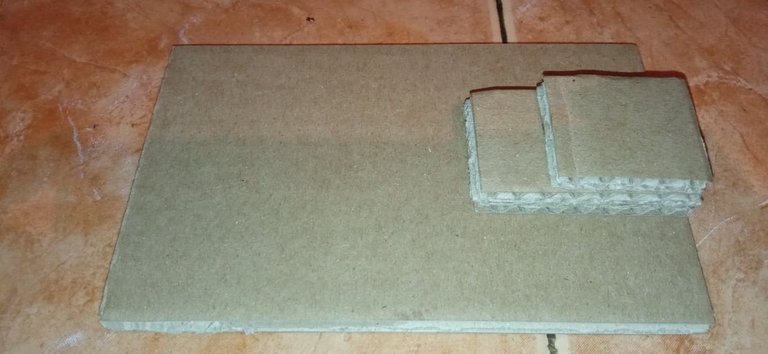
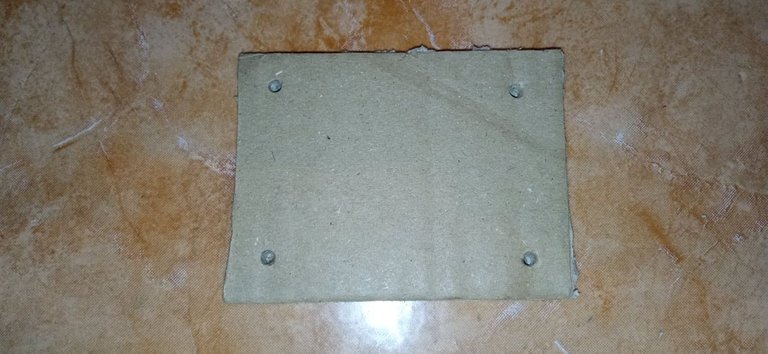
Step #2: The base will be assembled with cardboard and hot silicone, we open a small box where we will insert the arm.
Paso #2: La base la armaremos con carton y silicon caliente, le abrimos un pequeño recuadro donde insertaremos el brazo
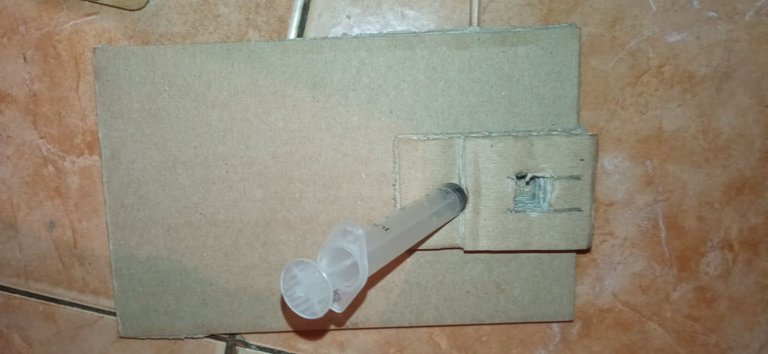
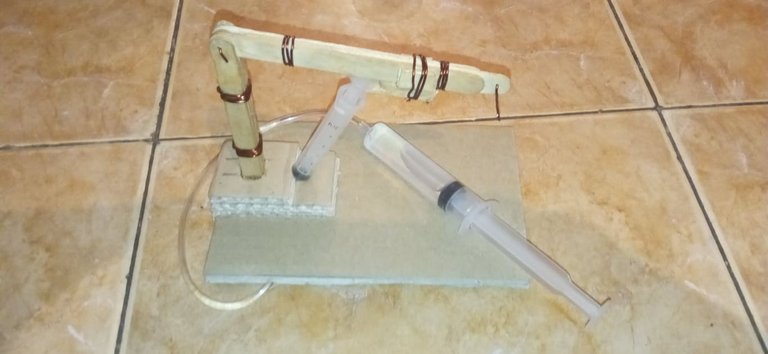
Step #3: We join the two syringes by means of a hose.
Paso #3: Unimos las dos jeringas por medio de una manguera

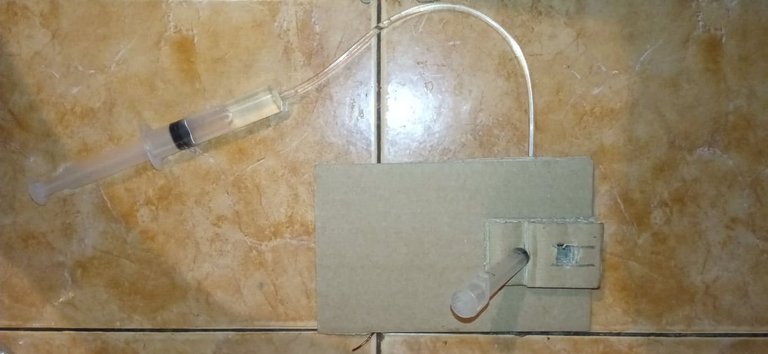
Step #4: We attach the mechanical arm to the base
Paso #4: Unimos el brazo mecánico a la base
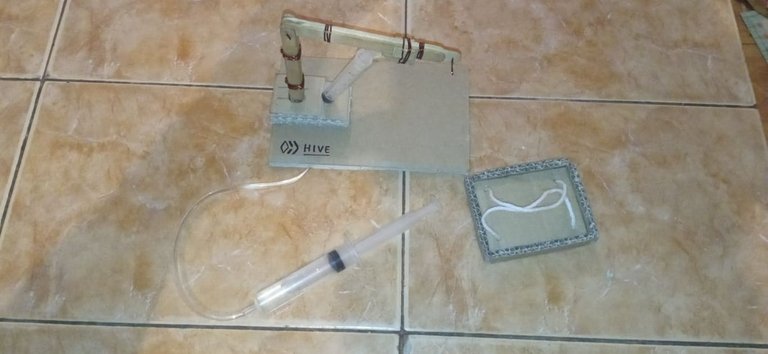
Step #5: finally with cardboard, some tape and silicone we make the scales.
Paso #5: por ultimo con cartón un poco de cinta y silicon hacemos la balanza
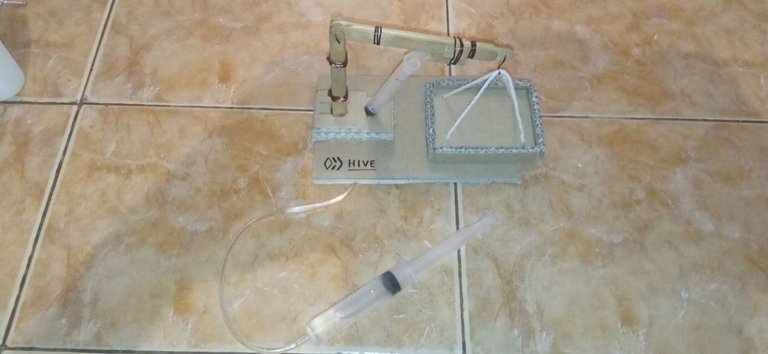
This is the end of our fun mechanical arm, I hope you liked it and try to make it at home.
Así damos por terminado nuestro divertido brazo mecánico, espero que le haya gustado e intente hacerlo en su casa.
Thank you for visiting my blog and I will see you in my next post.
Gracias por visitar mi blog y nos vemos en mi próxima publicación.


Haha now that's an awesome DIY job you did here! Well done!
Great passion, glad you liked it. thanks for the support.
It was fun and inventive so I'm glad you shared it! If you add the build-it tag you can earn some build tokens as well for your future DIY posts like this! I'll check out more of your posts!