Hola buenas tarde mis queridos amigos de la comunidad de hive, hoy quiero darle gracias a Dios por estar aquí nuevamente con ustedes. Hoy les vengo con un nuevo bricolaje muy fácil de realizar en casa.
Hello, good afternoon, my dear friends from the hive community, today I want to thank God for being here with you again. Today I bring you a new DIY that is very easy to do at home.
Se estima por un:
It is estimated by a:
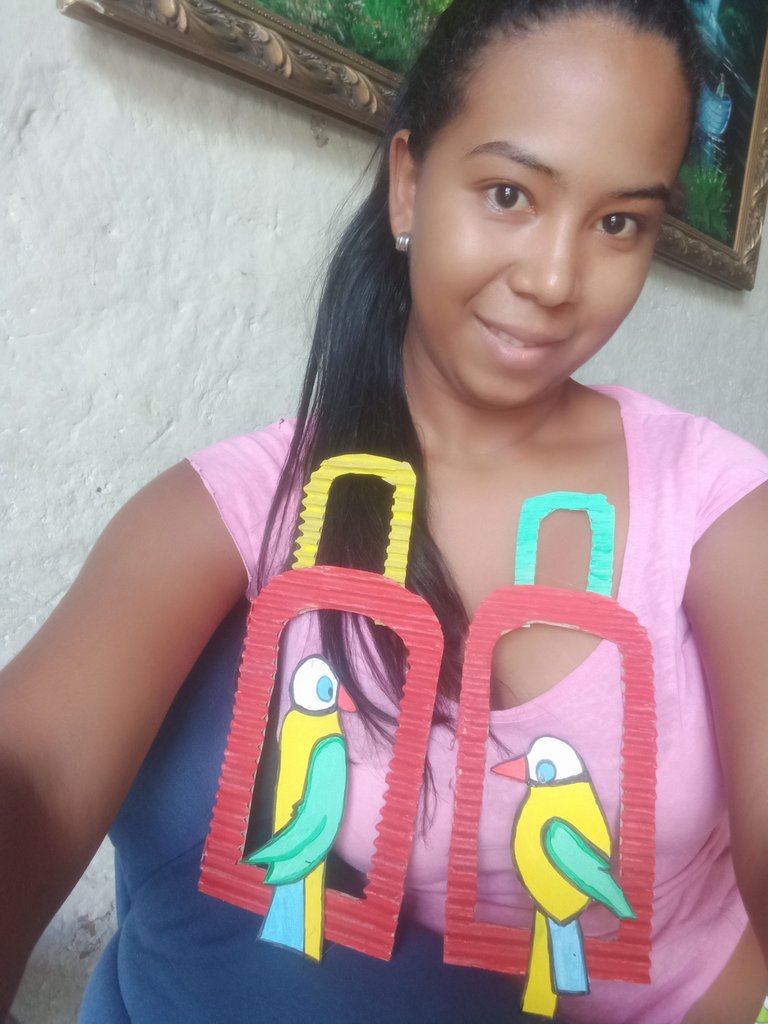
Hermoso cuadro decorativo con coloridos lorito realizado con material de provecho
Beautiful decorative painting with colorful parrots made with useful material

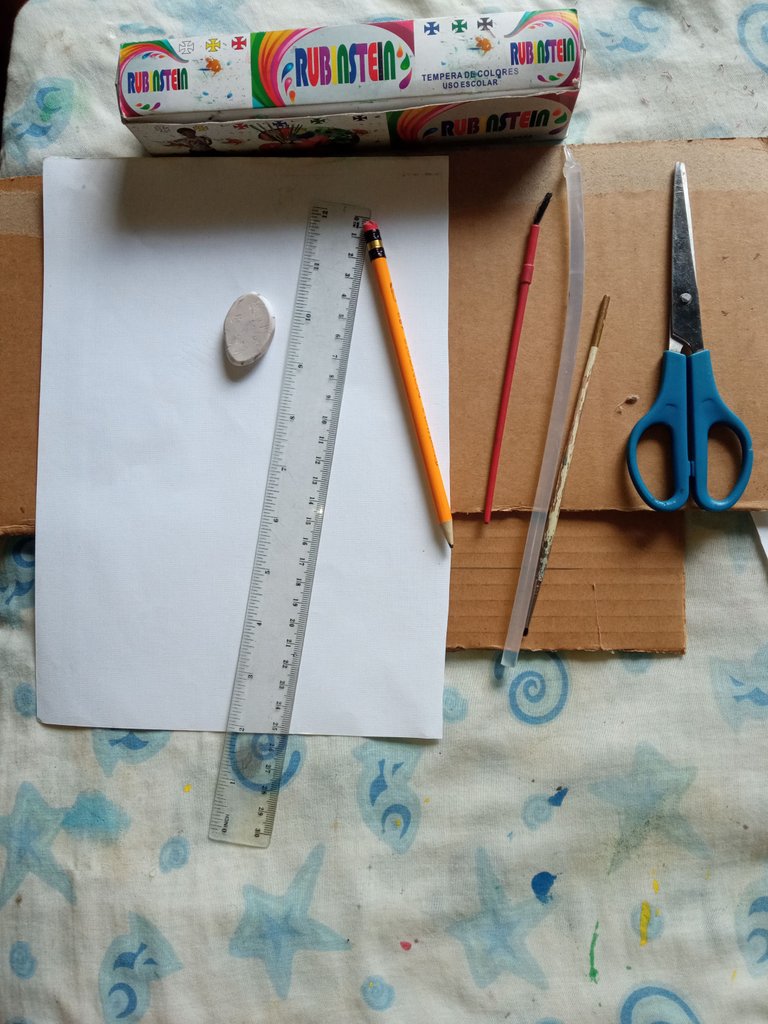
Para poder realizar este bonito cuadro decorativo tenemos que tener estos siguientes materiales que les mostraré a continuación.
In order to make this beautiful decorative painting we have to have these following materials that I will show you below.
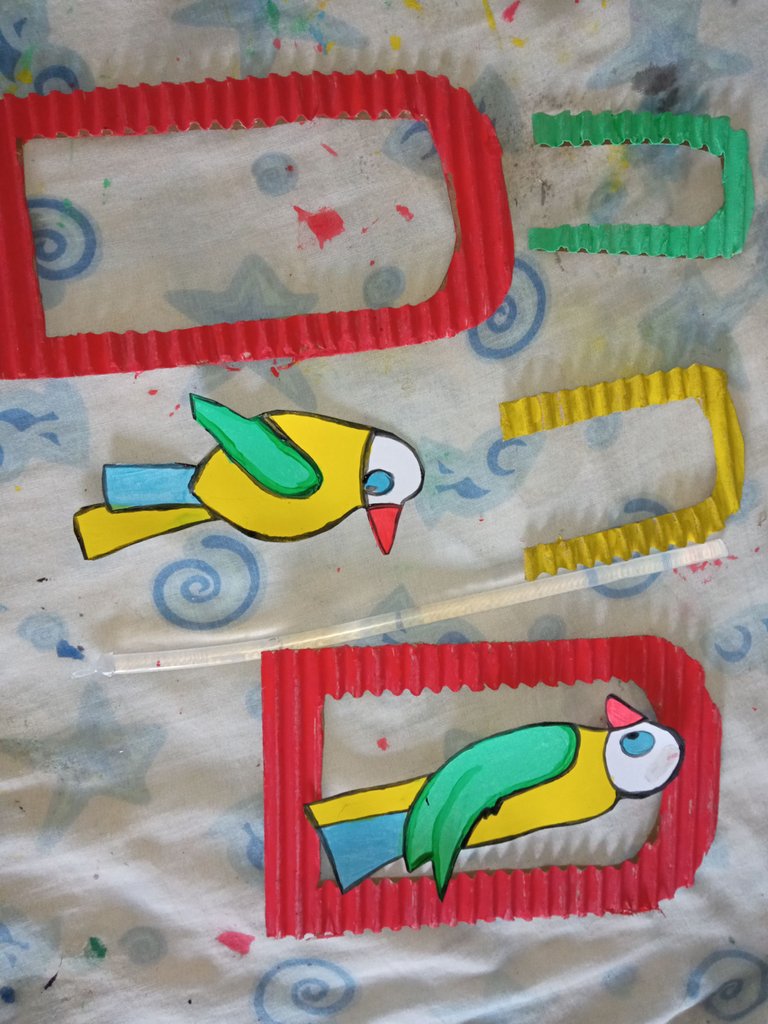
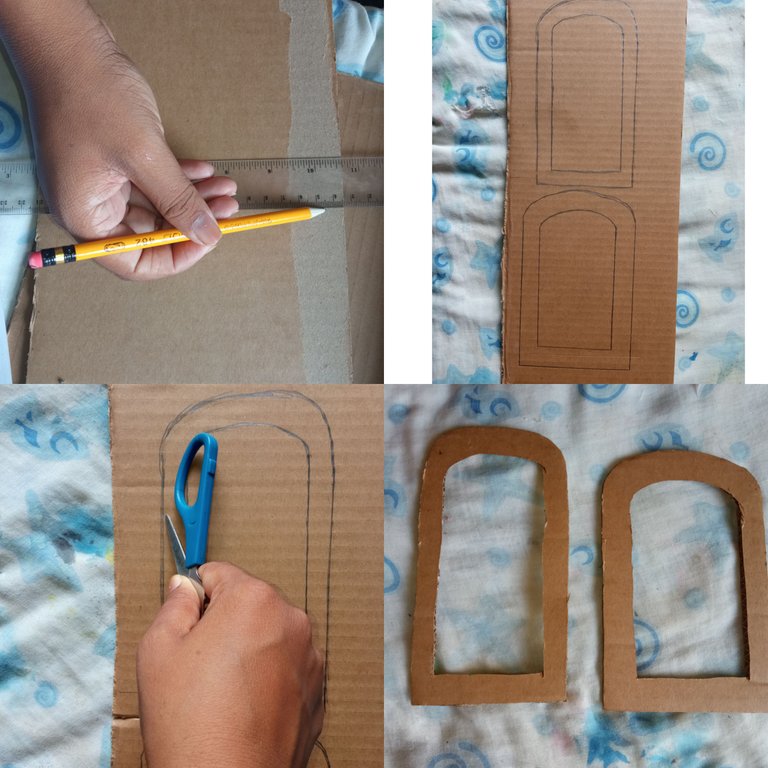
1 PASO: con el lápiz dibujaremos un marco luego con la tijera lo y la parte del medio la sacaremos con mucho cuidado para que pueda quedar de la siguiente forma que les mostrare..
1 STEP: with the pencil we will draw a frame then with the scissors we will remove it very carefully so that it can be as follows that I will show you.
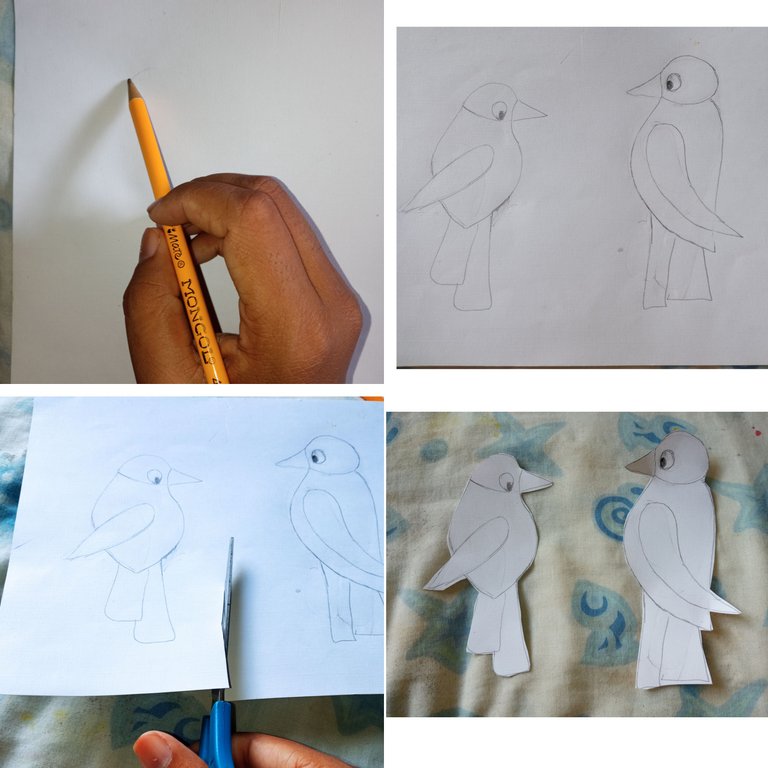
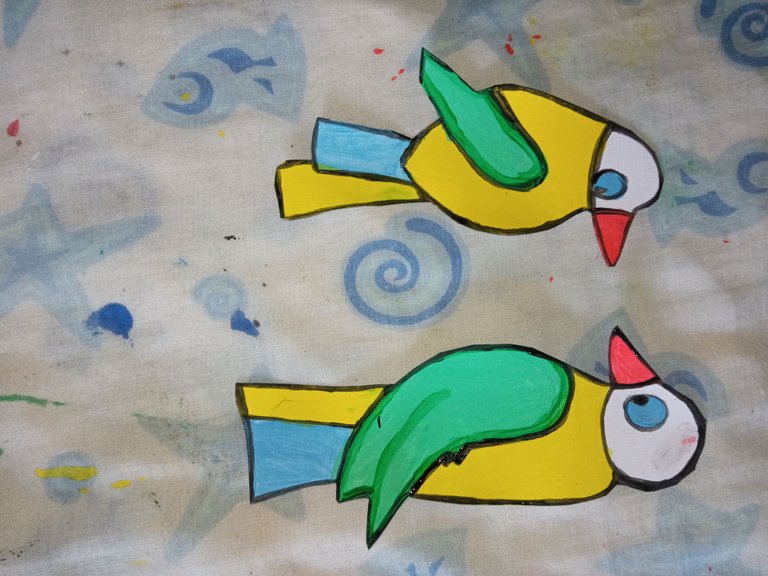
2 PASO: procederemos a tomar la hoja de papel blanco y con lápiz dibujaremos unos loritos y una vez dibujado con la tijera lo recortaremos y con el pincel lo pintaremos en color amarillo, negro, verde, azul y coral
2 STEP: we will proceed to take the sheet of white paper and with a pencil we will draw some parrots and once drawn with the scissors we will cut it out and with the brush we will paint it in yellow, black, green, blue and coral
3 PASO: proseguiremos a tomar el cartón y con el lápiz dibujar de la siguiente forma luego con la tijera recortarlos y pintarlos con el pincel en amarillo y azul
3 STEP: we will continue to take the cardboard and with the pencil draw in the following way then with the scissors cut them out and paint them with the brush in yellow and blue
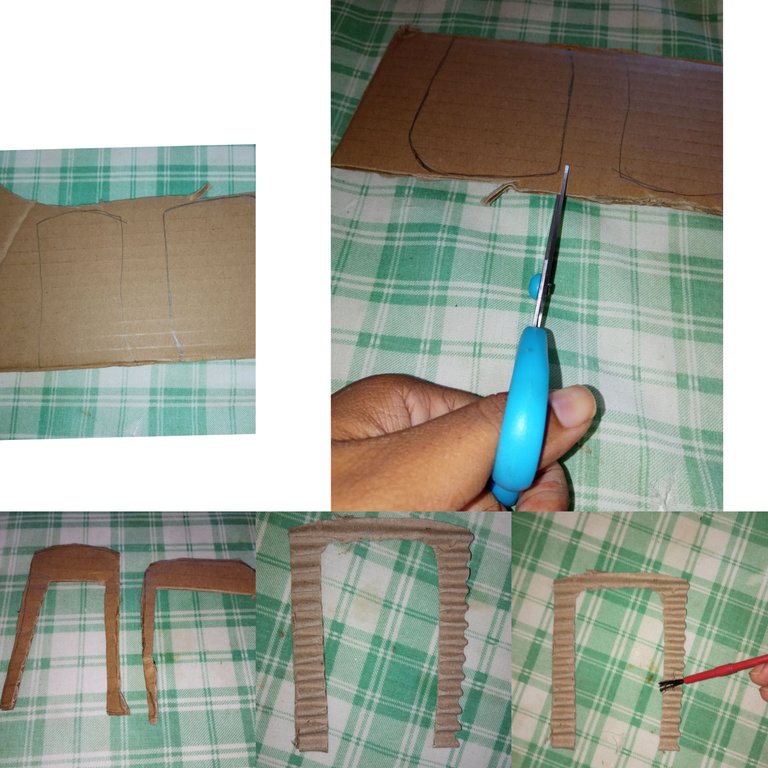
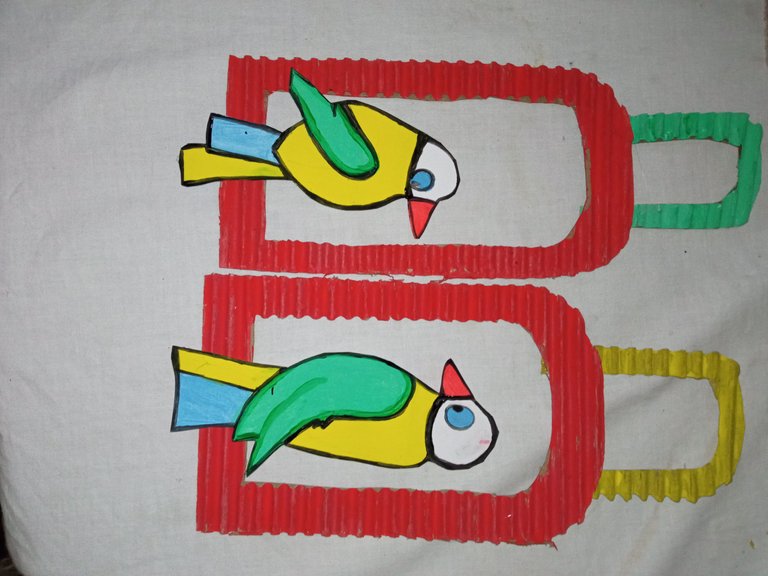
4 PASO: tomaremos nuestros cuadros y le quitaremos una capa del cartón y luego con el pincel lo pintaremos en color rojo.
4 STEP: we will take our pictures and we will remove a layer from the cardboard and then with the brush we will paint it in red.
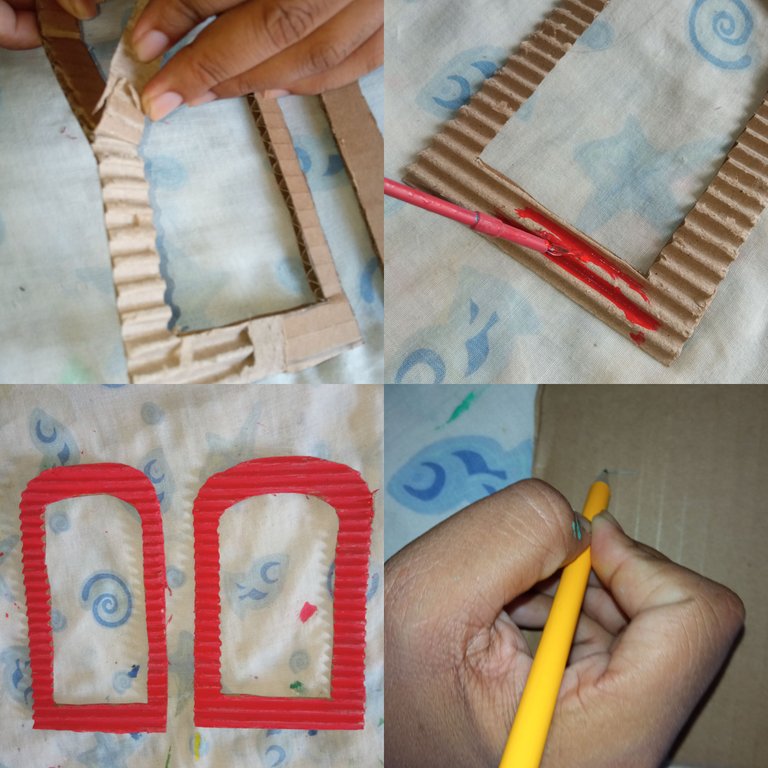
5 PASO:una vez obtenidas todas nuestras formas lista procederemos a tomar el silicon y armar nuestro lindo cuadro decorativo y a continuación les mostrare como quedo.
5 STEP: once all our shapes are obtained, we will proceed to take the silicone and assemble our beautiful decorative box and then I will show you how it look