

LOS MATERIALES QUE UTILIZAREMOS:
- CARTÓN PARA LA BASE DE NUESTRA BANDEJA.
- CARTULINA ESCOLAR PARA LOS BORDES.
- PARA PEGAR, PODEMOS UTILIZAR: PEGA, SILICON YO UTILICE CINTA ADHESIVA.
- TIJERA PARA CORTAR.
- Y TU IMAGINACIÓN (LO MAS IMPORTANTE)
1ER PASO
(Cortaremos la base de nuestra bandeja) Que en este caso va hacer de cartón, primero define de que tamaño vas a querer tu bandeja y después marcalo en el carton y después procedes a cortar
Como se los mostrare a Continuación:

2do PASO
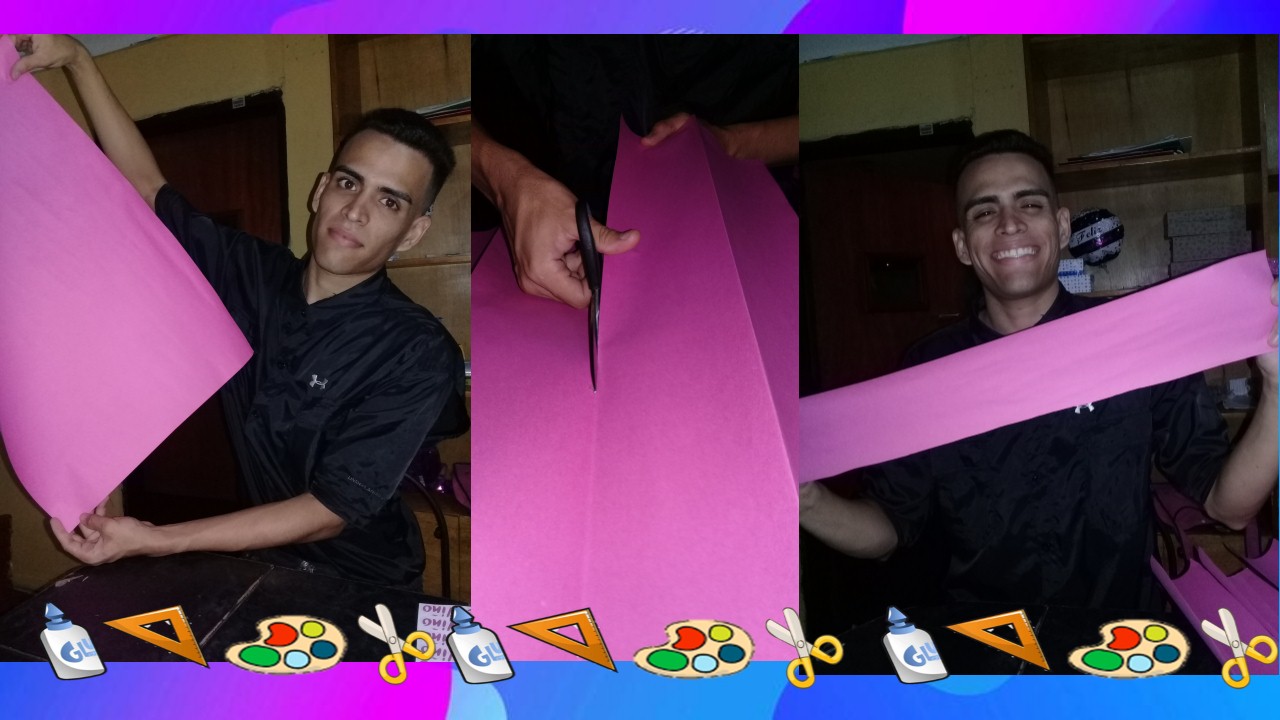
Ya tenemos nuestra base, ahora realizaremos los borde de nuestra bandeja. en mi caso los realice con cartulina escolar:
Cortaremos una Cinta gruesa como se los muestro a continuación:
Ahora procedemos a dobla casi en la mitad de la cinta para crear un borde que ira pegado debajo de nuestro pedazo de cartón y así crearemos en contorno de la bandeja. Véalo como lo hice a continuación .
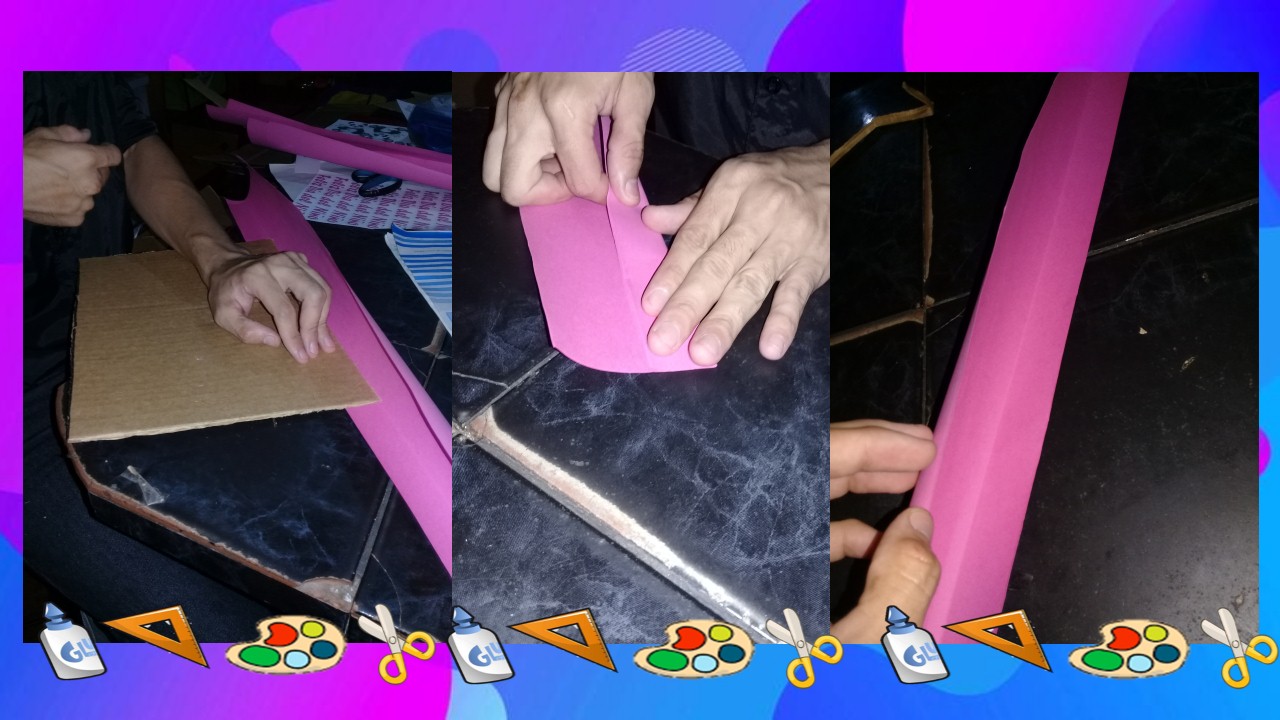
Ahora continuamos cortando la cinta solo un poco en cada esquina del cartón. Veamos...
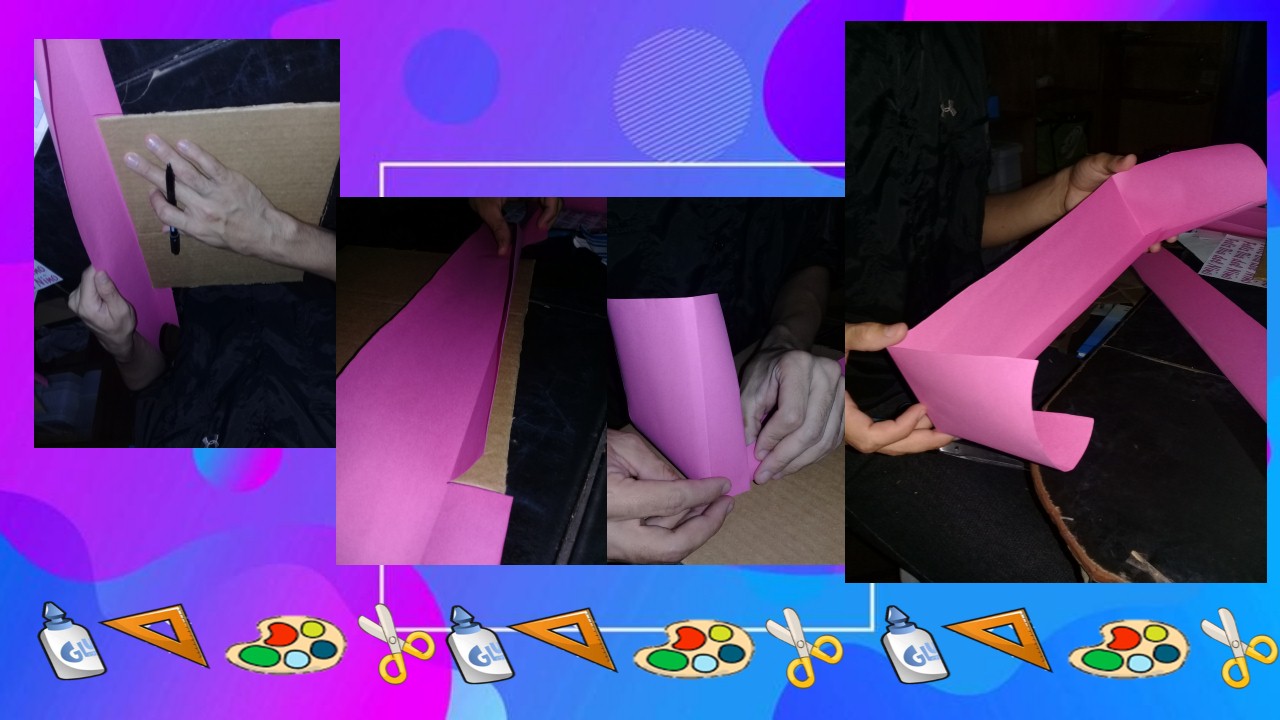
Si has llegado aquí, ahora solo queda pegar la cinta en el cartón que sera nuestro borde de la bandeja. para que quede como esta..
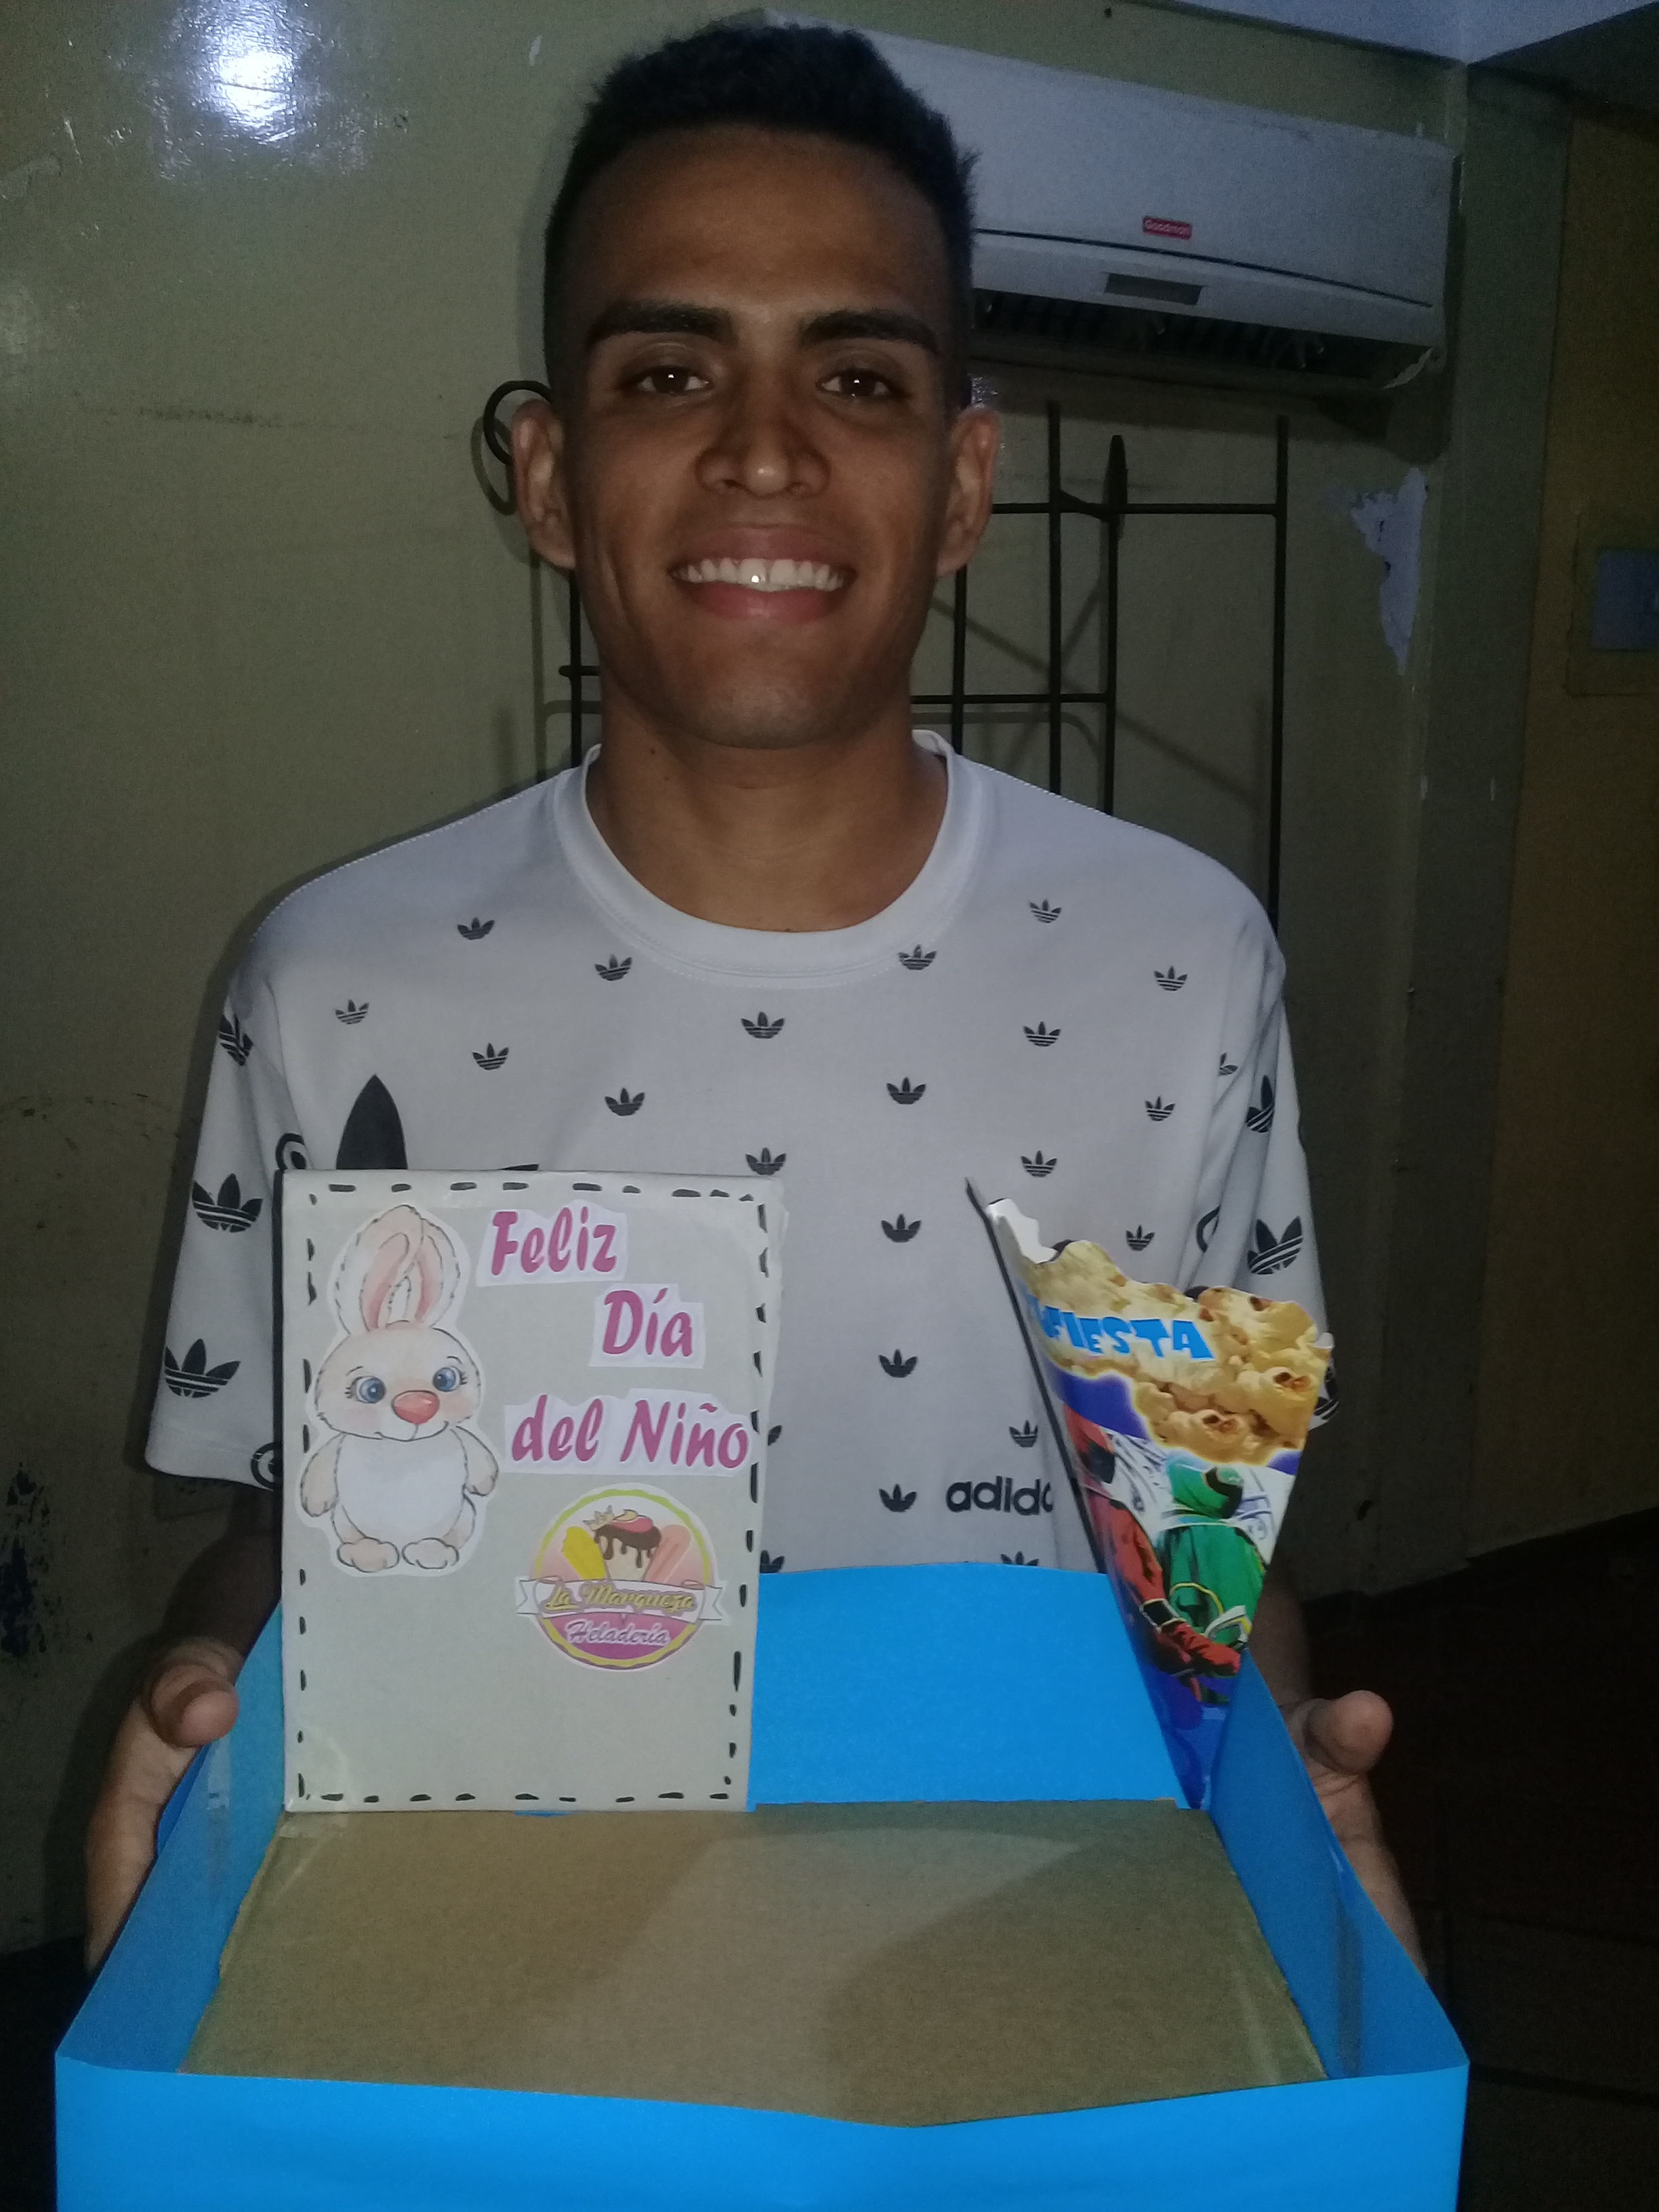
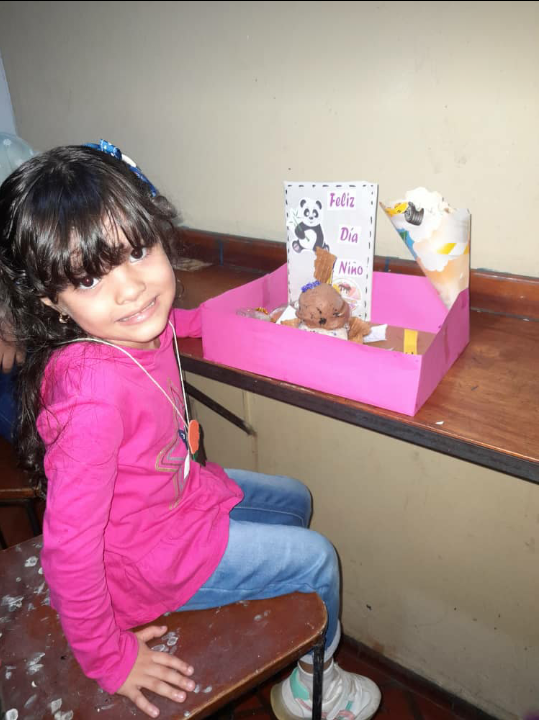
Aquí pueden observar que le agregue como especie de una mini pared para colocar el motivo de esta bandeja, así tu mismo puedes personalizar tu bandeja con el motivo preferido y acorde a la ocacion. Deja volar tu imaginación.

Si la llegas a realizar comparte conmigo tu experiencia.
Fin del Post
Imágenes de mi propiedad.

THE MATERIALS WE WILL USE:
- CARDBOARD FOR THE BASE OF OUR TRAY.
- SCHOOL CARDBOARD FOR THE EDGES.
- TO STICK, WE CAN USE: GLUE, SILICON AND USE ADHESIVE TAPE.
- SCISSOR FOR CUTTING.
- AND YOUR IMAGINATION (THE MOST IMPORTANT)
1ST STEP
(We will cut the base of our tray) Which in this case will be made of cardboard, first define what size you are going to want your tray and then mark it on the cardboard and then proceed to cut
As I will show you below:
2nd STEP
_We already have our base, now we will make the edges of our tray. in my case I made them with school cardboard: _
We will cut a thick Ribbon as I show you below:
Now we proceed to fold almost in the middle of the tape to create an edge that will be glued under our piece of cardboard and thus we will create the outline of the tray. See it as I did below.
Now we continue cutting the tape just a little bit in each corner of the cardboard. Let's see...
If you have arrived here, now it only remains to stick the tape on the cardboard that will be our edge of the tray. so it looks like this ..
Here you can see that I add a kind of mini wall to place the motif of this tray, so you can personalize your tray with the preferred motif and according to the occasion. Let your imagination fly.
If you get to do it, share your experience with me.
End of Post
Images of my property. / Translated into English by google translator.