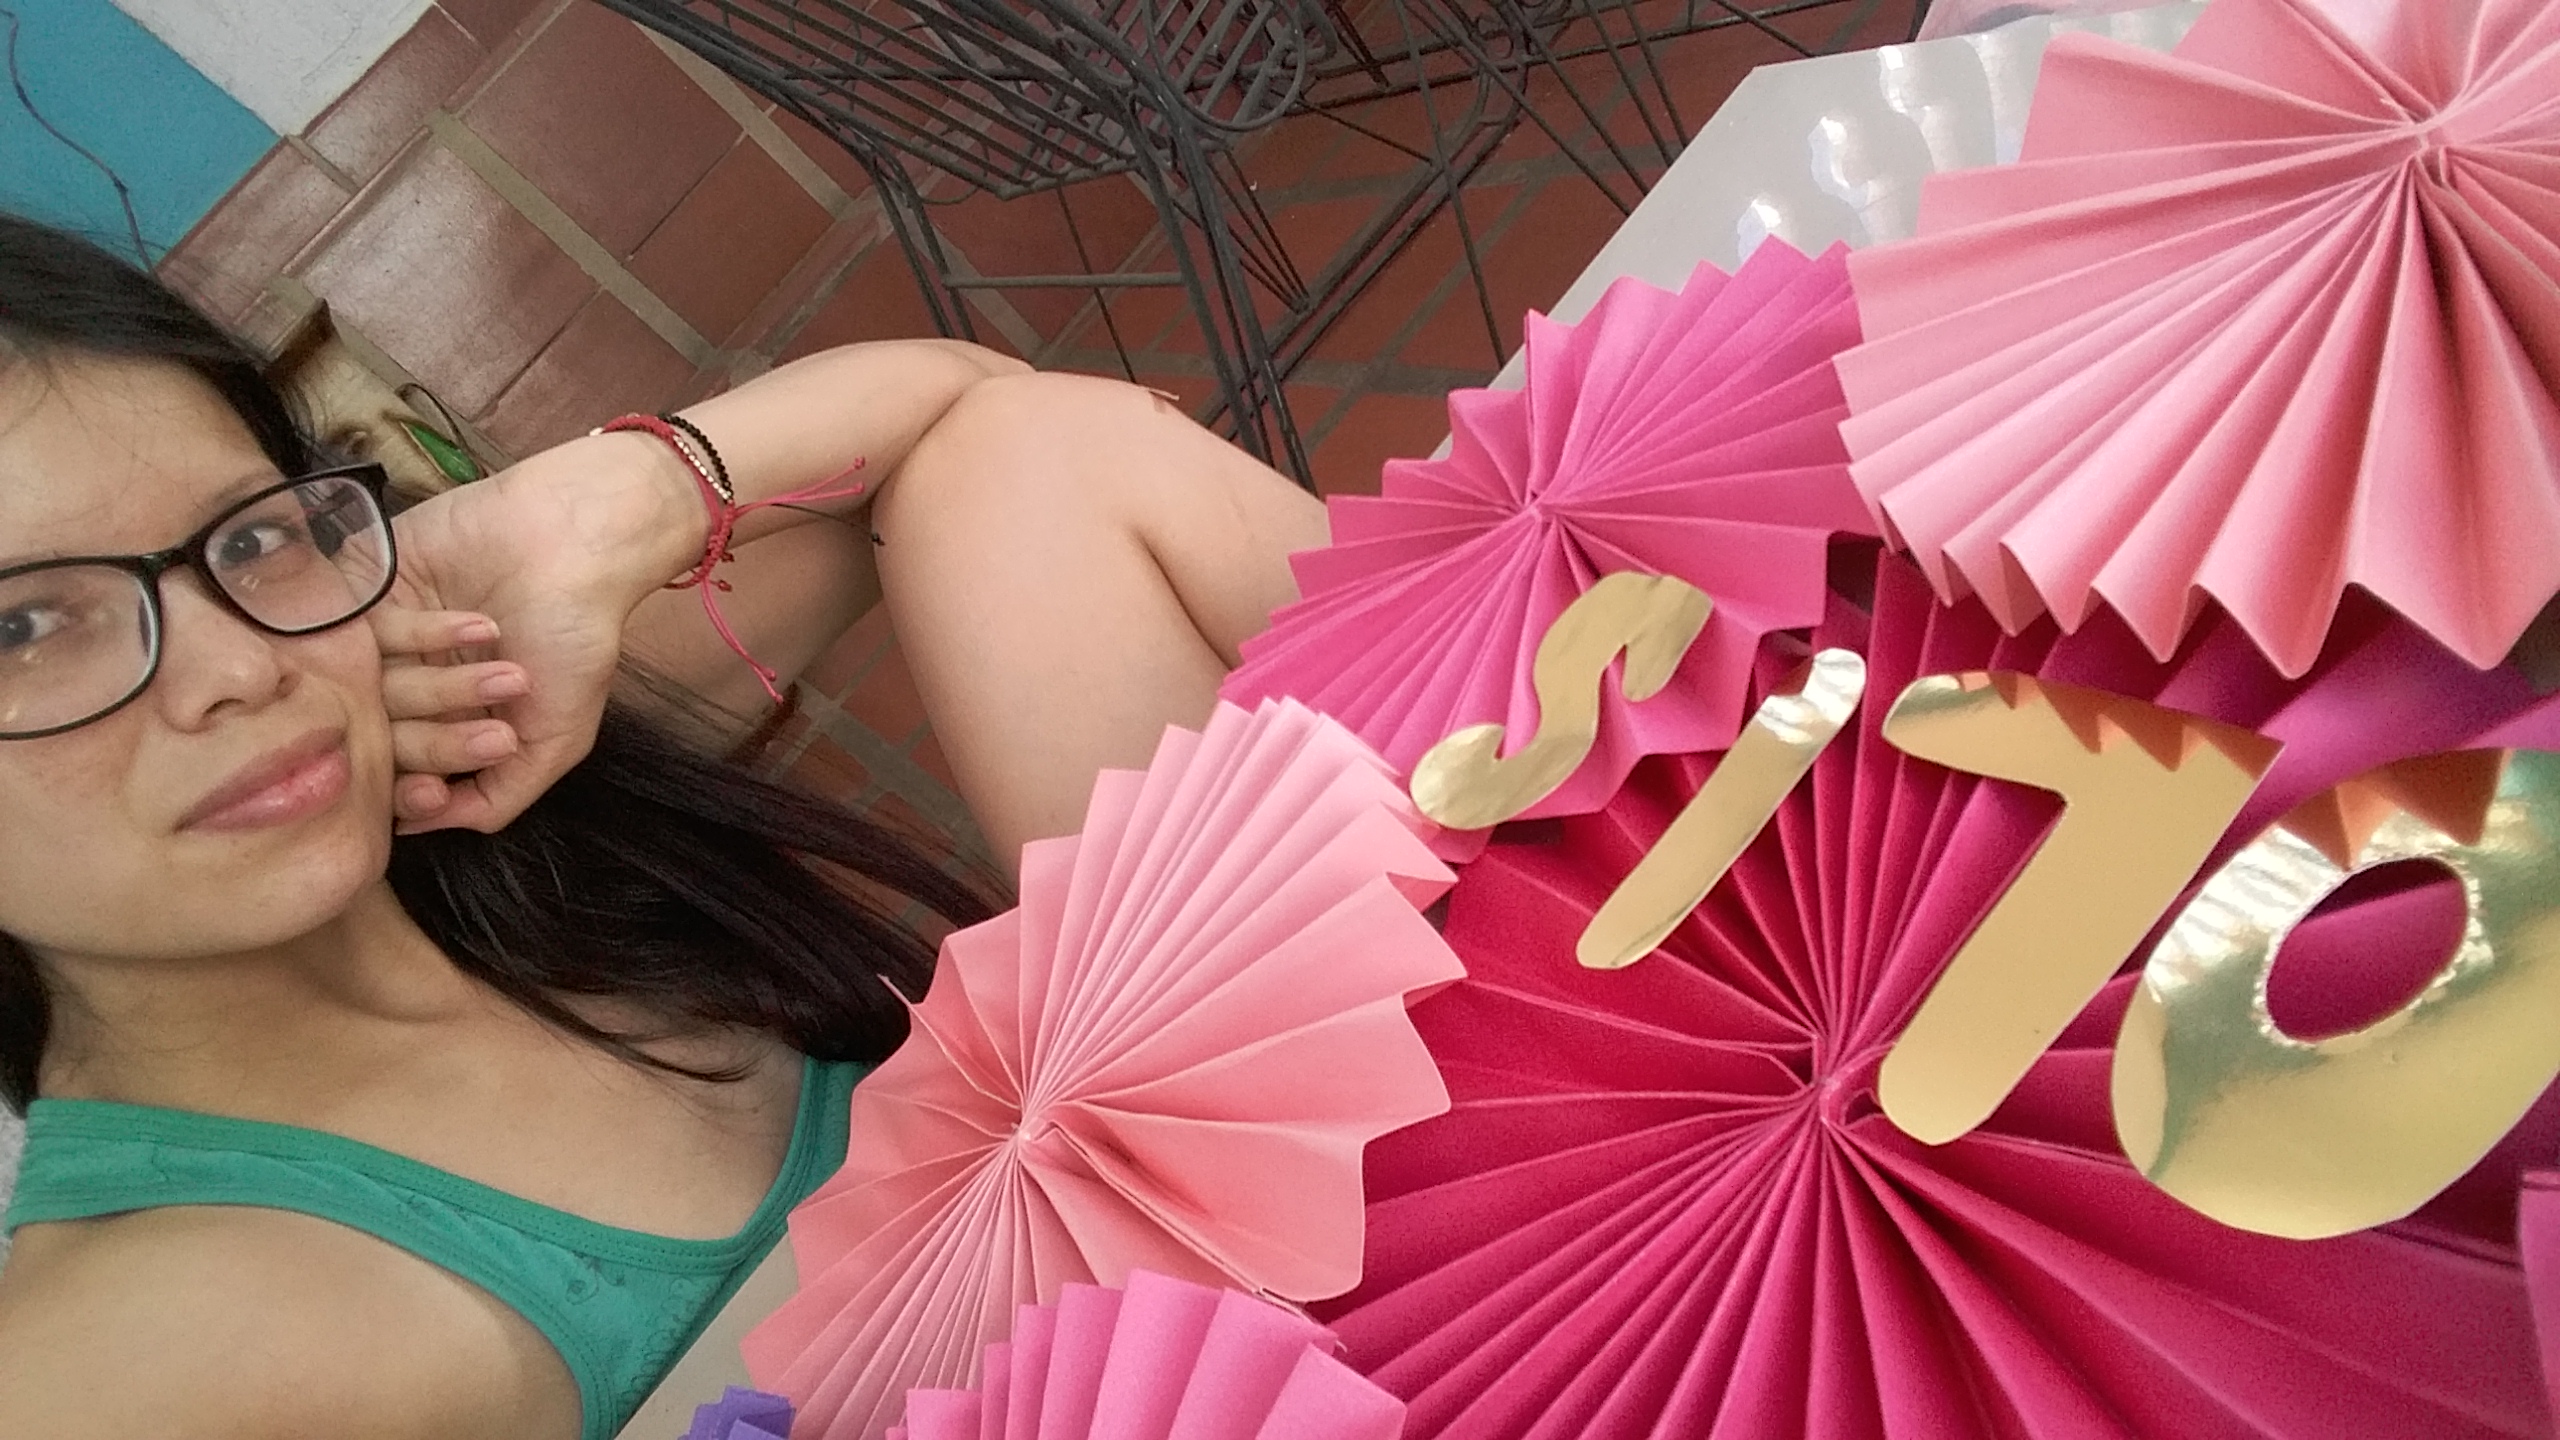
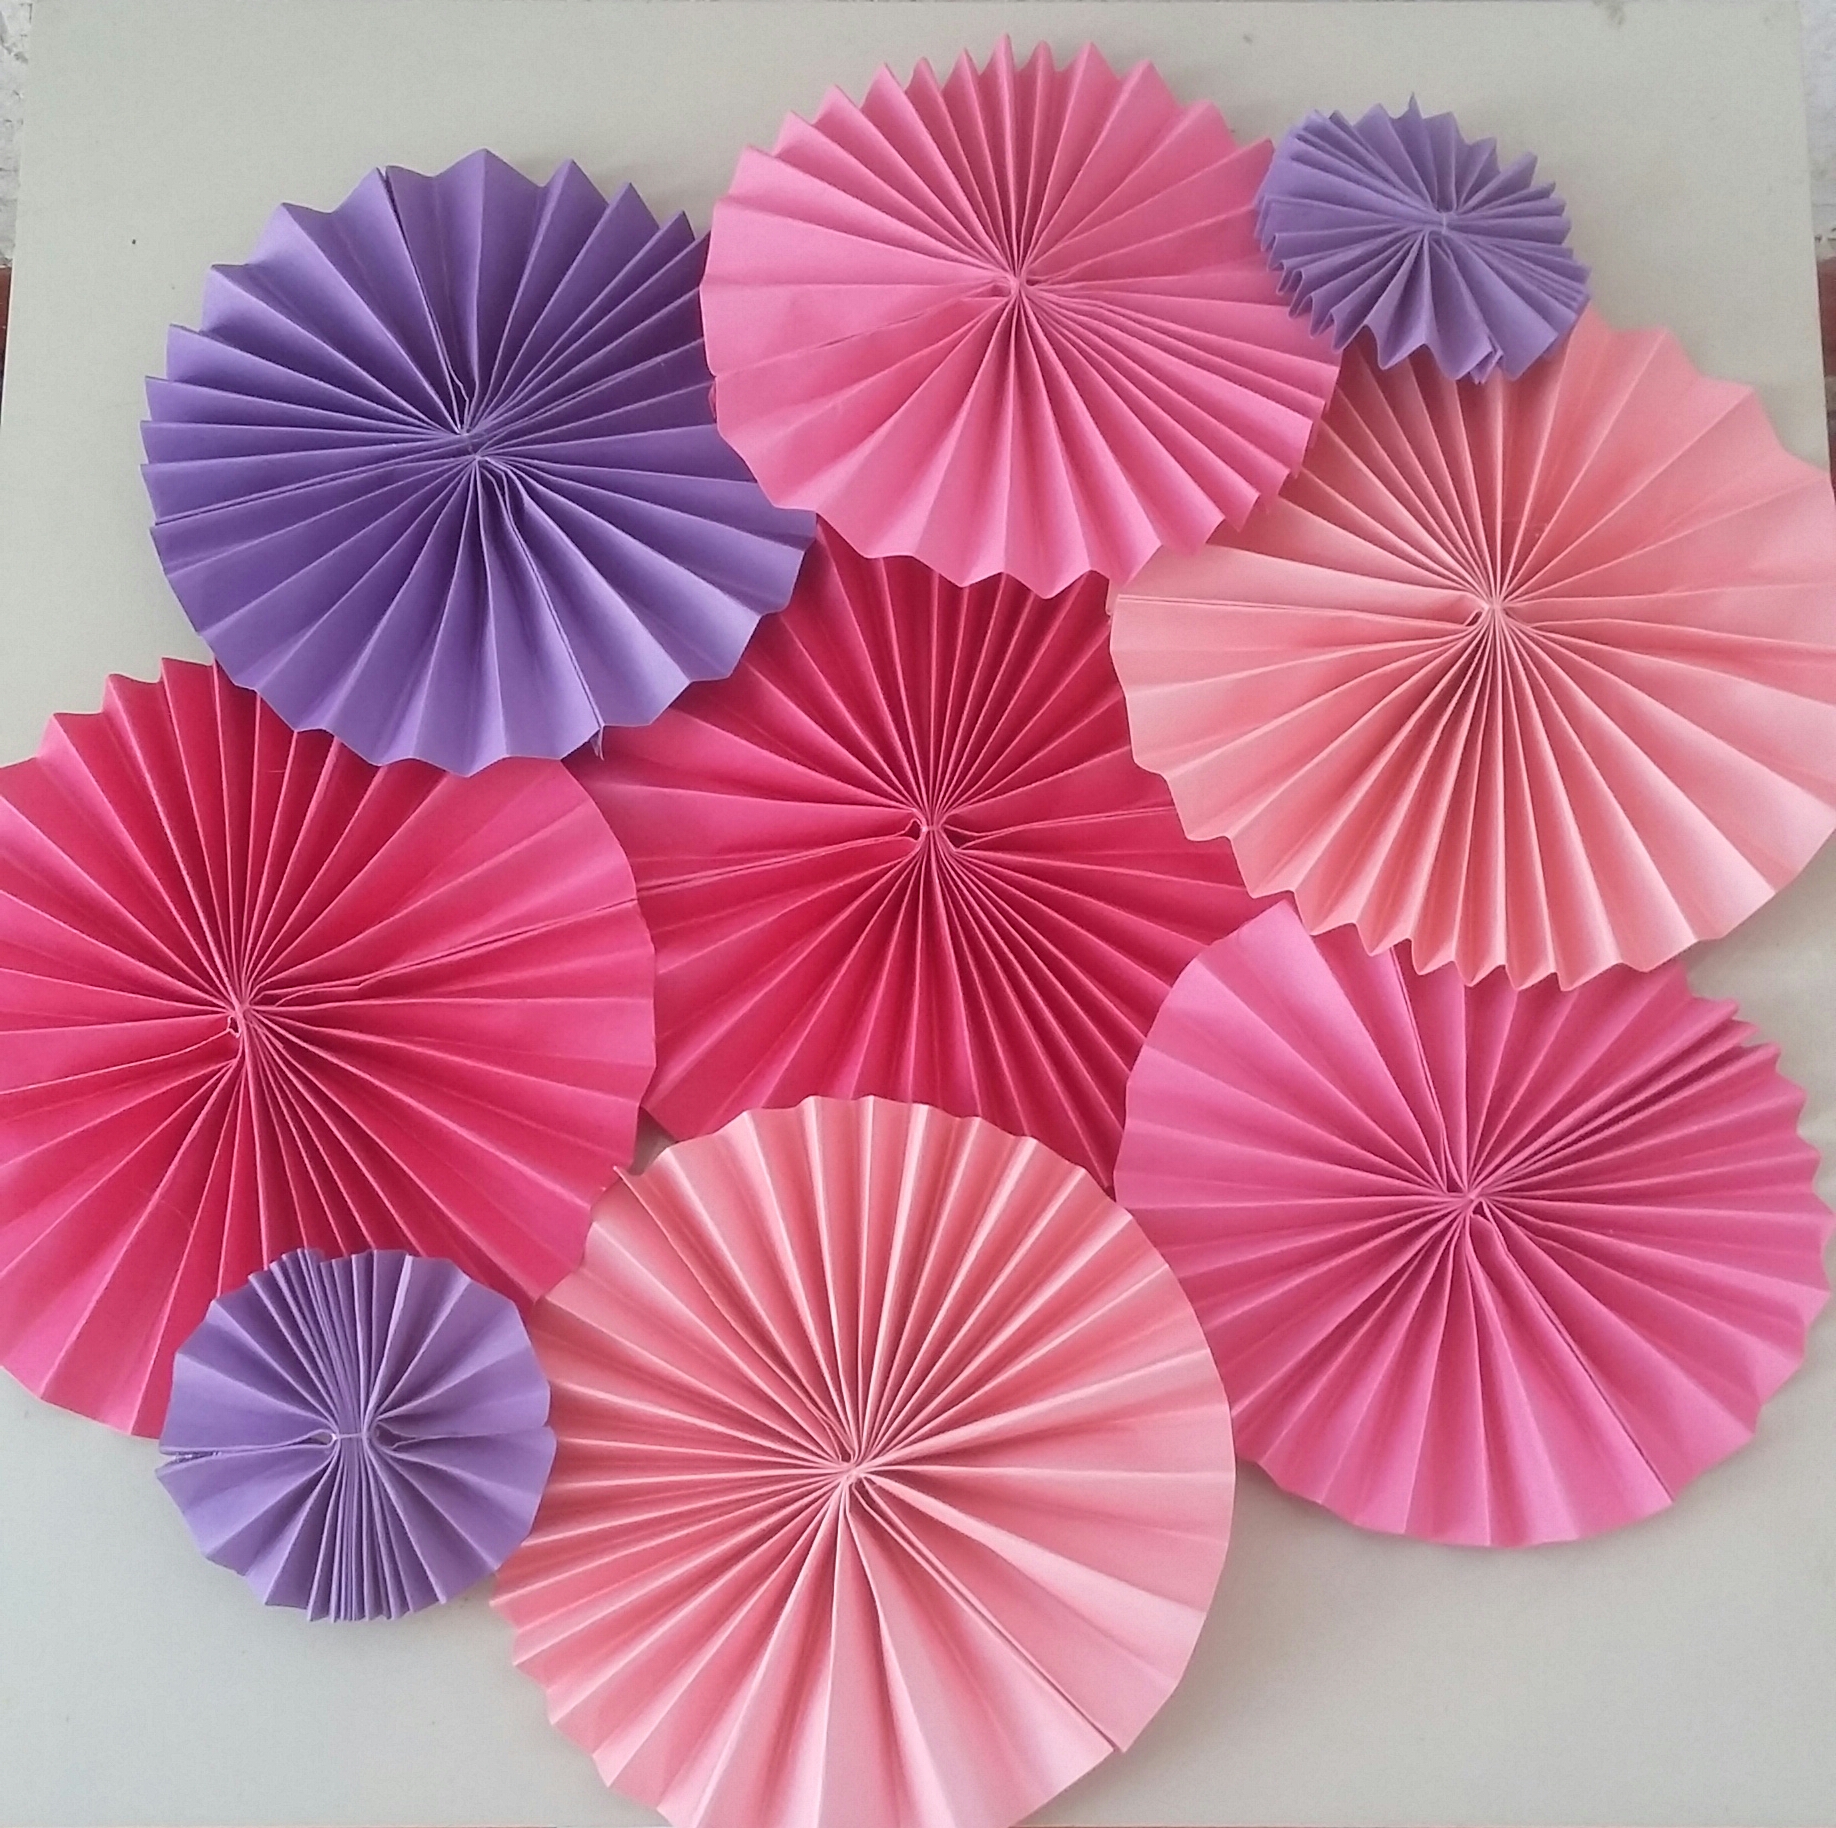
Buenos días amigos, si bien muchas persona sale llaman abanicos estos lindos rosetones sirven para la decoración de alguna celebración y hoy les enseñó como hacerlos.
Good morning friends, although many people call them fans, these pretty rosettes are used to decorate a celebration and today I will show you how to make them.
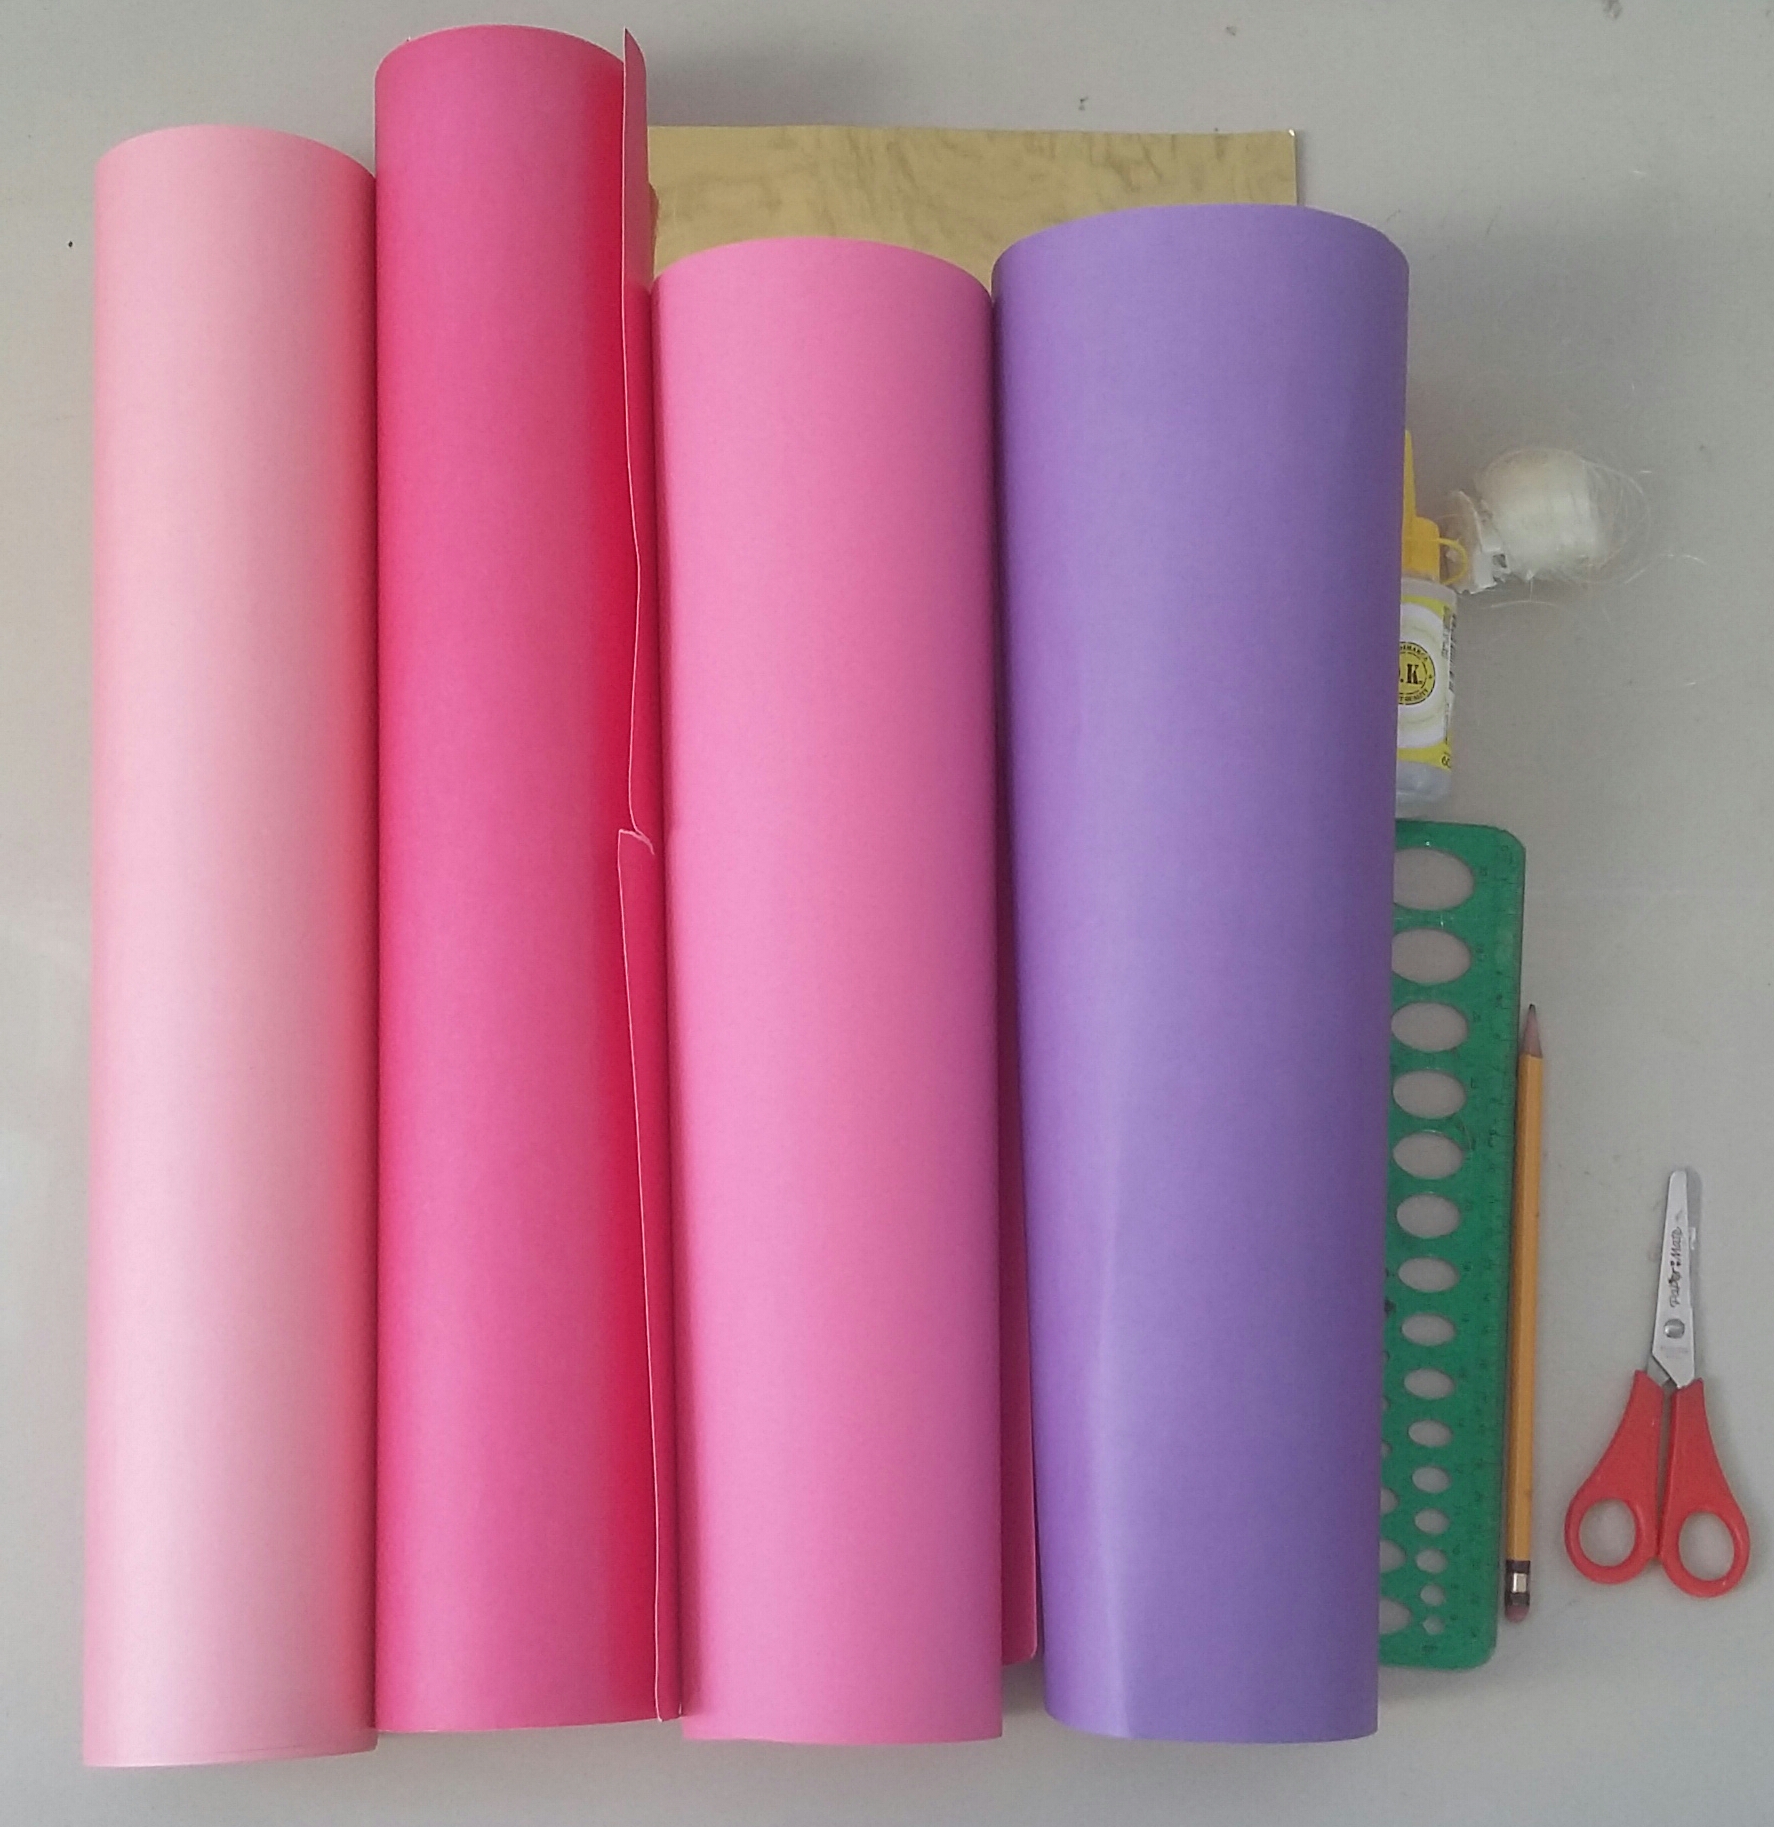
Materiales:
• Cartulina (Colores de su preferencia)
• Silicon al Frío
• Cartulina dorada
• Tijera
• Regla
• Lápiz
• Nylon
Materials:
- Cardboard (Colors of your choice)
- Cold Silicon
- Gold cardboard
- Scissors
- Ruler
- Pencil
- Nylon
Paso a paso:
Step by step:
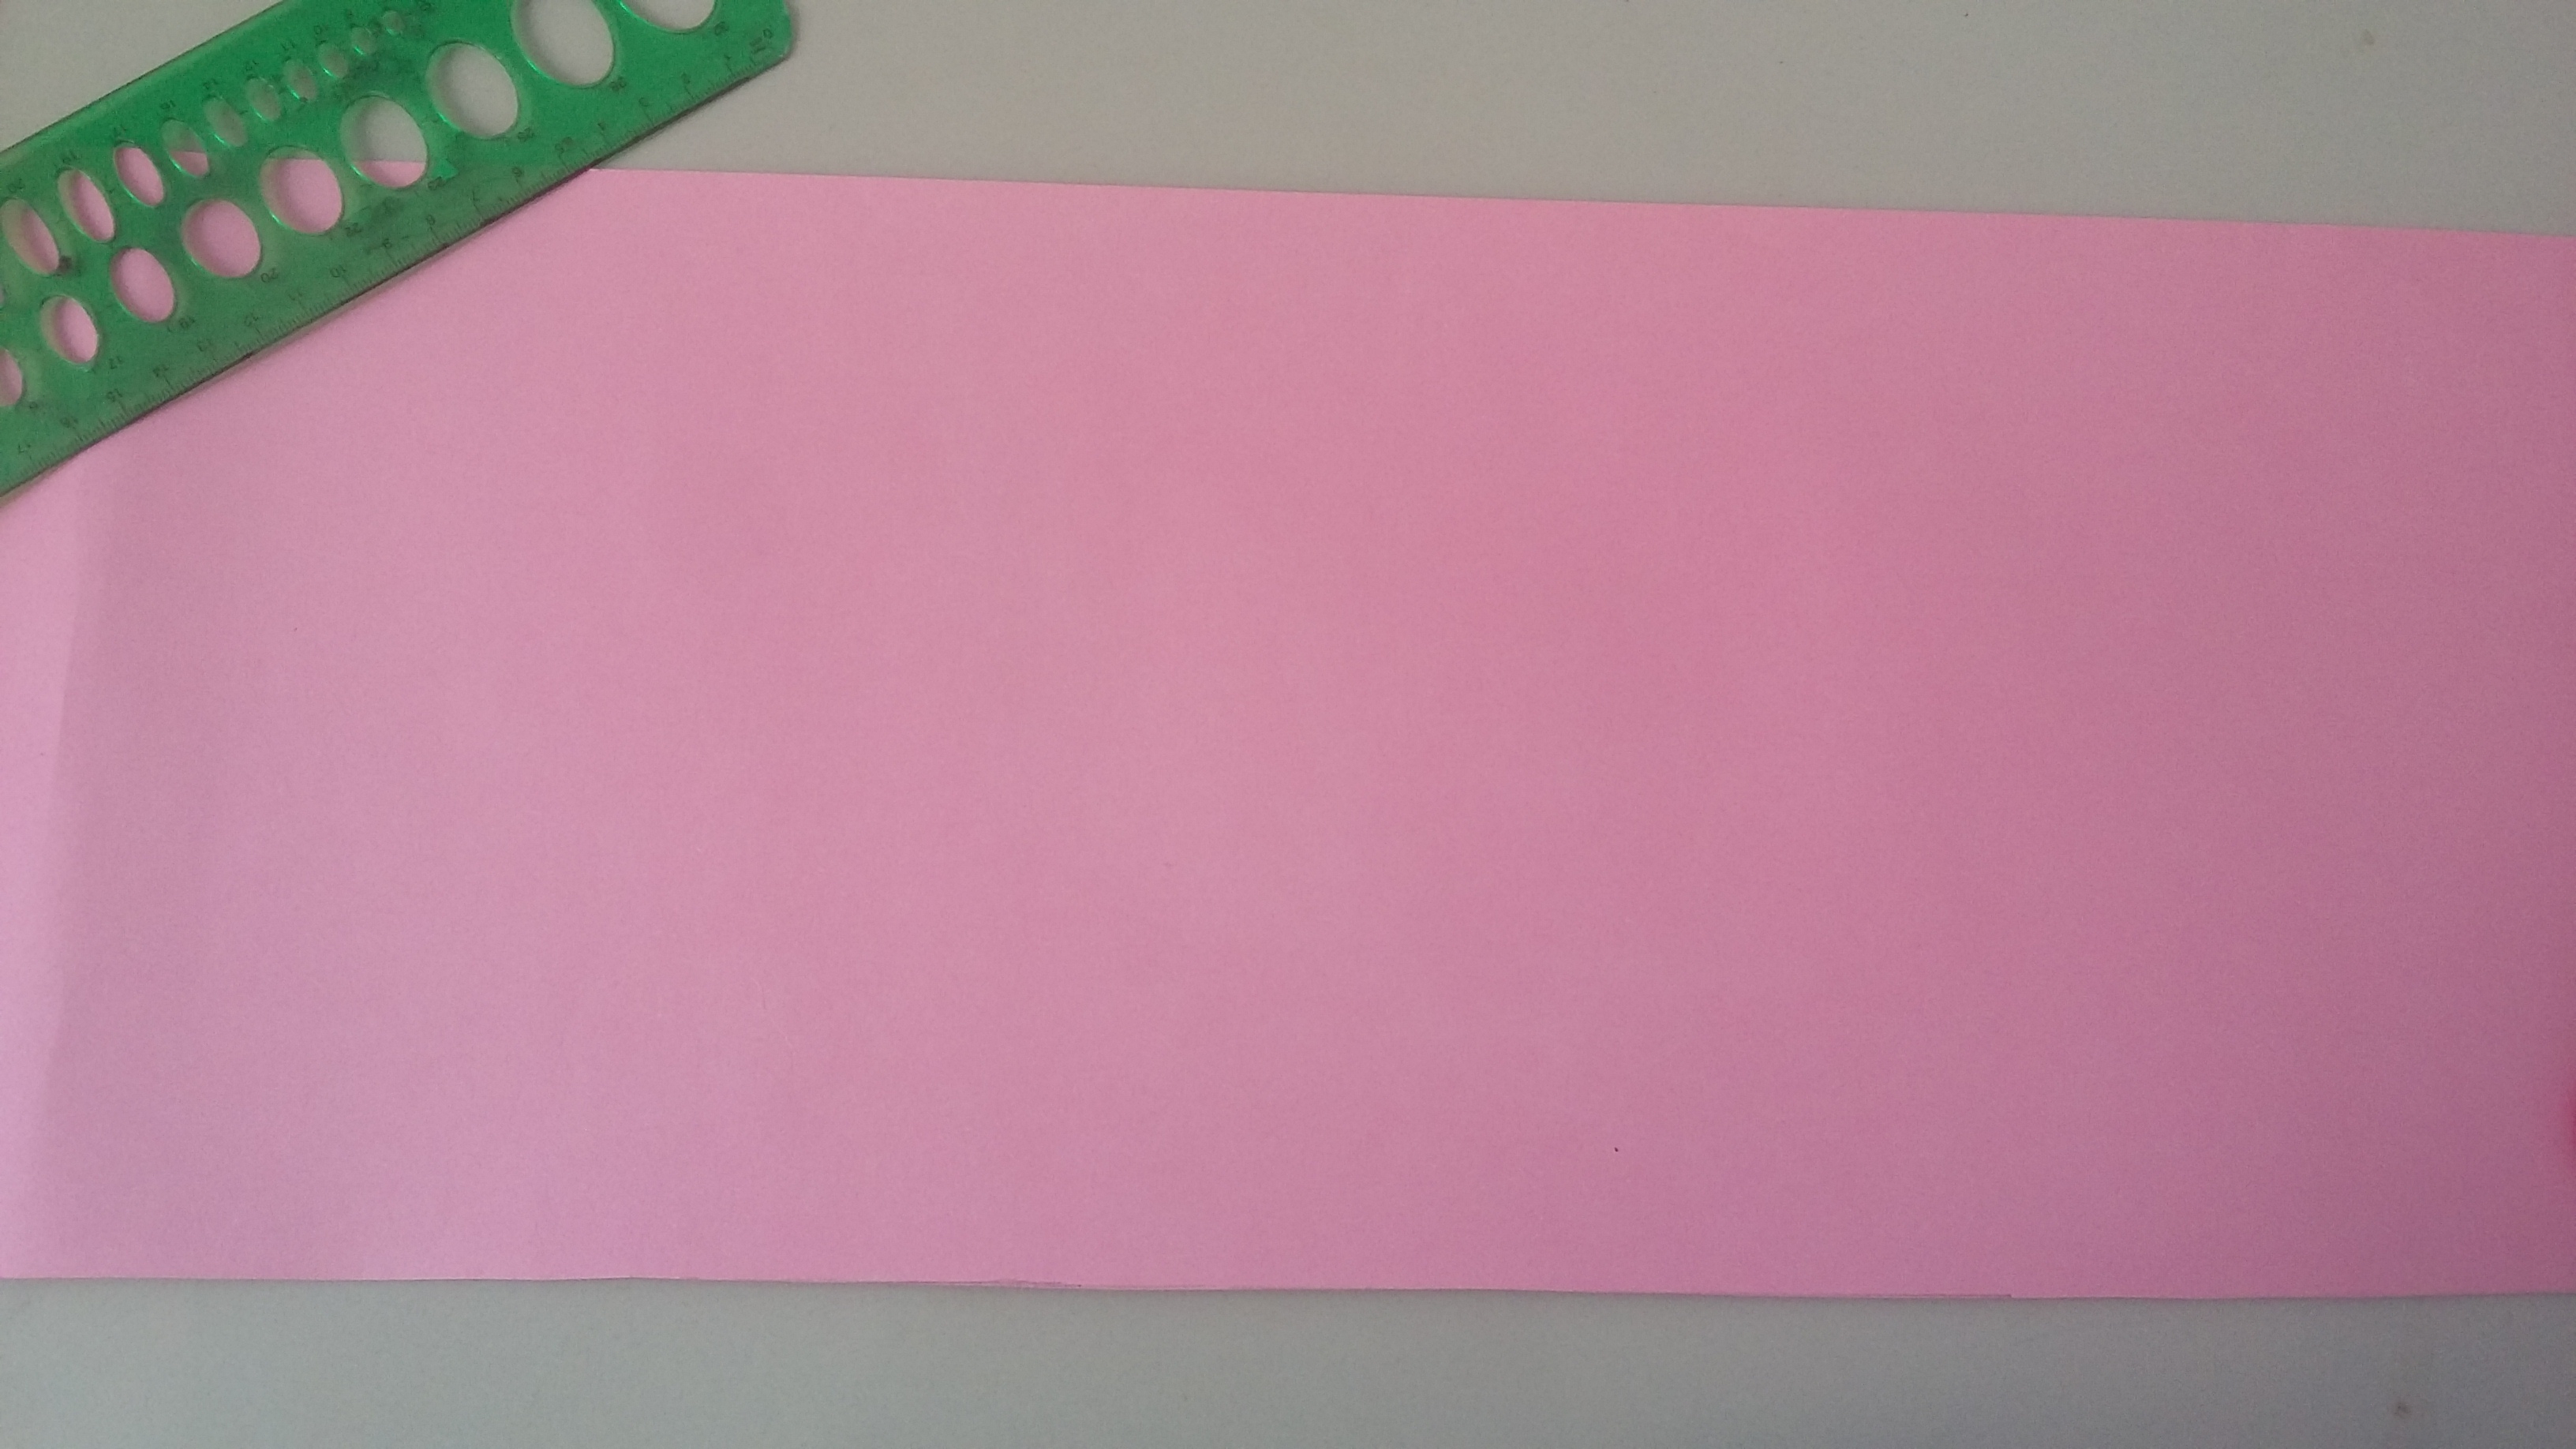
1.- En medio de nuestra cartulina dibujamos con ayuda de la regla una línea.
1.- In the middle of our cardboard we draw a line with the help of the ruler.
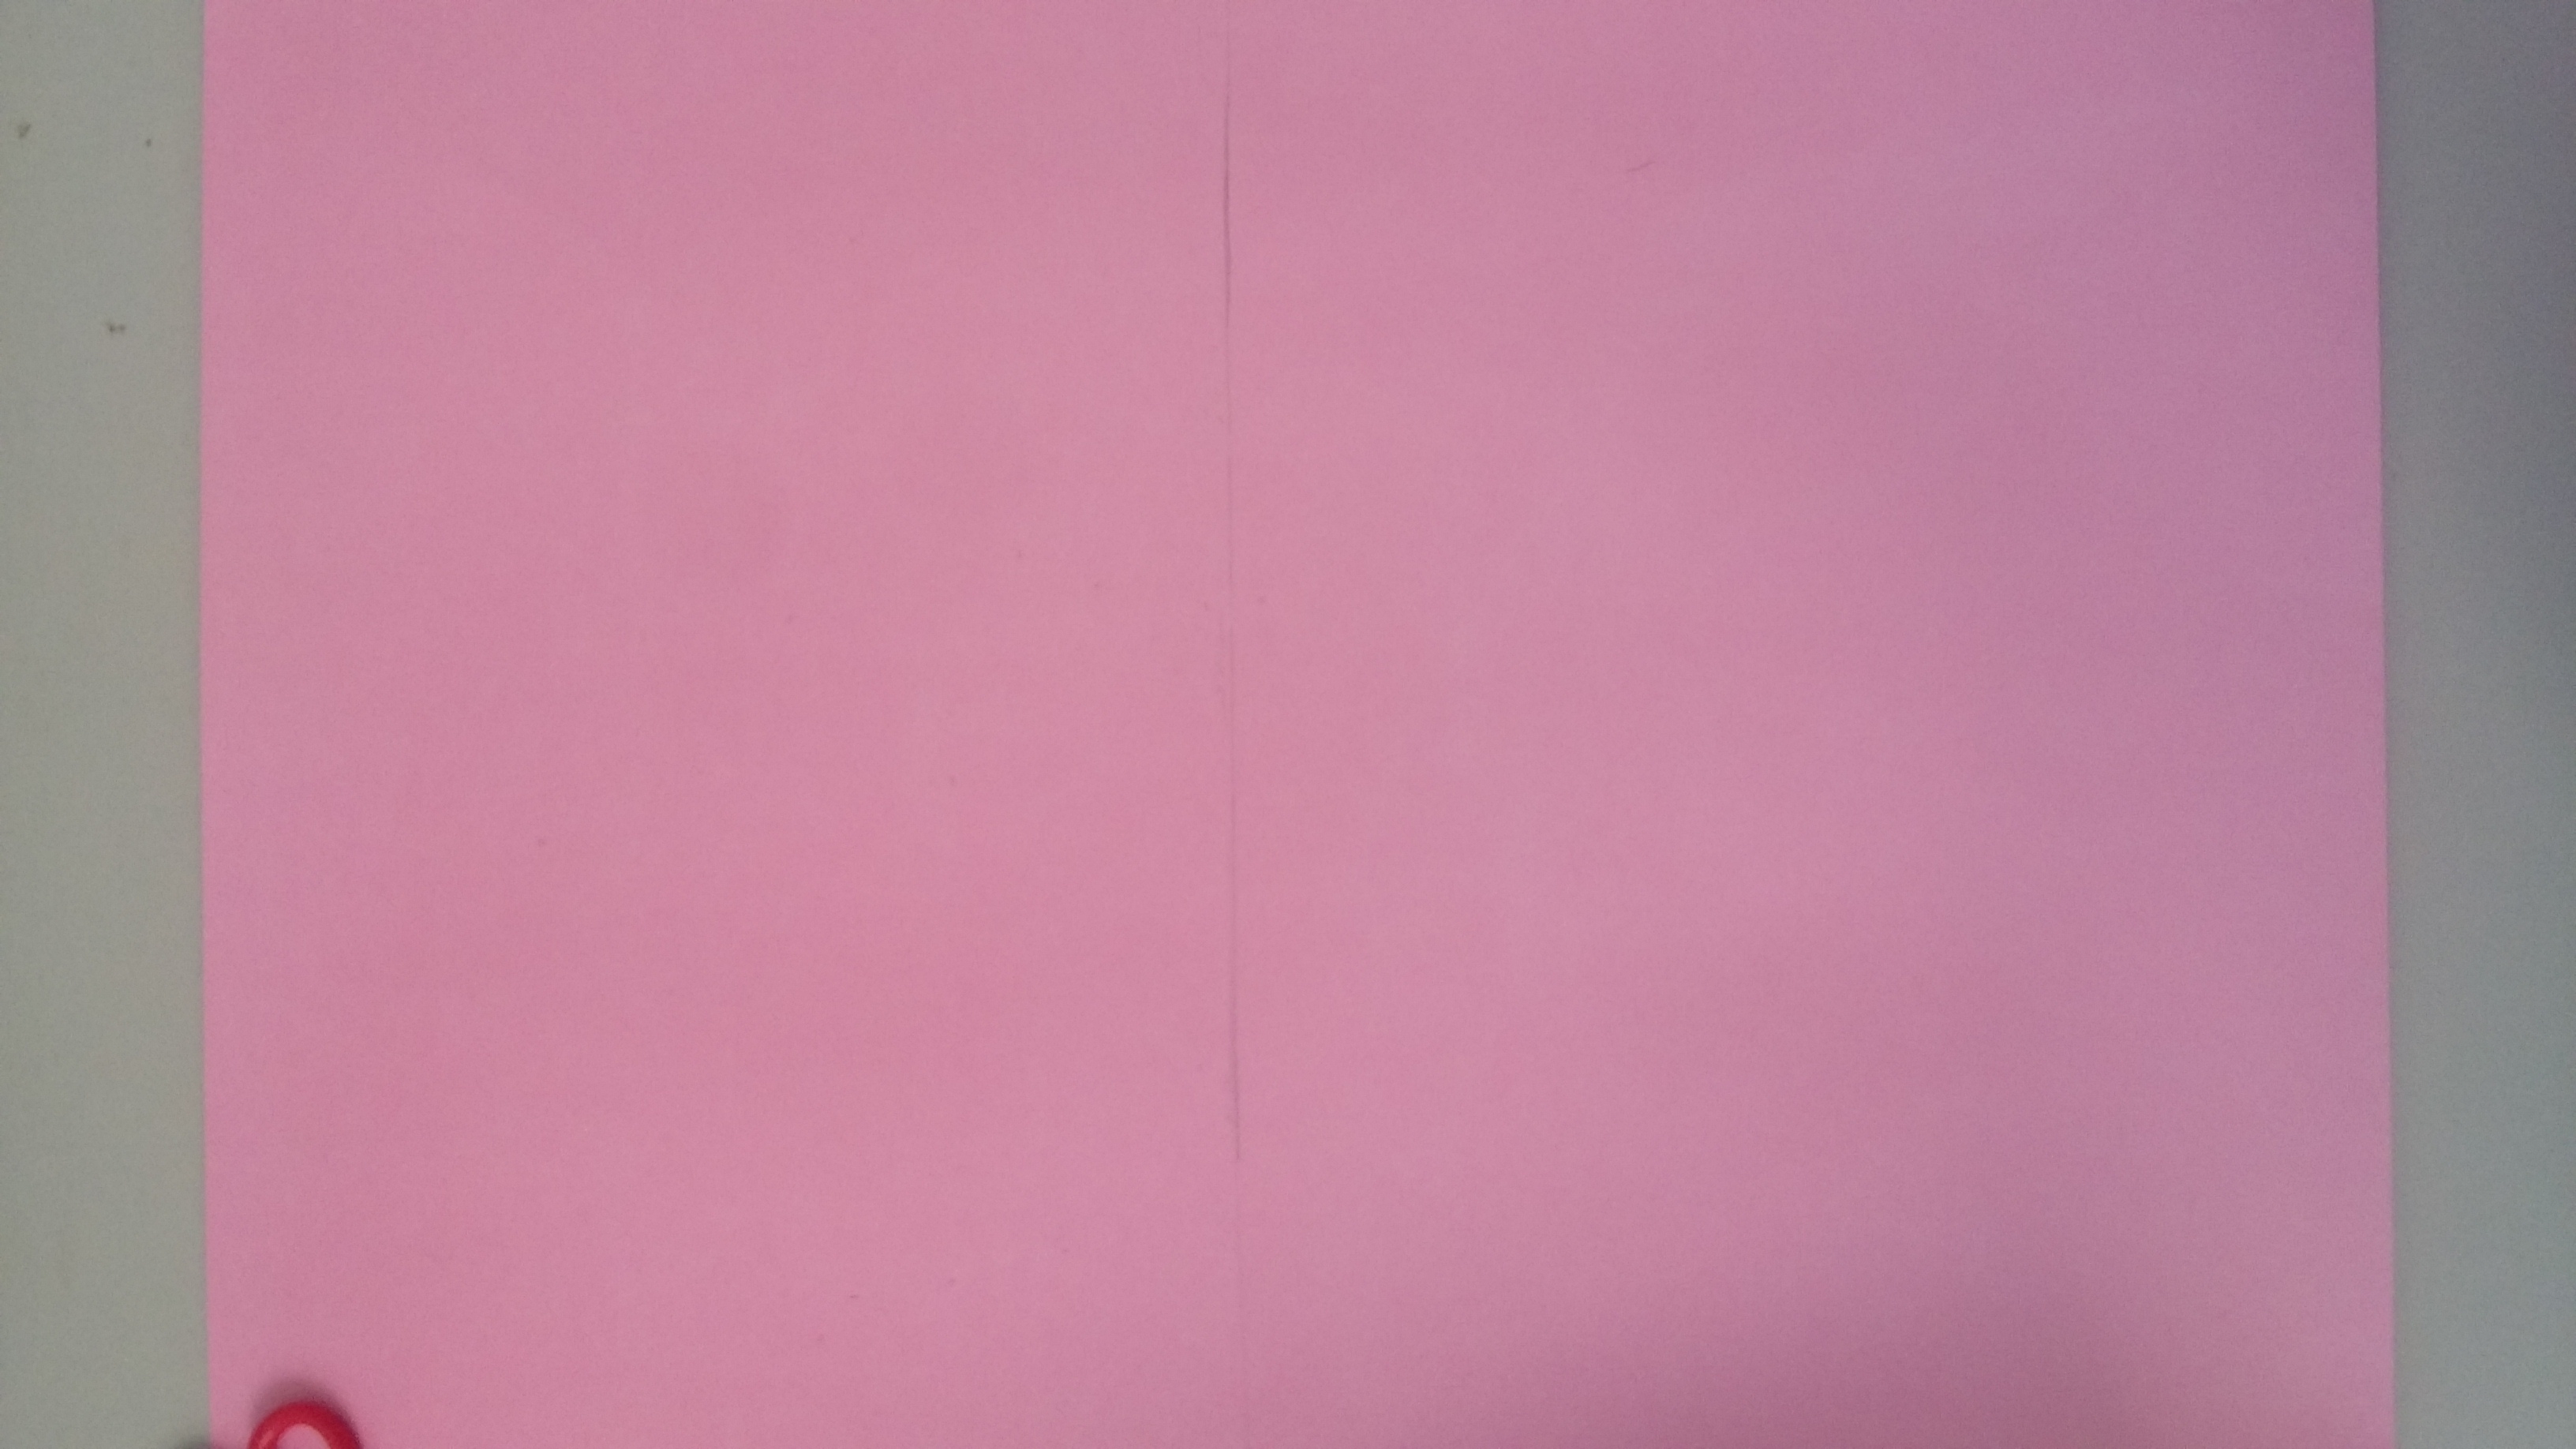
2.- Recortamos siguiendo esa línea.
2.- We cut along this line.
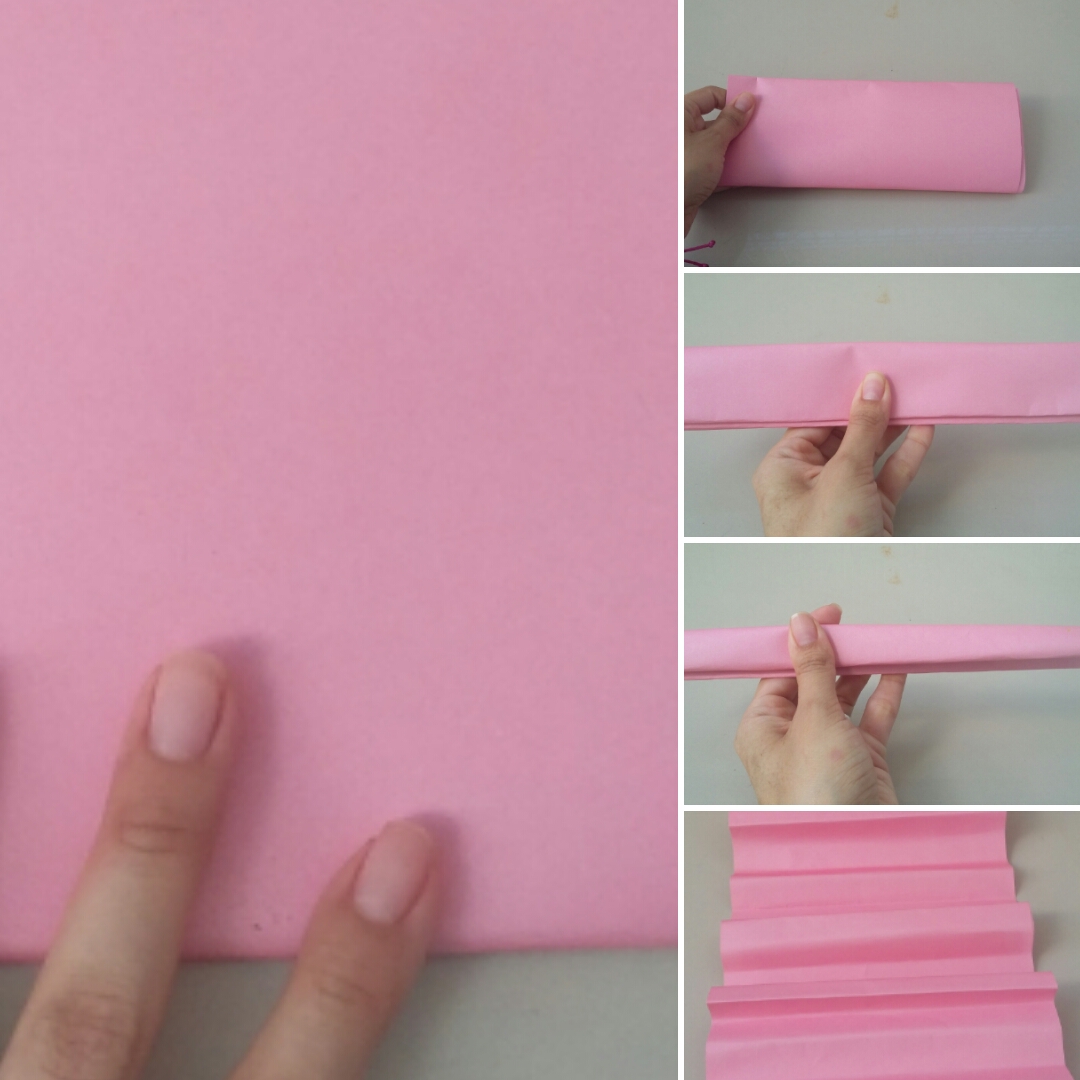
3.- En uno de los trozos de cartulina doblaremos a la mitad y así sucesivamente hasta que nos quede la cartulina del tamaño de un dedo.
3.- Fold one of the pieces of cardboard in half and so on until the cardboard is the size of a finger.
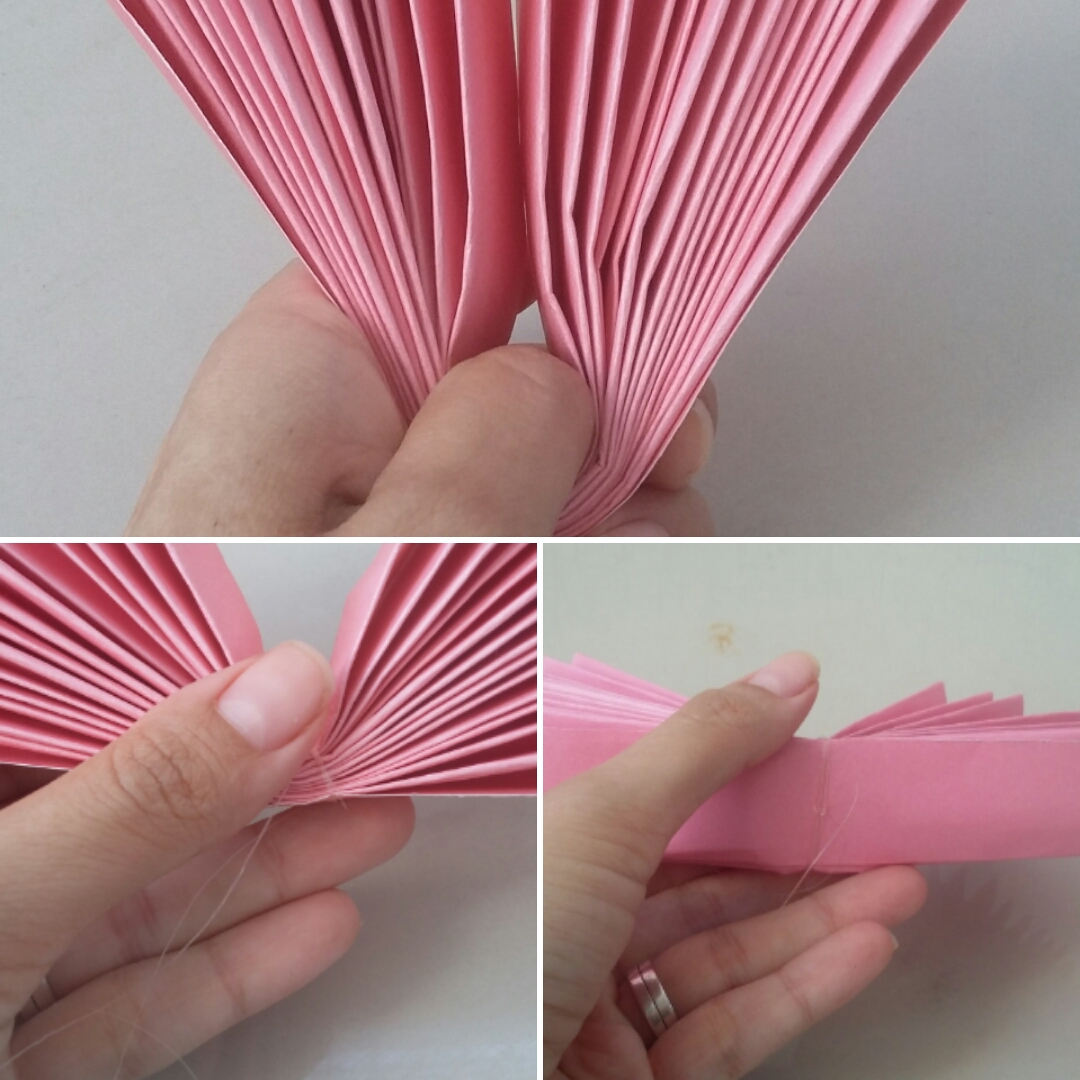
4.- Una vez doblada la cartulina la juntamos toda y en medio de la misma realizamos un nudo con nylon.
4.- Once the cardboard is folded we put it all together and in the middle of it we tie a knot with nylon.
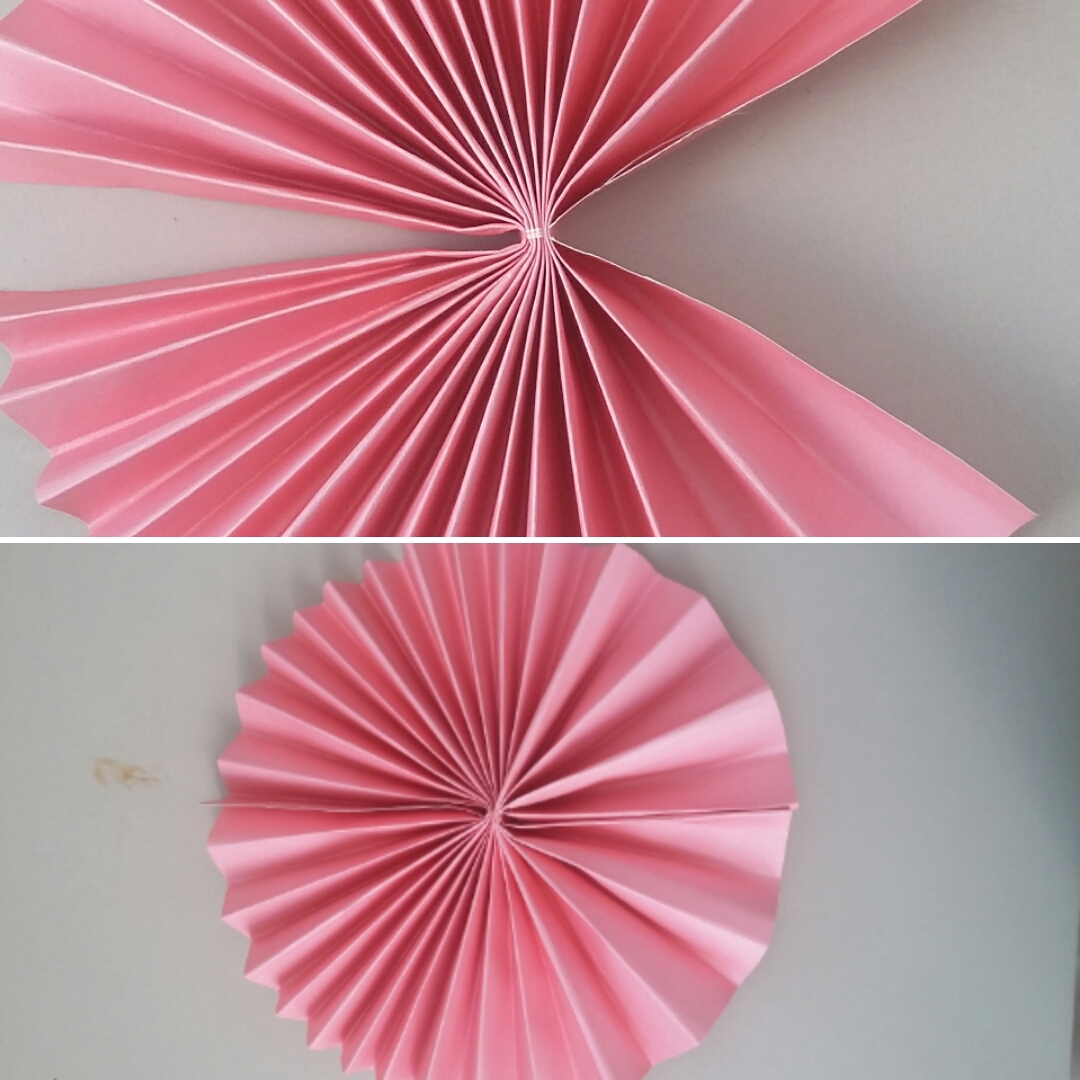
5.- Luego pegamos con silicon al frío las zonas que no quedan juntas y así queda formado nuestro roseton.
5.- Then we glue with cold silicone the areas that are not together and thus our rosette is formed.
6.- Repetimos el procedimiento para cada uno de los rosetones.
6.- Repeat the procedure for each of the rosettes.
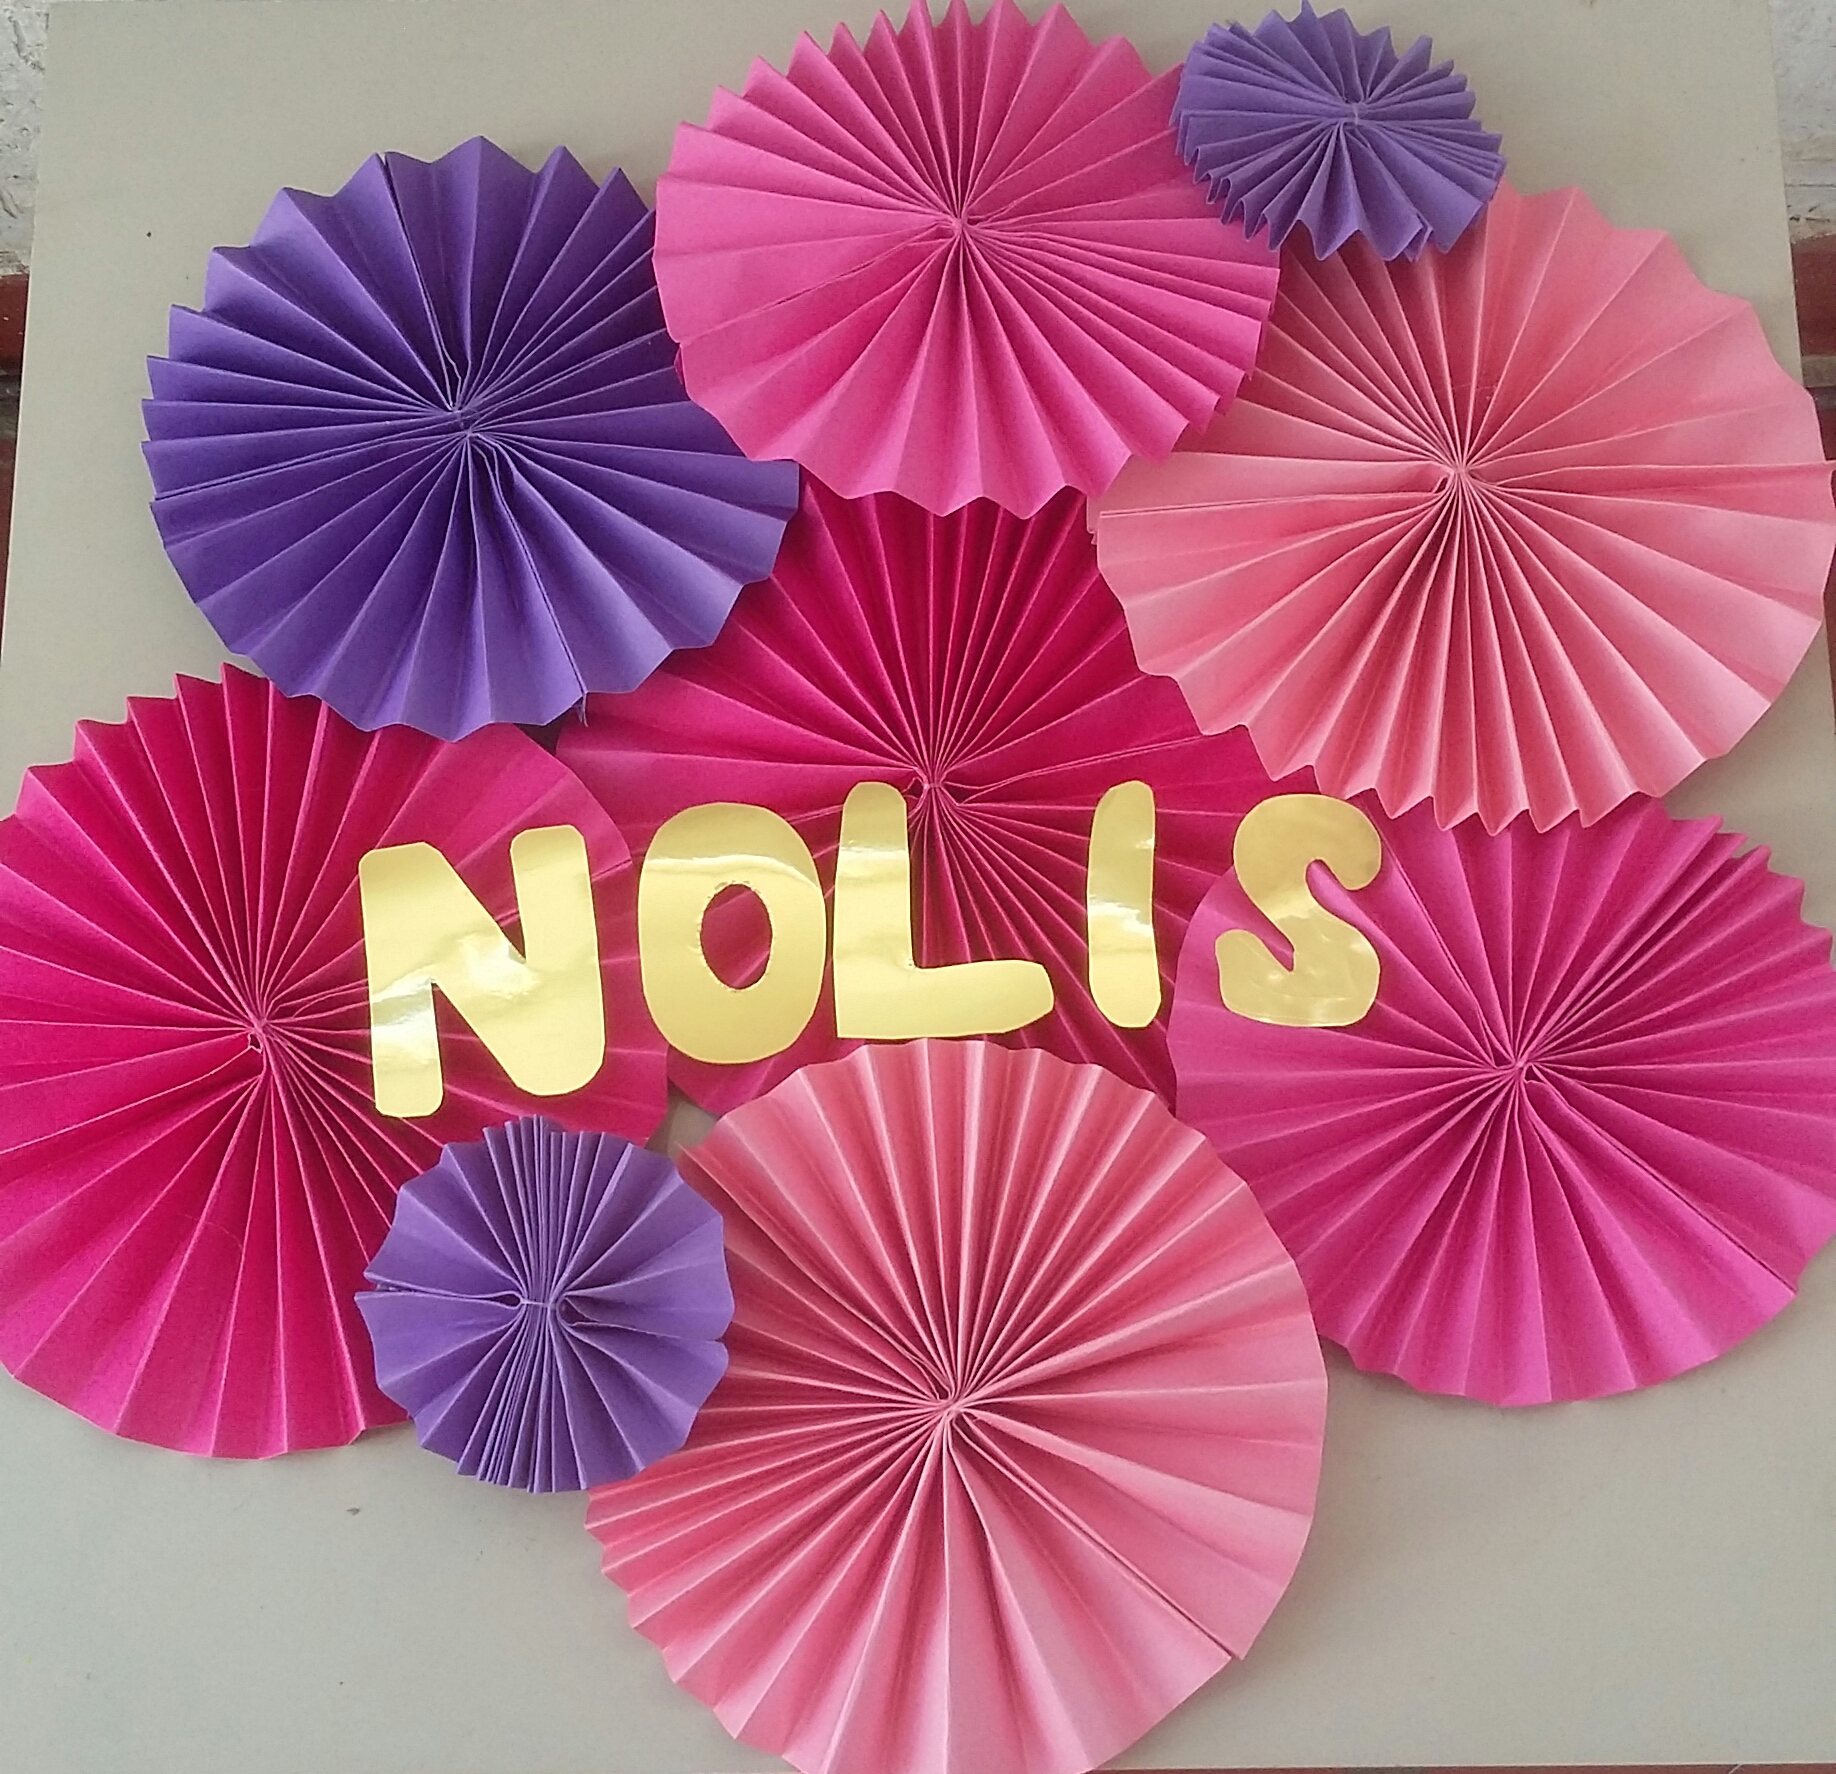
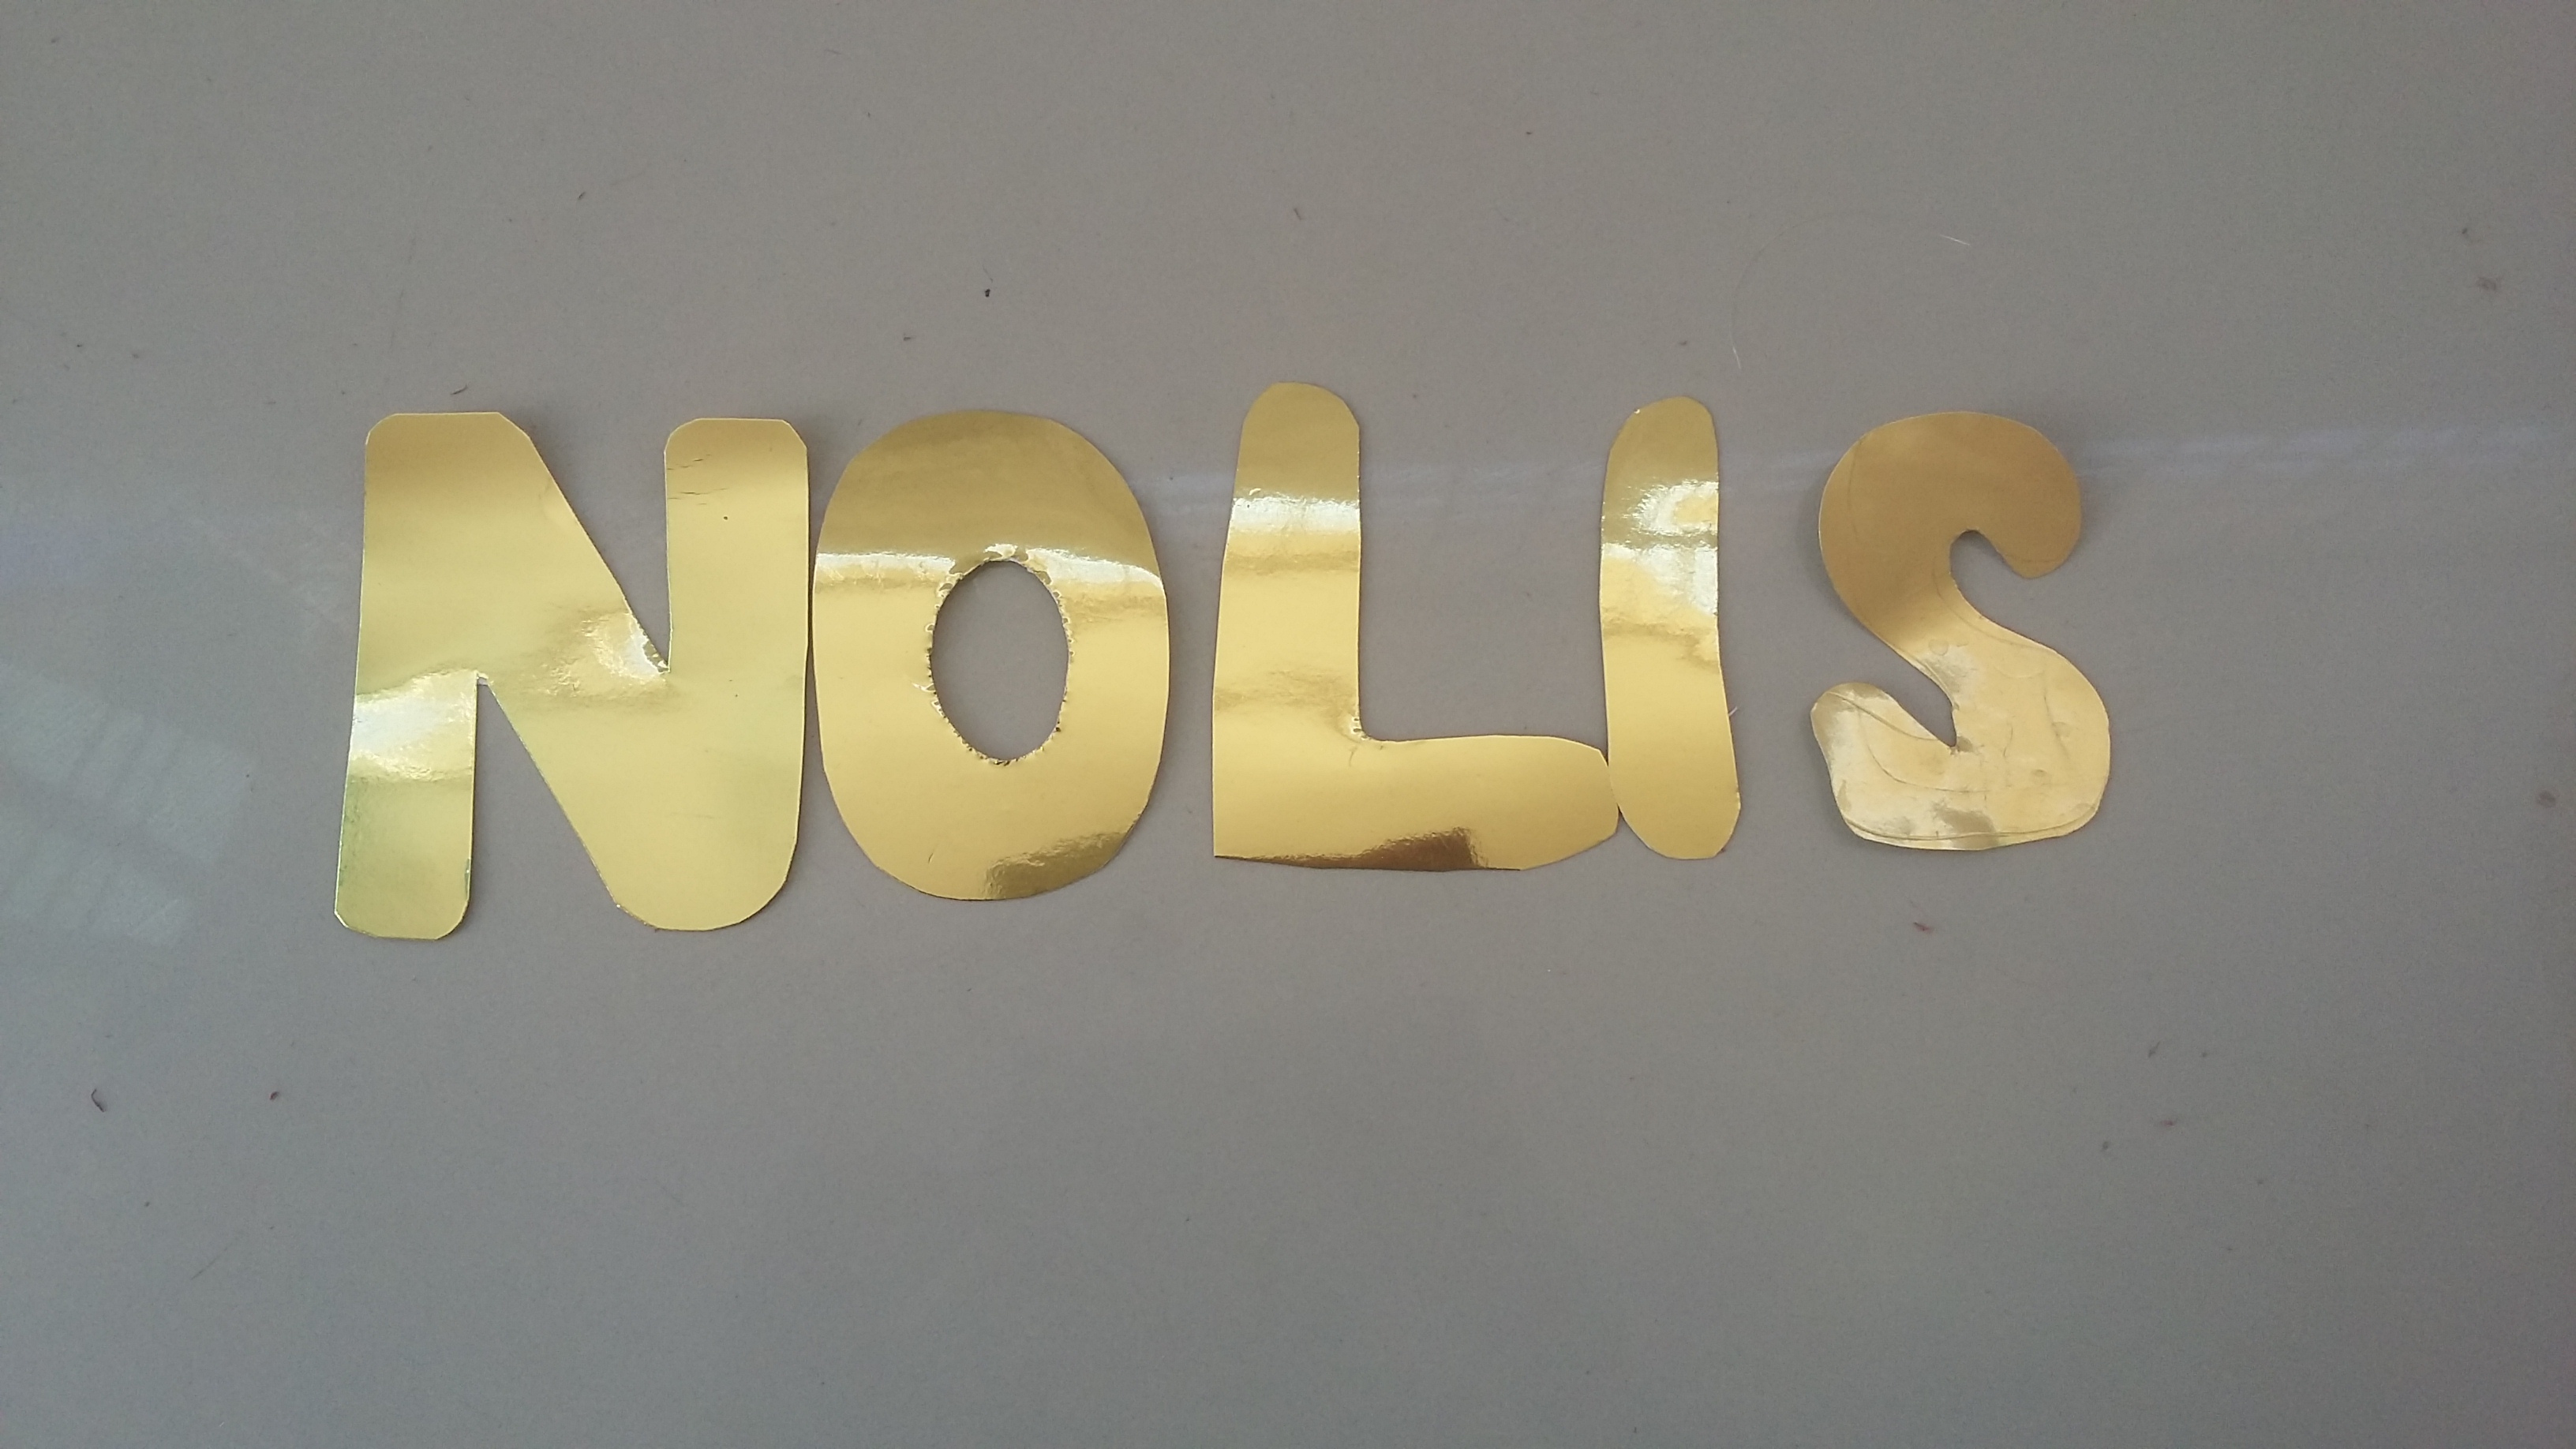
7.- Y por último en la cartulina dorada, dibuje y recorte letras con el nombre de "Nolis" la persona para quien realice estos rosetones para celebrar su cumpleaños.
7.- And finally on the gold cardboard, draw and cut out letters with the name of "Nolis" the person for whom you are making these rosettes to celebrate his or her birthday.
8.- Así lucen nuestros rosetones y nombre para adornar.
8.- This is how our rosettes and name to decorate look like.