Good morning fellow HIVERS,
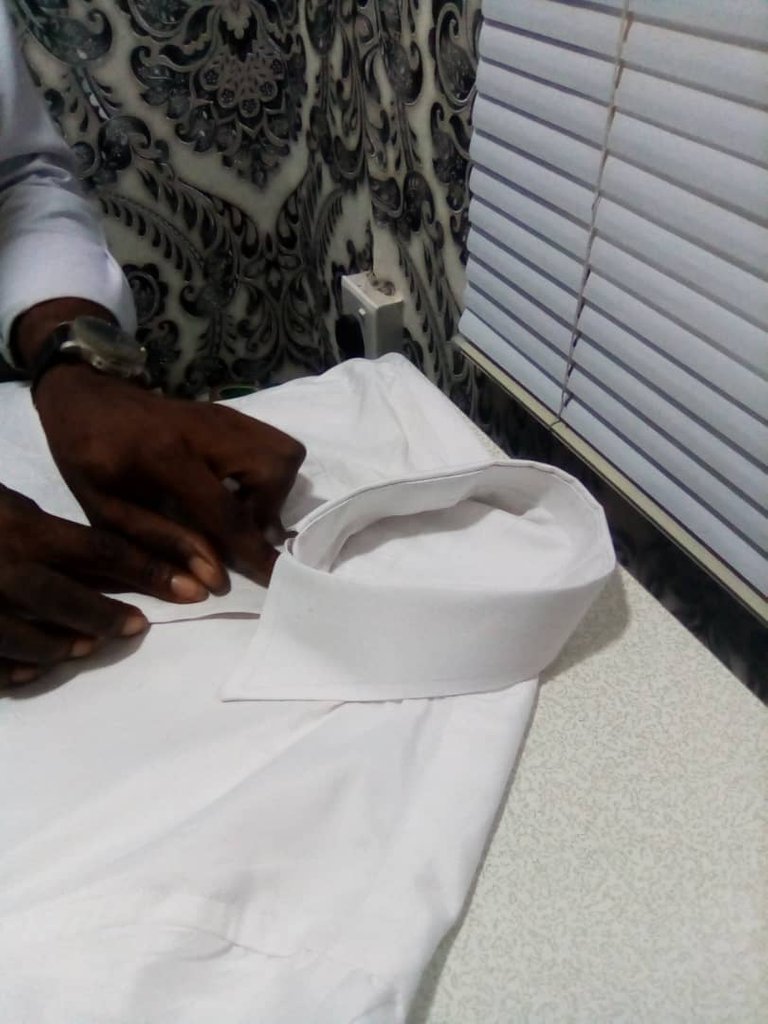
This lovely morning, I'll be showing you how I successfully fixed a shirt's collar perfectly.
The steps are quite simple and I will be breaking them down with pictures to accompany them.
Materials used.
- Collar stay (This can be bought where they sell clothing materials).
Process
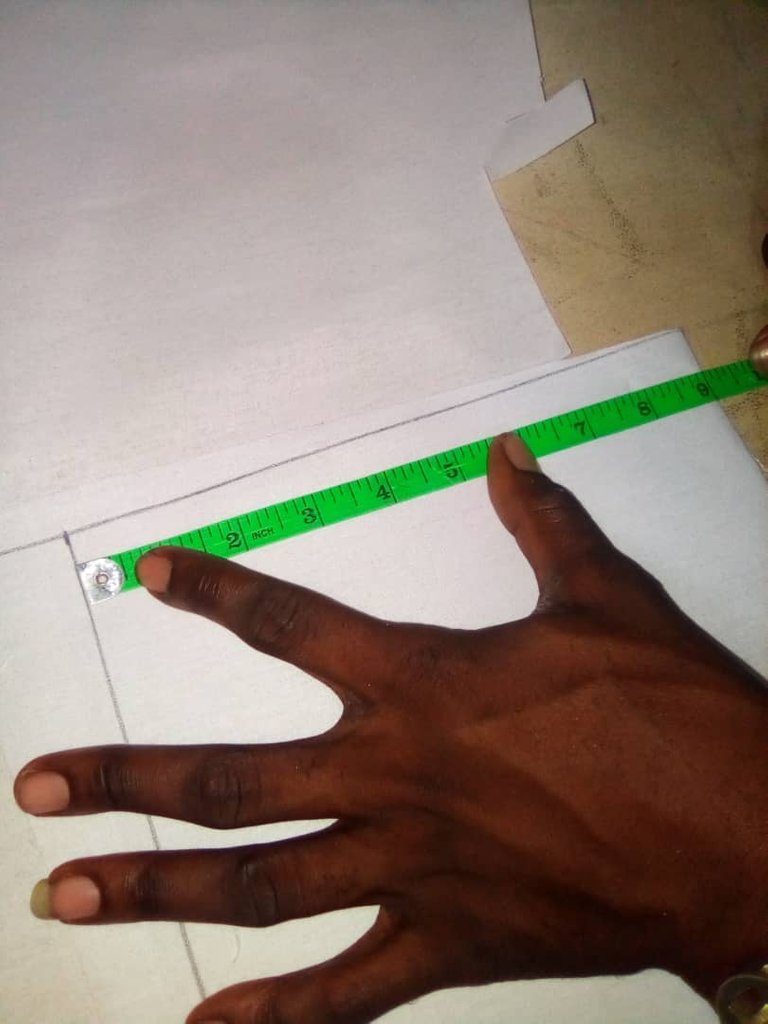
The neck measurements should be taken first, it's with this measurement that the collar stay will be cut with. For the one I did in this post, 16 inches was taken as the neck measurement.
- First thing I did was to fold the stay into two and I measured 9 inches i.e 16 inches (of the original neck measurements) divided by 2 to give 8inches plus 1inch to make 9 inches. The 1inch allowance is for the button allowance.
- Next thing I did after that I marked the centre which is 4.5 inches and to the side 1 inch below.
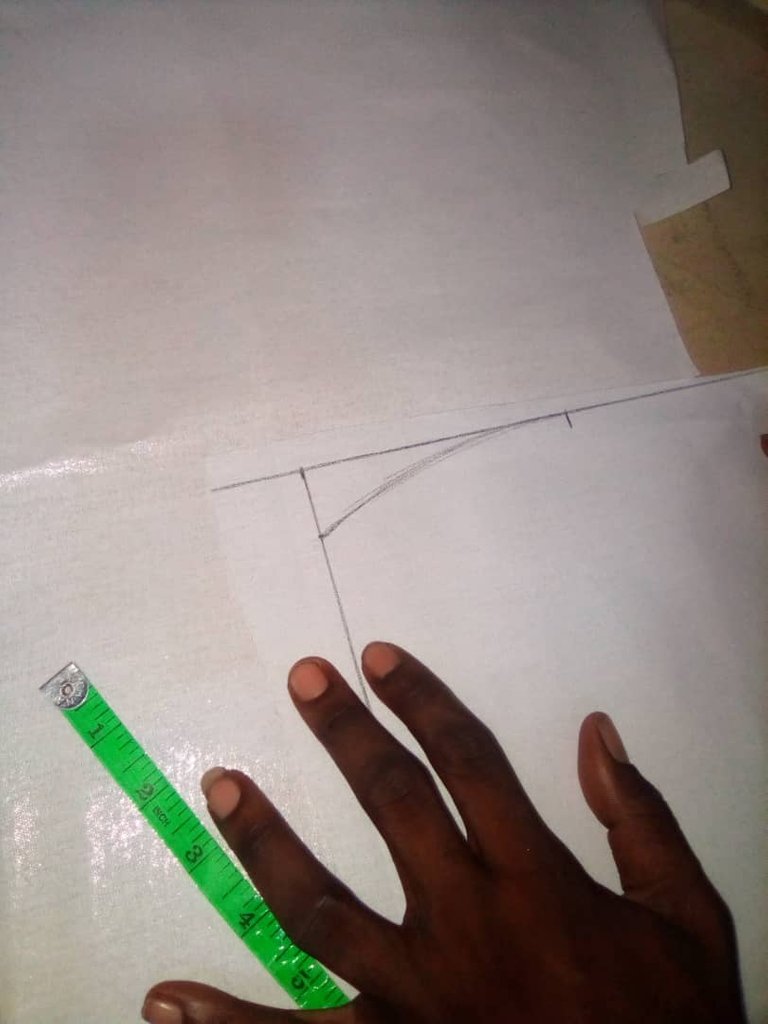
- Then I inserted the button allowance
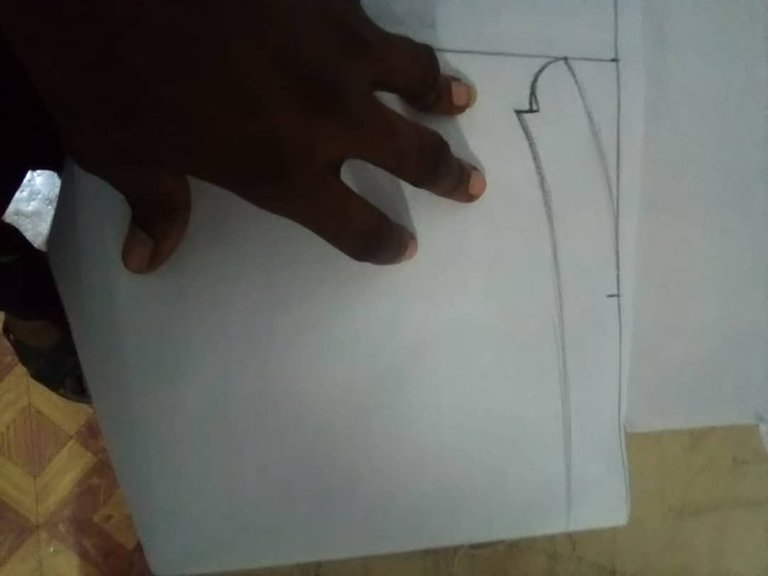
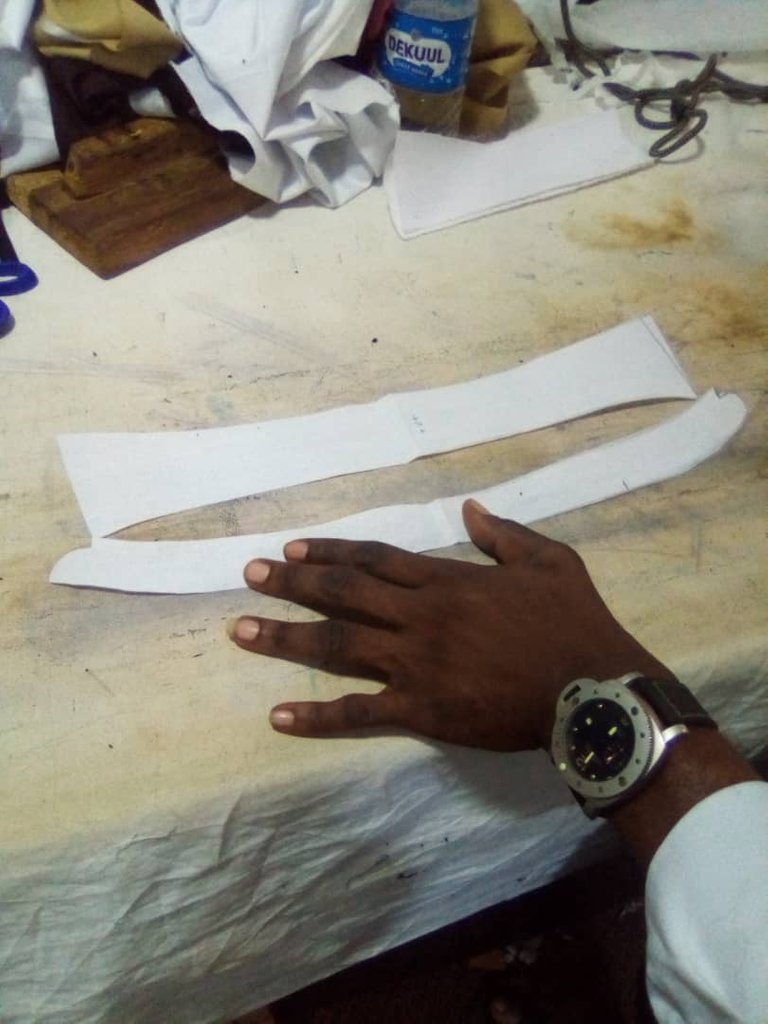
- Thereafter, I added the top collar to make it a fall short collar. In achieving that, I extended the line for the button allowance by 4.5 inches and 0.5 inch outside the line to give a pointed mouth collar. Then I joined the dotted line together.
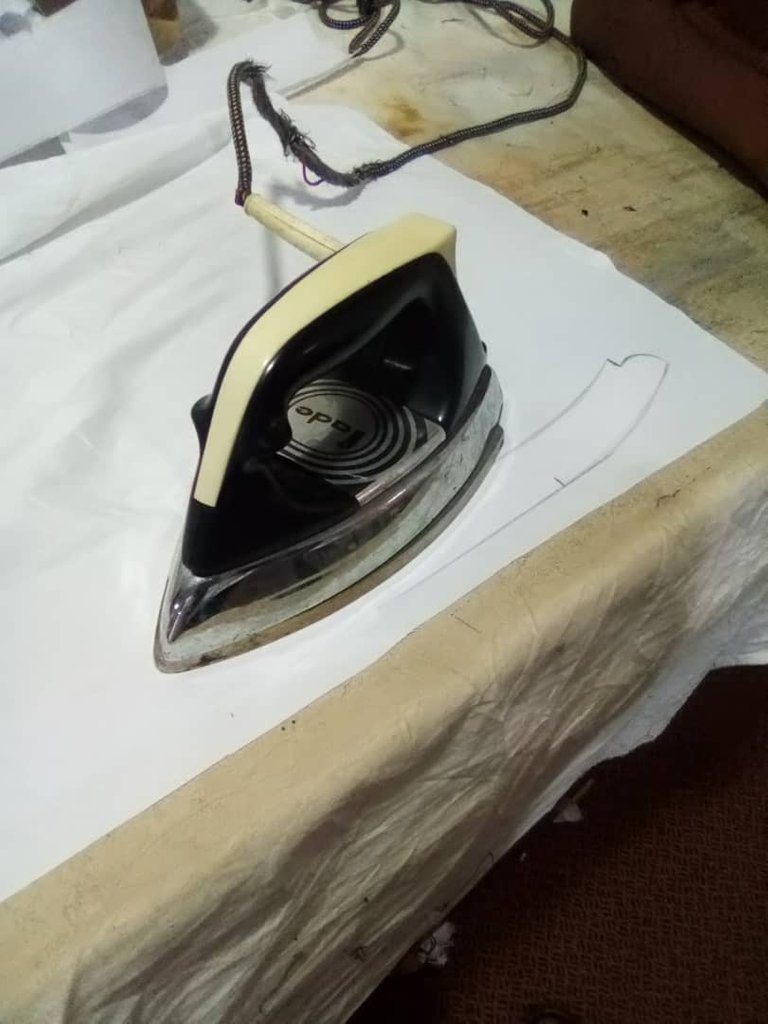
- Then I cut out the shape placed it on the material to be used after which I used iron.
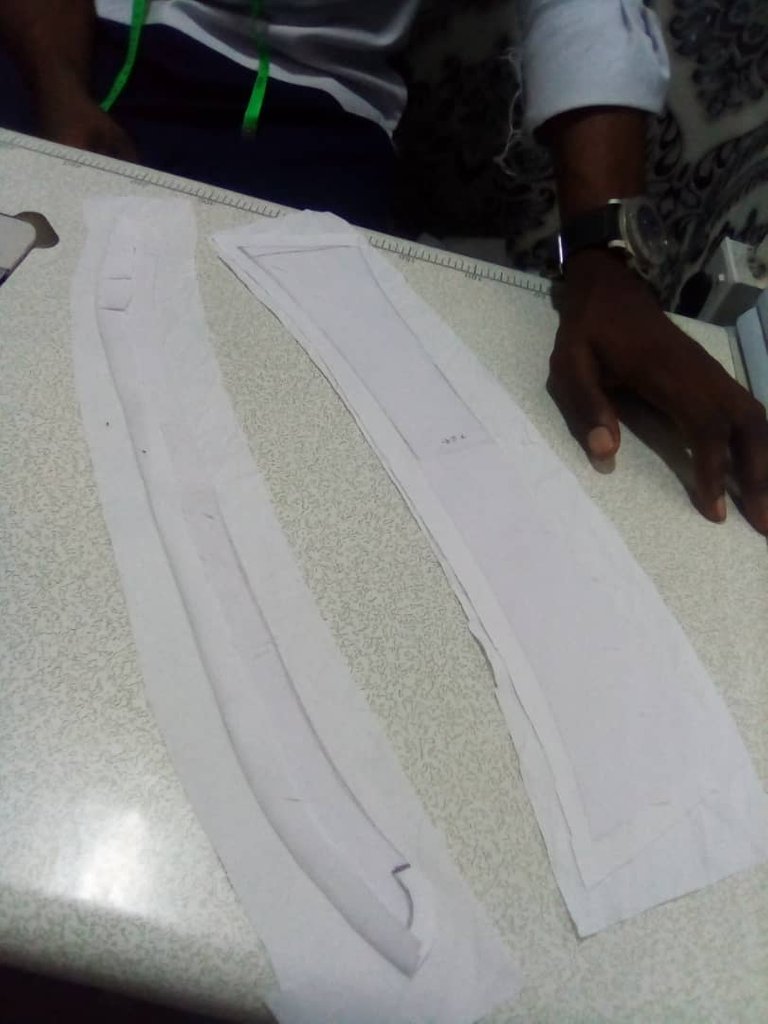
- I cut extra clothes to turn it with.
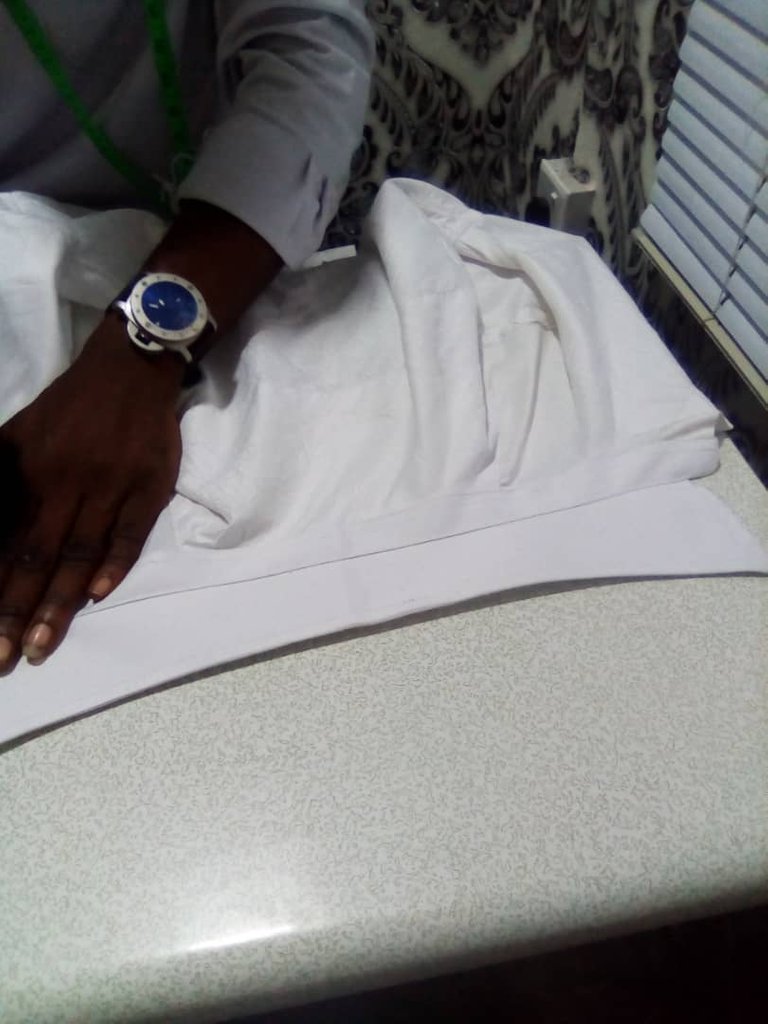
Sewing process
I see the outline of the top bottom, placing it on the extra cloth I want to put it with.
Next I joined the top collar to the lower collar, joined the two collars together leaving a half an inch in order to join it to the body (neck).
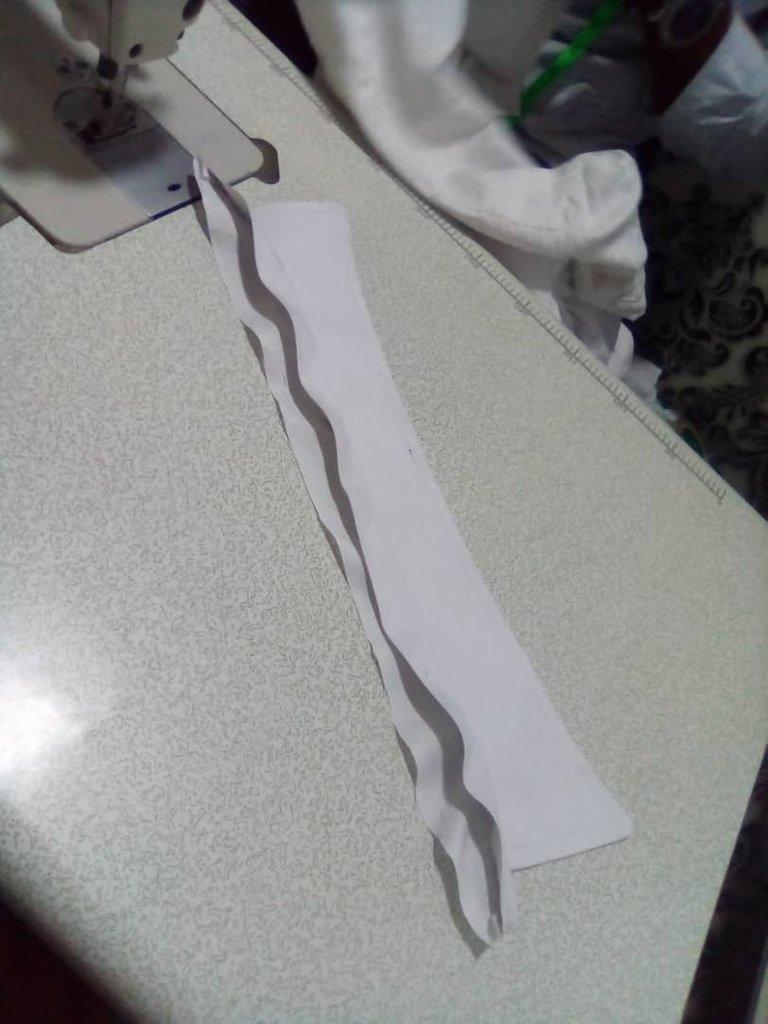
- Lastly, I trimmed the neck to the actual collar size and see them together


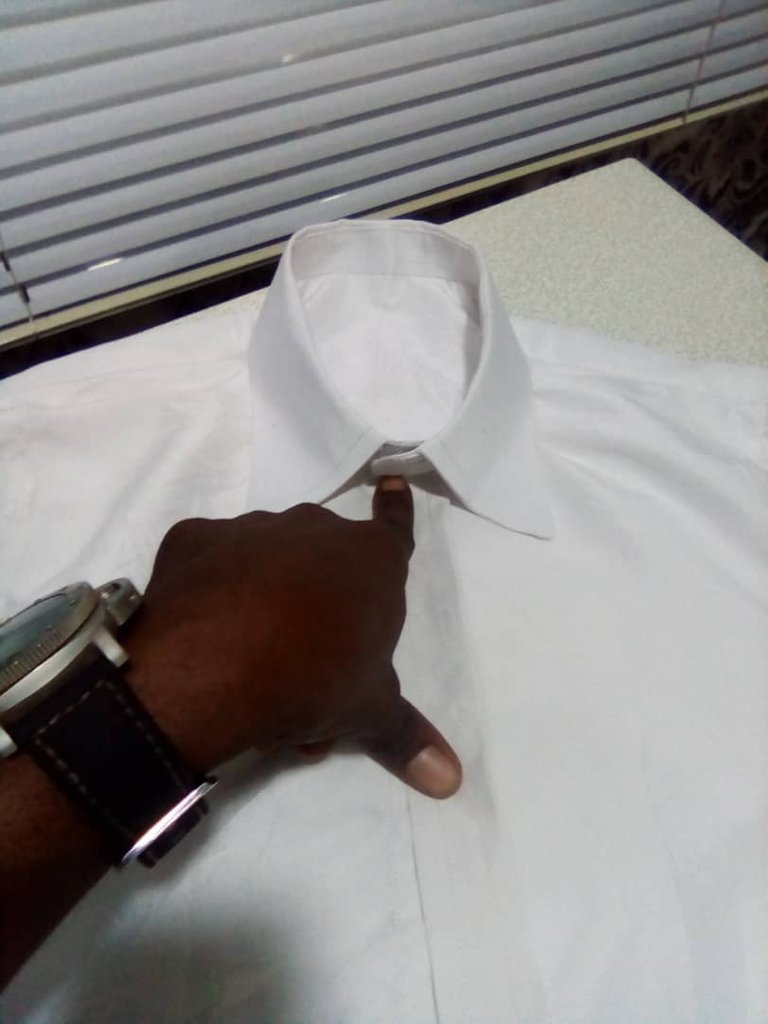
Final look

Congratulations @olubato! You have completed the following achievement on the Hive blockchain and have been rewarded with new badge(s) :
Your next target is to reach 700 upvotes.
You can view your badges on your board and compare yourself to others in the Ranking
If you no longer want to receive notifications, reply to this comment with the word
STOPCheck out the last post from @hivebuzz: