Hello Hivers, this morning i will be sharing with you how I Successfully fix a shirt Collar perfectly with no stress. I will be taking you through the process Step by step so you can as well give it a trial.
MATERIALS USED
- The left over fabric for the shirt.
- Collar stay
- Thread
STEP 1
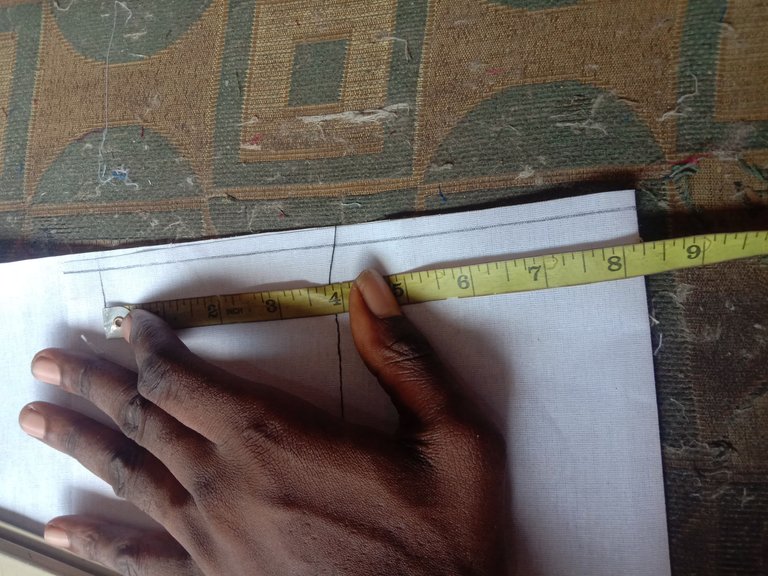
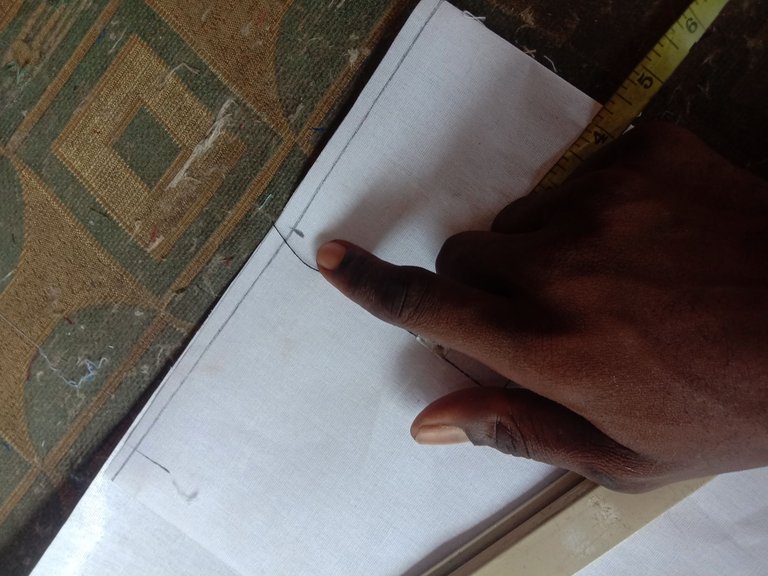
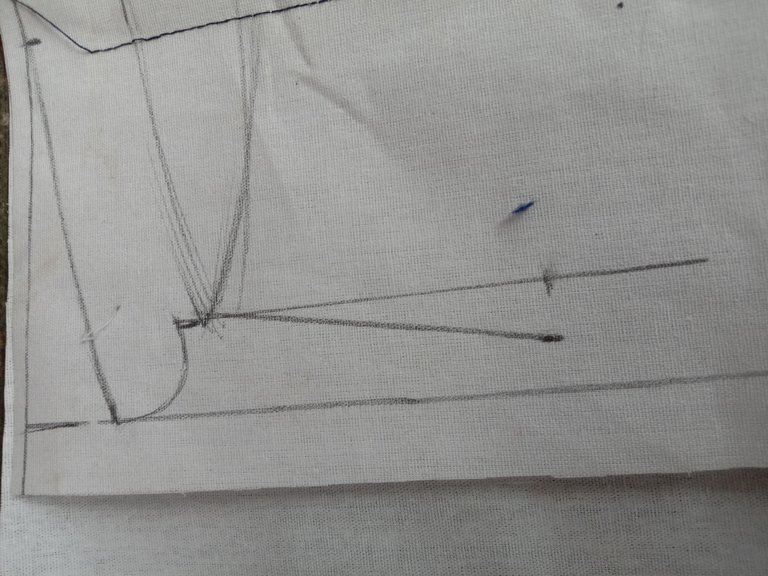
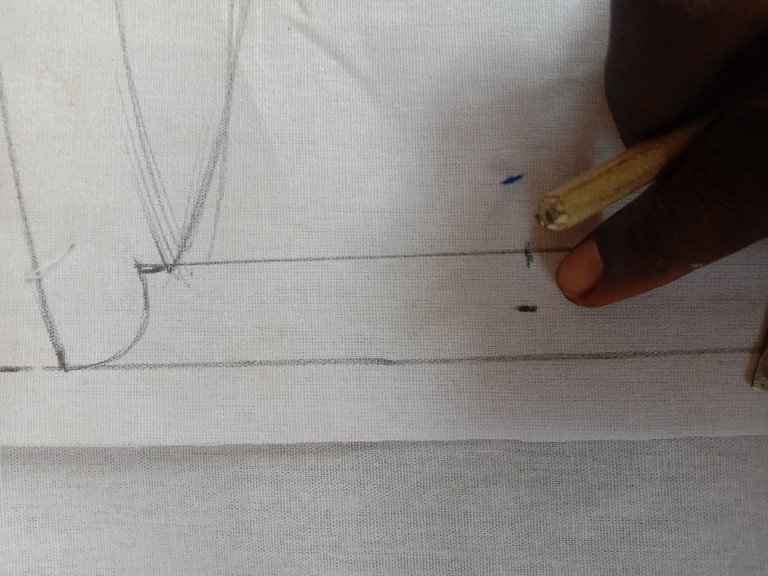
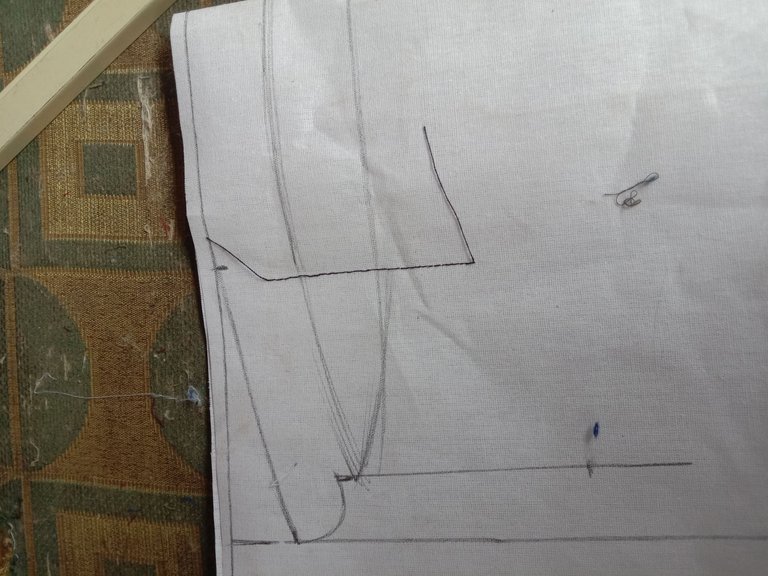
Definitely you must have measure the neck of the person you are sewing for and I will be using 15inches as the neck measurement in this illustration, so what you do first is getting your collar stay.
Fold into two diving the measurements by 2 adding 0.75 as button allowance and that will be 8.25 altogether.
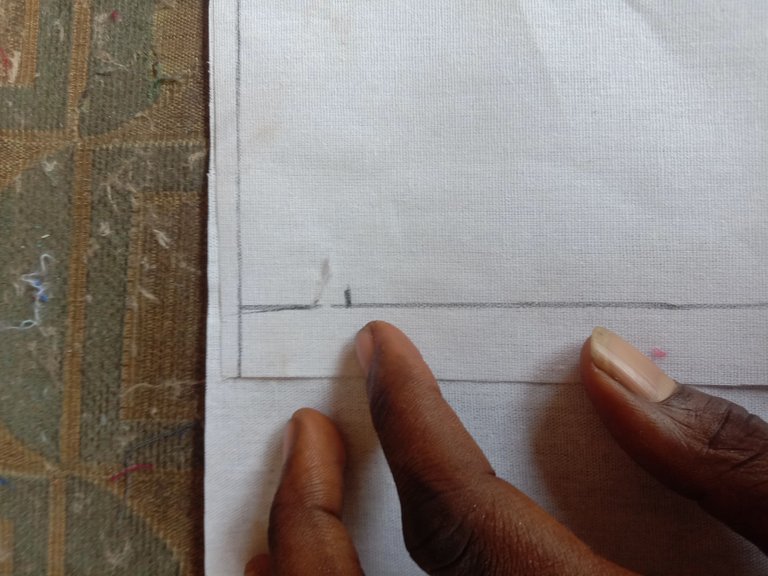
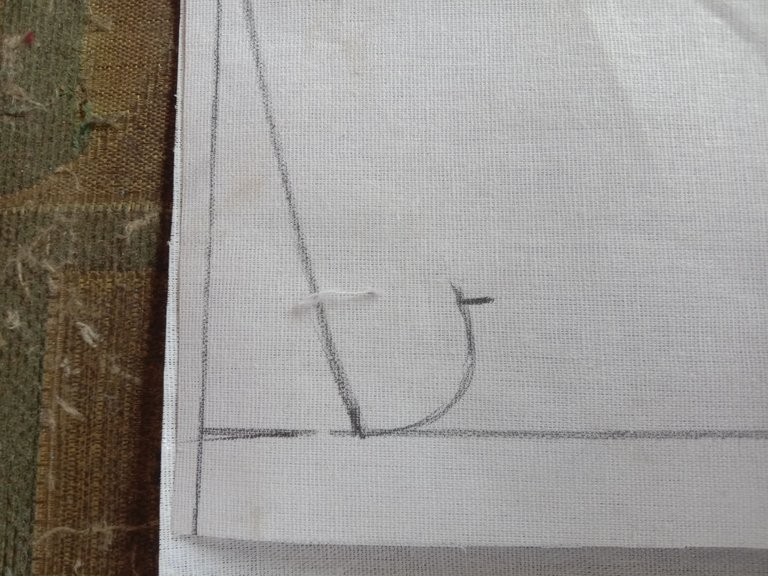
- After that you Mark the center, go to the tip and measure an inch downward then join the dotted line.
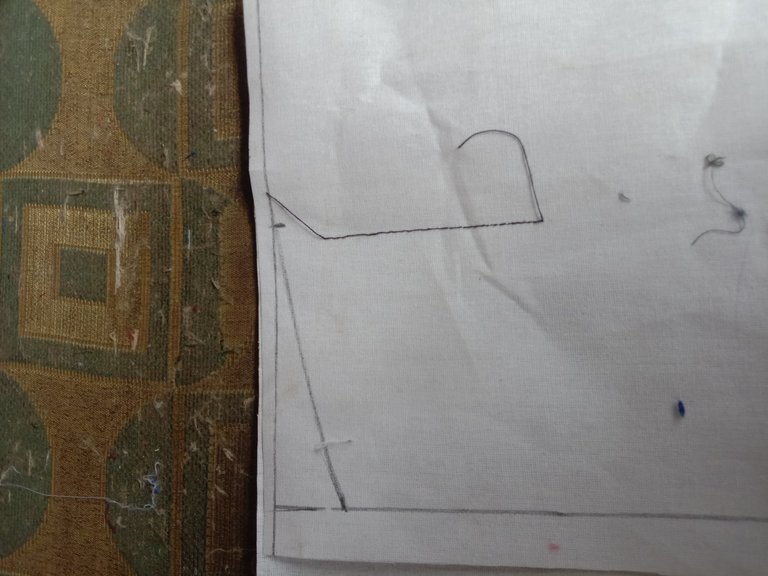
- Then you draw out how you want the shape to be from the extended point for the button allowance.
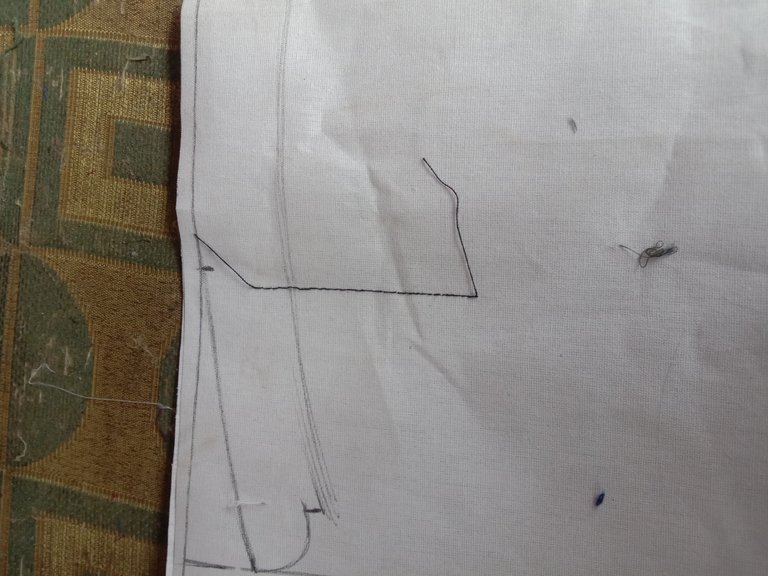
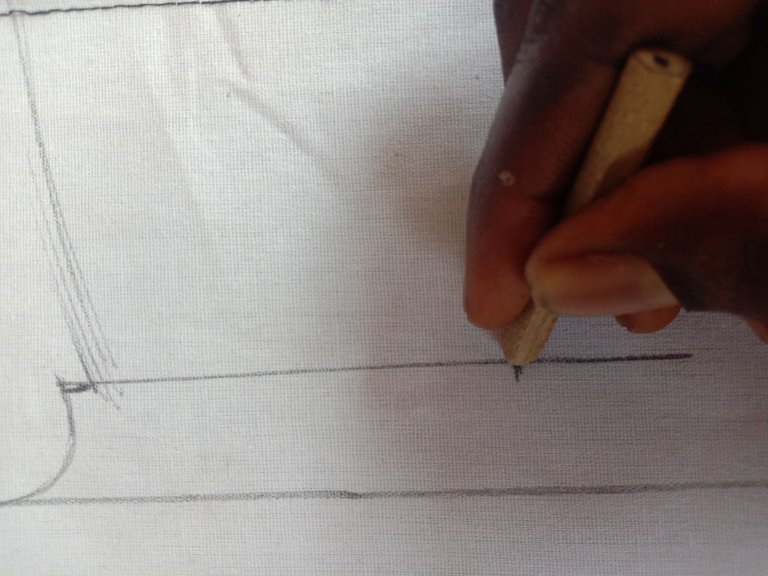
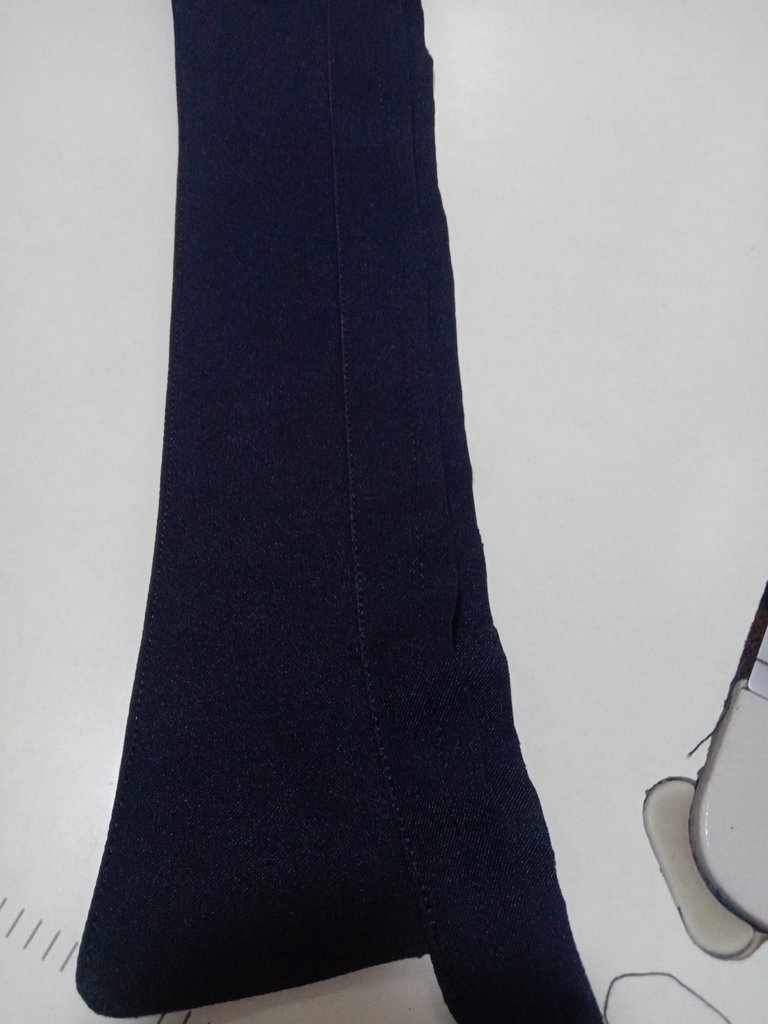
- And that was the first part of the collar. Then you go again extending the collar downward from the point at which you extended for button allowance, you come down by 3.5 inches and draw the straight line, then 0.5 inches outside to give a pointed mouth collar then you join the dotted line and cut it out.
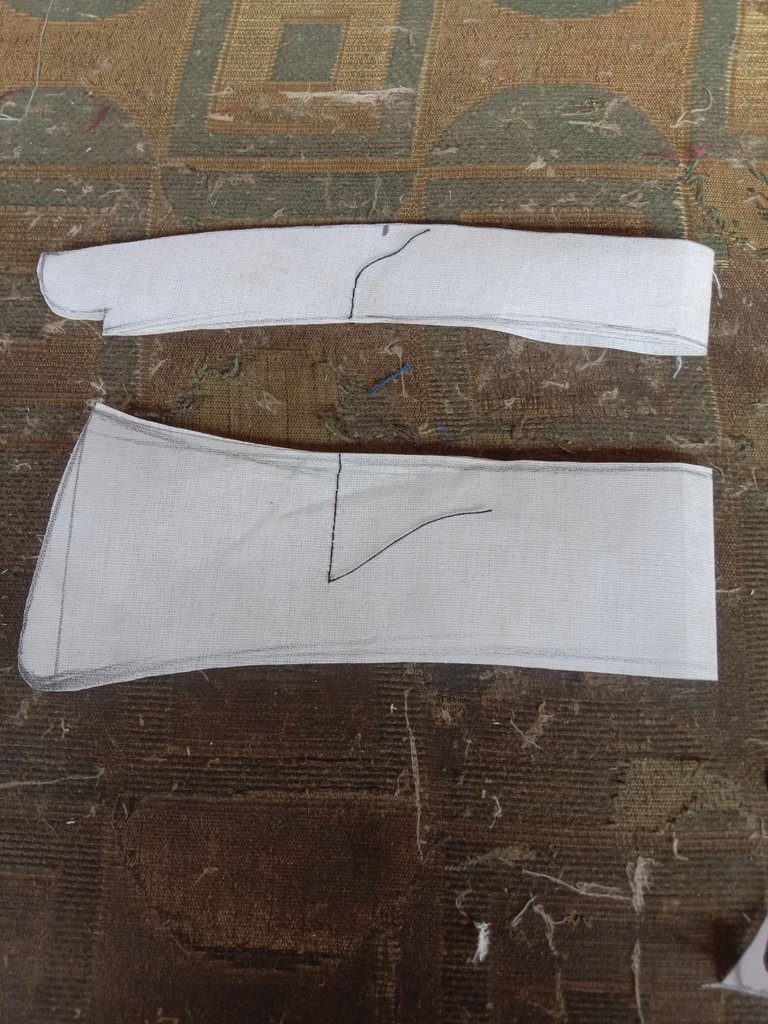
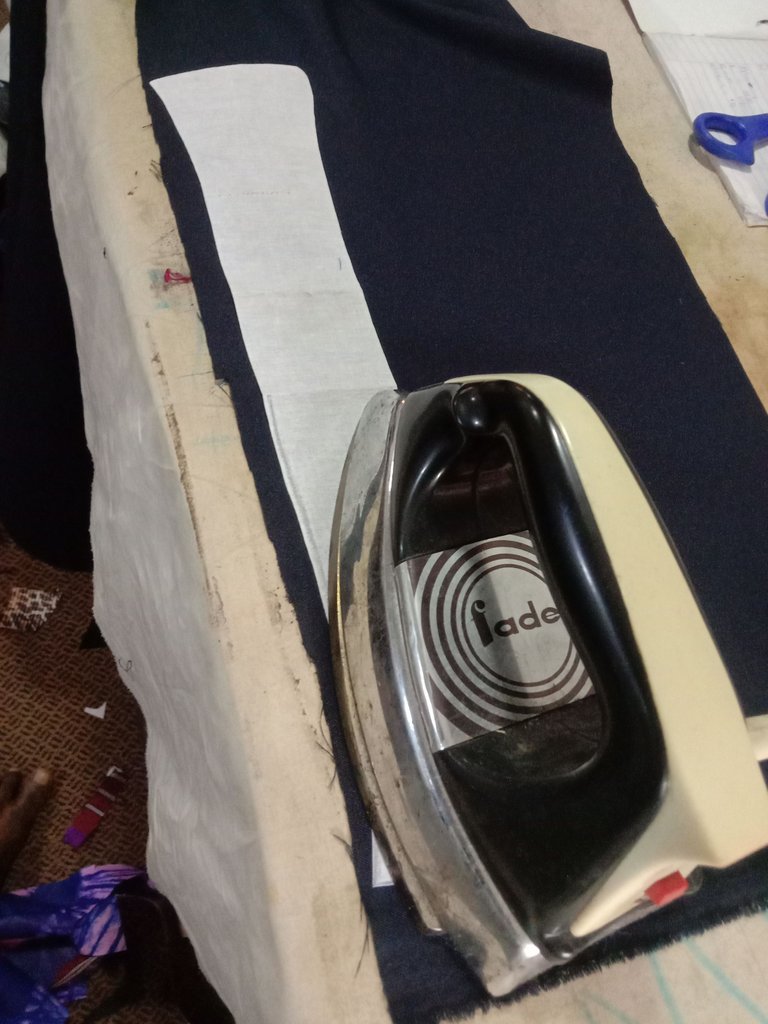
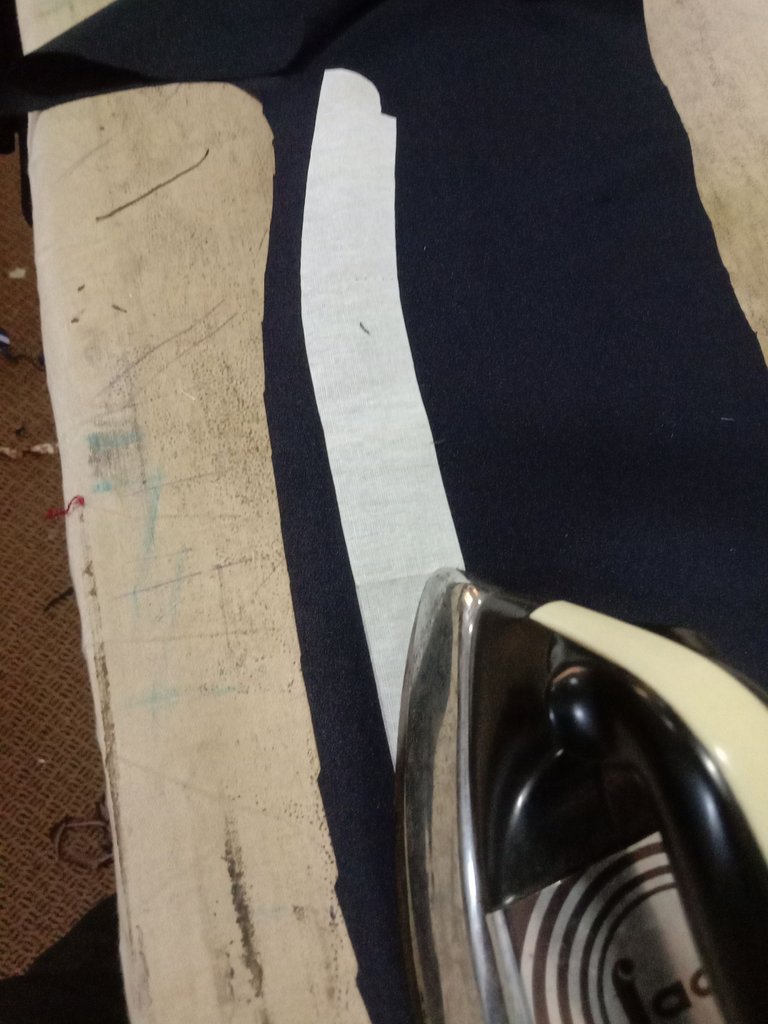
STEP 2
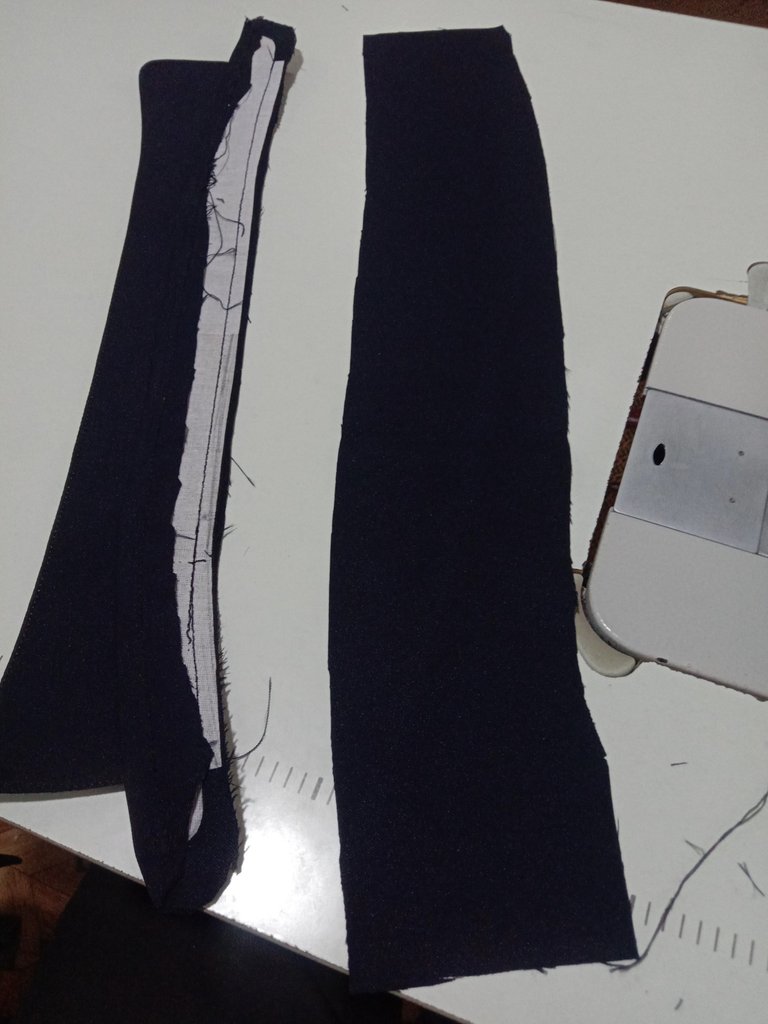
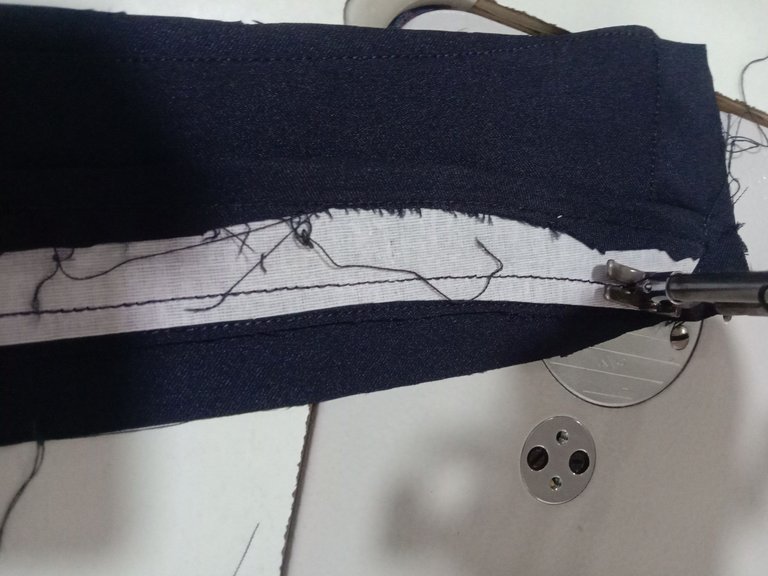
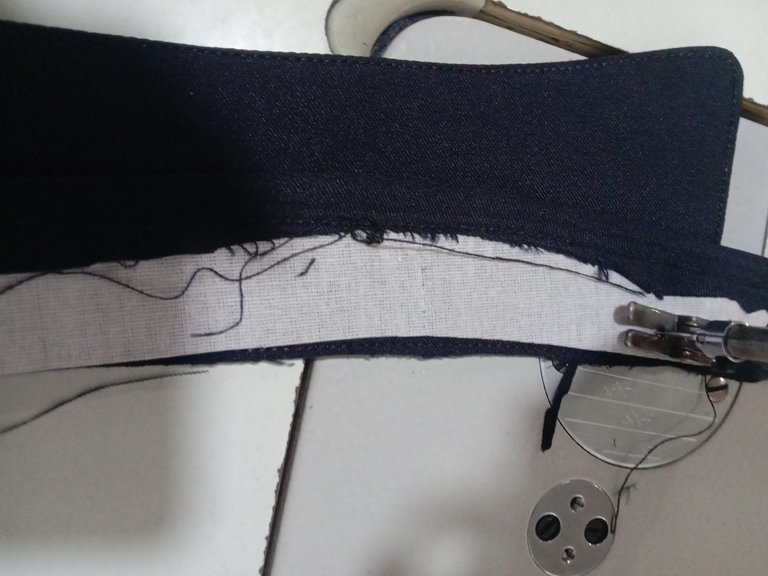
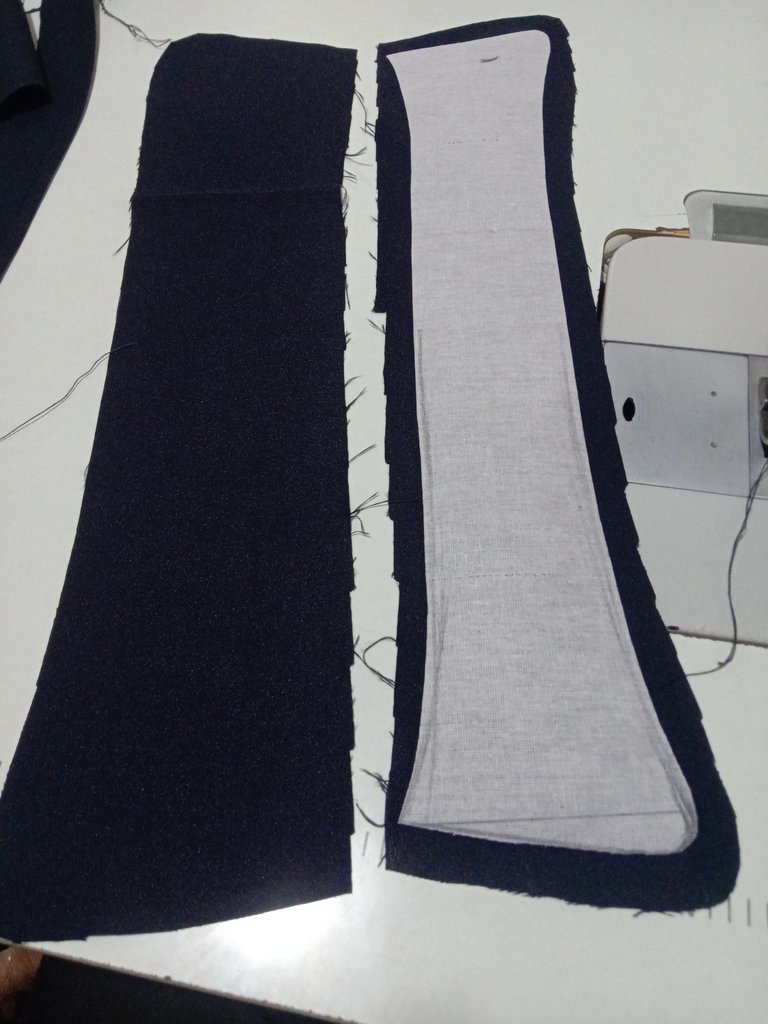
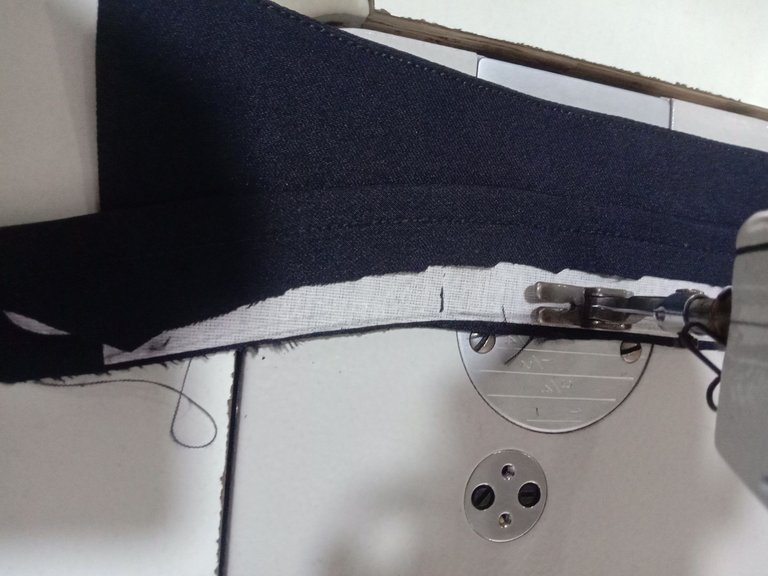
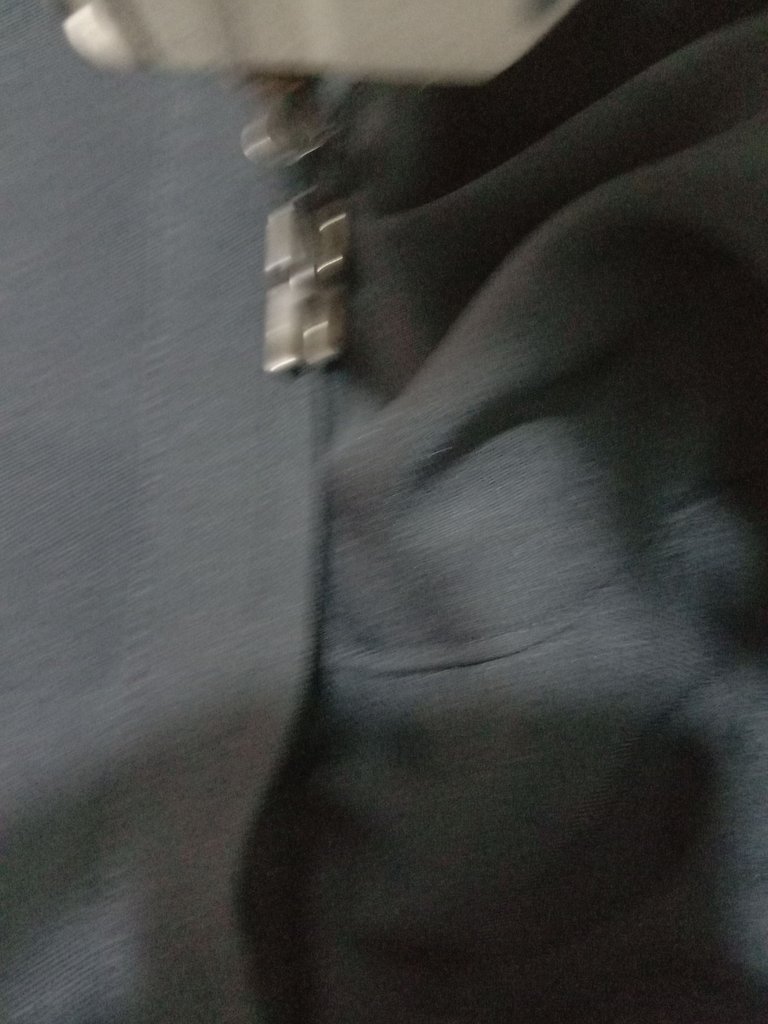
- Here you gum the stay to the fabric using iron and cut additional fabric to turn it with.
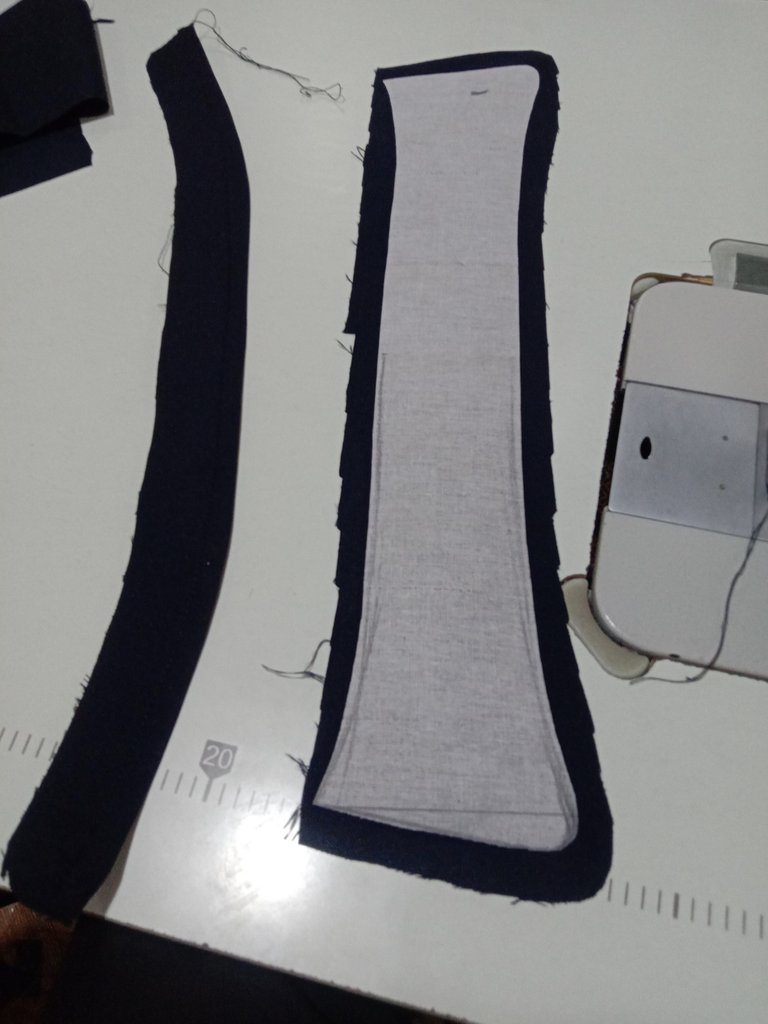
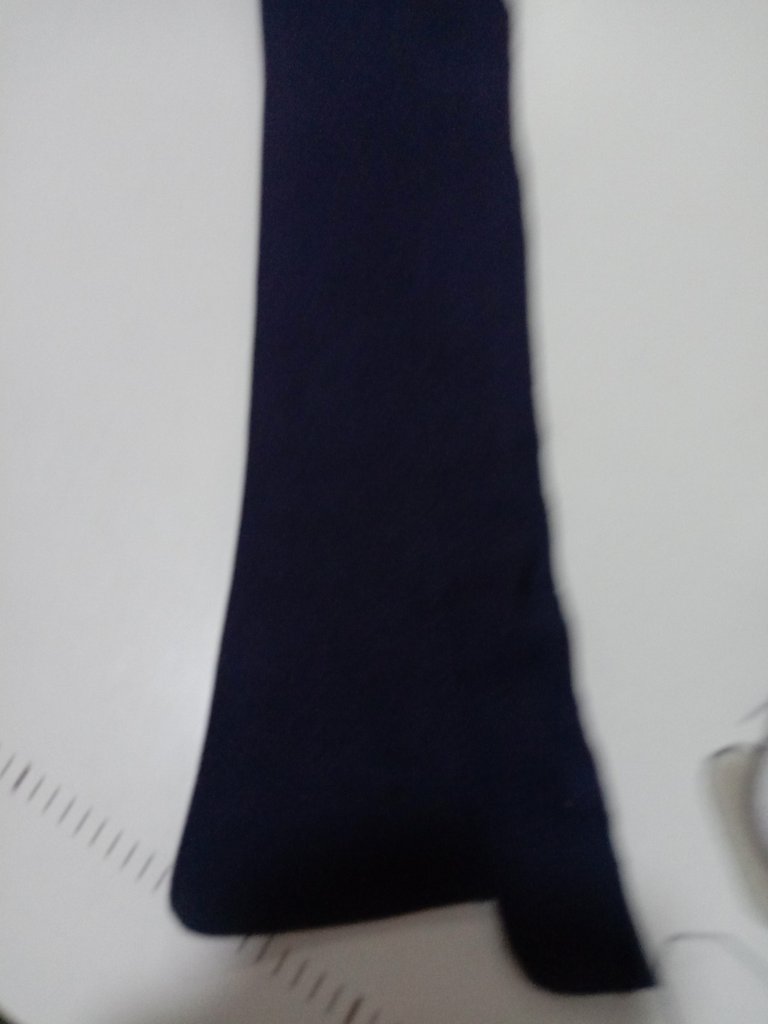
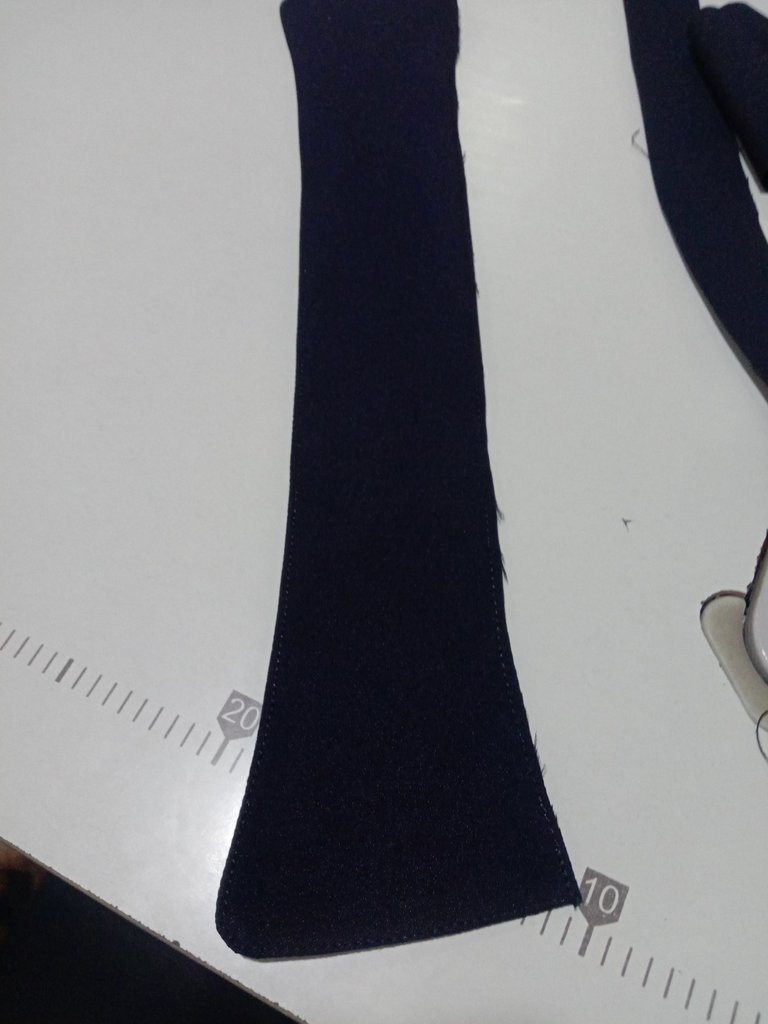
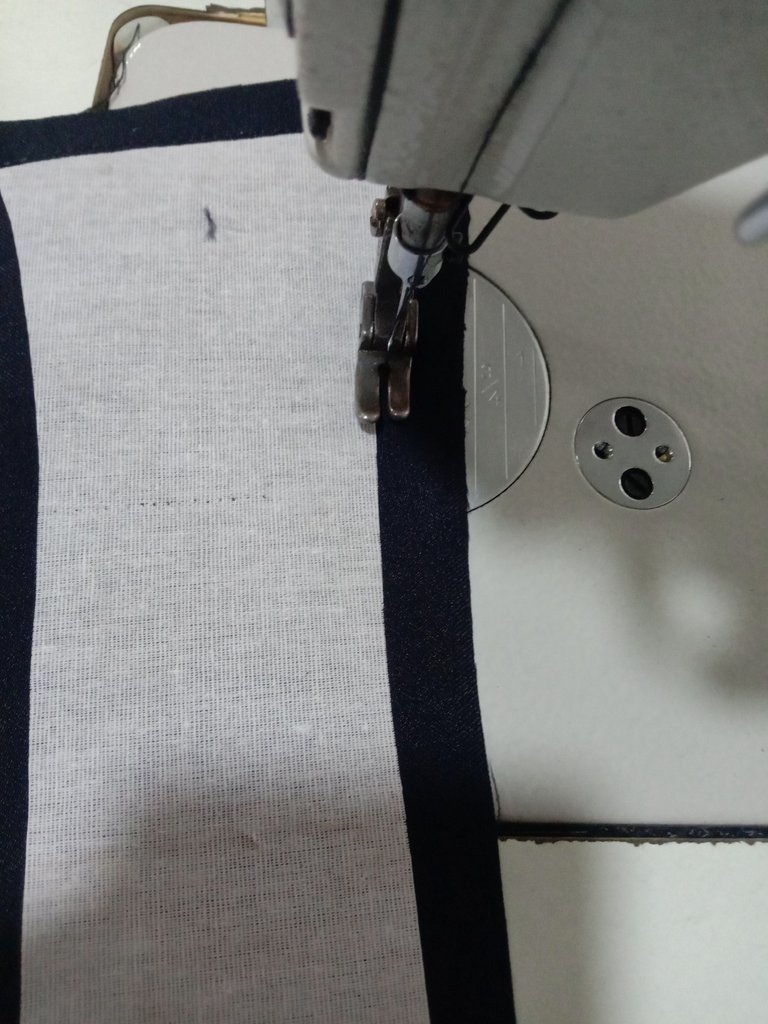
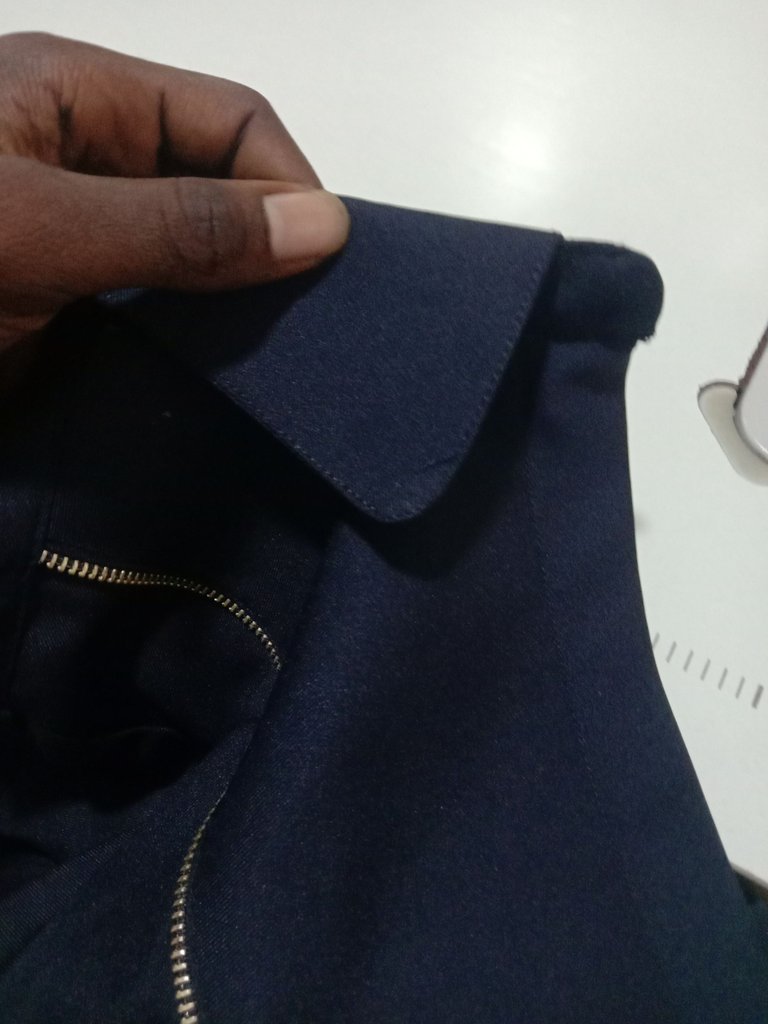
STEP 3
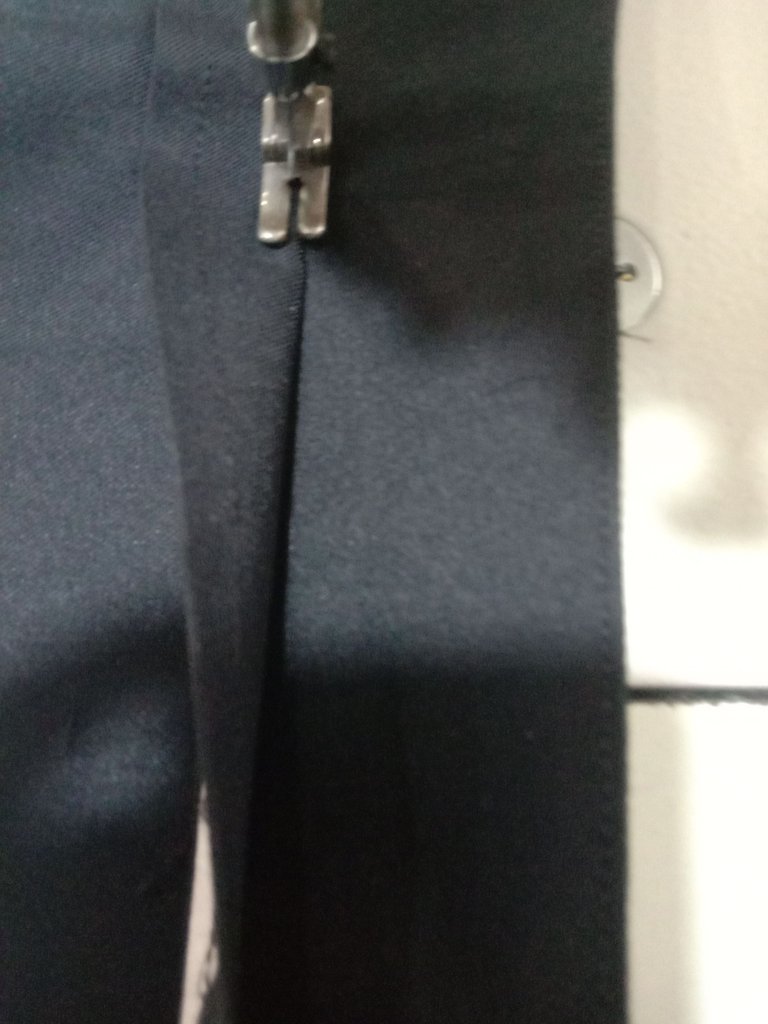
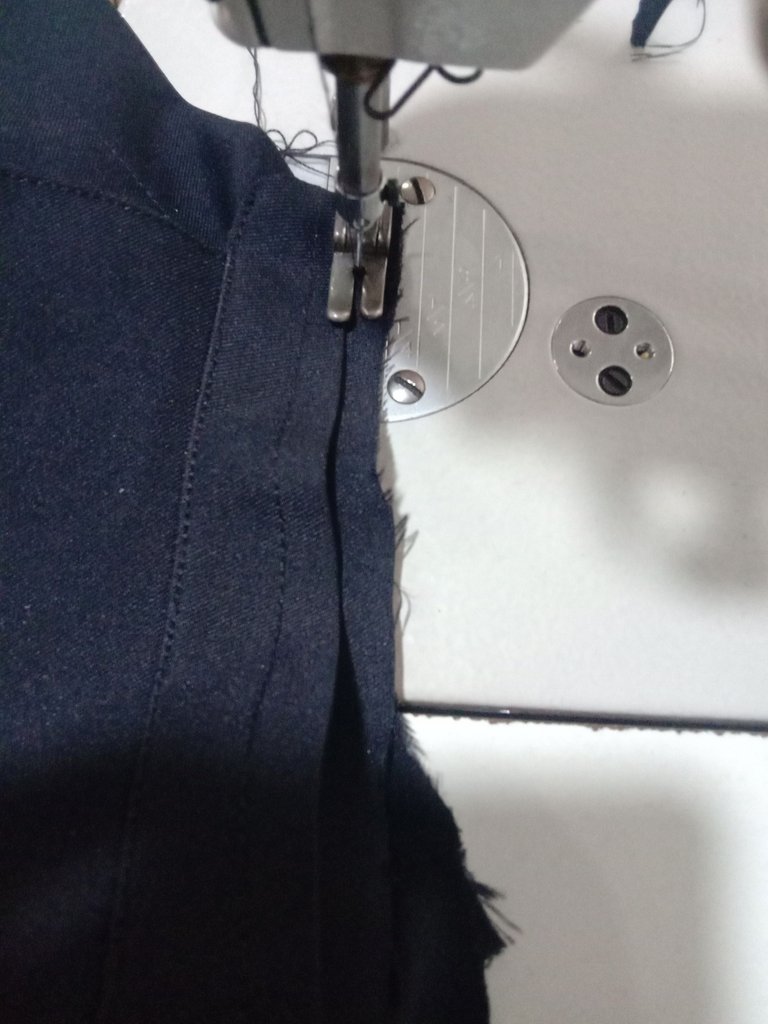
Turning it with the additional fabric you cut and creating the collar. In creating the collar, place the half collar, the one you drew first on the other one you've turned then sew, there after you turn the smaller part of the collar using another fabrics, the cut the excess leaving a quarter inch to join to the neck.

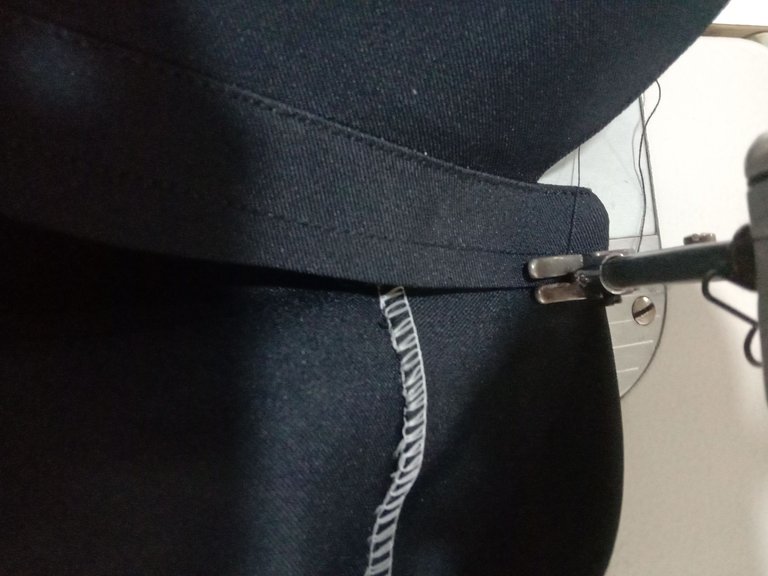
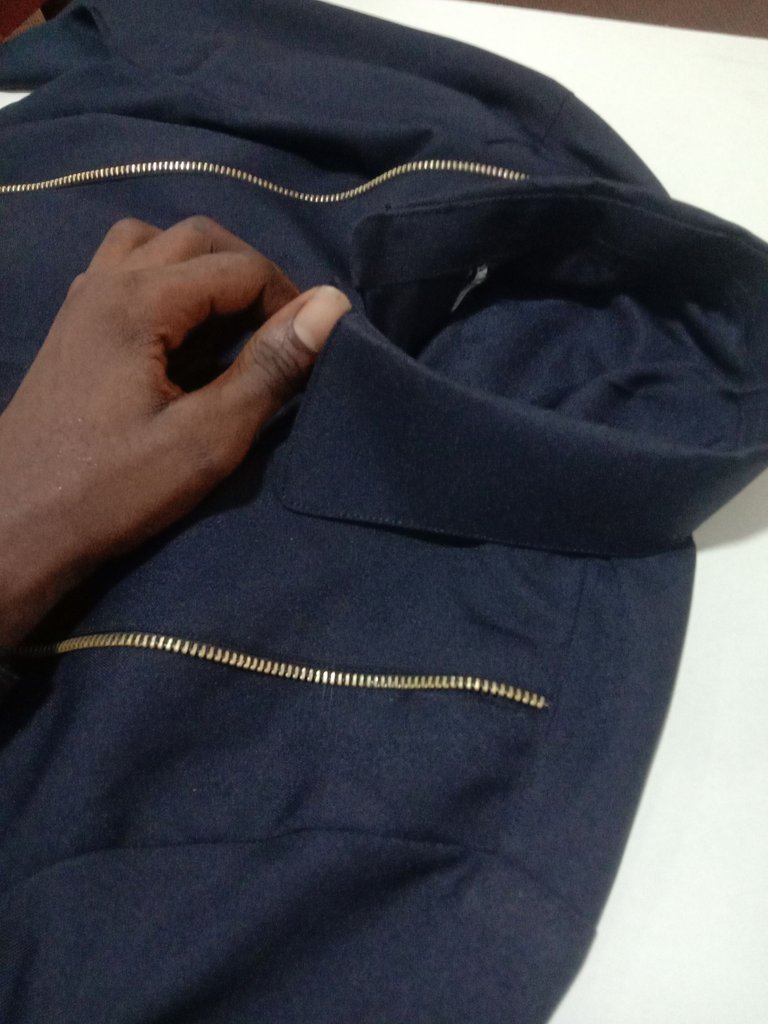
STEP 4
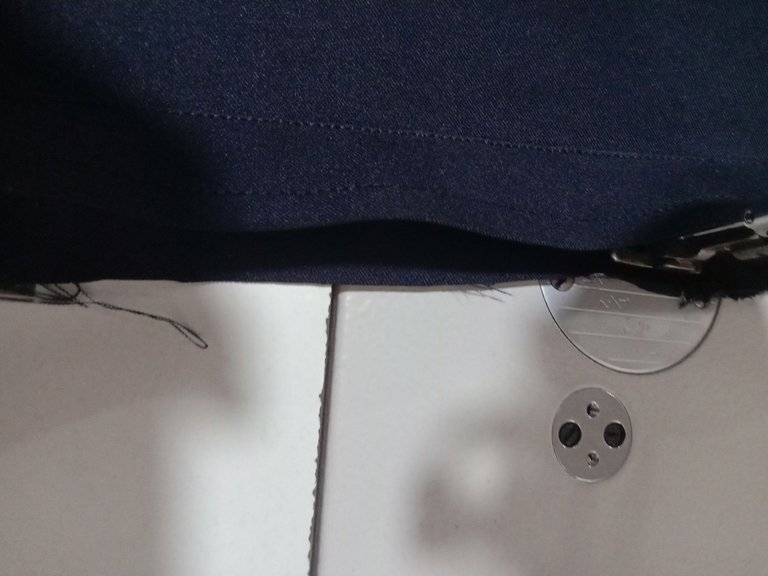
- Joining the collar to the shirt.
Firstly you measure the neck to see if it is exact measurements with the collar created, if it's not then u trim to the size. (mind you it's better for the neck to be small when cutting so as you can easily trim later), then you join the collar to the shirt.
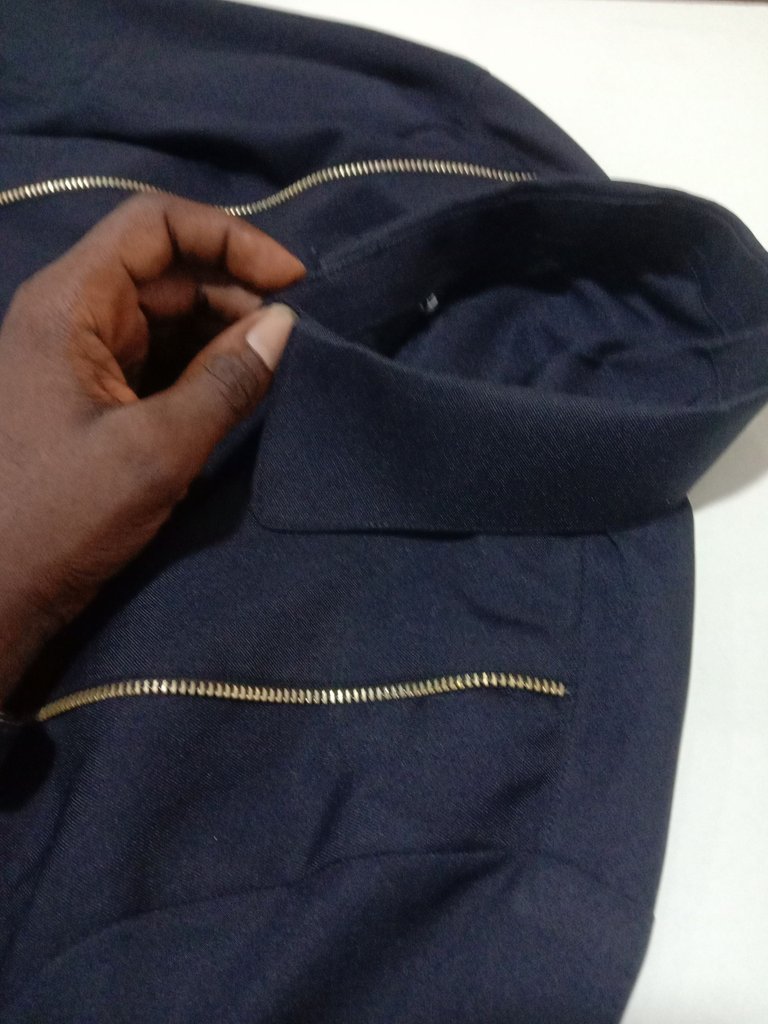
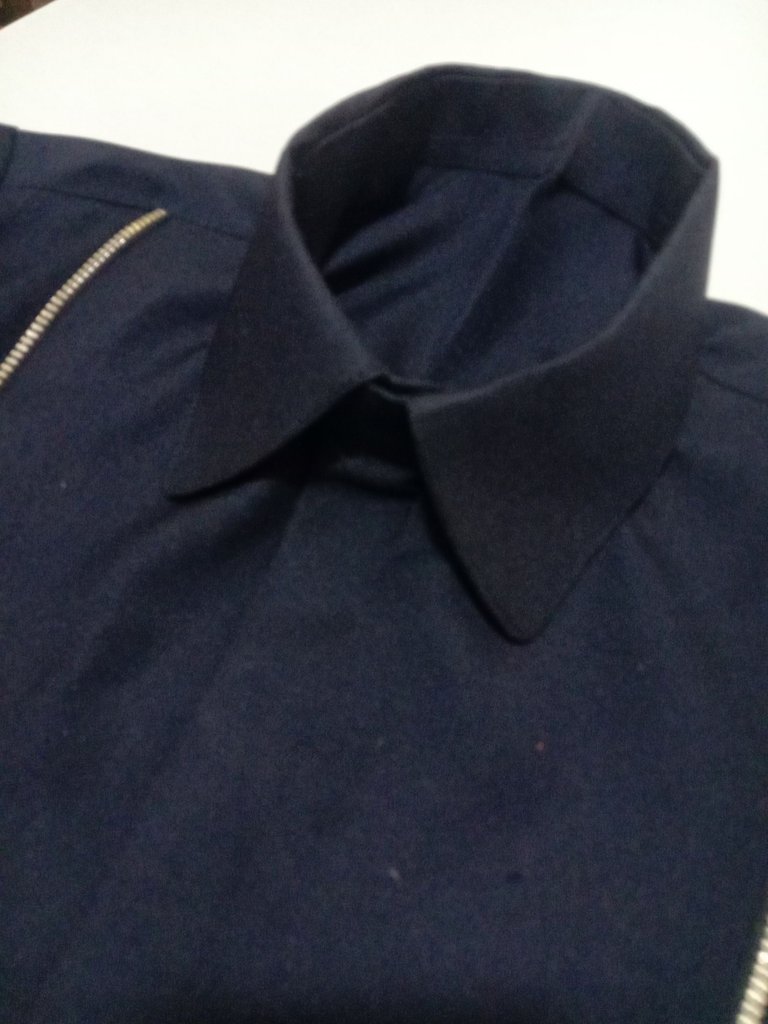
FINAL LOOK
Congratulations @olubato! You have completed the following achievement on the Hive blockchain and have been rewarded with new badge(s) :
Your next payout target is 500 HP.
The unit is Hive Power equivalent because your rewards can be split into HP and HBD
You can view your badges on your board and compare yourself to others in the Ranking
If you no longer want to receive notifications, reply to this comment with the word
STOPSupport the HiveBuzz project. Vote for our proposal!