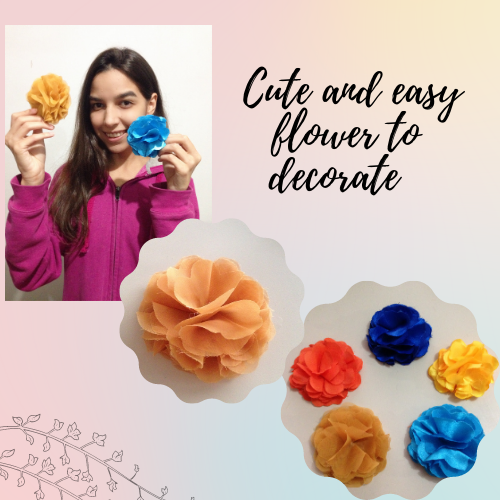
Hola amigos de Hive!!
Hoy vengo a mostrarles como hacer un pequeña y linda flor, que la podemos colocar en cualquier lugar para que le de ese toque decorativo faltante. Es muy sencillo, la pueden hacer incluso con retazos de tela de cualquier tipo, ya que, nosotros mismos decidiremos el tamaño del molde.
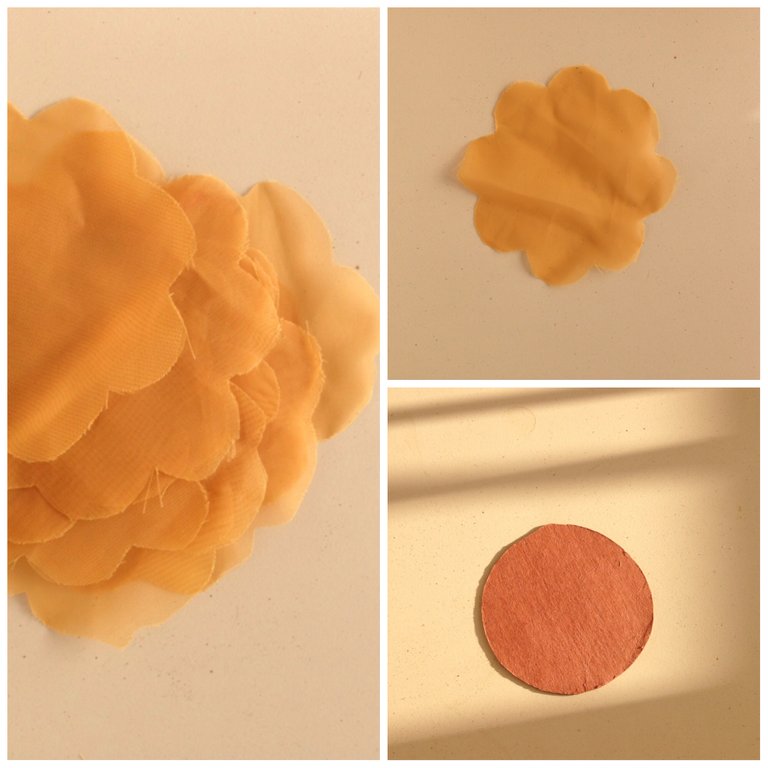
Como dije, con la tela, haremos un molde de flor y sacaremos aproximadamente 11 de estas. Aparte, necesitaremos un círculo de cartón, que será necesario para la base, para poder darle la firmeza a la flor.
Hello friends of Hive!
Today I come to show you how to make a cute little flower, which can be placed anywhere to give that missing decorative touch. It is very simple, you can make it even with scraps of fabric of any kind, since we will decide the size of the mold.
As I said, with the fabric, we will make a flower mold and we will get approximately 11 of these. Besides, we will need a cardboard circle, which will be necessary for the base, in order to give firmness to the flower.
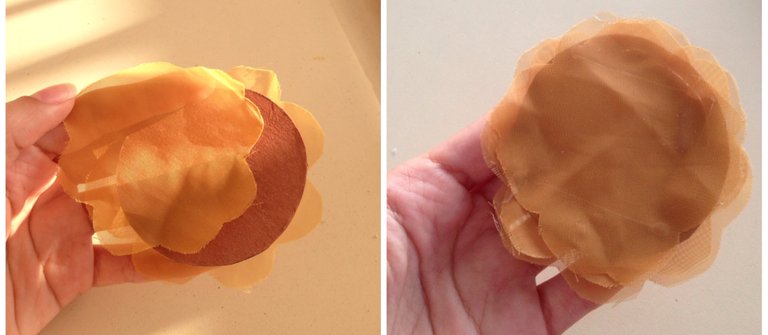
Como primer paso, sellaremos la base. Al círculo de carton, le vamos a colocar dos de las flores, una en cada cara, de tal forma que se tape el cartón. Si no se tapa por completo, pueden agregarle otra flor más.
As a first step, we will seal the base. To the cardboard circle, we are going to place two of the flowers, one on each side, so that the cardboard is covered. If the cardboard is not completely covered, you can add another flower.
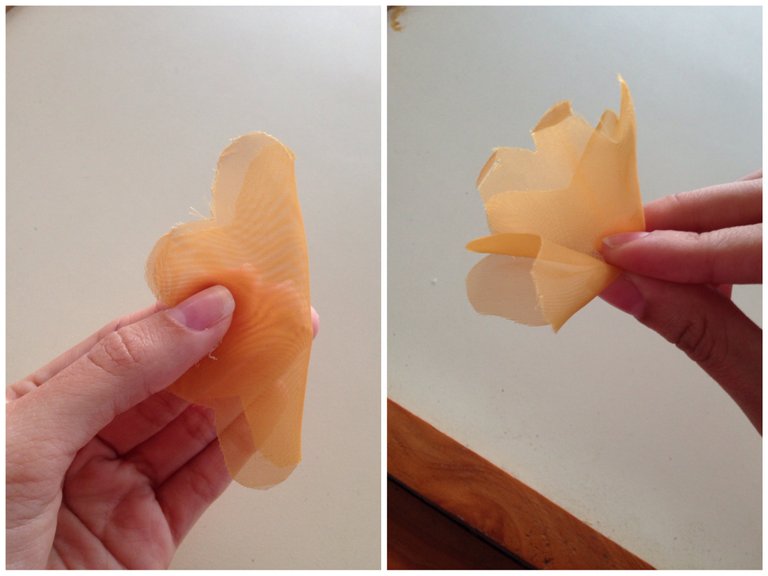
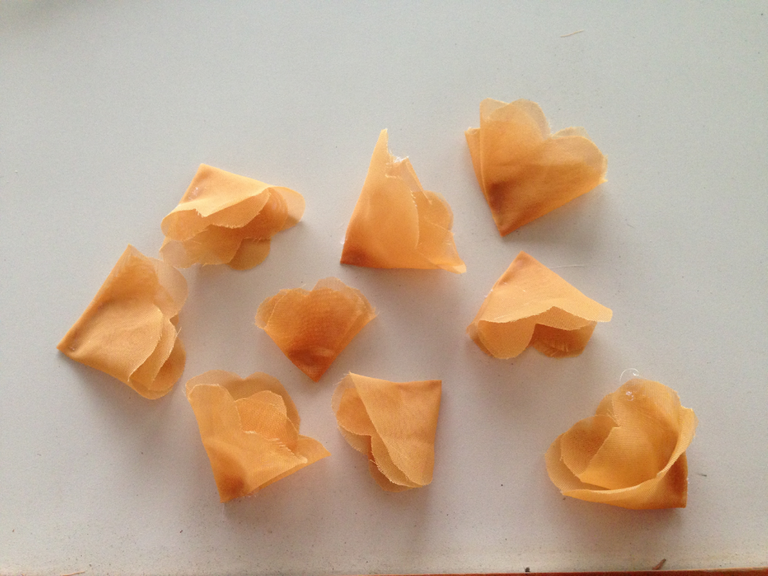
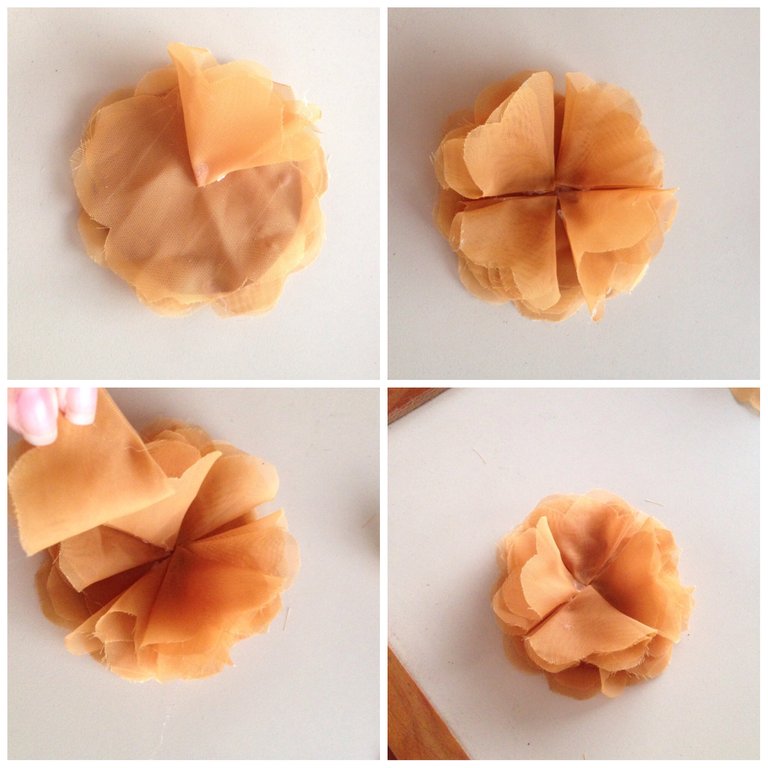
Seguidamente, vamos a armar lo que le dará volumen. Las flores, las doblaremos a la mitad, y luego, nuevamente a la mitad (como ven en la foto). Luego pegamos justo en el vértice. Así hacemos con todos los moldes de flores que nos quedaban.
Next, we are going to assemble what will give volume. Fold the flowers in half and then in half again (as you can see in the photo). Then we glue right at the vertex. This is how we do with all the flower molds we have left.
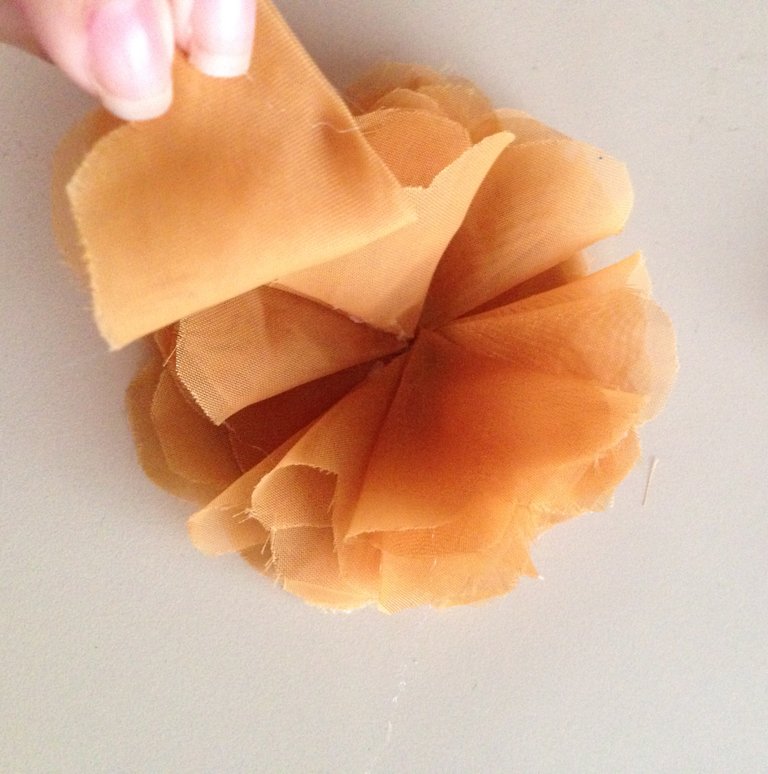
Luego iremos pegando de 4 en 4 estos capullitos. Son dos capas de esta forma
Then we will glue 4 by 4 of these capullitos. There are two layers like this
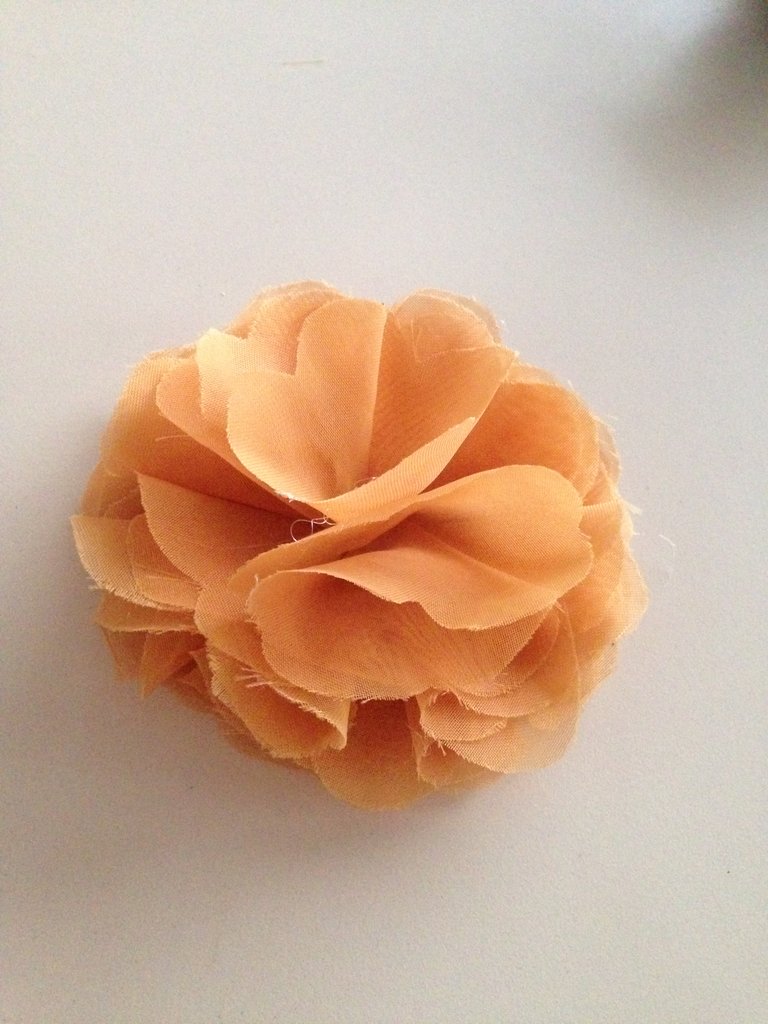
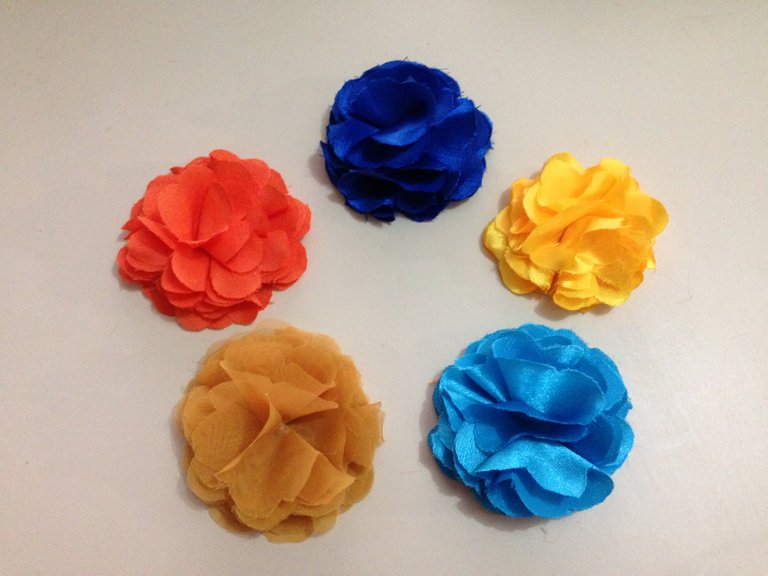
Para la capa final, sólo pegaremos dos de los capullitos, centrados y de la mejor forma porque será el final. Y listo!! Súper sencilla de hacer esta flor decorativa. La podemos hacer de los colores que queramos, aquí les muestro una foto de como lucen finalmente
For the final layer, we will only glue two of the buds, centered and in the best way because it will be the end. And that's it! Super simple to make this decorative flower. We can make it in any color we want, here I show you a picture of how they finally look like:
resultado final // final result
Espero que les haya gustado, nos seguiremos leyendo xx
I hope you liked this idea, we will keep reading xx.
Todas las fotos son de mi propiedad // All photos are my property
Congratulations, @paolamendoza19 Your Post Got 100% Boost By @hiveupme Curator.
"Delegate To @hiveupme Curation Project & Earn 95% Curation Rewards"
Contact Us : CORE / VAULT Token Discord Channel or Join Us : UPMELINK Web Site
Que bonitas flores y fáciles de hacer con todas las instrucciones que nos diste. 😁
Congratulations @paolamendoza19! You have completed the following achievement on the Hive blockchain and have been rewarded with new badge(s) :
You can view your badges on your board and compare yourself to others in the Ranking
If you no longer want to receive notifications, reply to this comment with the word
STOPCheck out the last post from @hivebuzz: