This is an addition to my medieval house that I posted 2 days ago which you can see here I wanted to make a watchtower for my collection.
Required materials.
Hot glue
White Glue
Old Brush
XPS Foam
Knife
Some Rocks
Large container
Bricks
I cut XPS foam individually with knife. The important part is while cutting the foam, do not cut all the way through, just score the pice and broke it by hand. This will give better textured sides for your bricks. Get a large container and throw some real rocks in it. Put your bricks in the container with rocks and shake 3-5 minutes. Rocks will give the XPS foam a good texture. They are already looking like rough rocks , when you paint they will look better.
PLEASE USE MASK when you are dealing with XPS foam in a container with rocks. This will produce fine particles that you dont want to breath. Use this method in open and well ventilated area. Dont breath in foam particles.
Notice how all the bircks are not the same shape , same lenght and same tickness. This is done deliberately. Variation with the bricks gives more natural and old look. Do not cut all your bircks same size.
CardBoard
I use cardboard boxes and cut them 5x11cm for the sides of the tower. Consider your brick sizes when you cut your cardboard. Bricks should line without a problem here. I glued the cardboard pieces with hot glue.
Okey Lets go through the process. Its good idea to prepare all the things you need before you start. Prepare more bricks tha you think you will need. Its better to have more then need it while you are working on the model.
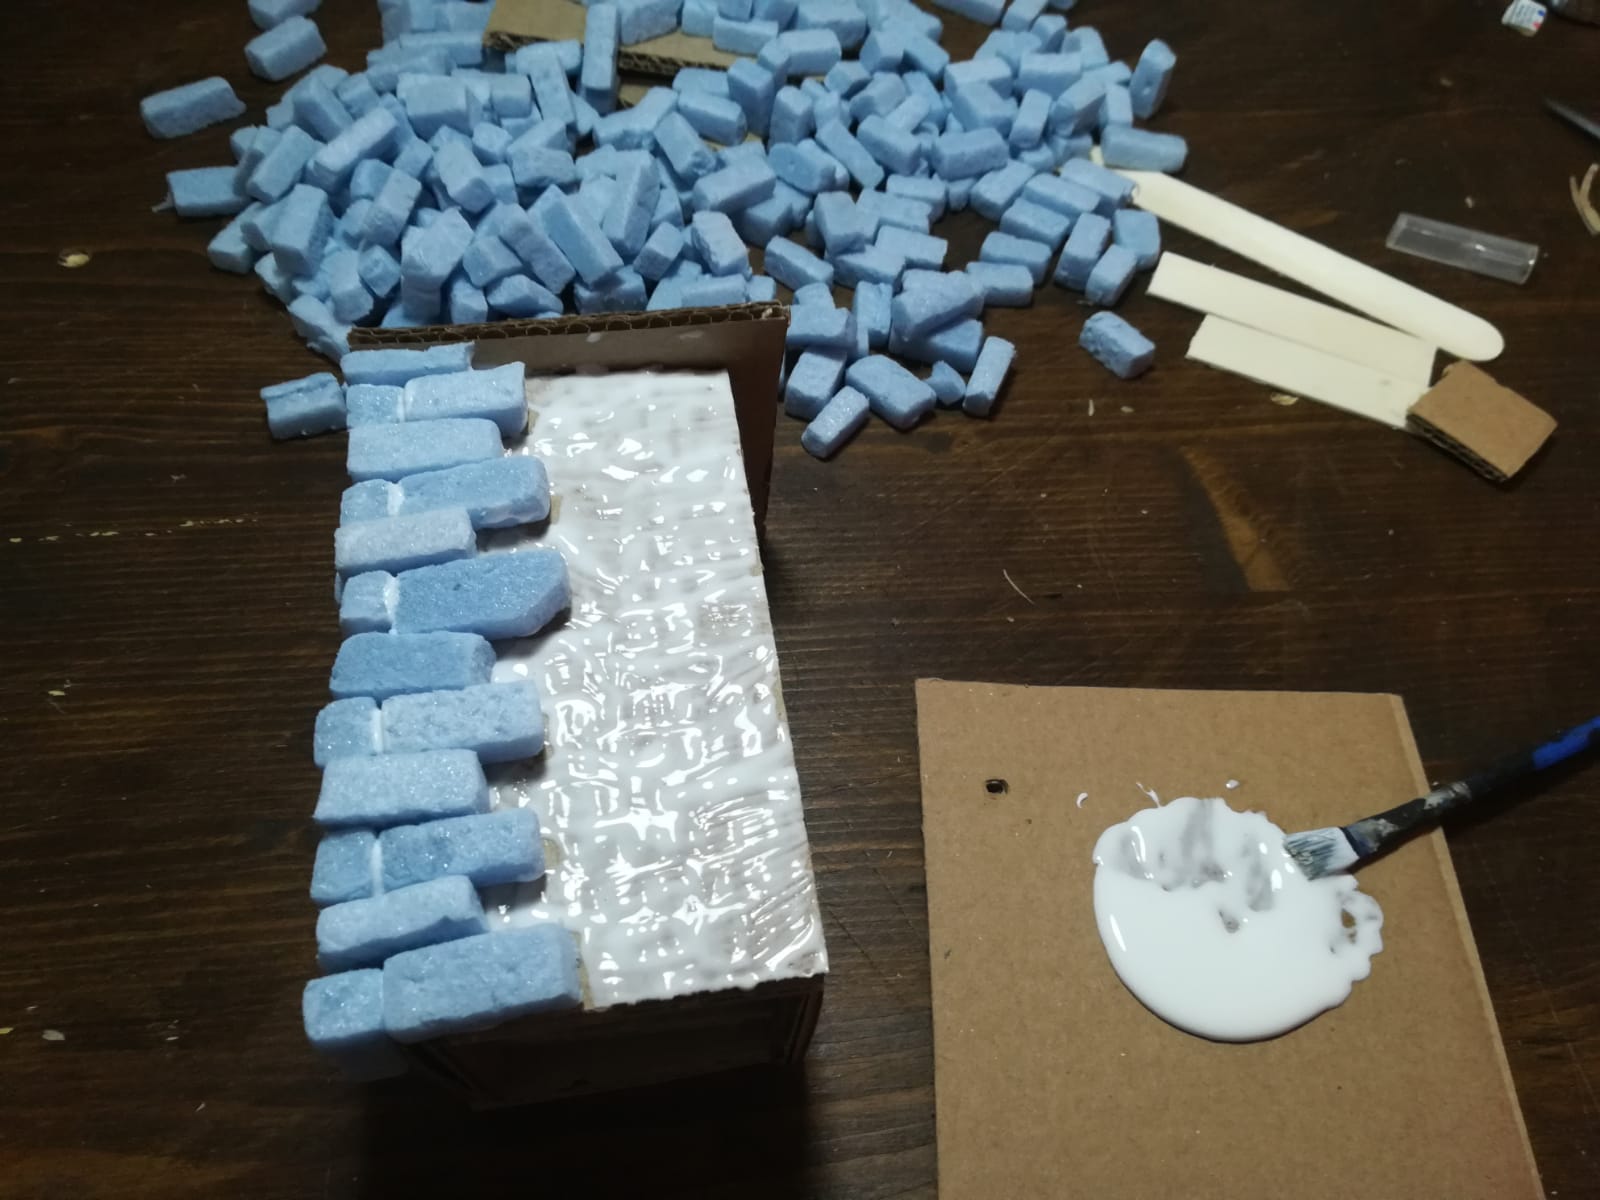
First I glued the cardboard to make a tower base, I cut oversized square to match the tower top. Its bigger in size , because you need to count the thickness of the bricks as well.
.jpeg)
Then the process of laying the bricks starts.. This can take a long time and it sometimes hard to contuniue while the bricks are shifting because we are using regular glue. If you want you can use hot glue to put them instantly but this might melt the foam.
.jpeg)
.jpeg)
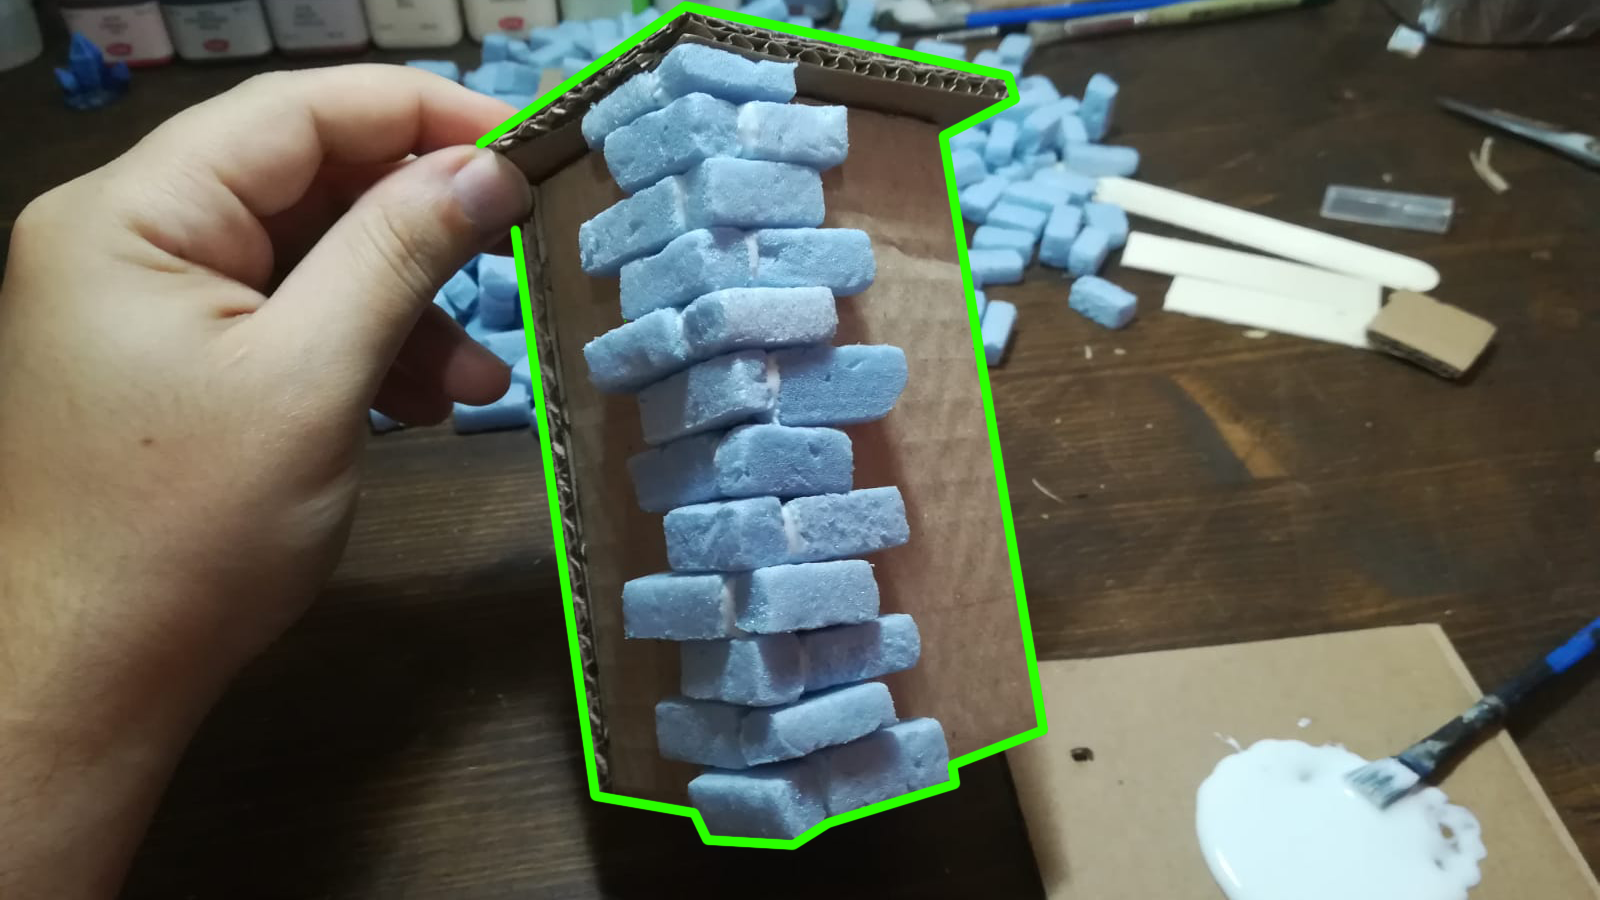
Corners are important. Make sure to follow the lines correctly and alternate the bricks in every line. You need to put one sticking out and one in line with the edge. This way al the bricks are come together like finger joint. Dont worry too much about bricks shifting around, you will have plenty of time to adjust them. Infact I like the irregularity better. it look more natural. Pay attention the corners first and lay the middle next.
.jpeg)
.jpeg)
when you all done for all the sides, start with the corners and build up towards the middle. You might need longer or shorter bricks. If you need to shorten, use your knife to cut it. Try not to grab the tower on the sides. Glue is still wet and all the bricks are moving. Grab it by the cardboard on the top side.
.jpeg)
.jpeg)
I cut a larger foam for the base. I'll shape it later. This is already looking really good . Put it somewhere safe and let it complately dry. See you soon when the glue is dried on the part 2 where I am gonna contuniue working on this tower.