This is the part 2 of Watchtower build. I added a little more details to the base. They are cut 45 degree angle in each corner and glues to the base with hot glue. Then I cut little tirangles and glue them as a support. As a structure build does not need these supports pieces, they are fore purely for visual.
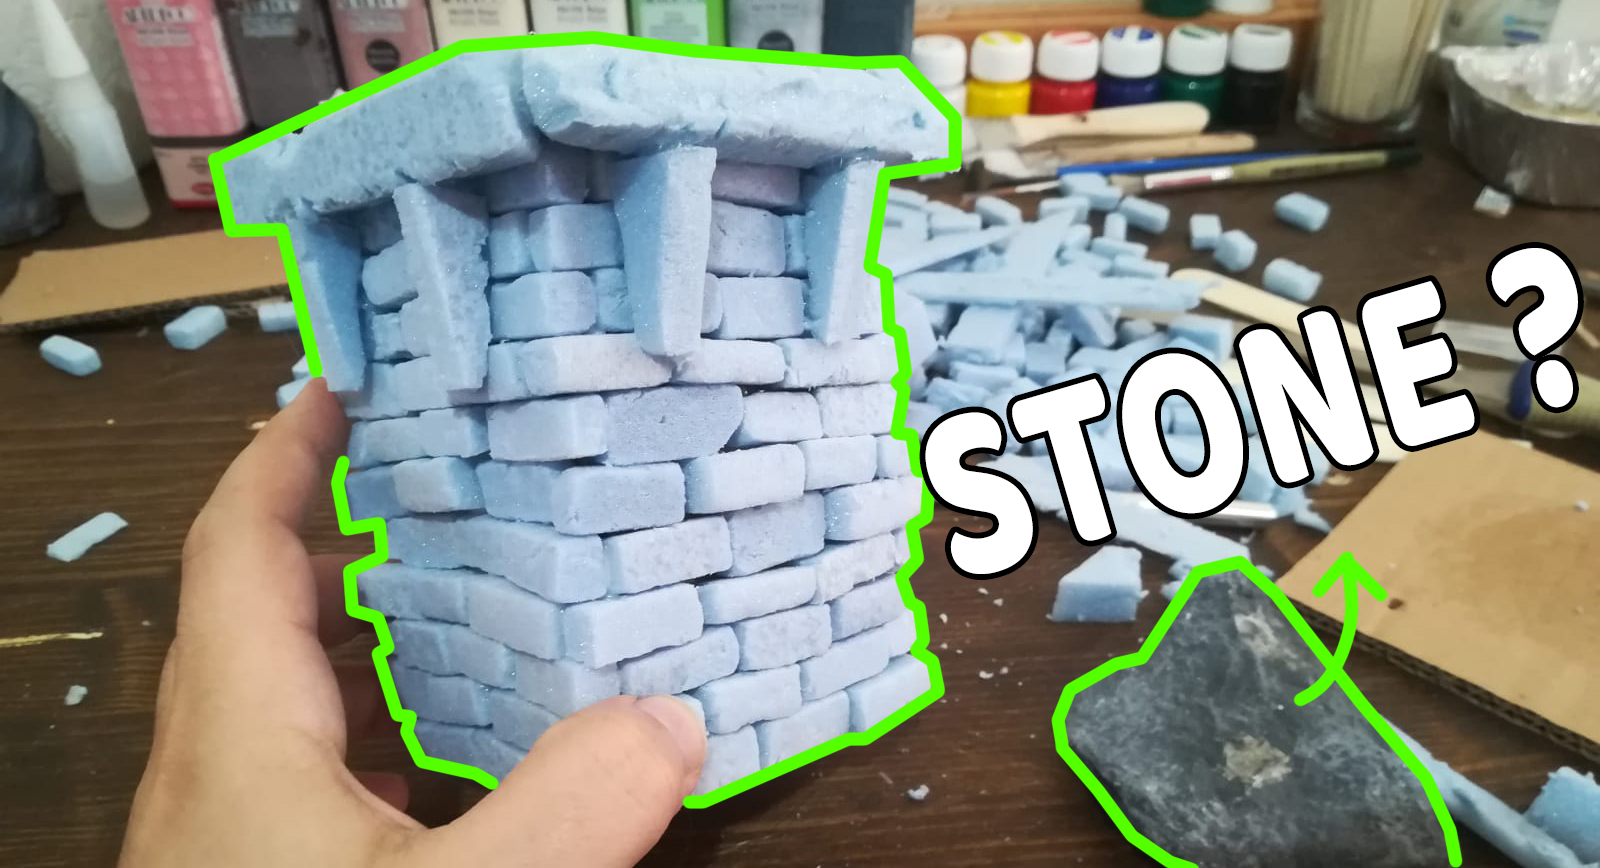
I use the stone to give texture to the foam pieces. Gently press the stone to the foam and it will create some texture, dents and cracks in the foam.
How to make a watchtower for fantasy role playing [ Part 1 ]
- In part 1 , I prepared the individual bricks, build the cardboard base and glue the bricks to the base. If you want to see how this tower base built, please check the part 1.

Part 2
This is the fun part !! Painting !!
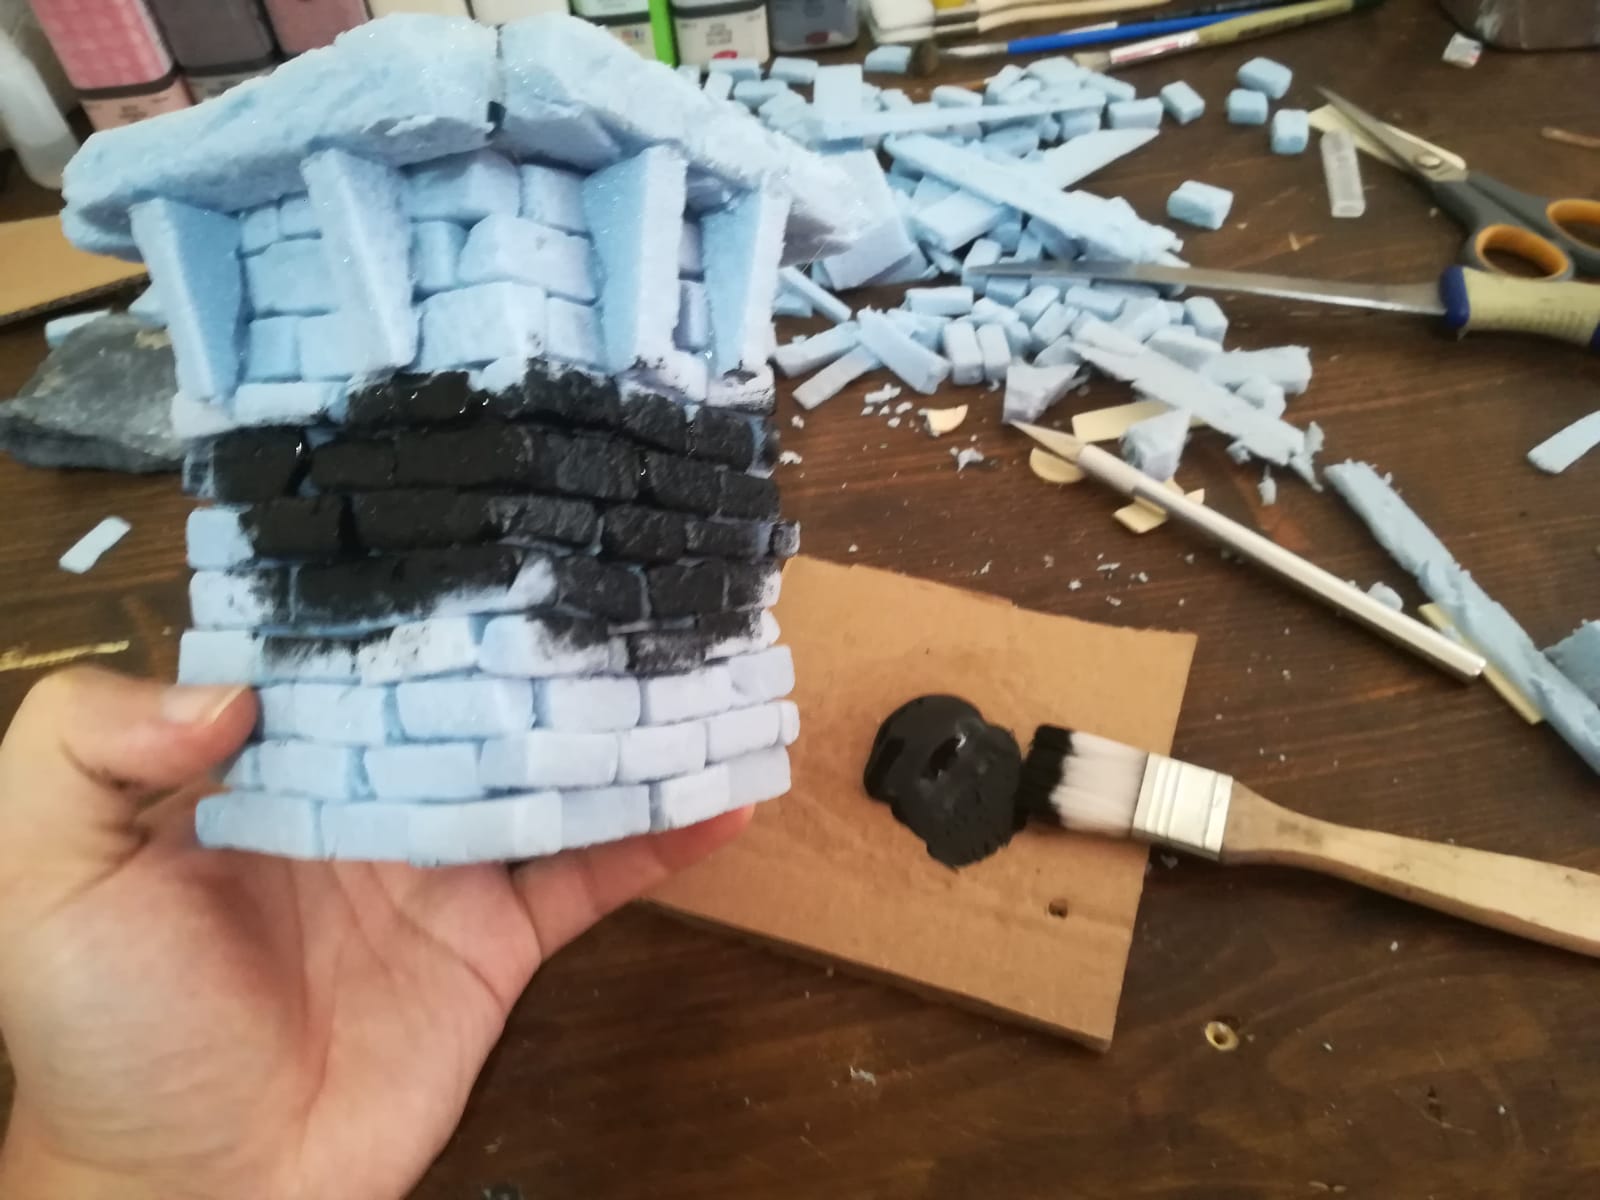
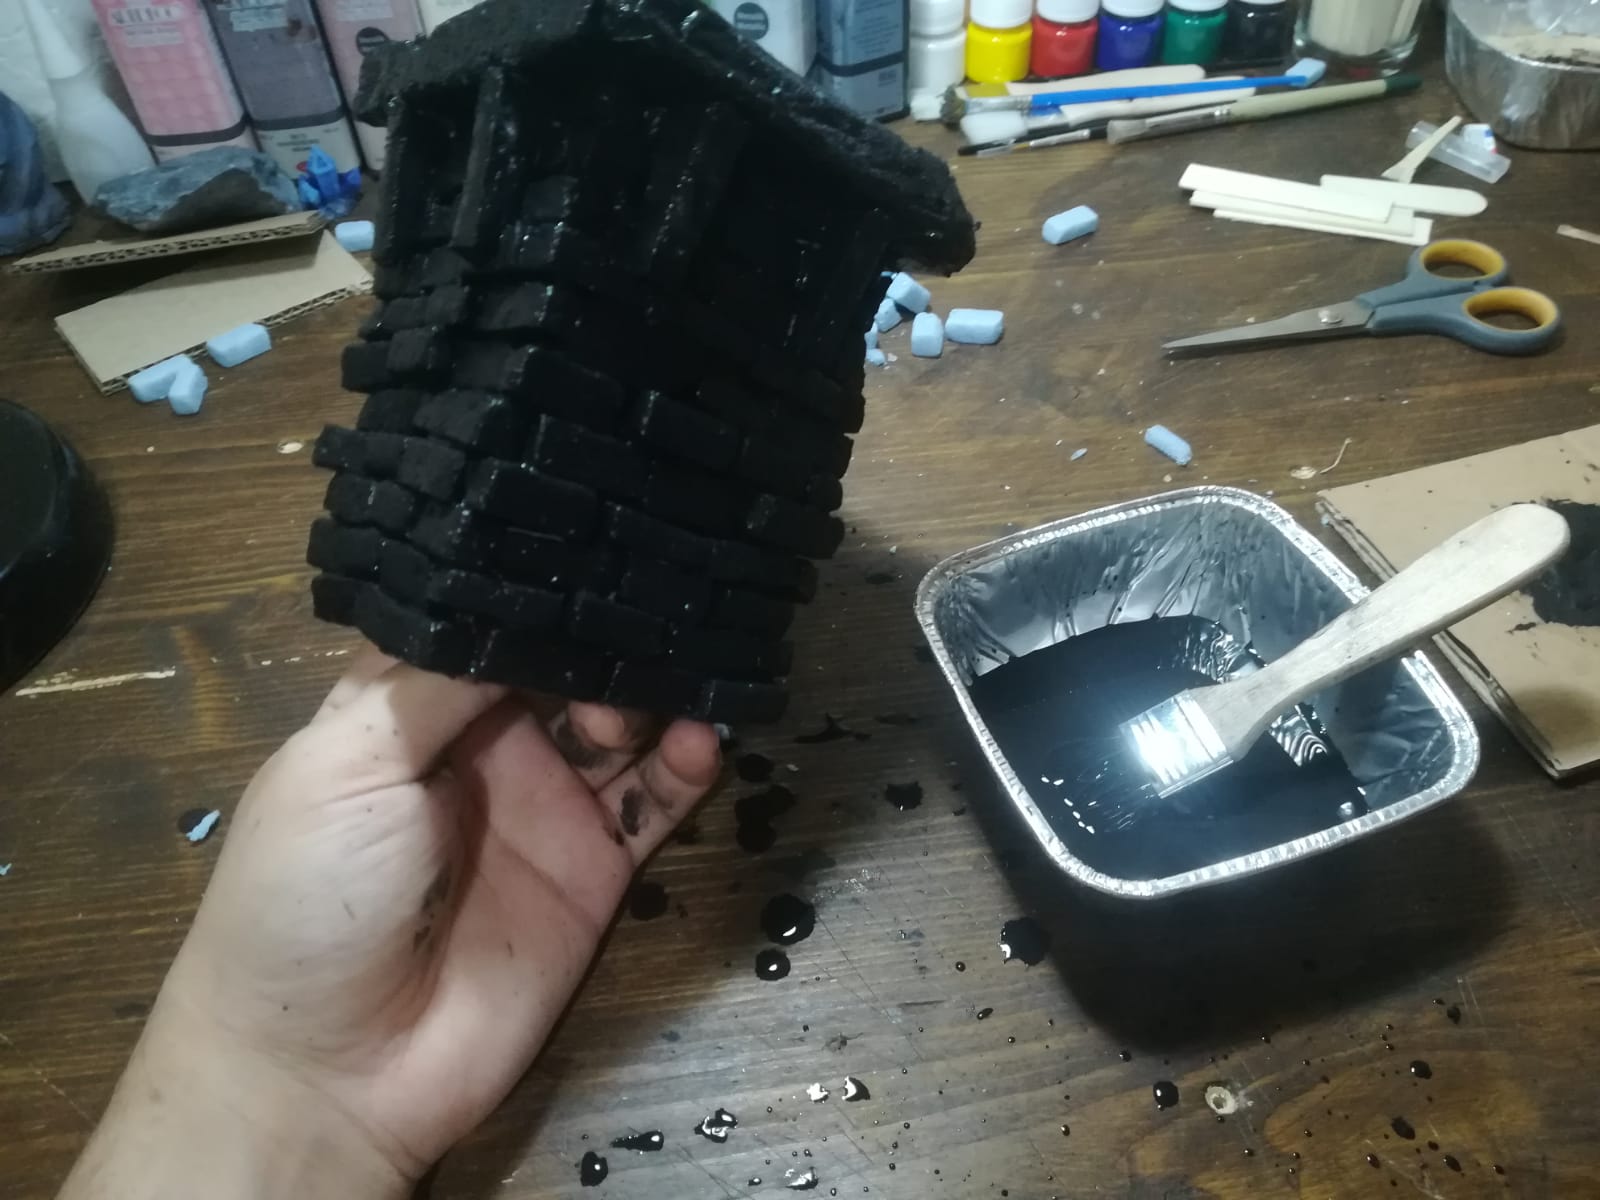
Lets have a larger brush and paint EVERYTHING in black. This is because we are gonna paint the bricks in grey color and highlight with white later. We want to cracks and gaps to be black like they are in the shadows. And black paint as a base color look good for the stone texture we are looking for. Dont worry too much about paint getting all over your hands, acrylic paint easily washed.
You may see very little cracks and gaps are still showing, but dont worry we are gonna paint them after this coat is complately dry. Paint as much as possible in this step, cover all the areas you can reach. Be gentle to the bricks, they are glued but can be seperated if you push hard.
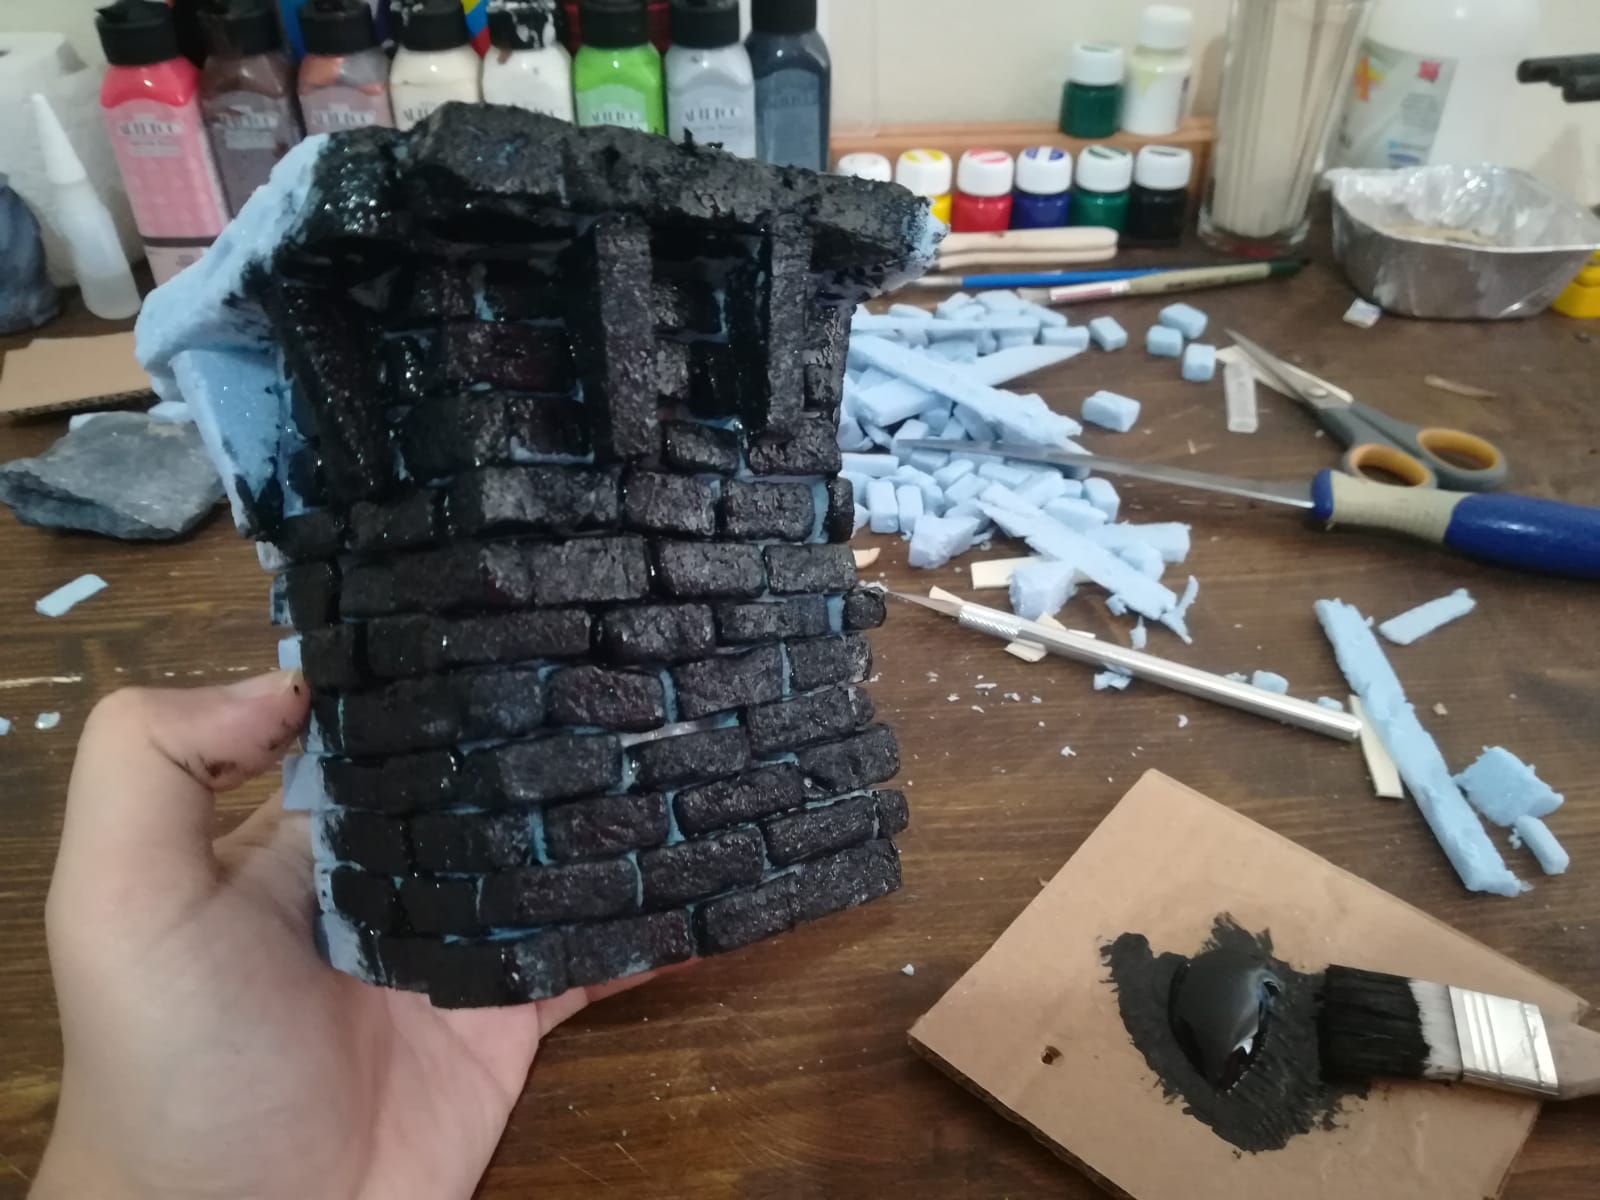
This is looking good, I painted the base as much as I can. After painting all of the sides the waiting game begins. let the paint dry complately.
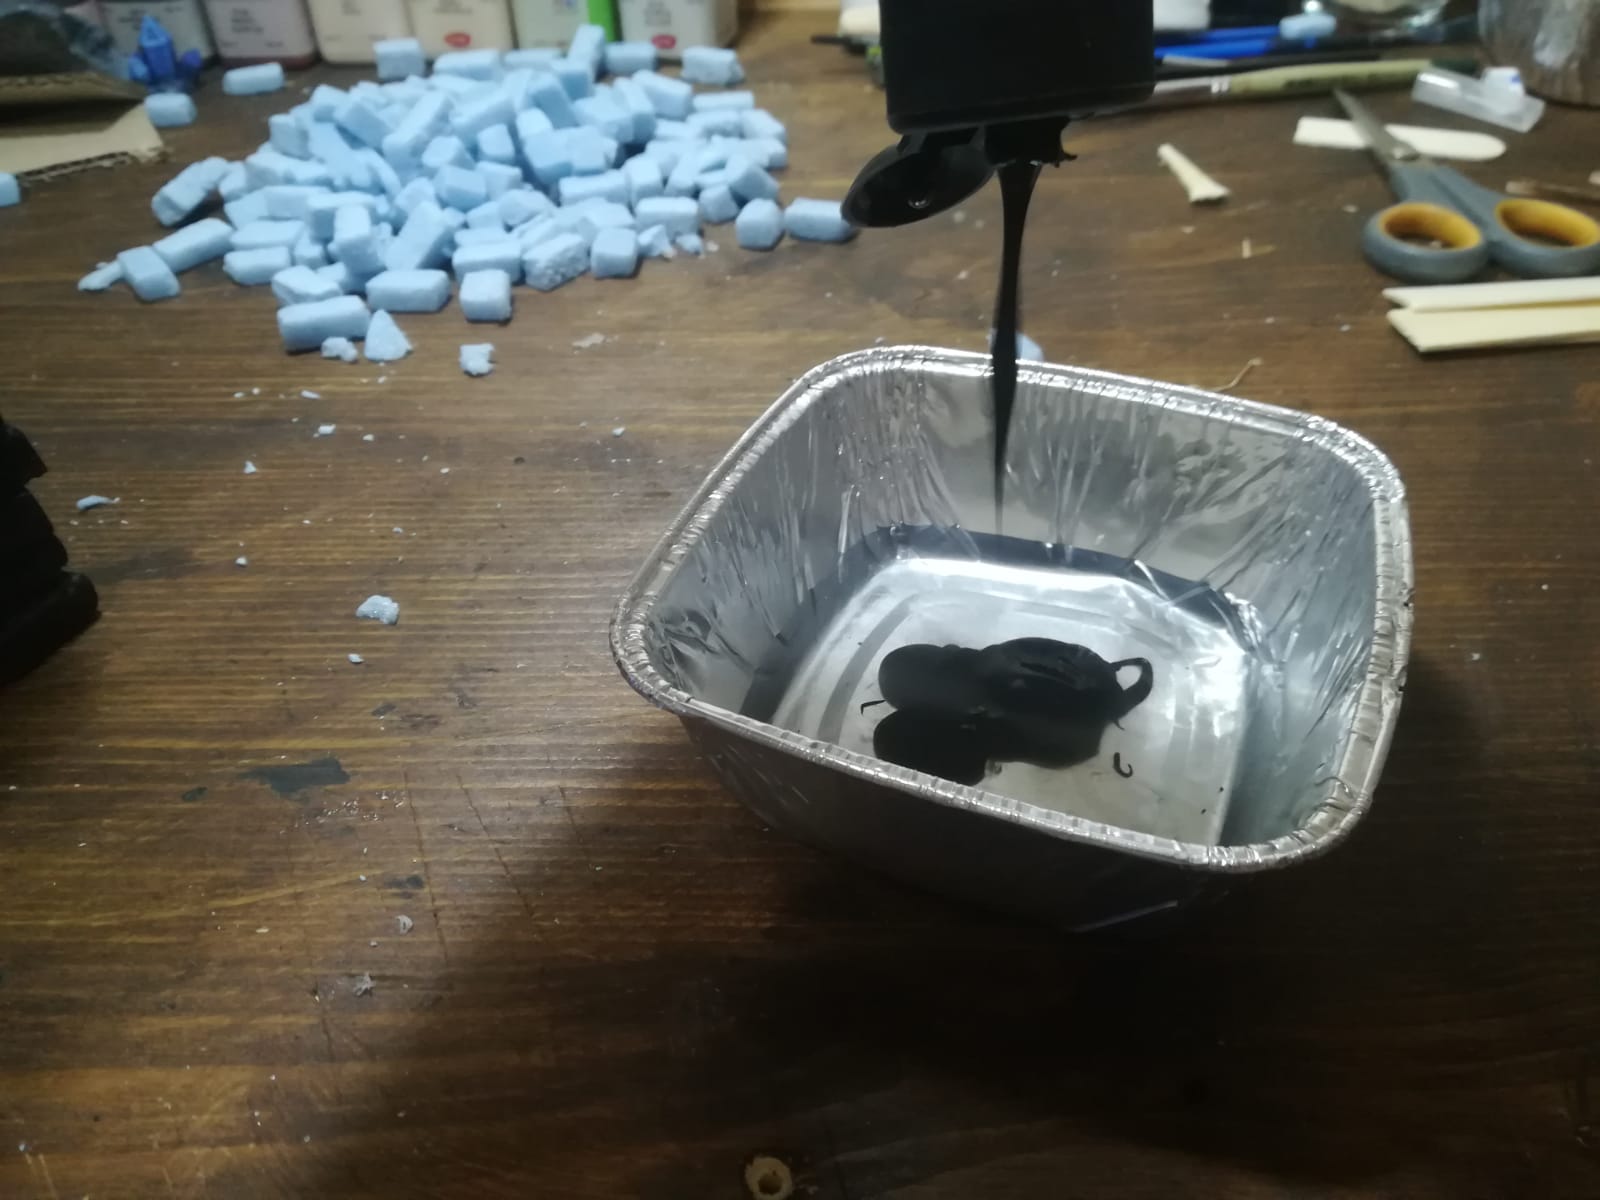
Take a little water in a container and add black paint and little brown paint to your water and mix it well. This thinned down paint will reach the gaps and cracks of the base better.
What a mess. I don't worry about the paint drops on my table, I like the stained look of the wood when I wipe the paint with a paper towel. Table can tell you a story or two if you let it. You'll remember your fun times when you look at the table stains, cuts and marks.
This came out really good. The blackness is what I aimed. It is still wet, before I contuniue to part 3 of this i have to wait it to dry ^^
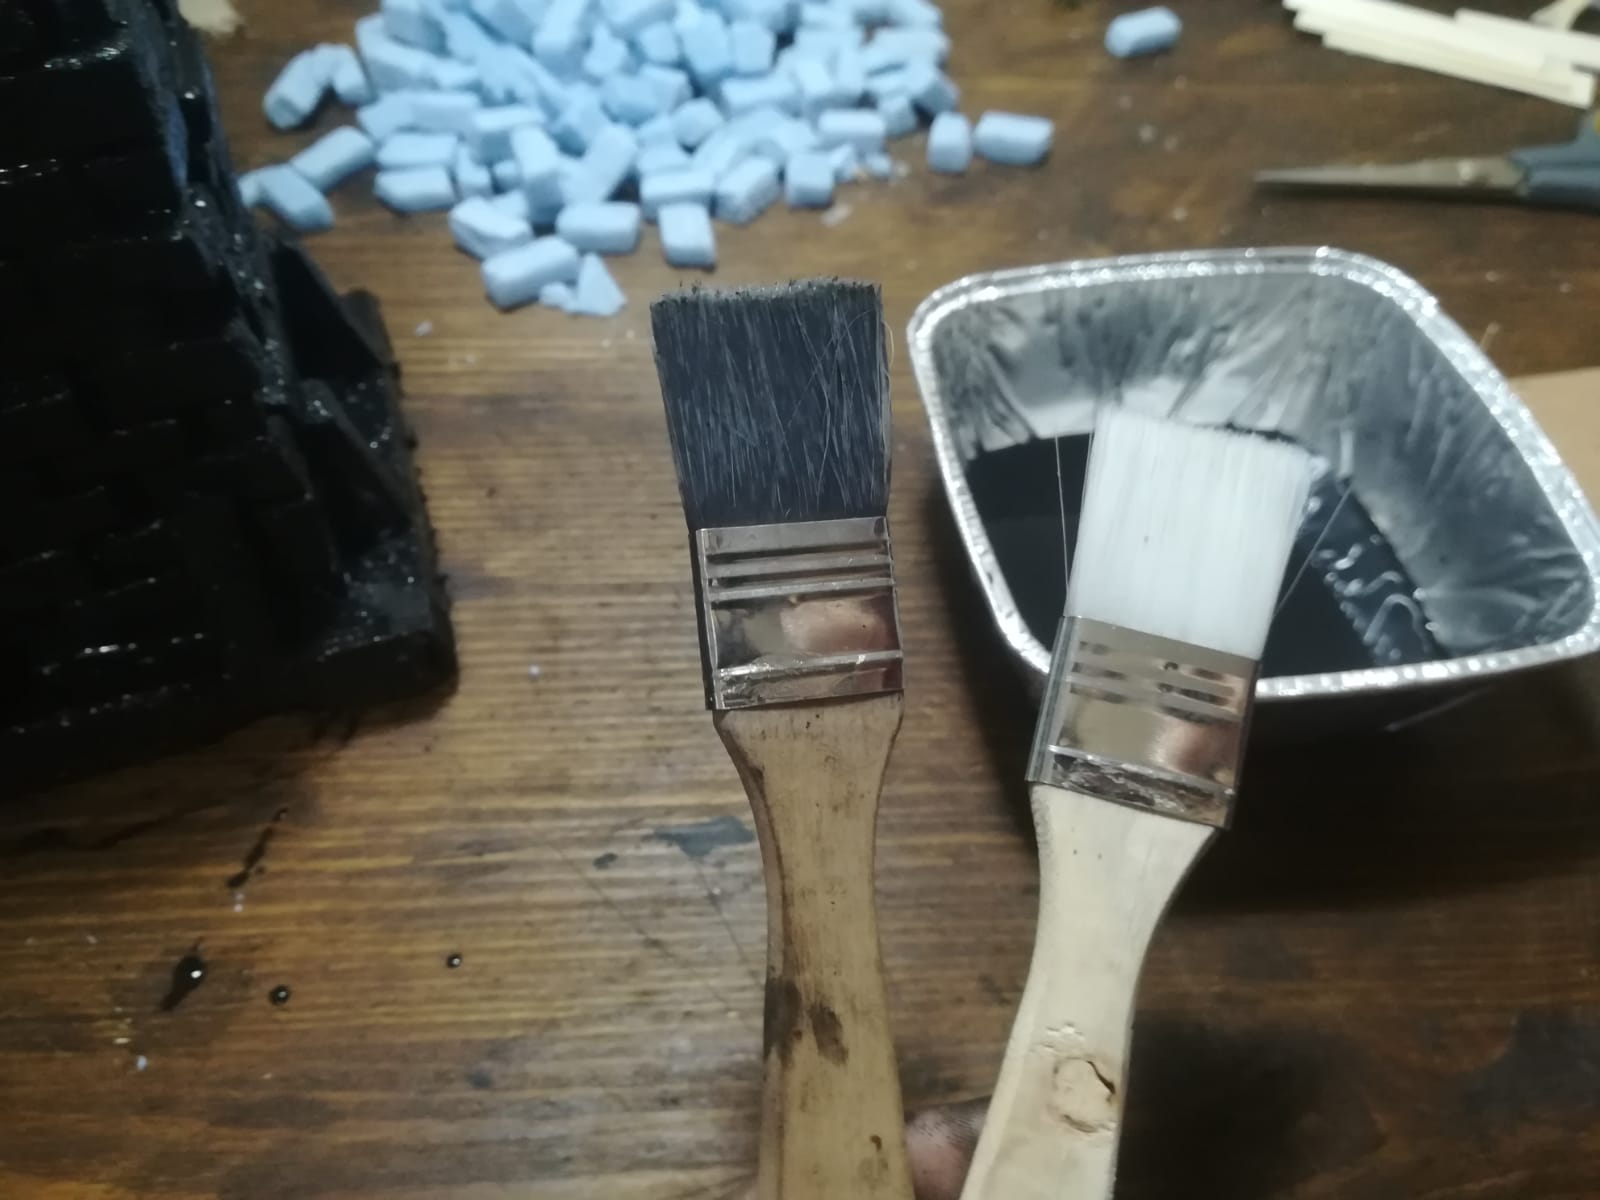
Remember ! Never let your brush dry with the paint. Always wash them immediately after use. This way your brushes will last longer and serve you well.. Wash them with plenty of water and soap.
See you on the part 3. Stay with art and stay healthy.