- I think this is the first XPS foam build I have ever done. I did not have a hotwire foam cutter and used a kitchen knife to cut the foam. The results are terrible ( back then I liked it ) and the foam quality is not good. This foam is full of tiny air holes. At the time I couldnt find any other vendor who has higher quality foam.
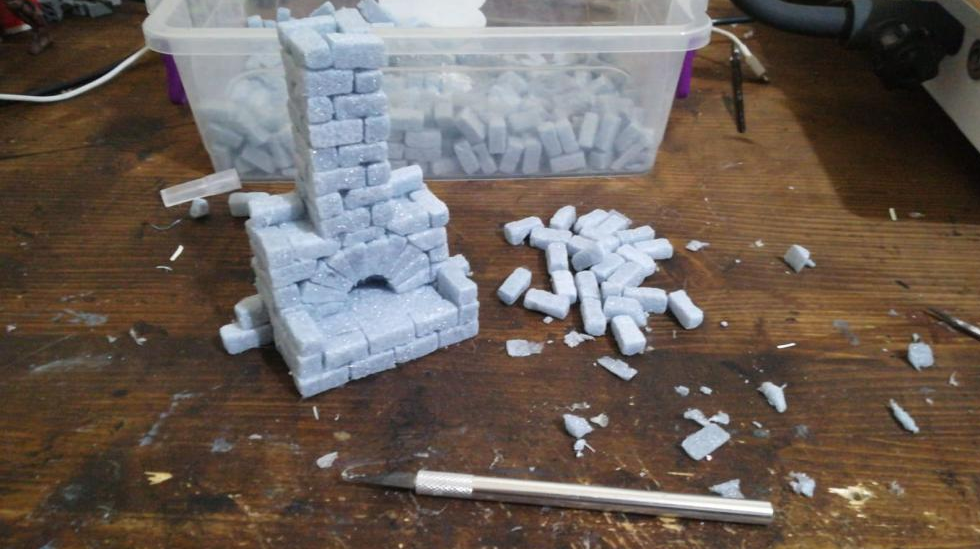
- Soon after - with the same low quality xps foam - I bought a cheap hotwire table and join the super league of individual bricks. This was not possible with the knife because you have no control over the cuts. They'll always end up crocked. I needed precise bricks to lay out the design. This cheap machine - which I still use - allow me to build more complex builds. Down side of this is that it takes forever to finish. But the results are better then previous. And by the looks of the table I bought more art supplies.

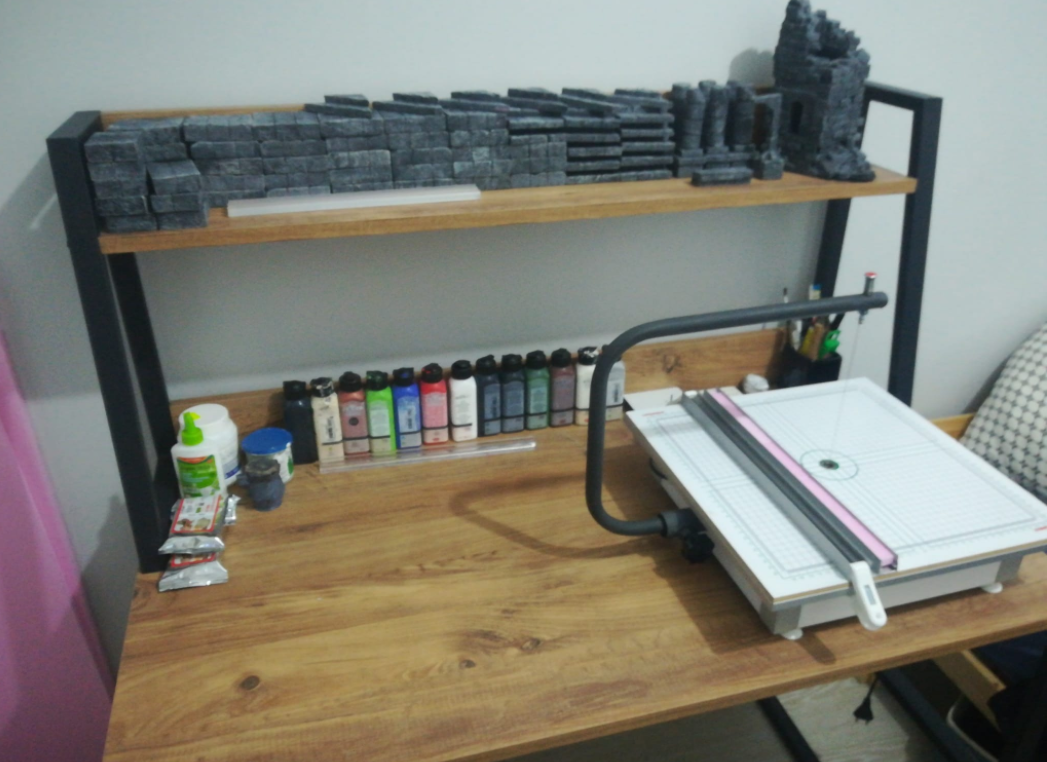
- At this time I was crafting in my computer desk, which I build myself. But the space is not enough to craft not alone store the art supplies like paints tools etc. I needed another space to stor my supplies but in a tiny room I couldnt afford to have a huge desk. So I made a shelf on the wall to store my tools and bits. I designed and 3D print some case for the paints and screw them to the wood. The wood is not attached to the shelf, this way I can move the back wood with the paint wherever I want. It was good back then.

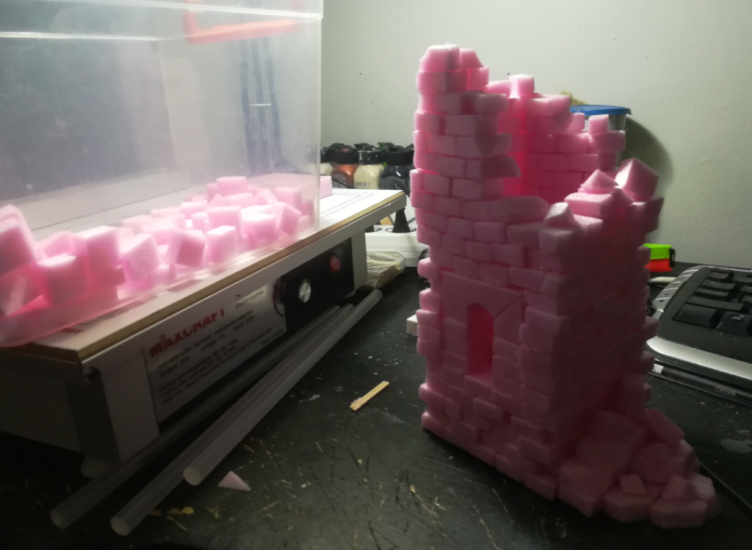
- I think I did use the foam cutter partially here. To cut the strips of foam but not the bricks. I wanted to use more natural and crocked feeling of the tower. it was meant to be like this. I probably used X-acto knife to cut the bricks and texture them by placing them in a plastic bucket and couple of rocks and shaking. This I gifted a friend of mine. This is a Dice Tower. When you place the dice on top the dice will roll down. And this is the only time I use toilet paper as a cloth in this build. Coffee stirring sticks are useful as well.
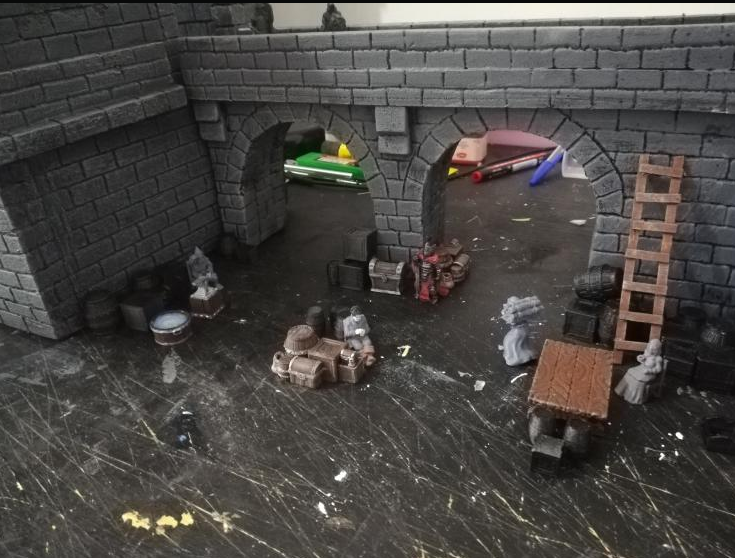
- If you read my post you should have see this one. I spend couple of days to finish this. Individual bricks idea was nice but I knew it will take weeks to finish so I decided to draw the bricks with pen. The cuts are all done with hotwire table. You can check my previous posts to see the full process of the castle and bridge. But I think I still prefer individual bricks. At this point we've moves 3 houses and I am at the new house. Crafting space is still an issue.
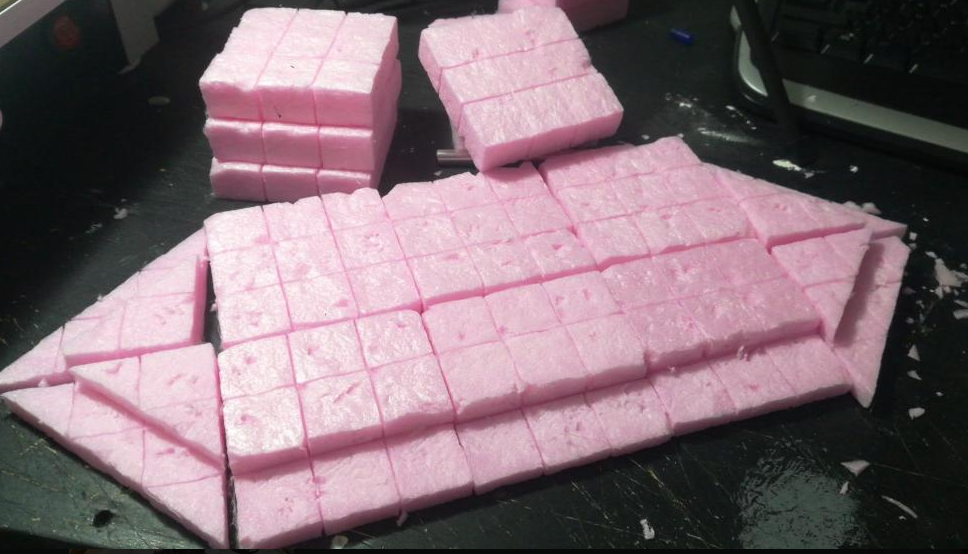
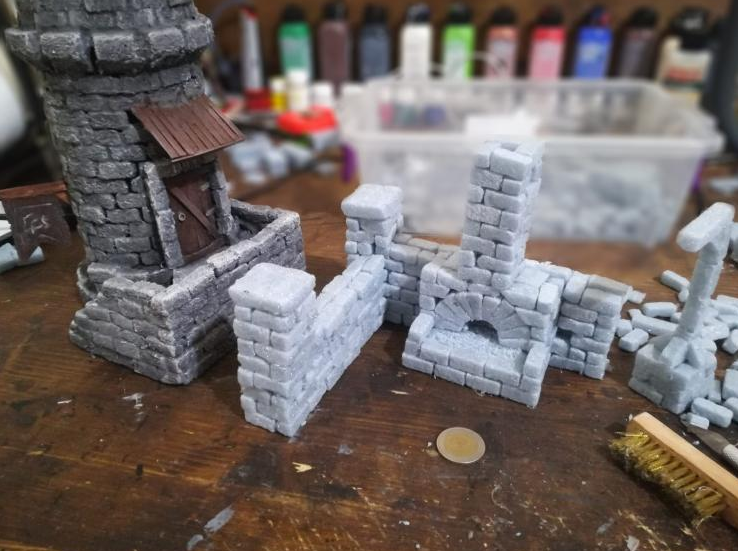
- oh I like this one. I saw a youtube video about modular dungeon tiles and I wanted to have them. This time I have the more quality xps foam here. No more tiny holes in the foam. This set took me 2 days to finish. I dont remember how many pieces but it close to 100 piece. I am really proud of this one. I gifted this set to my DM friend. He'll use them in his games.
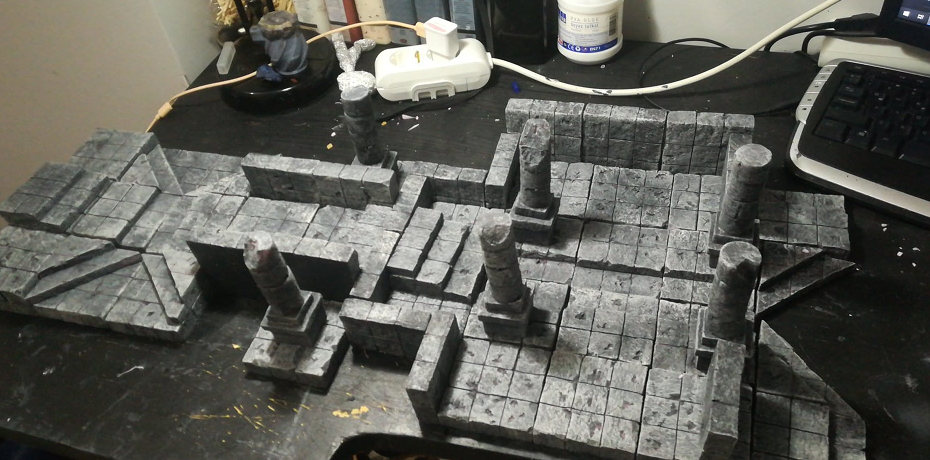
- As I said after the bridge build I realize that i still prefer and like individual bricks designs more. This wasnt like the builds before, this was me feeling bored , listening twitch streams while doing something on the table. I already had lots of bricks laying around. I wanted to make something out of them to get rid of my boredom. Ruins I like. If you cant tell already.
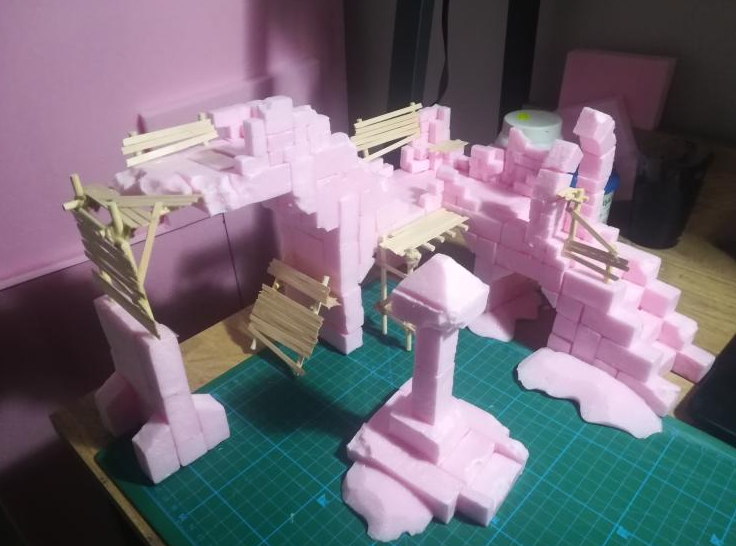
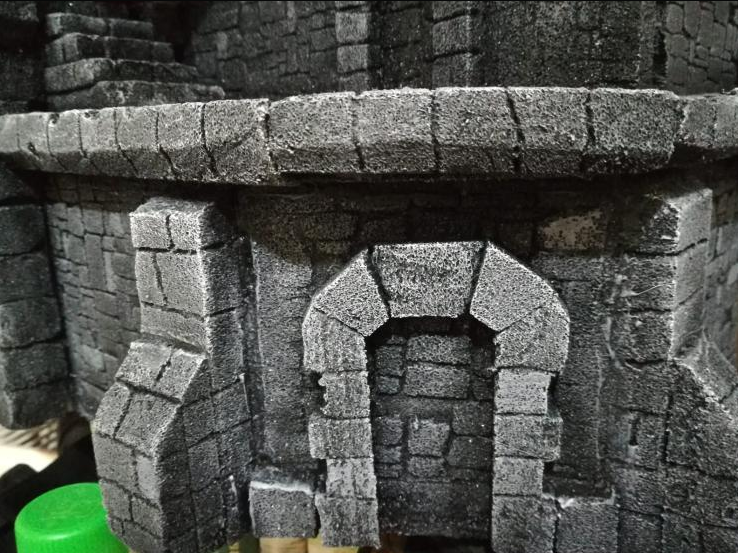
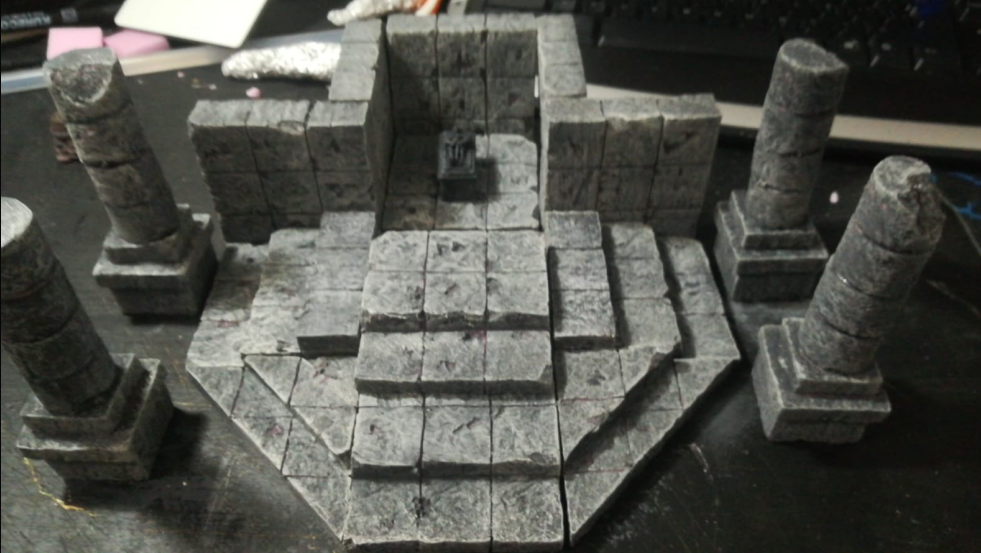
- And this is my "masterpiece" lol , this is my latest build. I wanted to use individual bricks, but I dont want to use the tiny ones as this was an antient ruin. It lives thousands of years to this day. Those bricks are huge and heavy. Used tiny ones on top. I wanted to utilize coffee stirring sticks more and wanted to ruin like this to have a use for them. I was playing witcher 3 and everywhere there were ruins and some bandits lives there. They tried to repair some damages around. I wanted to make something like that.
- This has been my crafting journey for D&D. There are other pieces and small projects along the way but I did not have their photos taken. i'll continue crafting and will share with you. And as you may know I have a new crafting space. See you next time
This is really impressive and it looks like it took quite a while to craft. I think the realism is what makes it most striking to me, I enjoy it a lot.
Thank you, yes there are many stages to achieve the final result, it takes couple of days at least ^^
Looks so good. Salute to this talent. Practice makes a man perfect. So you've practiced a lot which can be seen by your work. Well done
This job/hobby must be quite challenging and demanding. But the resulting images are wonderful.
Thanks. Indeed, there are lots of techniques to learn. Its a nice hobby to have. ^^
woah! that's some pretty amazing way of crafting! 😁 it surely looks like it requires a lot of patience to make, thank you for sharing!

https://d.buzz
Patience.. yes yes.. need lots of it.. and self control.. ^^ jokes aside, this hobby teach you to be patient , process is also enjoyable as much as result.
Seems pretty normal to generally like something you did with the best of your ability at the time only to not like it later XD
And you know what it still looks pretty good so there XP