.jpg)

Español
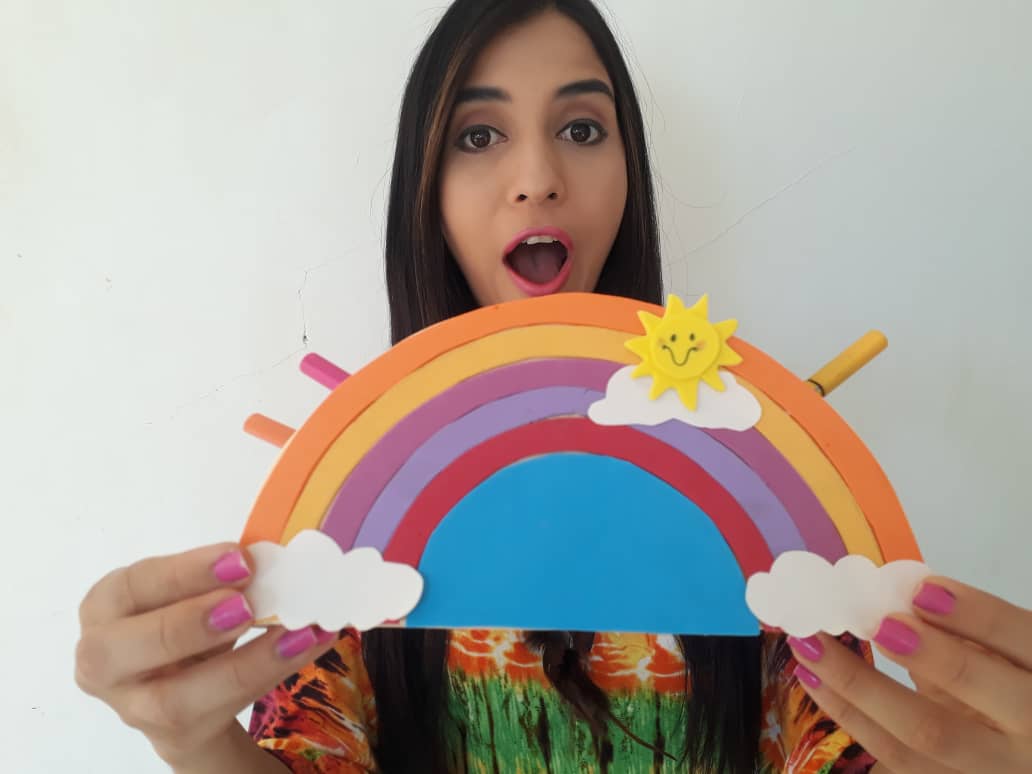
Hola querida familia de HIVE 💝 En esta oportunidad les traigo un nuevo e increíble paso a paso donde aprenderemos a realizar un precioso arcoíris organizador, ideal para ordenar nuestros materiales preferidos, y lo mejor de todo es que es muy fácil de hacer utilizando materiales muy económicos y fáciles de conseguir. Así que, los invito a disfrutar de este divertido momento, ideal y perfecto para el desarrollo de la creatividad tanto de niños como adultos. Además es una idea perfecta para pasar un rato agradable con nuestros pequeños en casa e incentivarlos, ya que, pueden ir, de a poco, desarrollando su ingenio y acercándose un poco más al trabajo artístico.
English
Hello HIVE family 💖 In this opportunity, I bring you an incredible new step by step where we will learn how to make a beautiful rainbow organizer, ideal for ordering our favorite materials, and best of all, it is very easy to do using very cheap and easily available materials. So, I invite you to enjoy this fun moment, ideal, and perfect for the development of creativity for both children and adults. It is also a perfect idea to spend a pleasant time with our little ones at home and encourage them, since they can go, little by little, developing their ingenuity and getting a little closer to artistic work.
¿Qué están esperando?
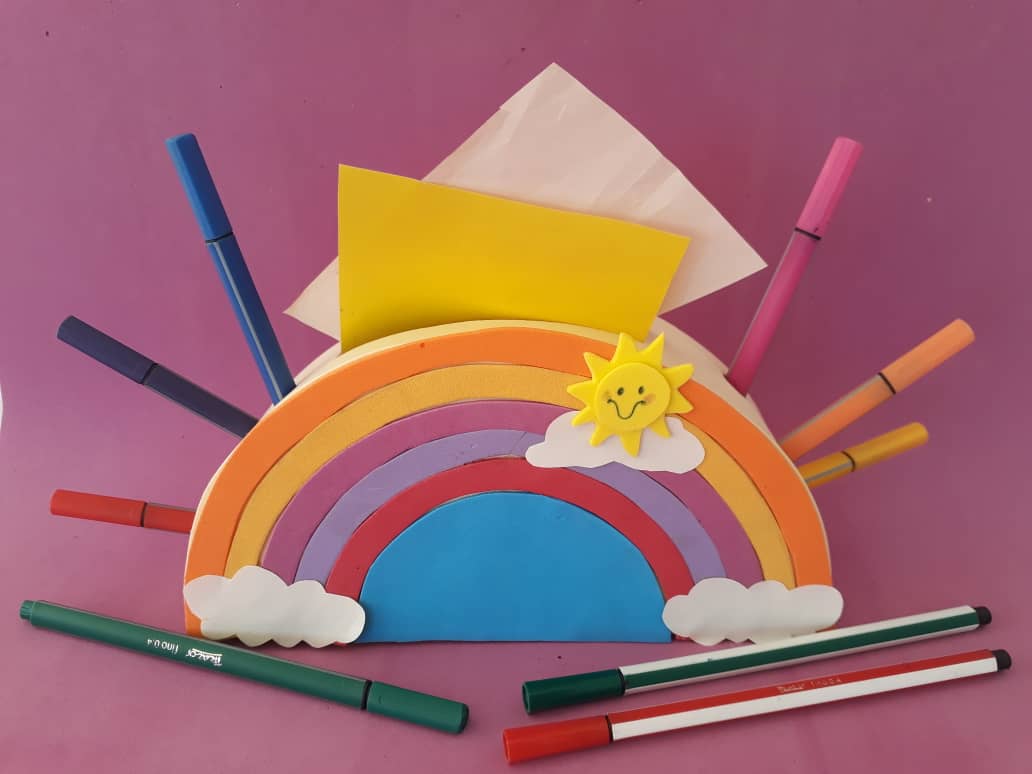
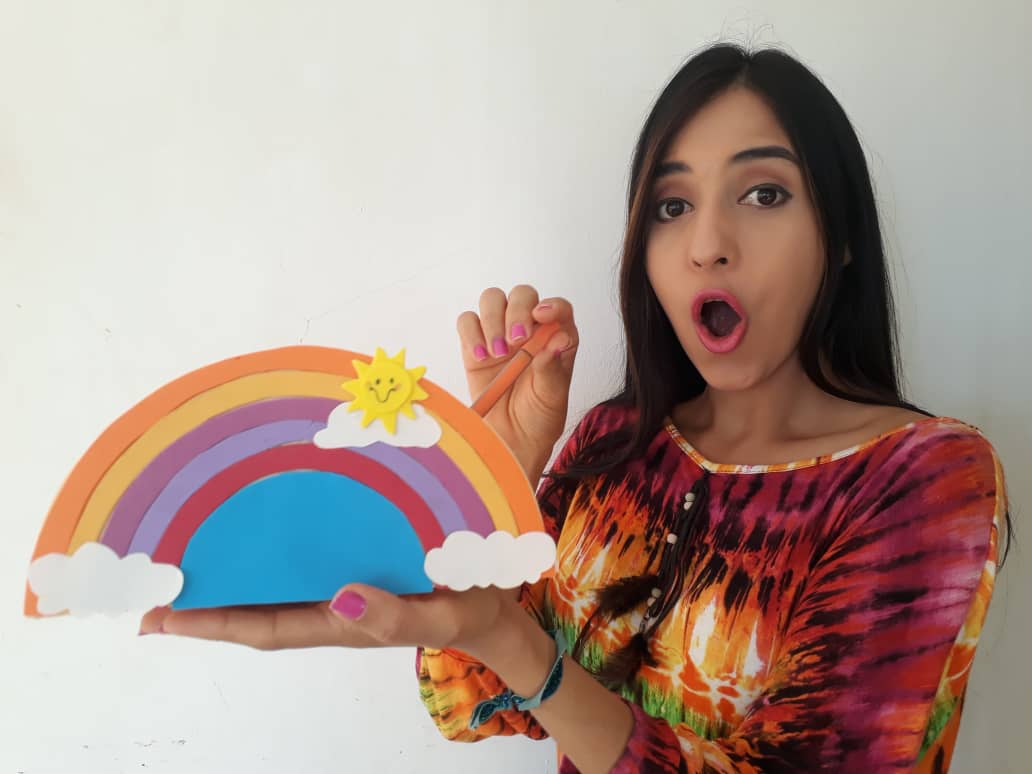
Este útil y bello organizador nos ayudara a tener nuestras cosas en orden, además será una decoración perfecta para nuestra mesa de trabajo. Antes de comenzar no olvidemos lavarnos nuestras manos.
What are they waiting for?
This useful and beautiful organizer will help us to have our things in order, it will also be a perfect decoration for our work table. Before we start, let's not forget to wash our hands.
[Materiales | Materials]
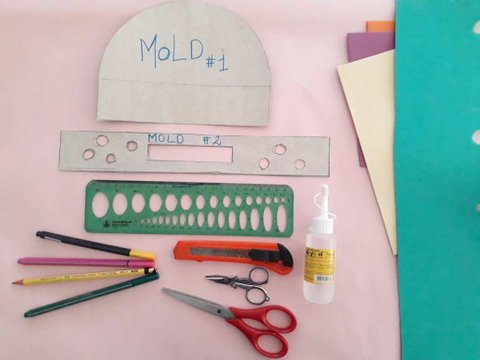
Para hacer este precioso organizador necesitaremos:
- Moldes.
- Foami o goma eva.
- Regla.
- Lápiz.
- Tijera.
- Cuter.
- Pegamento.
To make this precious organizer we will need:
- Molds
- Foamy or eva foam.
- Rule.
- Pencil.
- Scissors.
- Cuter.
- Glue.
Procedimiento (paso a paso)
Process (step by step)
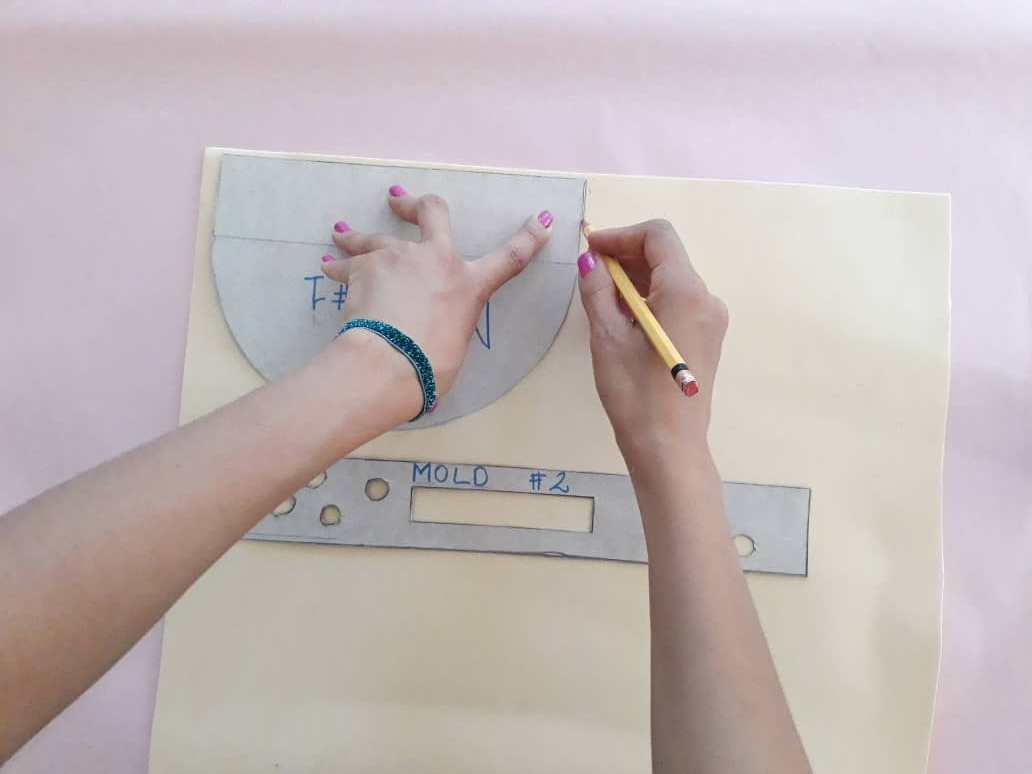
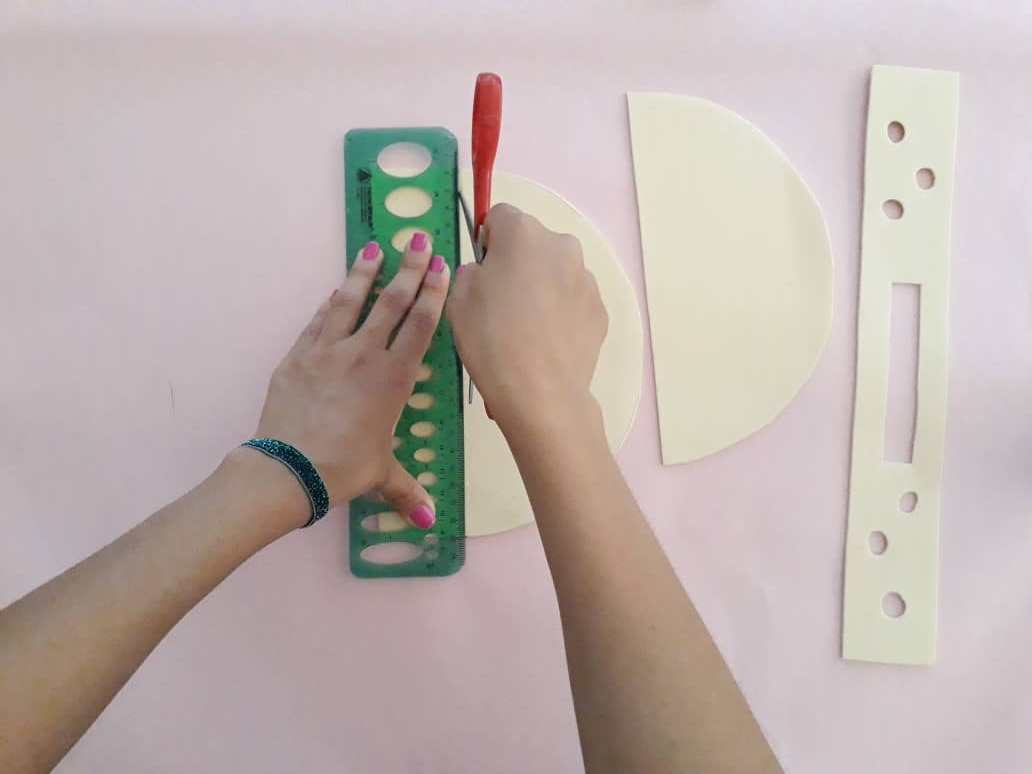
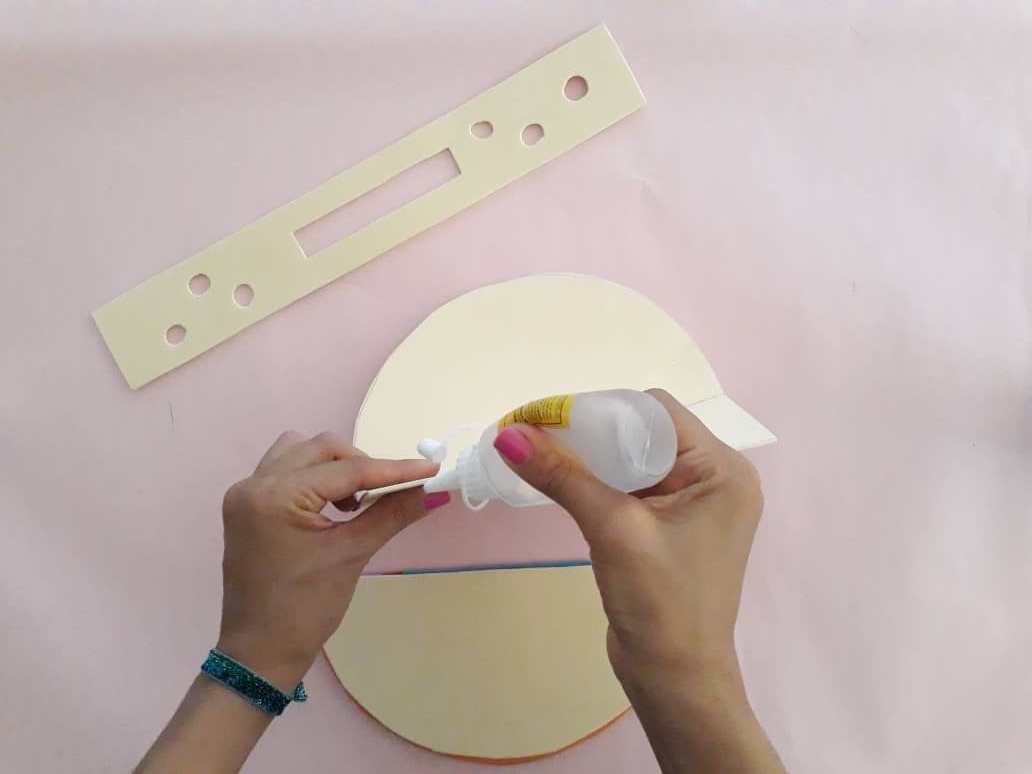
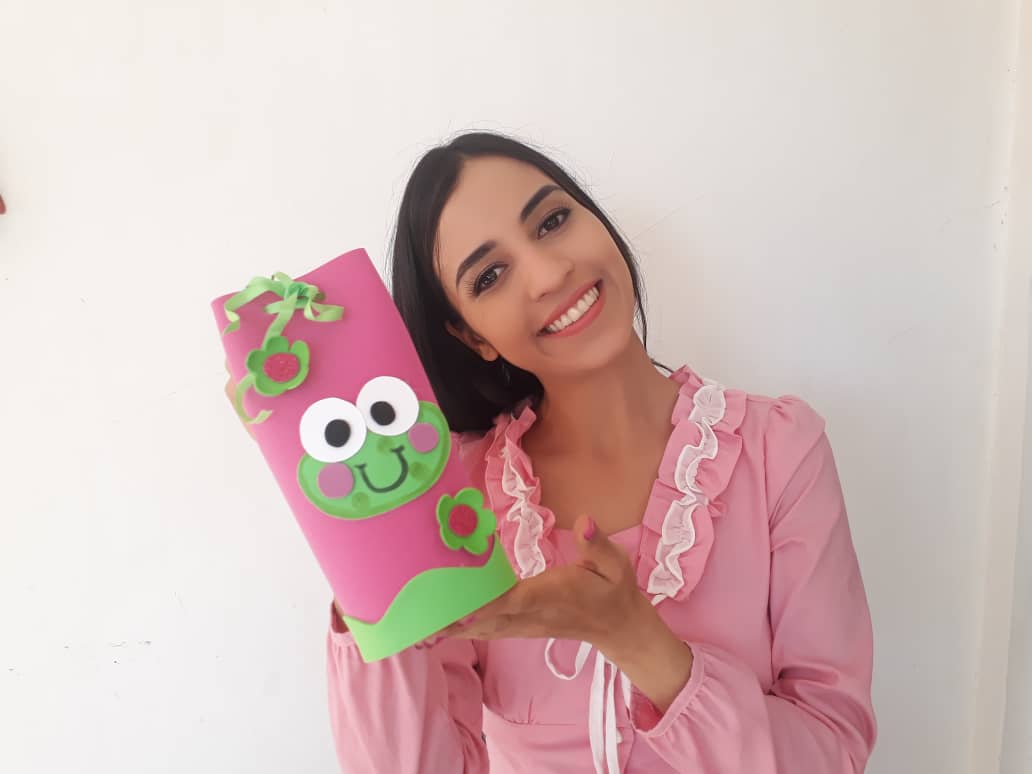
Primero, transferimos los moldes a una lámina de foami y recortamos con mucho cuidado para mantener sus medidas intactas. El patrón numero 1 nos será la parte trasera y base del organizador, mientras que la tira rectangular o patrón 2 será el fuelle y tapa. Seguidamente recortamos un nuevo un nuevo patrón 1 pero de menor tamaño para que sea la cara.

First, we transfer the molds to a foamy sheet and cut very carefully to keep their measurements intact. Pattern number 1 will be the back and base of the organizer, while the rectangular strip or pattern 2 will be the bellows and cover. Then we cut a new one a new pattern 1 but smaller to make it the face.
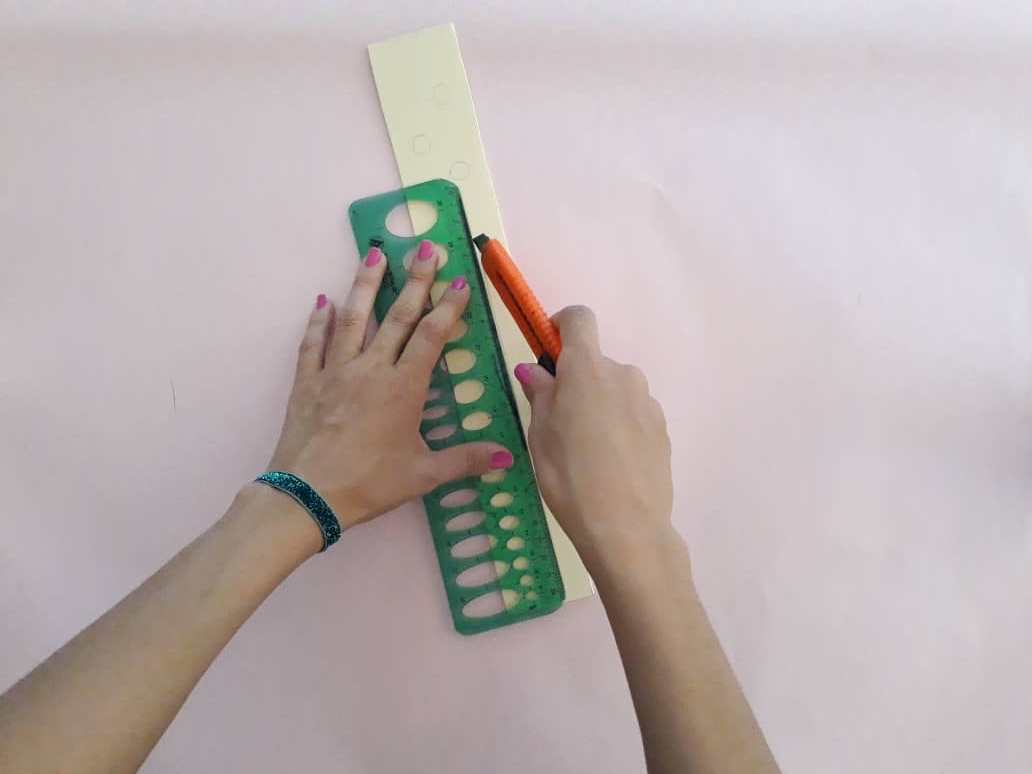
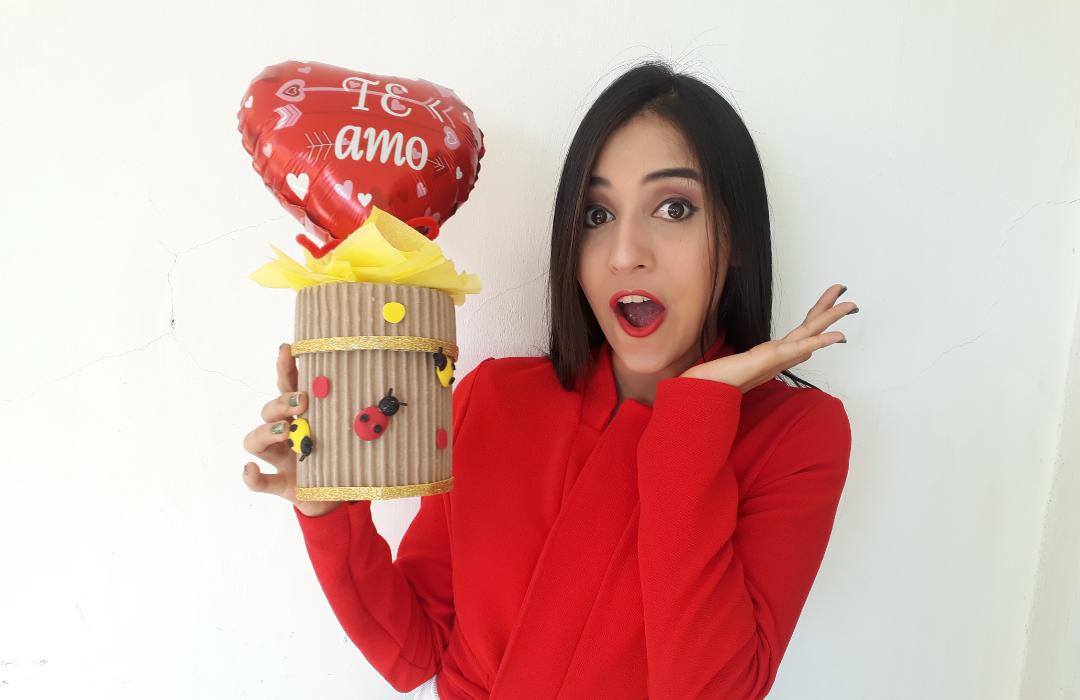
Con la ayuda del cúter extraemos un pequeño rectángulo del centro del molde 2, y con la tijera realizamos pequeños agujeros o aberturas que nos servirán para guardas nuestras cosas.
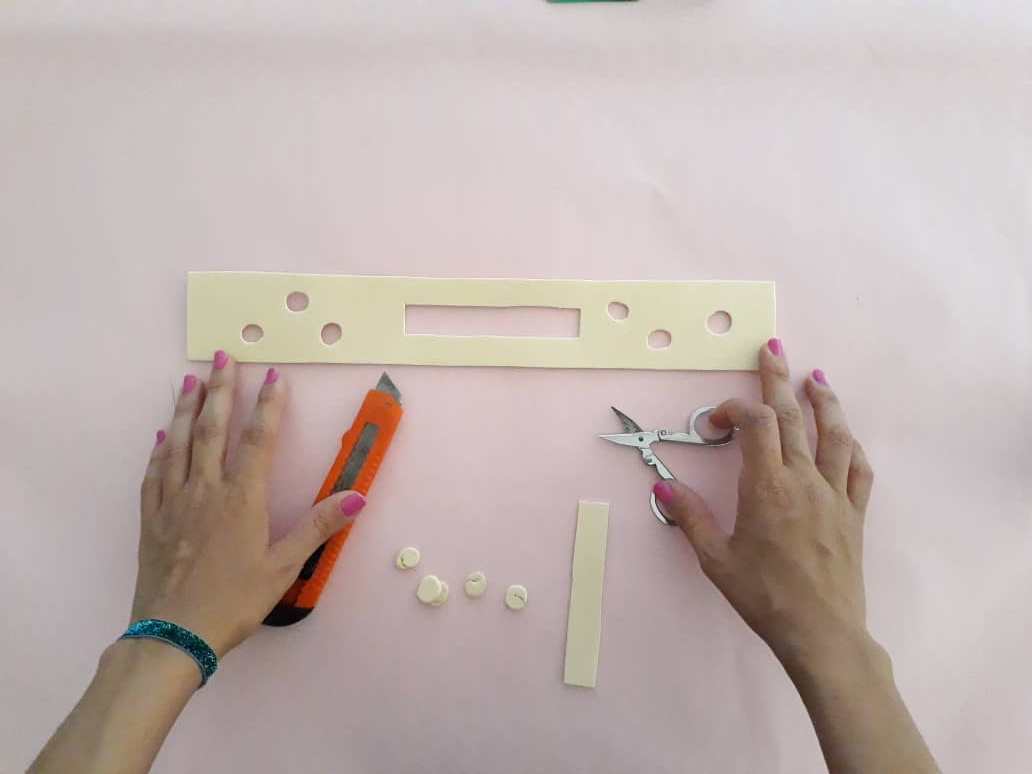
With the help of the cutter, we extract a small rectangle from the center of the mold 2, and with the scissors, we make small holes or openings that will serve to store our things.
Luego, con la punta de la tijera marcamos una línea recta en la parte inferior del primer patrón para obtener la base y así facilitar el armado de nuestro organizador.
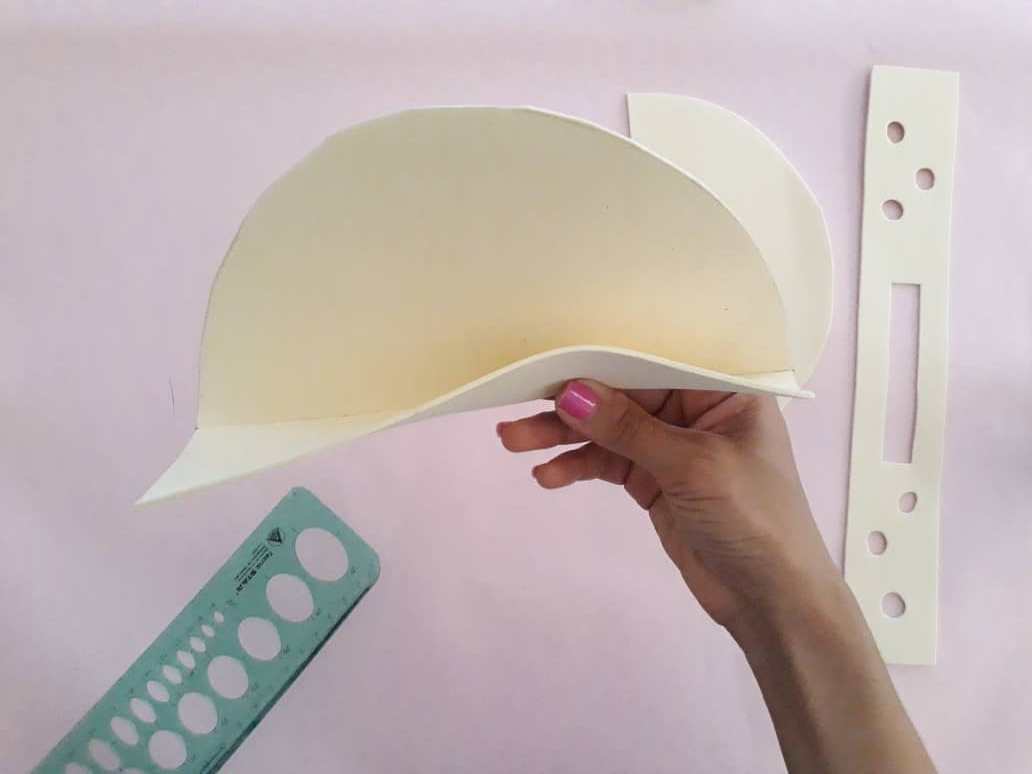
Then, with the tip of the scissors, we mark a straight line at the bottom of the first pattern to obtain the base and thus facilitate the assembly of our organizer.
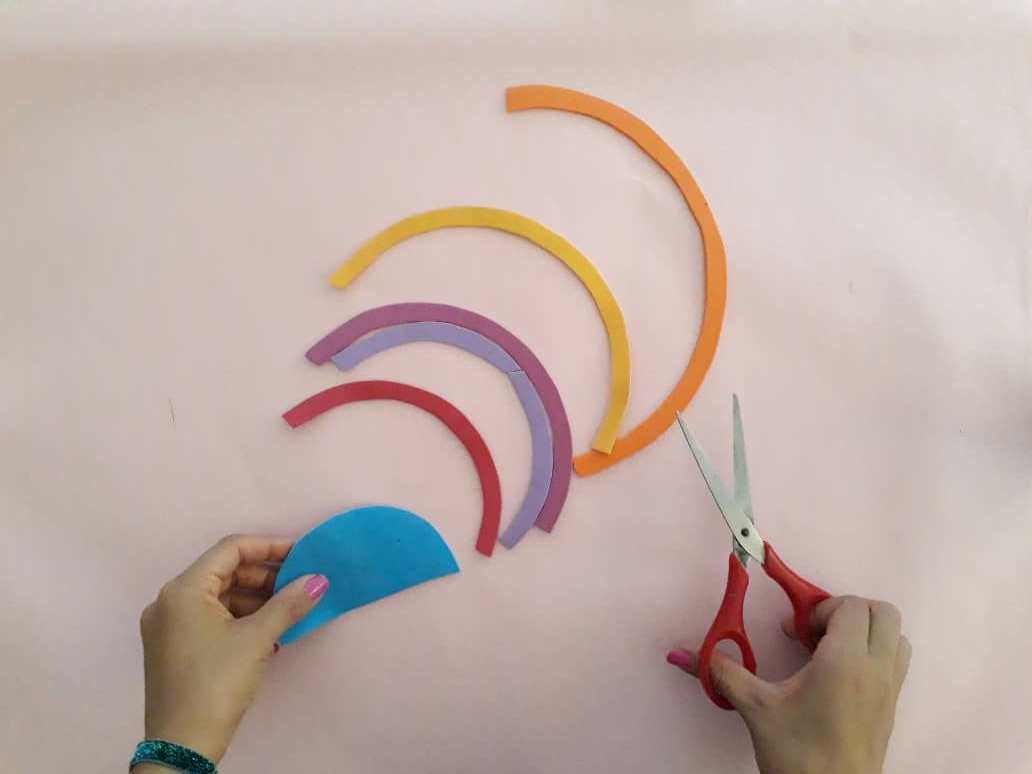
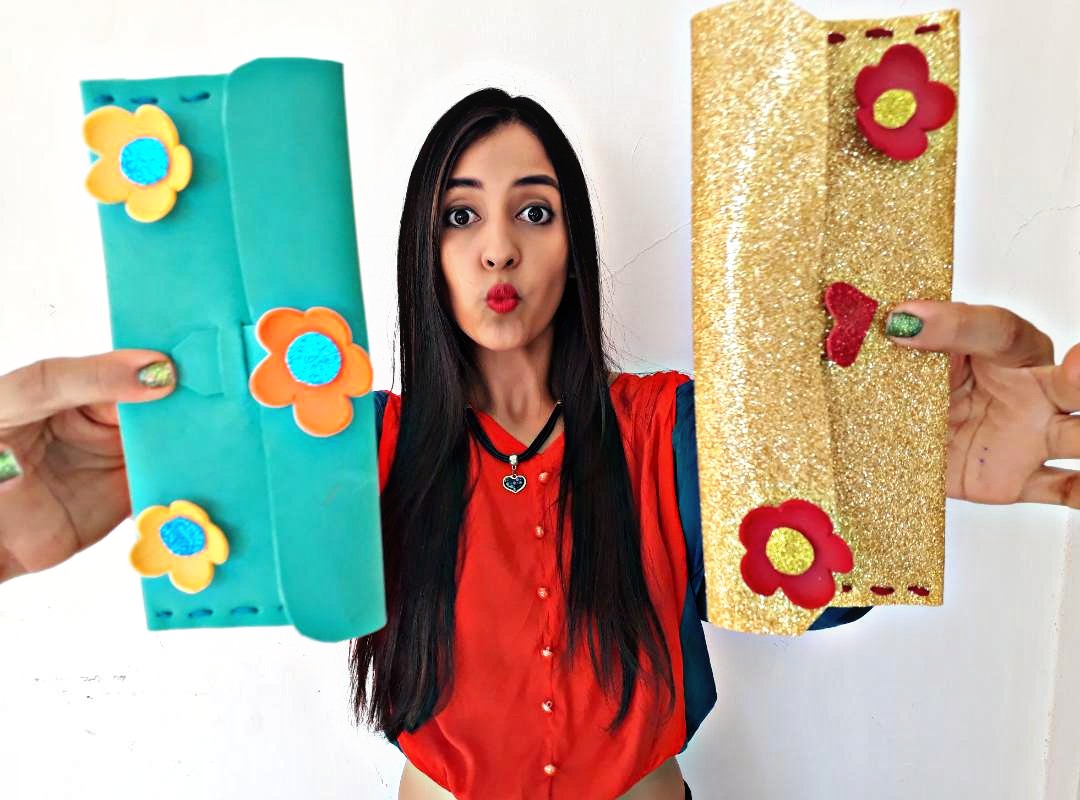
Ahora, recortamos tiras de foami en forma de arcoíris y de diferentes colores para cubrir la cara de nuestro organizador utilizando pegamento.
Now, we cut foamy strips in the shape of rainbows and of different colors to cover the face of our organizer using glue.
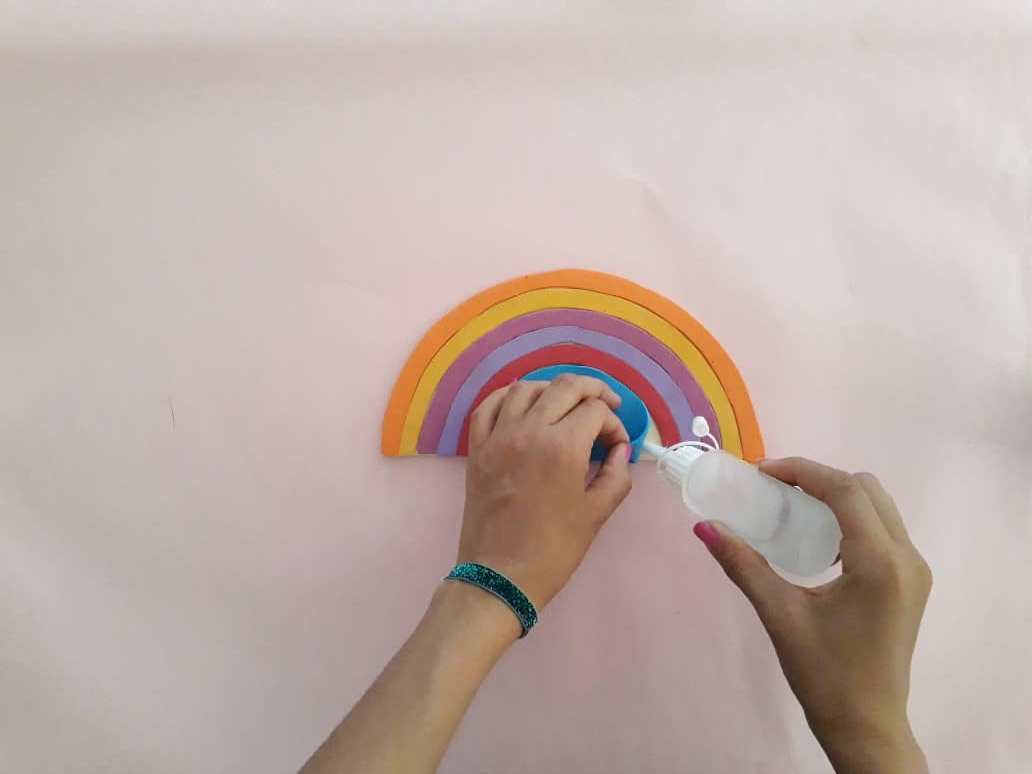
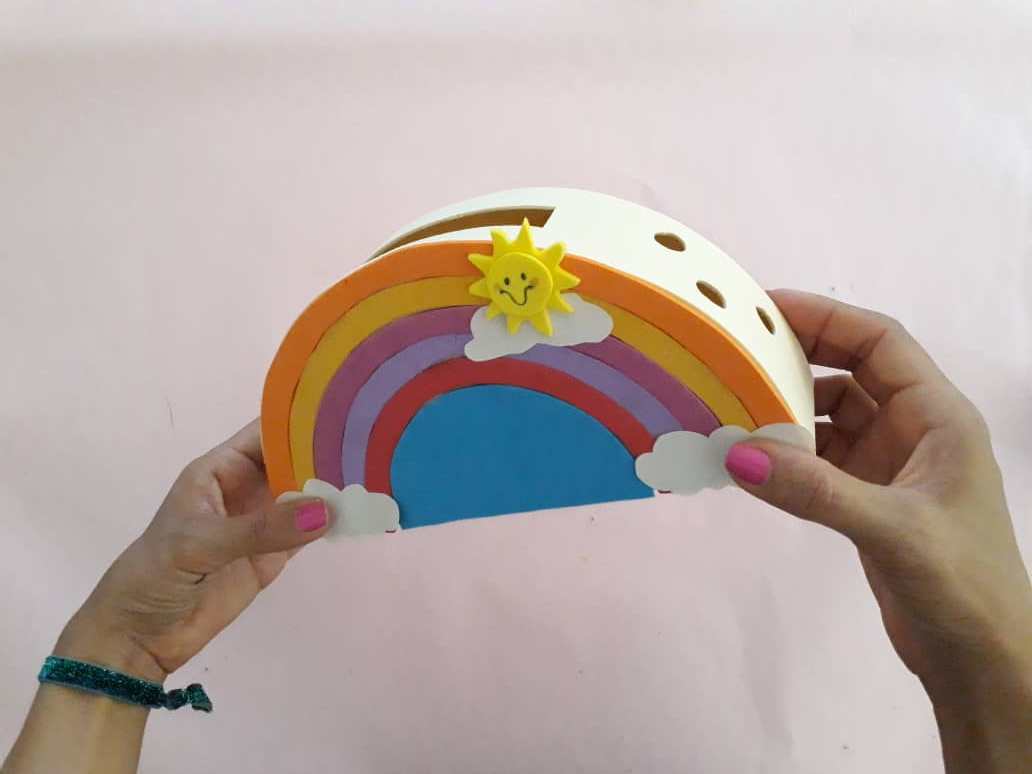
Luego, armamos el organizador uniendo sus partes con pegamento. Debemos hacer presión con nuestras manos para asegurarnos que queden bien pegados.
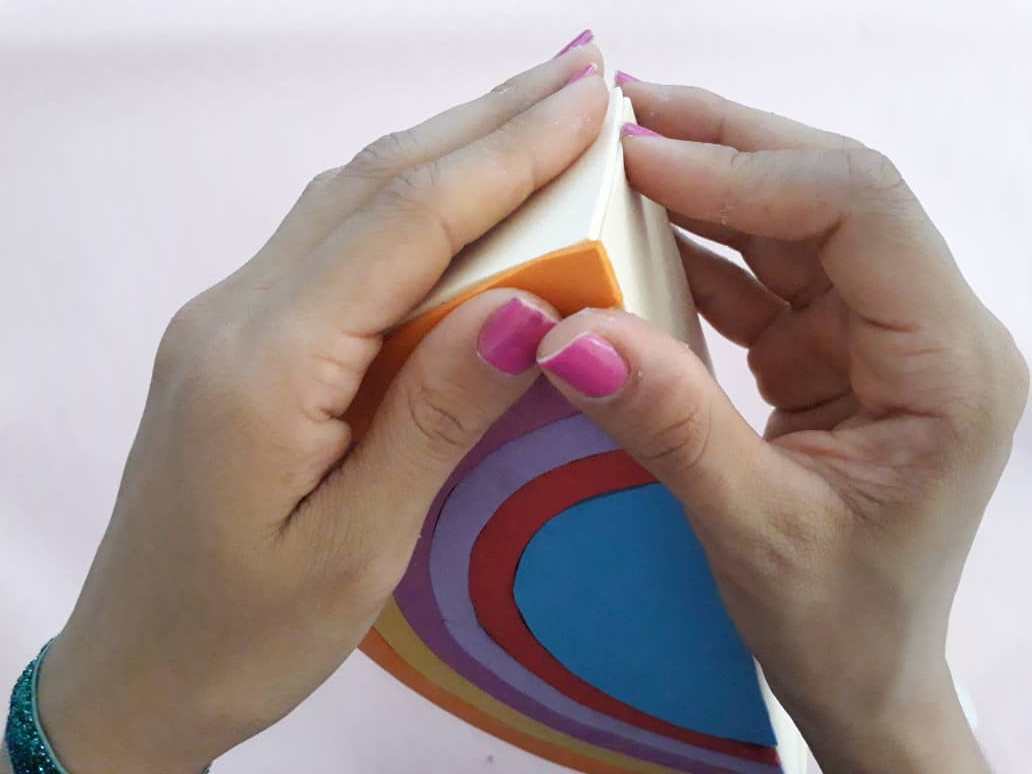
Then, we assemble the organizer by joining its parts with glue. We must apply pressure with our hands to make sure they are well attached.
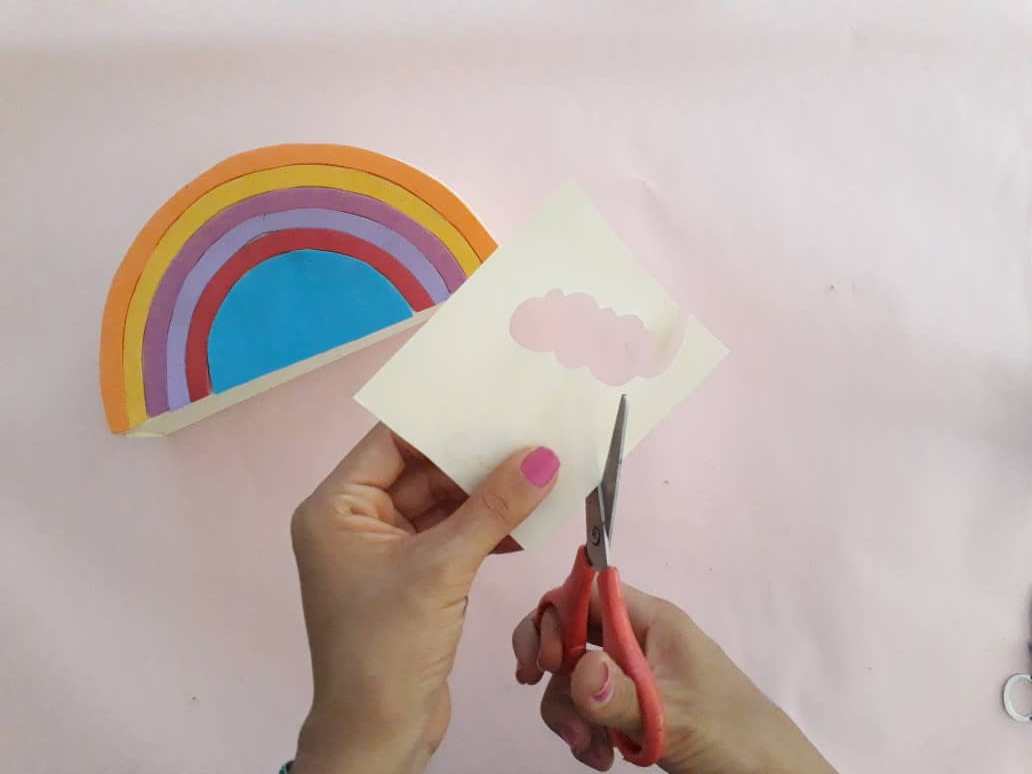
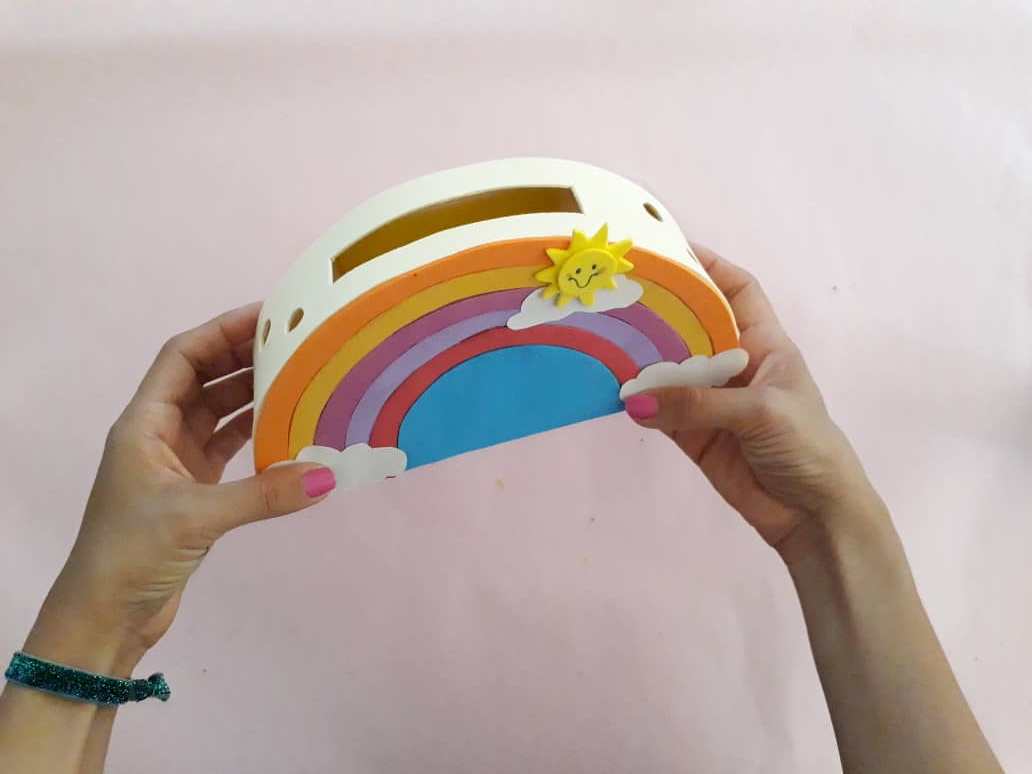
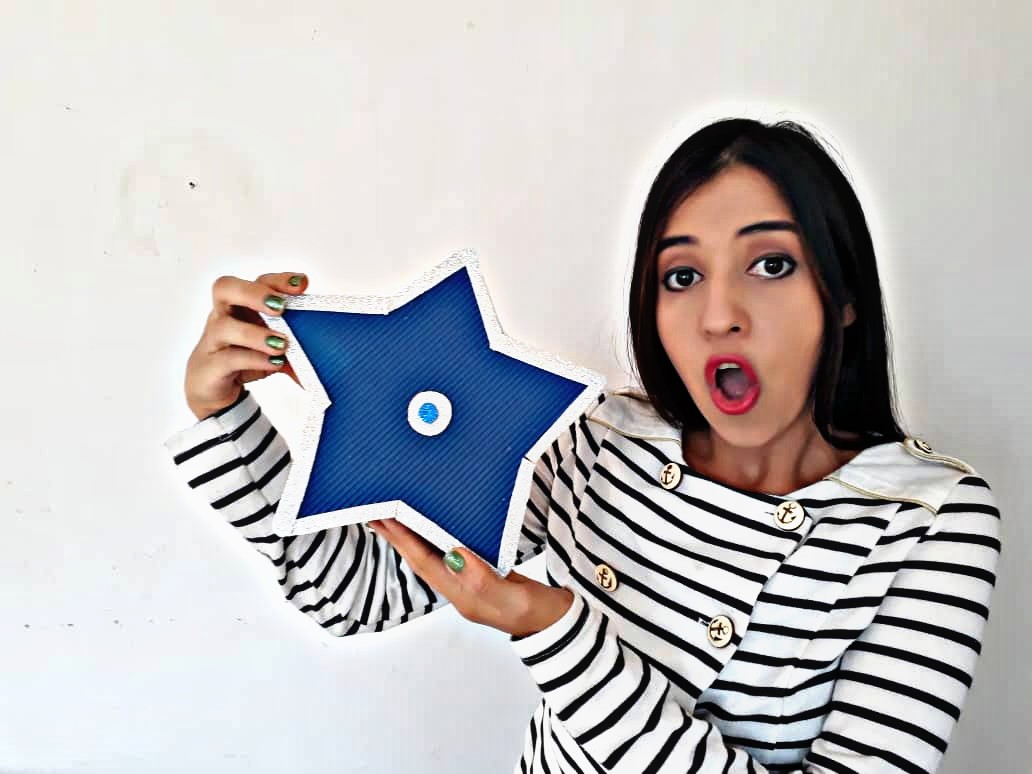
Finalmente, decoramos nuestro arcoíris dejando volar nuestra imaginación. En este caso yo opte por fabricar un bonito sol y lindas nubes de foami.
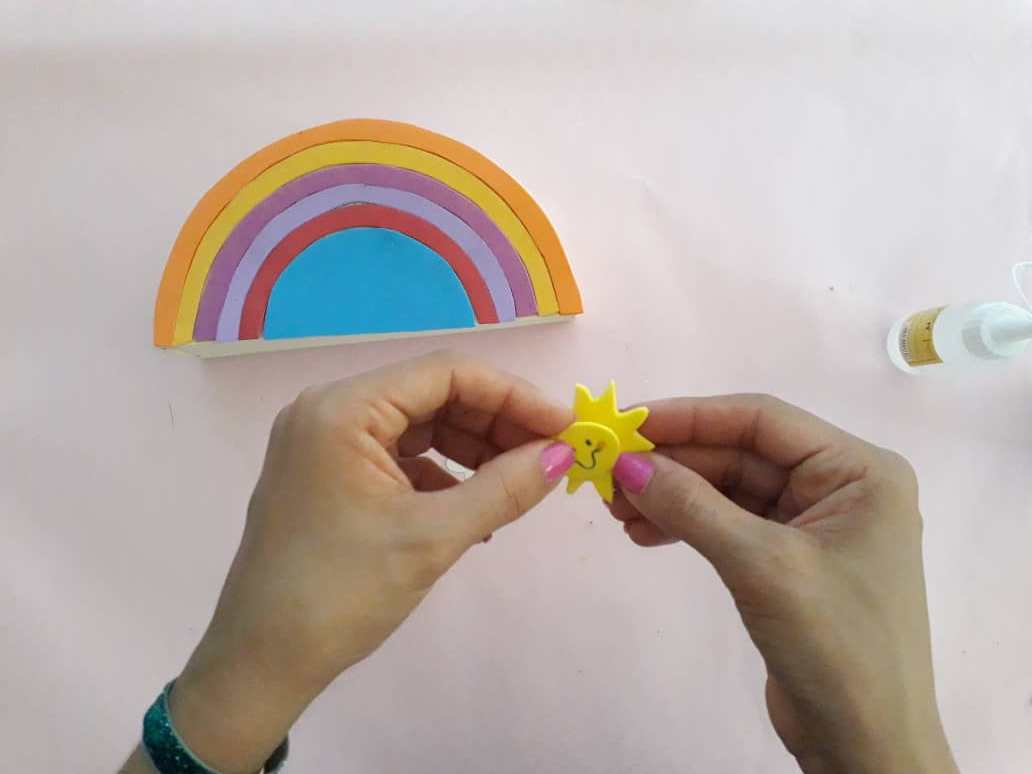
Finally, we decorate our rainbow by letting our imagination run wild. In this case, I chose to make a beautiful sun and beautiful foamy clouds.

.jpeg)
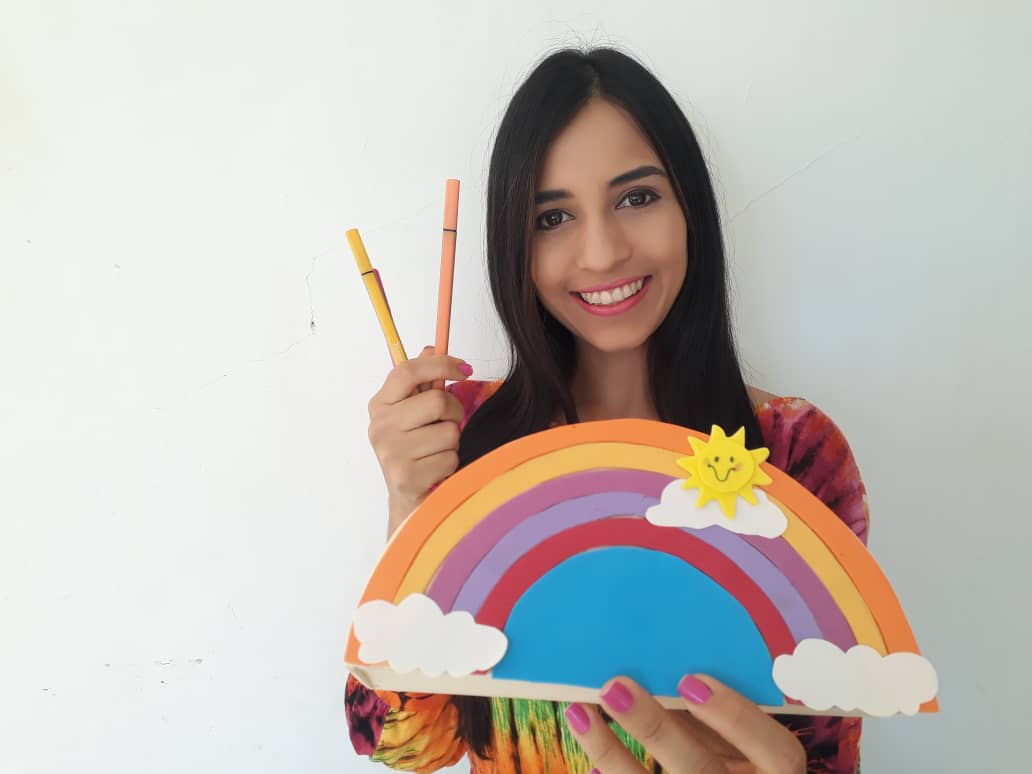
Gracias por acompañarme y espero que lo hayan disfrutado. ❤️
Thanks for joining and I hope you enjoyed it.❤️
.jpeg)
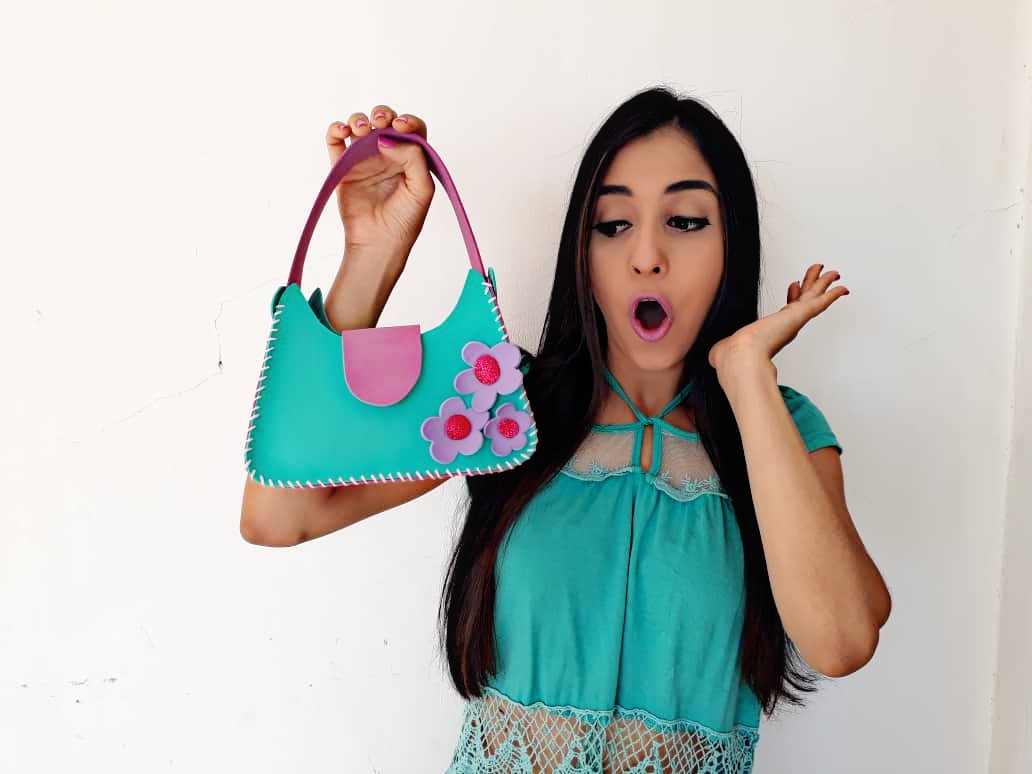
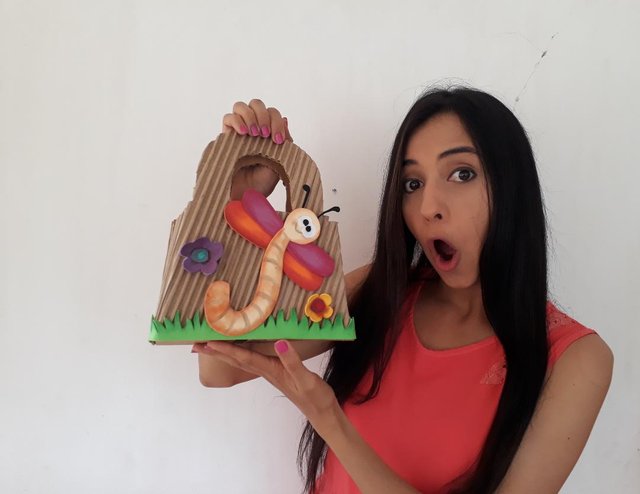
Clic para ver trabajos anteriores | Click to see previous works
.jpg)


My twt #posh
muy practico y didáctico, excelente post...
Gracias querido Enrique :D !
Happy bday!!! Sending all the best wishes on your special day!!! mwua! mwua! HUGS!!! XOXOXOXOX
Thanks friends Greetings
Muchas gracias por el apoyo amiga :D
A su orden bella.
Lindo!! Me encanto tu arcoiris organizador. Excelente tutorial.
Muchas gracias amiga, espero que estes muy bien saludos!!!
Buenas, Su post ha sido propuesto para ser votado a lo largo del día por el witness @cervantes. Un saludo.
Muchas gracias por venir y apreciar mi trabajo, gracias la familia @cervantes por apoyar mi trabajo. Son una fuente de motivación para mi y para muchos. Saludos..
thank you for sharing the tutorial of making Rainbow. it's made Beautifully. looking forward to see more art tutorial.
Thanks to you friend for coming to see it. Without a doubt I have much more to share ... Greetings
Simplemente espectacular y muy original tu trabajo @saracampero. Felicitaciones amiga y gracia por compartimos tus ideas y trabajos vale, eres una fuente inagotable de creatividad! Saludos
Gracias amigo, me alegra que hayas venido s ver este lindo trabajo, dios te bendiga. Saludos
Un trabajo espectacular y colorido, me encantó @saracampero tiene mucha personalidad.
Gracias amiga. Me alegra que le guste saludos..
Muy lindo😅
Gracias por tu comentario querida :D
Sara me encanto!. que hermoso té quedó y que creativo!. Te felicito linda! Éxitos para ti!.
Holis amiga, que bueno que te gusto, aun tengo muchas cosas para compartir :D Saludos
Congratulations, your post has been upvoted by @dsc-r2cornell, which is the curating account for @R2cornell's Discord Community.
Enhorabuena, su "post" ha sido "up-voted" por @dsc-r2cornell, que es la "cuenta curating" de la Comunidad de la Discordia de @R2cornell.
This post earned a total payout of 25.254$ and 12.627$ worth of author reward that was liquified using @likwid.
Learn more.