Hola amigos de Hive un saludo para todos
En estos días un amigo me ha estado dando algunas clases de origami, era algo que quería aprender hace mucho tiempo, por el factor tiempo no había podido, él había insistido muchas veces, pero nada son esas pequeñas cosas que uno va dejando para después y nunca las hace.
Me tome muy enserio ir a ver cómo les impartía clases a unos niños, me quede muy asombrada, cuando vi con la rapidez que hacías sus figuras. Eso me impulso a comenzar a dar mis primeros pasos.
Hoy quiero mostrar mis avances haciendo una figura que me gustó mucho, claro le voy a dar mi toque personal.
Les mostrare paso a paso como se hace esta abeja.

Hello friends of Hive greetings to all These days a friend has been giving me some origami classes, it was something I wanted to learn a long time ago, because of the time factor I had not been able to, he had insisted many times, but nothing is those little things that you leave for later and never does. I took it very seriously to go see how he taught some children, I was very astonished, when I saw how quickly you made their figures. That prompted me to start taking my first steps. Today I want to show my progress by making a figure that I really liked, of course I'm going to give it my personal touch. I will show you step by step how this bee is made.
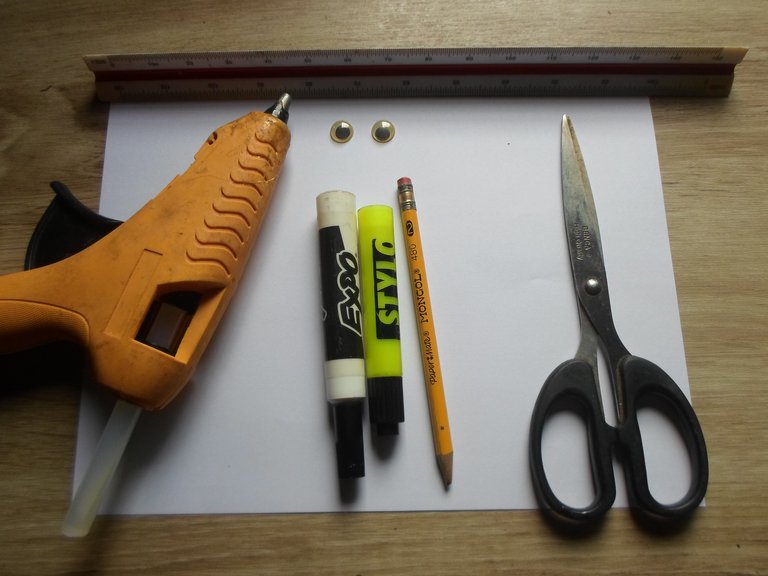
Materiales a utilizar:
Papel
Regla de medida
Tijera
Marcadores de color
Silicón
Ojos movibles
The materials to use:
Paper
Measure ruler
Scissor
Color markers
Silicon
Moving eyes

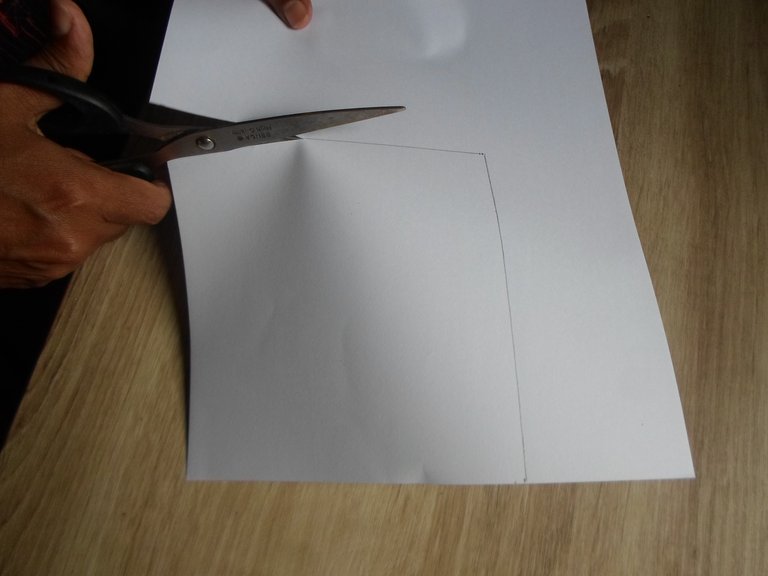
1-Pasos
Hacemos un cuadrado de la medida que les sea más cómoda, yo lo hice de 15x15, hay que recortarlo bien, para no tener dificultades a la hora de doblar.
1-Steps
We make a square of the measure that is most comfortable for you, I made it 15x15, you have to cut it well, so as not to have difficulties when folding.
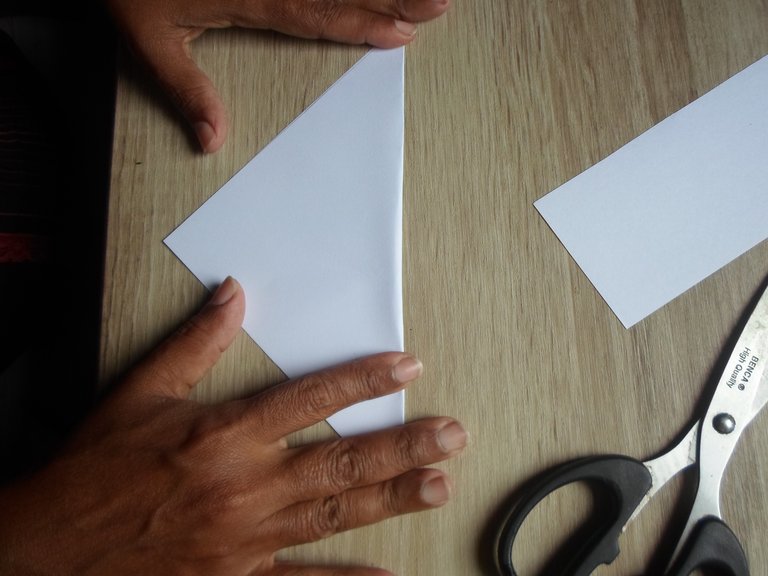
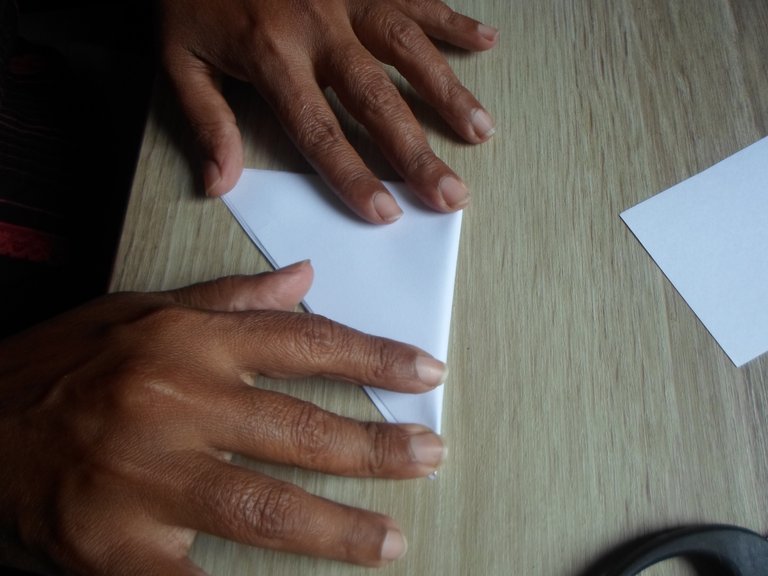
2-Paso
Lo doblamos en forma de triángulo dos veces.
2-Step
We fold it into a triangle shape twice.
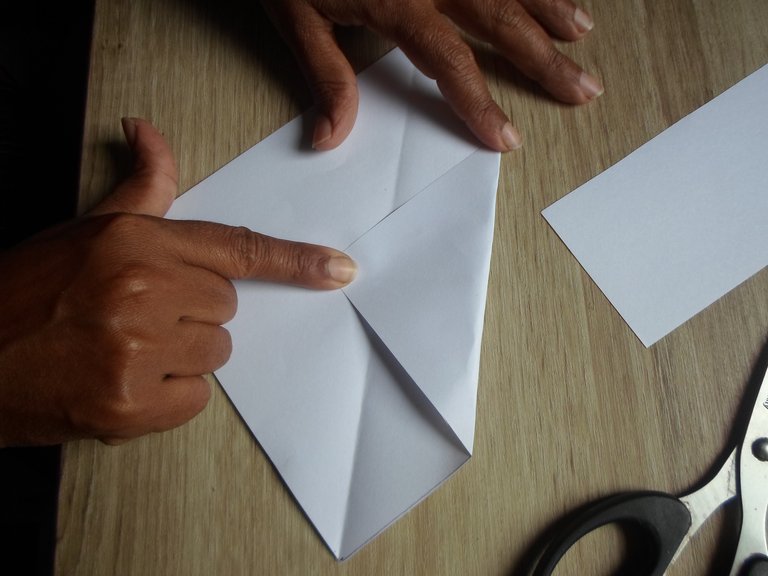
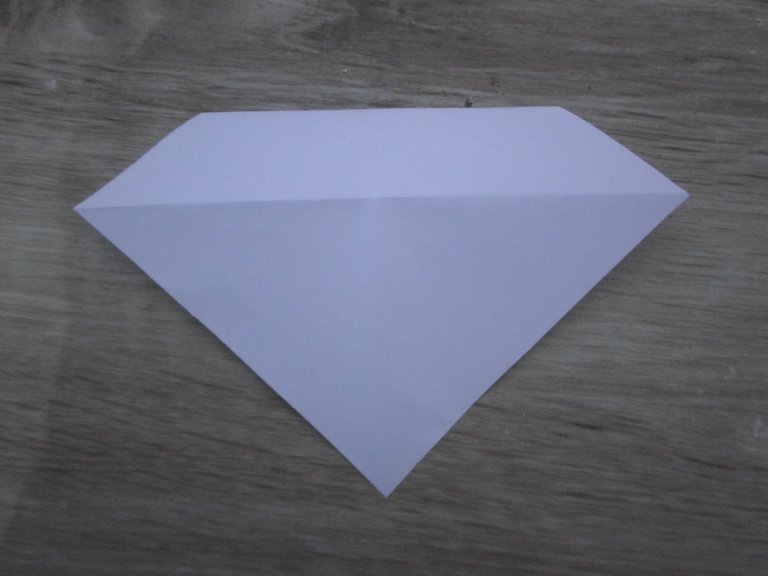
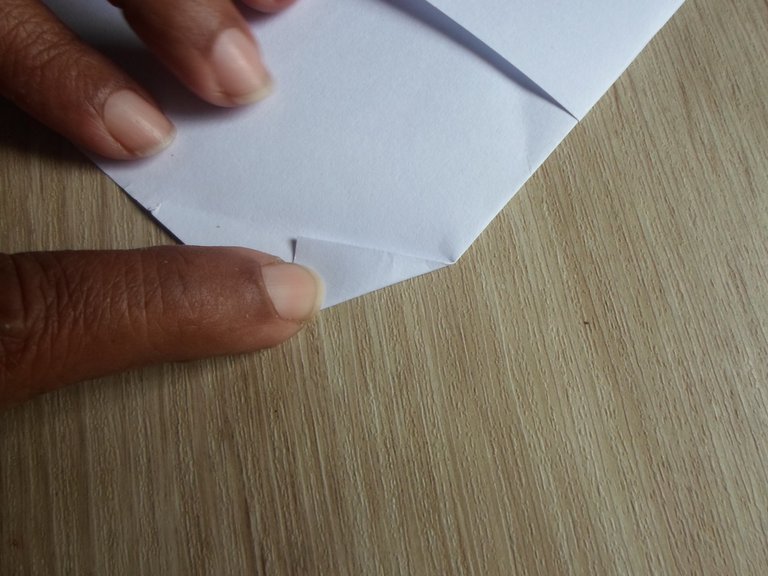
3-Pasos
Abrimos nuestro cuadrado, agarramos una de sus esquinas y la doblamos un poco más abajo del centro.
3-Steps
We open our square, grab one of its corners and fold it a little lower than the center.
!

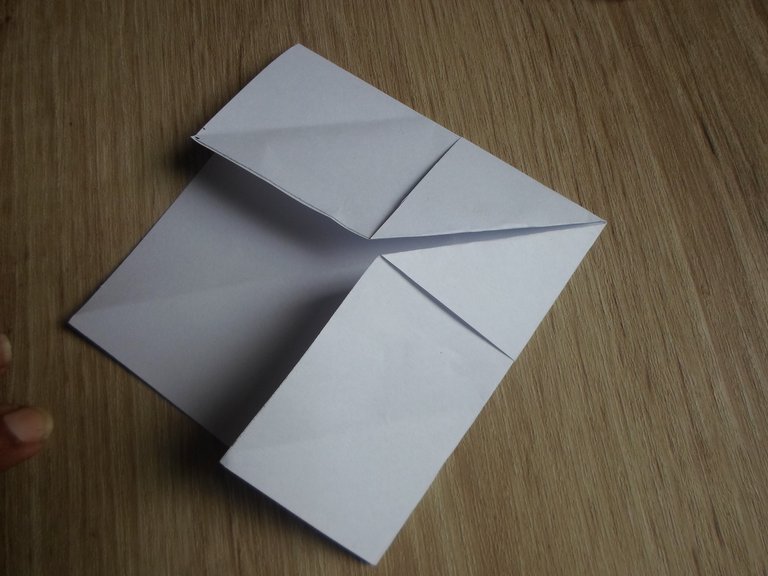
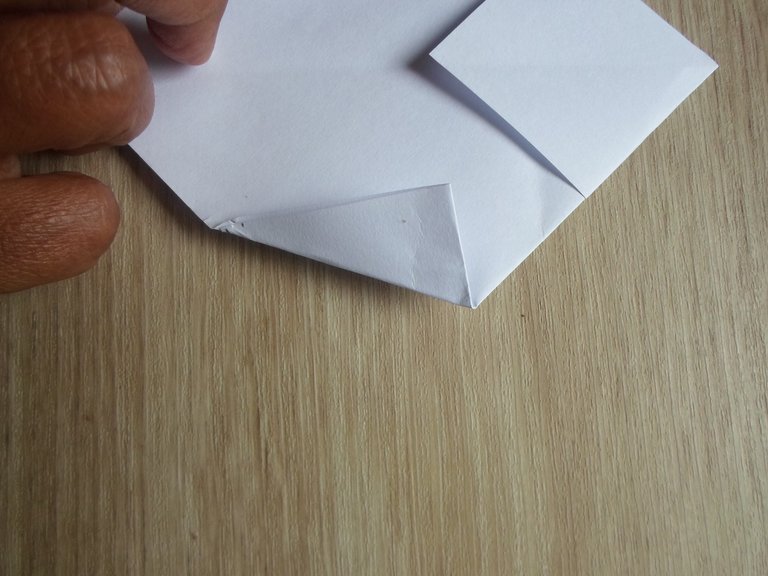
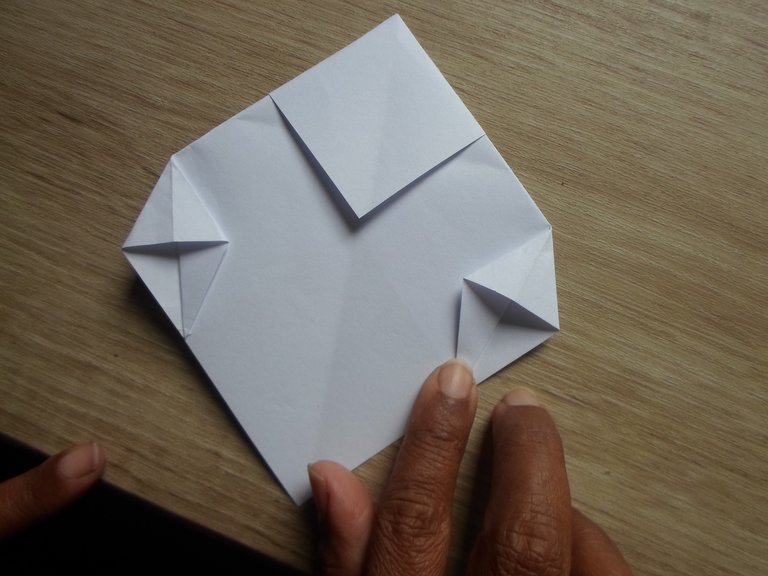
4- Paso
Lo volteamos y doblamos las esquinas hacia el centro
4- Step
We flip it over and fold the corners to the center
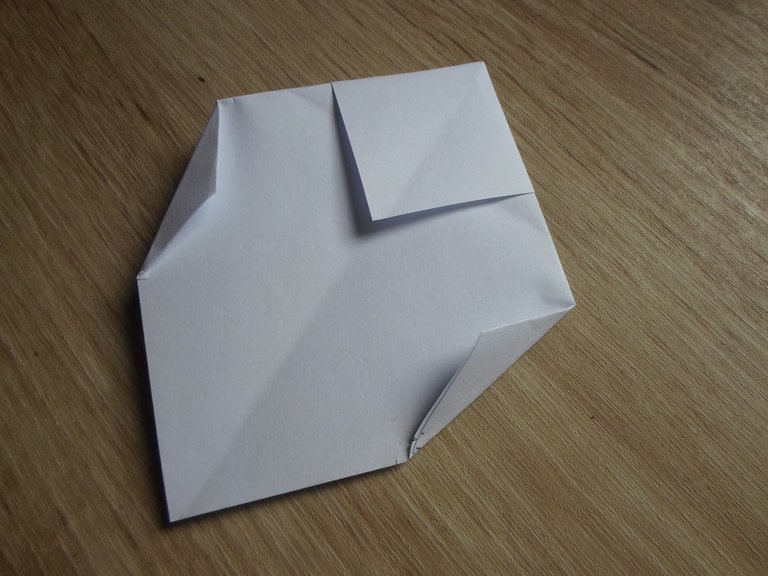
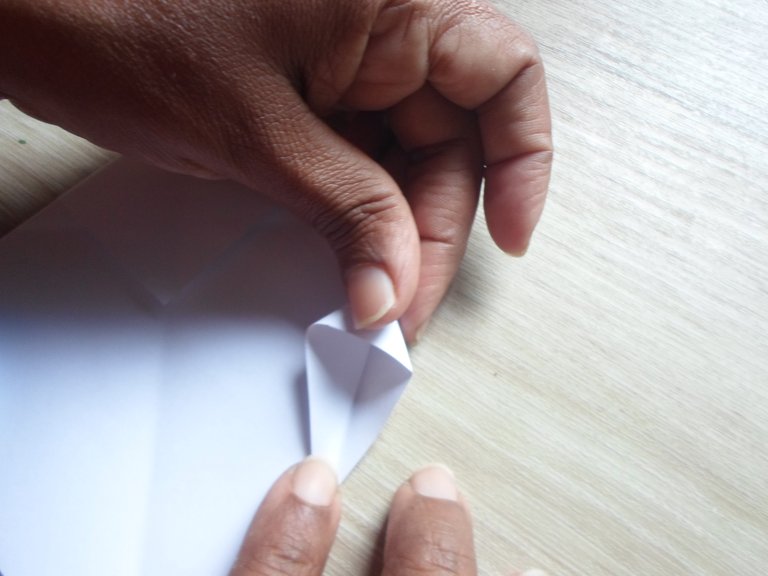
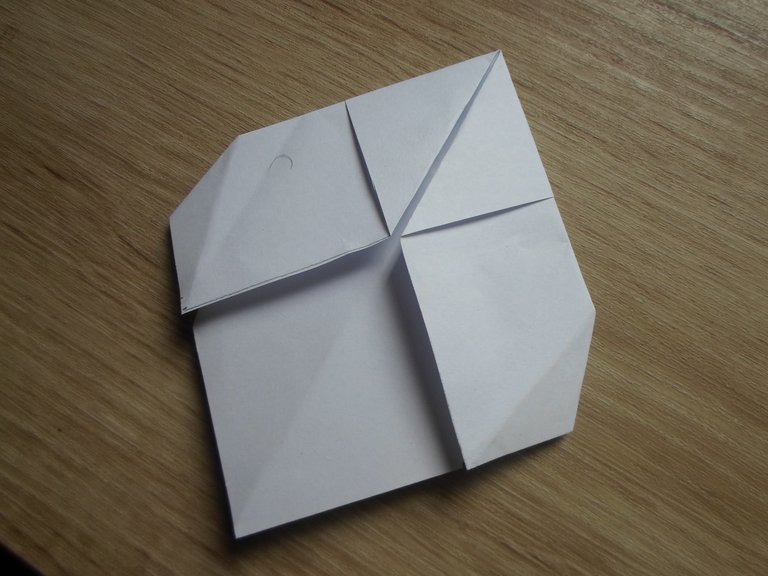
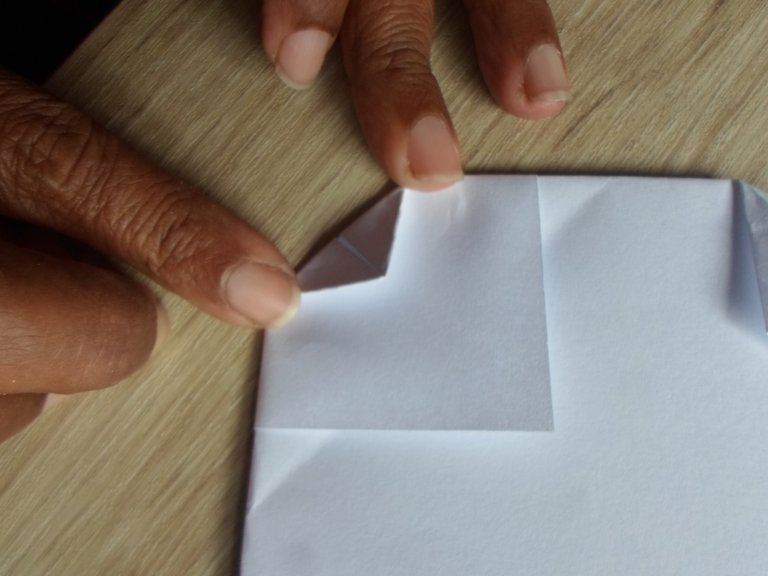
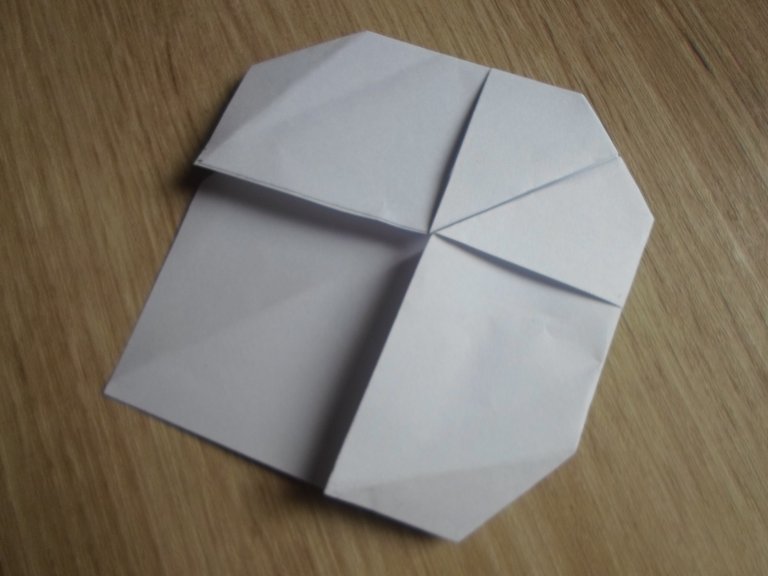
5-Paso
Volvemos a voltear la figura y le doblas las esquinas hacia dentro dos veces, después abres las esquinas y las doblas como si fuera una casita pequeña y por ultimo le doblas la punta de arriba hacia abajo, la volteamos y ya tenemos nuestra abeja.
5-Step
We turn the figure over again and fold the corners inwards twice, then open the corners and fold them as if it were a small house and finally fold the point from top to bottom, we turn it over and we have our bee.
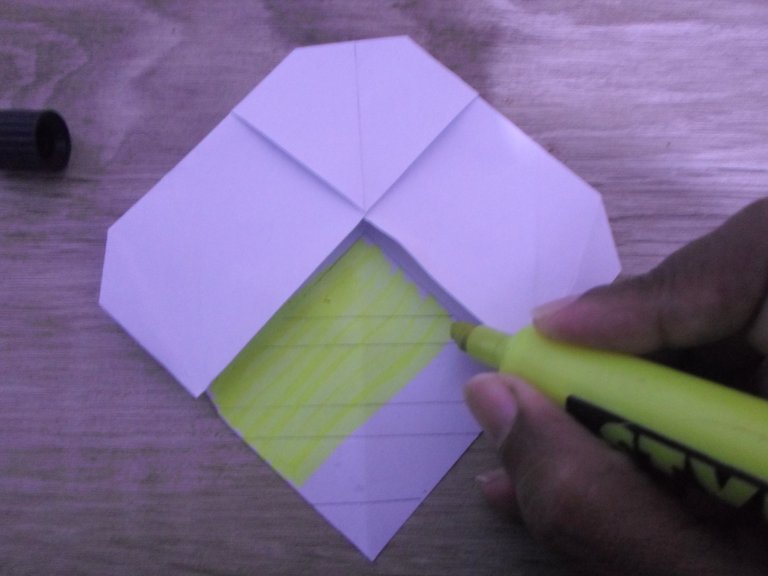
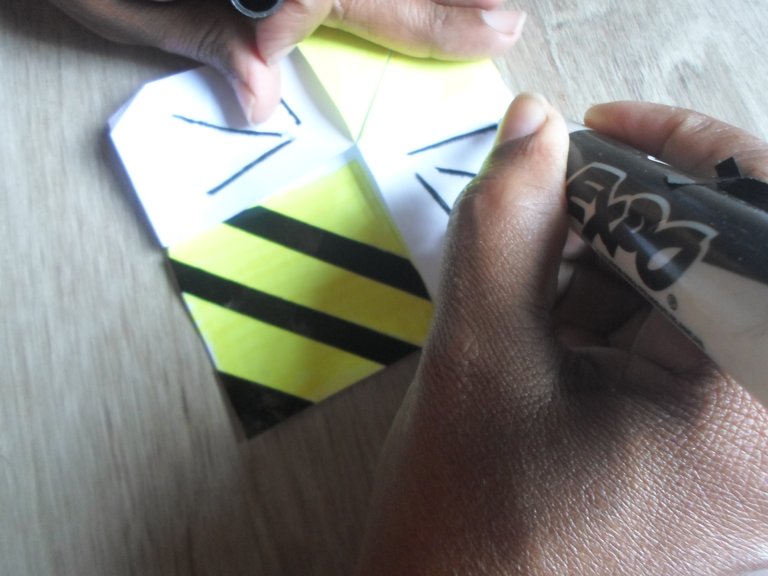
6- Paso
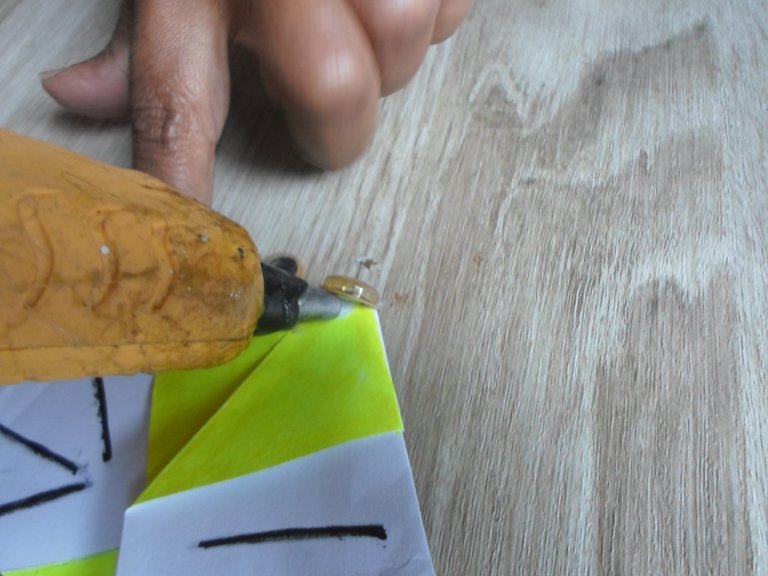
Ya terminada la abeja, la pintamos con marcadores le pueden pintar los ojos, pero yo quise ponerle ojos movibles para que se viera más bonita.
Step 6
Once the bee is finished, we paint it with markers, they can paint its eyes, but I wanted to put movable eyes on it to make it look prettier.
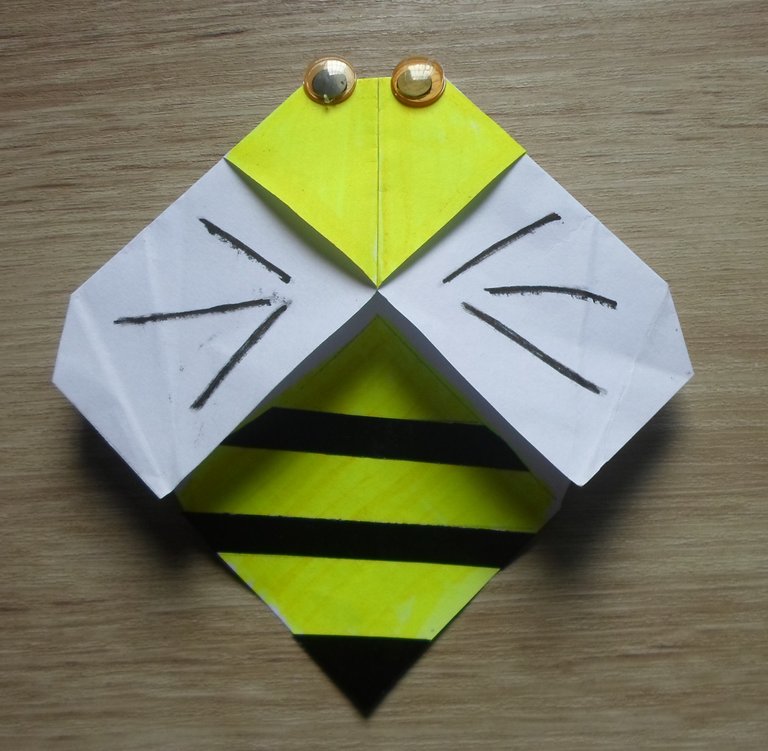
Ya está lista y terminada. Espero les haya gustado esta hermosa abejita de origami.
It is ready and finished. I hope you liked this beautiful origami bee.

Your post has been curated by us! Received 20.00% upvote from @opb. Do consider delegate to us to help support our project.
Do join our discord channel to give us feedback, https://discord.gg/bwb2ENt
* This bot is upvoting based on the criteria : 1. Not plagiarised, 2. Persistent previous quality posts, 3. Active engagement with other usersDo upvote this commment if you 💚 our service :)