Hi Hivers!
Welcome to another Autocad design. Though you can see things like these commonly on the internet, mine has a little of different. I personally made rare designs and create them base on what I can imagine and the own ways on how can I make it possible.
But lately, I'm finding it hard to produce a unique one so instead, I started recreating logos of communities present in Hive. I made my very first 3D logo of Hive and the second one which is the Build-it logo. Now, it's time to make a 3D logo of the GEMS Community.
The GEMS community is one of the largest community on Hive. It was established on a collaborative effort of @bluemist together with @appreciator, @upmewhale, and @rocky1 to support valuable authors.
The GEMS logo is clearly an image of a diamond, so I make sure that I can produce exactly the right figure by analyzing the structure of a diamond.
Process:
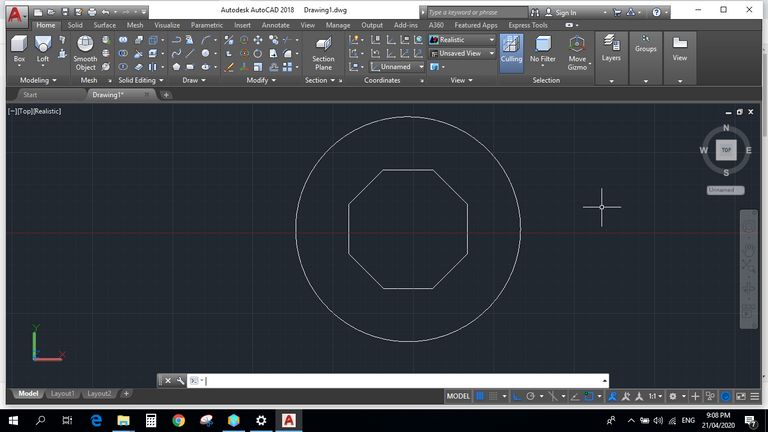
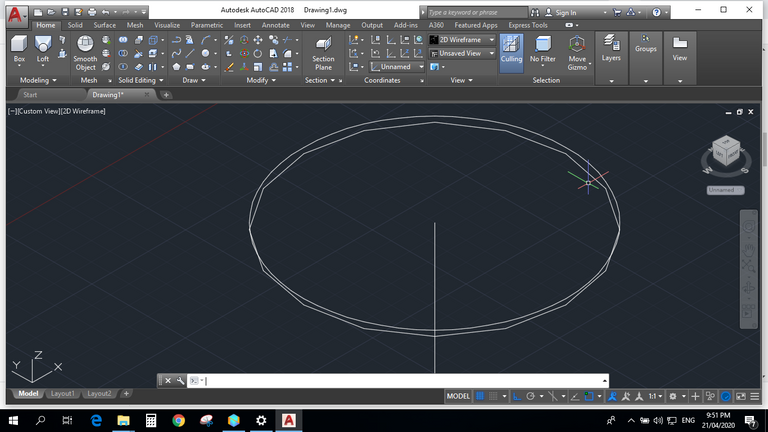
Create the top view of the subject. An octagon and a circle in concentric positon. Use polygon tool for octagon.
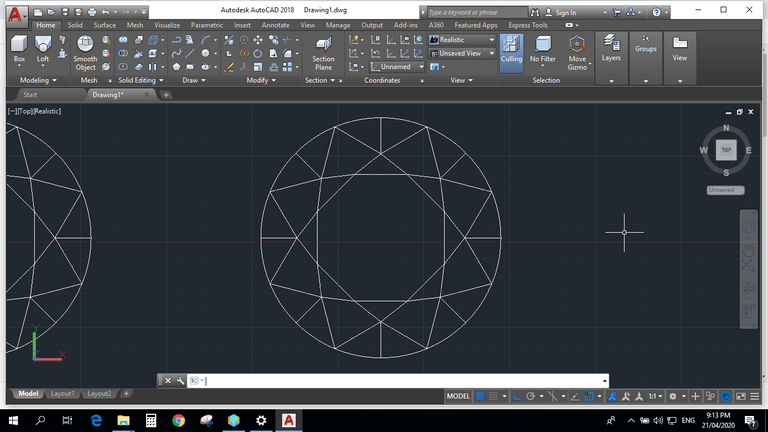
Create the top pattern of the subject by inserting lines connecting the two shapes. Important lines were forming the smaller and larger triangles. Those altitude lines are your guide in adjusting those triangle faces.
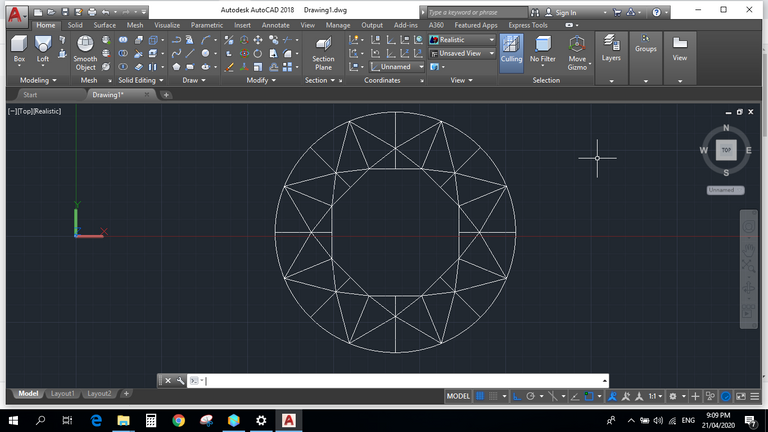
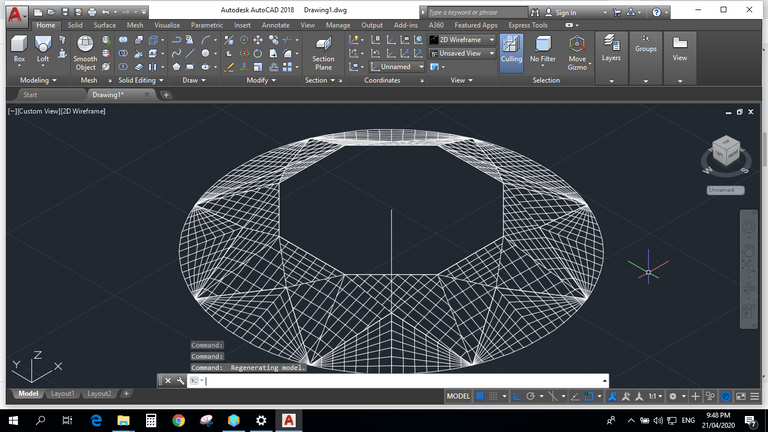
Your diamond will look like this in top view 2D wireframe.
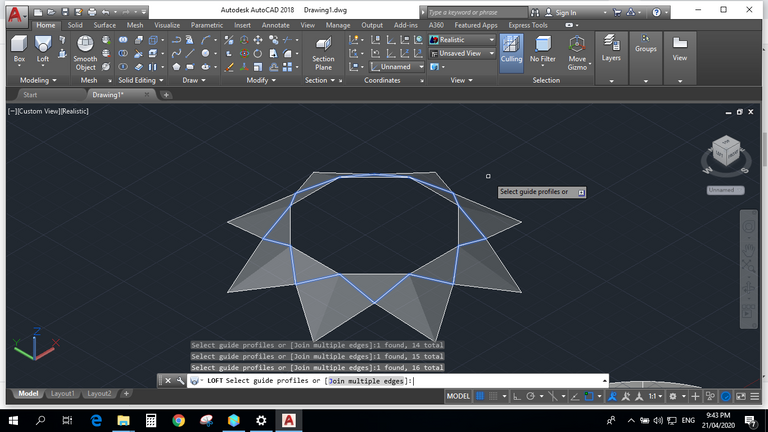
Next is forming the shape of the diamond's head. Adjust first the important triangle shapes that will later on turn into triangle faces. Set the desired height of the diamond also.
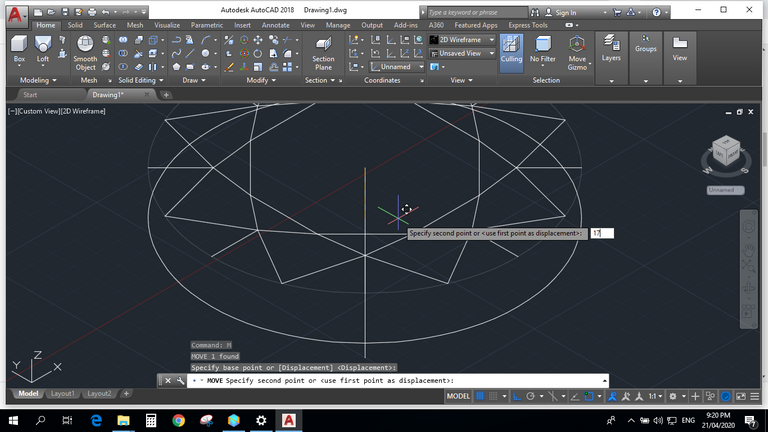
Now form the triangle faces of the subject by connecting those lines in 3 Dimensional region.
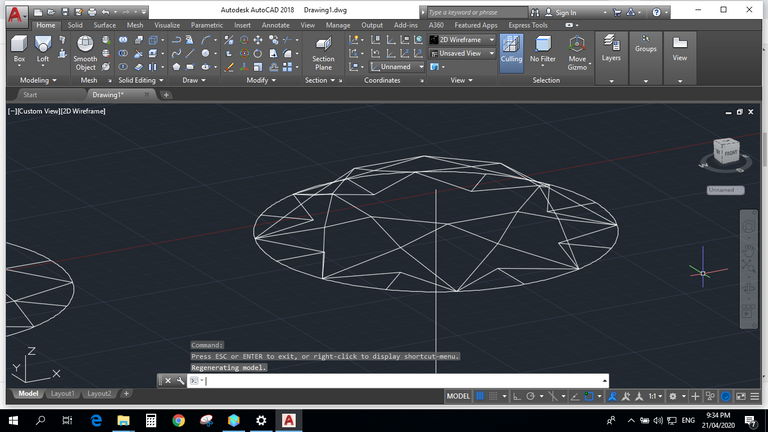
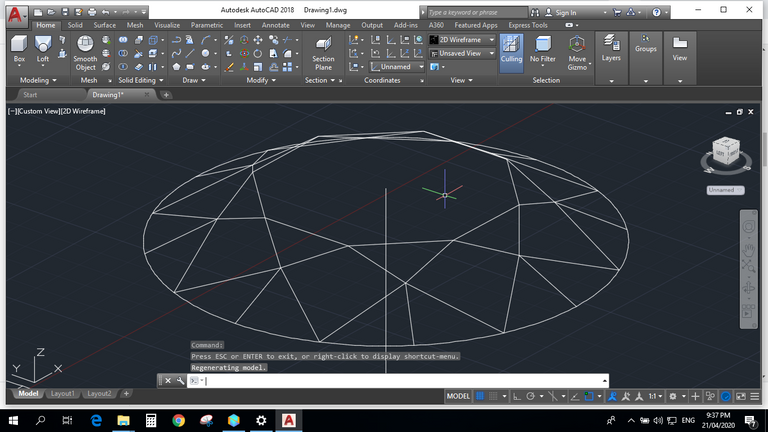
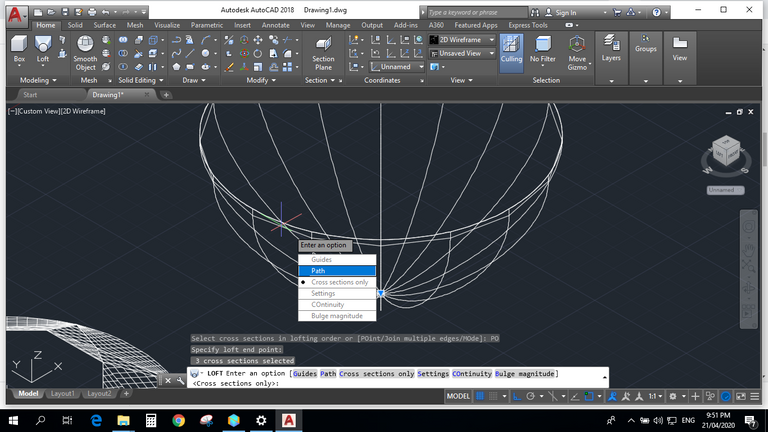
The subject is now ready to transform into solid form. Apply loft tool to the base circle of the head to the bigger triangles then make those altitude lines as your guide.

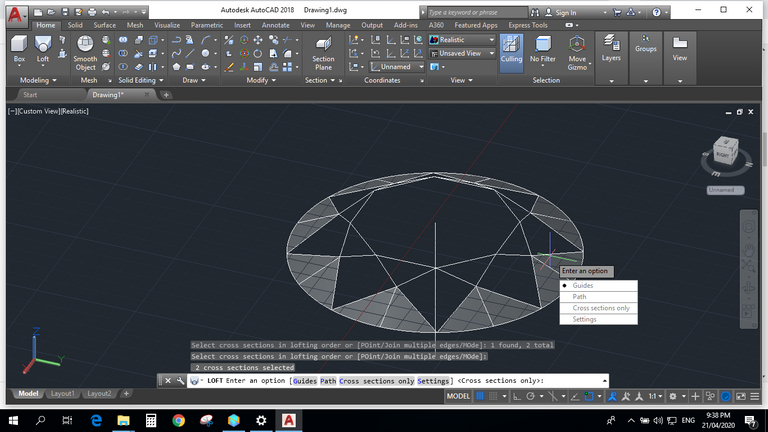
Do the same next to the bigger traingles to the octagon shape on top by applying loft tool and make those smaller triangles as your guide.
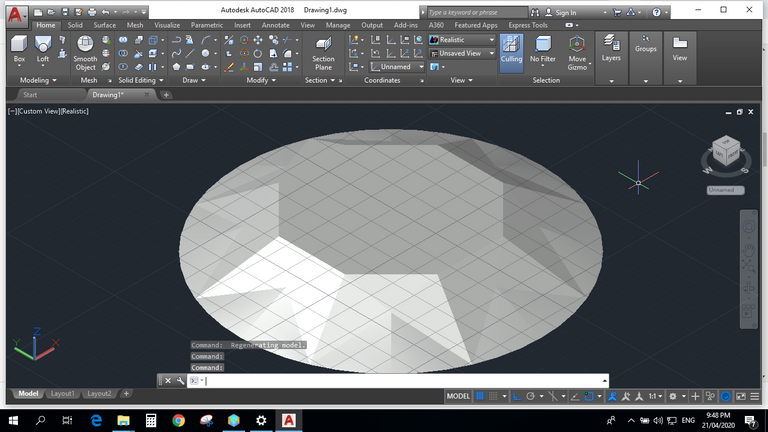
By combining the two, you'll get the form below.
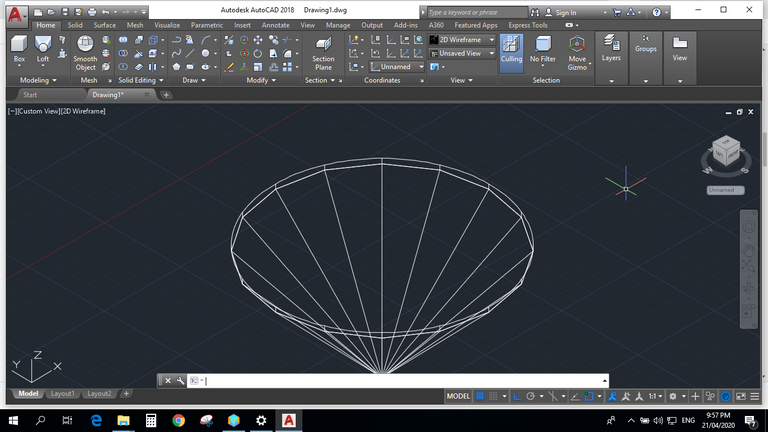
Next is to create the body of the subject. Just create a polygon with 16 sides and a circle, both should have same radius to the base head. Add girdle design by adjusting the gap of the shapes and specify the height of the body.
Apply loft tool from the circle to the polygon and to the point below that serves as the height of the subject. Then use the height as your path in applying loft.
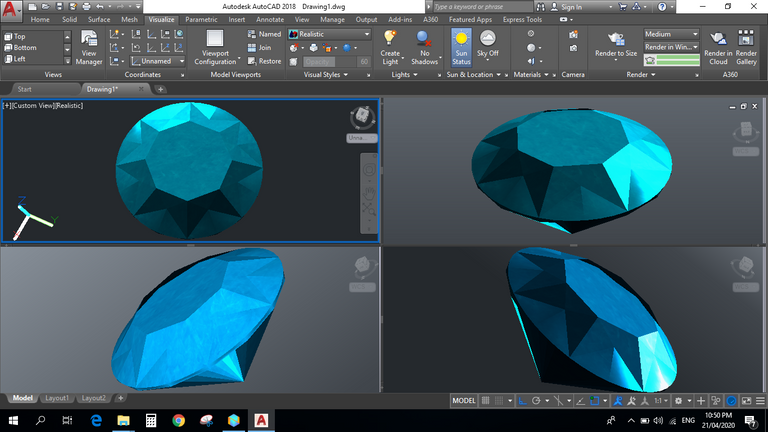
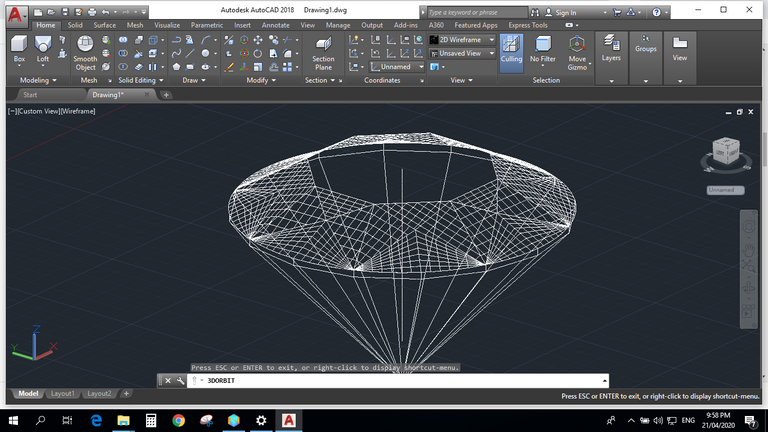
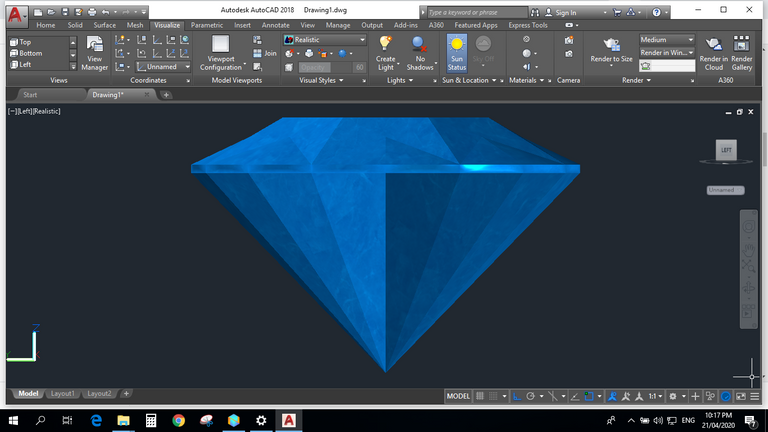
Next, combine the body and the head, apply union tool and remove excess lines. And lastly, add the colors or choose the material you want to apply to the subject.
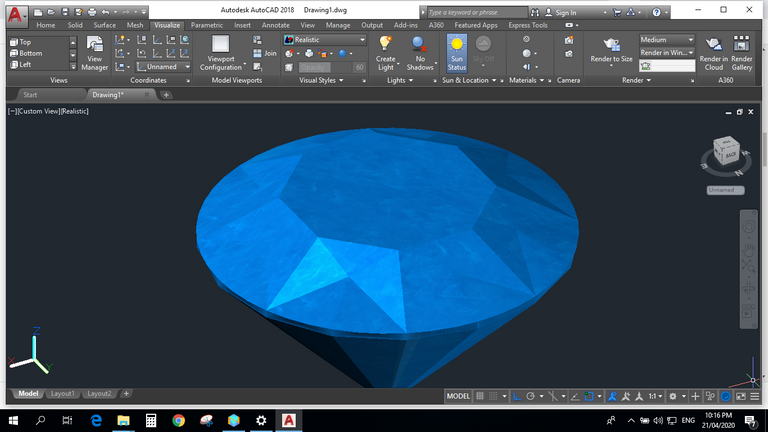
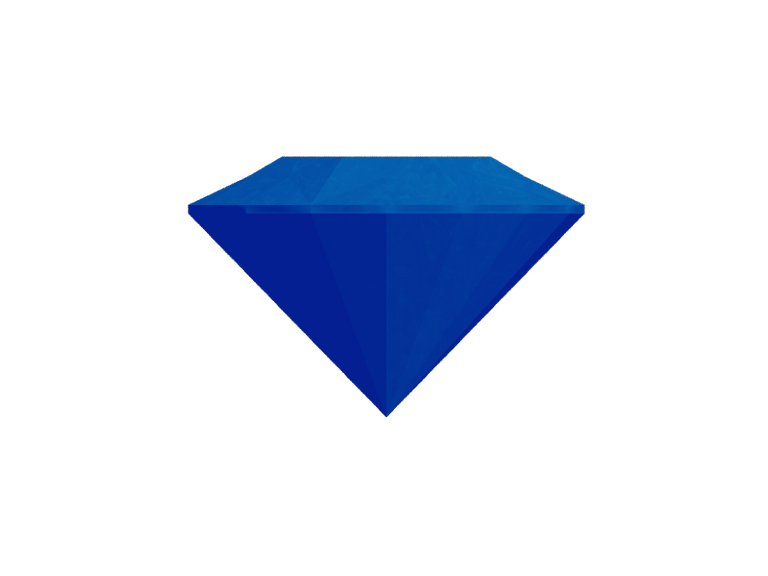
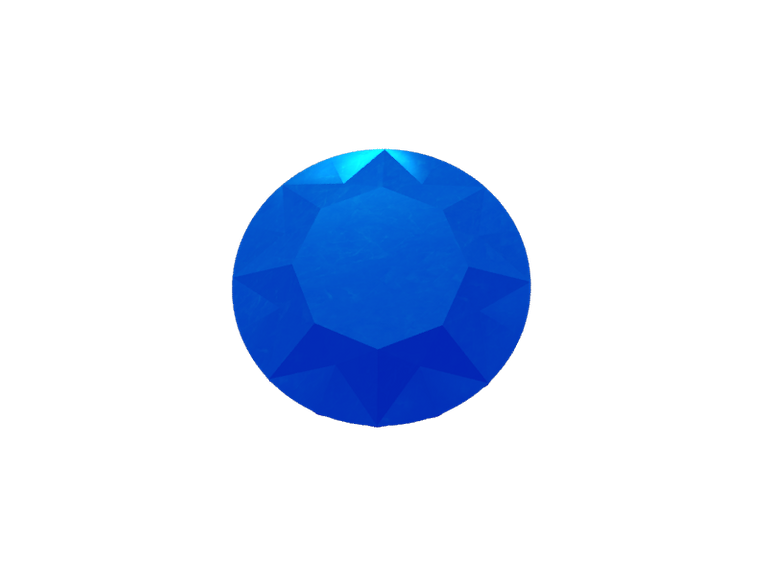
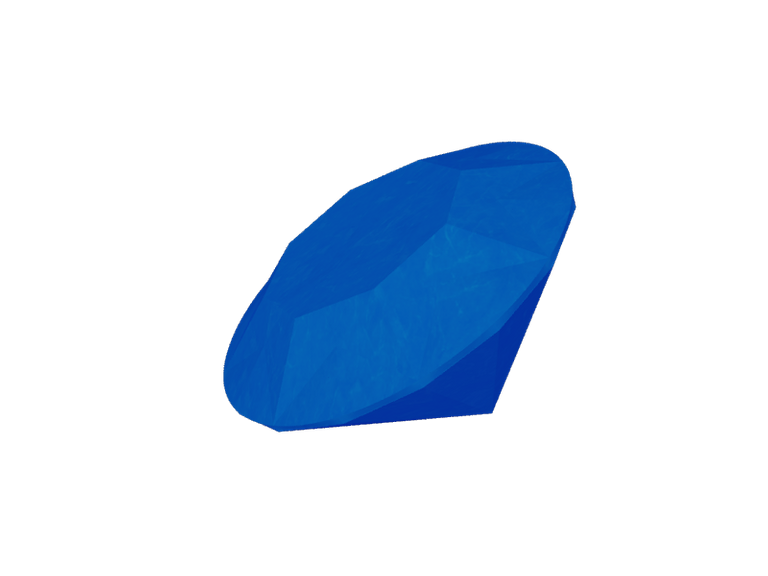
There you have it, your 3D GEMS Logo.
PNG Files(free to use):

If you like my designs, then hit that upvote button and follow me to see more in the future. *winks!
"best of time"
👋 Hi @themanualbot, I was flipping through the blockchain and stumbled on your work! You've been upvoted by Sketchbook / a community for design and creativity. Looking forward to crossing paths again soon.
✅ Join the Sketchbook Community