Have you ever long for a simple design for your article or flyers for a program, but then got let of the idea due to the amount demanded by the graphics designer!
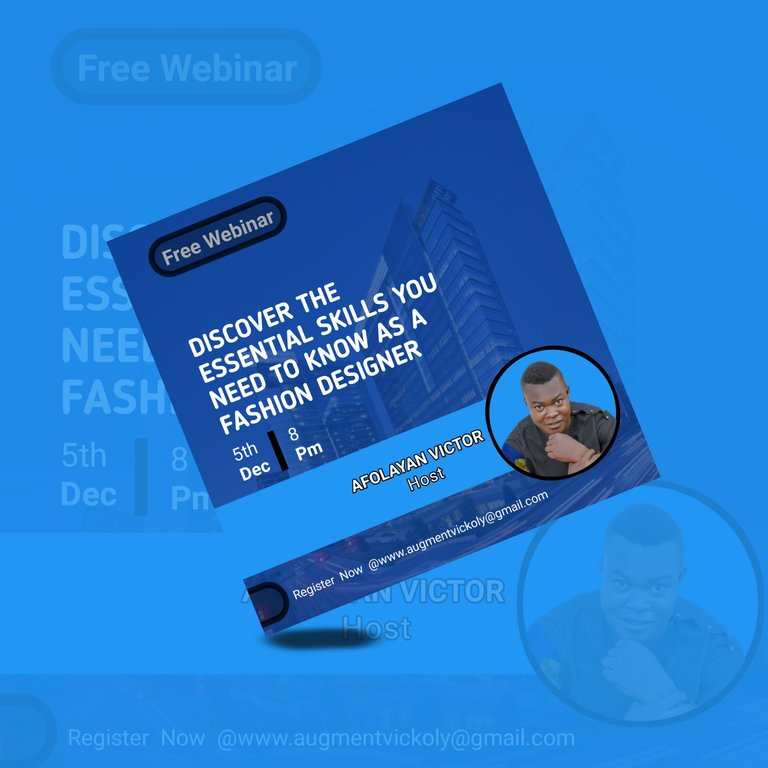
Well, no need to worry any more, the answer is right there on your finger tips, yes I'm am taking about your phone, with PIXELLAB your can basically design virtually anything you can think about, and I'll will be taking you through the step by step process of designing a simple flyer like this. 👇
Before we begin simply go to your Playstore or Applestore to download the PIXELLAB app or simply click here to download it on your Android phone.
Step 1: Draw a rough sketch of what you want to design.
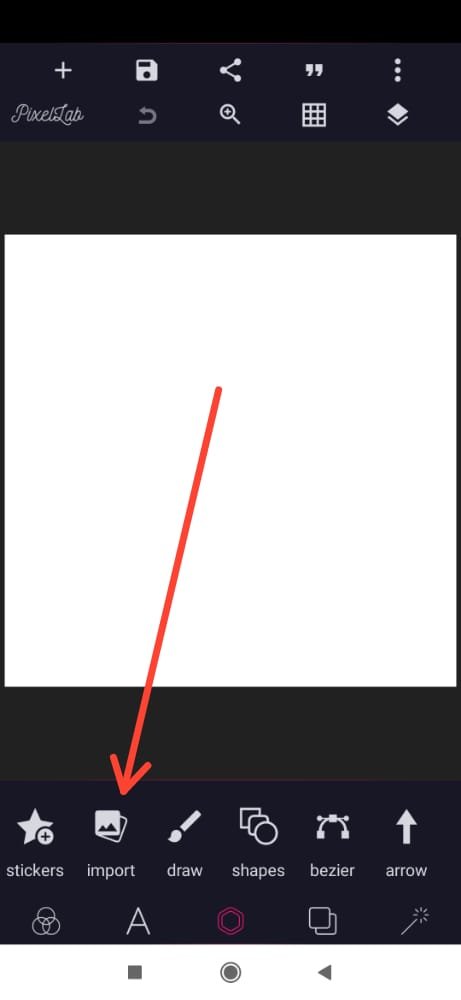
Step 2: Open the app and delete the text template on the background.
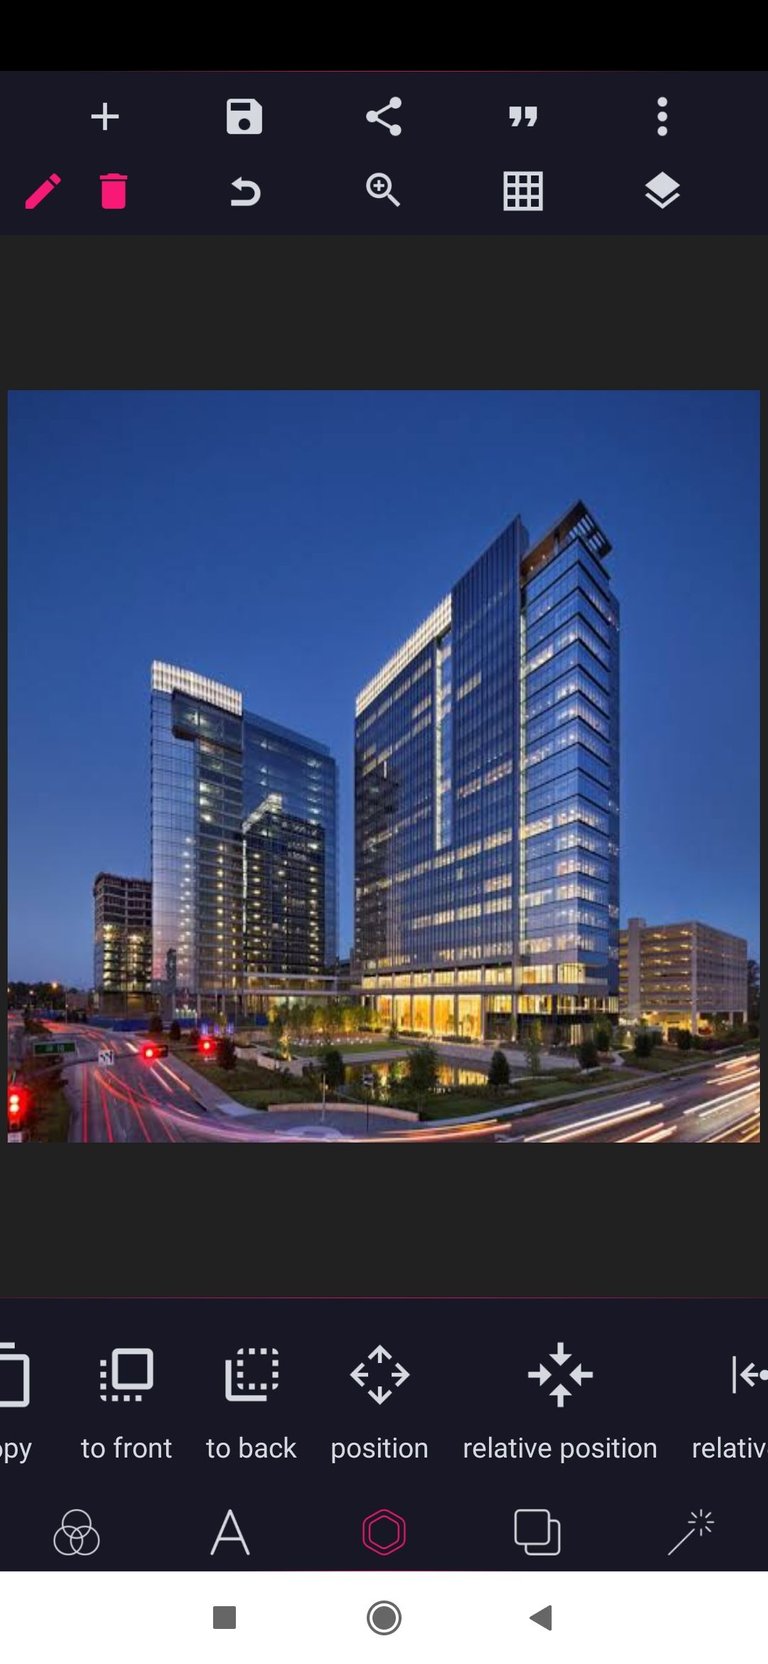
Step 3: Import your image and stretch around the background(if there's a need for one in your rough sketch)
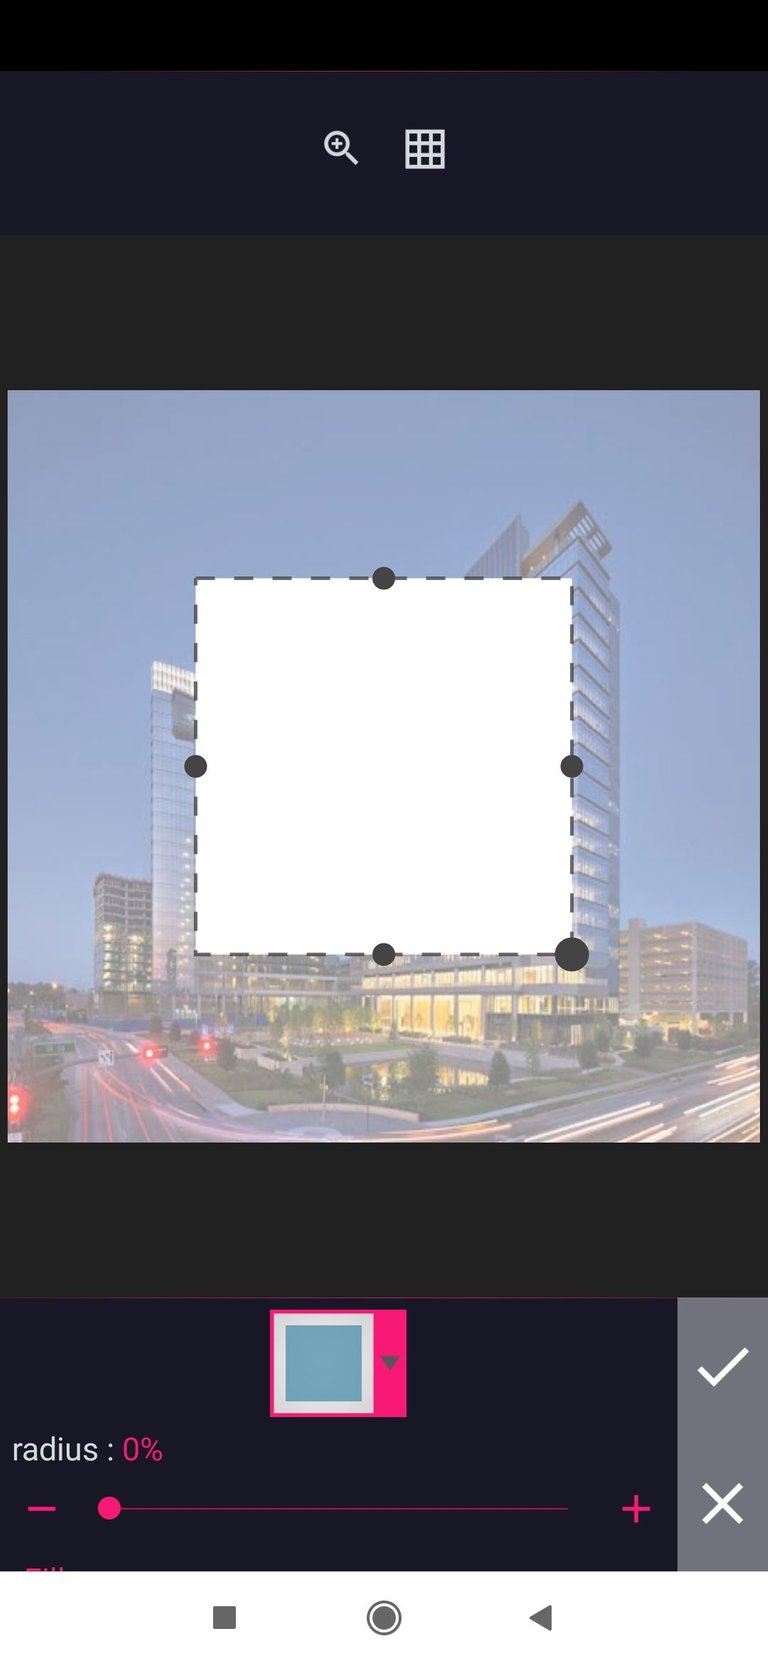
Step 4: import a rectangular shape from the app template, spread it over the imported image, change the colour to your desired taste,then reduce it opacity so the background picture will be visible.
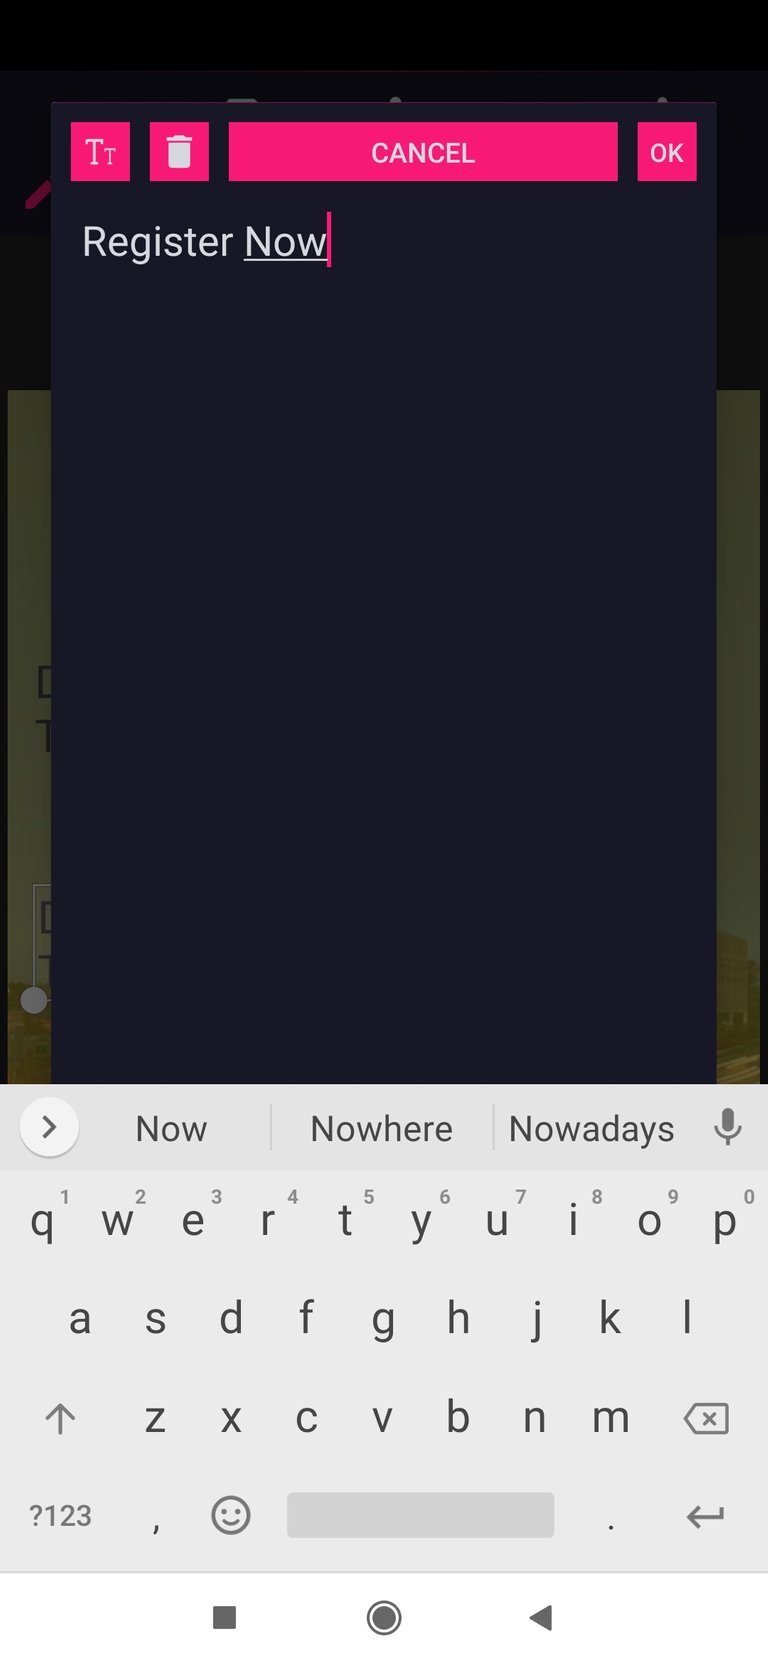
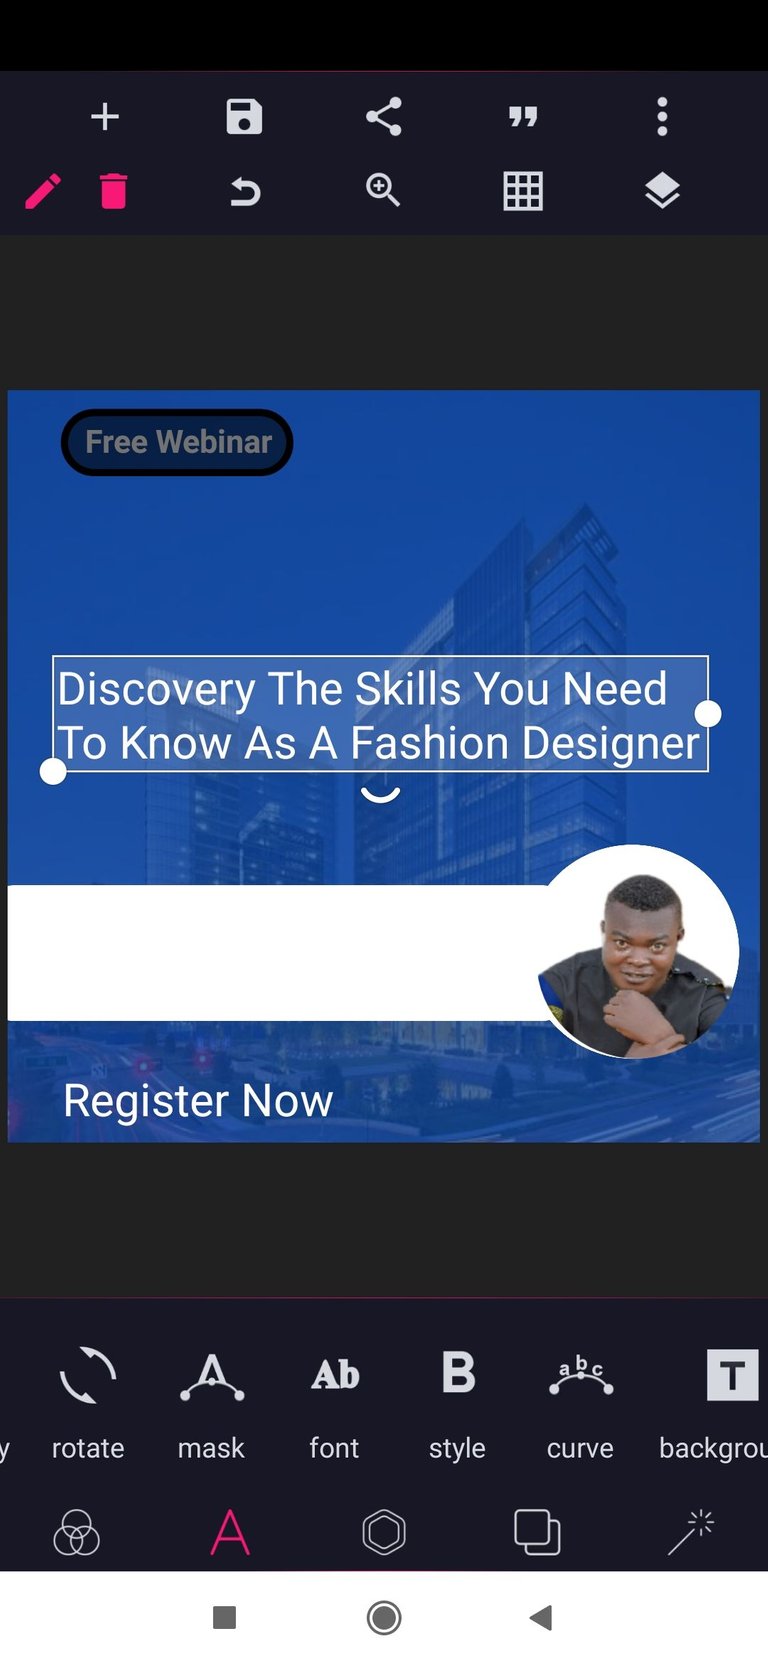
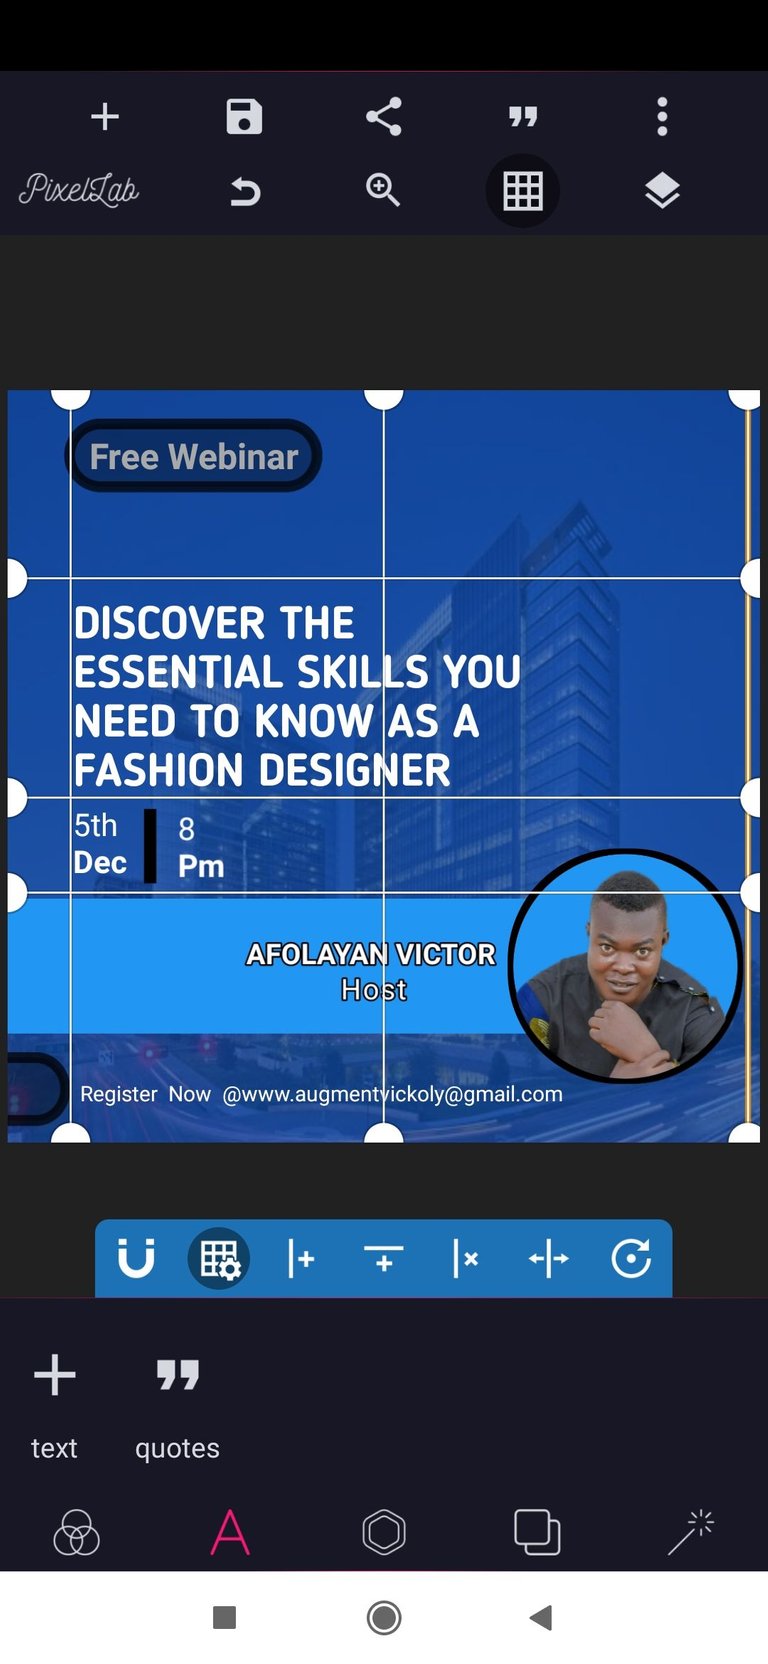
Step 5: Click on the A Symbol to input your text, and move each one to your preferred position
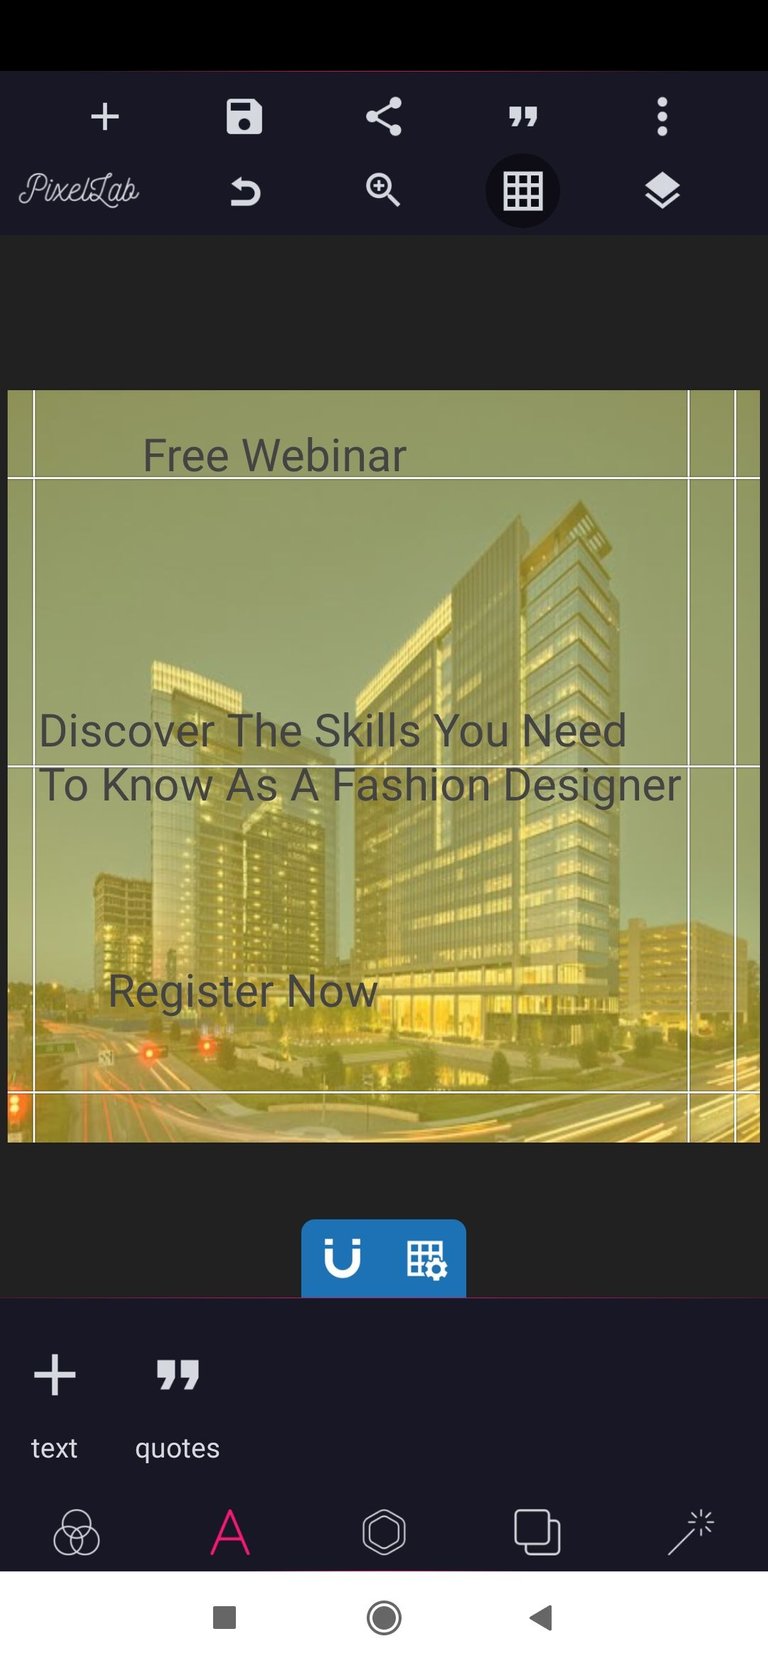
Import a rectangular shape, reduce the size and use it as a border Free Webinar for design.
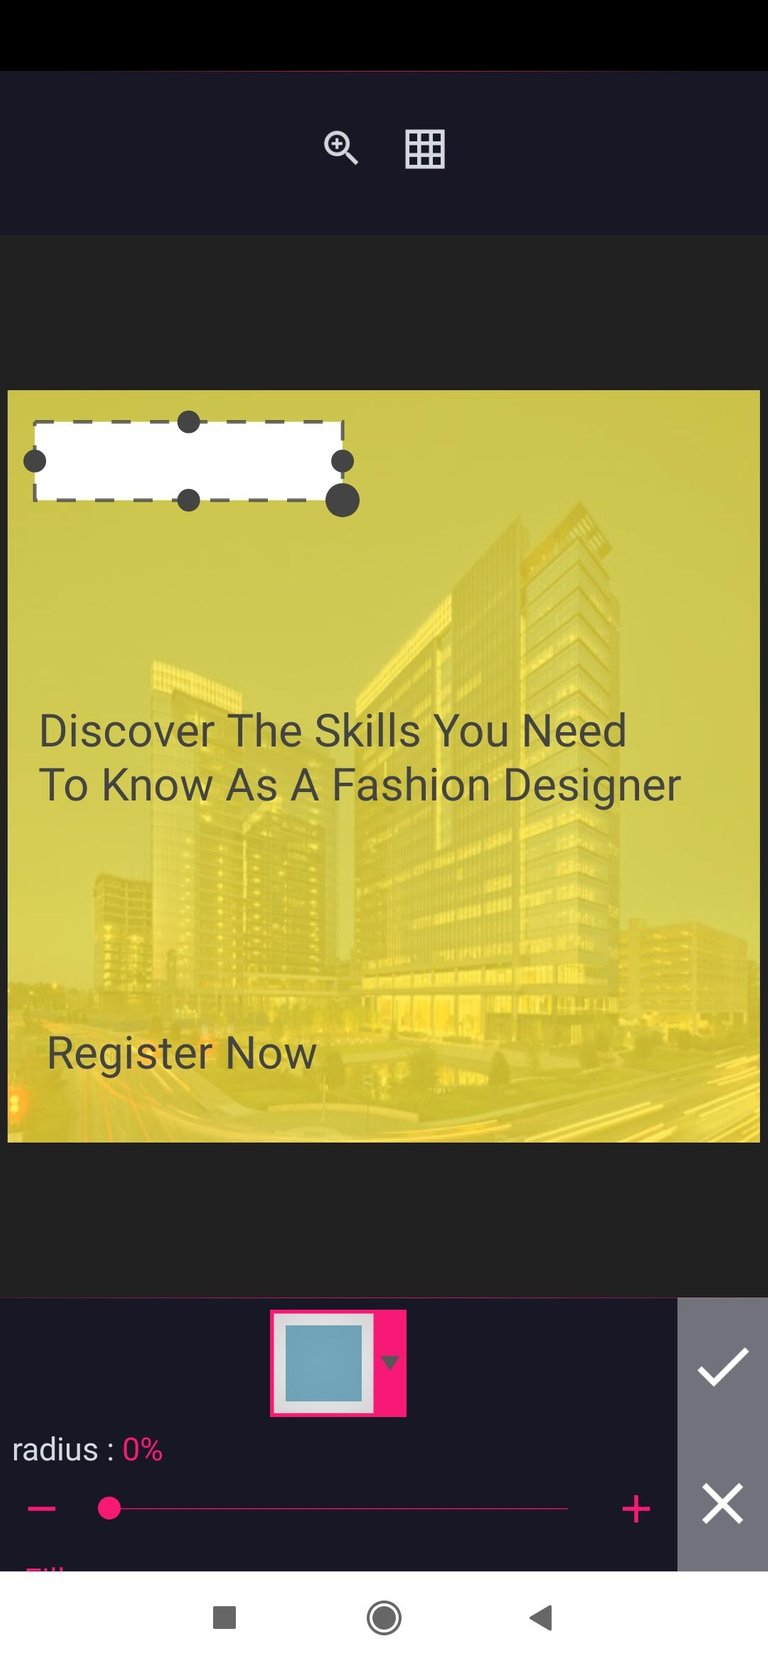
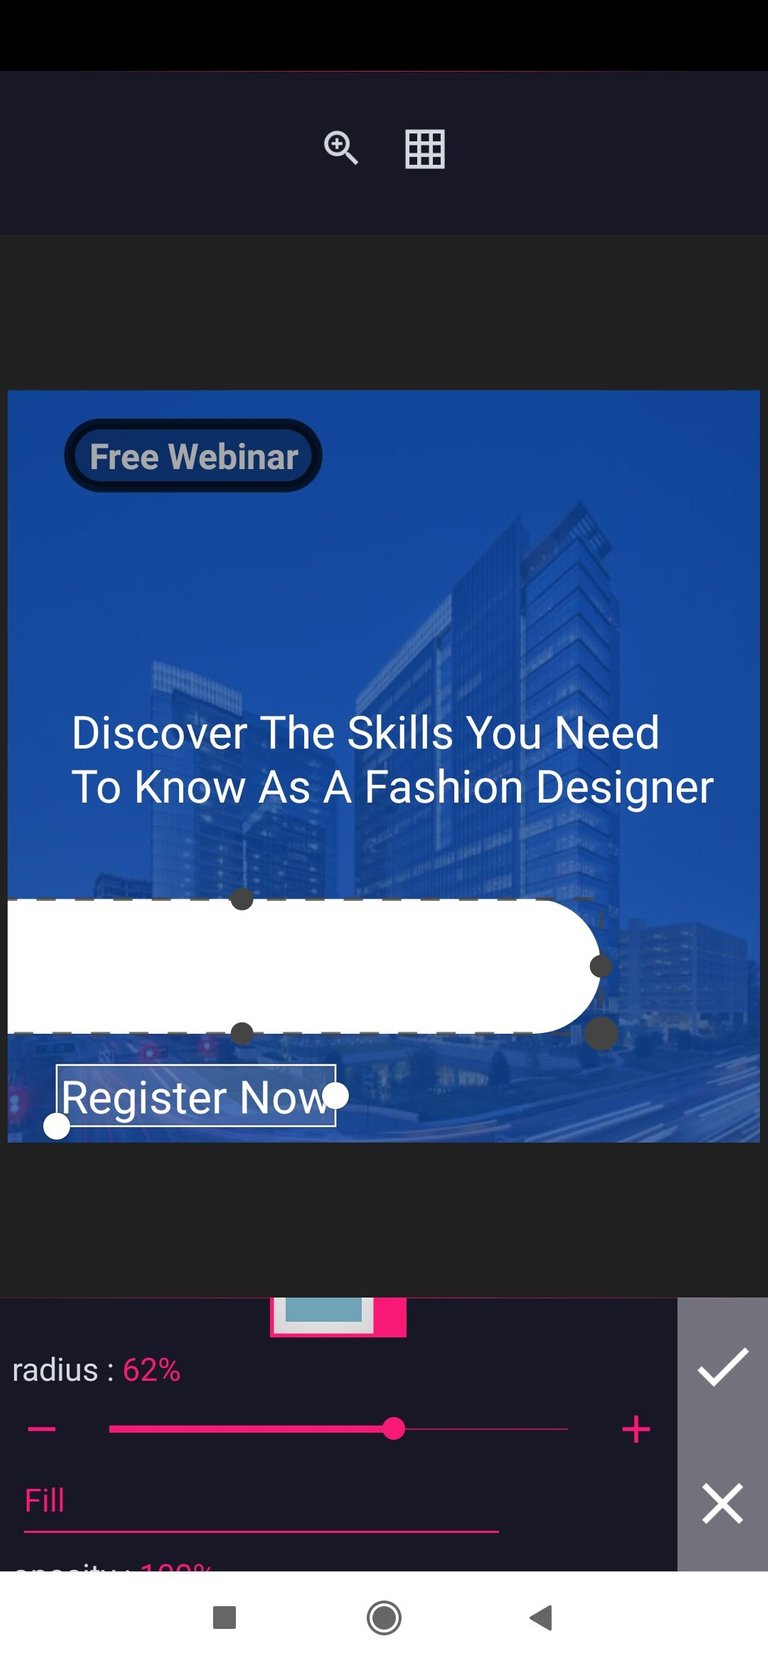
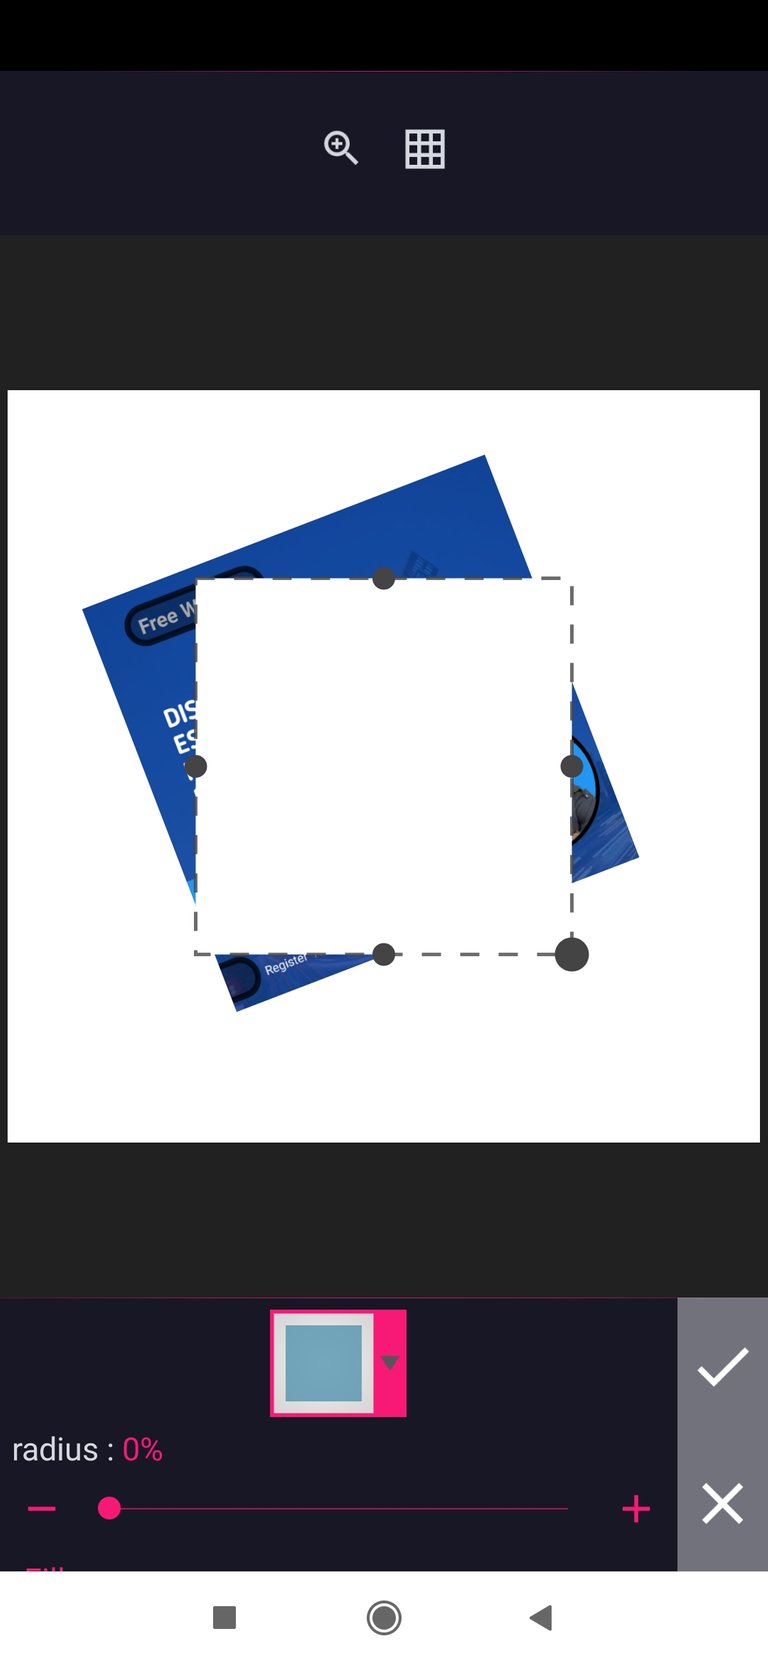
Step 6: Import a rectangular shape and reduce the size, move it to your preferred position and reduce the radius to have a circle edge.
Step 7: Import your image and reshape it.
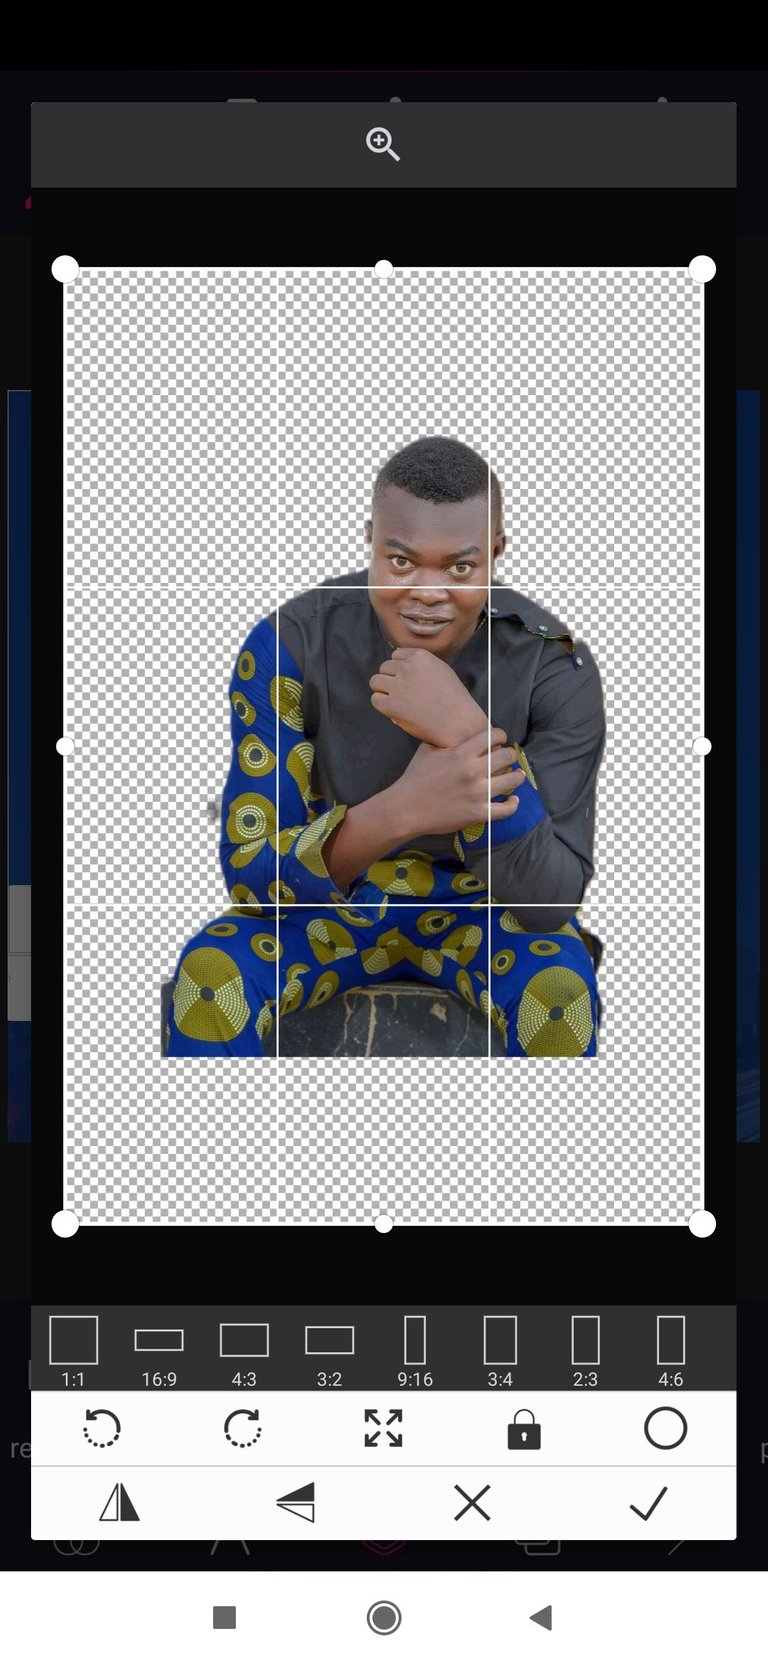
Move the picture to your preferred position and import a circle shape which will serve as a border around your picture, reshape the circle, move it above the picture and select the option to the back among the icon below.

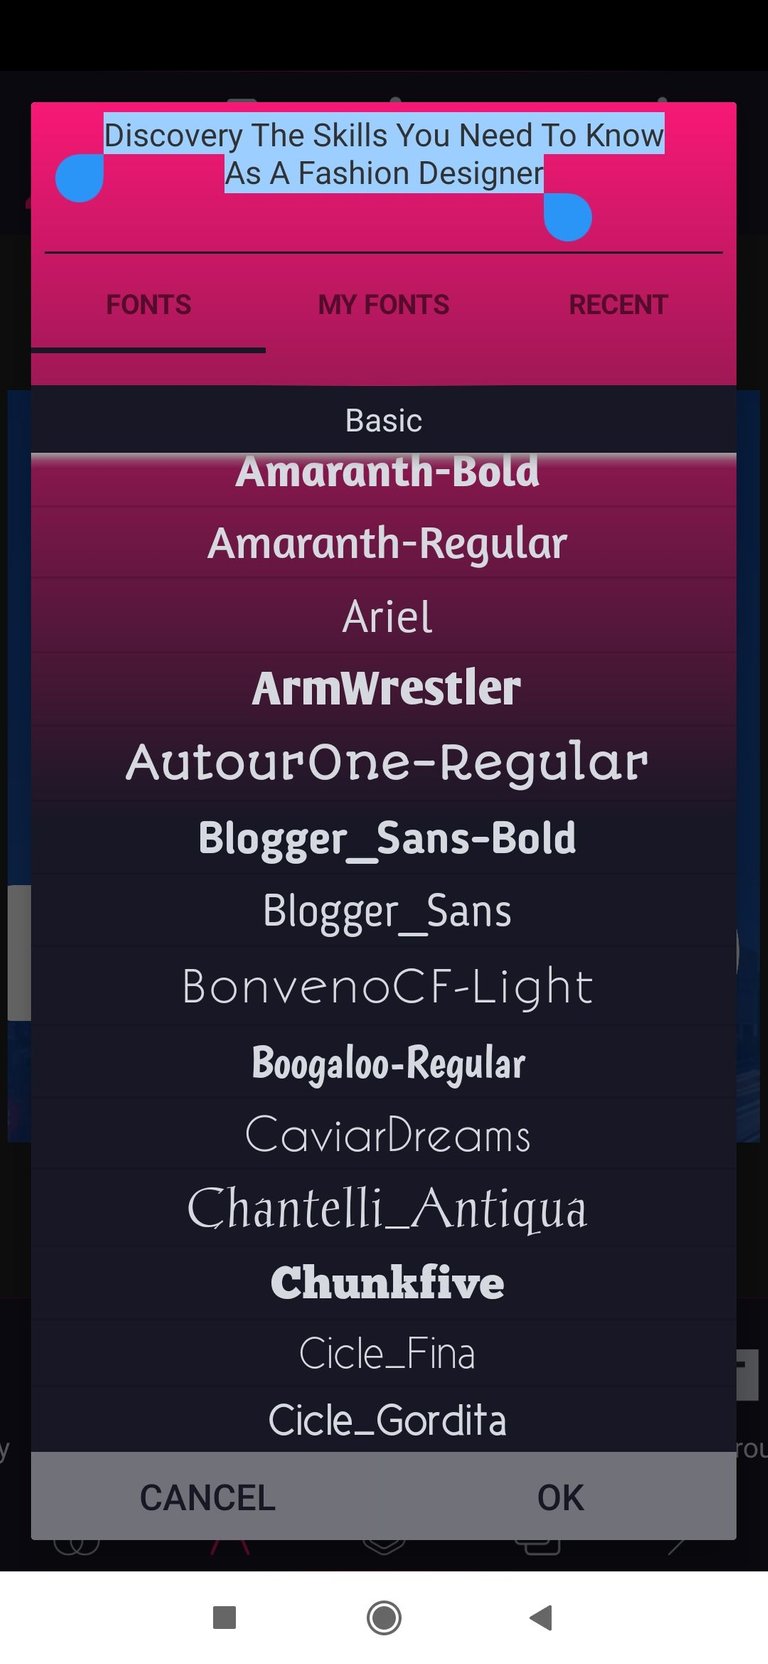
Step 8: Change the colour of both the circle and rectangular shape. then click on any of the text, scroll around and select the font icon to change the font of the text.
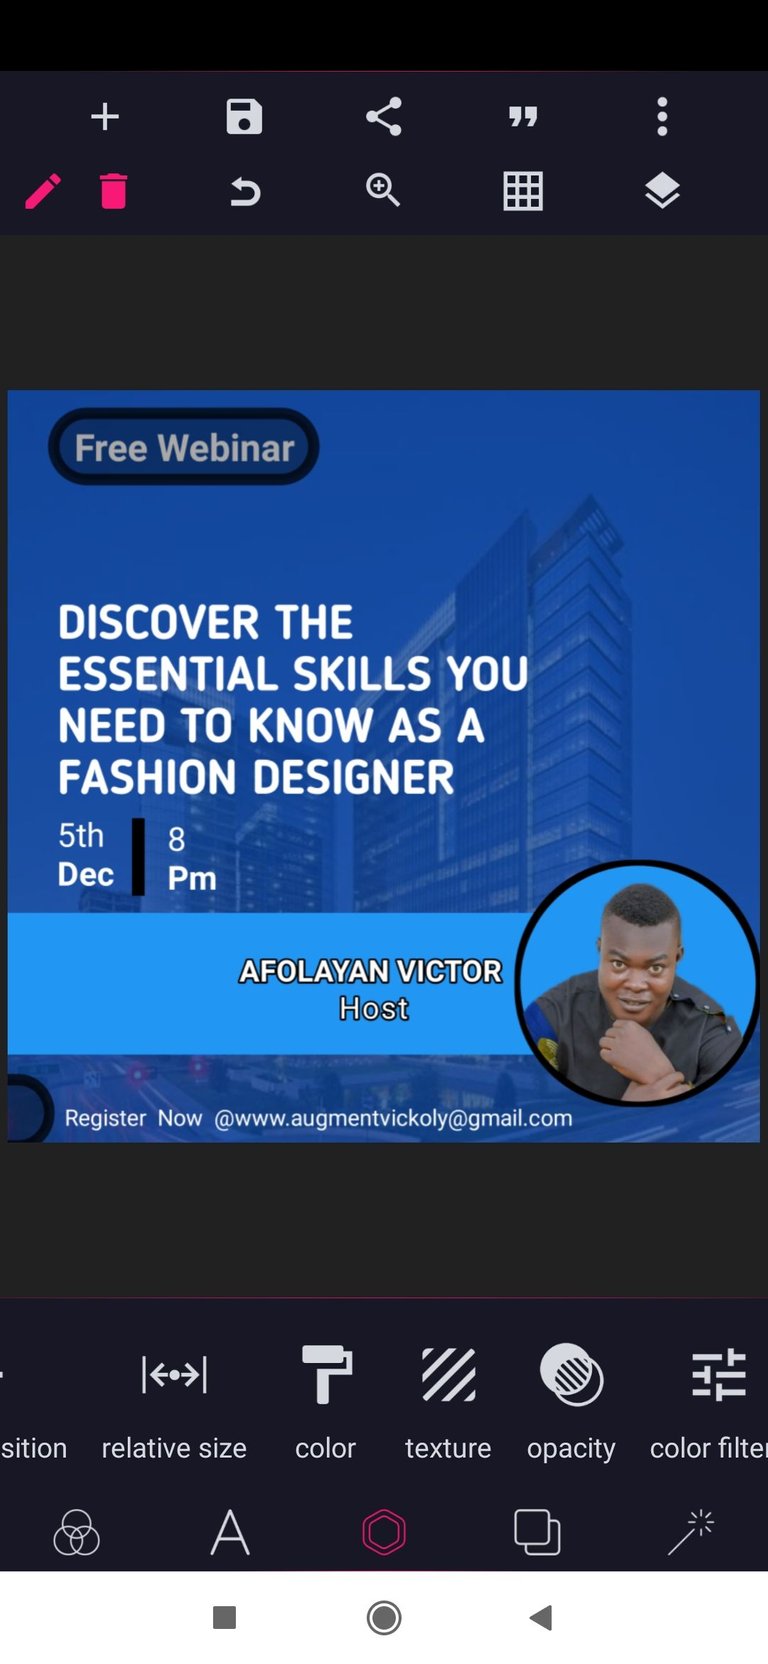
Step 9: To achieve the line between the date and time, simply Import a rectangular shape, reduce the size, move it to your preferred position and change the colour.
Once that is done make sure all your words and Sharp are properly align.
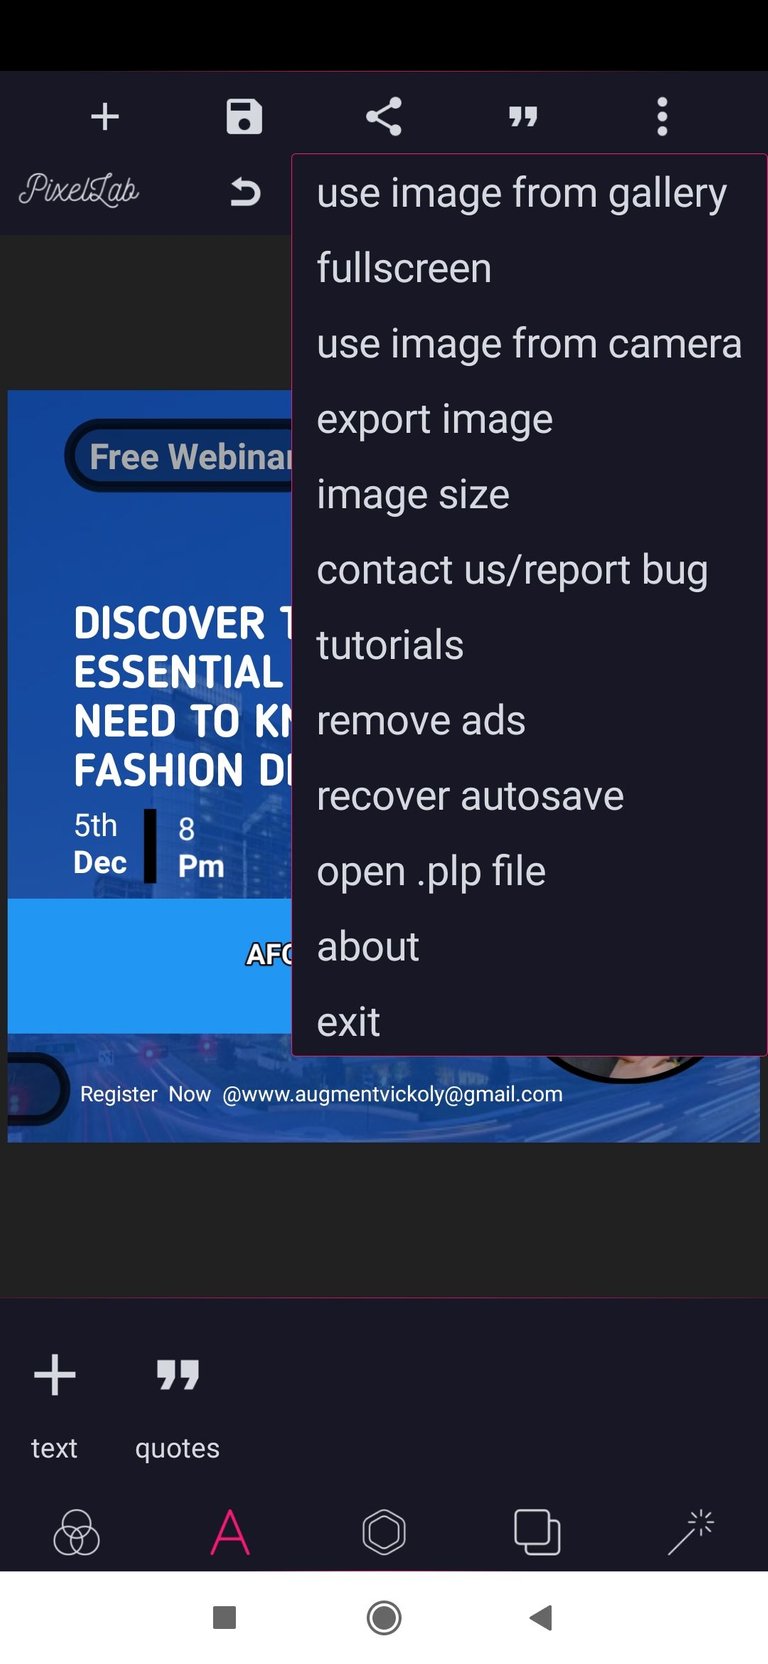
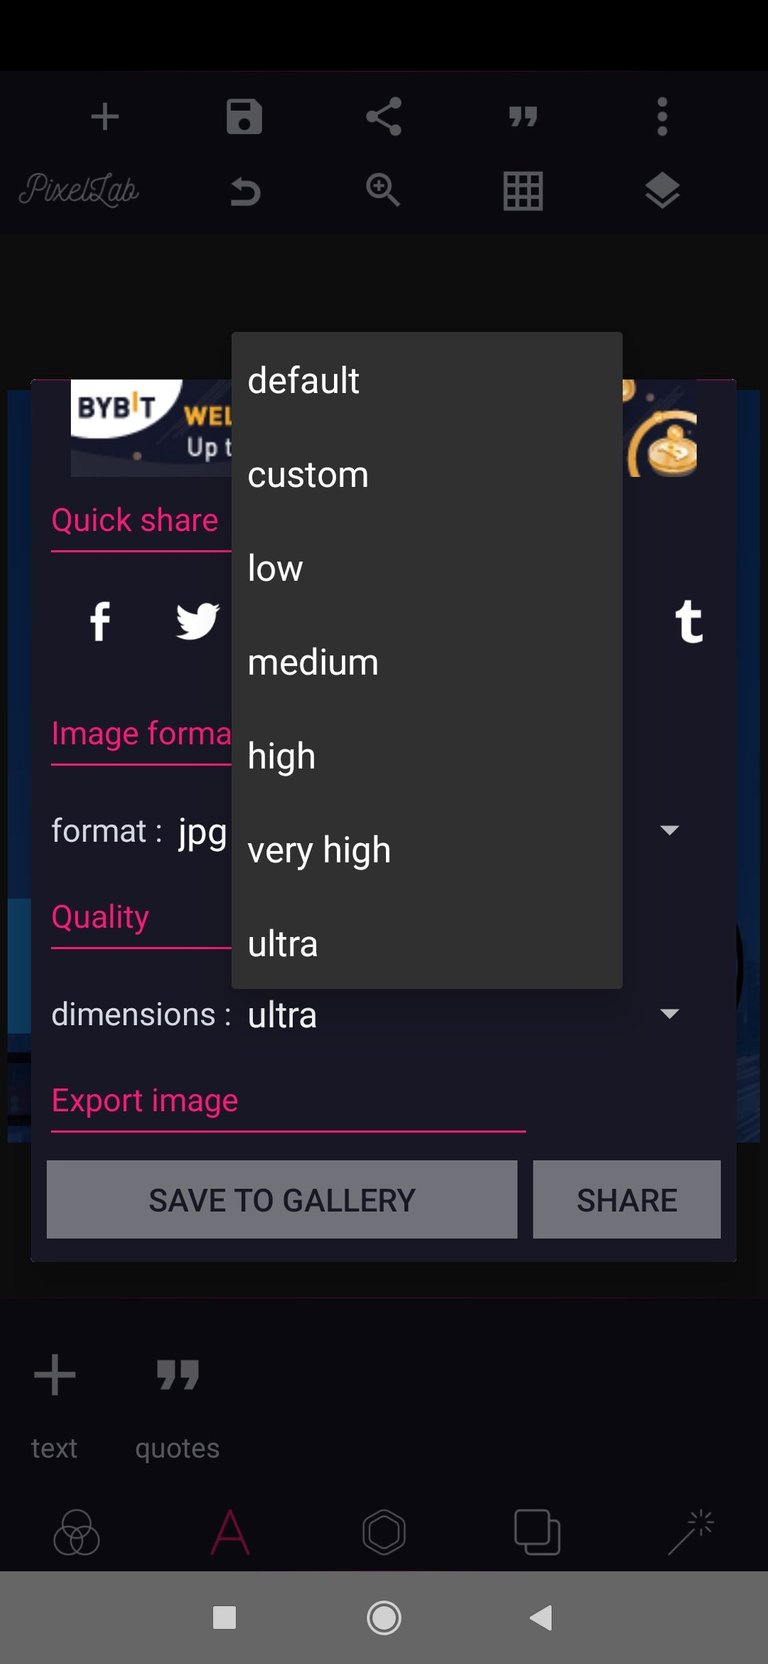
With that being storted We're done with the first stage, simple click on the save icon above and select save as project, then click on the 3 doted line and select export image, change the image size to ultra and save to gallery.

(your flyer is ready,but if you want to add the special effect and shadow like I did above, then stick around)
Step 10: close and open your PIXELLAB app, and open a new background.
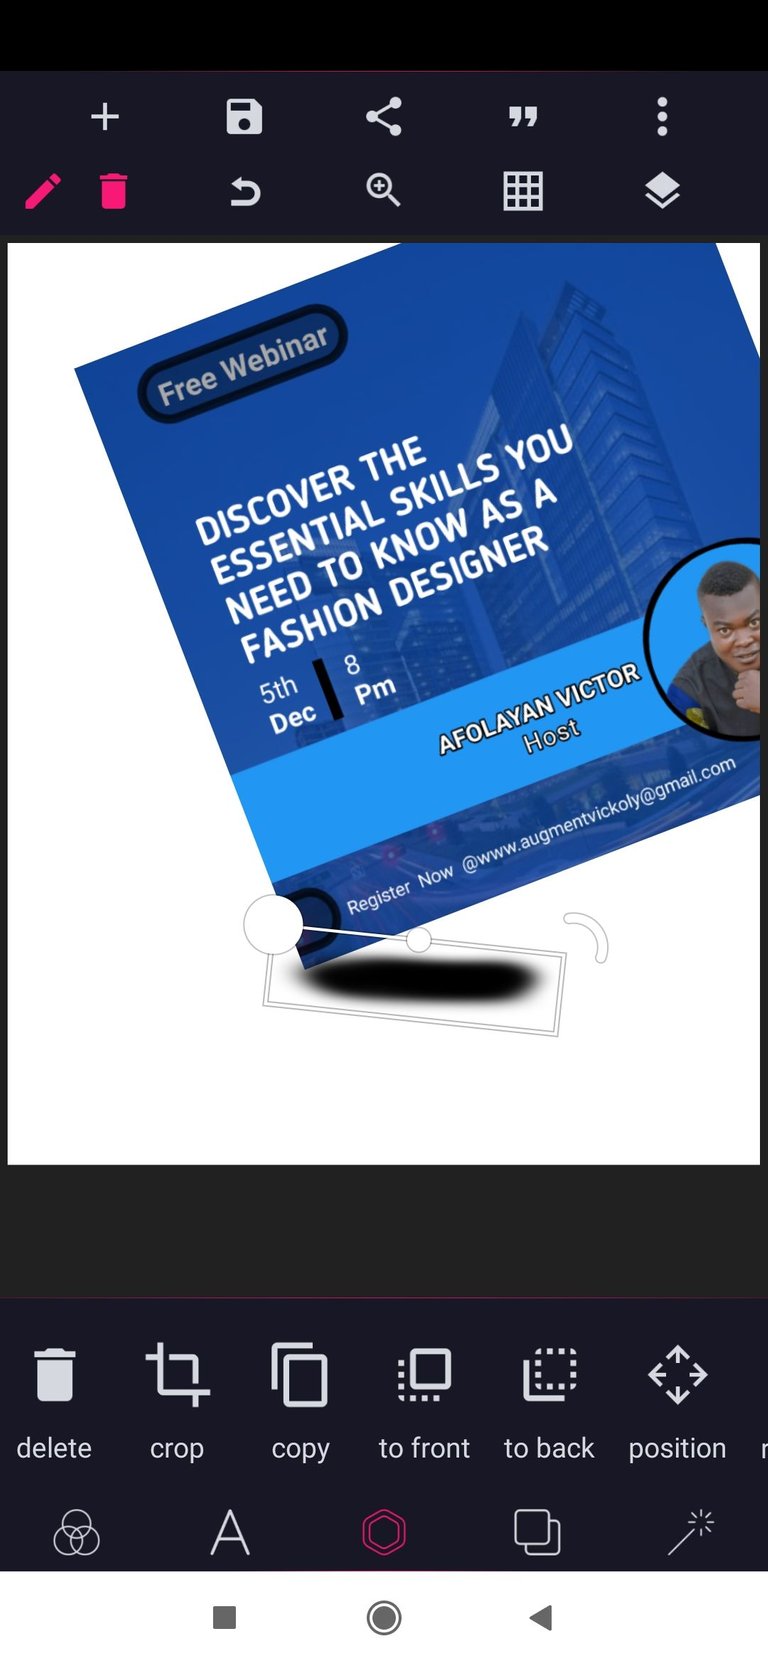
Then Import your saved flyer and rotate it.
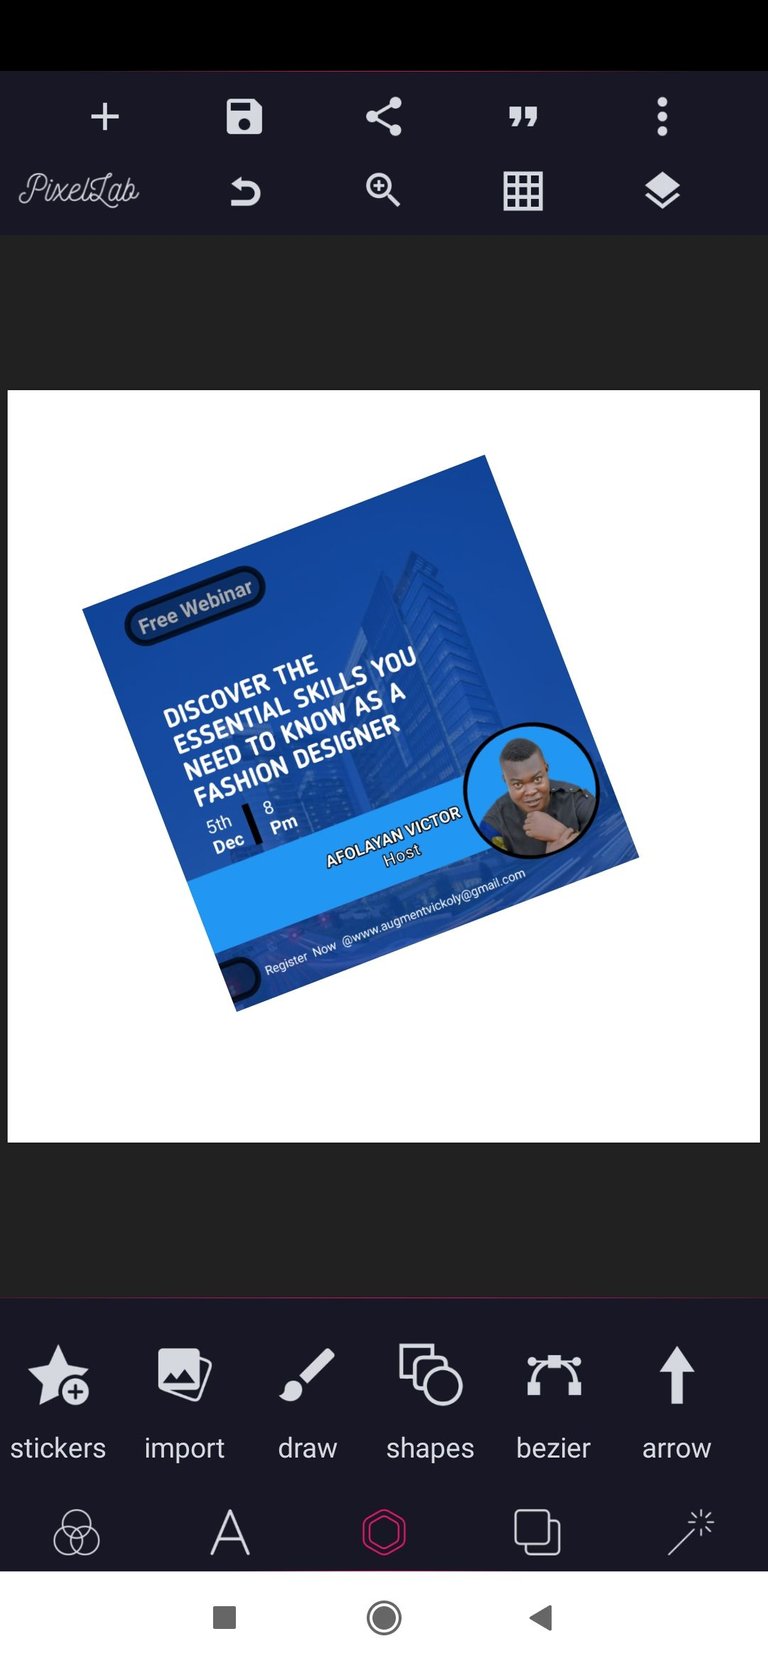
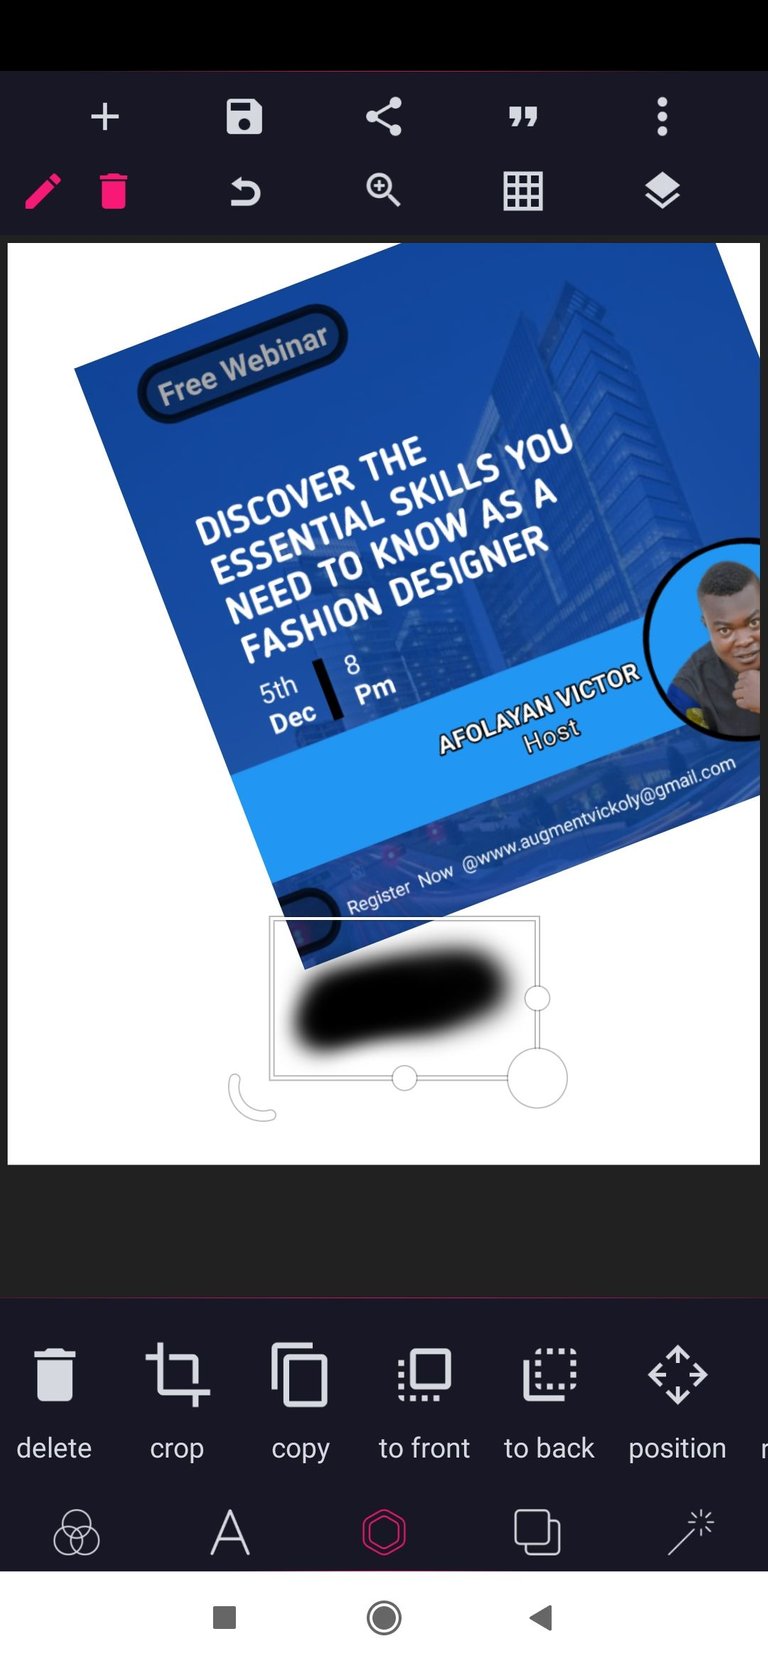
Step 11: import a rectangular shape and stretch it over the background and move it to the back of the imported flyer by clicking the to the back icon
Then select the draw icon and increase the pen size and blur radius to 17 and 23 respectively, then draw a circleler sharp, move it up down the slanted flyer and reduce it opacity.
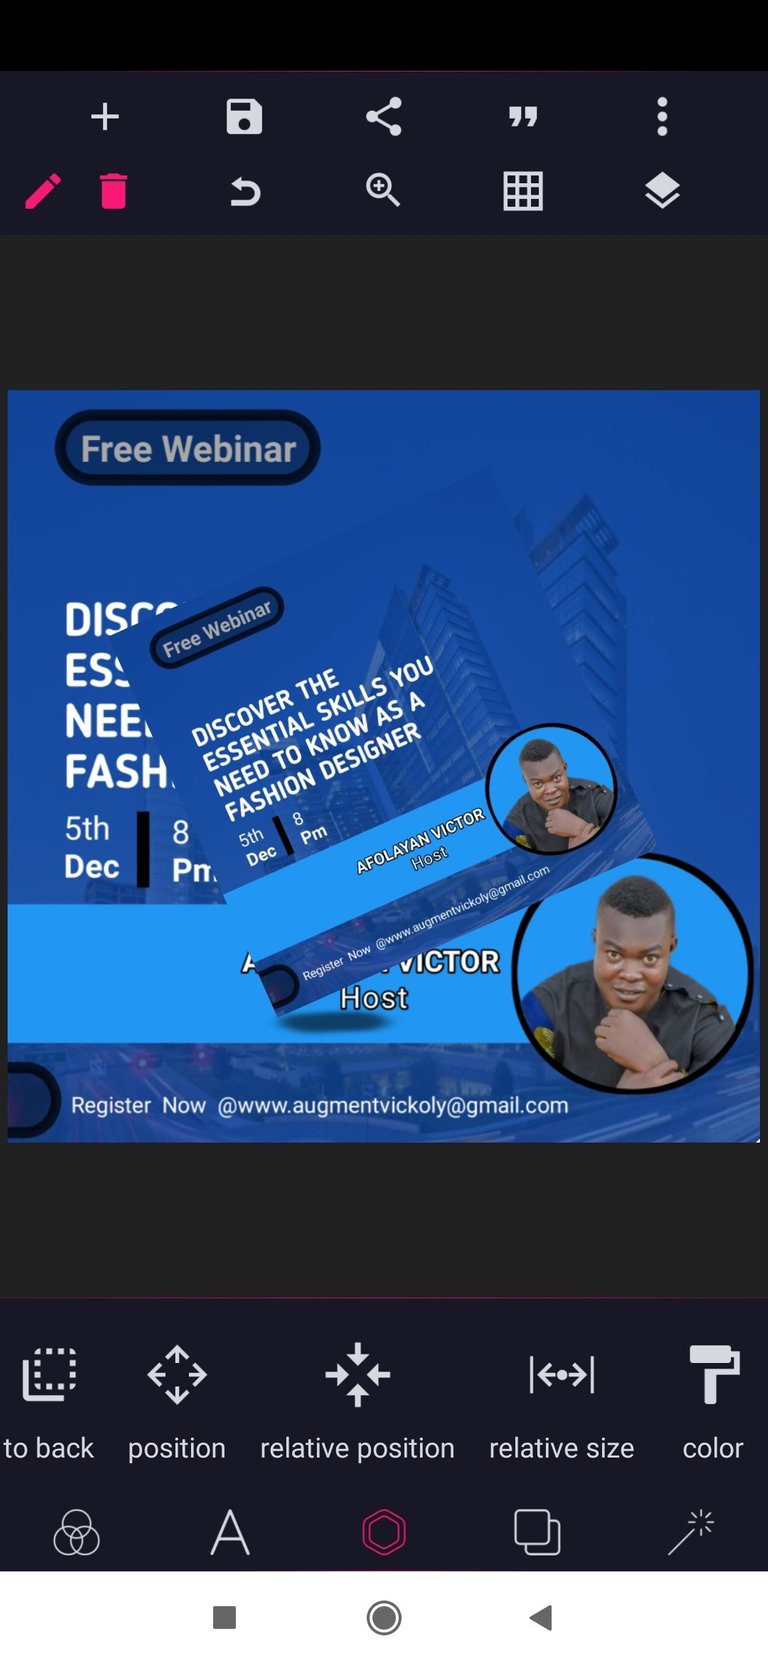
Step 12: Click on The imported shape to change it colour and then reduce the opacity of the shape colour, then select your flyer and copy it, stretch the copied flyer on the background and select move to the back.
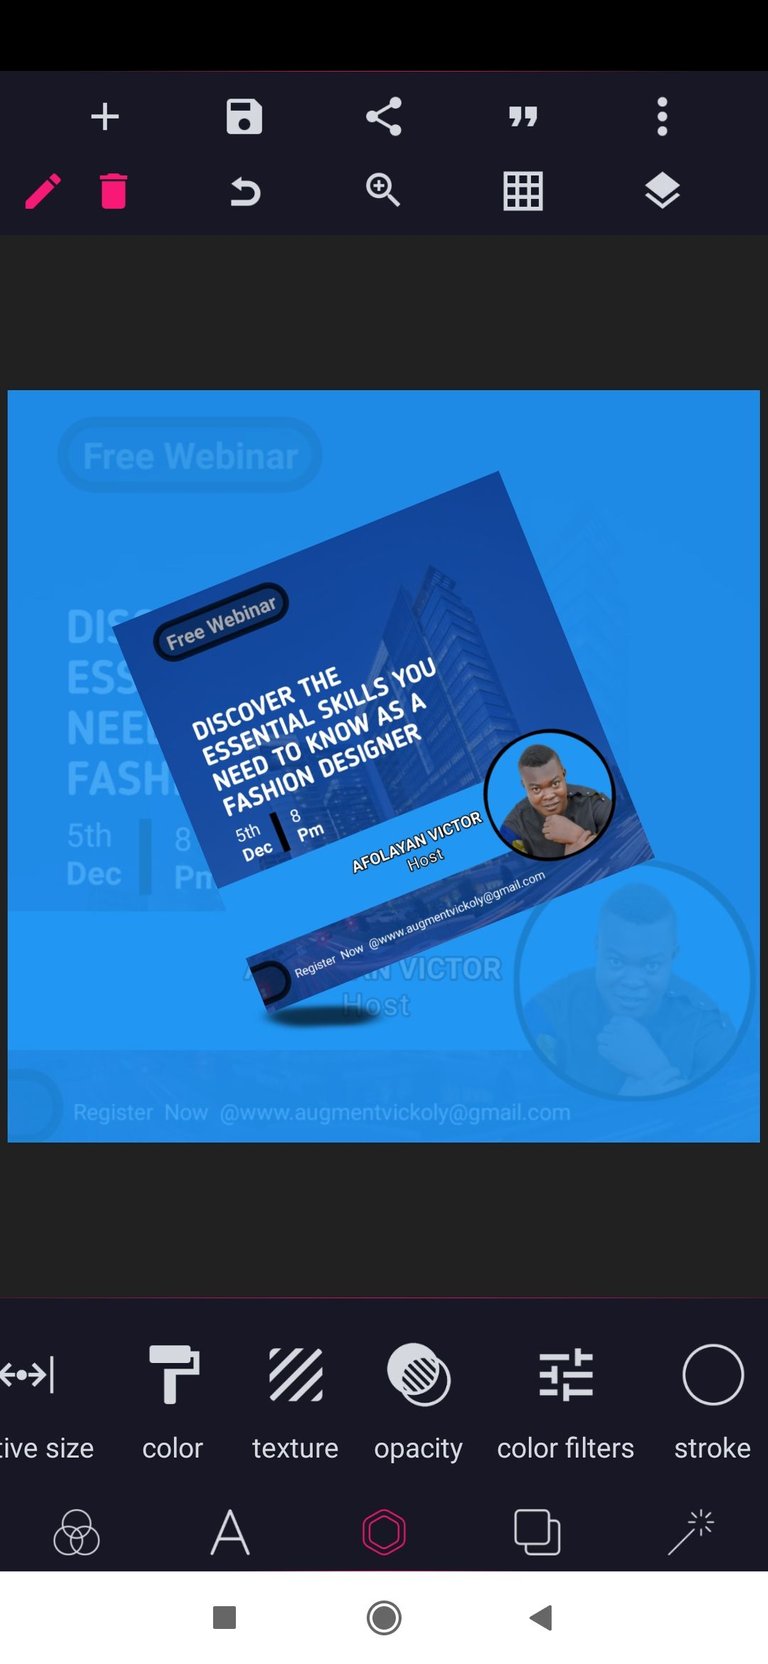
Once that's done, we're done with the design, just follow the same steps we use while saving and downloading the design earlier.
I know it'll be better if the guide was a video tutorial, but as a newbie, am not yet familiar with how to navigate the @threespeak and upload videos. I'll appreciate a guide on how to navigate to the @threespeak site.
Thanks for coming around my blog, I look forward to you seeing you give it a try and upload your outcome in the comments section.
Have a blessed day ahead.
Congratulations @vickoly! You have completed the following achievement on the Hive blockchain and have been rewarded with new badge(s):
Your next target is to reach 600 upvotes.
You can view your badges on your board and compare yourself to others in the Ranking
If you no longer want to receive notifications, reply to this comment with the word
STOPCheck out the last post from @hivebuzz: