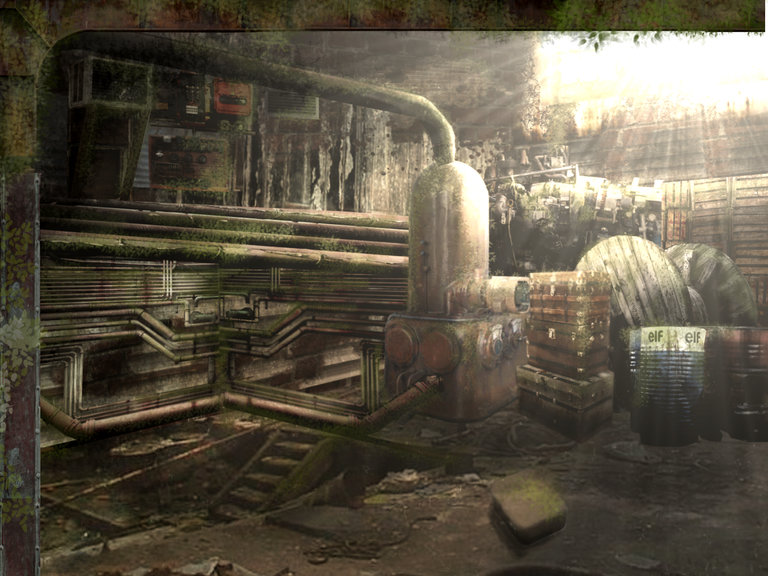
Hello everyone, sharing with you a piece today of a scene made in a steampunk style. I learned some things in this piece such as the importance of correct perspective and lighting to create mood in a scene.
Below is the finished piece
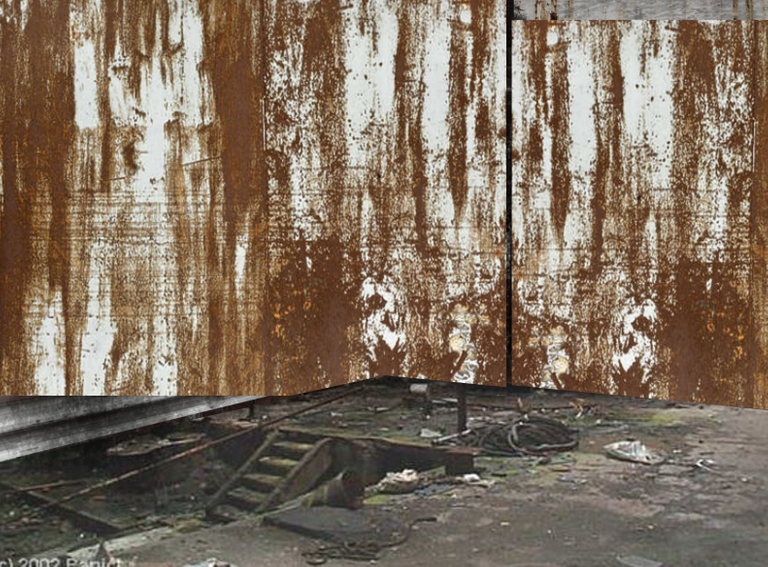
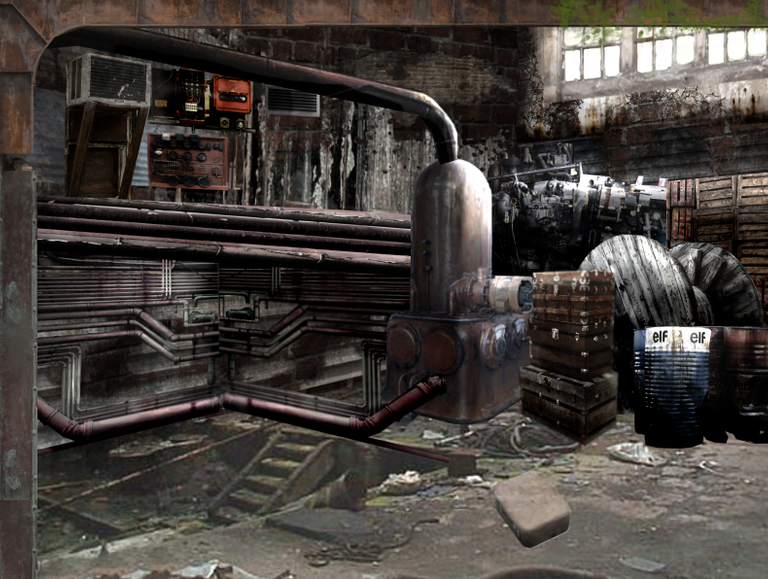
Step 1
I found this steampunk style image of what looks like an underground generator to be a useful image for my inspiration. I did not know where the final image was going but wanted it to match a similar mood to this scene.
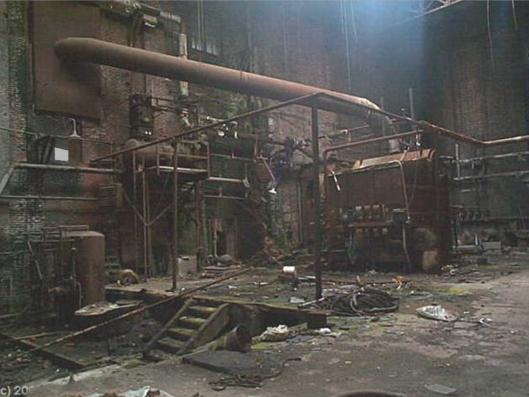
Source
Step 2
I used a brick texture to create the side walls. The perspective tool was important here in order to create the illusion of depth and space. I darkened areas especially the areas that were going away from the viewer.
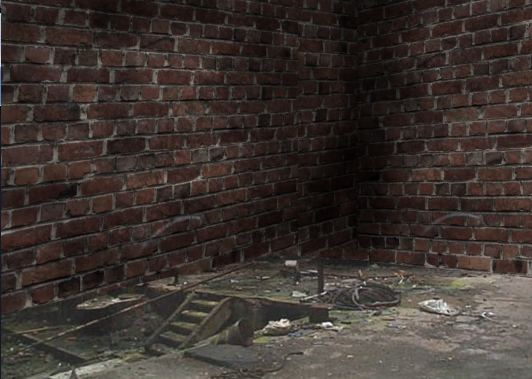
Source
Step 3
I start adding textures of various metals to add variety to the scene. I rub out some parts and make other parts dirty with a black paintbrush.
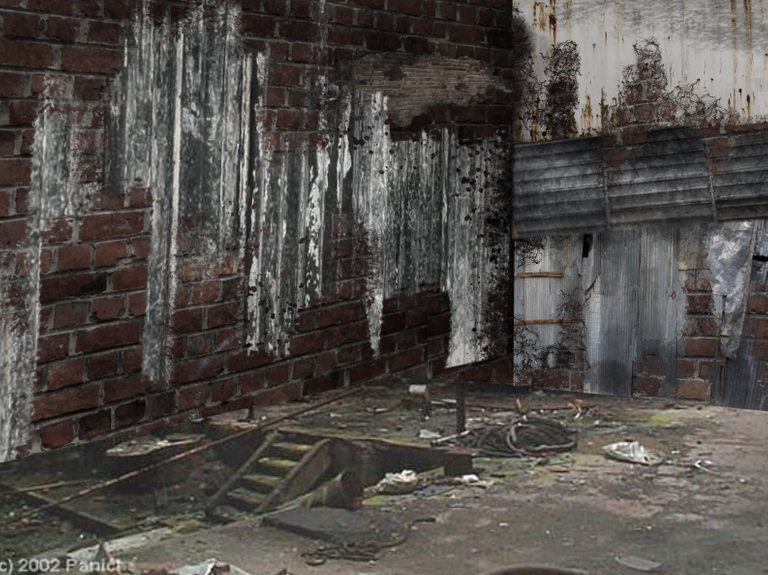
Source
Step 4
I add this rust texture which I will then set the layer to multiply. This will add a further rust effect on to the metals beneath.
Source
Step 5
I start adding in various objects to the scene making sure the perspective, lighting and colours fit the original scene. A lot of the times it involved decreasing the brightness and lowering the saturation in the object. These various objects also help give a sense of scale of the room.
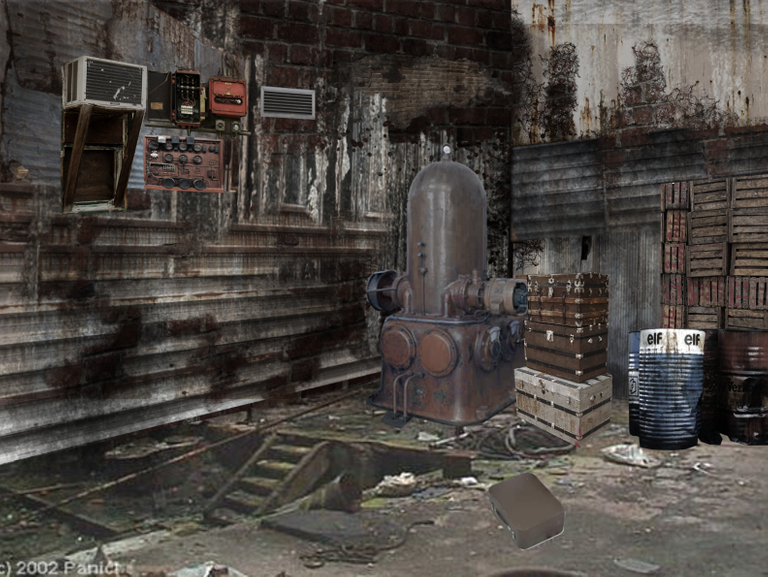
Air conditioner
Barrels
Wooden boxes
Machinery
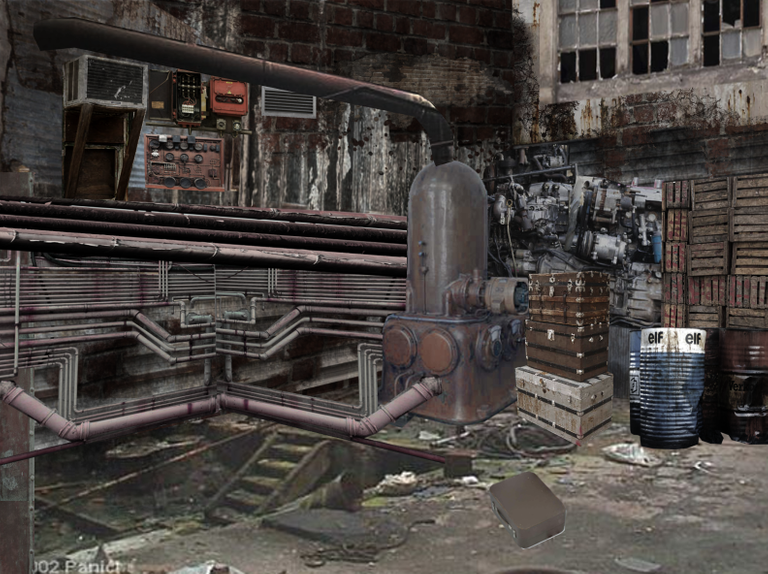
Step 6
I paint some light using an overlay direction in the general direction from the window. I also darken the areas not in light with black paintbrush over a multiply layer.
Step 6
The lights cast on the objects however do not match the original image. In order to capture realism it will involve hiding the previous step and using the dodge and burn tools. This will darken the areas that should be in shadow and lighten the areas that should be in light (from the window in the top right).
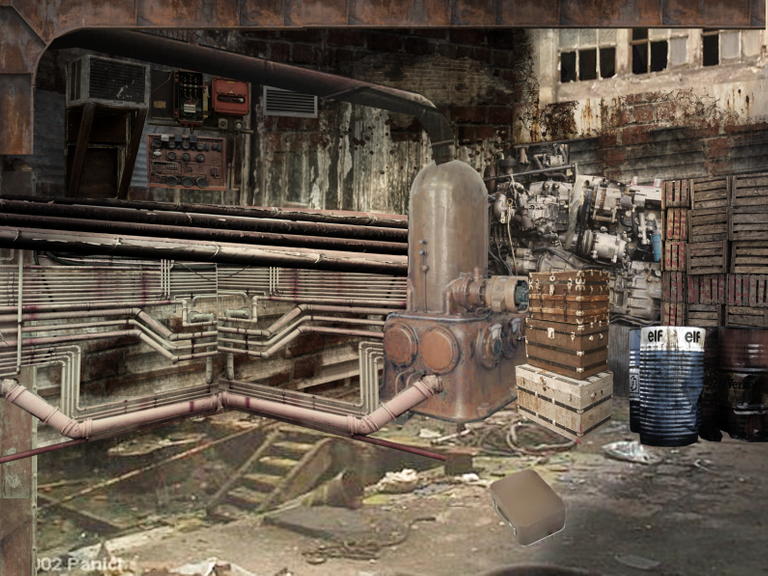
Step 7
I then start to add foliage to the scene using the setting on the brush. I find this adds more character to the scene and breaks some parts that were a little to busy to the eye.
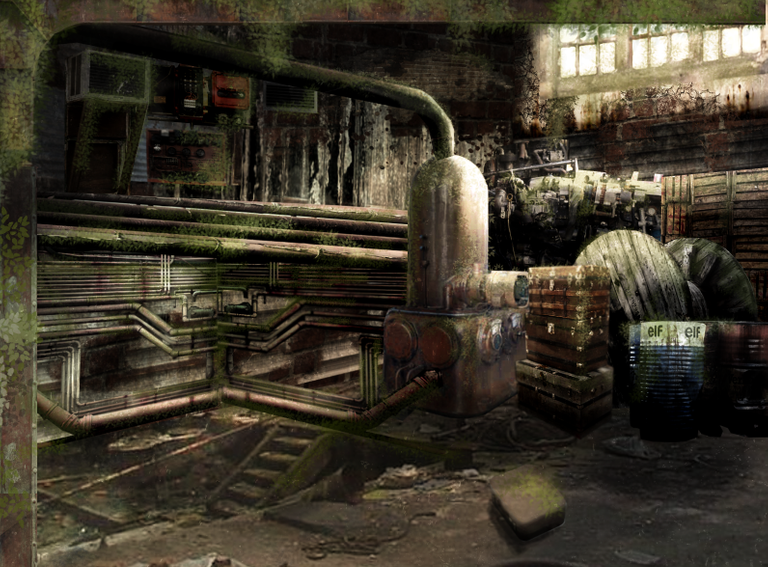
Final Step
The final step involved flattening all the layers apart from the beam in the foreground as light will be behind this. I used a supernova effect to create the light rays coming from the window and another light effect to add greater intensity to the light. I then adjusted the final levels and curves of the image to achieve this finished result...

This piece took atleast 10 hours to complete and was done over 40 layers.
yeeeees steampunk art! Amazing!
Wow, it's really beautiful! Thanks for sharing with us 😊
!discovery 15
This post was shared and voted inside the discord by the curators team of discovery-it
Join our community! hive-193212
Discovery-it is also a Witness, vote for us here
Delegate to us for passive income. Check our 80% fee-back Program
cool. thats really cleaver to do.. :) keep it up
Thanks :)