.jpeg)

Español
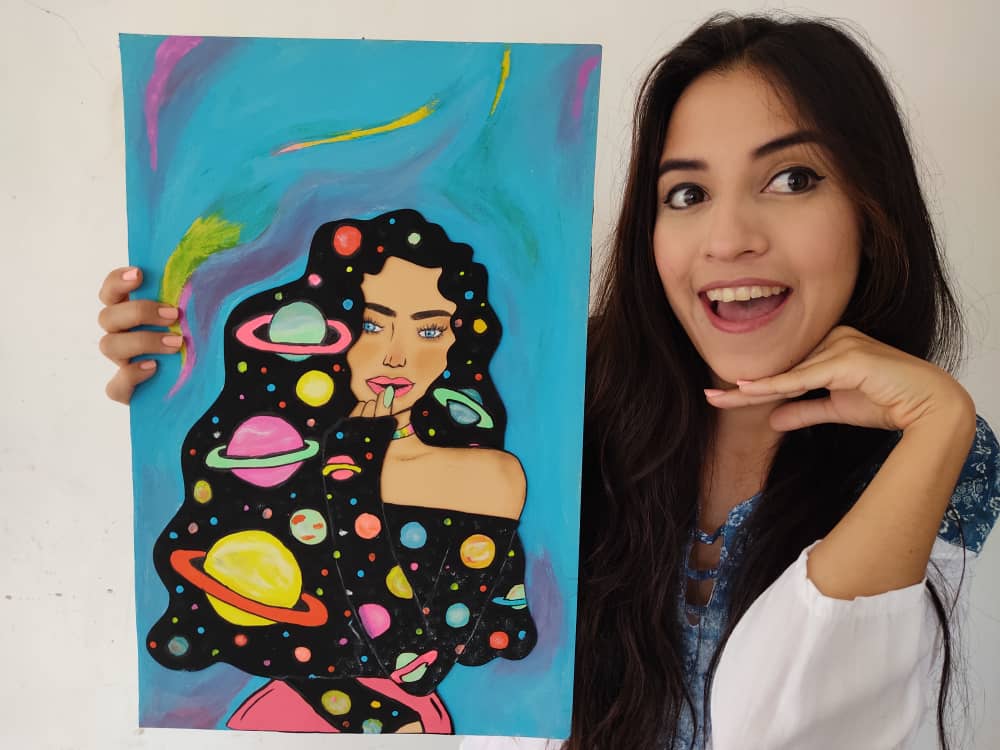
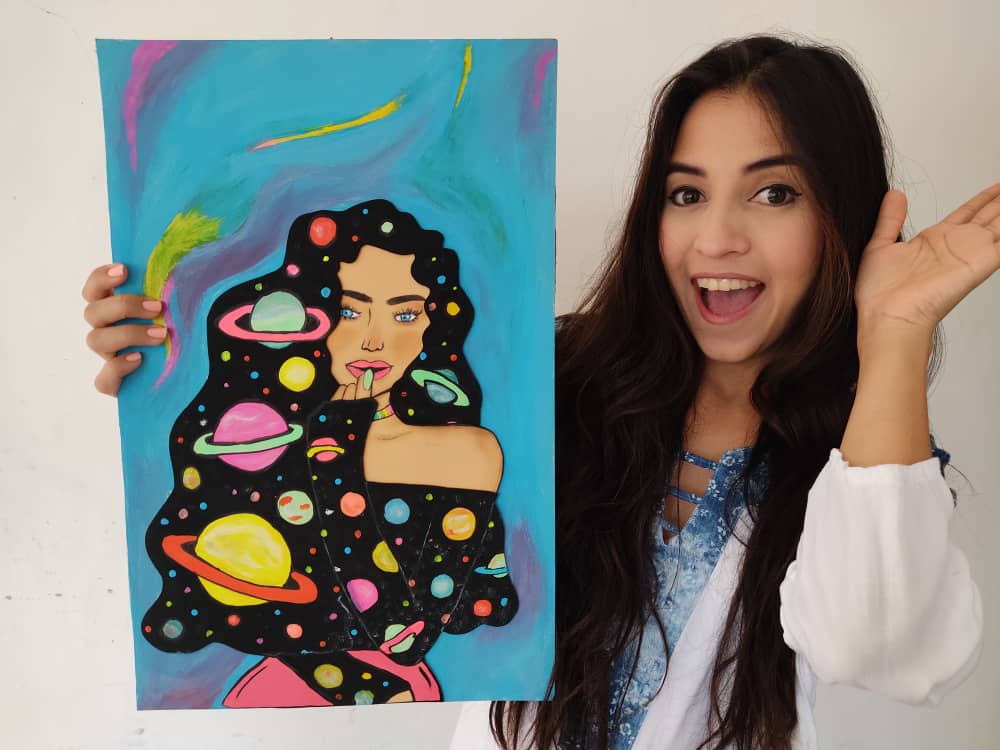
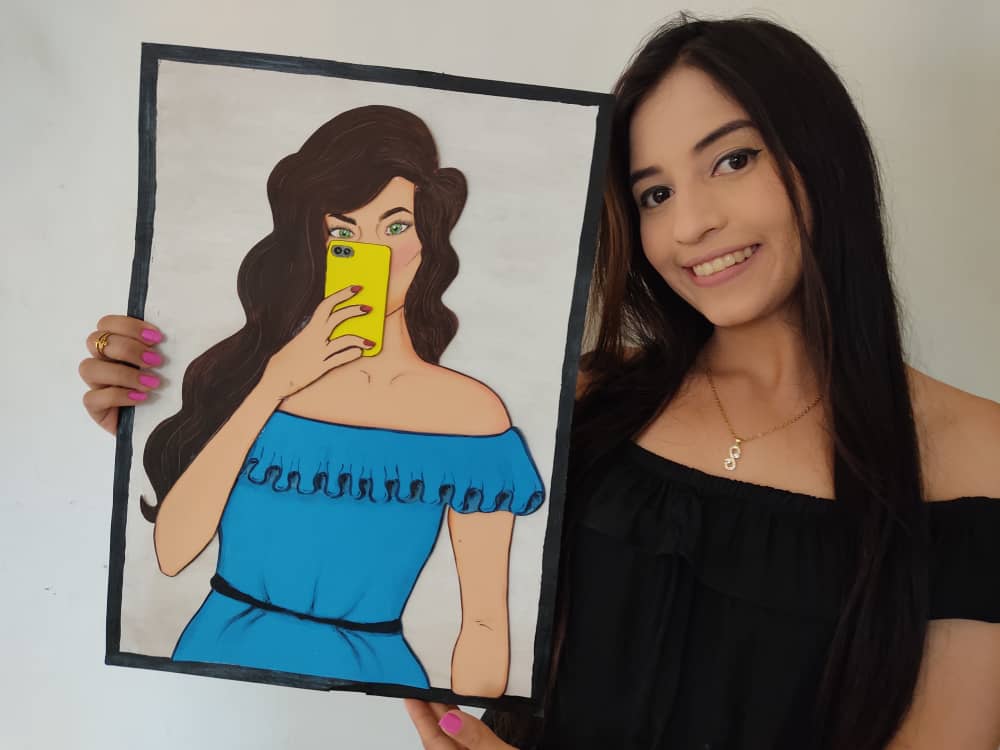
Hola Hive ❤️ El día de hoy traigo un nuevo y divertido paso a paso donde les mostrare como hacer un hermoso cuadro llamado “Reina de la Galaxia”, la cual lleva todos los planetas y estrellas del espacio, estos hermosos planetas están llenos de magia y color, y su reina es quien los mantiene iluminados para que todos los mundos funcionen perfectamente, regalando colores increíbles al universo. Este hermoso cuadro está hecho de materiales muy económicos y fáciles de conseguir, así que, sigamos disfrutando de esta larga y productiva cuarentena, recuerden debemos mantener nuestros pensamientos positivos para atraer cosas positivas.
English
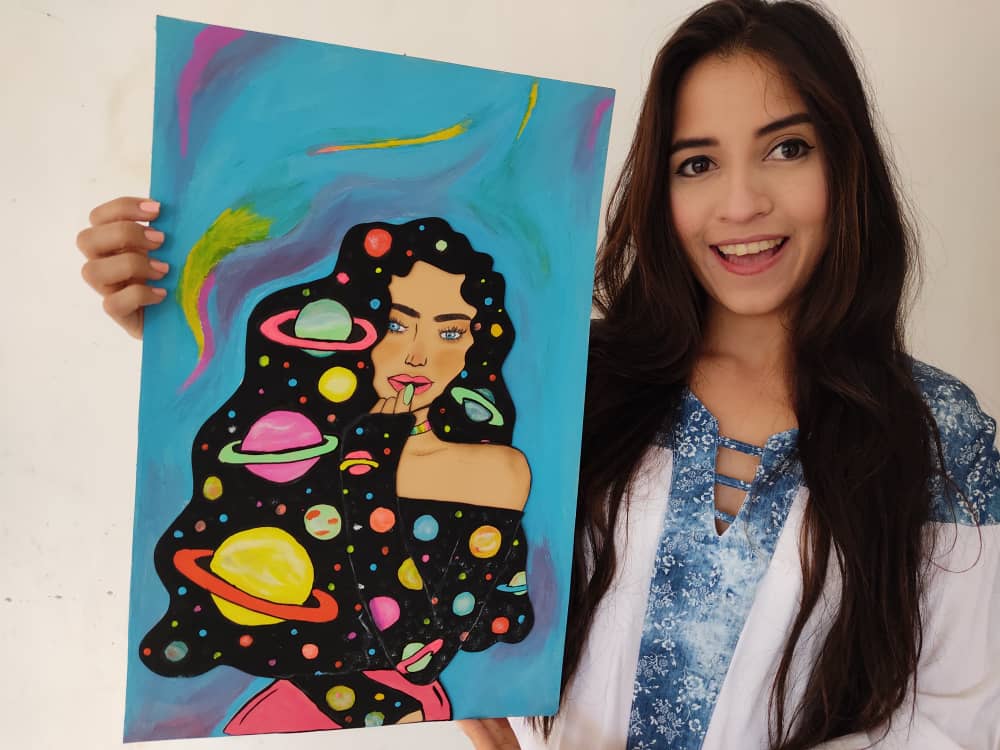
Hello Hive ❤️ Today I bring a new and fun step by step where I will show you how to make a beautiful painting called "Queen of the Galaxy", which has all the planets and stars in space, these beautiful planets are full of magic and color, and their queen is the one who keeps them illuminated so that all the worlds work perfectly, giving incredible colors to the universe. This beautiful painting is made of very inexpensive and easily available materials, so, let's continue enjoying this long and productive quarantine, remember we must keep our thoughts positive to attract positive things.
¿Qué están esperando?
Gracias a esta técnica podemos crear nuestro propio cuadro de reina de la galaxia, además, una hermosa obra hecha en casa es una manera creativa y muy económica de darle un toque de alegría a nuestro entorno. Antes de comenzar no olvidemos lavarnos nuestras manos.
What are they waiting for?
Thanks to this technique we can create our own painting of the queen of the galaxy, in addition, a beautiful work made at home is a creative and very inexpensive way to give a touch of joy to our environment. Before we start, let's not forget to wash our hands.

[Materiales | Materials]
Para realizar esta hermosa reina necesitaremos:
- Moldes.
- Foami o goma eva.
- Papel vegetal o calco.
- Lamina de cartón.
- Regla.
- Lápiz.
- Marcador.
- Tijera.
- Cúter.
- Pincel o brocha.
- Pinturas.
- Silicón liquido o pegamento.
To make this beautiful queen we will need:
- Molds.
- Foamy or EVA foam.
- Vegetable paper or tracing.
- Cardboard sheet.
- Rule.
- Pencil.
- Bookmark.
- Scissors.
- Cutter.
- Brush or brush.
- Paintings.
- Liquid silicone or glue.
Procedimiento (paso a paso)
Process (step by step)
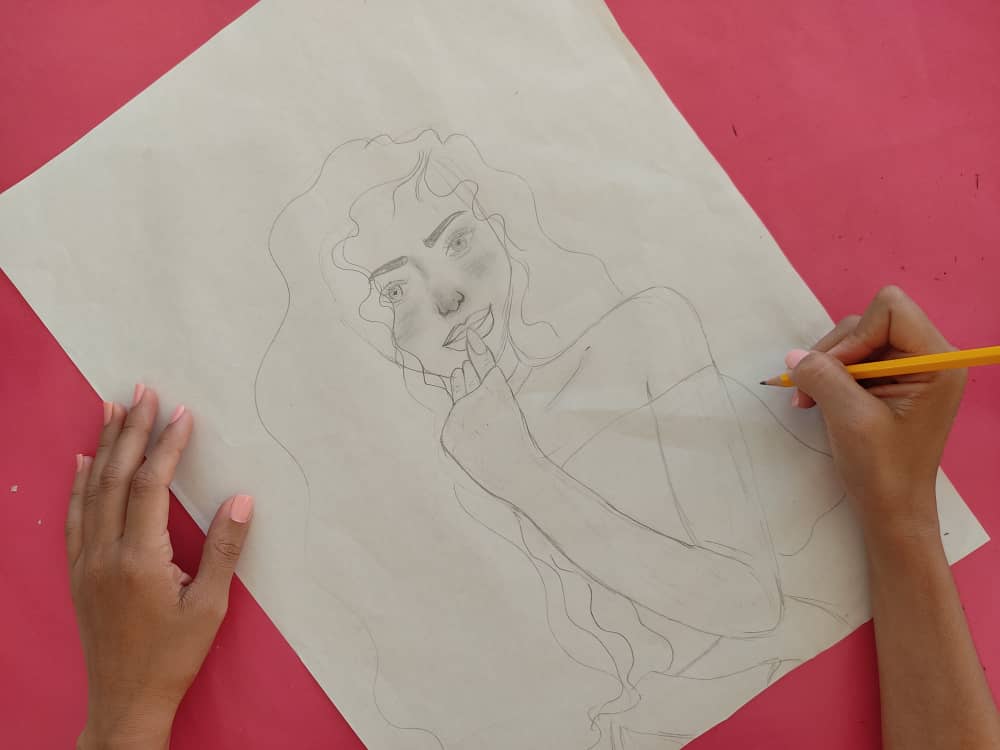
Primero, dibujamos en papel de vegetal o de calco una hermosa chica con abundante cabello y con un dedo sobre su boca. Podemos utilizar cualquier lápiz de grafito que tengamos.
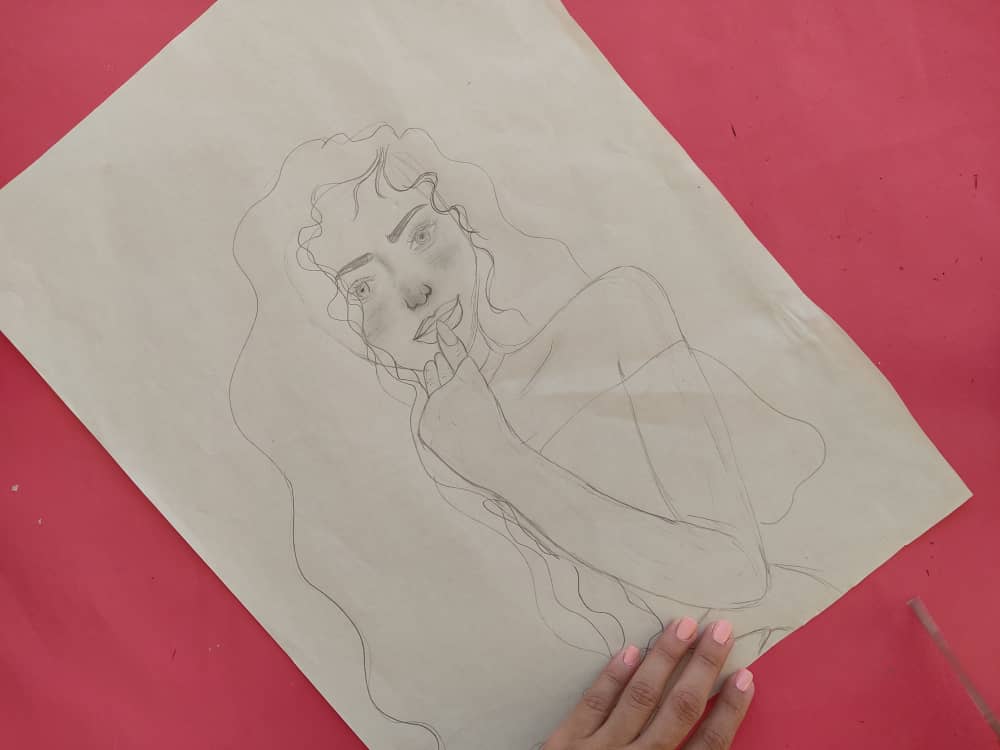
First, we draw on tracing paper a beautiful girl with abundant hair and with a finger over her mouth. We can use any graphite pencil we have.
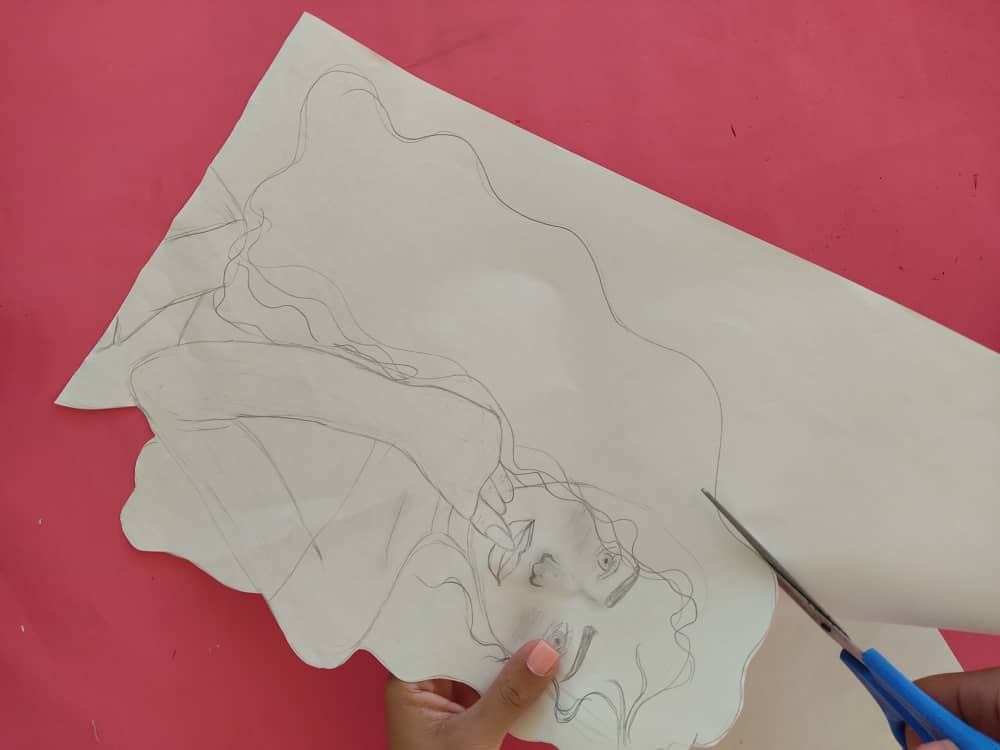
Ahora, recortamos a nuestra reina separando su cara y el hombro del resto del dibujo. Debemos tener mucho cuidado para mantener las partes de nuestro dibujo y evitar accidentes con la tijera.
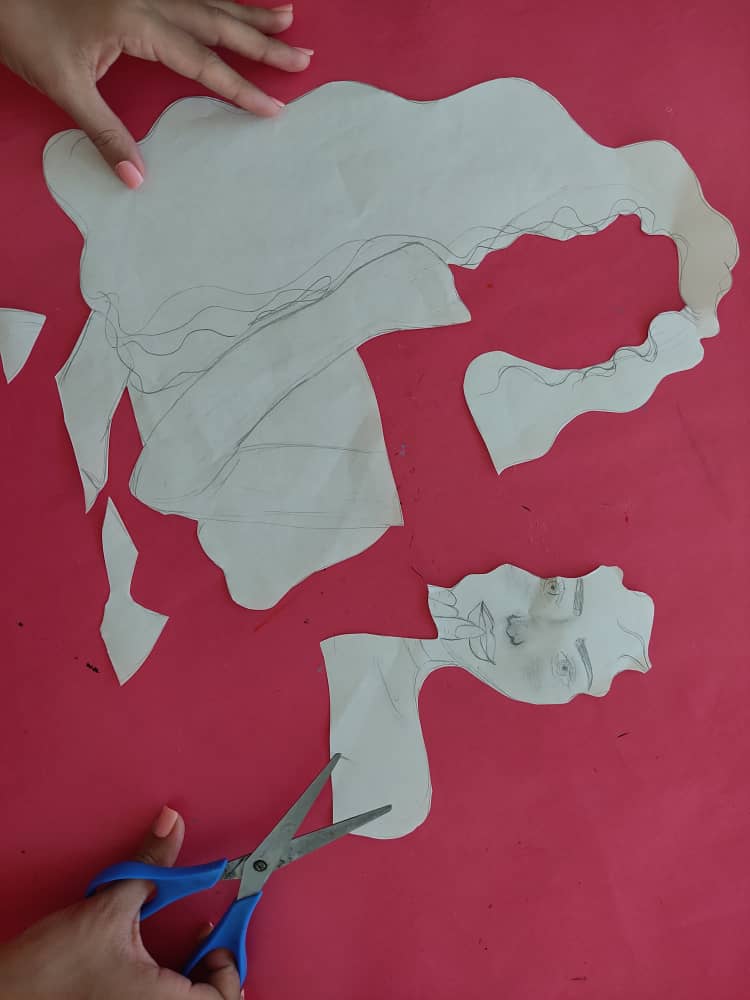
Now, we cut out our queen by separating her face and shoulder from the rest of the drawing. We must be very careful to maintain the parts of our drawing and avoid accidents with the scissors.
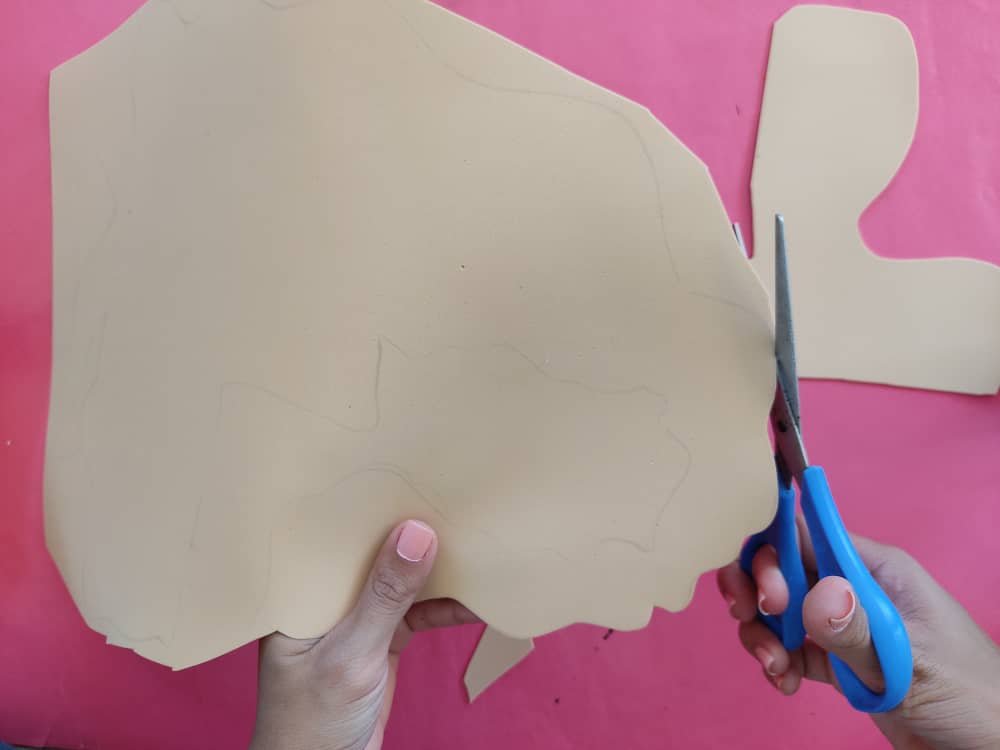
Seguidamente, transferimos las piezas al foami con mucho cuidado para que nuestra reina encaje perfectamente a la hora de pegarla, y luego recortamos.
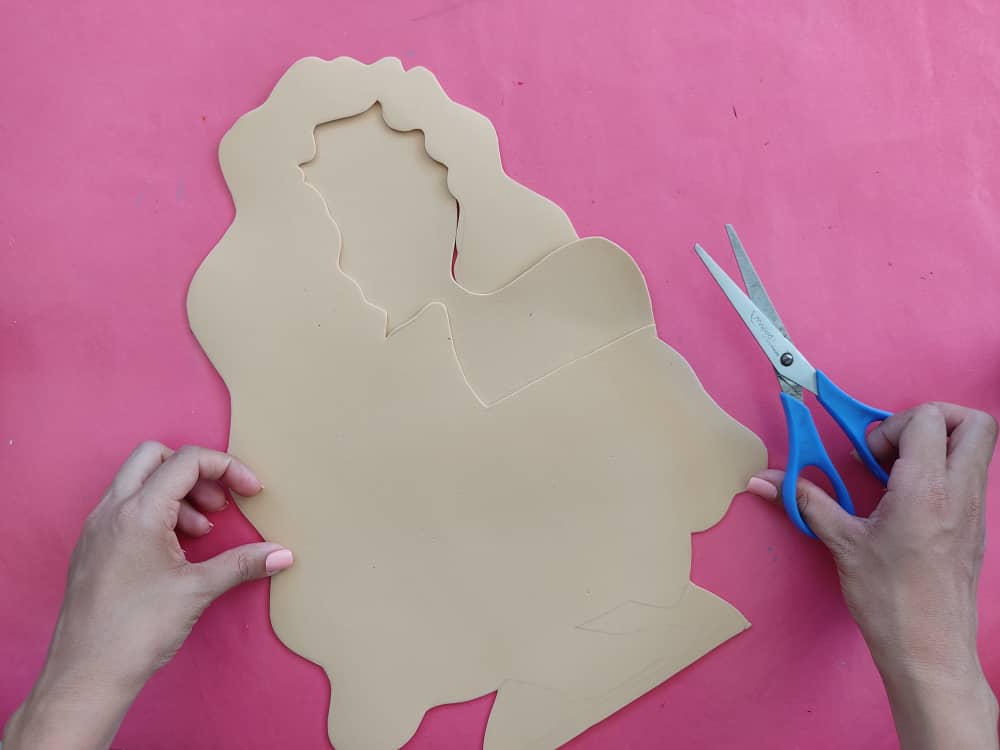
Next, we transfer the pieces to the foam very carefully so that our queen fits perfectly when gluing it, and then we cut it out.
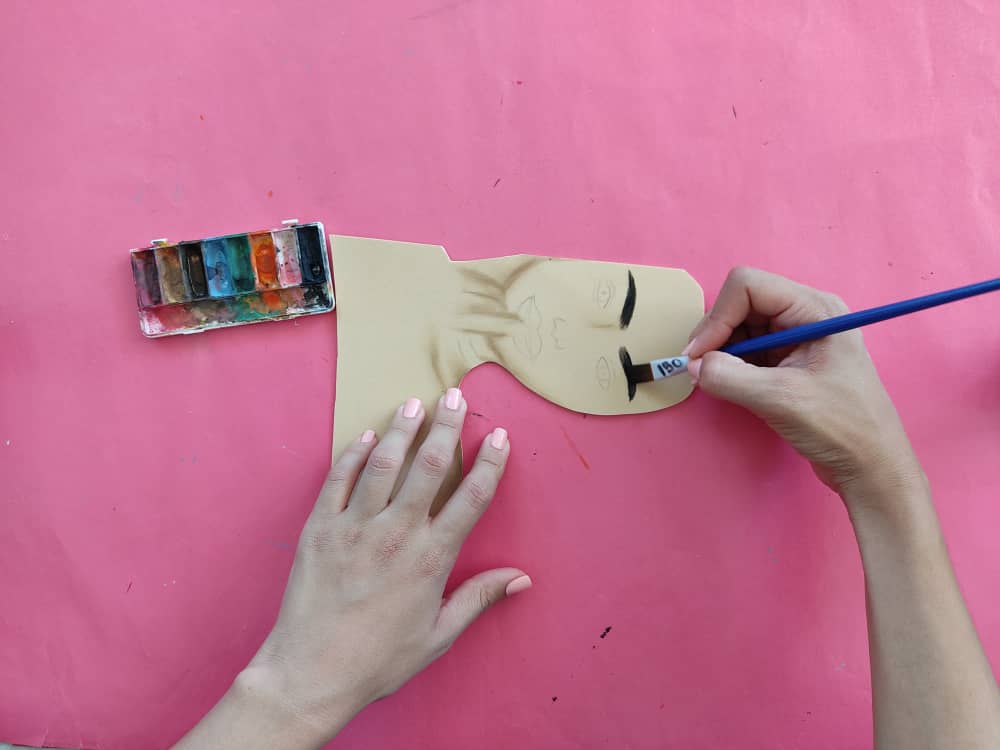
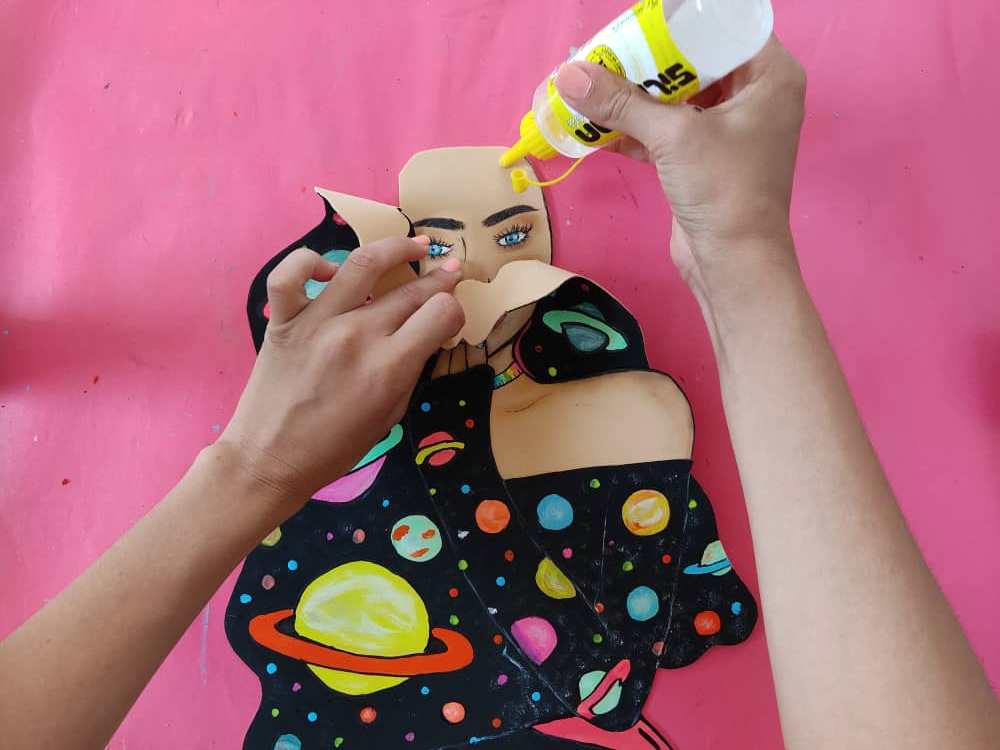
Una vez obtenidas las piezas en foami, comenzamos a pintar la cara de esta hermosa reina, definiendo cada rasgo y cada detalle con mucho amor para que luzca realmente preciosa, sombreando sus bordes con tonos marrones, luego pintamos las cejas, ojos, y el resto. Está vez decidí pintar su boca de un hermoso color rosa muy llamativo ya que su secreto es dar luz, recuerden pintar su linda mano con un dedo sobre su boca, y pintamos su uña de un color muy lindo, así que, todo debe parecer estar brillando.
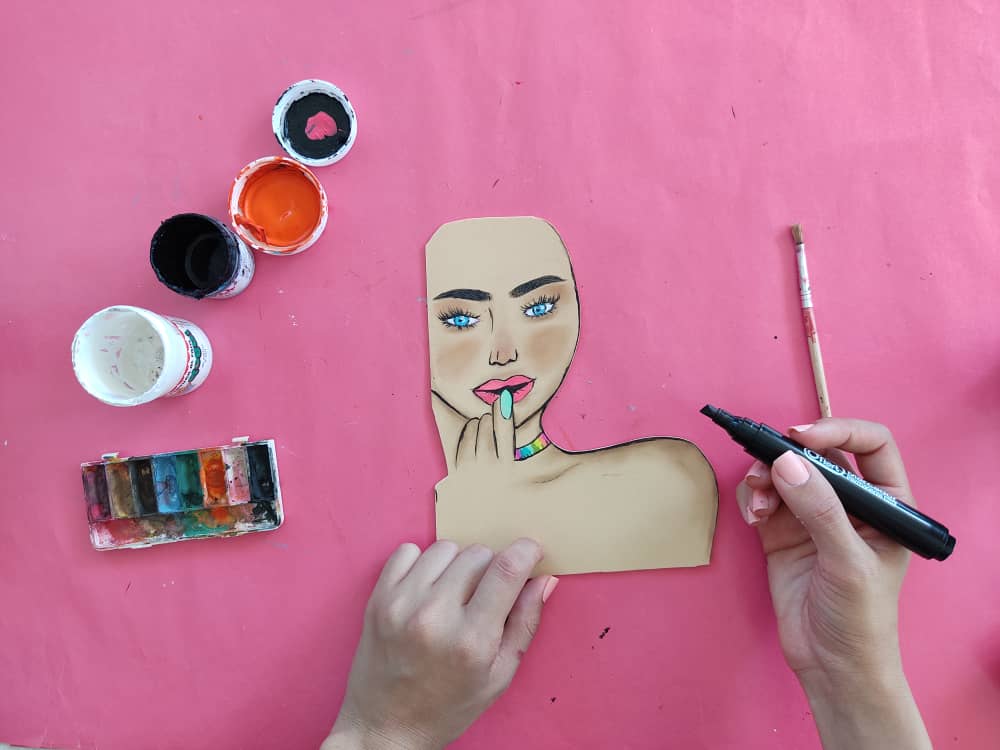
Once the pieces in foamy were obtained, we began to paint the face of this beautiful queen, defining each feature and each detail with a lot of love so that it looks really beautiful, shading its edges with brown tones, then we paint the eyebrows, eyes, and the rest. This time I decided to paint her mouth a very striking beautiful pink color since her secret is to give light, remember to paint her beautiful hand with a finger on her mouth, and paint her nail a very beautiful color, so, everything must seem to be shining.
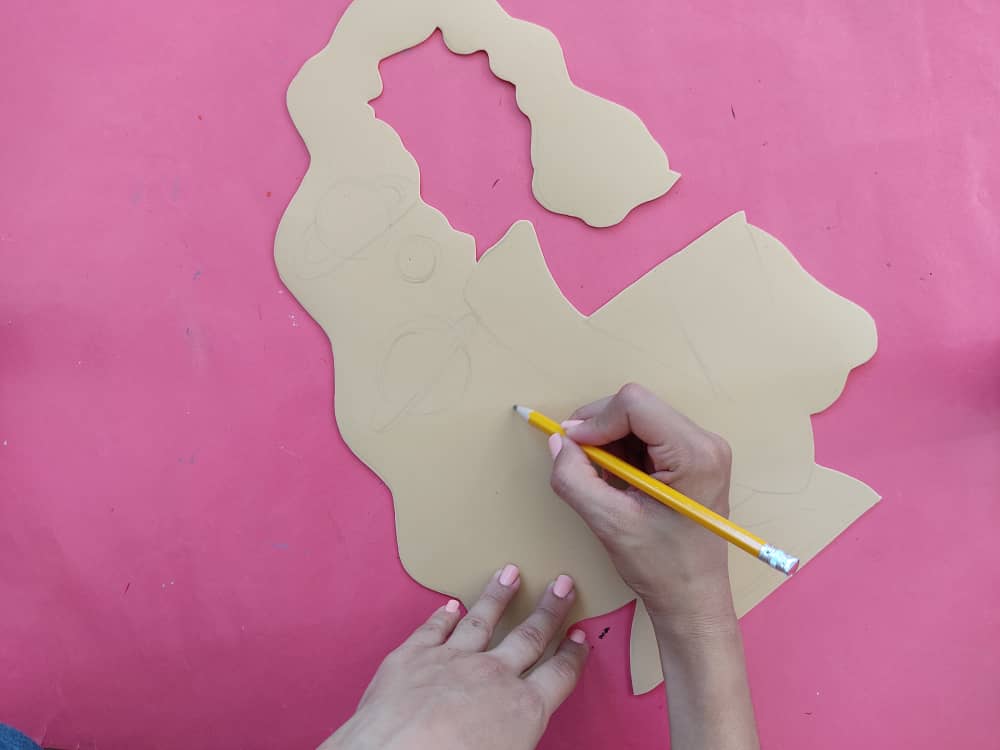
Ahora, dibujamos los planetas en toda el área del cabello y de su camisa, en el lugar que más nos guste, y de manera muy suave para estar bien ubicados a la hora de aplicar los colores.
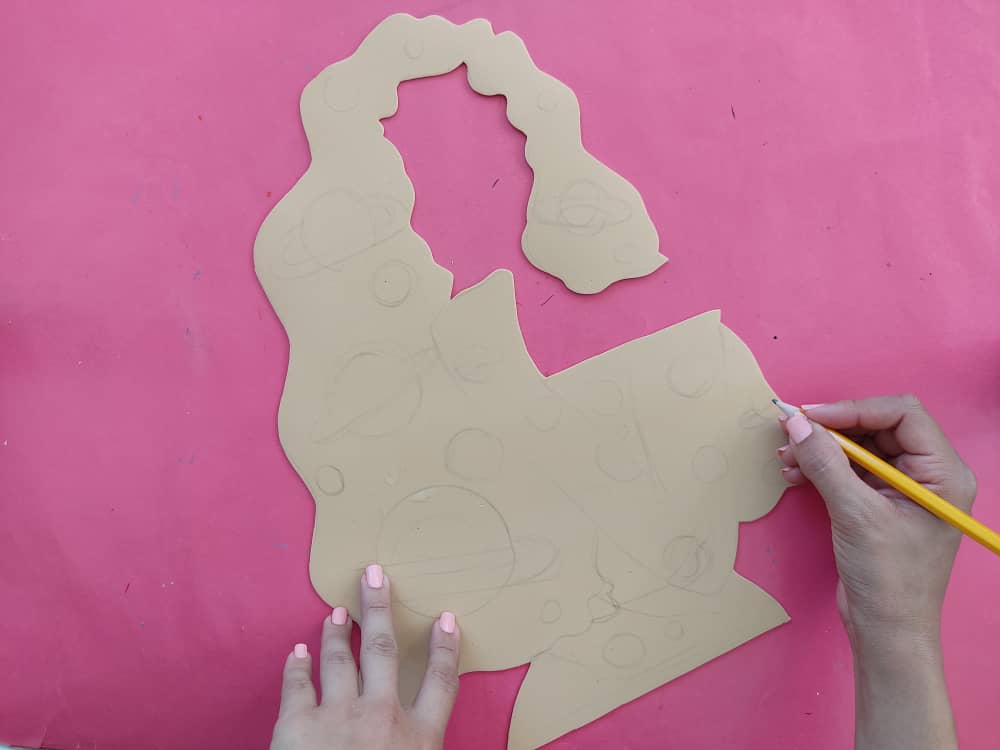
Now, we draw the planets in the entire area of the hair and her shirt, in the place that we like the most, and in a very soft way to be well located when applying the colors.

Luego, comenzamos a darle hermosos colores a los planetas, esta vez decidí aplicar colores muy llamativos, como lo son, amarillo verde, fucsia, turquesa y muchos más, para que llenen de luz nuestro hermoso cuadro galáctico.
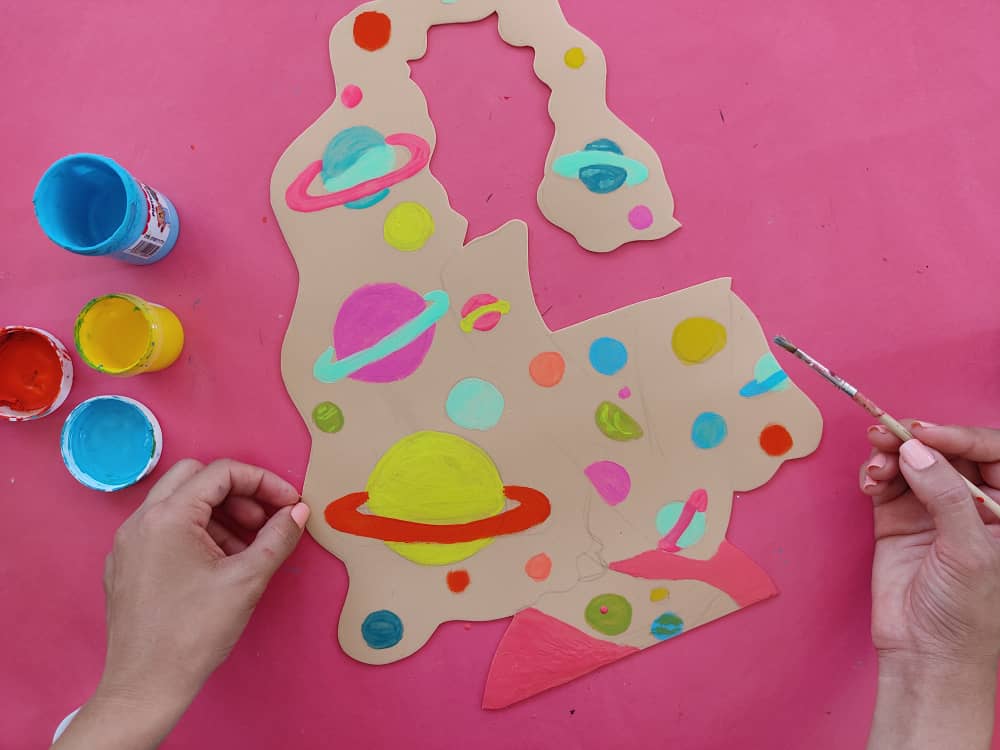
Then, we began to give the planets beautiful colors, this time I decided to apply very striking colors, such as yellow, green, fuchsia, turquoise, and many more, to fill our beautiful galactic painting with light.
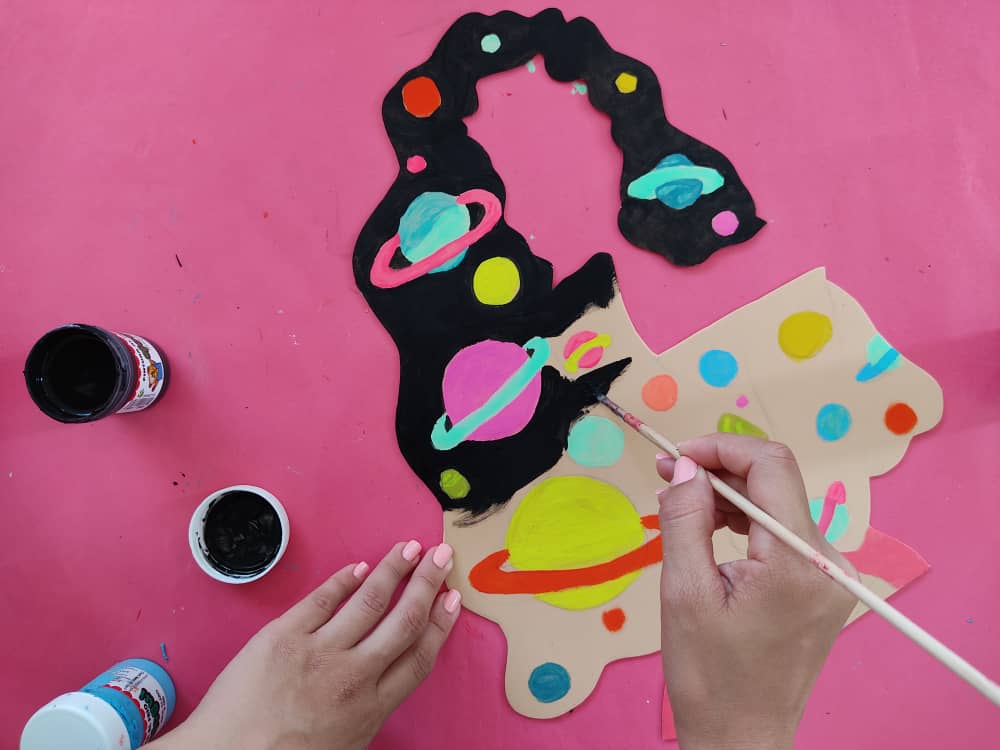
Una vez pintados todos los planetas, comenzamos a pintar el cabello y la camisa de la nuestra reina de color negro, debemos hacerlo con mucho cuidado para no manchar los planetas de negro, y sin olvidar el pequeño espacio que será el pantalón de la reina, lo pintamos de un hermoso color rosa.
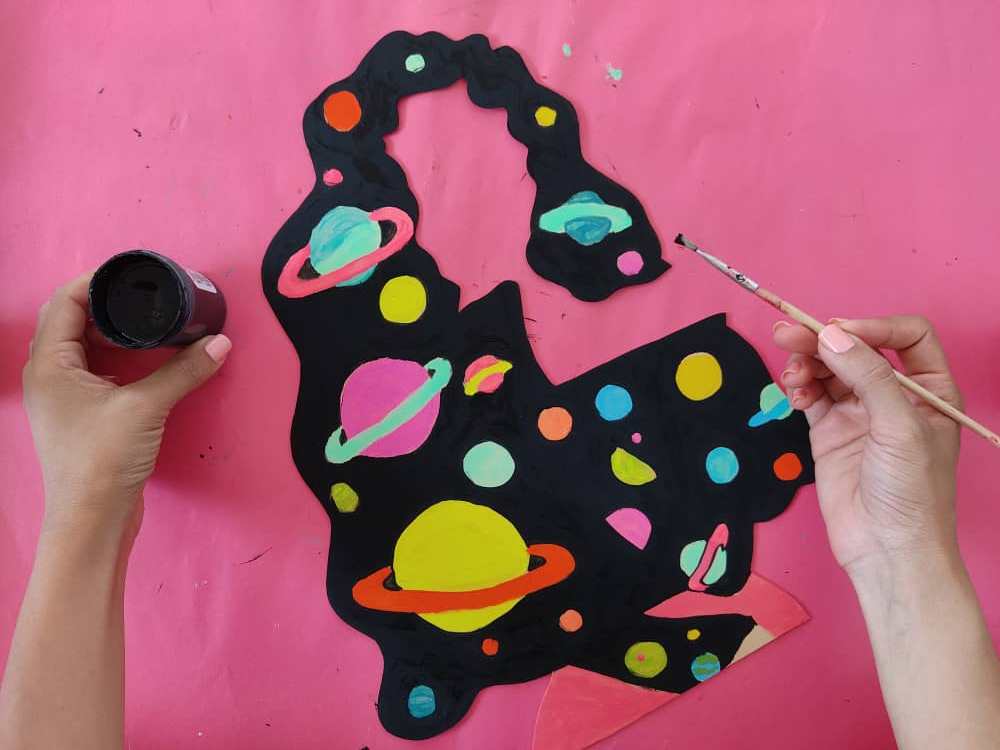
Once all the planets have been painted, we begin to paint the hair and the shirt of our queen in black, we must do it very carefully so as not to stain the planets with black, and without forgetting the small space that will be the queen's pants, we paint it a beautiful pink color.
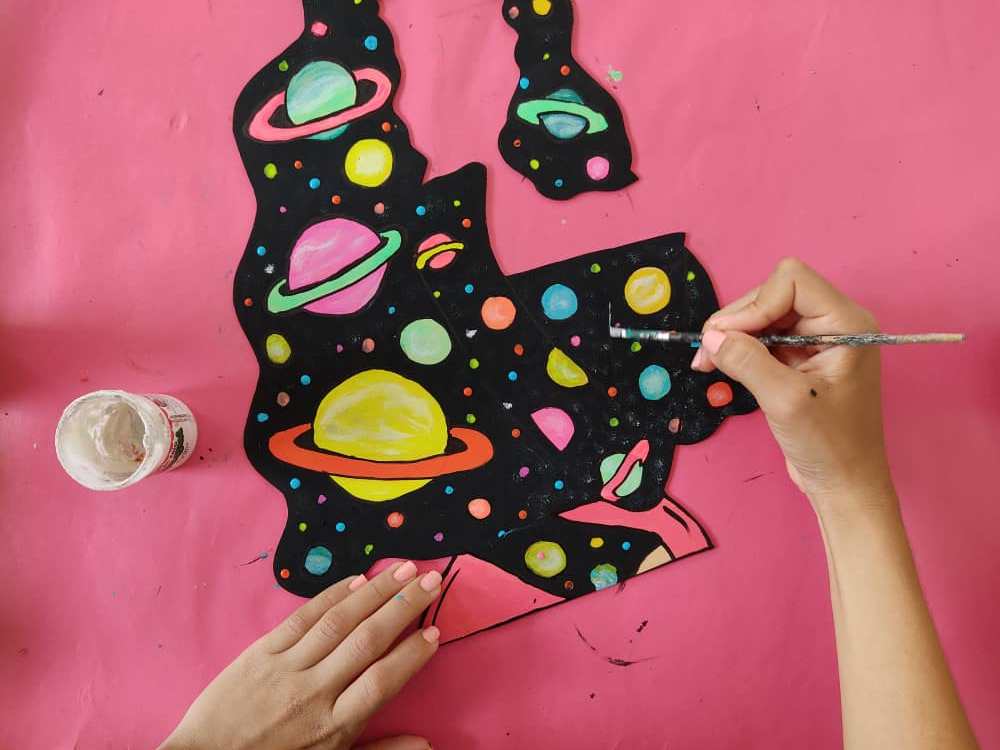
Seguidamente, hacemos pequeños puntos de varios colores para simular las estrellas, y lograr que luzca aún más parecido a una galaxia, y con un poco de blanco marcamos el brazo para hacer notar la diferencia entre la camisa y el cabello.
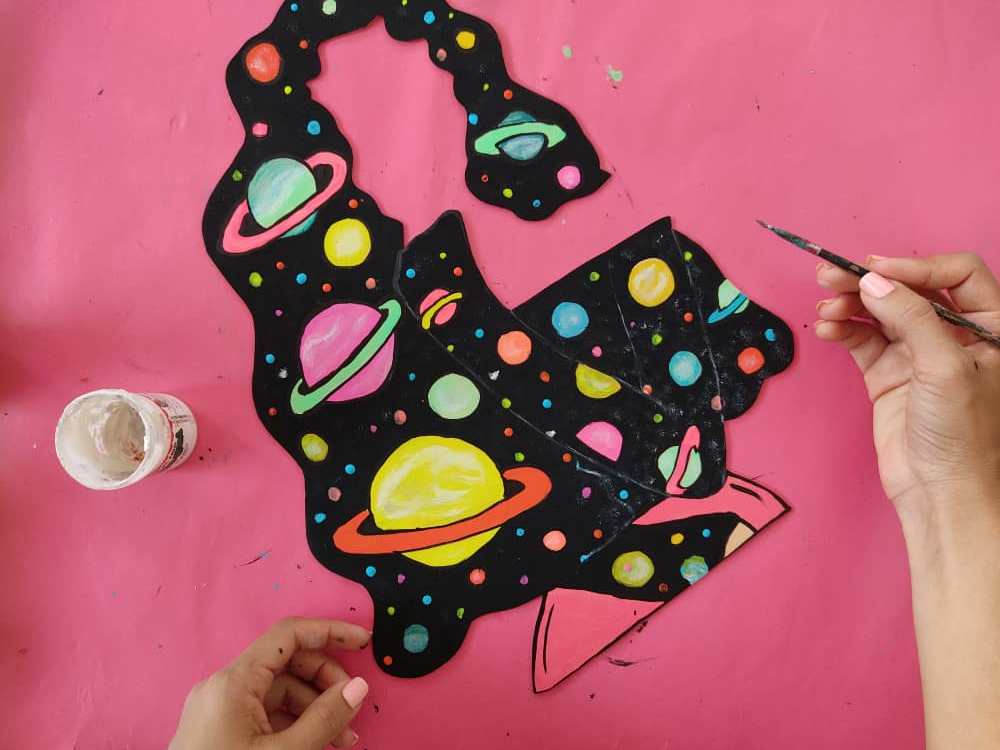
Next, we make small dots of various colors to simulate the stars, and make it look even more similar to a galaxy, and with a little white we mark the arm to show the difference between the shirt and the hair.
Ahora, armamos nuestra reina de la galaxia con la ayuda del pegamento o silicón líquido, asegurándonos que todo quede muy bien pegado.

Now, we assemble our queen of the galaxy with the help of glue or liquid silicone, making sure that everything sticks very well.
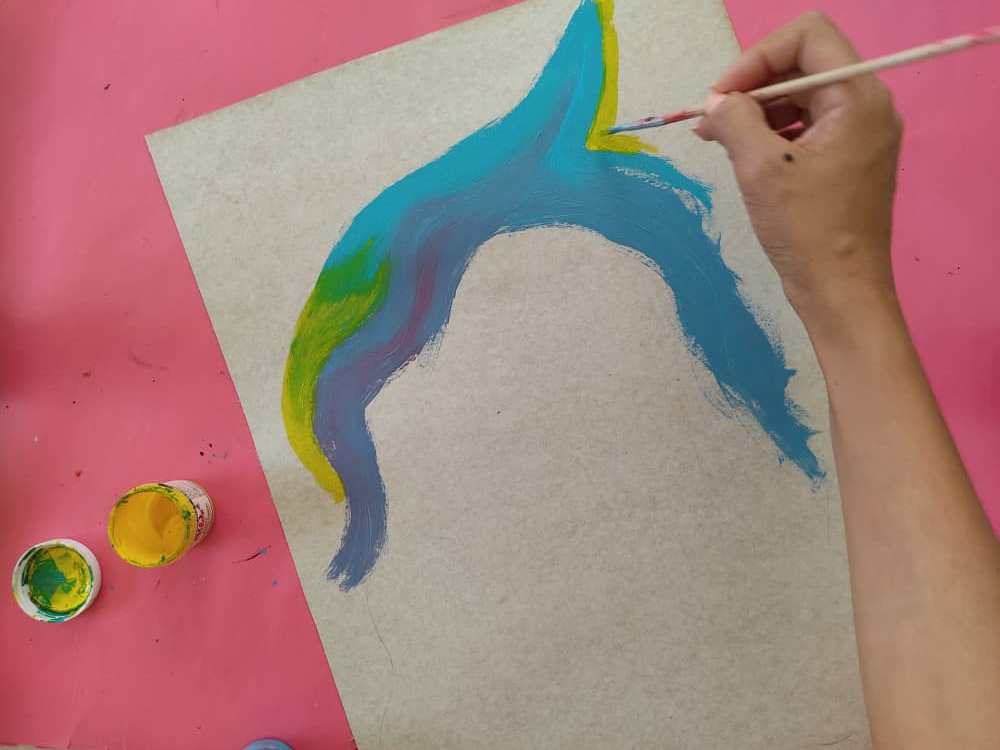
Luego, elaboramos base de cartón para nuestro cuadro de aproximadamente 50 cm x 27 cm, y la pintamos con hermosos colores, de tonos azules, morados y los que más nos gusten, dejamos secar por unos minutos y listo.

Then, we make a cardboard base for our painting of approximately 50 cm x 27 cm, and we paint it with beautiful colors, blue, purple and the ones we like the most, we let it dry for a few minutes and that's it.
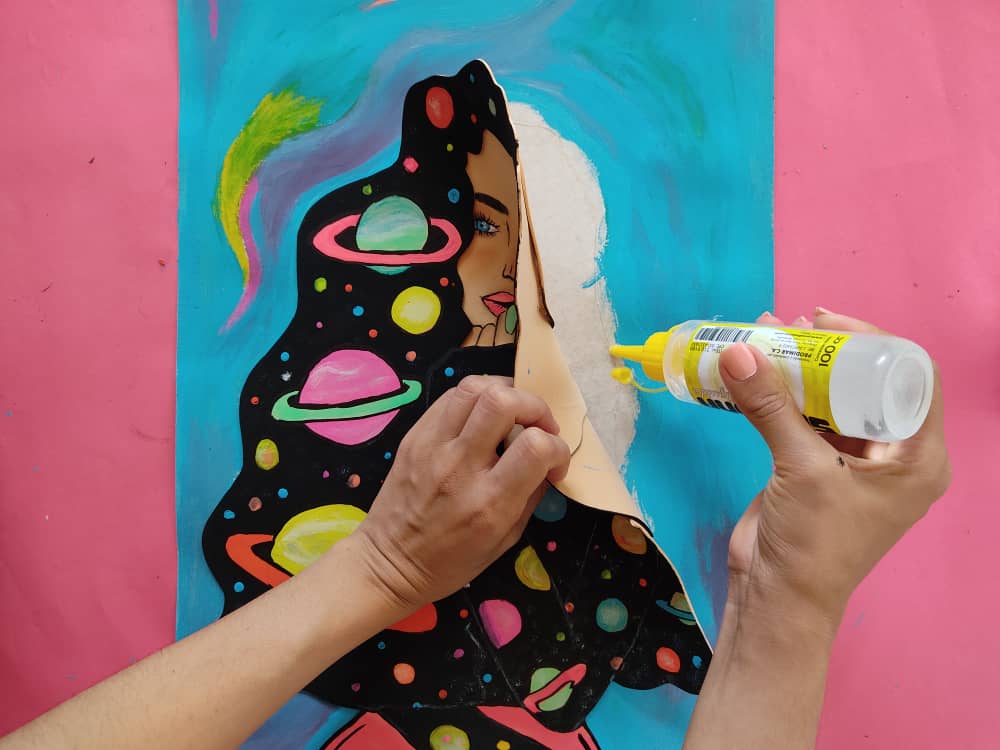
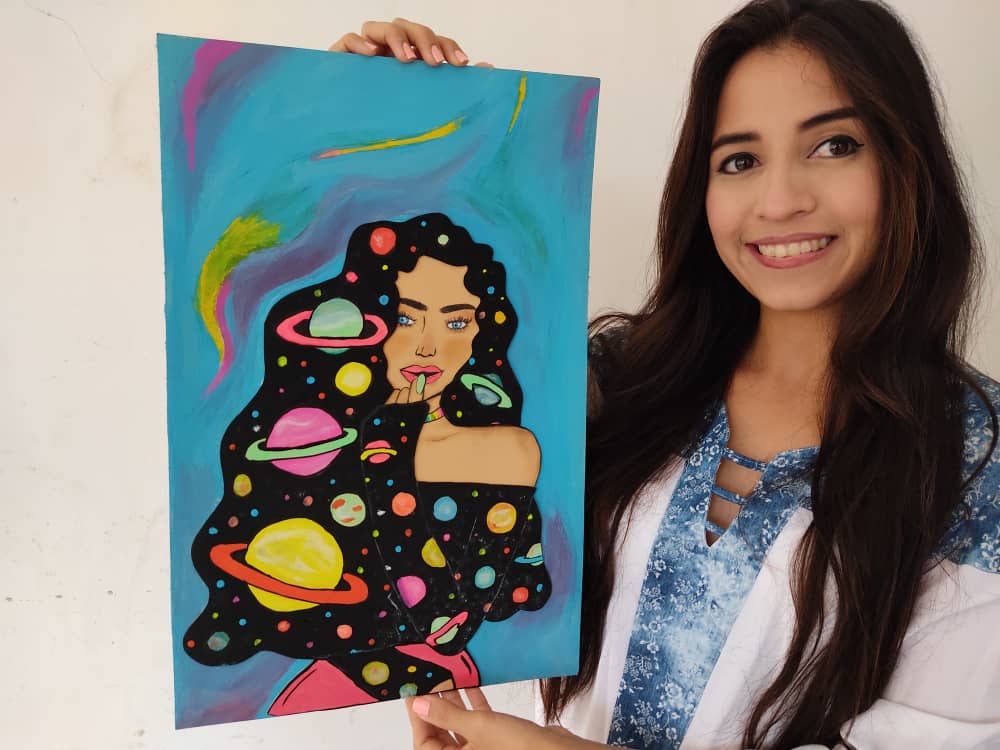
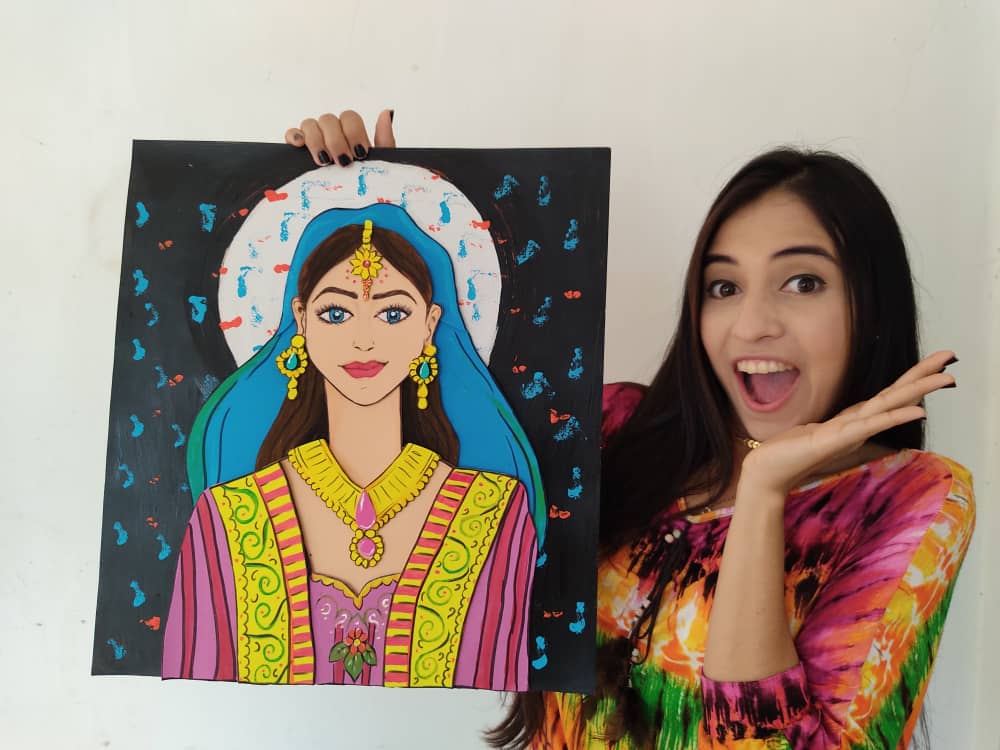
Finalmente, pegamos a la reina sobre la base, asegurándonos que quede en el centro del cuadro muy elegante y lista, hermosa no?
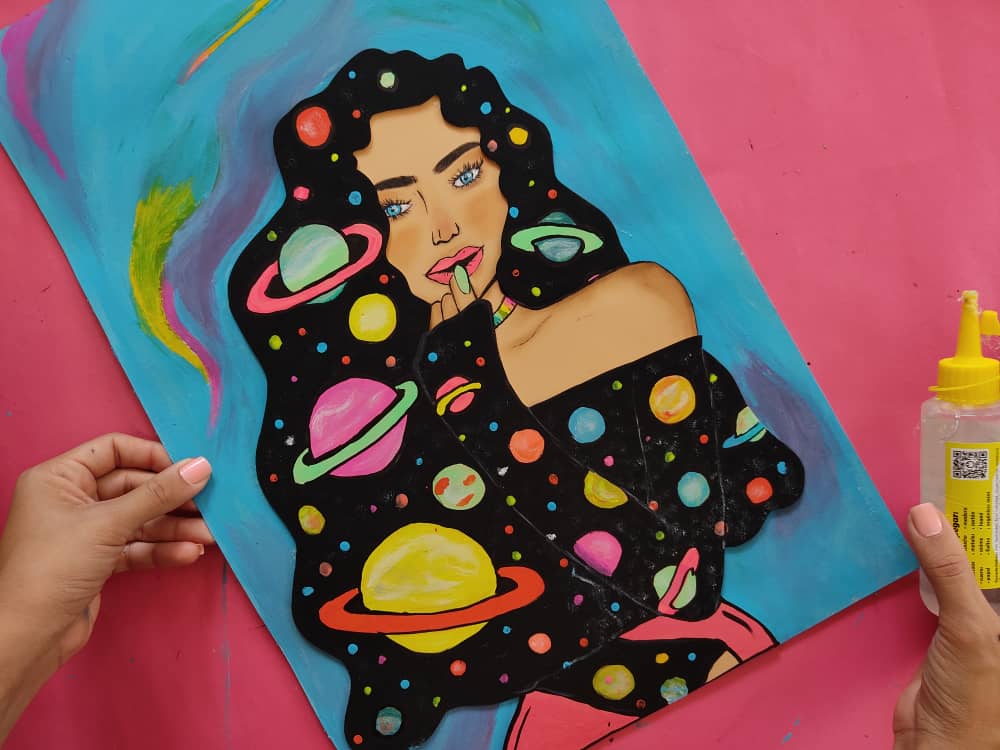
Finally, we glue the queen on the base, making sure that it is in the center of the picture very elegant and ready, beautiful right?
.jpeg)
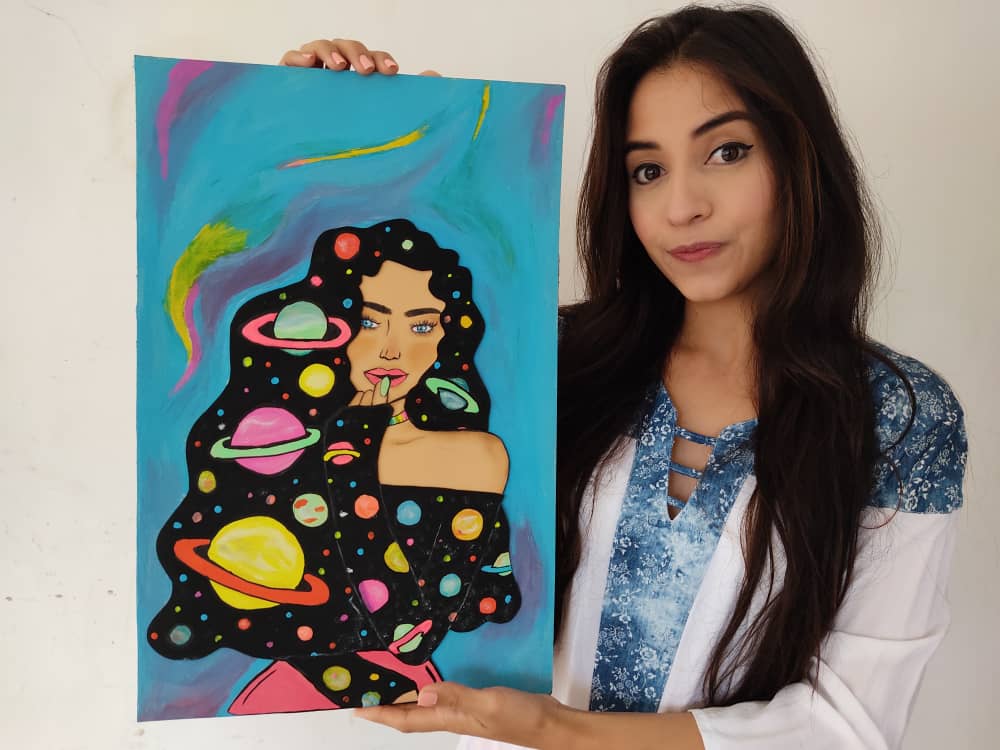
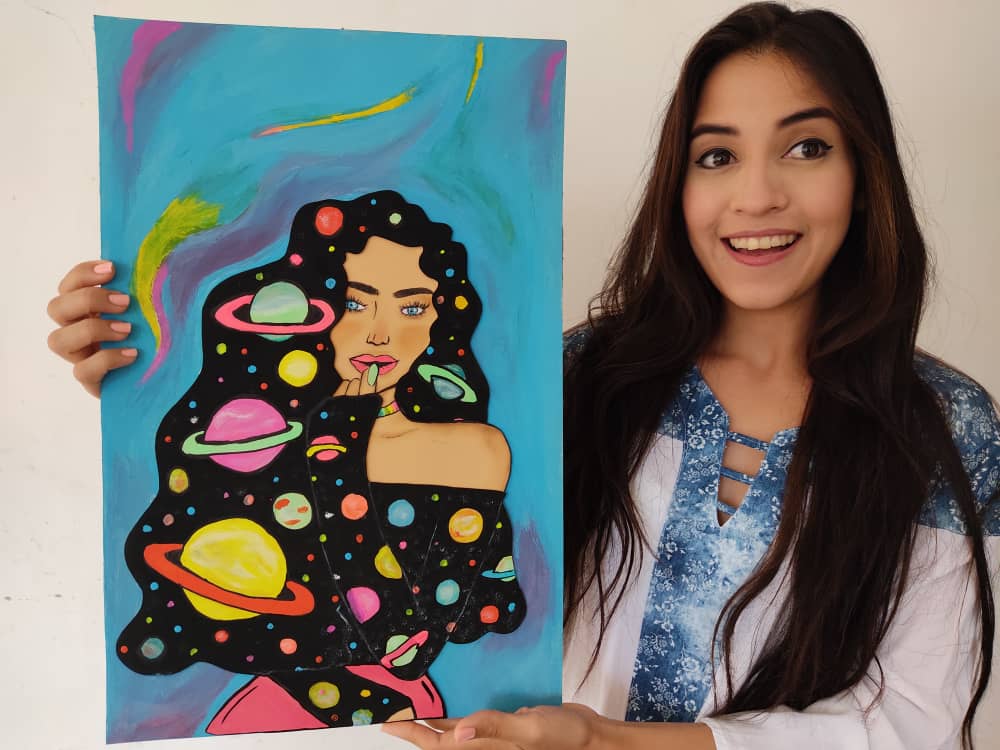
Gracias por acompañarme y espero que lo hayan disfrutado. ❤️
Thanks for joining and I hope you enjoyed it.❤️
.jpeg)
.jpeg)
.jpeg)
.jpeg)
.jpeg)
Clic para ver trabajos anteriores | Click to see previous works


¡Está demasiado hermoso! y aparte yo amo el espacio. Me encanto.
Oye me gusto mucho como lo desarrollaste, se nota que eres muy creativa. Mis saludos!
Thank you for sharing this amazing post on HIVE!
Your content got selected by our fellow curator @priyanarc & you just received a little thank you via an upvote from our non-profit curation initiative!
You will be featured in one of our recurring curation compilations and on our pinterest boards! Both are aiming to offer you a stage to widen your audience within and outside of the DIY scene of hive.
Join the official DIYHub community on HIVE and show us more of your amazing work and feel free to connect with us and other DIYers via our discord server: https://discord.io/diyhub!
If you want to support our goal to motivate other DIY/art/music/homesteading/... creators just delegate to us and earn 100% of your curation rewards!
Stay creative & hive on!