.jpeg)

Español
Hola querida familia de HIVE ❤️ Este hermoso día les traigo otro divertido paso a paso lleno de amor y color, donde les mostrare como realizar un precioso cuadro de una chica con un lindo tatuaje en su espalda, perfecto para decorar nuestras paredes favoritas dando ese toque creativo y personal, y lo mejor de todo es que esta hecho de materiales súper económicos y muy fáciles de conseguir. Así que, no dejemos de mantener nuestra mente ocupada haciendo estas obras, que además, de ser muy lindas son bastante productivas, y así, sacar provecho a cada tiempo que tengamos libre.
English
Hello, dear HIVE family ❤️ This beautiful day I bring you another fun step by step full of love and color, where I will show you how to make a beautiful painting of a girl with a cute tattoo on her back, perfect to decorate our favorite walls giving that creative and personal touch, and what best of all is that it is made of super cheap materials and very easy to get. So, let's not stop keeping our minds busy doing these works, which in addition to being very beautiful are quite productive, and thus, take advantage of every free time we have.
¿Qué están esperando?
Gracias a esta técnica podemos crear nuestro propio cuadro chica tatuada, además, una hermosa obra hecha en casa es una manera creativa y muy económica de darle un toque de alegría a nuestro entorno. Antes de comenzar no olvidemos lavarnos nuestras manos.
What are they waiting for?
Thanks to this technique we can create our own tattooed girl painting, in addition, a beautiful work made at home is a creative and very cheap way to give a touch of joy to our environment. Before we start, let's not forget to wash our hands.
[Materiales | Materials]
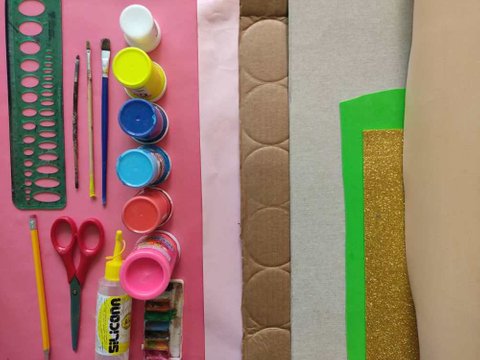
Para hacer esta hermosa chica necesitaremos:
- Moldes.
- Foamy o goma eva.
- Papel vegetal o calco.
- Lamina de cartón.
- Regla.
- Lápiz.
- Marcador.
- Tijera.
- Cúter.
- Pincel o brocha.
- Pinturas.
- Silicón liquido o pegamento.
To make this beautiful girl we will need:
- Molds.
- Foamy or eva foam.
- Vegetable paper or tracing.
- Cardboard sheet.
- Rule.
- Pencil.
- Bookmark.
- Scissors.
- Cutter.
- Brush or brush.
- Paintings.
- Liquid silicone or glue.
Procedimiento (paso a paso)
Process (step by step)
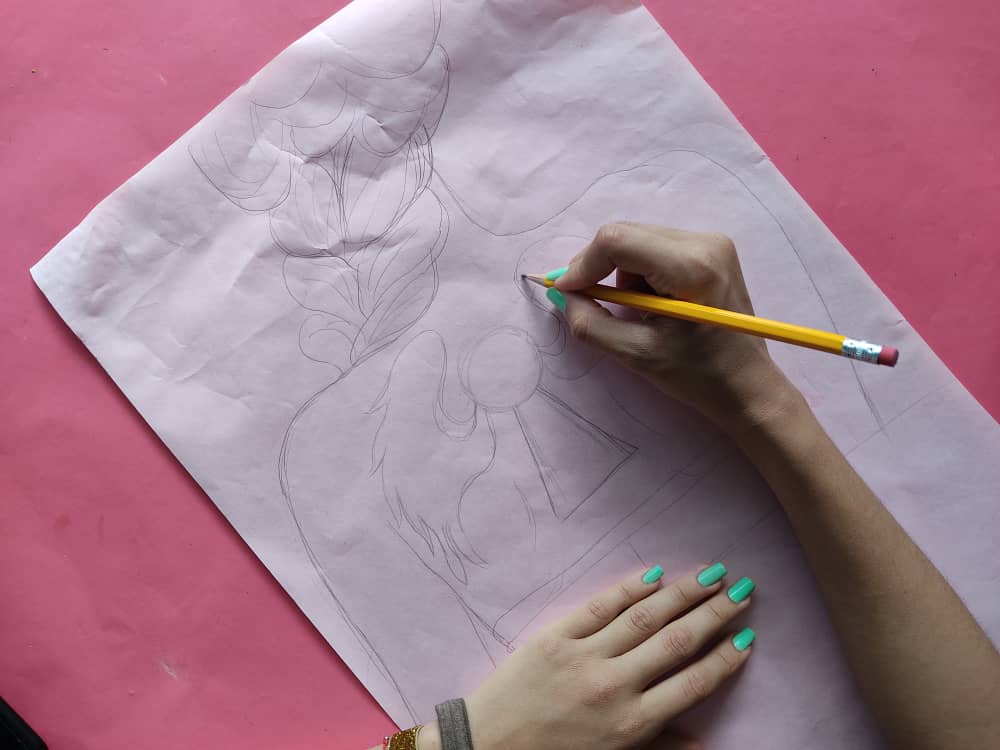
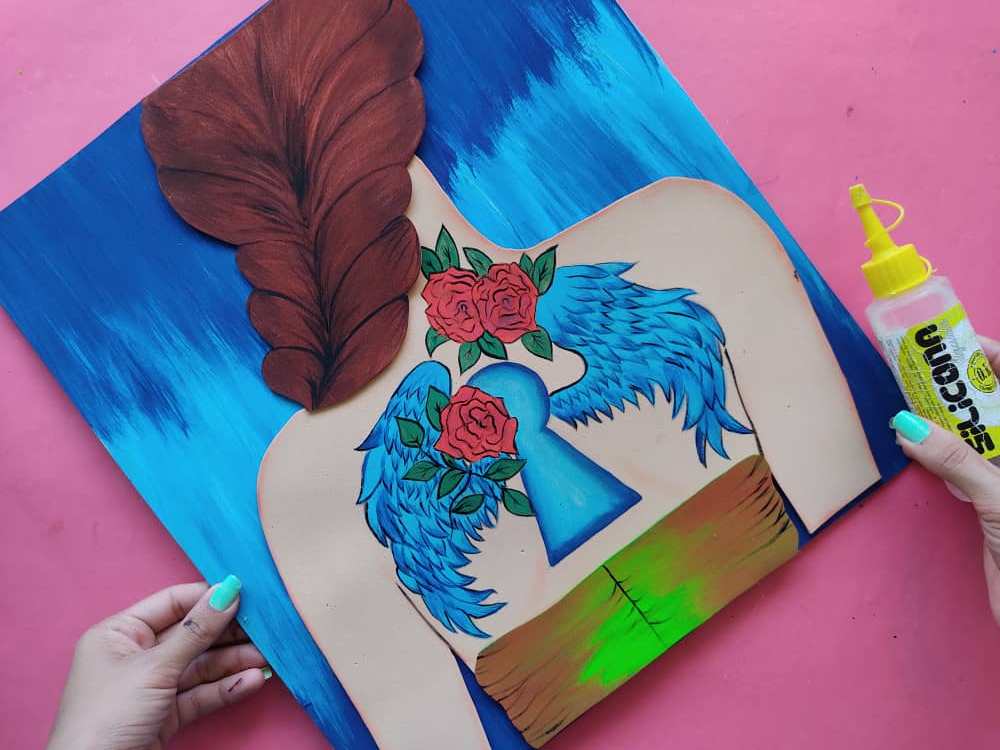
Primero, dibujamos a una chica de espalda con una hermosa trenza en su cabello y un increíble tatuaje en la parte superior de su espalda, en este caso decidí hacer una cerradura con unas hermosas alas y algunas rosas rojas.
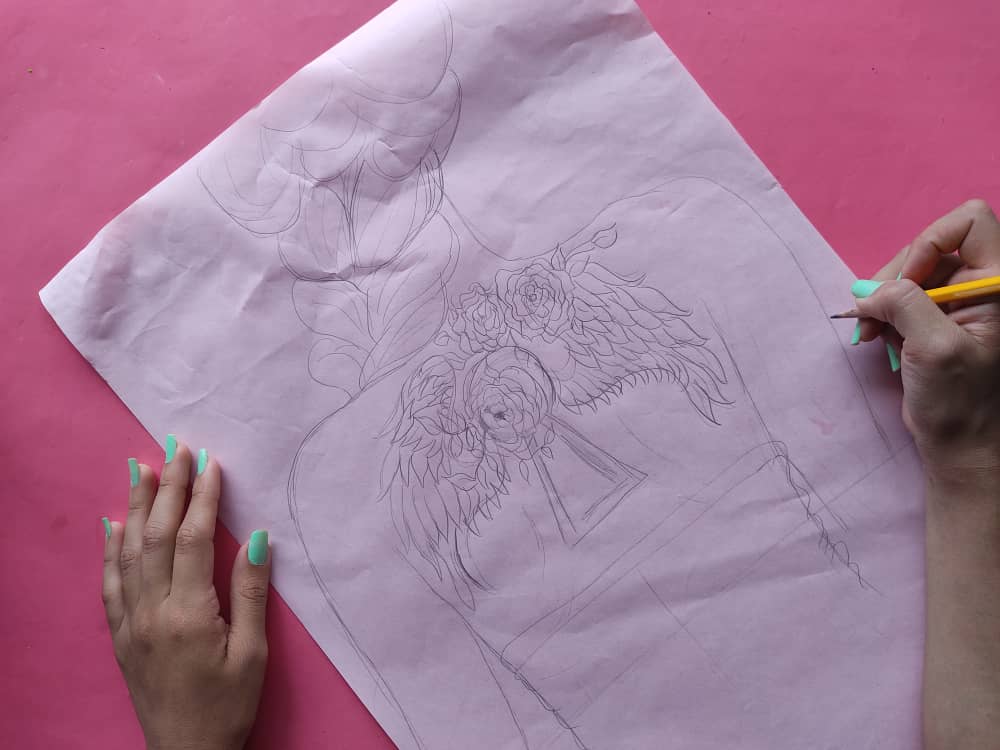
First, we drew a girl from the back with a beautiful braid in her hair and an amazing tattoo on her upper back, in this case I decided to make a lock with some beautiful wings and some red roses.
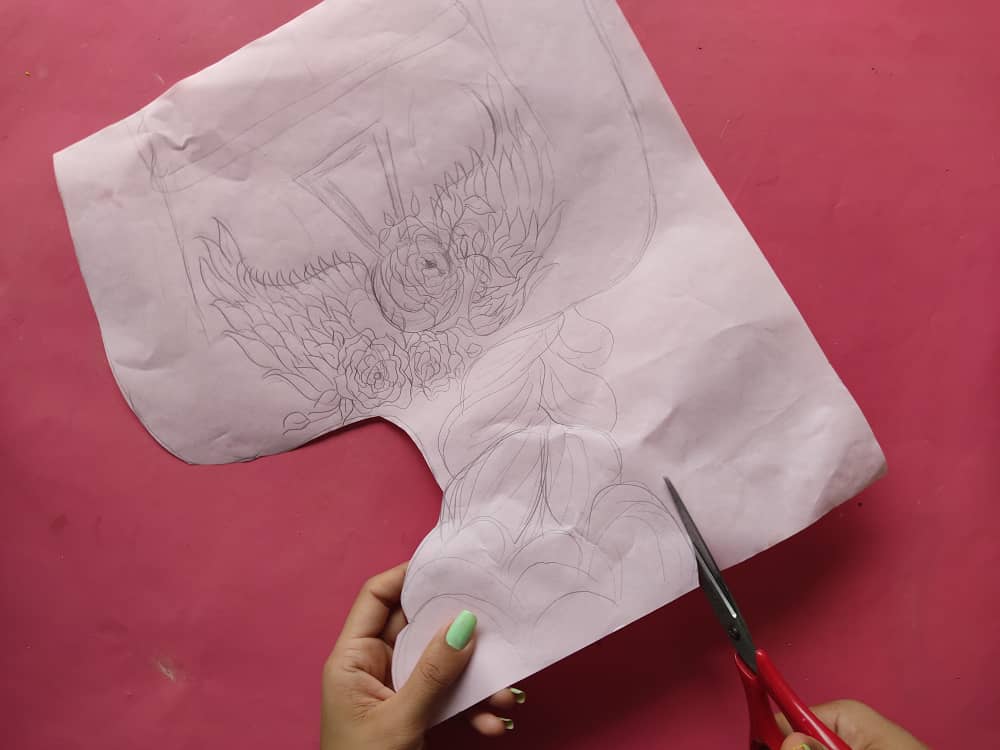
Seguidamente, recortamos las partes de este lindo dibujo separando el cabello, cuerpo, y ropa.
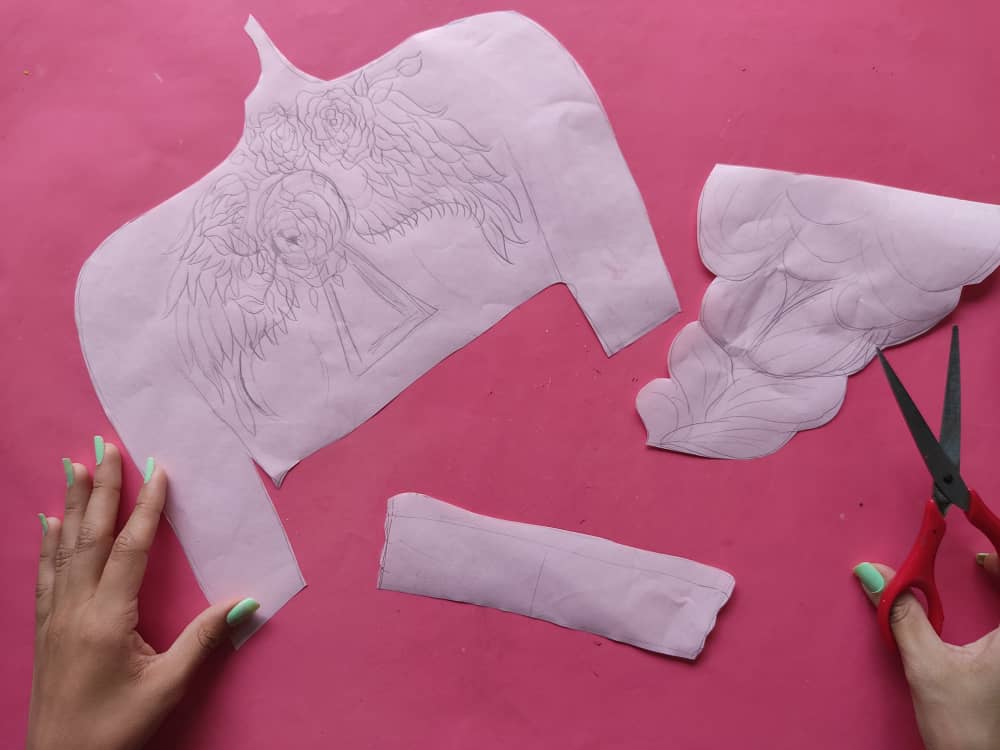
Next, we cut out the parts of this cute drawing, separating the hair, body, and clothes.
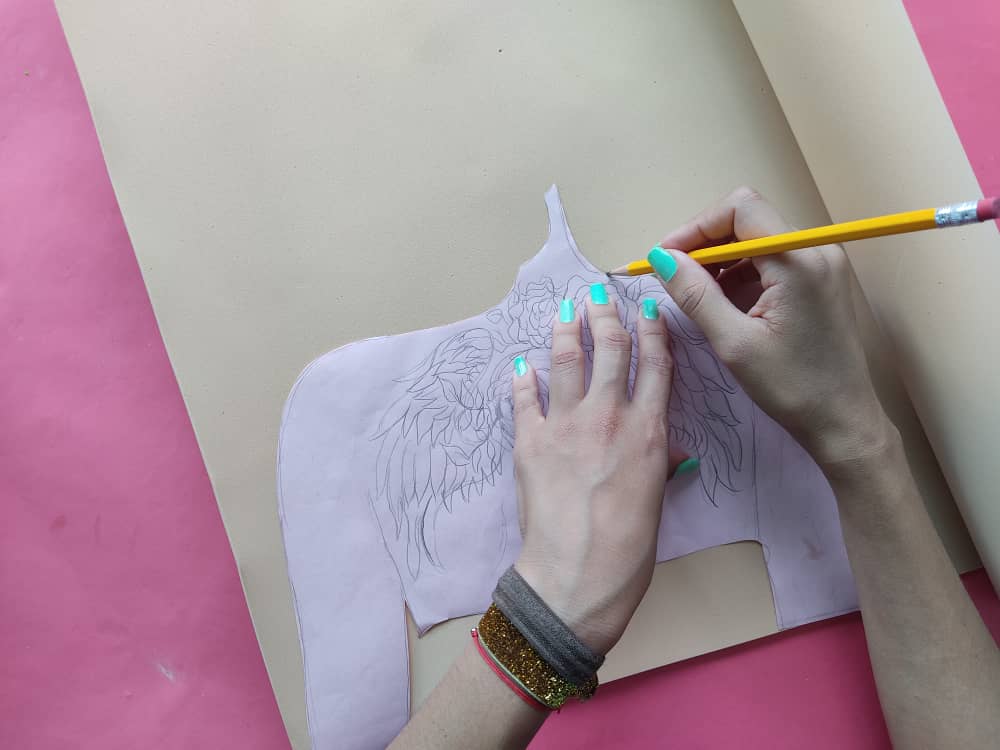
Ahora, transferimos las piezas obtenidas al foamy en los colores que deseamos, y recortamos con mucho cuidado.
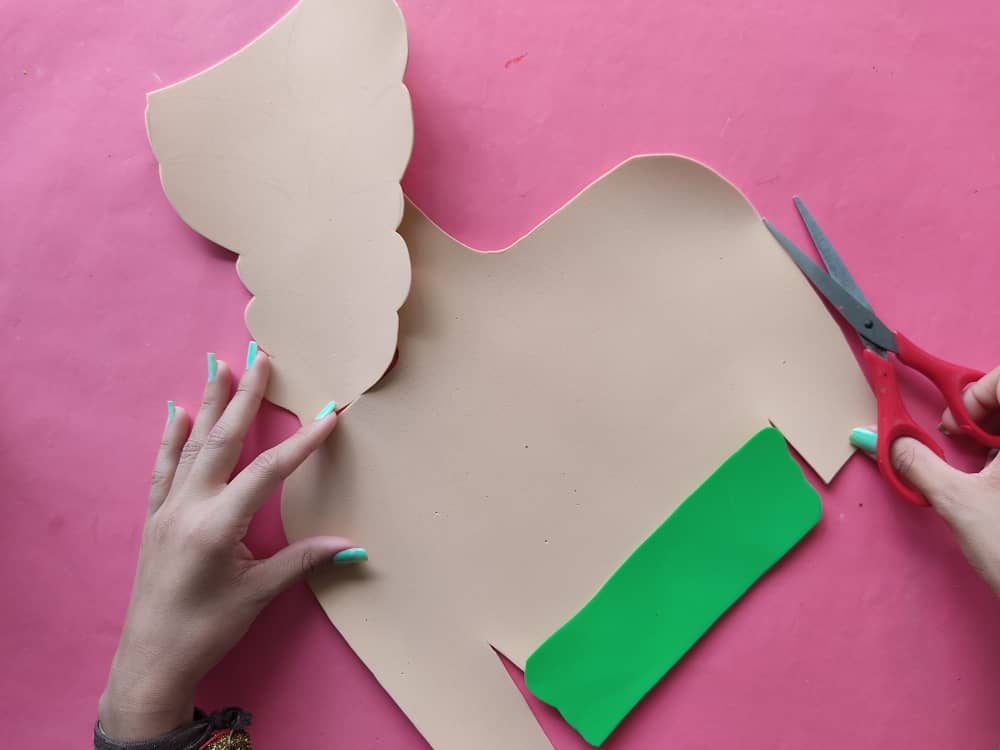
Now, we transfer the pieces obtained to the foamy in the colors we want, and we cut very carefully.
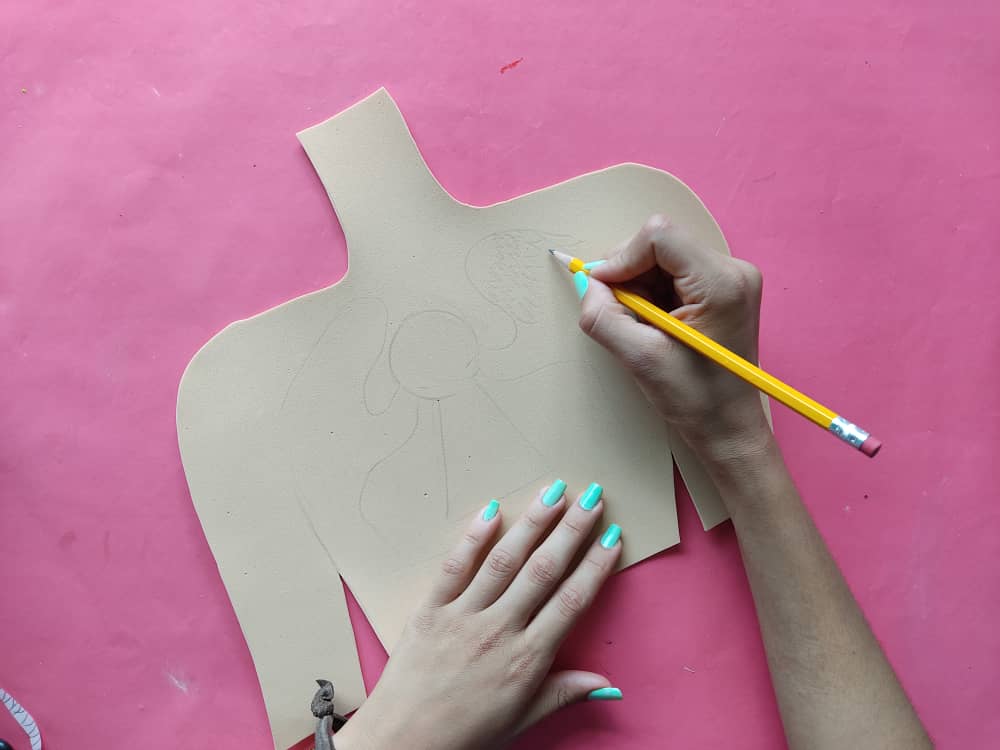
Luego, definimos con el lápiz todos los detalles que deseamos pintar sobre estas lindas piezas de foamy, como lo son las trenzas en el cabello, y el hermoso tatuaje en la espalda.
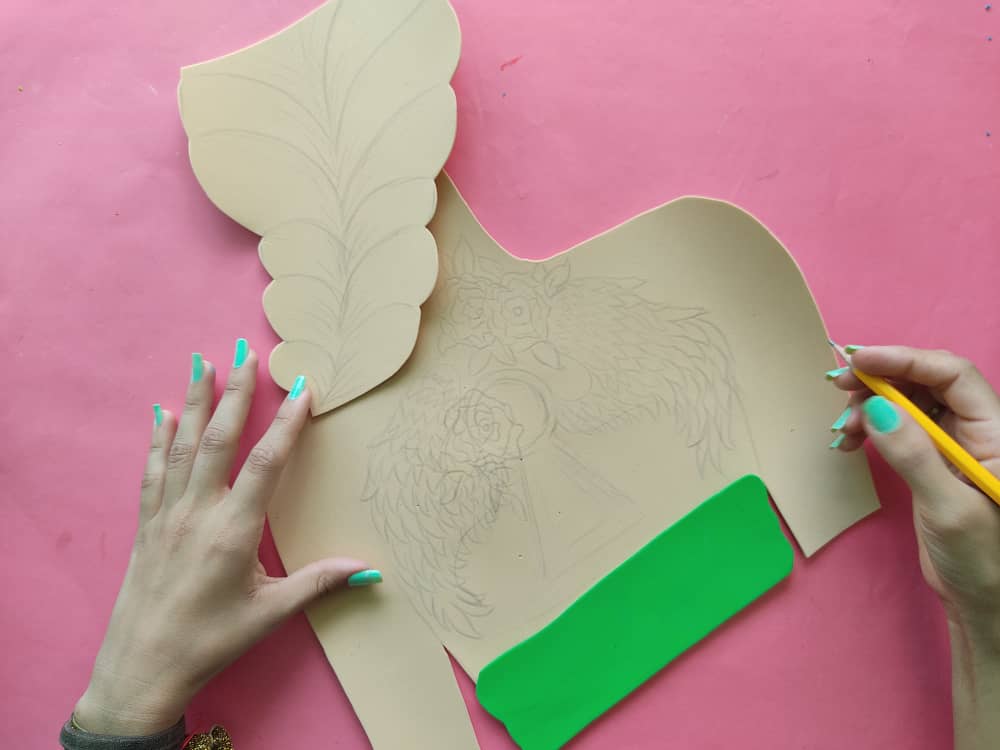
Then, we define with the pencil all the details that we want to paint on these beautiful foamy pieces, such as the braids in the hair, and the beautiful tattoo on the back.
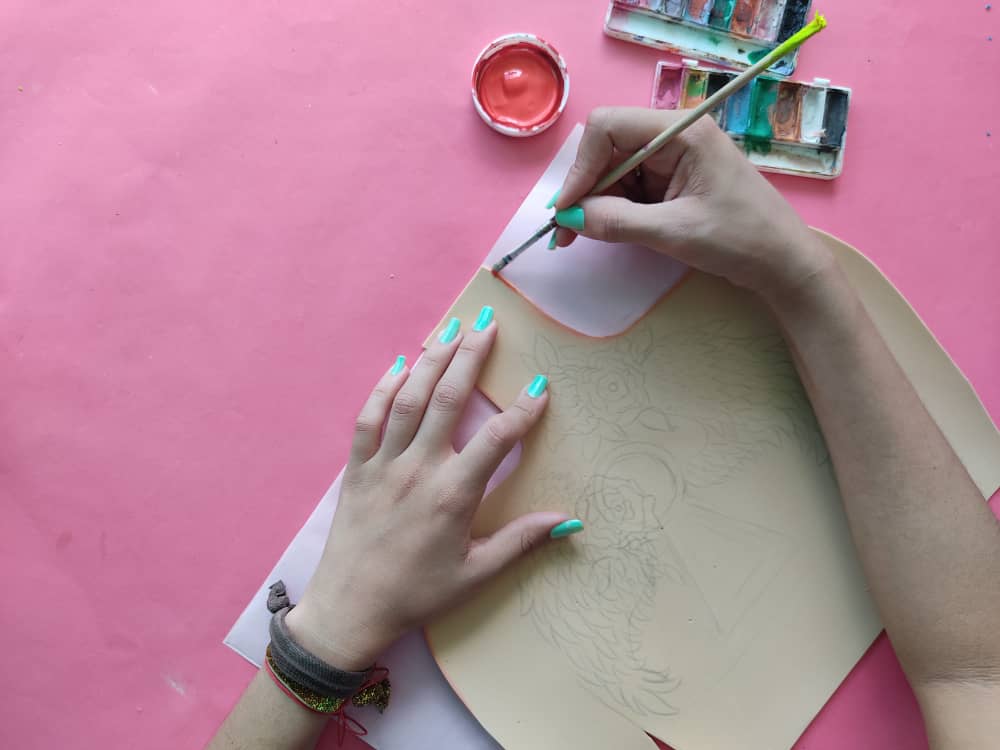
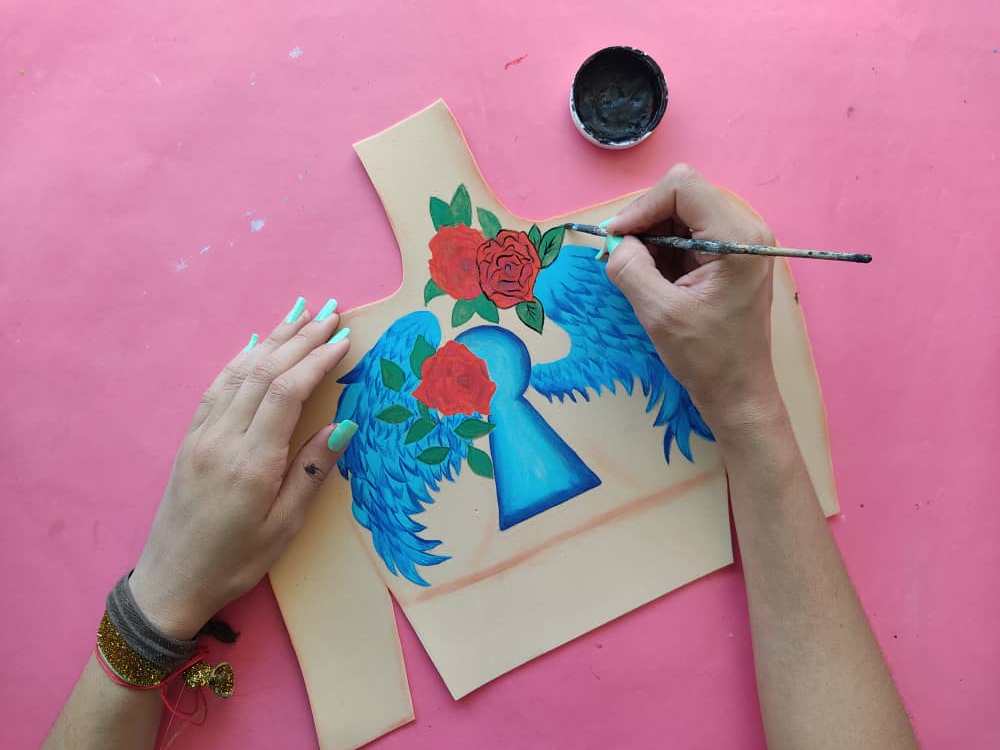
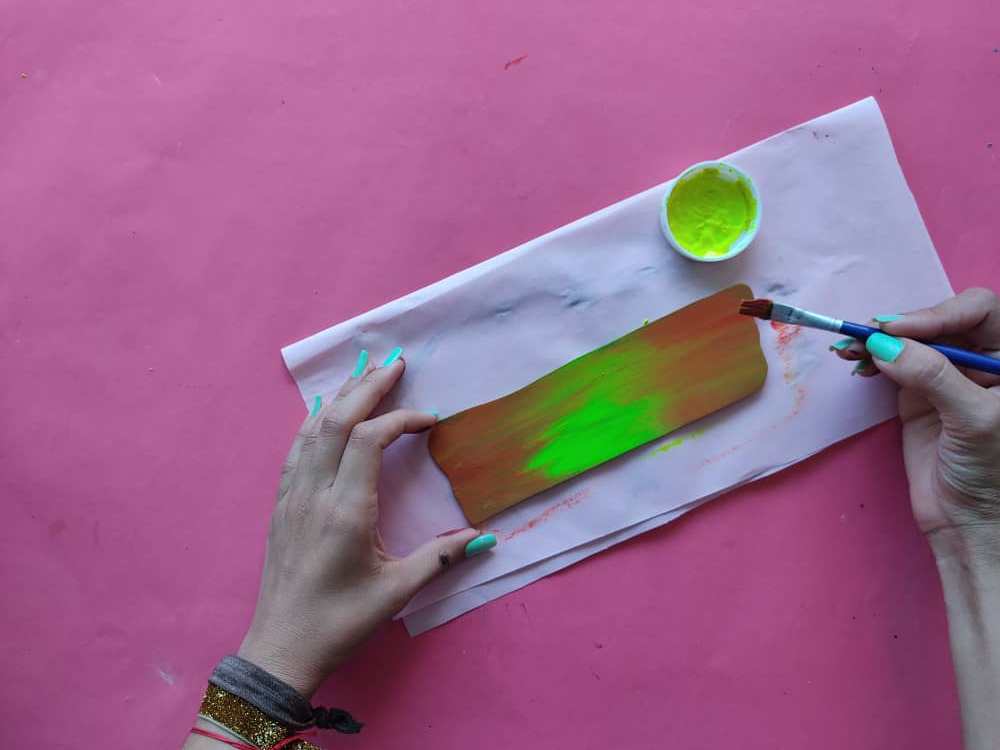
Ahora, llegamos al paso más esperado donde comenzamos a pintar la espalda de la chica, sombreando sus bordes con color naranja muy claro.
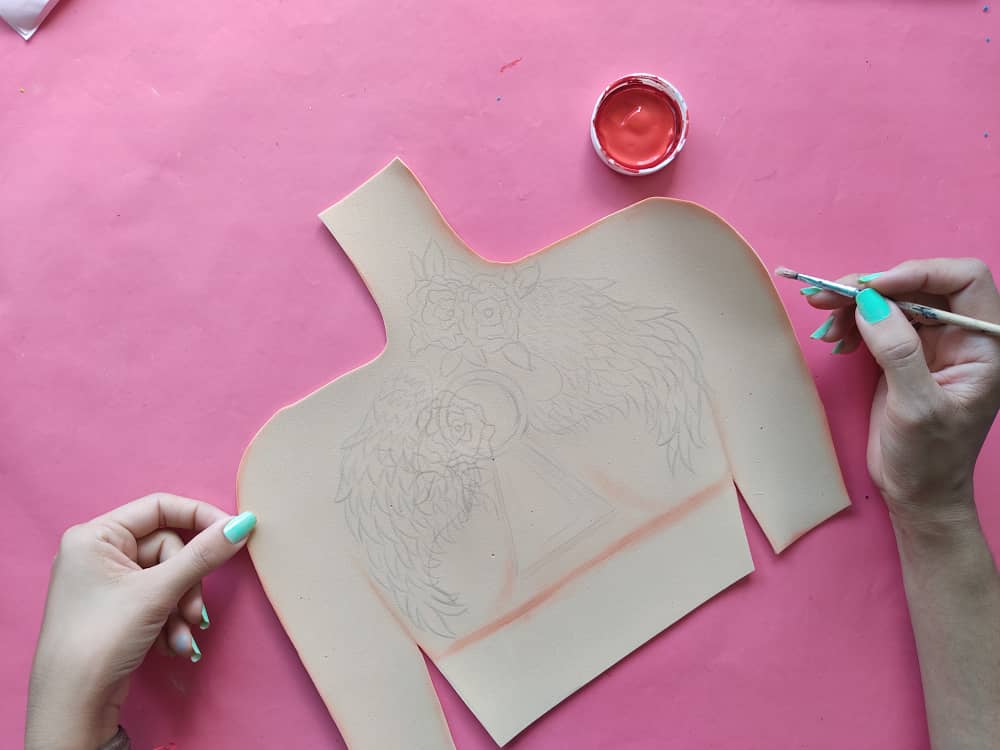
Now, we come to the most anticipated step where we begin to paint the girl's back, shading its edges with very light orange.
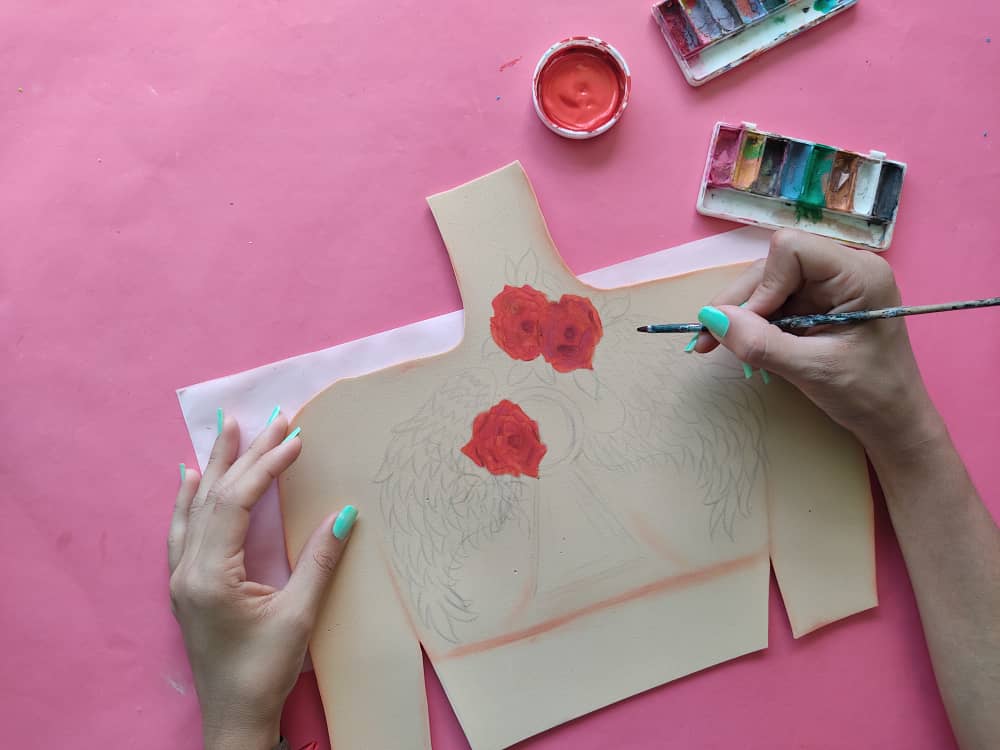
Seguidamente, continuamos dando color a este increíble tatuaje lleno de magia, pintamos la rosas de color rojo muy brillante. Y definimos las pequeñas hojas que estaran al rededor de las hermosas rosas.
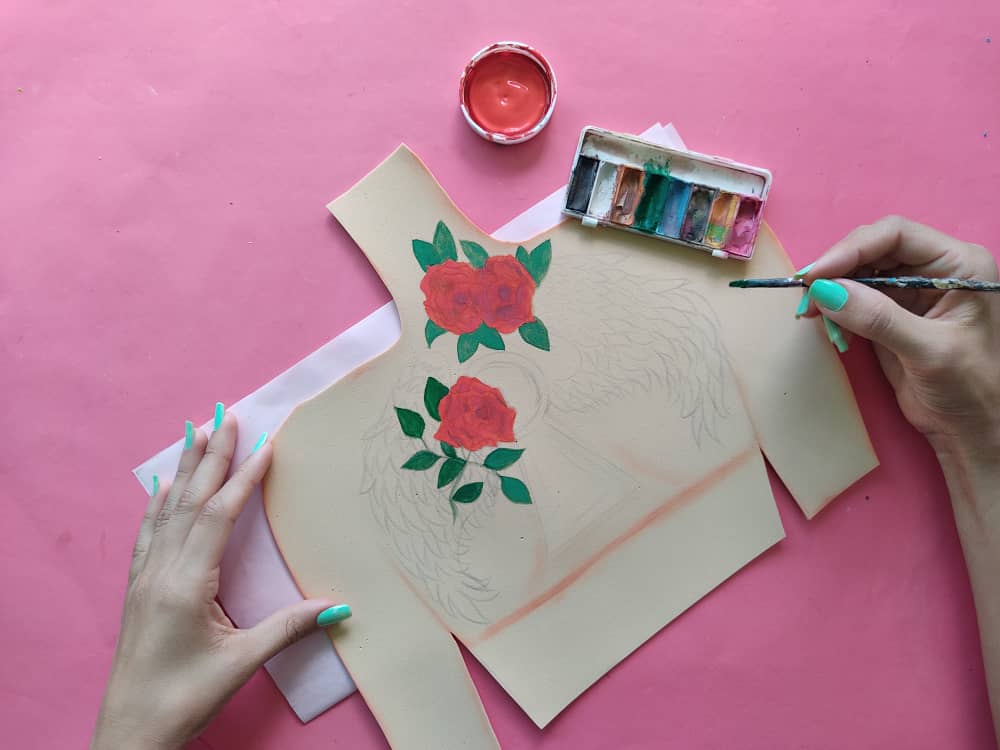
Next, we continue giving color to this incredible tattoo full of magic, we paint the roses very bright red. And we define the small leaves that will be around the beautiful roses.
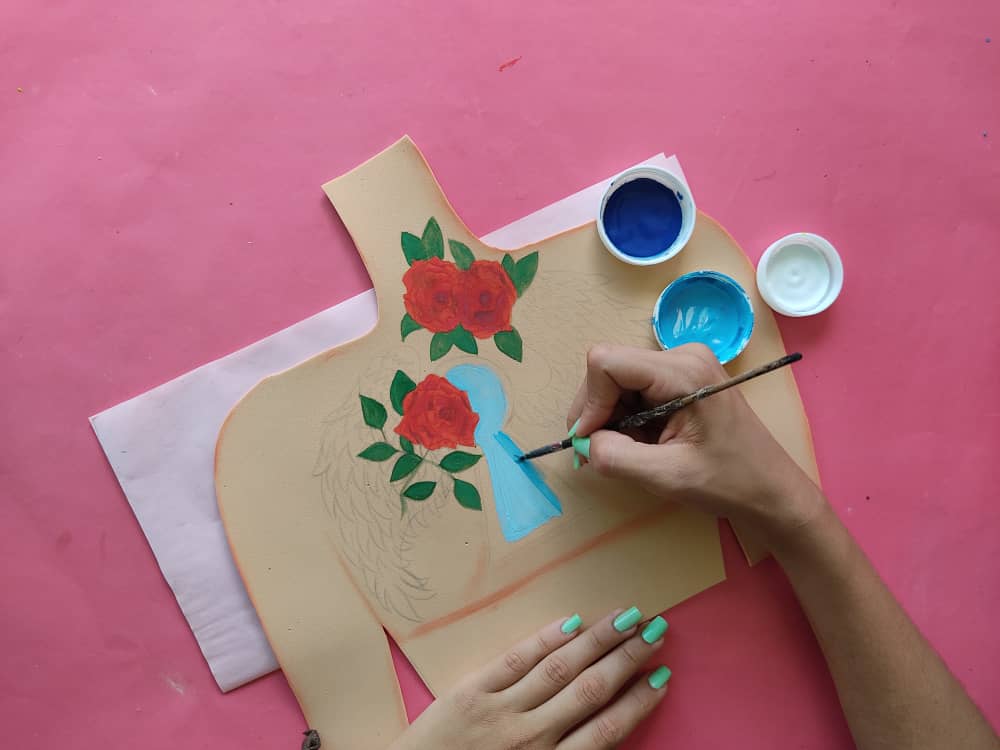
Luego, pintamos la cerradura con unos hermosos tonos de azul y blanco.
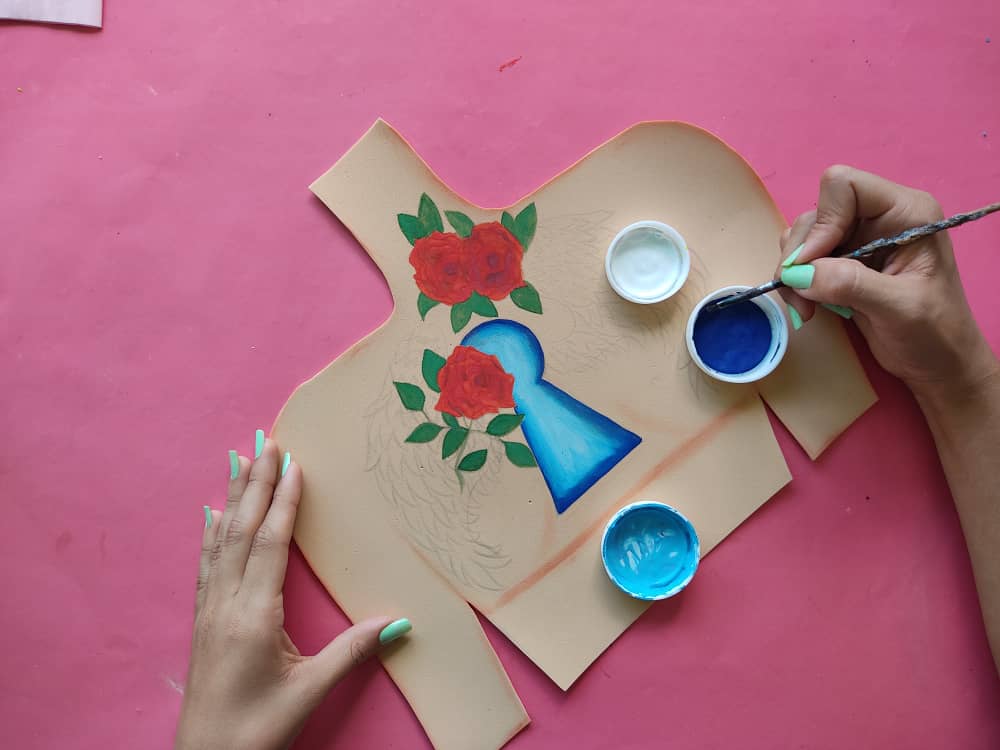
Next, we painted the lock with some beautiful shades of blue and white.
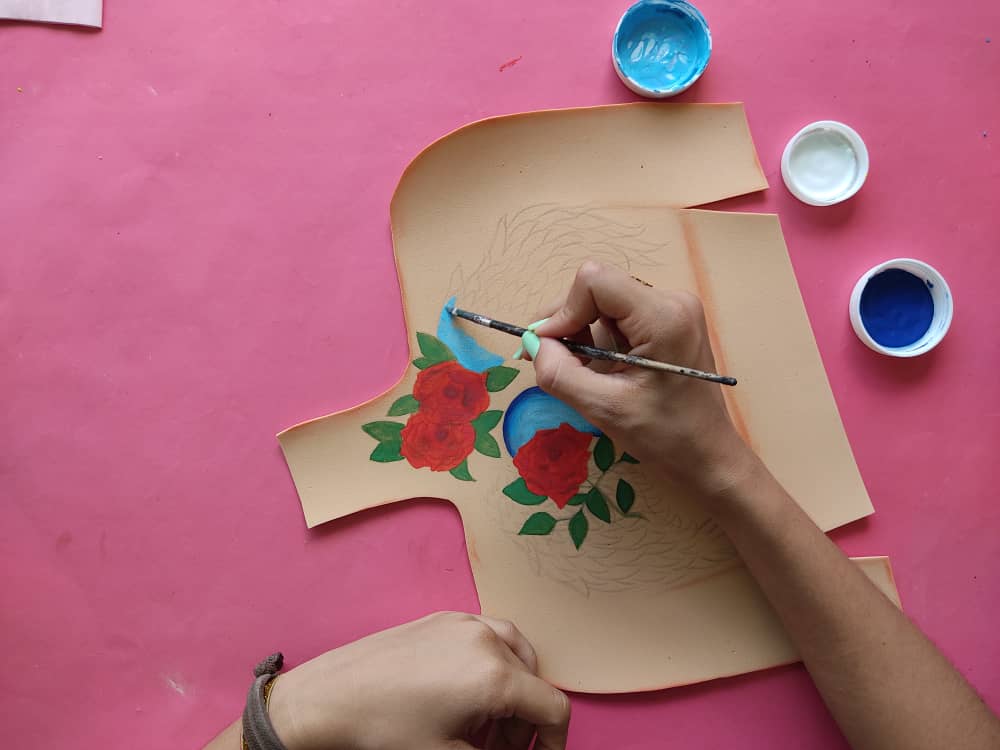
Ahora, pintamos las hermosas alas difuminando los colores azul cielo, y azul rey, de manera que luzca muy original.

Now, we paint the beautiful wings by blurring the sky blue and royal blue colors, so that it looks very original.
Una vez lista la espalda de esta chica, marcamos todos los detalles que deseamos en color negro con mucha delicadeza para que esté increíble dibujo no pierda su belleza.
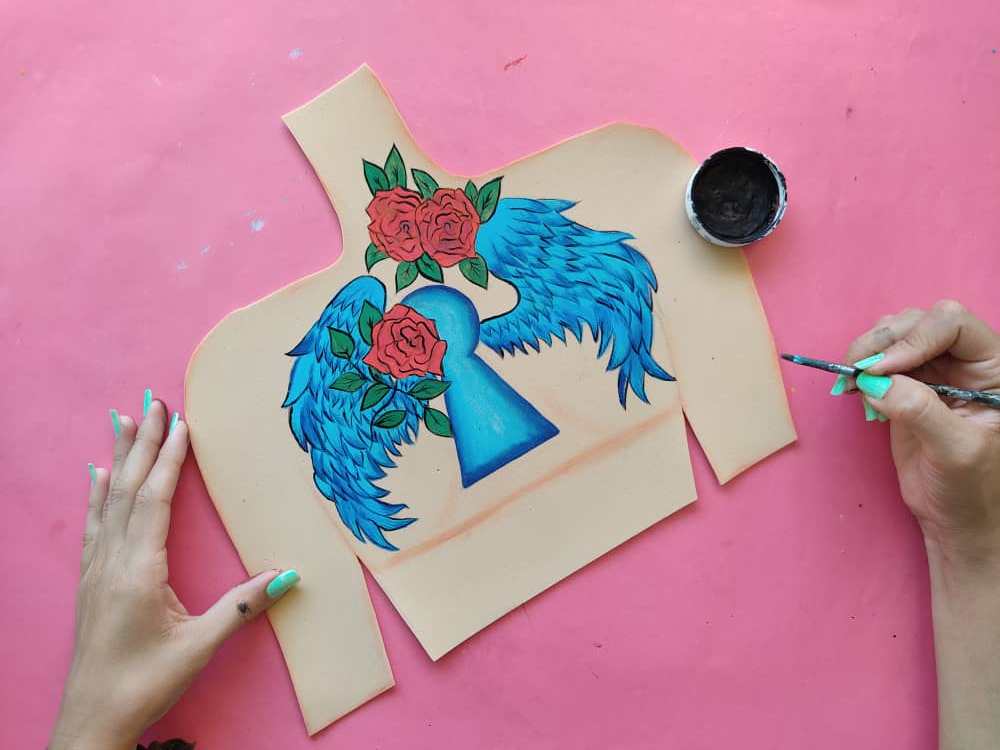
Once the back of this girl is ready, we mark all the details we want in black with great delicacy so that this incredible drawing does not lose its beauty.
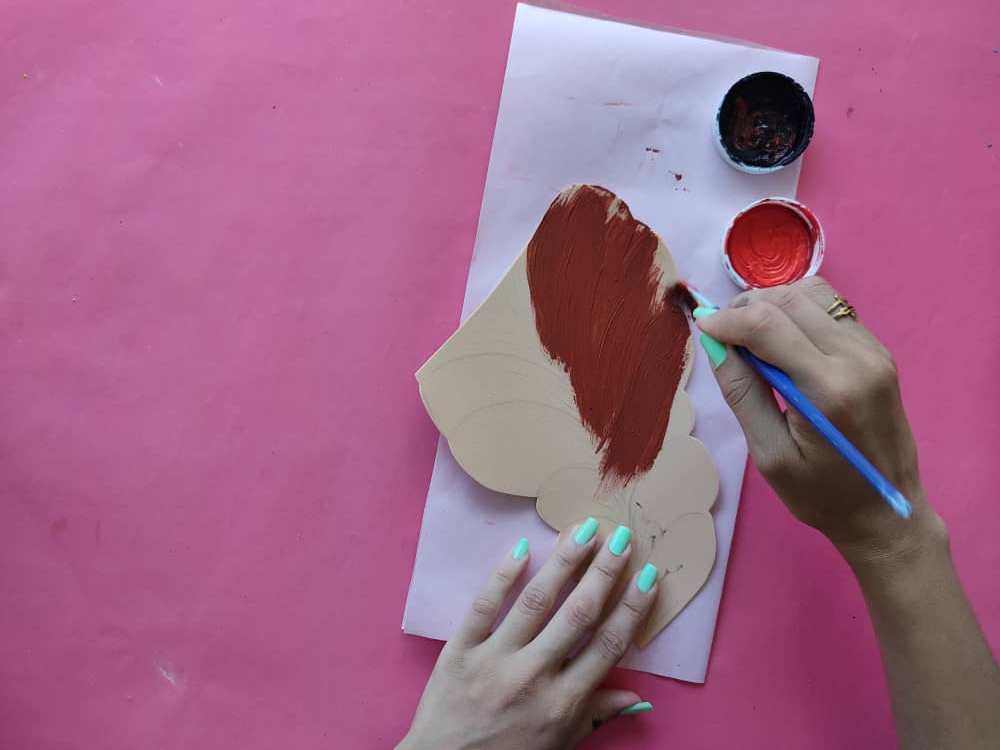
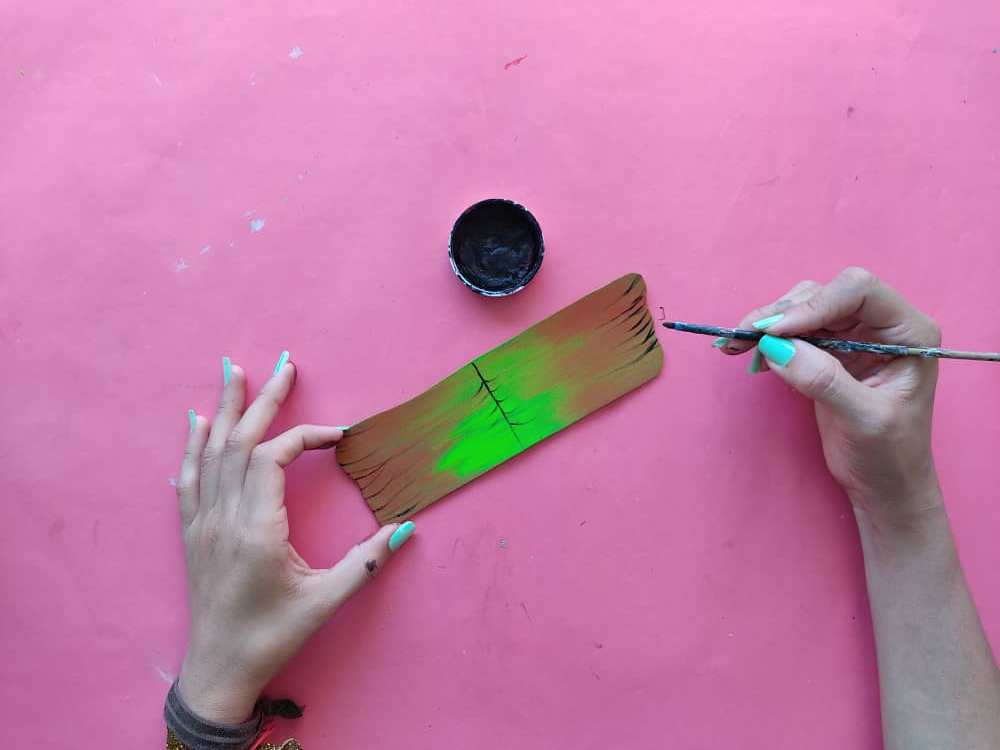
Ahora, pintamos el cabello con hermosos tonos marrones y naranja, seguidamente definimos los detalles de la trenza de color negro con el pincel de punta fina.
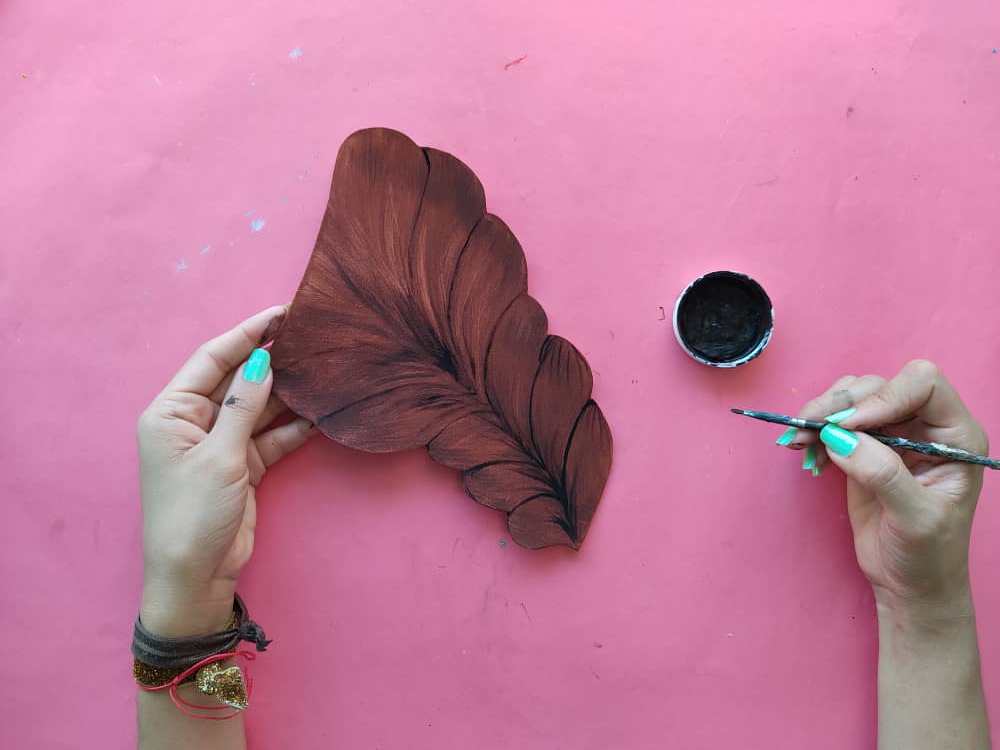
Now, we paint the hair with beautiful brown and orange tones, then we define the details of the black braid with the fine tip brush.
Ahora, pintamos la ropa de la chica con colores amarillo y naranja. Y marcamos sus bordes con negro y listo.
Now, we paint the girl's clothes yellow and orange colors. And we mark its edges with black and that's it.
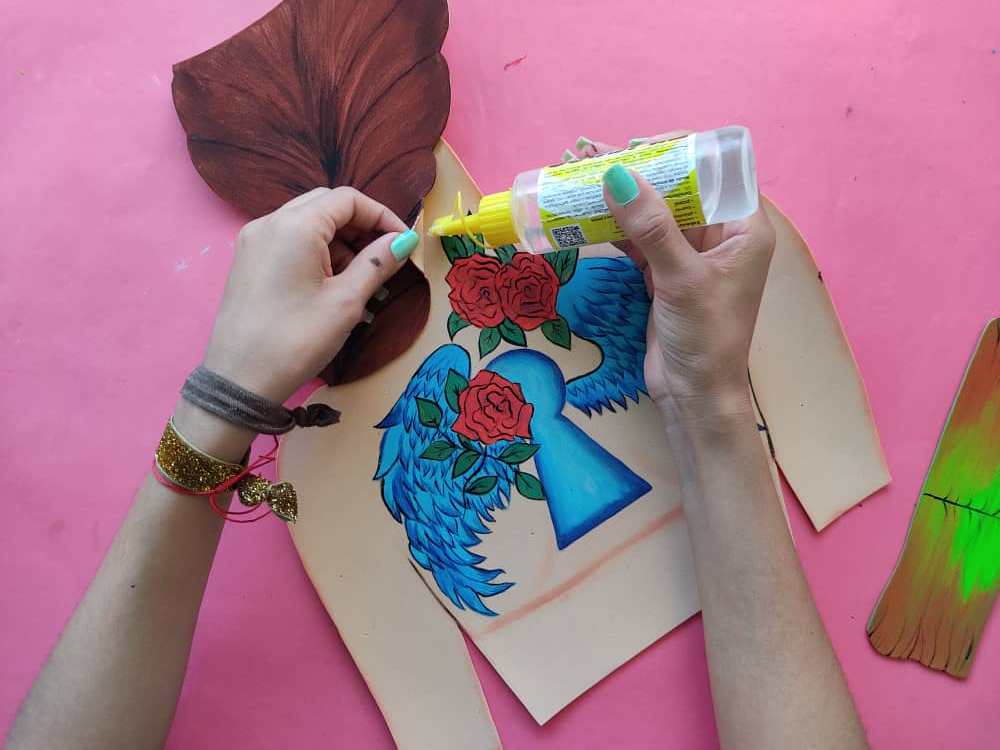
Ahora, armamos la chica pegando su cabello por la parte superior del cuello, y su ropa.
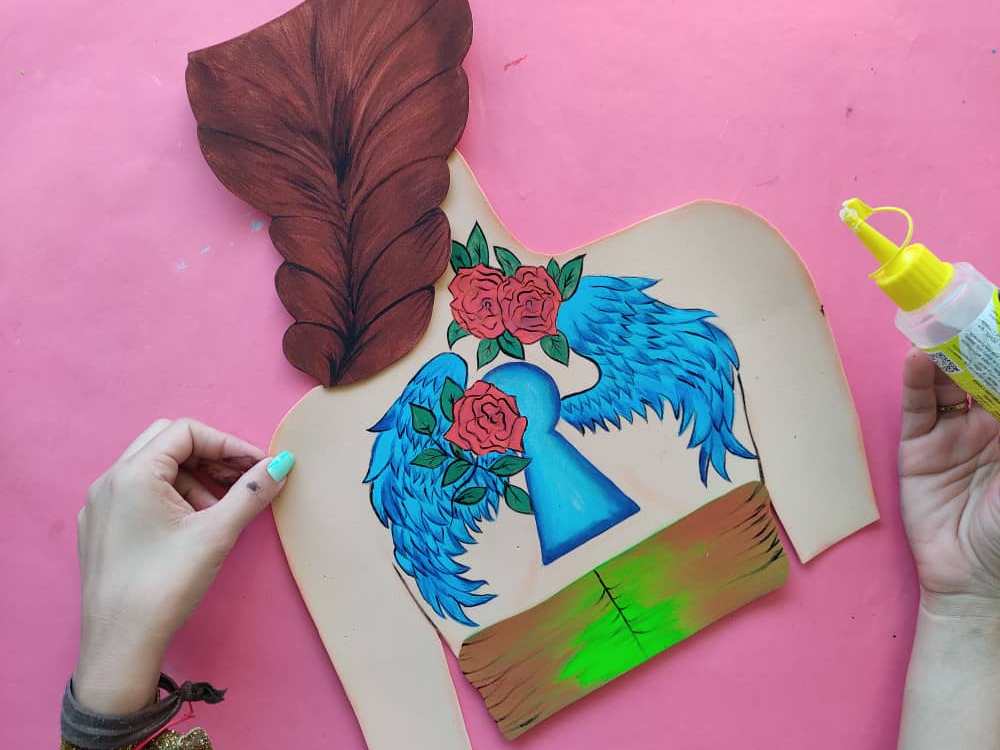
Now, we put the girl together by gluing her hair to the top of her neck, and her clothes.
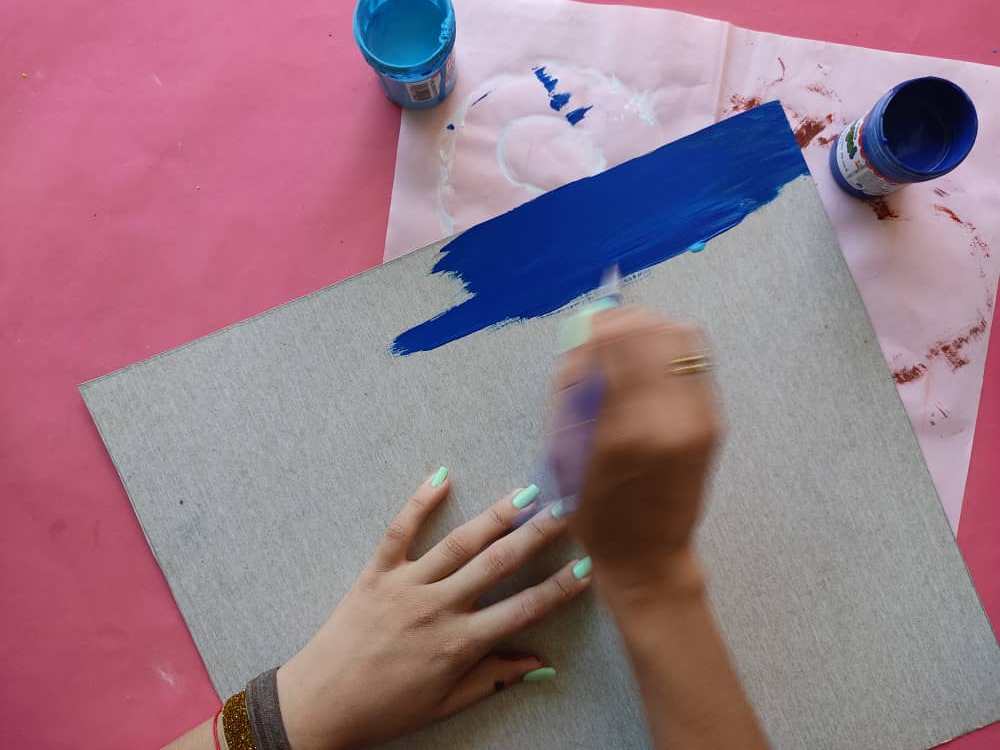
Seguidamente, fabricamos una base de cartón de aproximadamente 40cm por 36, y lo pintamos de color azul con un hermoso contraste de azul más claro en el centro.
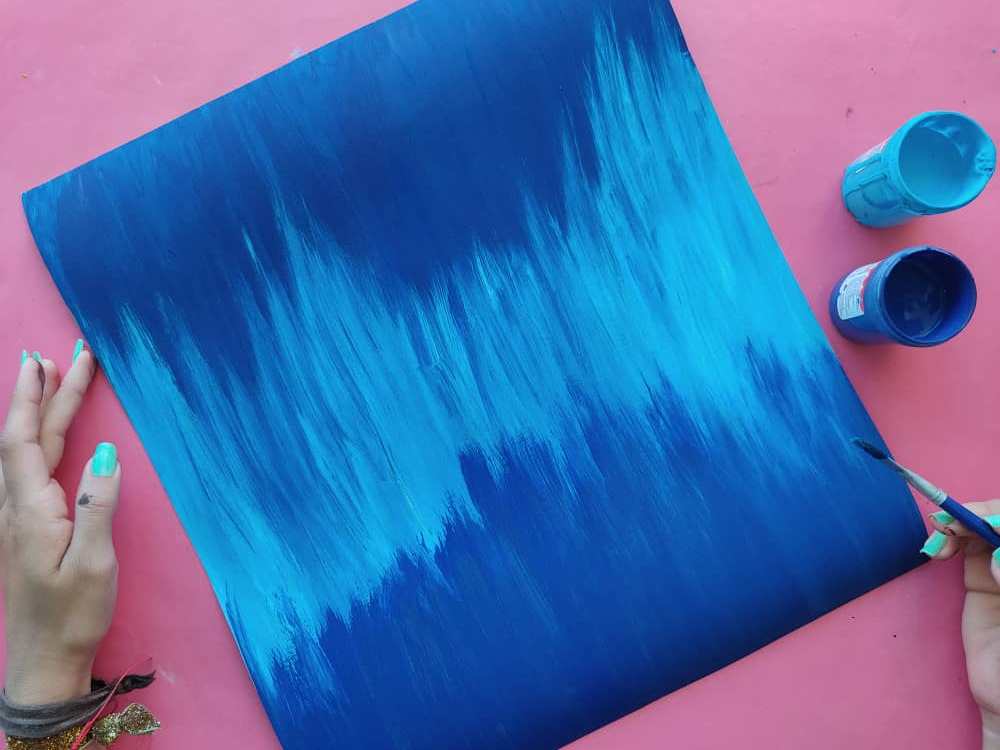
Next, we make a cardboard base measuring approximately 40cm by 36cm, and paint it blue with a beautiful contrast of lighter blue in the center.
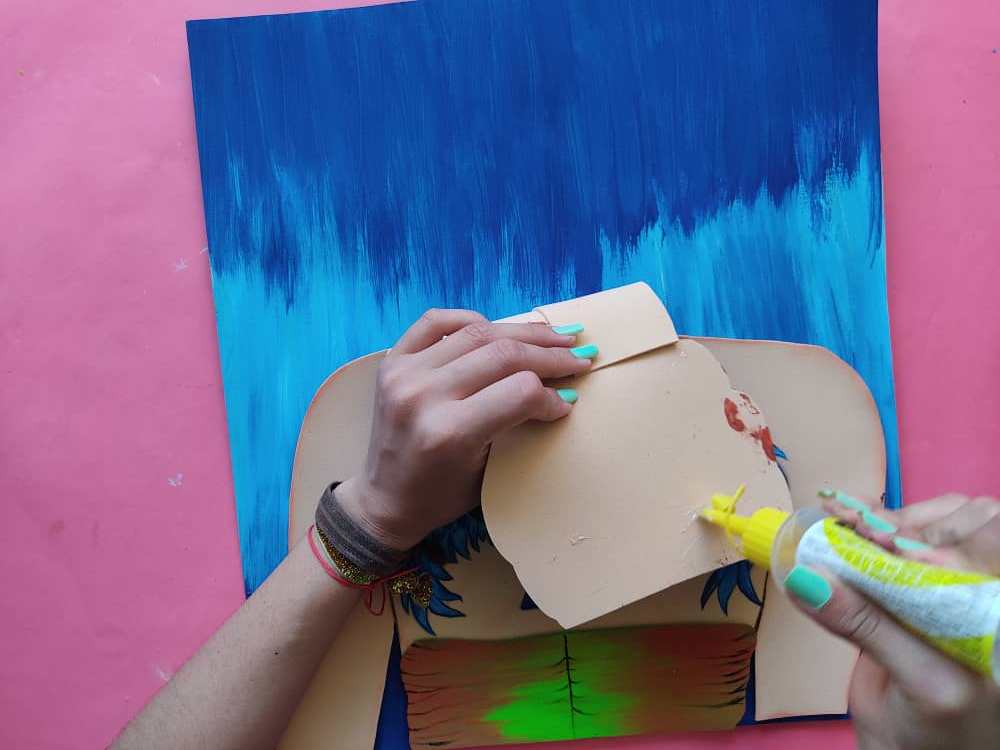
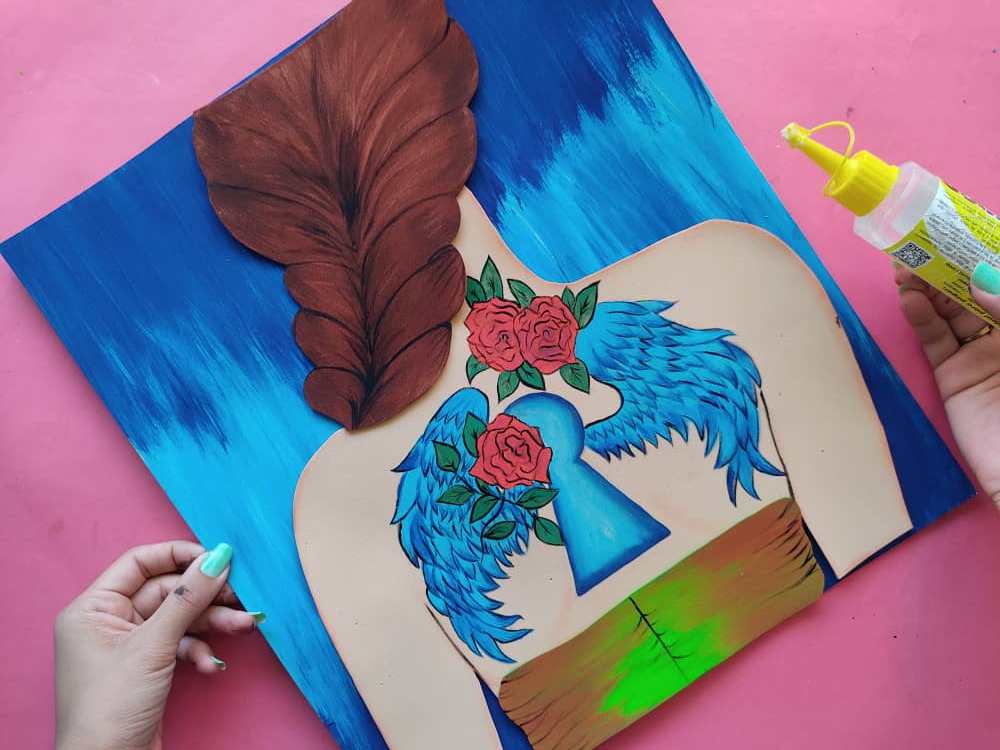
Luego, pegamos a la chica sobre nuestra base utilizando silicón frío.
Then we glue the girl on our base using cold silicone.
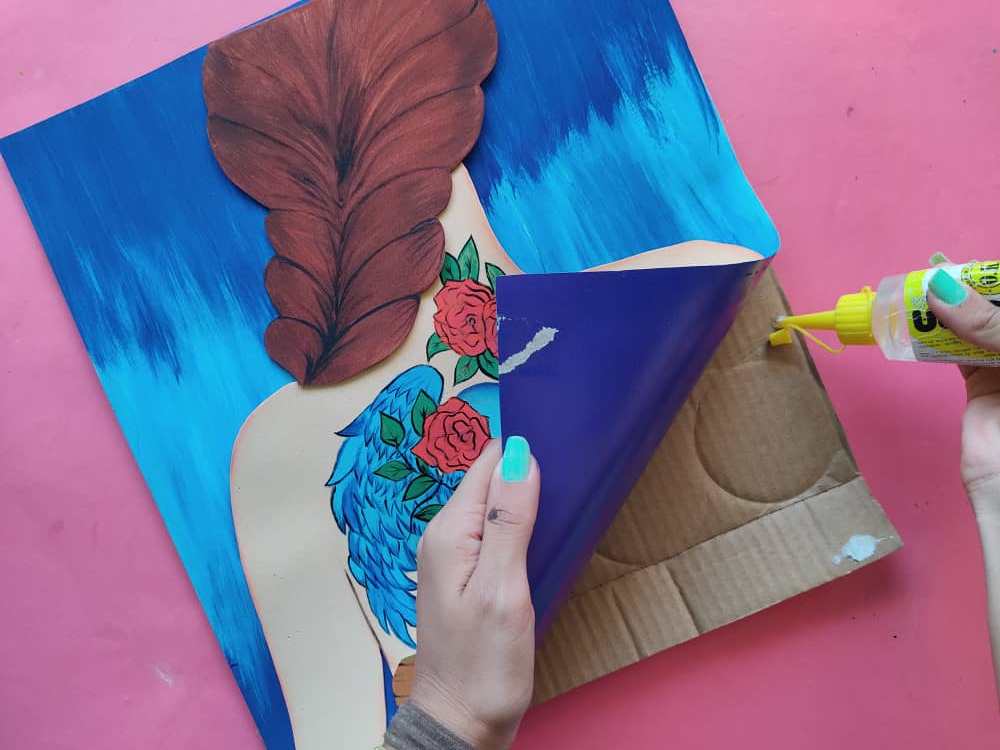
Por último, pegamos nuestro cuadro a una lámina de cartón más gruesa para darle mayor resistencia y firmeza a esta hermosa obra.
Finally, we glue our painting to a thicker cardboard sheet to give this beautiful work greater strength and firmness.
.jpeg)
.jpeg)
Gracias por acompañarme y espero que lo hayan disfrutado. ❤️
Thanks for joining and I hope you enjoyed it.❤️
.jpeg)
.jpeg)
.jpeg)
.jpeg)
.jpeg)
.jpeg)
.jpeg)
.jpeg)
.jpeg)
.jpeg)
.jpeg)
.jpeg)
.jpeg)
.jpeg)
.jpeg)
.jpeg)
.jpeg)


Un trabajo artístico delicado y muy bien presentado. El pintado de los detalles en el torso femenino, le aporta mucho significado al dibujo.
Tu post ha sido votado por @CELFmagazine, una iniciativa autónoma en favor del contenido de calidad sobre arte y cultura. Apóyanos con tu voto aquí para mantener y mejorar nuestra labor. Nuestra comunidad es #hive-111516
Your post has been upvoted by @Celfmagazine, an autonomous initiative in favour of quality content on art and culture. Support us with your vote here to maintain and improve our work. Our community is #hive-111516