.jpeg)

Español
Hola querida familia de HIVE ❤️ Este nuevo día les traigo un nuevo y navideño paso a paso lleno de mucho amor y creatividad, donde les mostrare como realizar un duende de navidad, perfecto para decorar nuestros lugares favoritos en estas navidades y lo mejor de todo es que está hecha con materiales muy económicos y fáciles de conseguir, así que, no esperemos más y démosle la bienvenida a esta navidad.
English
Hello, dear HIVE family ❤️ This new day I bring you a new Christmas step by step full of love and creativity, where I will show you how to make a Christmas elf, perfect to decorate our favorite places this Christmas and the best of all is that it is made with very cheap and easy to get, so let's not wait any longer and welcome this Christmas.
¿Qué están esperando?
Gracias a esta técnica podemos elaborar fácilmente un hermoso duende navideño, perfecto e ideal para decorar nuestro entorno y darle ese toque creativo a nuestra navidad. Antes de comenzar no olvidemos lavarnos nuestras manos.
What are they waiting for?
Thanks to this technique we can easily make a beautiful Christmas elf, perfect and ideal to decorate our environment and give that creative touch to our Christmas. Before we start, let's not forget to wash our hands.

[Materiales | Materials]
Para hacer este hermoso duende necesitaremos:
- Foamy o goma eva.
- Lápiz de grafito.
- Cartón.
- Pinturas.
- Pinceles.
- Tijera.
- Pegamento o silicón liquido.
To make this beautiful elf we will need:
- Molds.
- Foamy or eva foam.
- Graphite pencil.
- Cardboard.
- Paintings.
- Brushes.
- Scissors.
- Glue or liquid silicone.
Procedimiento (paso a paso)
Process (step by step)
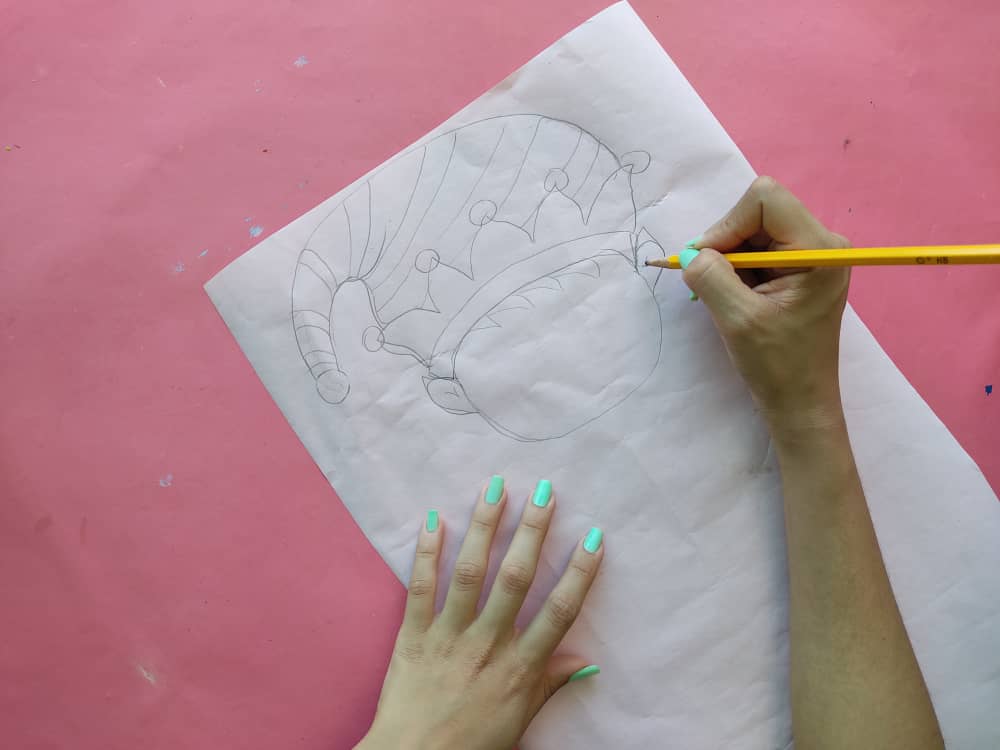
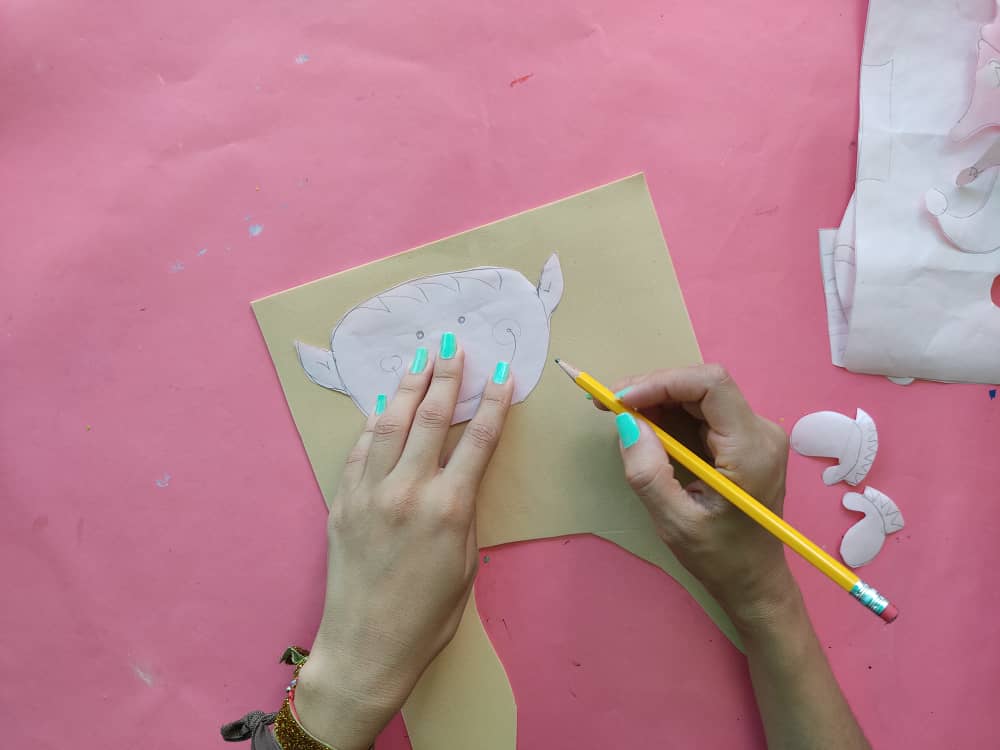
Primero, dibujamos a un duende sonriente con un lindo gorro sobre papel y con un cartel en sus manos.
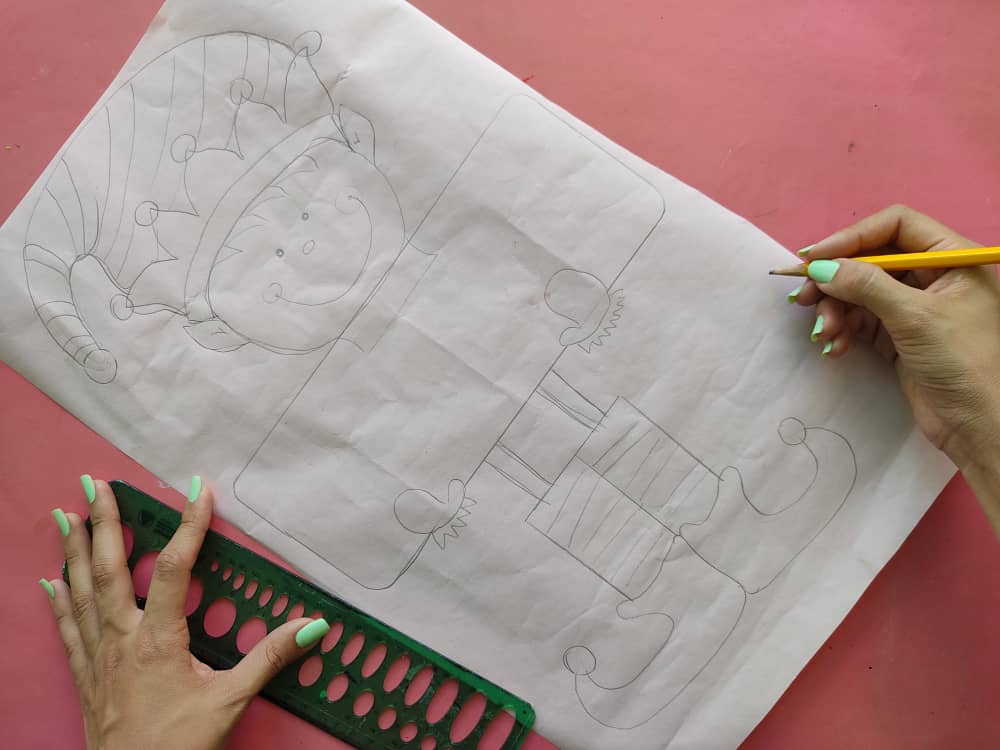
First, we draw a smiling elf with a cute hat on paper and with a sign in his hands.
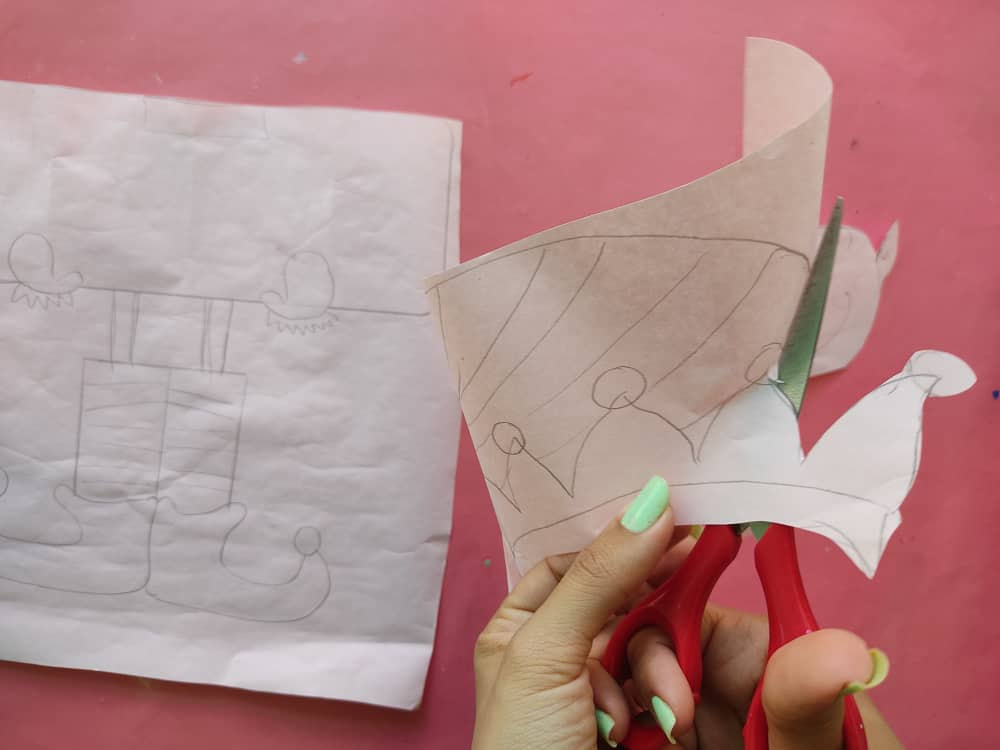
Seguidamente, recortamos nuestro dibujo separando el sombrero, la cabeza, el cartel, las manos, calcetines y zapatos.
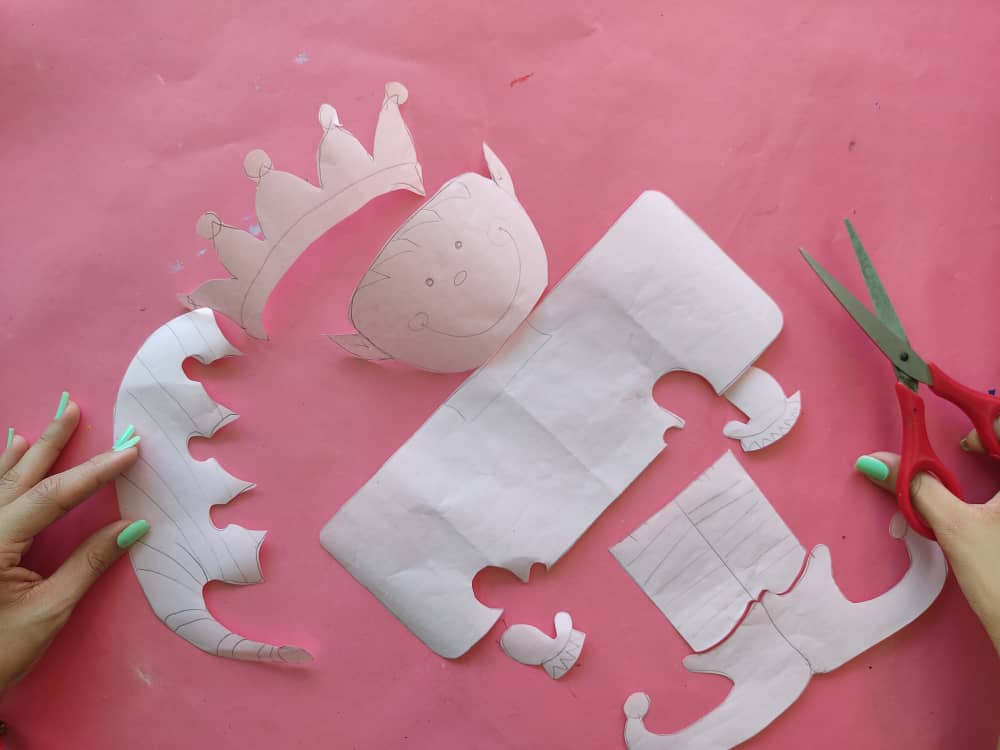
Next, we cut out our drawing by separating the hat, the head, the poster, the hands, socks, and shoes.
Ahora, comenzamos a transferir las figuras obtenidas a los diferentes trozos de foamy de acuerdo con los colores que deseemos, y recortamos.
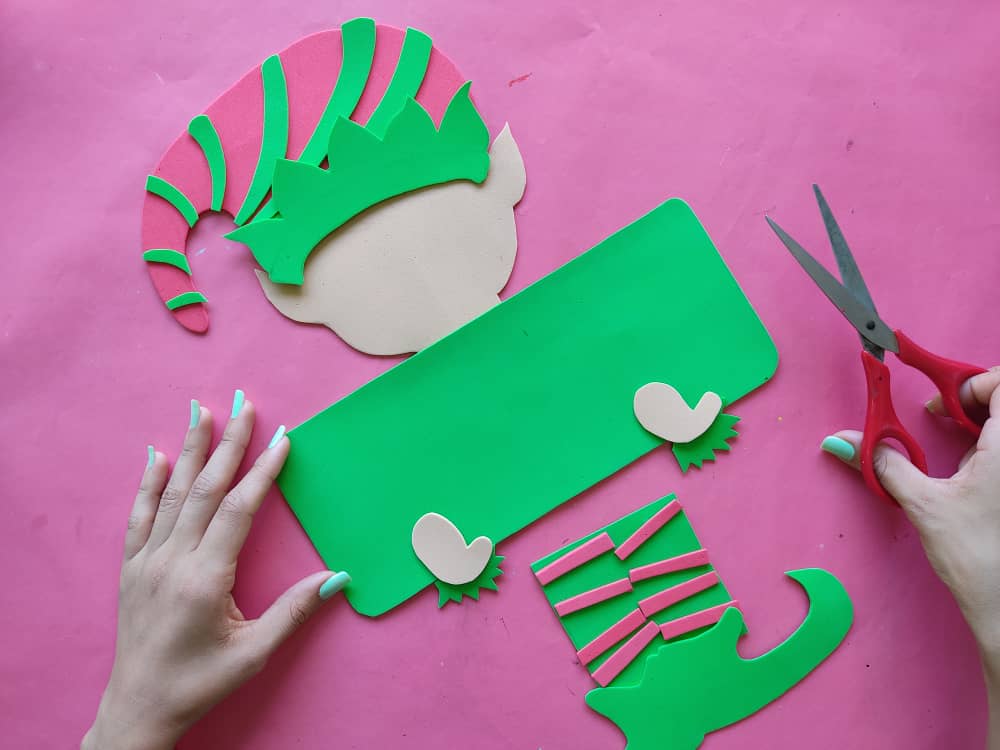
Now, we begin to transfer the figures obtained to the different pieces of foamy according to the colors we want and cut.
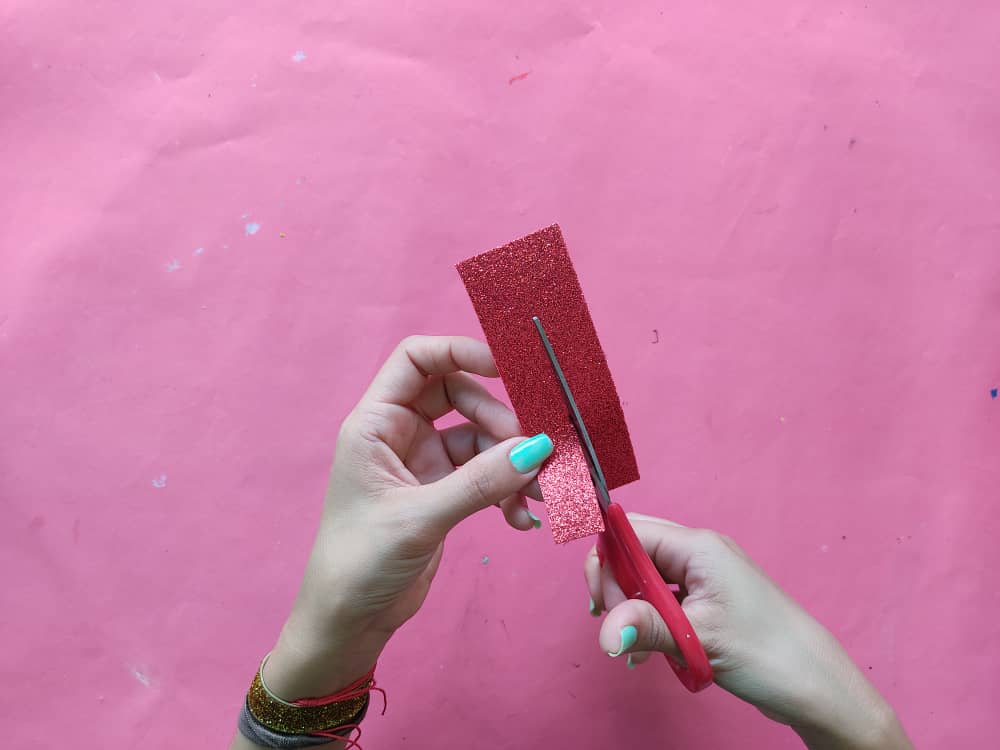
Luego, recortamos dos tiras de foamy de aproximadamente 7cm de largo por 1cm de ancho, de color rojo escarchado.
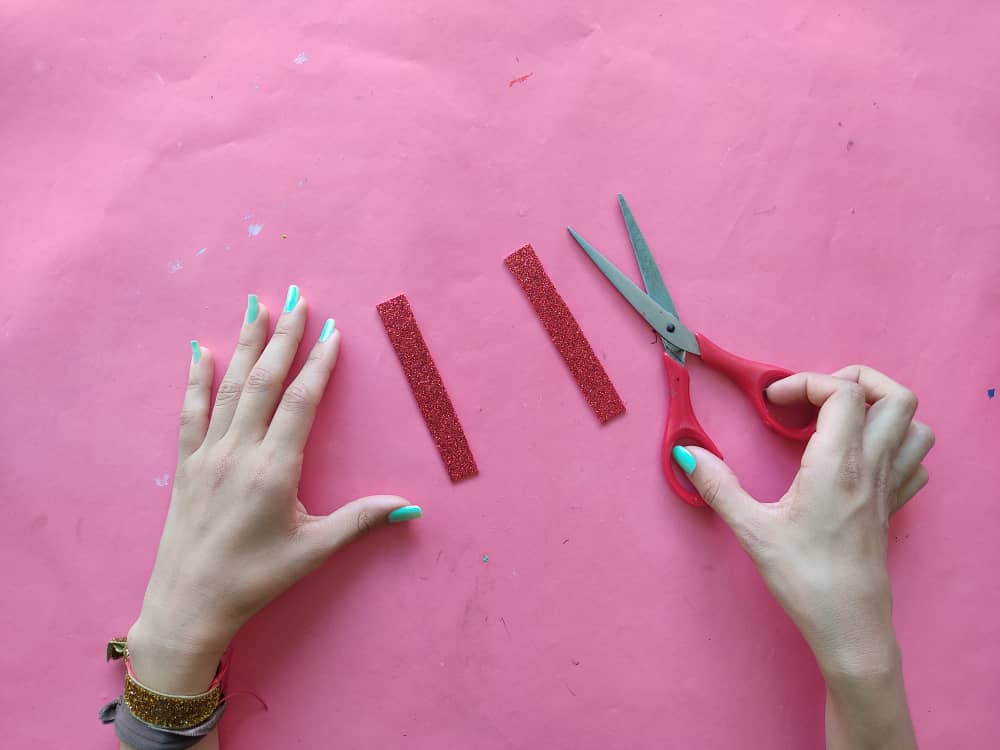
Next, we cut two strips of foamy approximately 7cm long by 1cm wide, in a frosty red color.
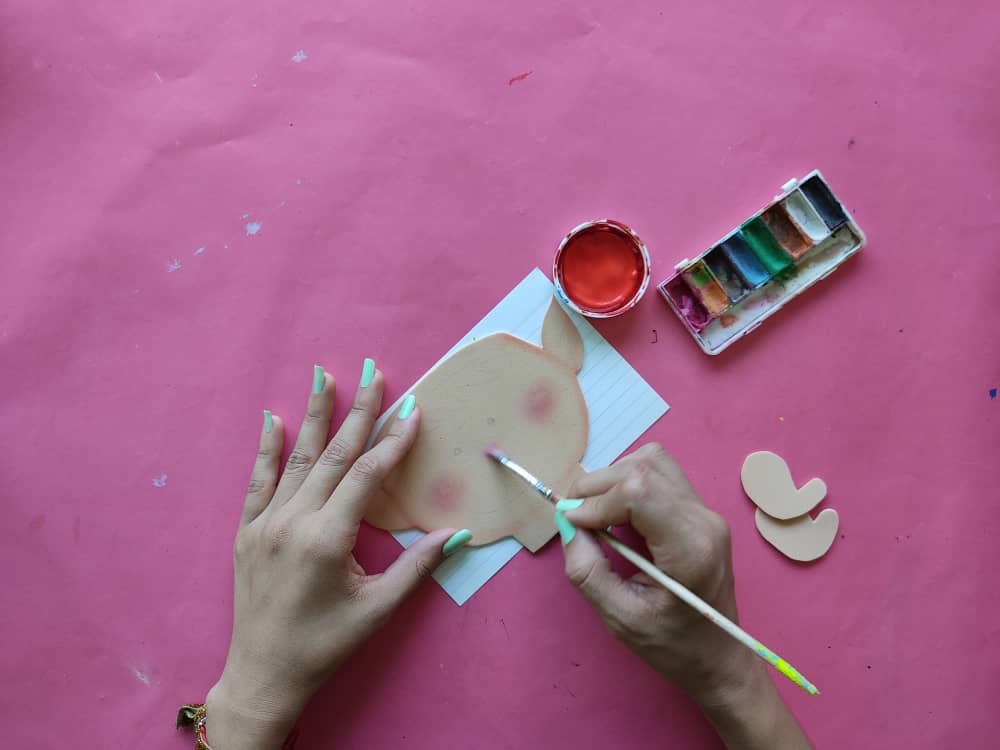
Ahora, comenzamos a pintar la cara de este duendecillo, sombreando sus bordes de color naranja claro, sus ojos negros muy pequeños, su sonrisa y cabello en color marrón, sin olvidar sombrear sus pequeñas manos con naranja.
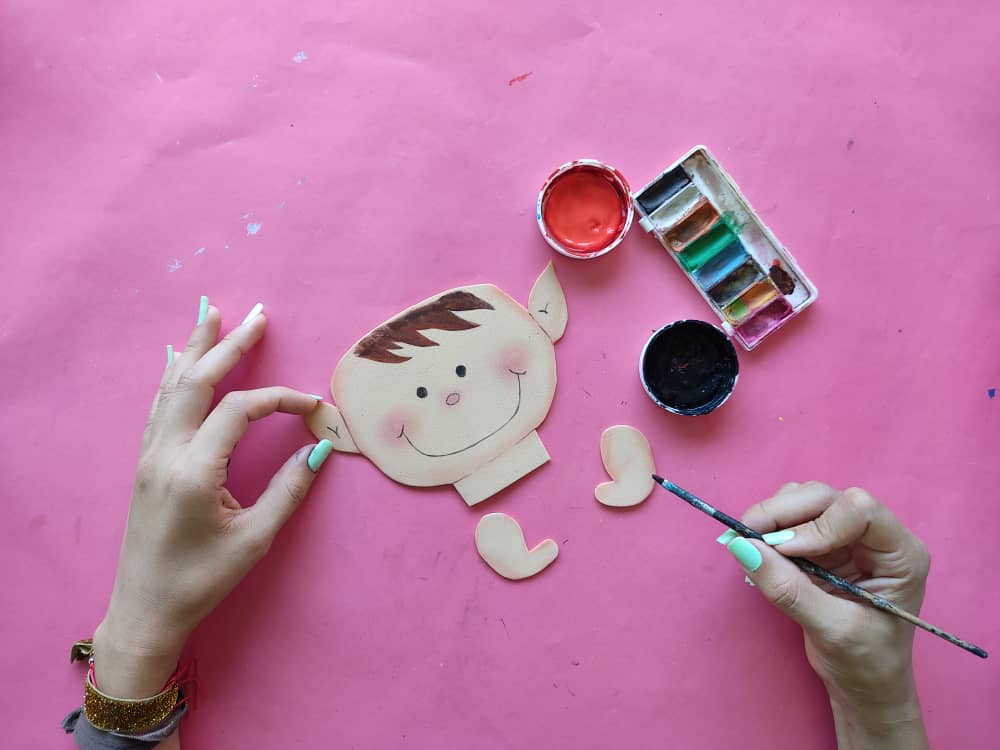
Now, we begin to paint the face of this pixie, shading her light orange edges, his very small black eyes, his smile and hair in brown, not forgetting to shade his little hands with orange.
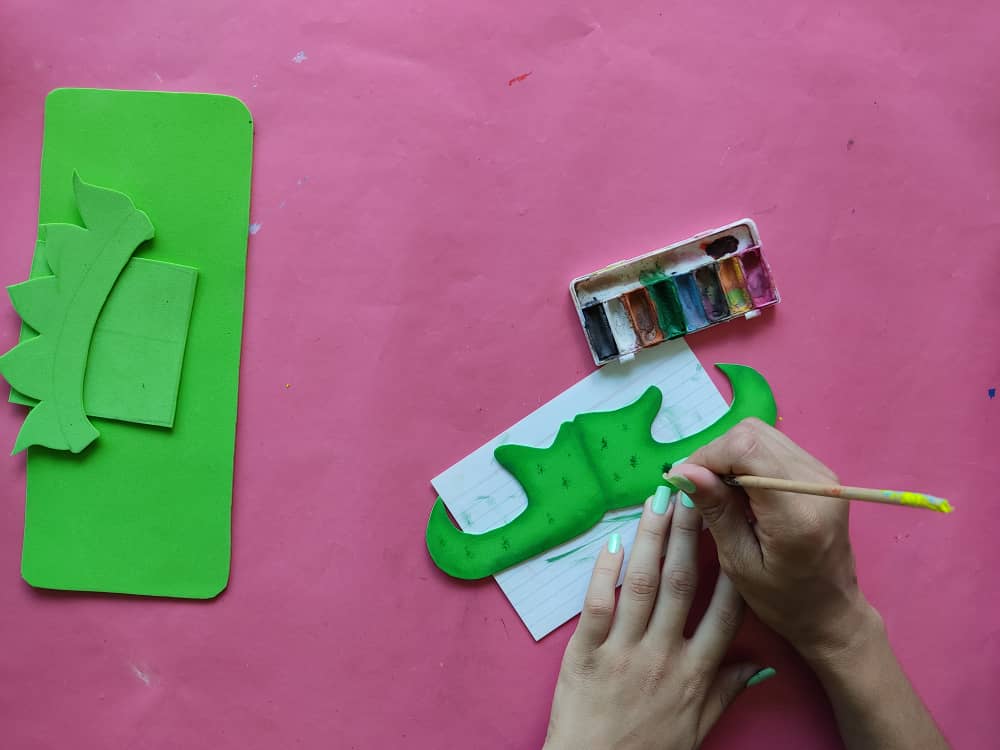
Seguimos, sombreando los bordes de cada una de las piezas que hemos elaborado en color verde, aplicando un tono verde más oscuro, para que luzca muy delicado, en este caso opte por hacer unos delicados detalles a las zapatillas, como pequeñas manchas verdes.
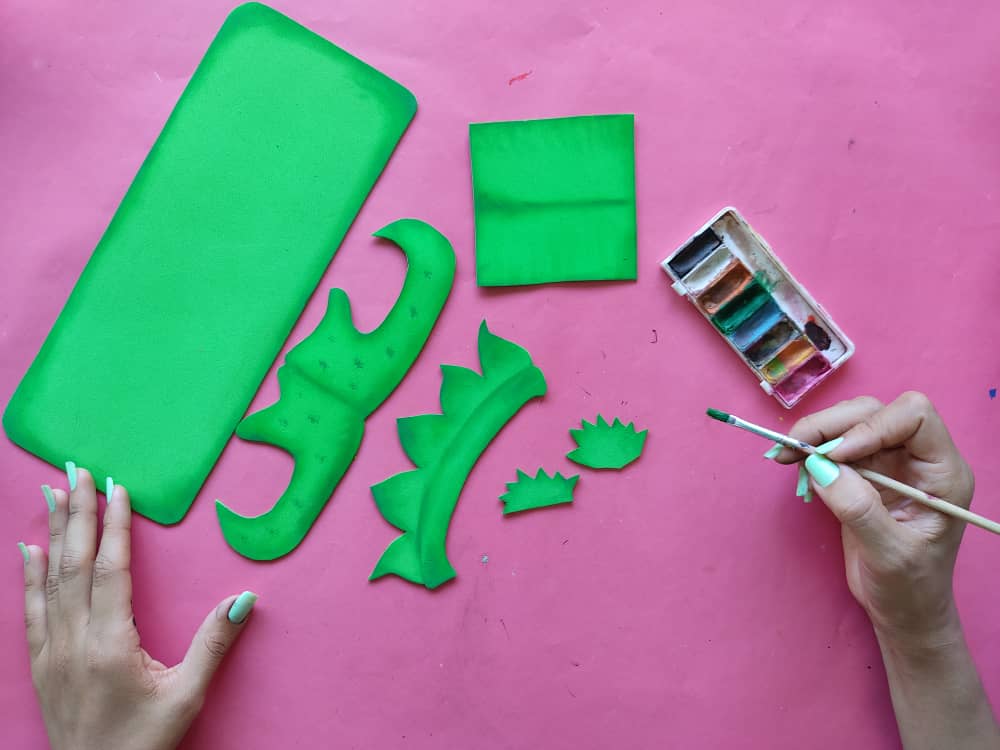
We continue, shading the edges of each of the pieces that we have made in green, applying a darker green tone, so that it looks very delicate, in this case, I chose to make some delicate details to the shoes, such as small green spots.
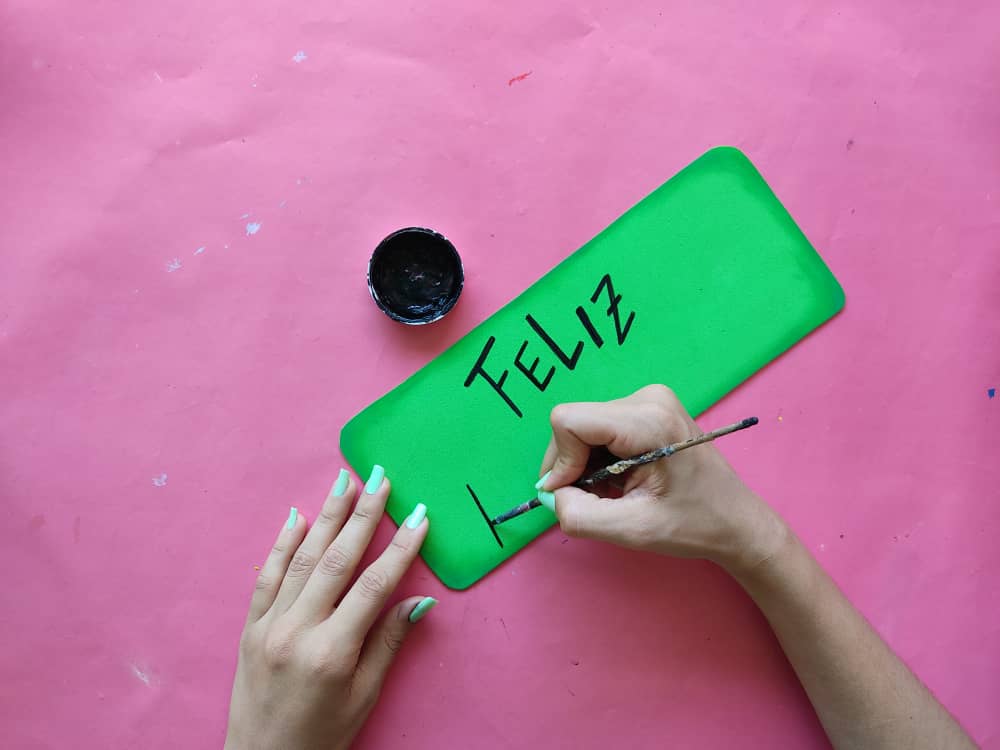
Ahora, definimos las palabras de feliz navidad con el pincel de punta fina en nuestro lindo cartel, y agregamos algunos puntos de los colores que deseamos.
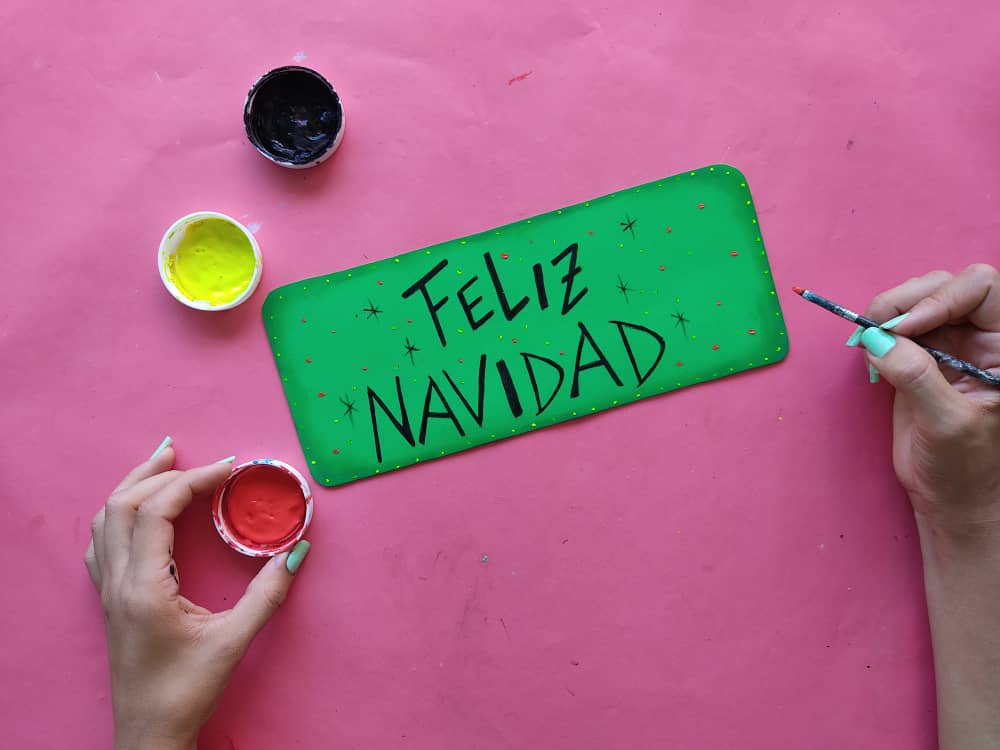
Now, we define the words of merry Christmas with the fine tip brush on our cute poster and add some dots of the colors we want.
Continuamos, pintando los bordes del gorro de este lindo duende, simplemente sombreamos un poco sus bordes con un tono rojo oscuro.
We continue, painting the edges of the hat of this cute elf, we just shade its edges a little with a dark red tone.
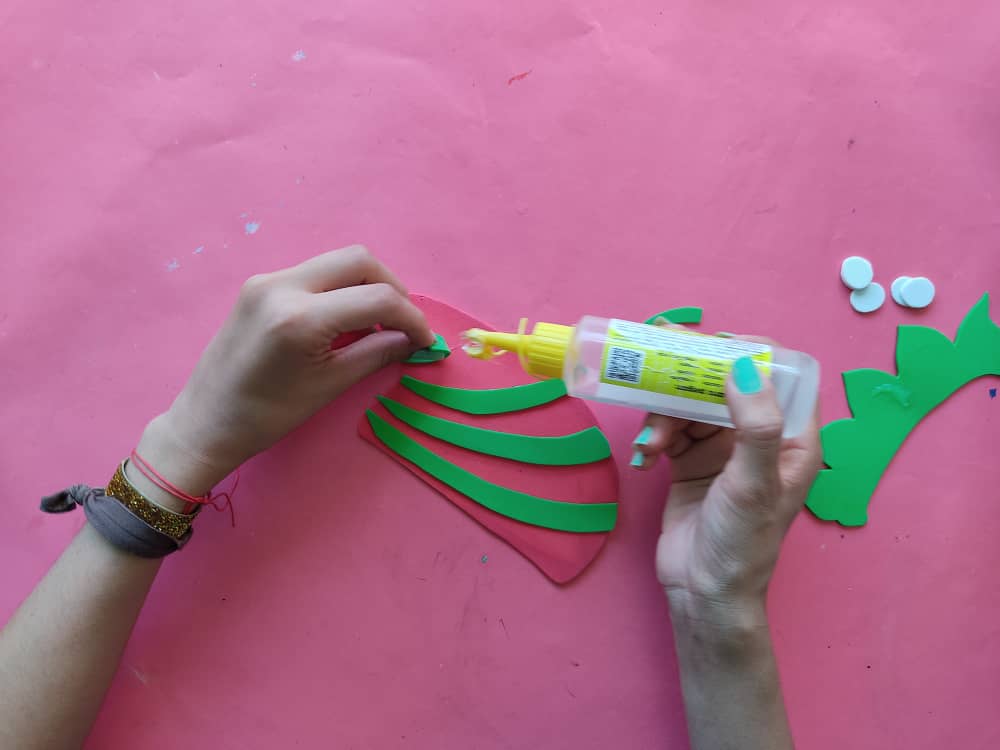
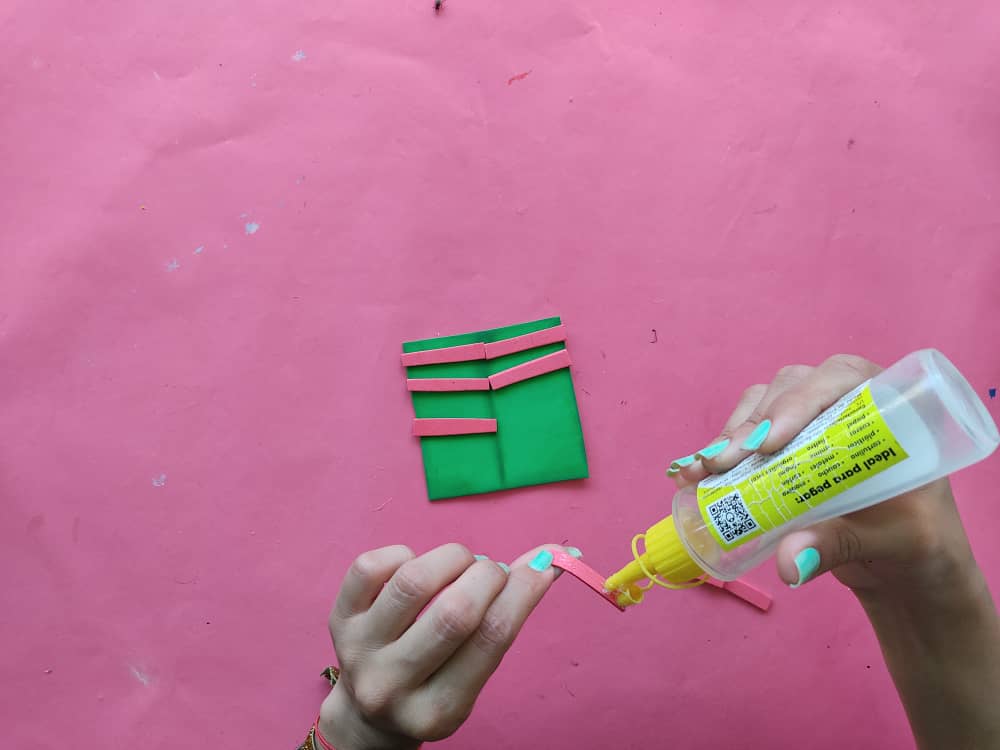
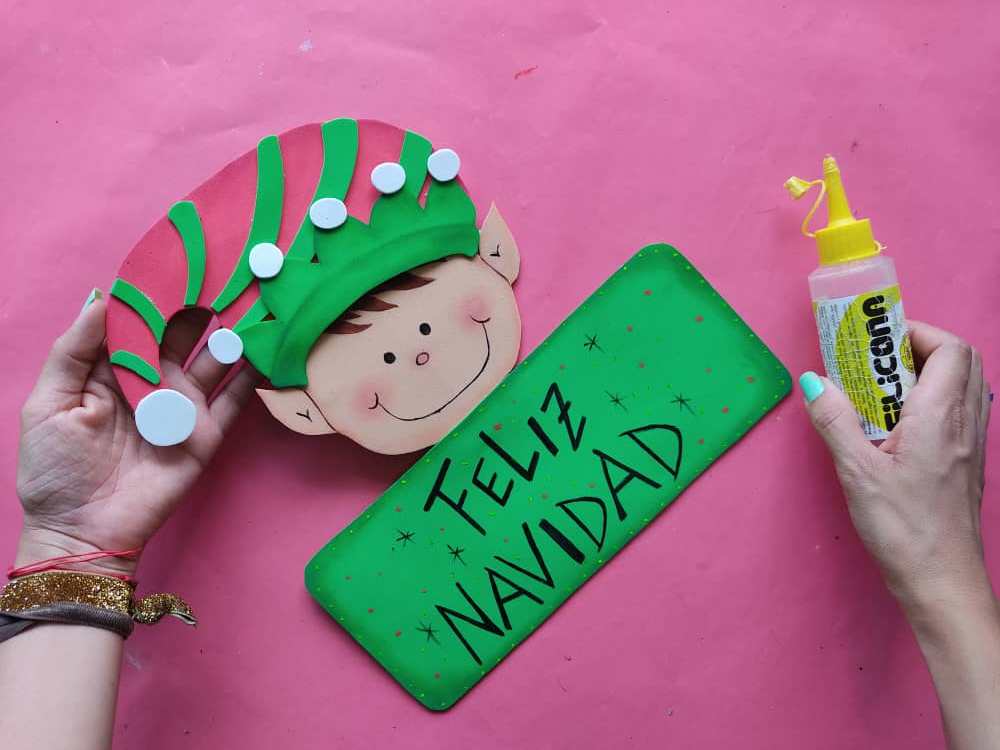
Una vez pintadas todas las figuras deseadas, comenzamos a armar nuestro duende, en primer lugar armamos el gorro decorándolo con tiras verdes y las bolitas de color blanco.
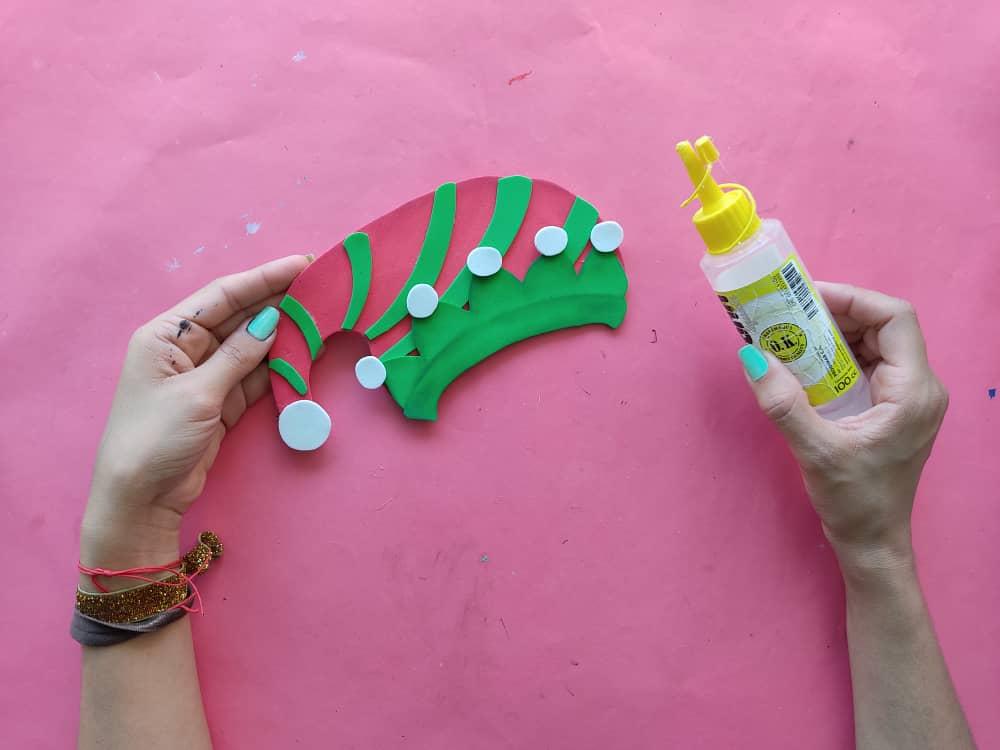
Once all the desired figures have been painted, we begin to assemble our elf, first, we assemble the hat by decorating it with green strips and white balls.
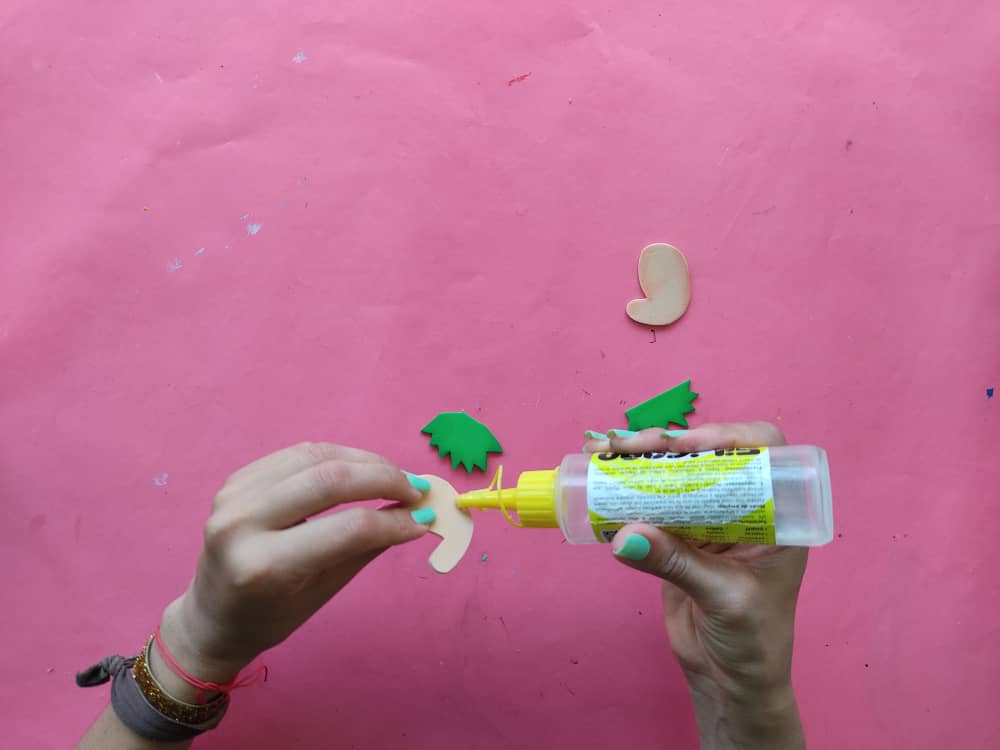
Seguidamente, unimos las pequeñas manos junto con las mangas de su ropa.
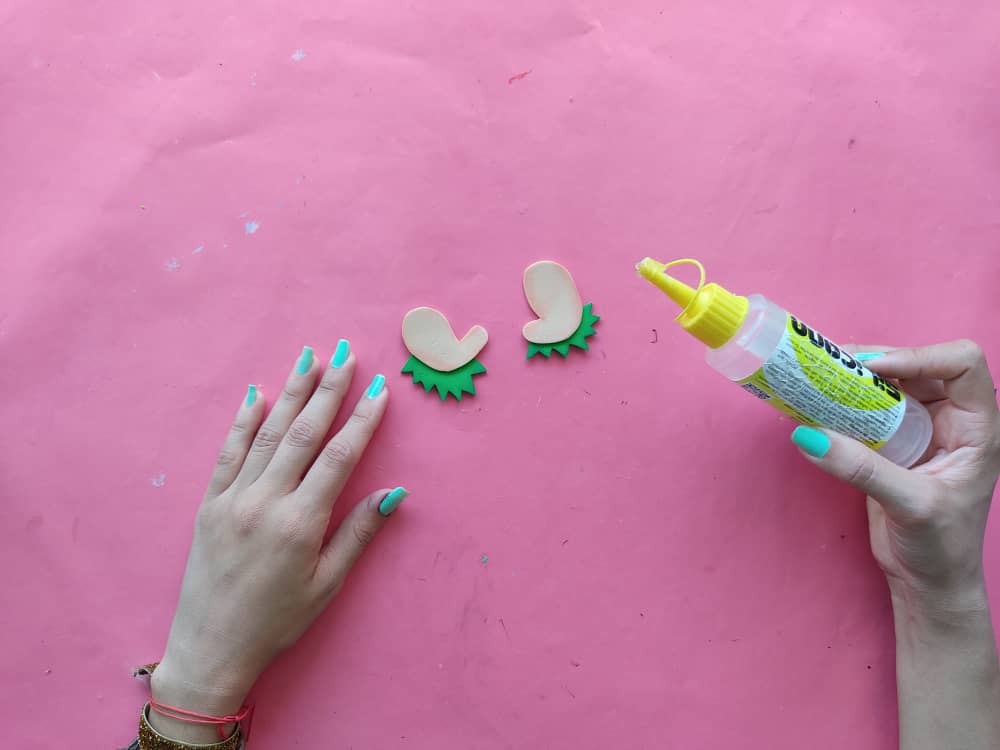
Next, we join the little hands together with the sleeves of their clothes.
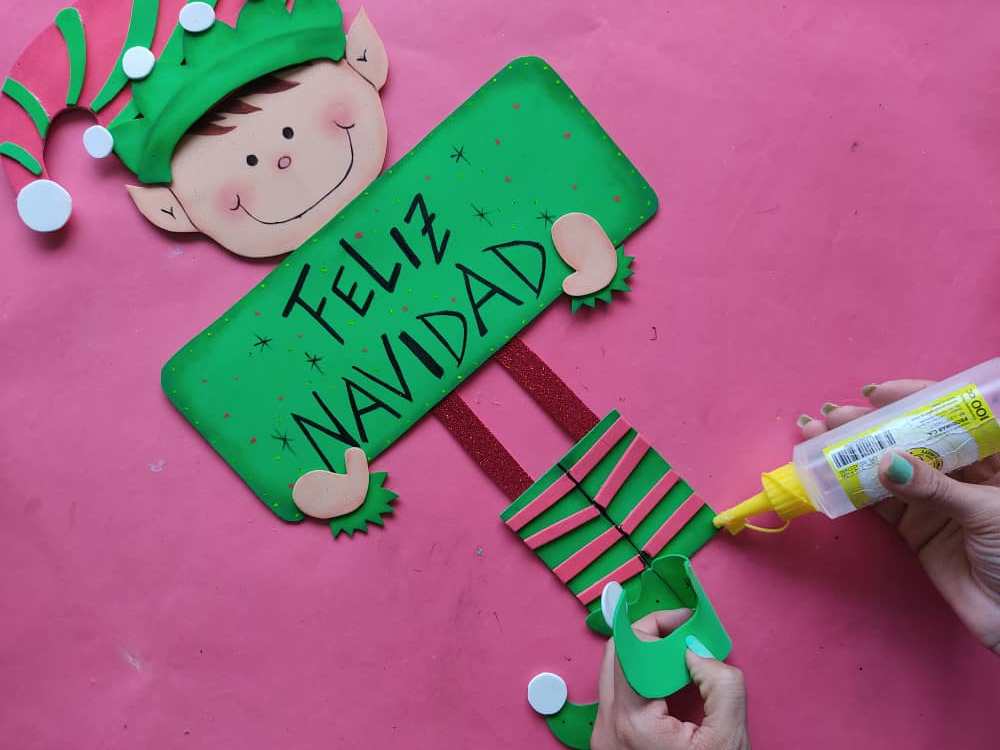
Ahora, armamos los calcetines pegando los pequeños rectángulos rojos para decorar y marcamos una línea vertical muy delgada en el centro de los calcetines para simular la separación de ambas piernas.
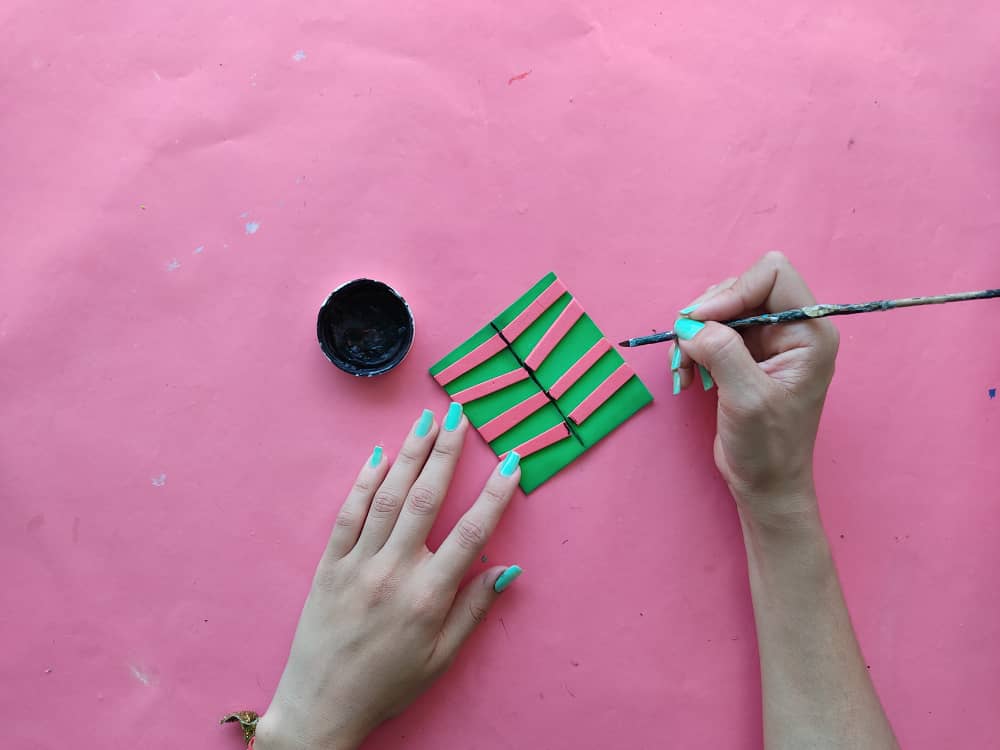
Now, we assemble the socks by gluing the small red rectangles to decorate and we mark a very thin vertical line in the center of the socks to simulate the separation of both legs.
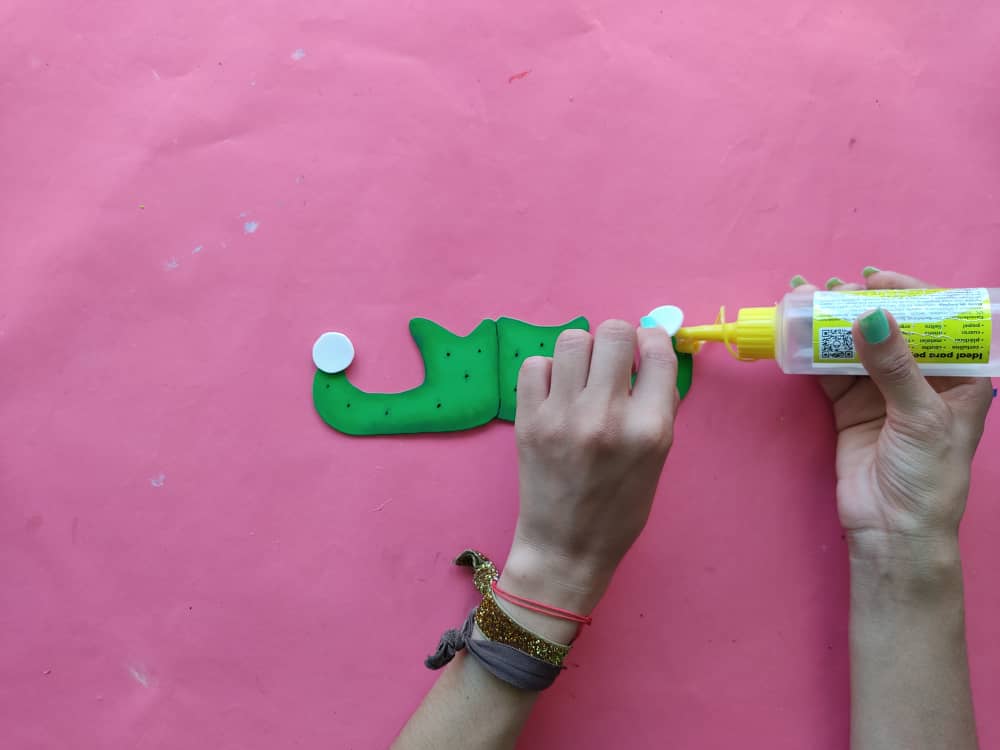
Seguidamente, pegamos dos bolitas blancas a cada zapatilla para culminar con el atuendo de este lindo y travieso duende.
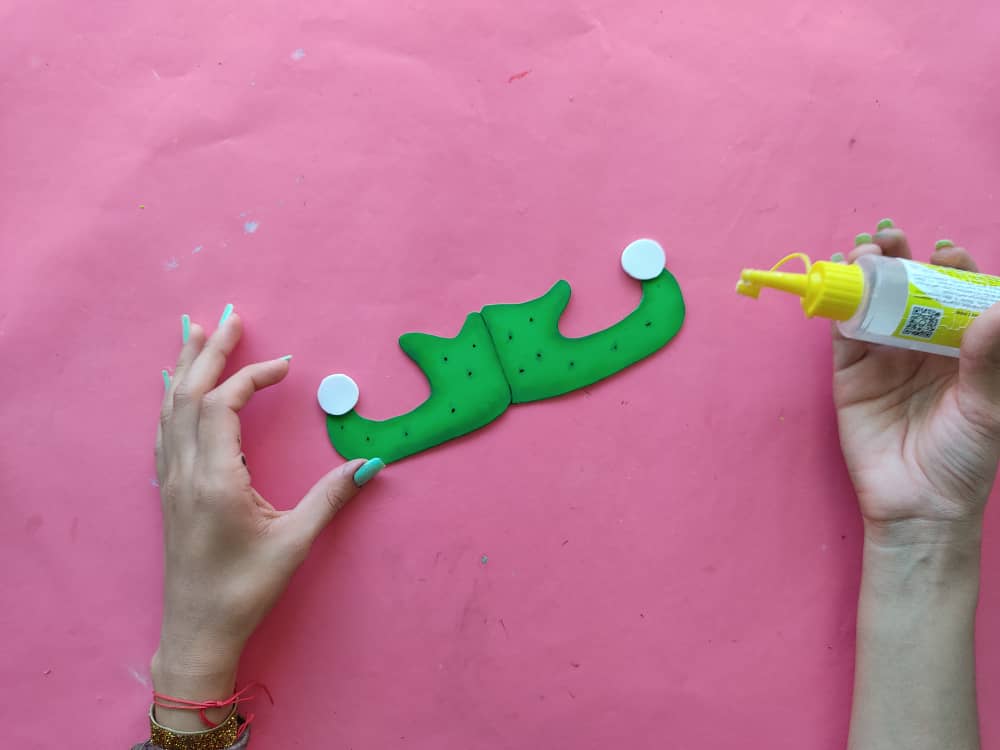
Next, we glue two little white balls to each shoe to finish with the outfit of this cute and mischievous elf.
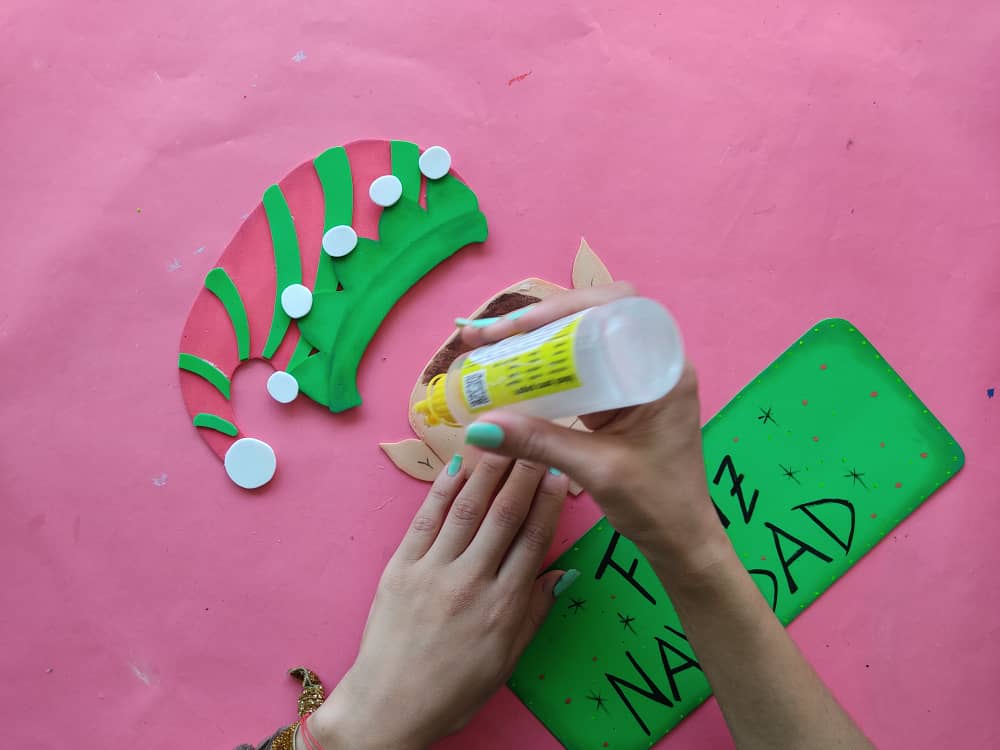
Luego, unimos o armamos la parte superior del duende, es decir, el gorro, la cara y el cartel, con la ayuda del pegamento.
Then, we join or assemble the upper part of the elf, that is, the hat, the face, and the poster, with the help of glue.
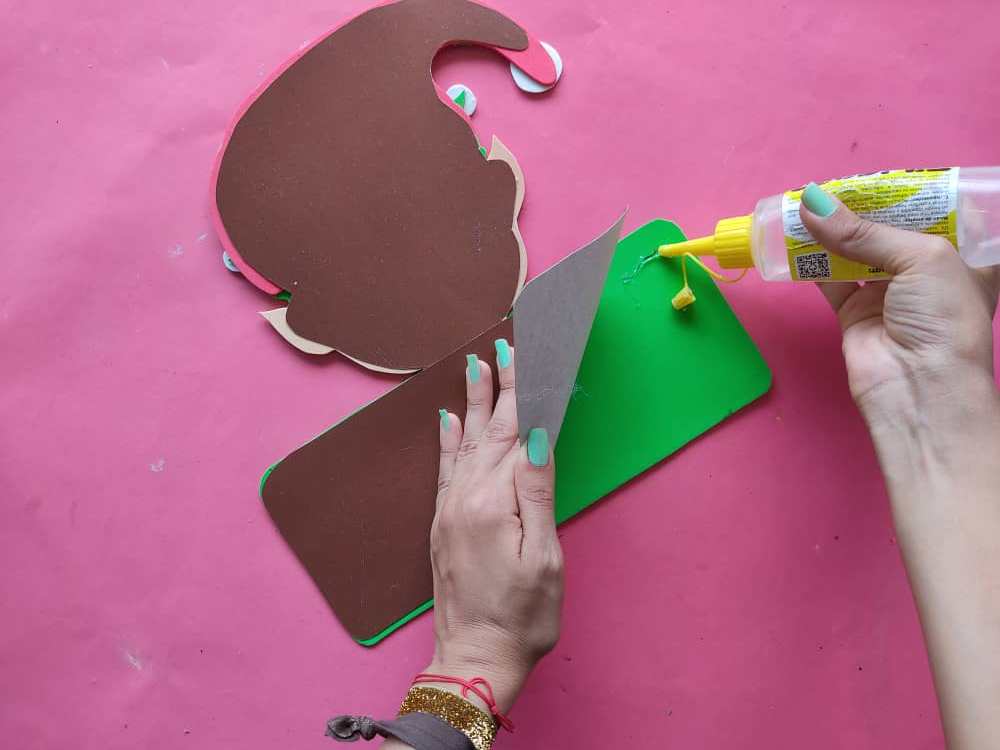
Una vez obtenida la parte superior del duendecillo, transferimos su silueta a una lámina de cartón, recortamos y pegamos la sombra de cartón a la parte trasera del duendecillo para que se mantenga firme y resistente.
Once the upper part of the pixie is obtained, we transfer its silhouette to a cardboard sheet, cut out, and glue the cardboard shadow to the back of the pixie so that it remains firm and strong.
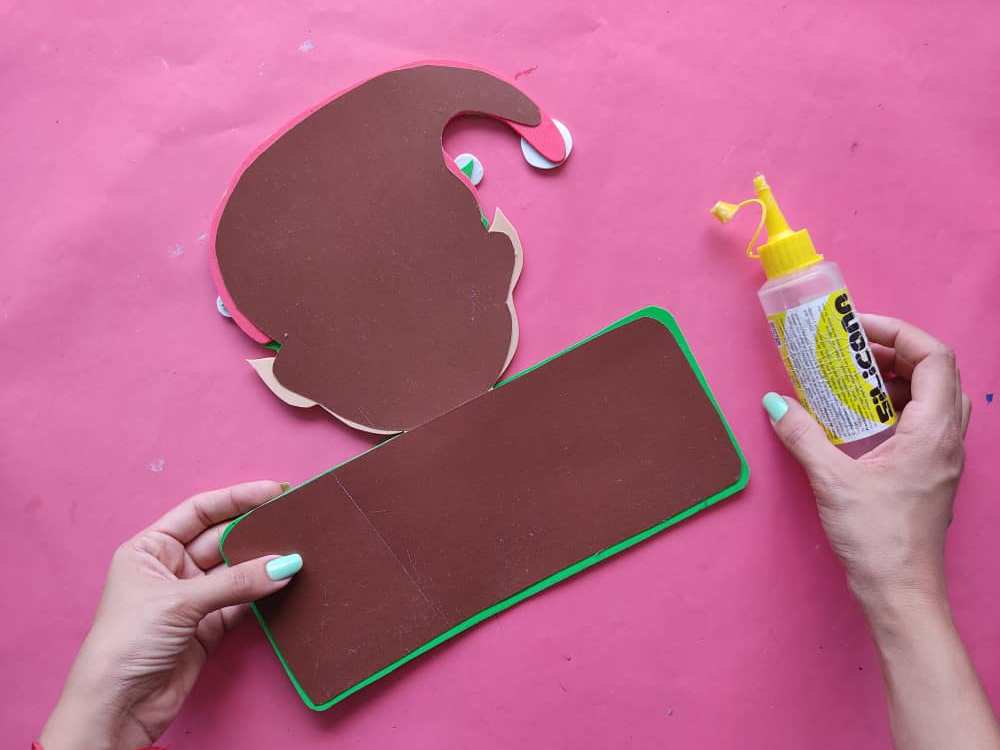
Finalmente, pegamos el resto de sus partes asegurarnos de que todo quede muy bien pegado, así que hacemos presión por unos segundos y listo. Genial no?
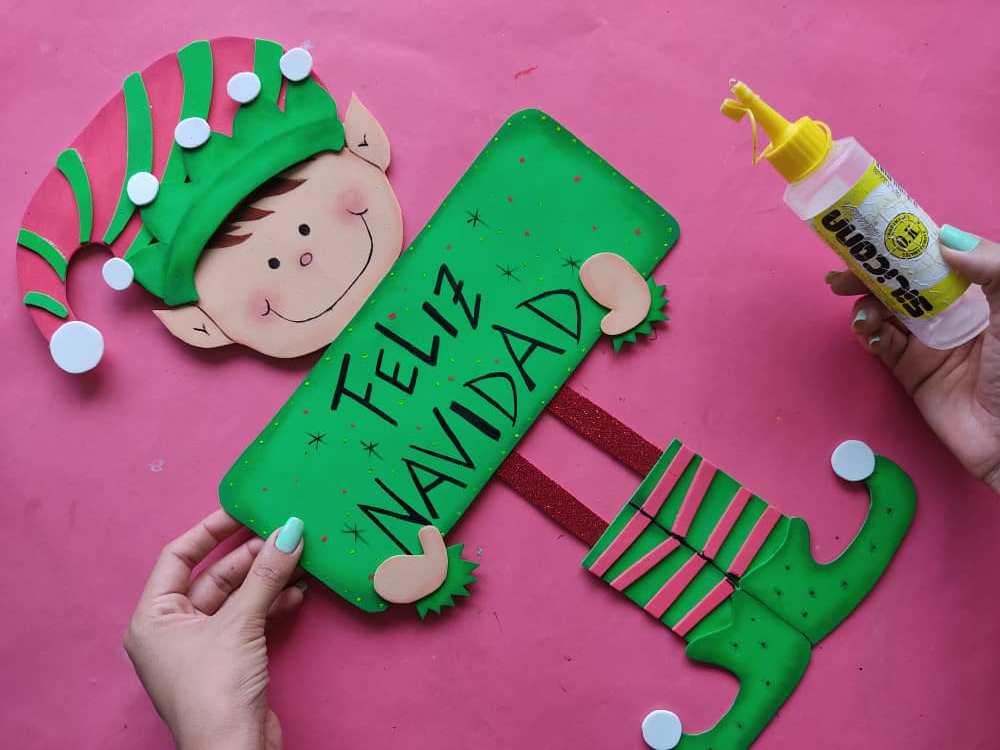
Finally, we glue the rest of its parts to make sure that everything is very well glued, so we press for a few seconds and that's it. Cool no?
.jpeg)
.jpeg)
.jpeg)
Gracias por acompañarme y espero que lo hayan disfrutado. ❤️
Thanks for joining and I hope you enjoyed it.❤️
.jpeg)
.jpeg)
.jpeg)
.jpeg)
.jpeg)
.jpeg)
.jpeg)
.jpeg)
.jpeg)
.jpeg)
.jpeg)
.jpeg)
.jpeg)


