
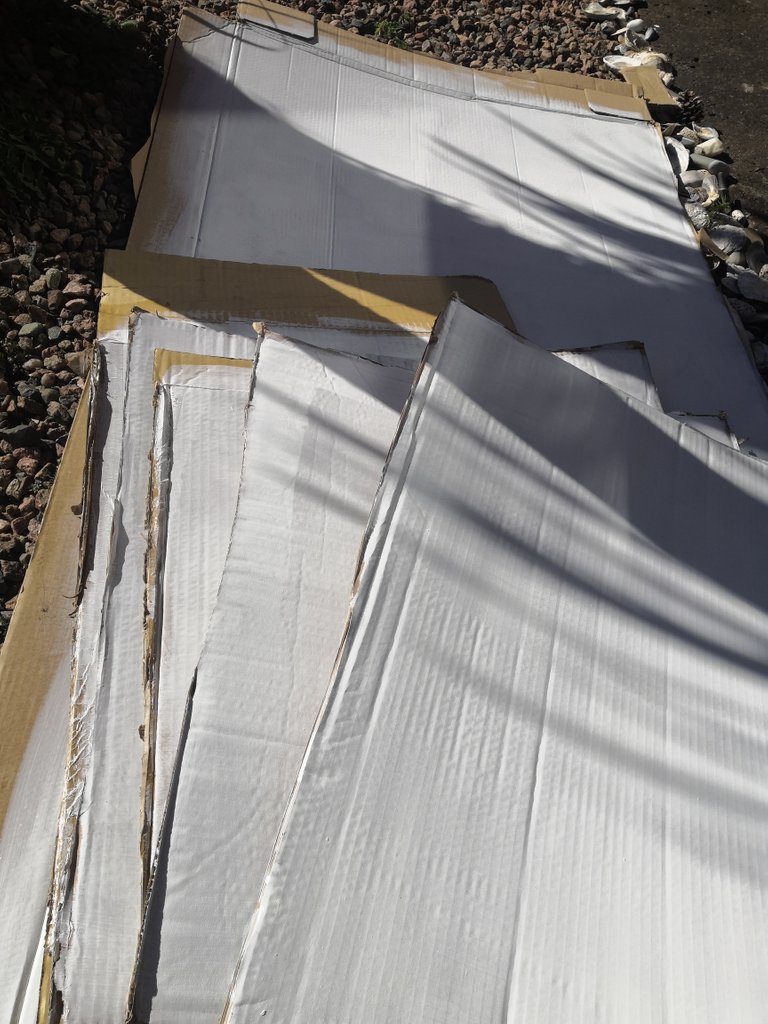
For this reason, I have dug up some tricks for cheap underpainting, that I would like to share with you! This time I used ordinary cardboard, which I always have too much of at home.
For some reason I find it hard to part with them:)

I personally recommend hard pasteboard for this purpose - the hard back of a sketchbook is usually perfect for this. I myself used to buy hard, thick pasteboard from DIY shop when I was still at school. Their undoubted advantage is not only the price, but the great freedom to create any format you need. What's more, you can use this technique on plywood or board as well.
One important note: these underlays are not as durable as classical painting underlays, so they are unlikely to last for you know - centuries (especially the humidity does not do them much good), but it is an excellent way of making cheap stuff for training. The great advantage of painting is that a given picture can always be repainted, started again. Plus it can be fun to do with kids for instance:)
However - professional underpaintings cost a lot.
Today I would like to encourage you to make your own painting bases. They are suitable for both acrylic and oil paints. They are good for drawing with pencil, charcoal. They are suitable for inks and pastels. And they are definitely more durable and resistant to ageing than paper:)

Shopping list:
- food grade gelatine, I used pork (animal ones work better, you can use powdered or one that come in sheets- it doesn't really matter);
- acrylic or silicone paint (wall paint will suffice);
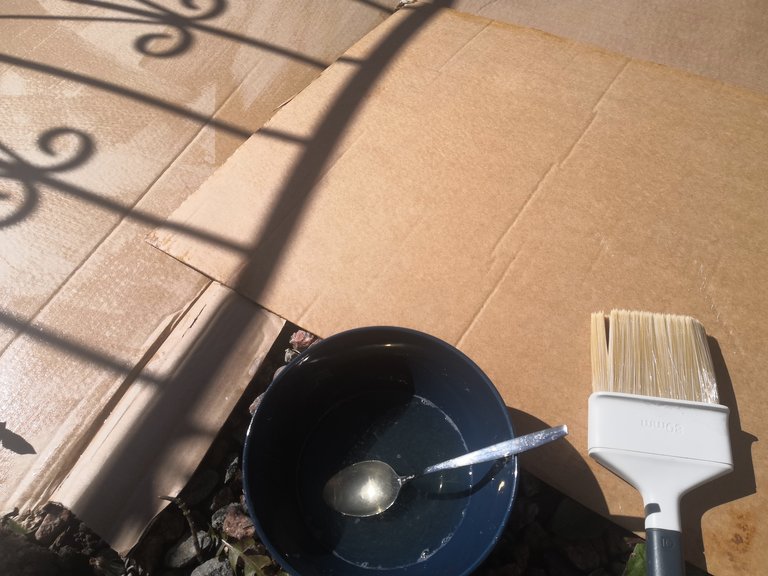
- pasteboard (as I said before the back of a sketchbook is best, I used cardboard as I have it in tons at home);
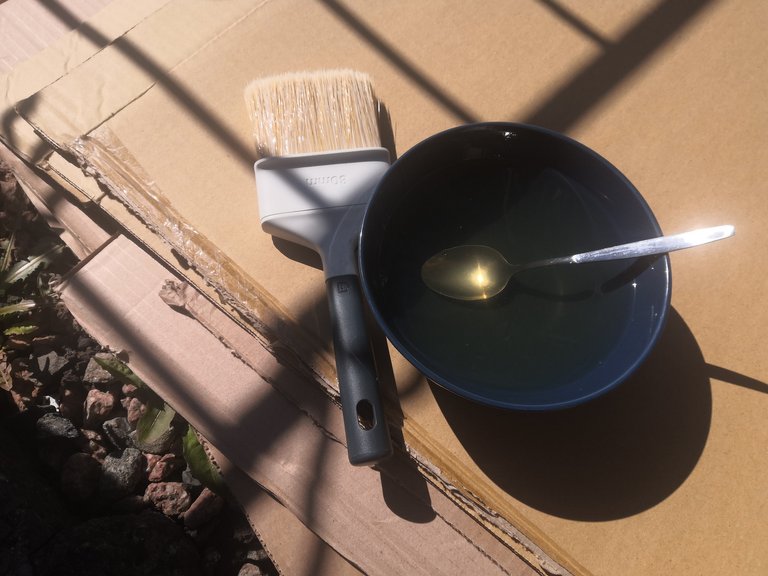
- sponge painting roll and/or wide, soft painting brush;
extra:
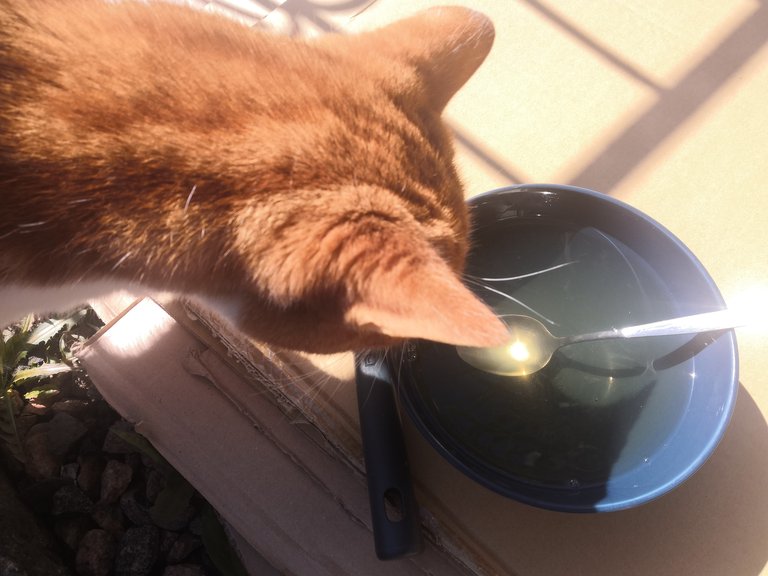
- glass bowl for dissolving the gelatine,
- spoon,
- paint tray,
optional: - sand paper.


Then I pour off the cold water. I boiled the water and cooled it down a bit (the water mustn't be hot!) and slowly poured it into the bowl with the swollen gelatine. I stirred until the gelatine dissolved completely. The gelatine should be quite fluid so that it spreads well. If it is too thick, simply add more water.
Let's get started!
Then apply the layer vertically. Wait for it to dry.
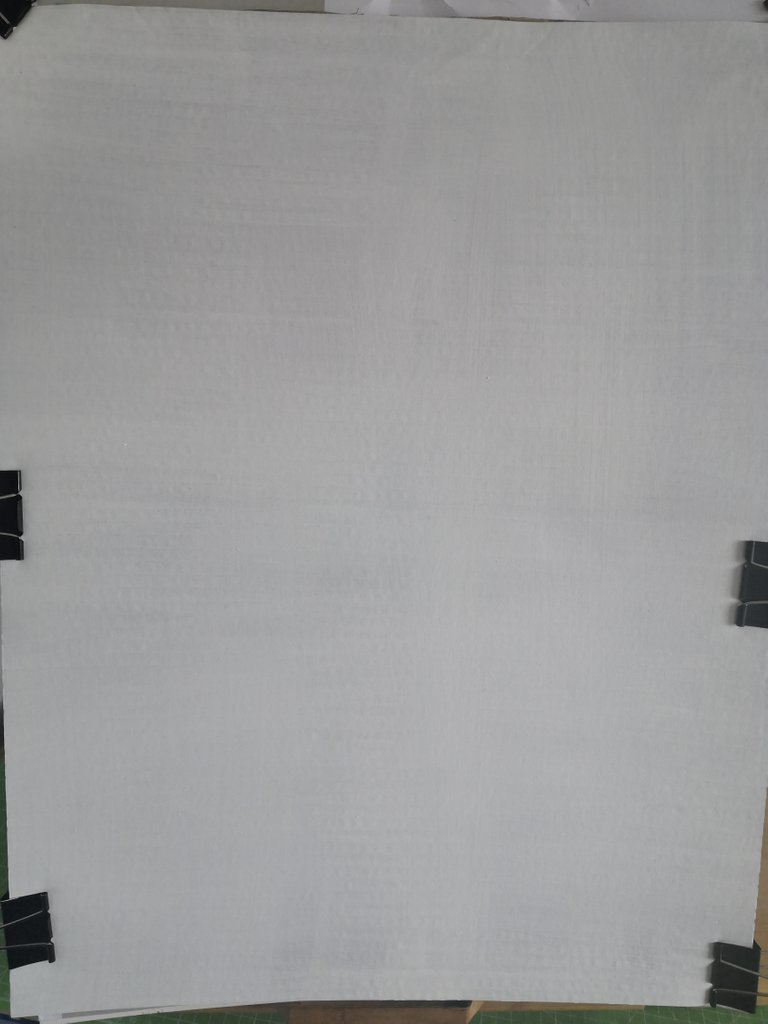
When both sides are covered with gelatine and completely dry, proceed with the application of the paint. I recommend that you dilute the paint with water to make it flow and easy to work with - this avoids streaks and unwanted brush marks.
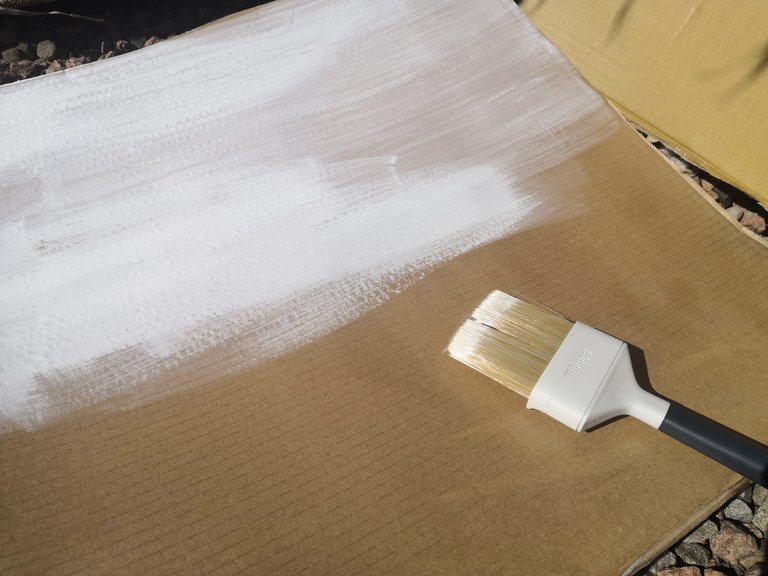

Once dry, the undercoat is ready to work with!
Below you will find my first use of my new, freshly made underlays. As always - looking forward to see some comments!
Have a lovely Tuesday,
Yours,
Strega Azure
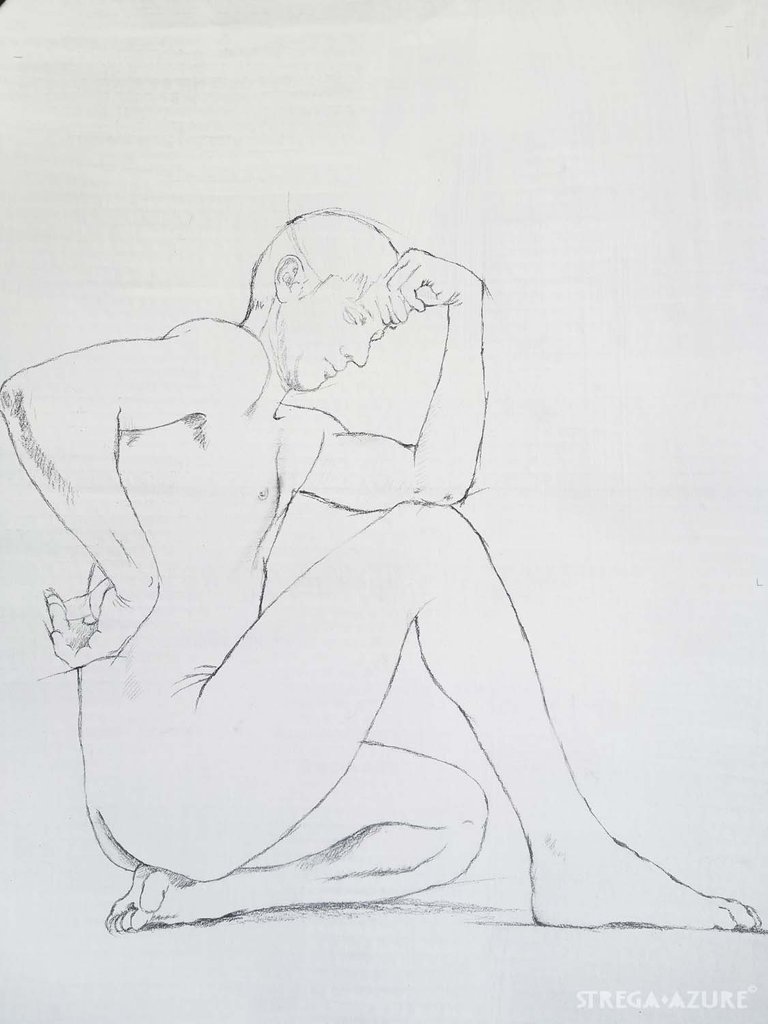
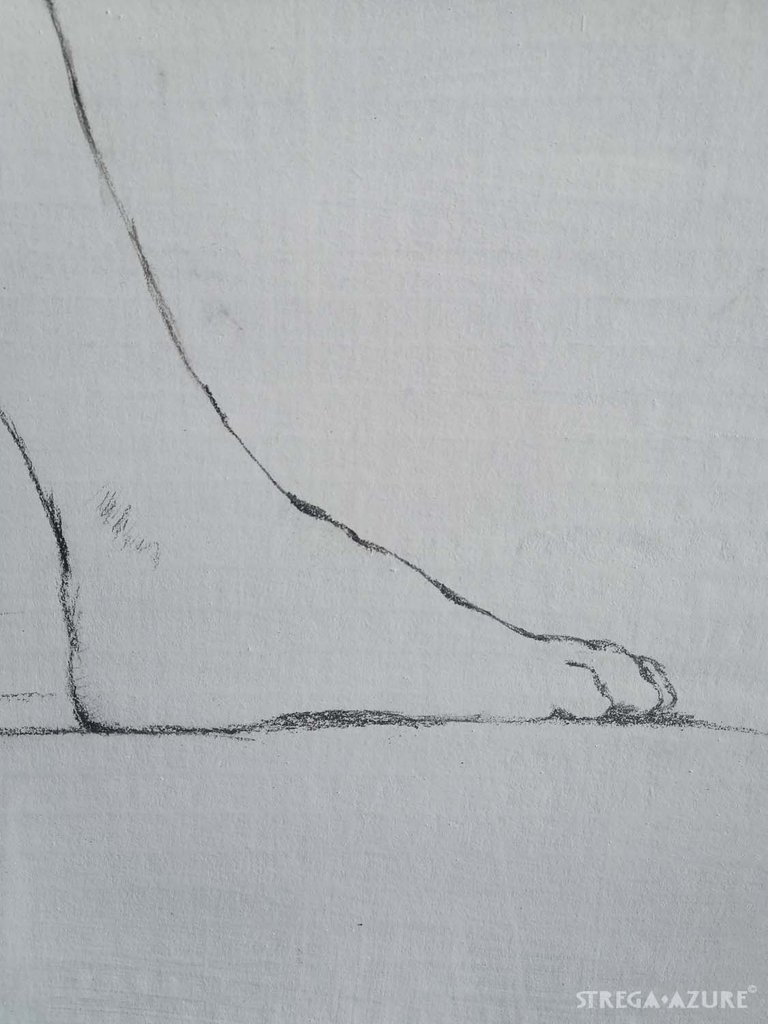
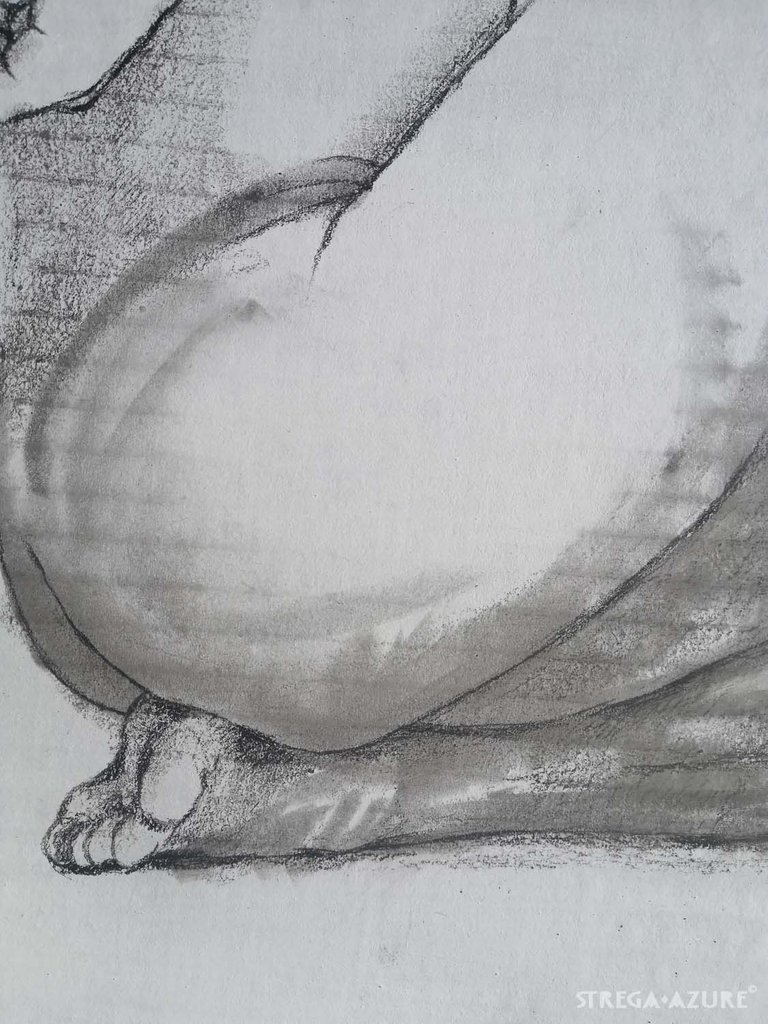
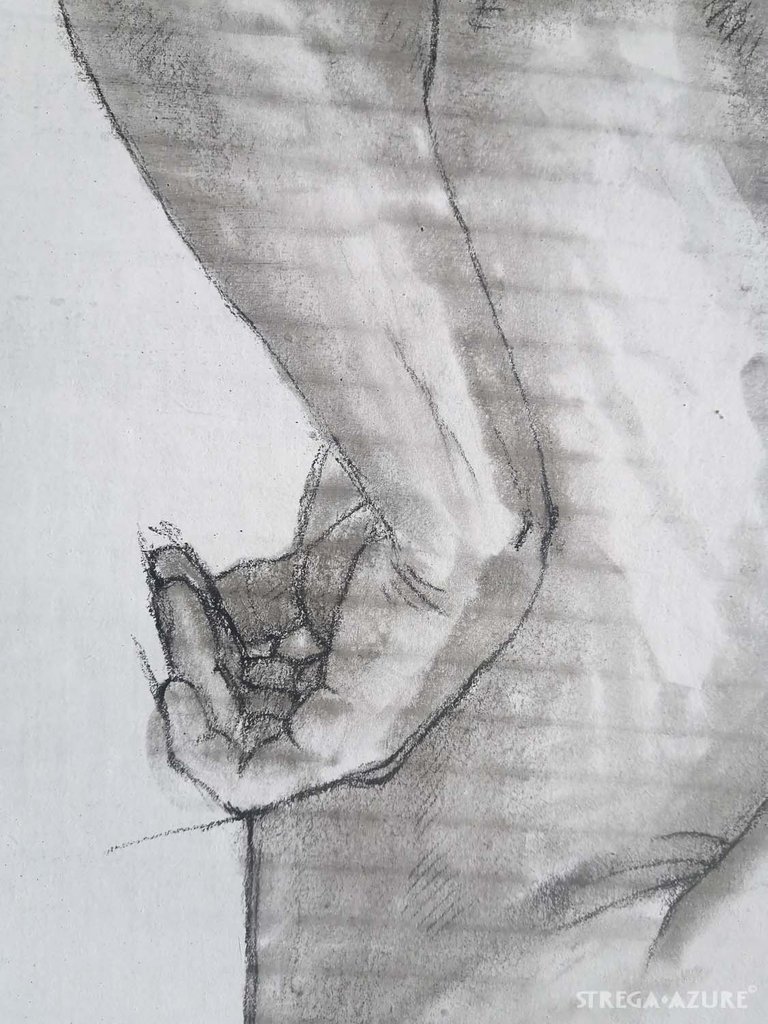
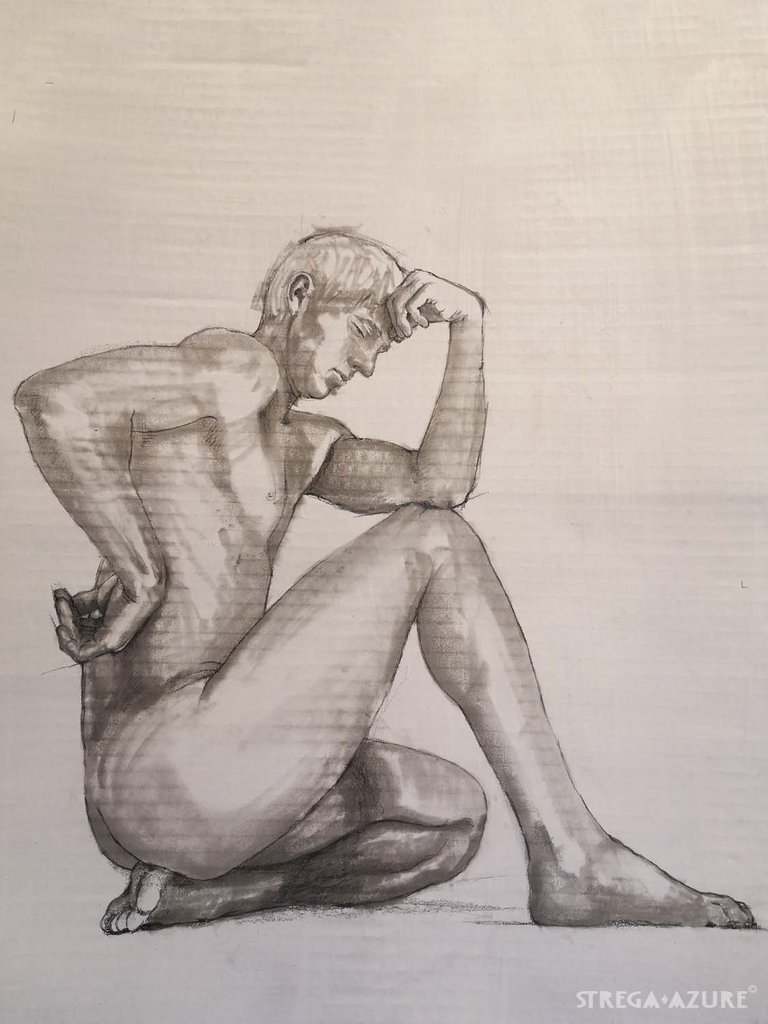
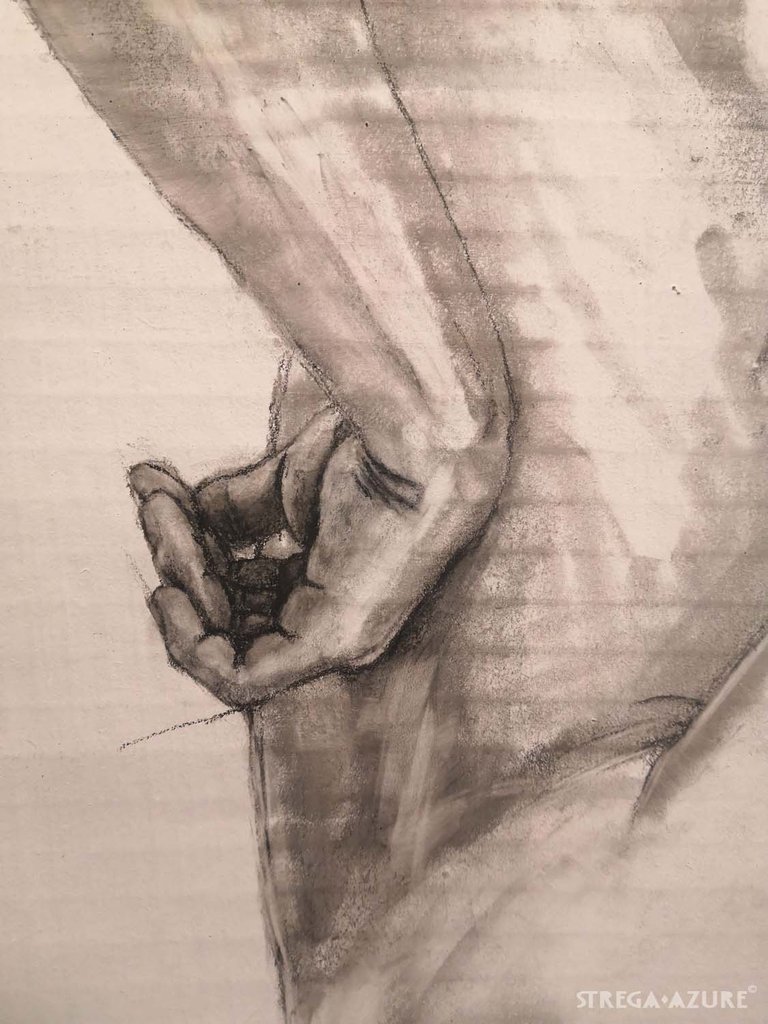

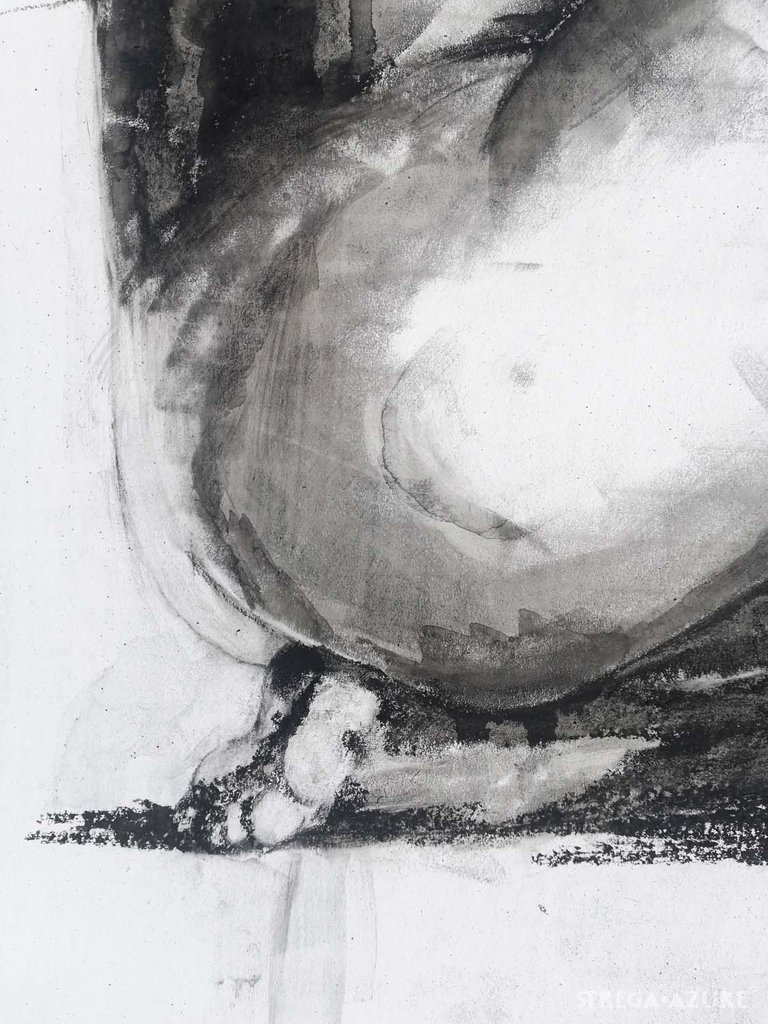

I used charcoal in pencil, regular drawing charcoal, acrylic ink
Drawing' dimensions: 55cm x 33cm (21.7 'x 13')

![]()
https://leofinance.io/threads/view/strega.azure/re-leothreads-2l5p3wek5
The rewards earned on this comment will go directly to the people ( strega.azure ) sharing the post on LeoThreads,LikeTu,dBuzz.
When capitalism meets art, and the domestically mass produced canvas is too expensive, reduce, reuse, recycle with @strega.azure and this hack to defraud your car-boot sale art side hustle! :P </tiktok / youtube short format rip off of this post>
Canvas is pricey, and preparing it correctly is pricier. It's little wonder so many historical paintings have so many layers and indeed other paintings "below" the original layer.
This technique obviously works on unbleached cardboard, but what of the super glossy cardboard "premium goods" are shipped in?
🤣🤣🤣
Welcome to my new podcast: 'Fight Capitalism With Eco-Art!'
Glossy cardboard usually have dull side that can be used - With stuff like this I would just put gelatine and paint on one side, should work well. It can bend a little, but should be usable. I am often too busy to do prepare both sides, and it is still working for me. I just would stack a pile of books on the top of it for a while to make them niece and flat.
Ready-to-use canvases are pricy, and what is even funnier - they are often badly made. I was doing my own stuff for painting classes, and never had problems. But some of the ready-made ones I bought and used - have cracks already, although it has been few years only ;/
Painting over the top of the glossy side is the ultimate way to fight capitalism.
We could totally do a podcast, but I doubt that fighting capitalism with eco art would be the only subject.
It isn't just canvas that is "cheaply" produced. Every surface that is designed for having paint applied to it is cheaply produced. Have you tried working with plasterboard / drywall? :D
I have, and I'm terribly awful at it. The paint I used "Theatre Black" by Dulux, comes away from the surface of a properly prepared wall when you take a clean finger and apply gentle force.
Perhaps the paint not bonding properly, but more likely poor quality paint and material.
Not only the fact of painting over glossy side is important here! The subject of the painting has to carry THE MESSAGE!
Did we ever stayed on one subject @holoz0r Like ever??
That sounds like a challenge. Do you challenge me?
All I hear here are complaints! But I believe I can help a bit here:)
Have you used priming paint? With heavily pigmented colours(black/red/dark green) you definitely need primer. And few good layers. Plus if you want your black to be really black - first you have to paint the wall in dark red or deep, dark blue. And then one layer of black will do the trick:)
If you feel like having insides of black hole at home - go for Vantablack, but as far as I know is impossible buy it, and to production takes days, and cost goes far beyond cost of diamonds🙃
Yes, the wall had primer on it. Its just the wall behind my computer desk. In the lounge room, behind the TV, we have middle grey with a slight blue tint. It makes the TV's contrast ratio seem even better than what it actually is. Everyone comments about how our TV looks way better than theirs, and it only cost a little bit in paint. That one was done by a professional, though, when we had the place painted.
You're the 2nd person to suggest vantablack. My finances don't extend that far towards excess, but I'd much rather have a vantablack room than diamonds.
You know waaaay more about the chemistry of paint and materials than I would. While I studied this stuff at art school, I ultimately ended up using zeroes and ones to make the majority of my work.
Why not crush up some egg shells for that lustre? :D
Middle grey seem to be good idea behind the TV, although I never owned one, so cannot really tell :D
And I respect that!
So you were smart about it! When I have to do stuff I have to transform my workshop into studio. And there is a mess, and then I have to clean the mess to do some crafty-things. There is more cleaning than working actually. I would love to stick with computer, but just can't. I have to get dirty and cut myself on occasion(no, not the way Melanie was doing it!) to feel that I am doing something, I don't know... real? Make sense?
Ha! You would be surprised how many ways there is to make cool texture. I actually seen someone mixing egg shells with paint. Didn't came out great, but you know... Experimenting is important:)
I get the "getting dirty" and "hurt" for it to be real Art. I most recently experienced this when on "holiday" to visit my in-laws. My father in law (as one of his many dozens of jobs) was to resurface the lawn bowls green.
We manually sifted about 5 tons of sand, and spread this out on the green, before sowing, fertilising, and all the other "Earth chemistry".
My core was sore for about 3 days, and I got horribly sun burned, but the shower after that was the best, most rewarding thing ever.
Still looking forward to your thoughts, no rush. When you get there, you get there.
It's only used for video games, really. :D The odd "sportsball event" is watched, but for the most part, media consumption is done on phones / around the house.
Congratulations @strega.azure! You have completed the following achievement on the Hive blockchain And have been rewarded with New badge(s)
Your next target is to reach 6000 upvotes.
You can view your badges on your board and compare yourself to others in the Ranking
If you no longer want to receive notifications, reply to this comment with the word
STOPTo support your work, I also upvoted your post!
Check out our last posts:
This is such a detailed write-up for making paints. How are you so knowledgeable in stuffs like this? Did you study them in school or ...? And the drawing is so life like. I so enjoy it! Lol. What would it take to draw me? 😂😂
Popped in through Dreemport
I am glad you've found my article interesting:) I haven't work with charcoal in years, so it is nice to see that people like it:)
Yeah, this way of making underpaints I've learned in art school. We had quite inventive painting teacher, she was amazing with stuff like this. We would do those underlays during our workshop classes. It was cool, because this way everyone in the class could afford it.
The whole class contributed a few pennies each, we would buy pasteboards and wall paint in bulk from DIY shop, and every person would bring some gelatine from home. We had to travel quite far to DIY shop, but we would go all together, so we could buy as much as we could carry. Then we would do those uderpaints 2-3 times per year, and just keep them in store room, always ready to go:)
But I can have a go with portrait, no problem:)
Here you go! Will this be enough?😏
Love it!
Edit:
Here you go, special for you @deraaa
Awwwww. You just made my heart melt. Come look @jhymi. I'm a sexy rat!!!
They couldn't have been a sexier picture of you @deraaa. And look @deraaa, it even has your smile.🤗
Nonsense!!!
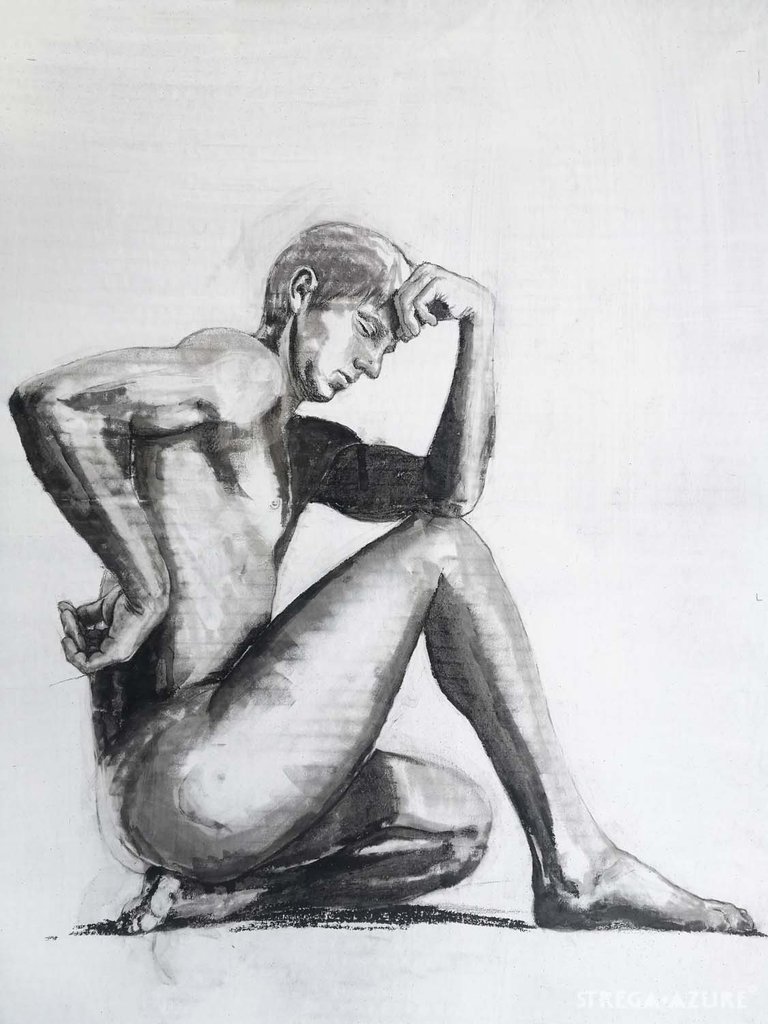
He knows, that his right profile is nicer than left one, that's why he posed like this 🤣
Oh wow!!! I wonder now if you actually draw rats...
Great. I learned something new. This is nice. Thanks for sharing.
Yay, always happy if my articles are a bit useful:)
Each time I feel I can't be more marvelled, you hit me with another one. This right here is raw, unbridled talent. I don't know how you make your paintings so effortlessly detailed but I absolutely !luv it.
P.S: don't get offended but, are you a guy or a lady, I've been trying to wrap my head around it.😁
@strega.azure, @jhymi(2/3) sent you LUV. | tools | discord | community | HiveWiki |
  NFT | <>< daily
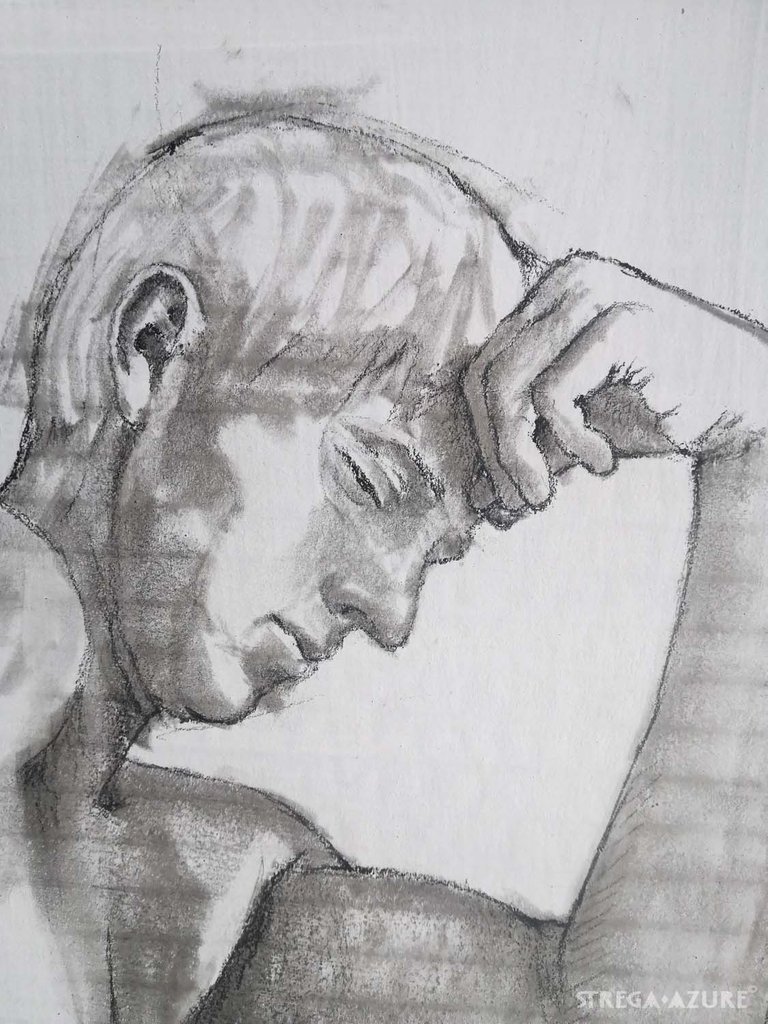
Thank you very much! I hope, I still have some to give:) I haven't used charcoal in a while so I was afraid it will be really bad 😬 but I worked very slowly this time, because charcoal is nit easy to erase it while you will make mistake, unlike pencils which I am more aquatinted with:)
I gonna say lady, but it feels odd to call myself that:) This word sounds so fancy:)
But I'm sure you enjoyed every bit of it still because it's what you love right? No one truly complains about something if it's what they really enjoy doing. You did well!
And yeah, lady is far too fancy for a wonderfully rascal mind like yourself.🤗
I didn't believe it when someone told me you're female. I don't know if it's because of your portraits but I always got that manly vibe.😁
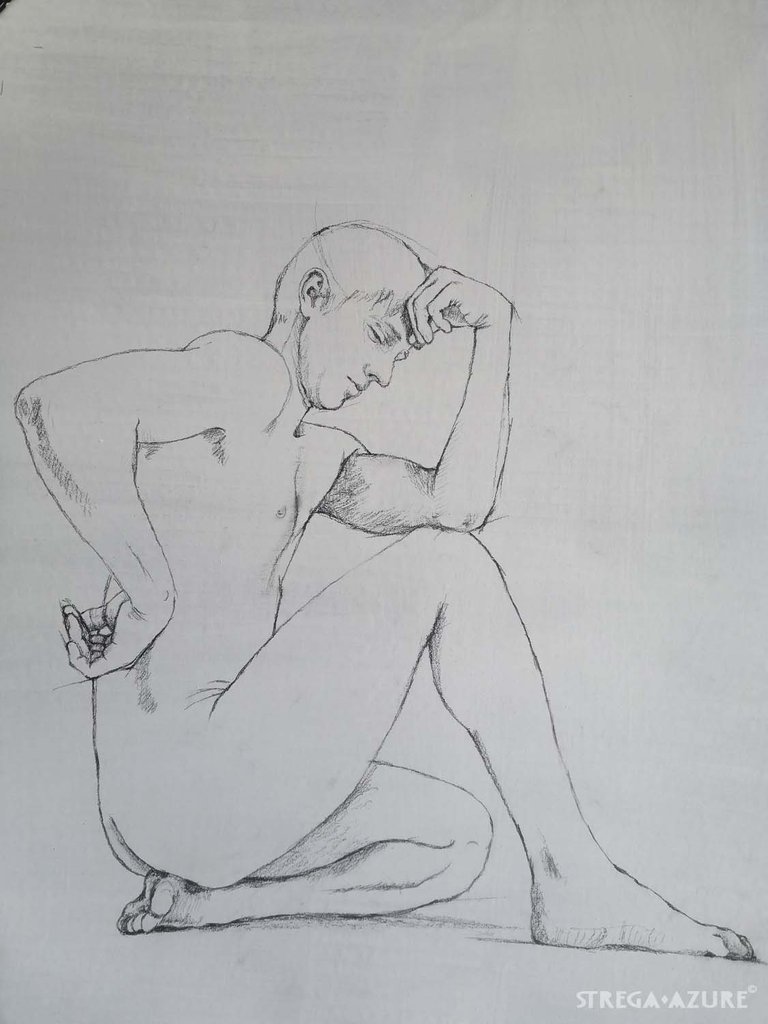
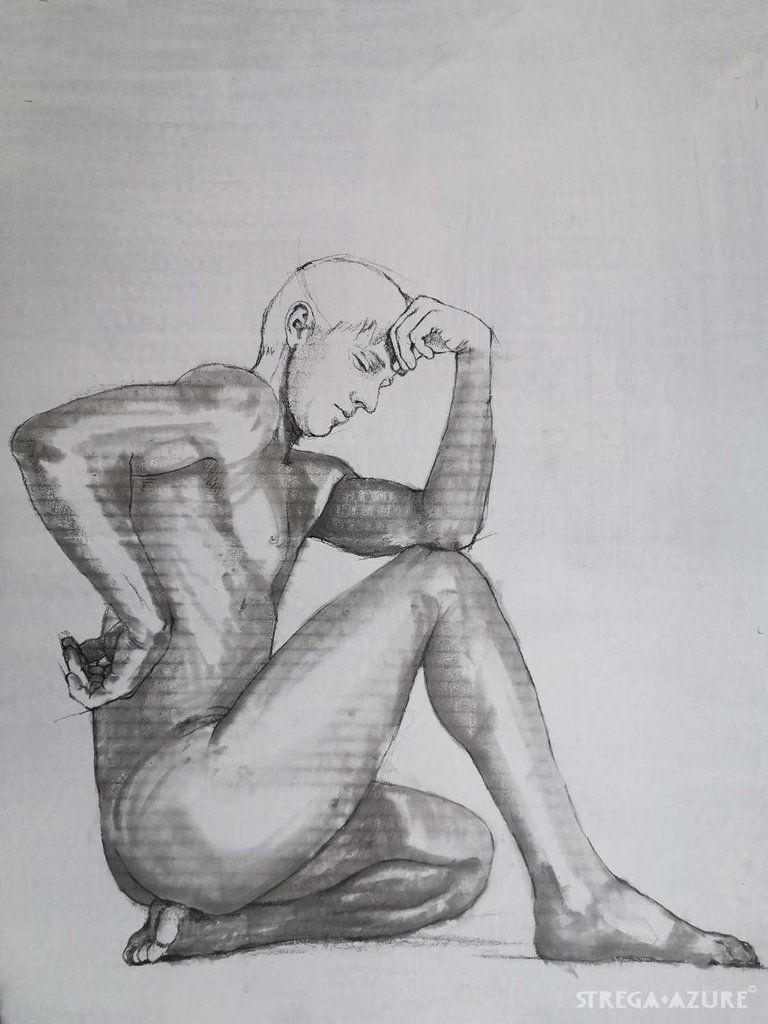
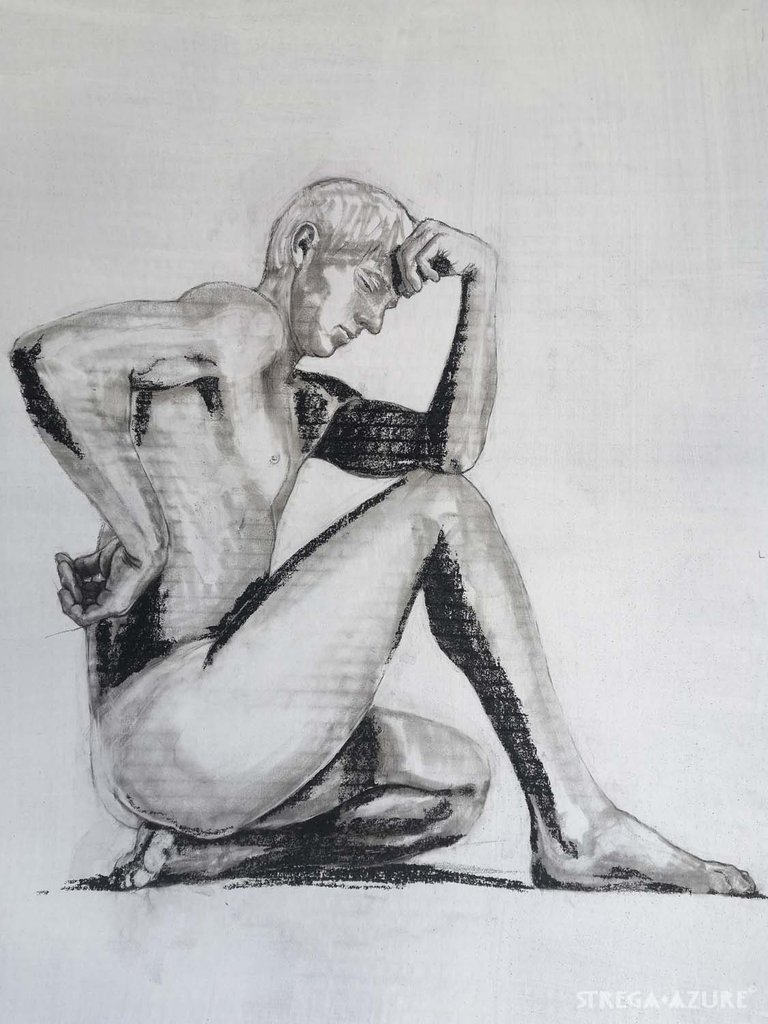
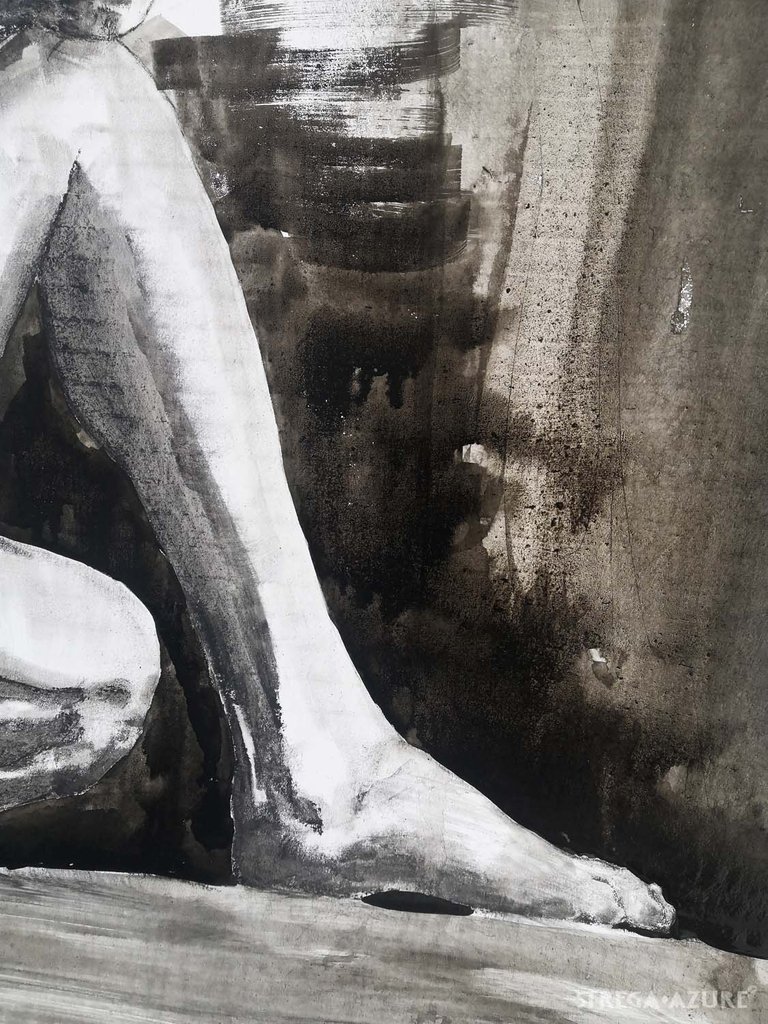
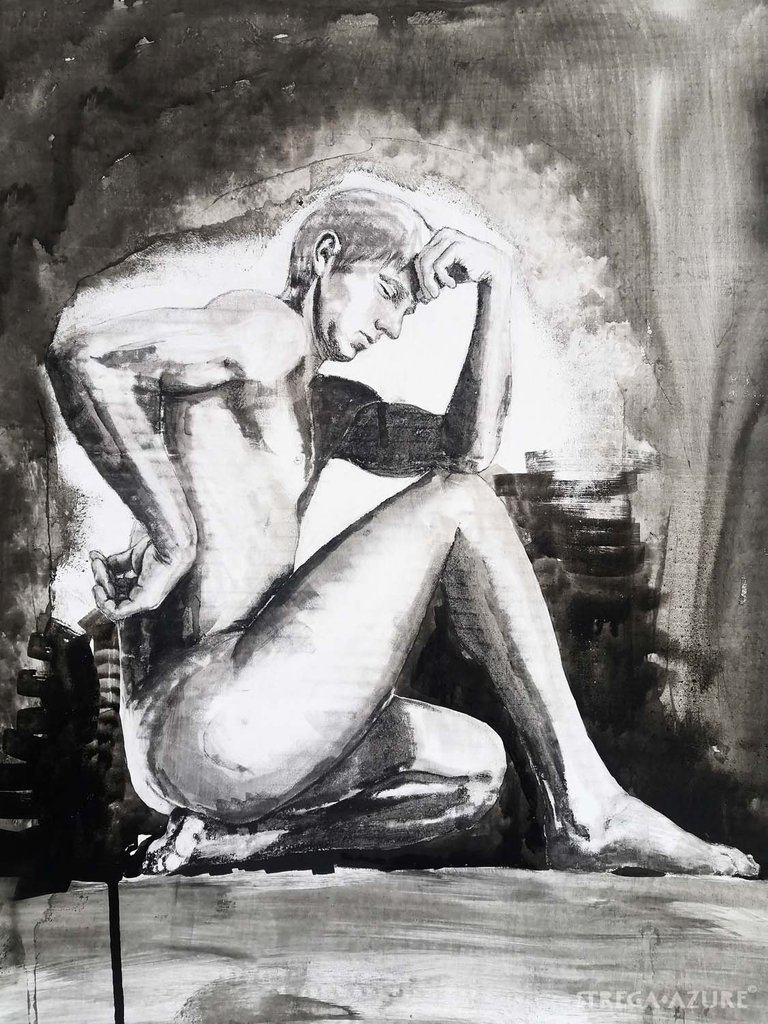
I gotta say, that this one was making me stressed a bit, because I haven't drawing nudes from my art academy times, and that was ages ago. I always using some nude photos for drawings, just to get anatomy correct, but usually I am adding some clothes or drapery to censor body a bit:) Here there are no such distractions, and anatomy/facial expression has to be enough. I just hope it is 😬
Rascal you say? I like that very much. But you know what, I actually have a little bit higher level of testosterone, so maybe you are onto something! :D
To be fair, you are not first one that though I am a male:)
Oh, that's wonderful. I hoped you wouldn't get offended. That's definitely interesting. The higher testosterone thing. C'est magnifique!🤗✨
I am really glad you liked it!
Offended?? Nota at all, not one bit:) Always ask away!
See you around!
Nice 👍👍
Keep up the good work 👍👍
Came from @dreemport
Thank you!
Welcome 😁
As expected it was a good painting. Sometimes I wonder how you can draw such kind of painting when it's one of the most difficult tasks for me.
!PIZZA
I would love to say it is easy for me, but it's really isn't. Usually the one picture I am showing in my post - is second or even third attempt on the subject.
I have a pile of drawings that I am completely unhappy with. I keep them to remind me to practice as much as possible - because if I don't, my pile will grow and grow:)
Yay! 🤗
Your content has been boosted with Ecency Points, by @strega.azure.
Use Ecency daily to boost your growth on platform!
Support Ecency
Vote for new Proposal
Delegate HP and earn more
Thank you sooo much!
Excellent tutorial!
Surely many of your artist readers appreciate your work. This looks simple, cheap, and very useful. I'm sure many will follow your advice.
Thank you very much! I hoped I was clear enough:) Thank you very much for your comment!
Clever idea making your own paint boards!!!
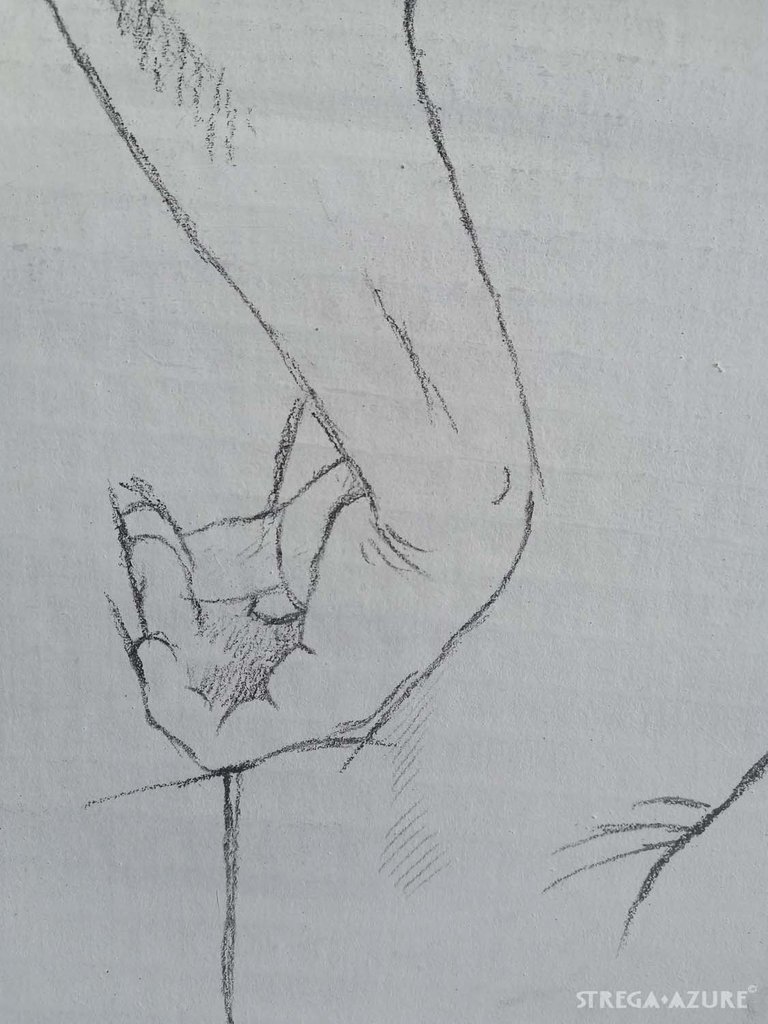
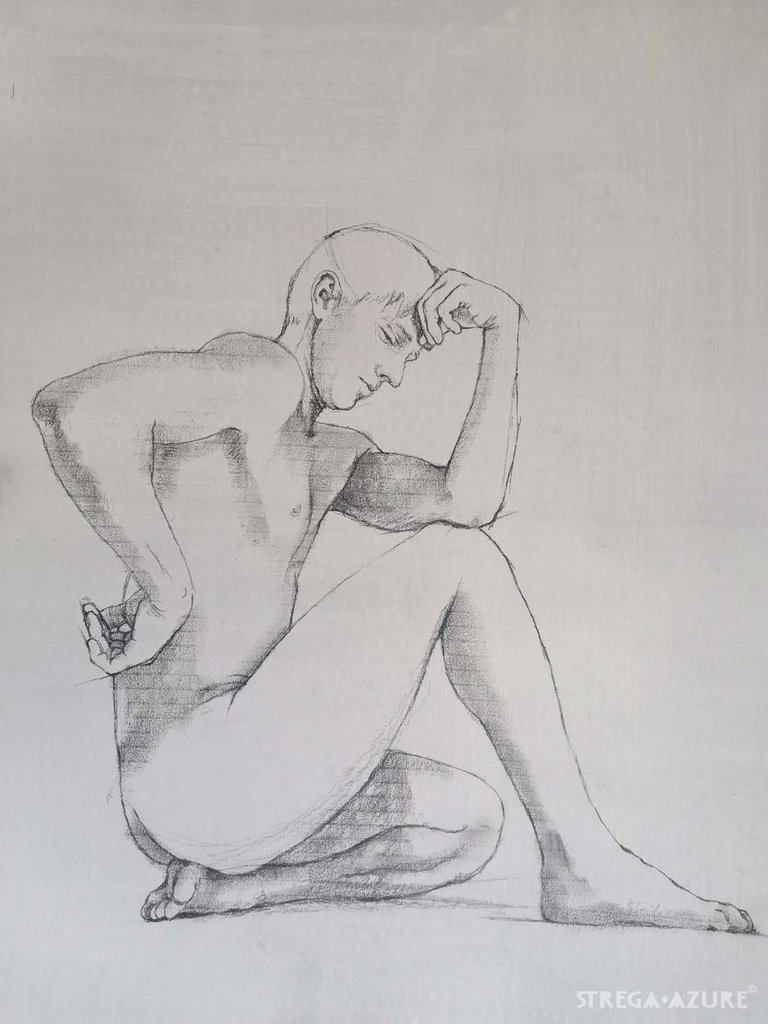
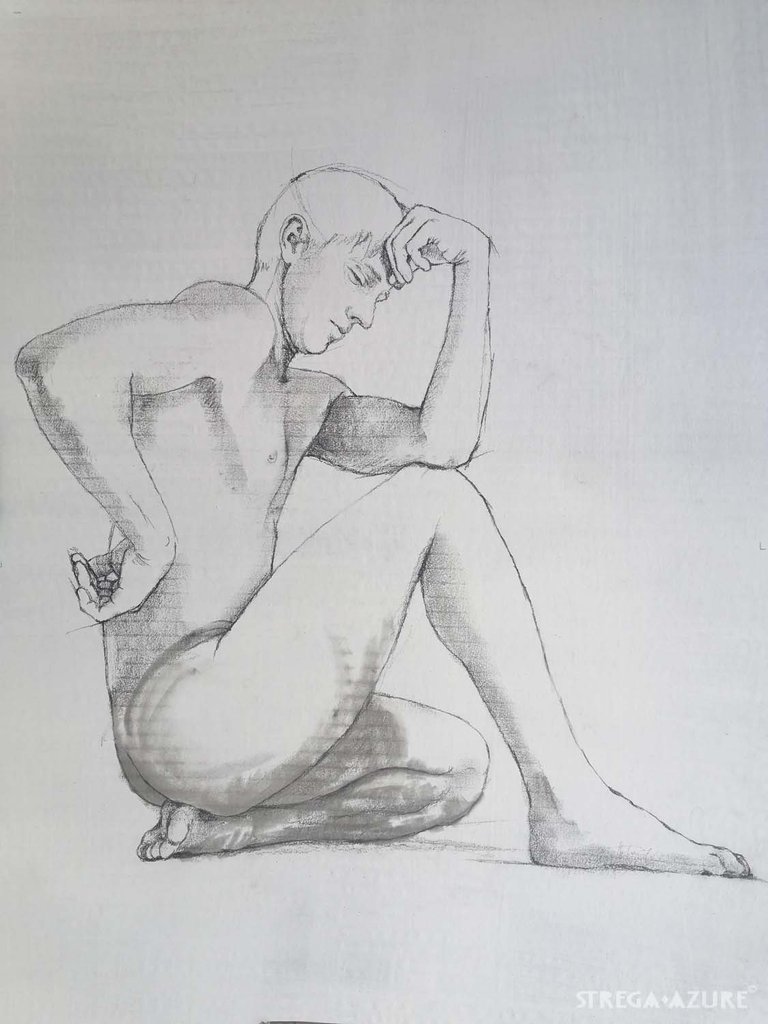
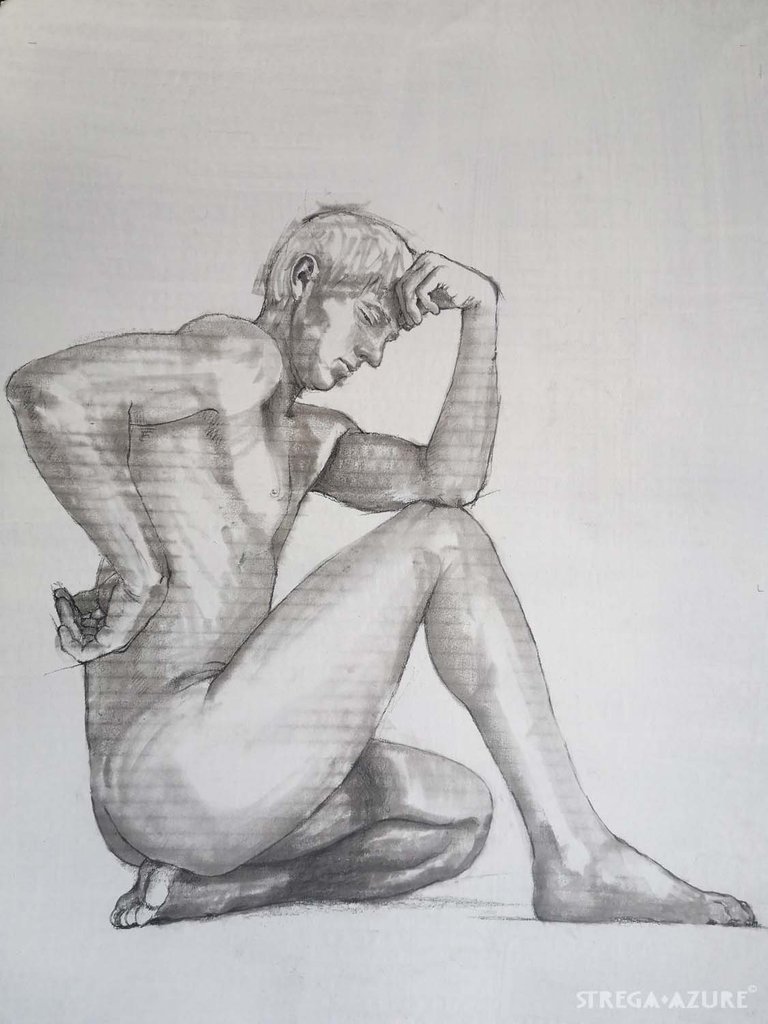
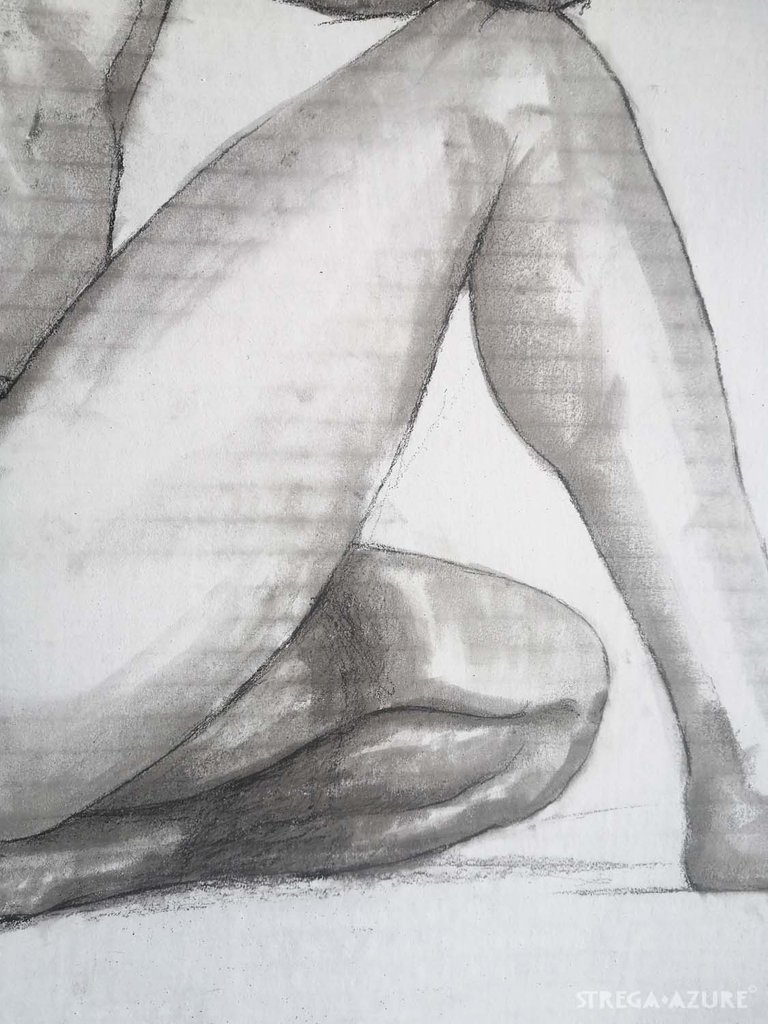
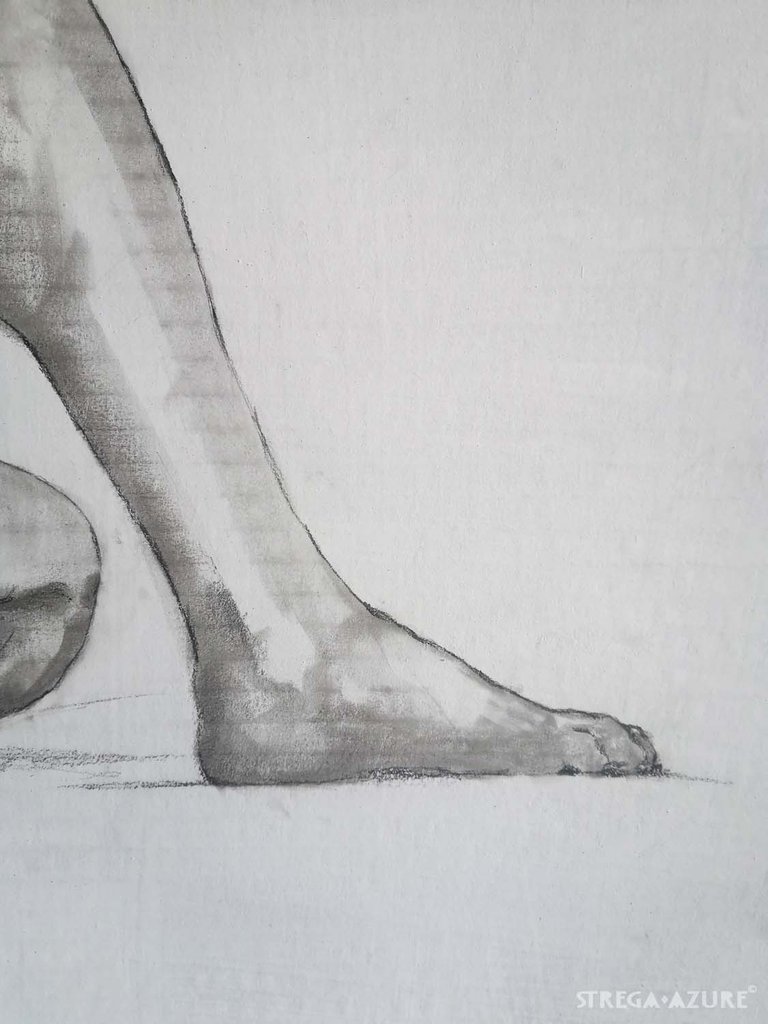
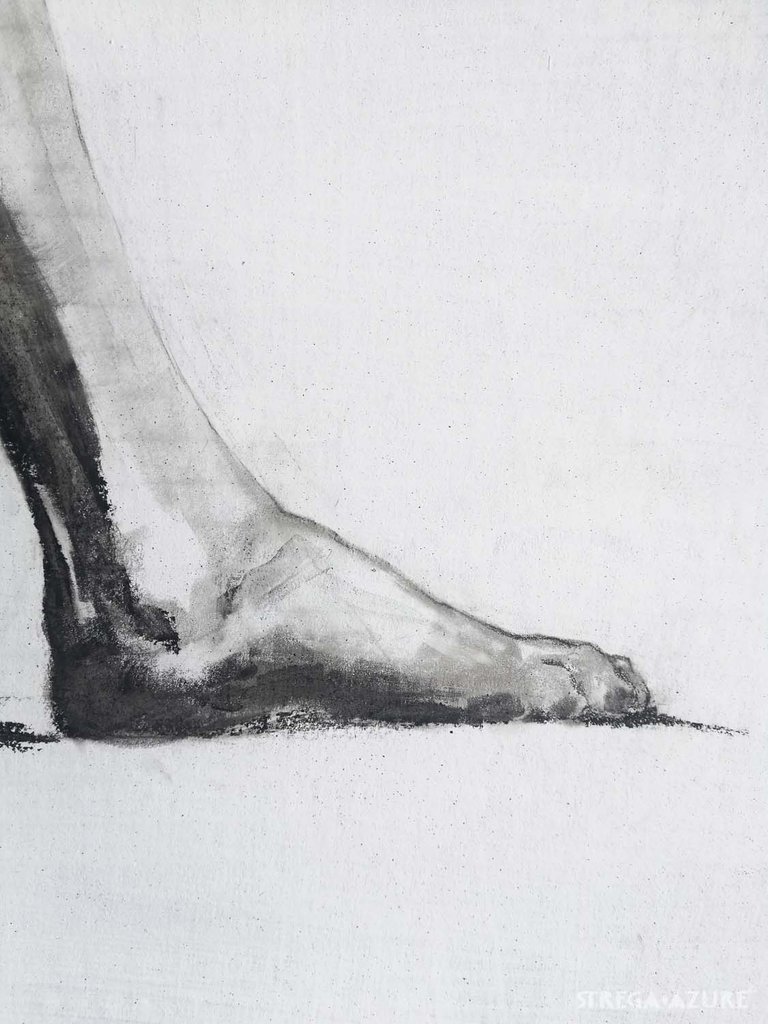
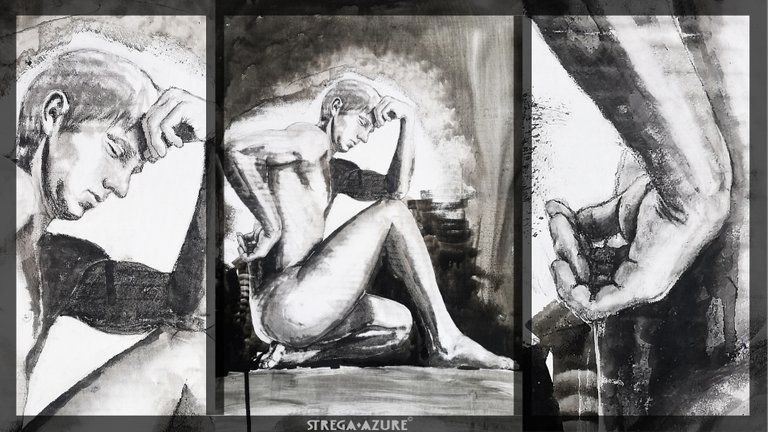
And this image is also so cleverly constructed. I love how you combine biology with art. The bone structure starts off so clear, so visible... and ends up more of a hint of the inner structure and workings of the physical body. And a beautiful tryptich to end the post. Bravo!
I have a great fondness for anatomy in general, but I feel all the time that it is my Achilles foot. Nevertheless - I am working on it:)
Plus, I didn't want to draw attention from the model face to his body. That's why I kept face more or less clean drawn. Haven't touched charcoal for ages, but I think I will work with it more in the future. I like working with my hands :)
I think it can be really cool idea for art classes or just to show kinds at home:)
It worked really well!!!
$PIZZA slices delivered:
@intishar(1/5) tipped @strega.azure