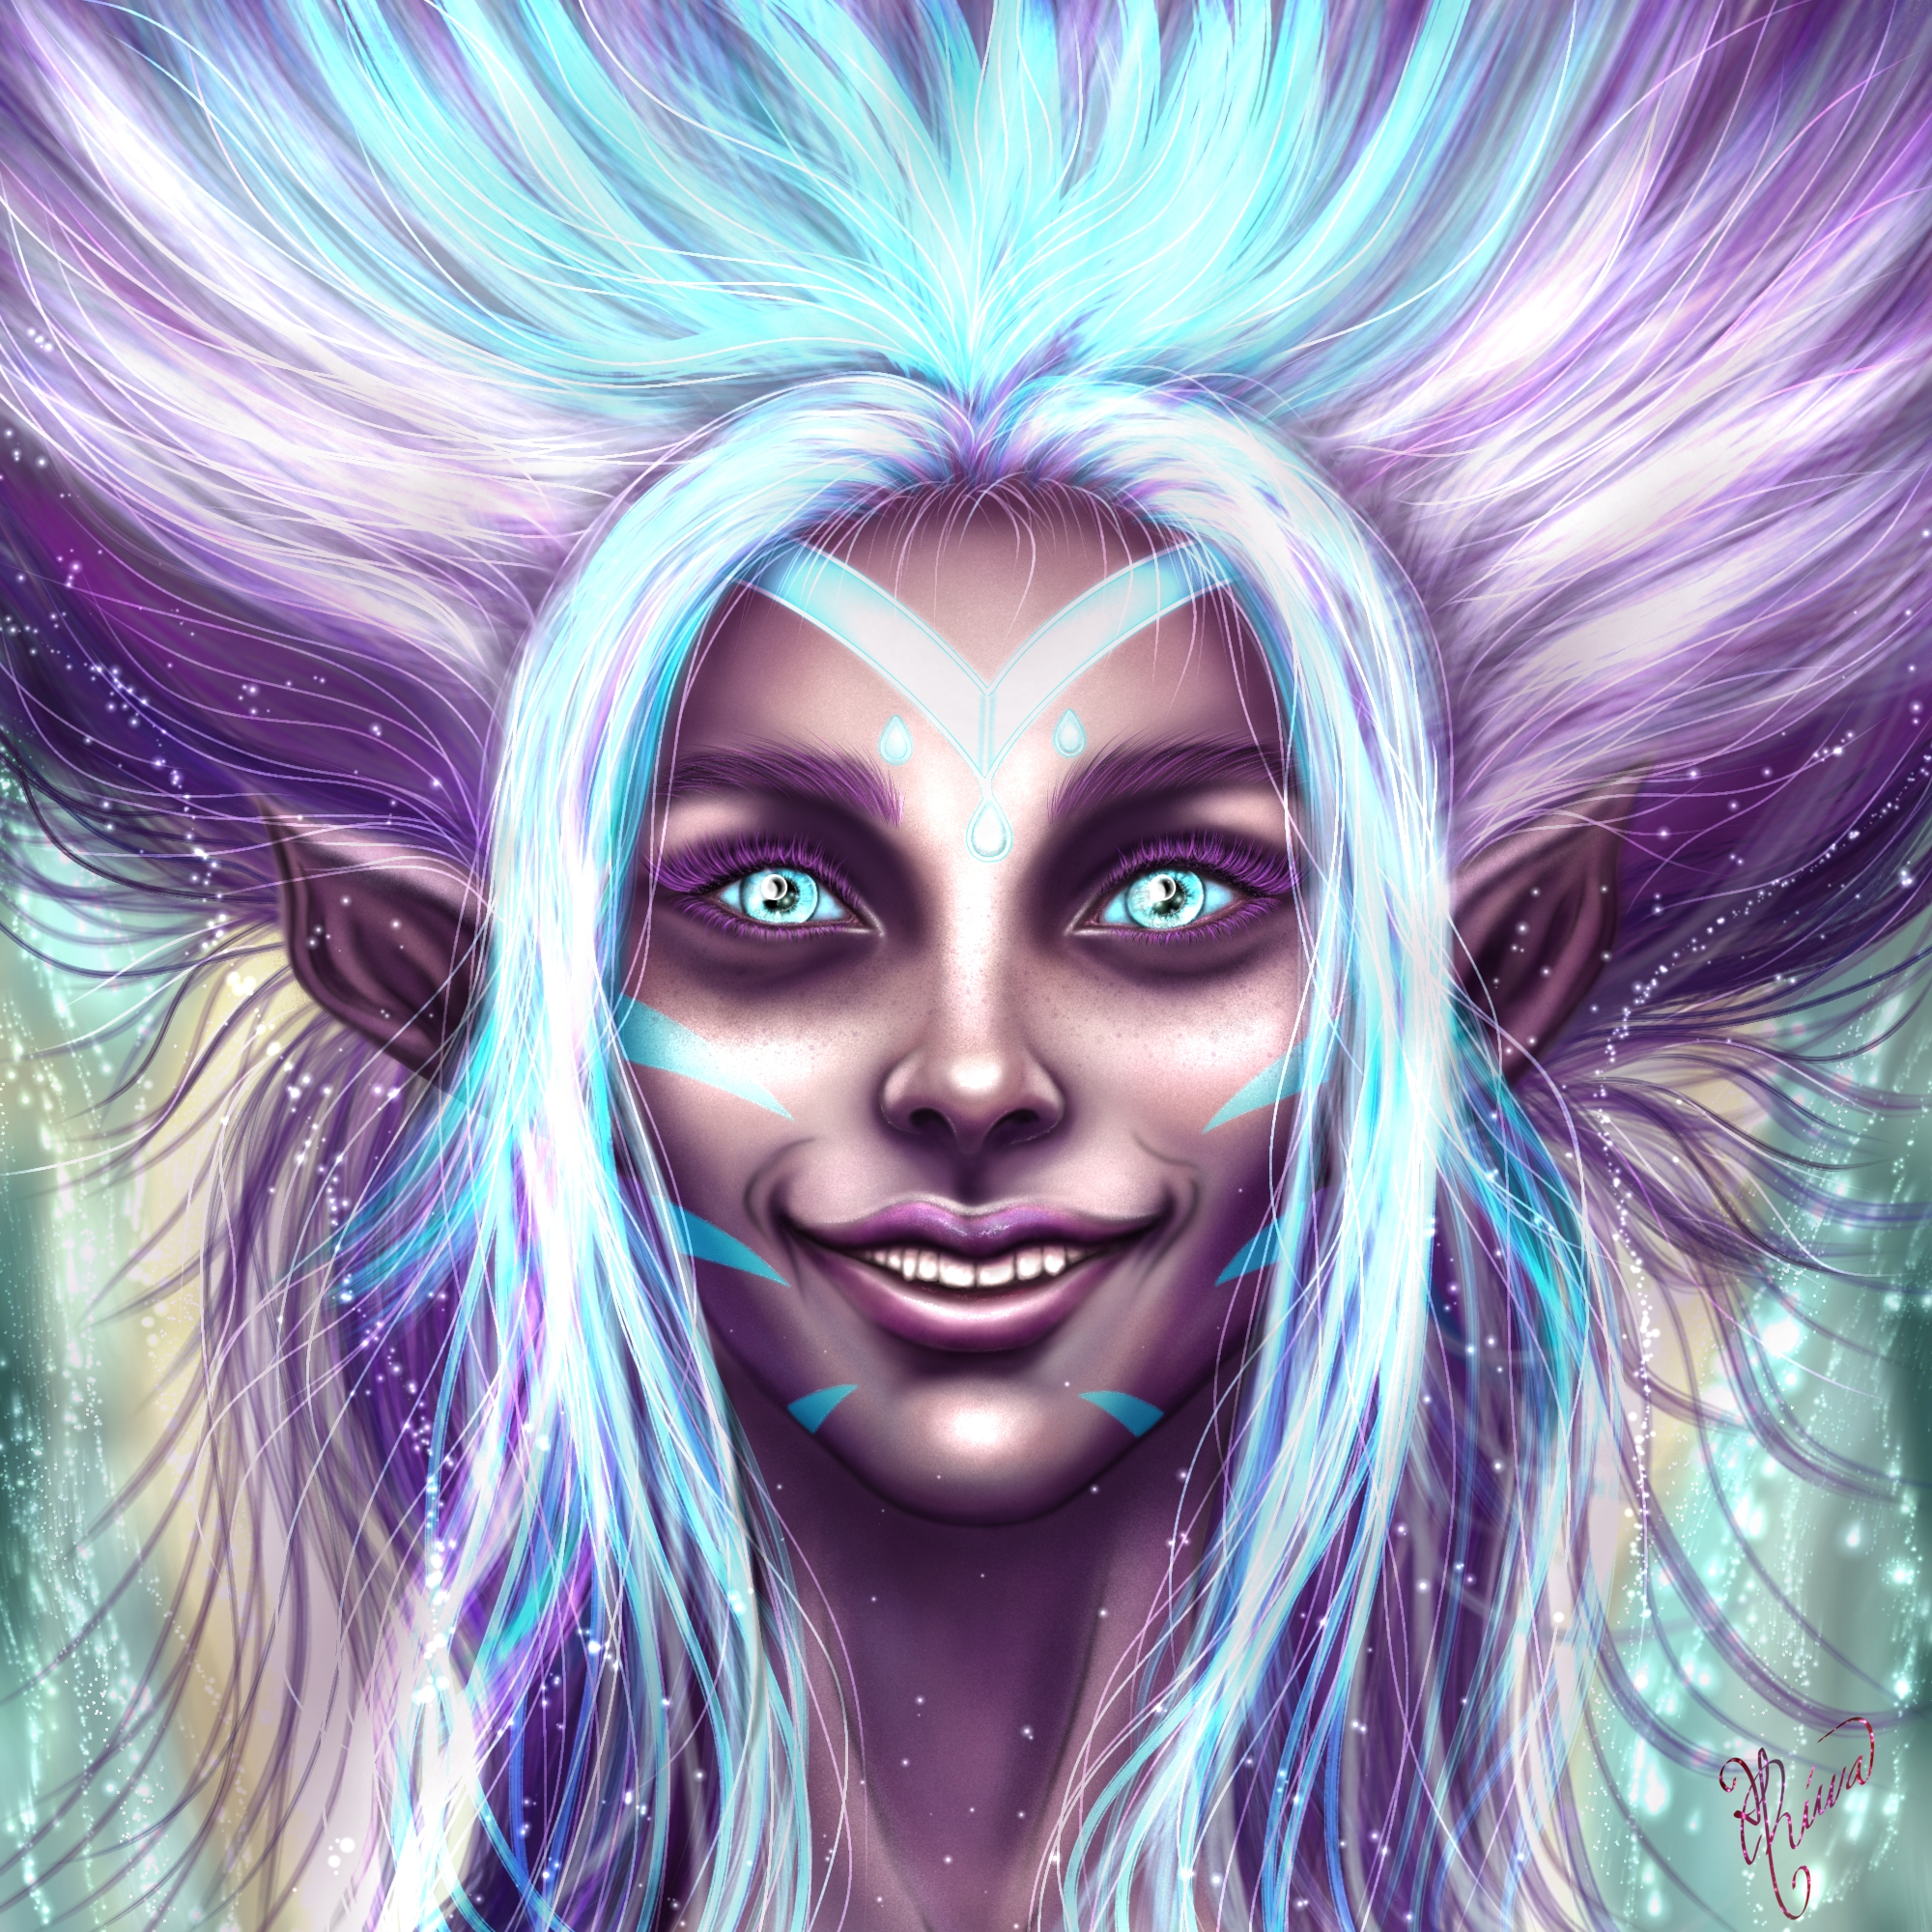
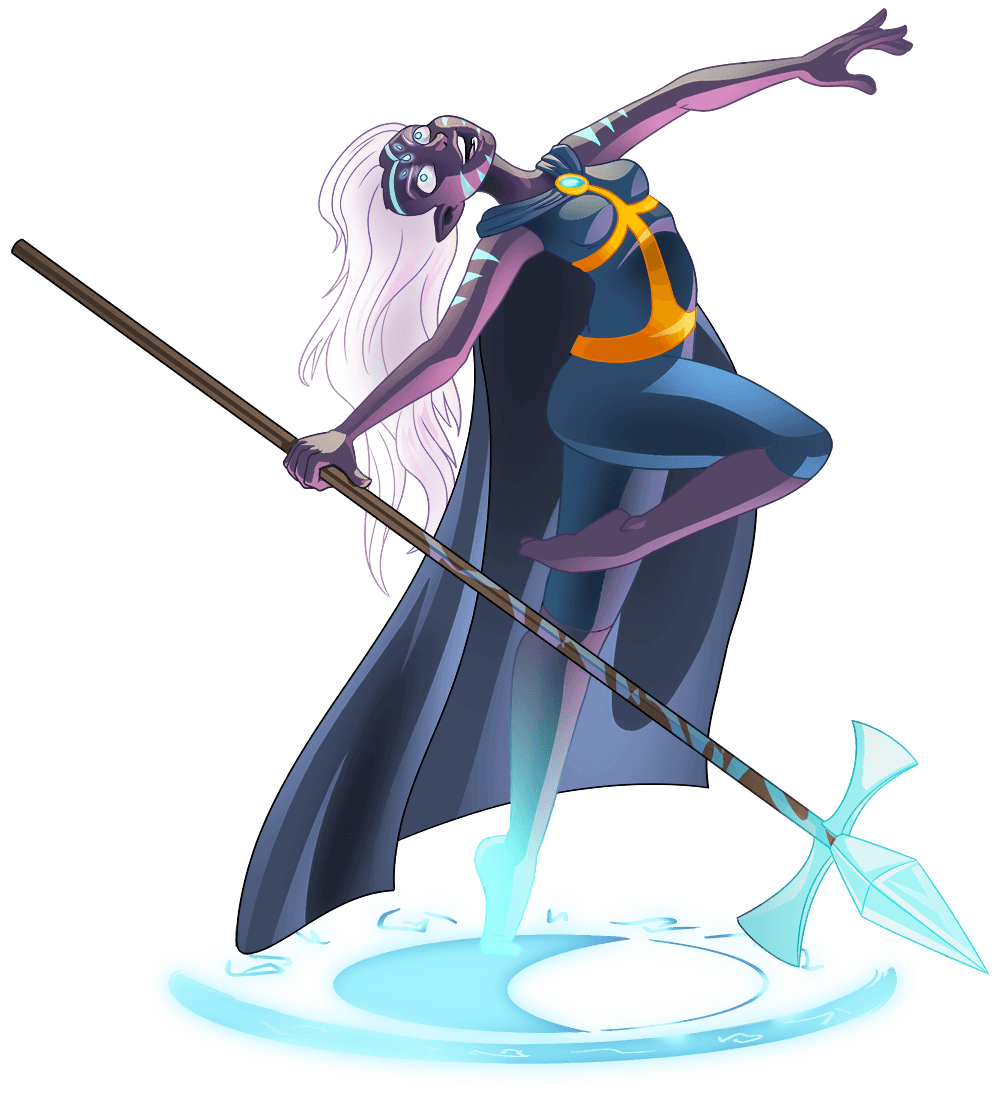
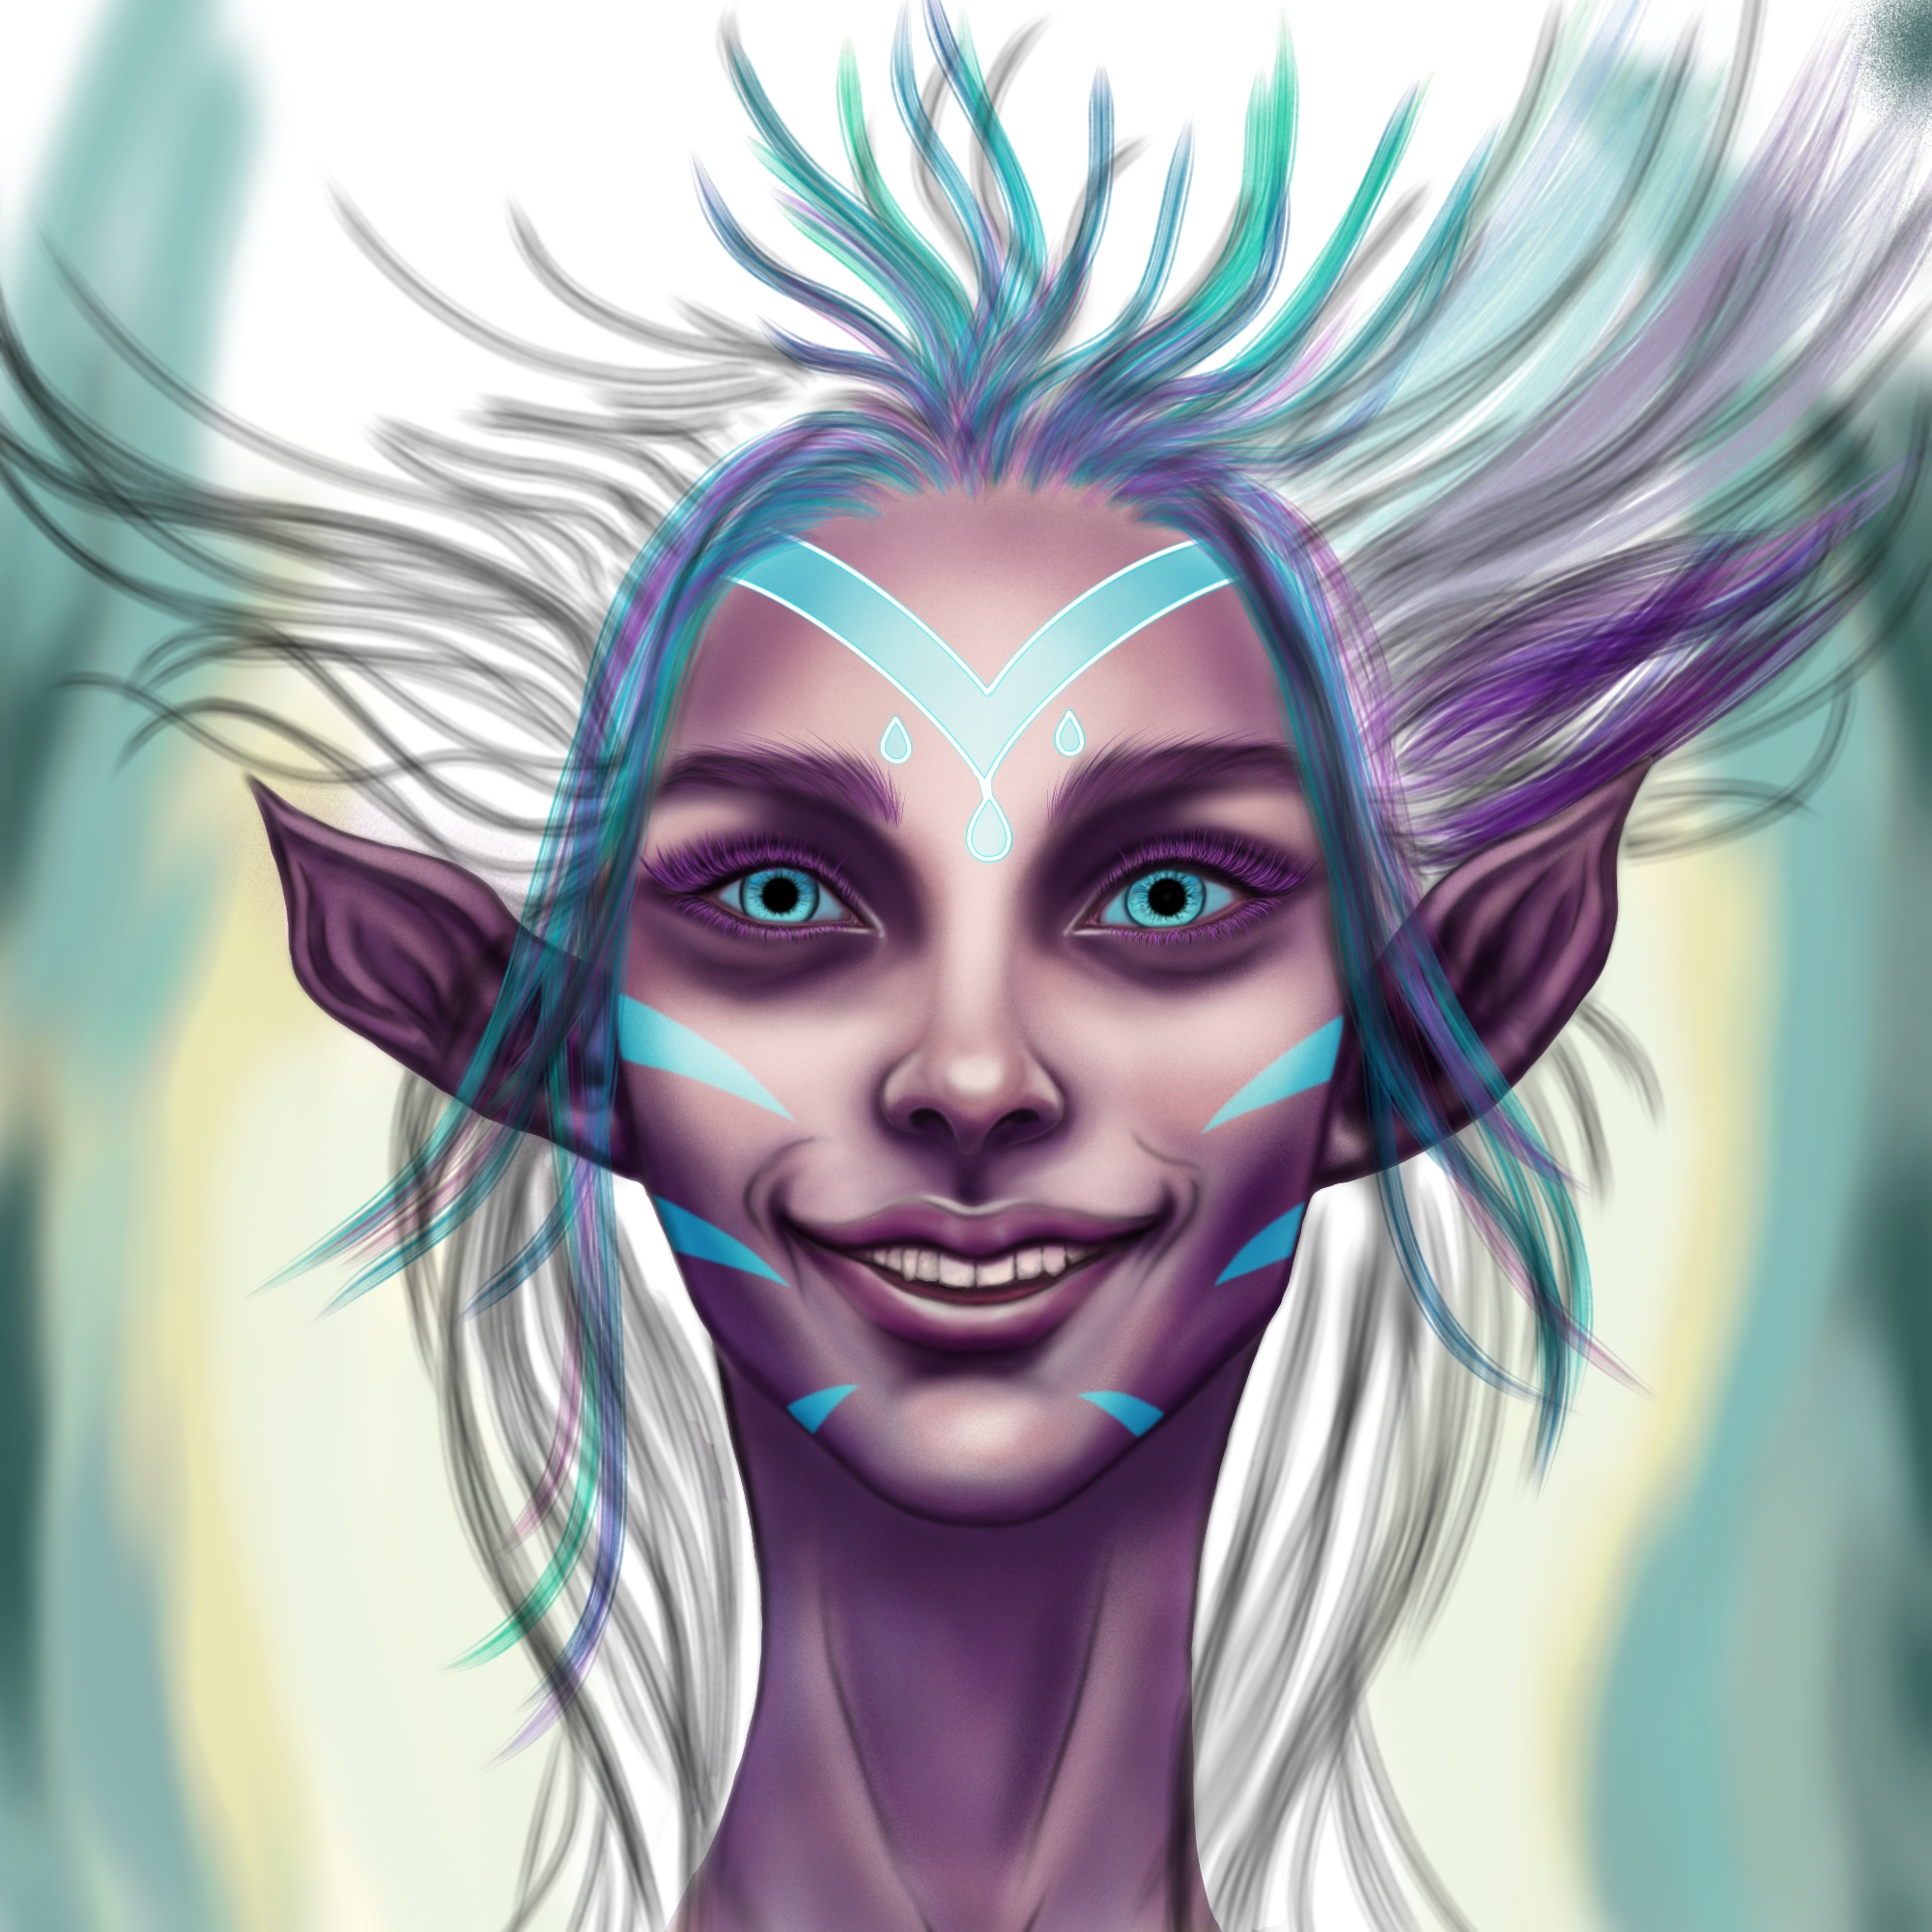
Hola estimada comunidad! 😊 Mis saludos para todos y cada uno de ustedes, esperando que se encuentren como siempre bien. Nuevamente con ustedes estoy compartiendo mi participación de esta semana para el concurso de arte en Splinterlands, y para esta ocasión quise representar ese rostro algo feliz que oculta una terrible tragedia de este personaje de la carta THEOROSA NIGHTSHADE, espero les guste y disfruten la elaboración del mismo.😉
Hello dear community! 😊 My greetings to each and every one of you, hoping that you are well as always. Again with you I am sharing my participation this week for the art contest in Splinterlands, and for this occasion I wanted to represent that somewhat happy face that hides a terrible tragedy of this character from the THEOROSA NIGHTSHADE card, I hope you like it and enjoy the elaboration of the same.😉

Etapas del dibujo/Drawing stages
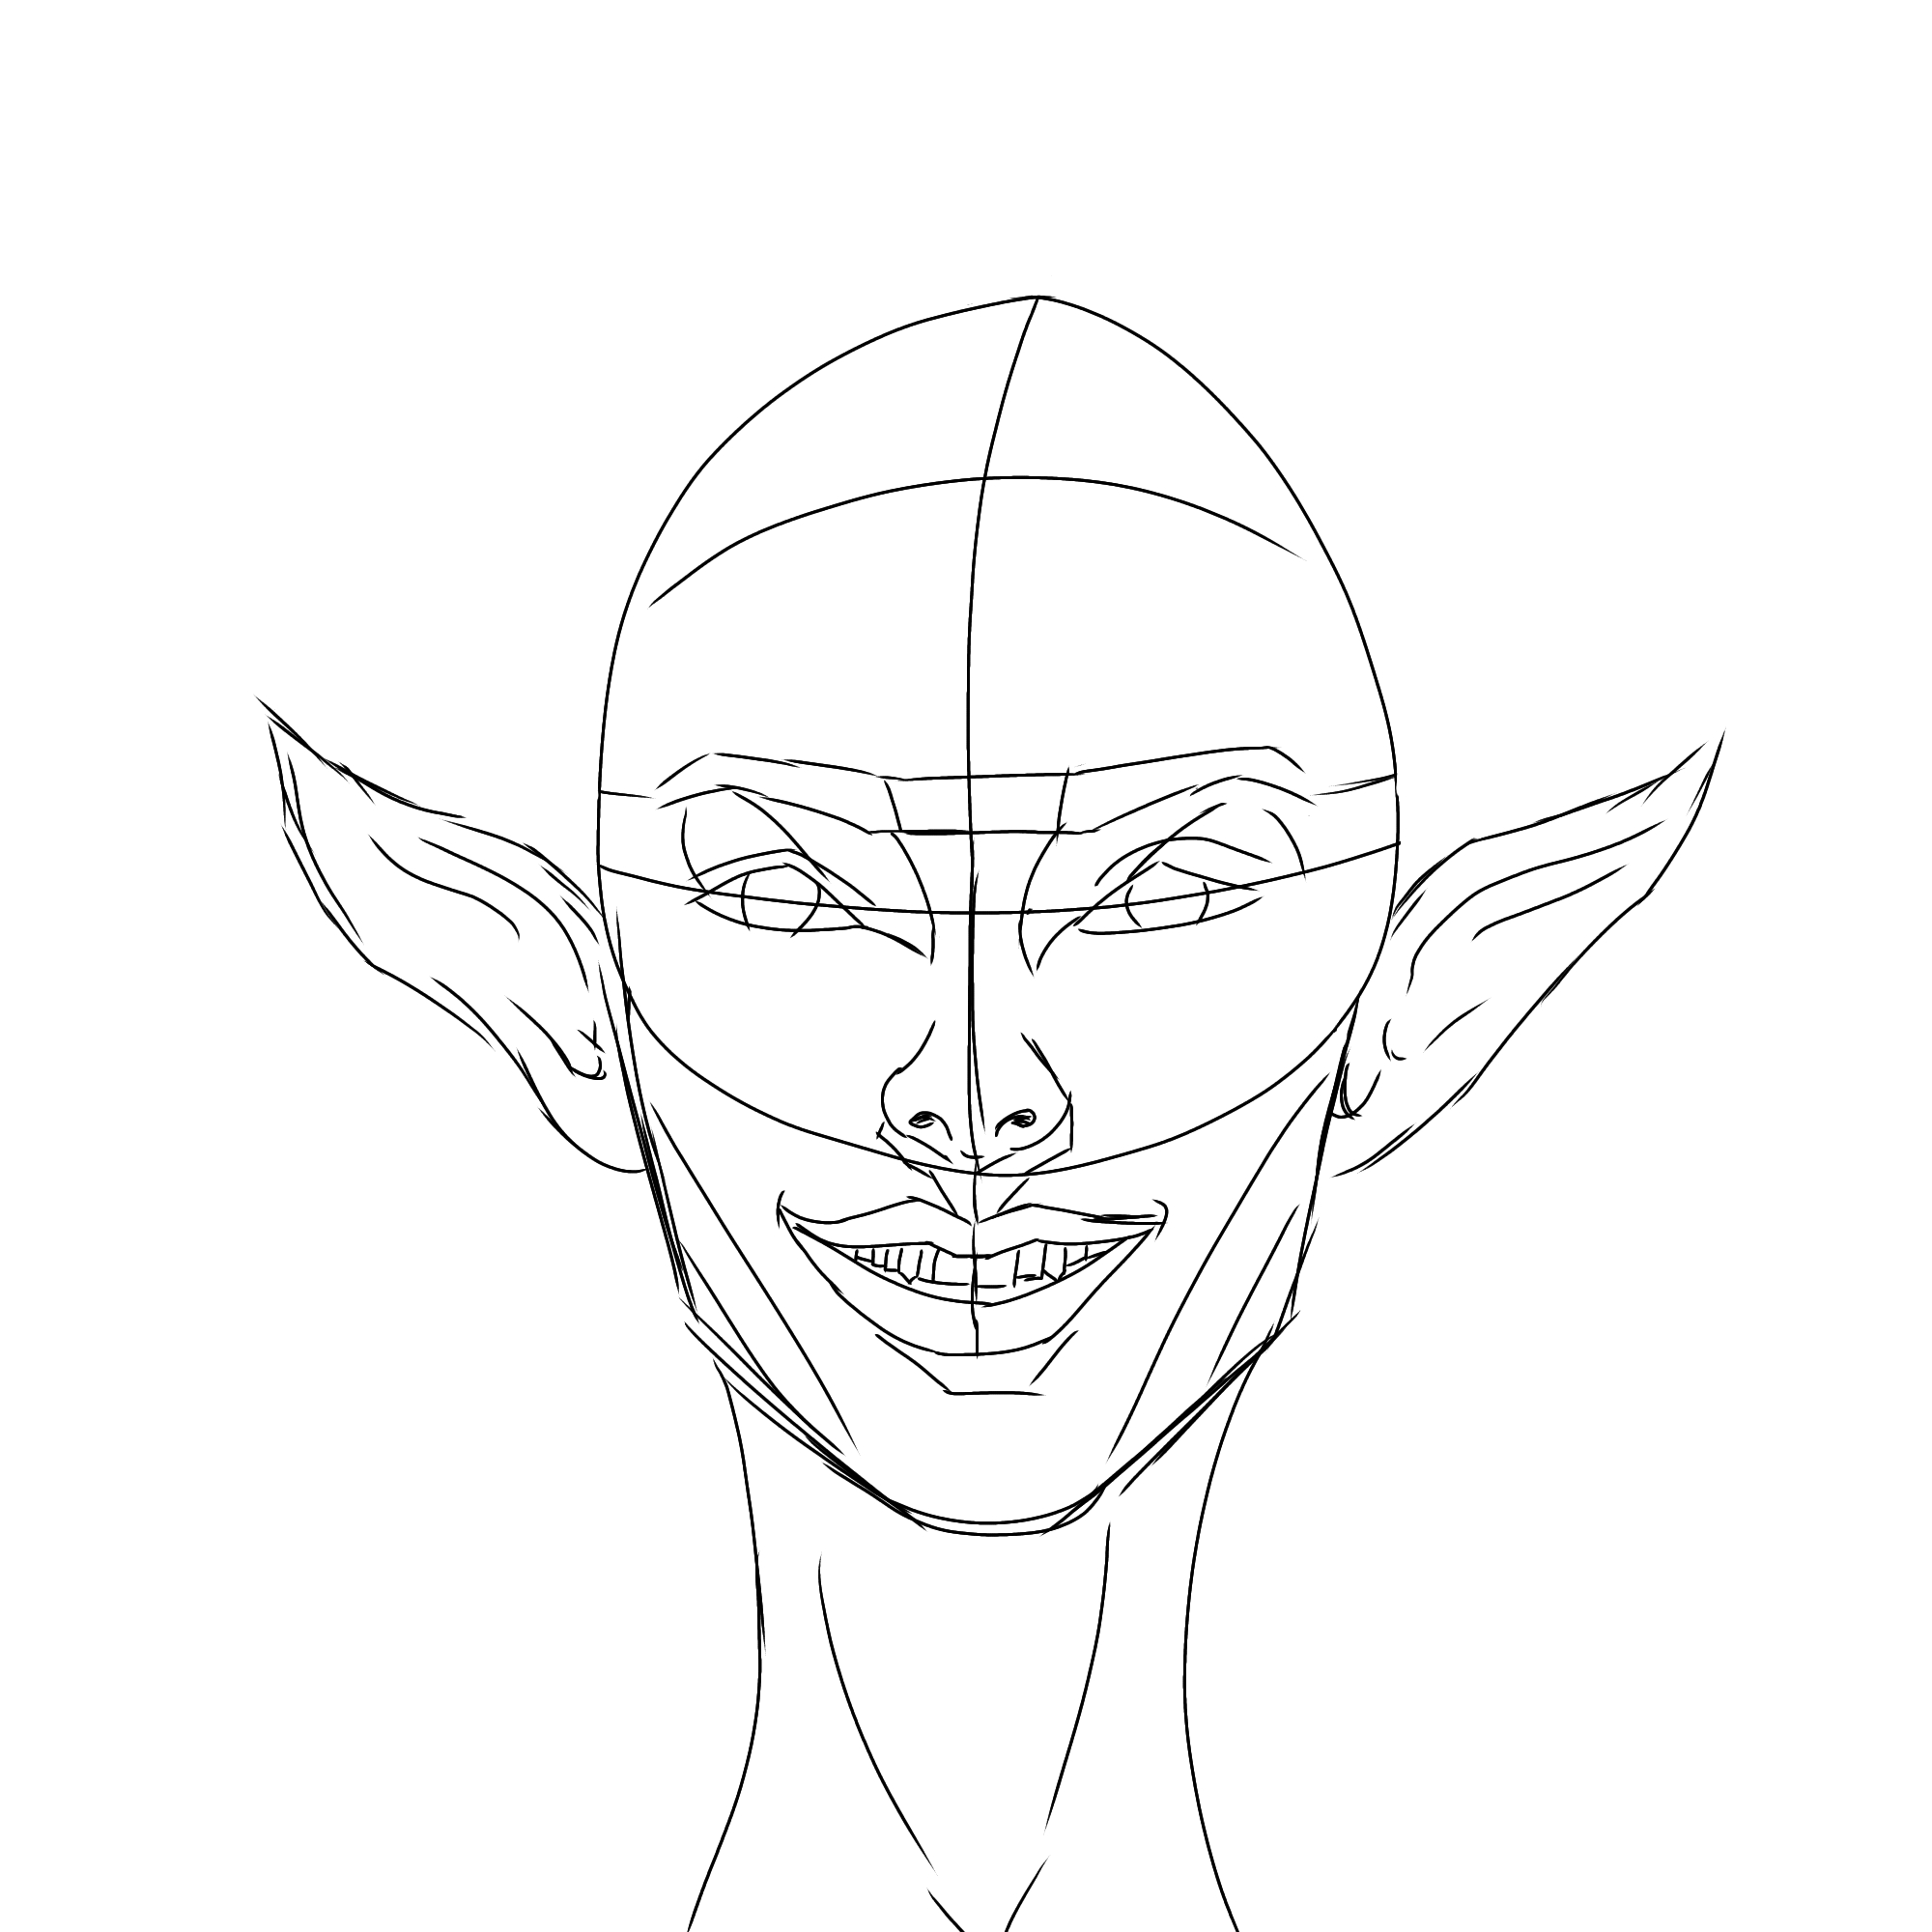
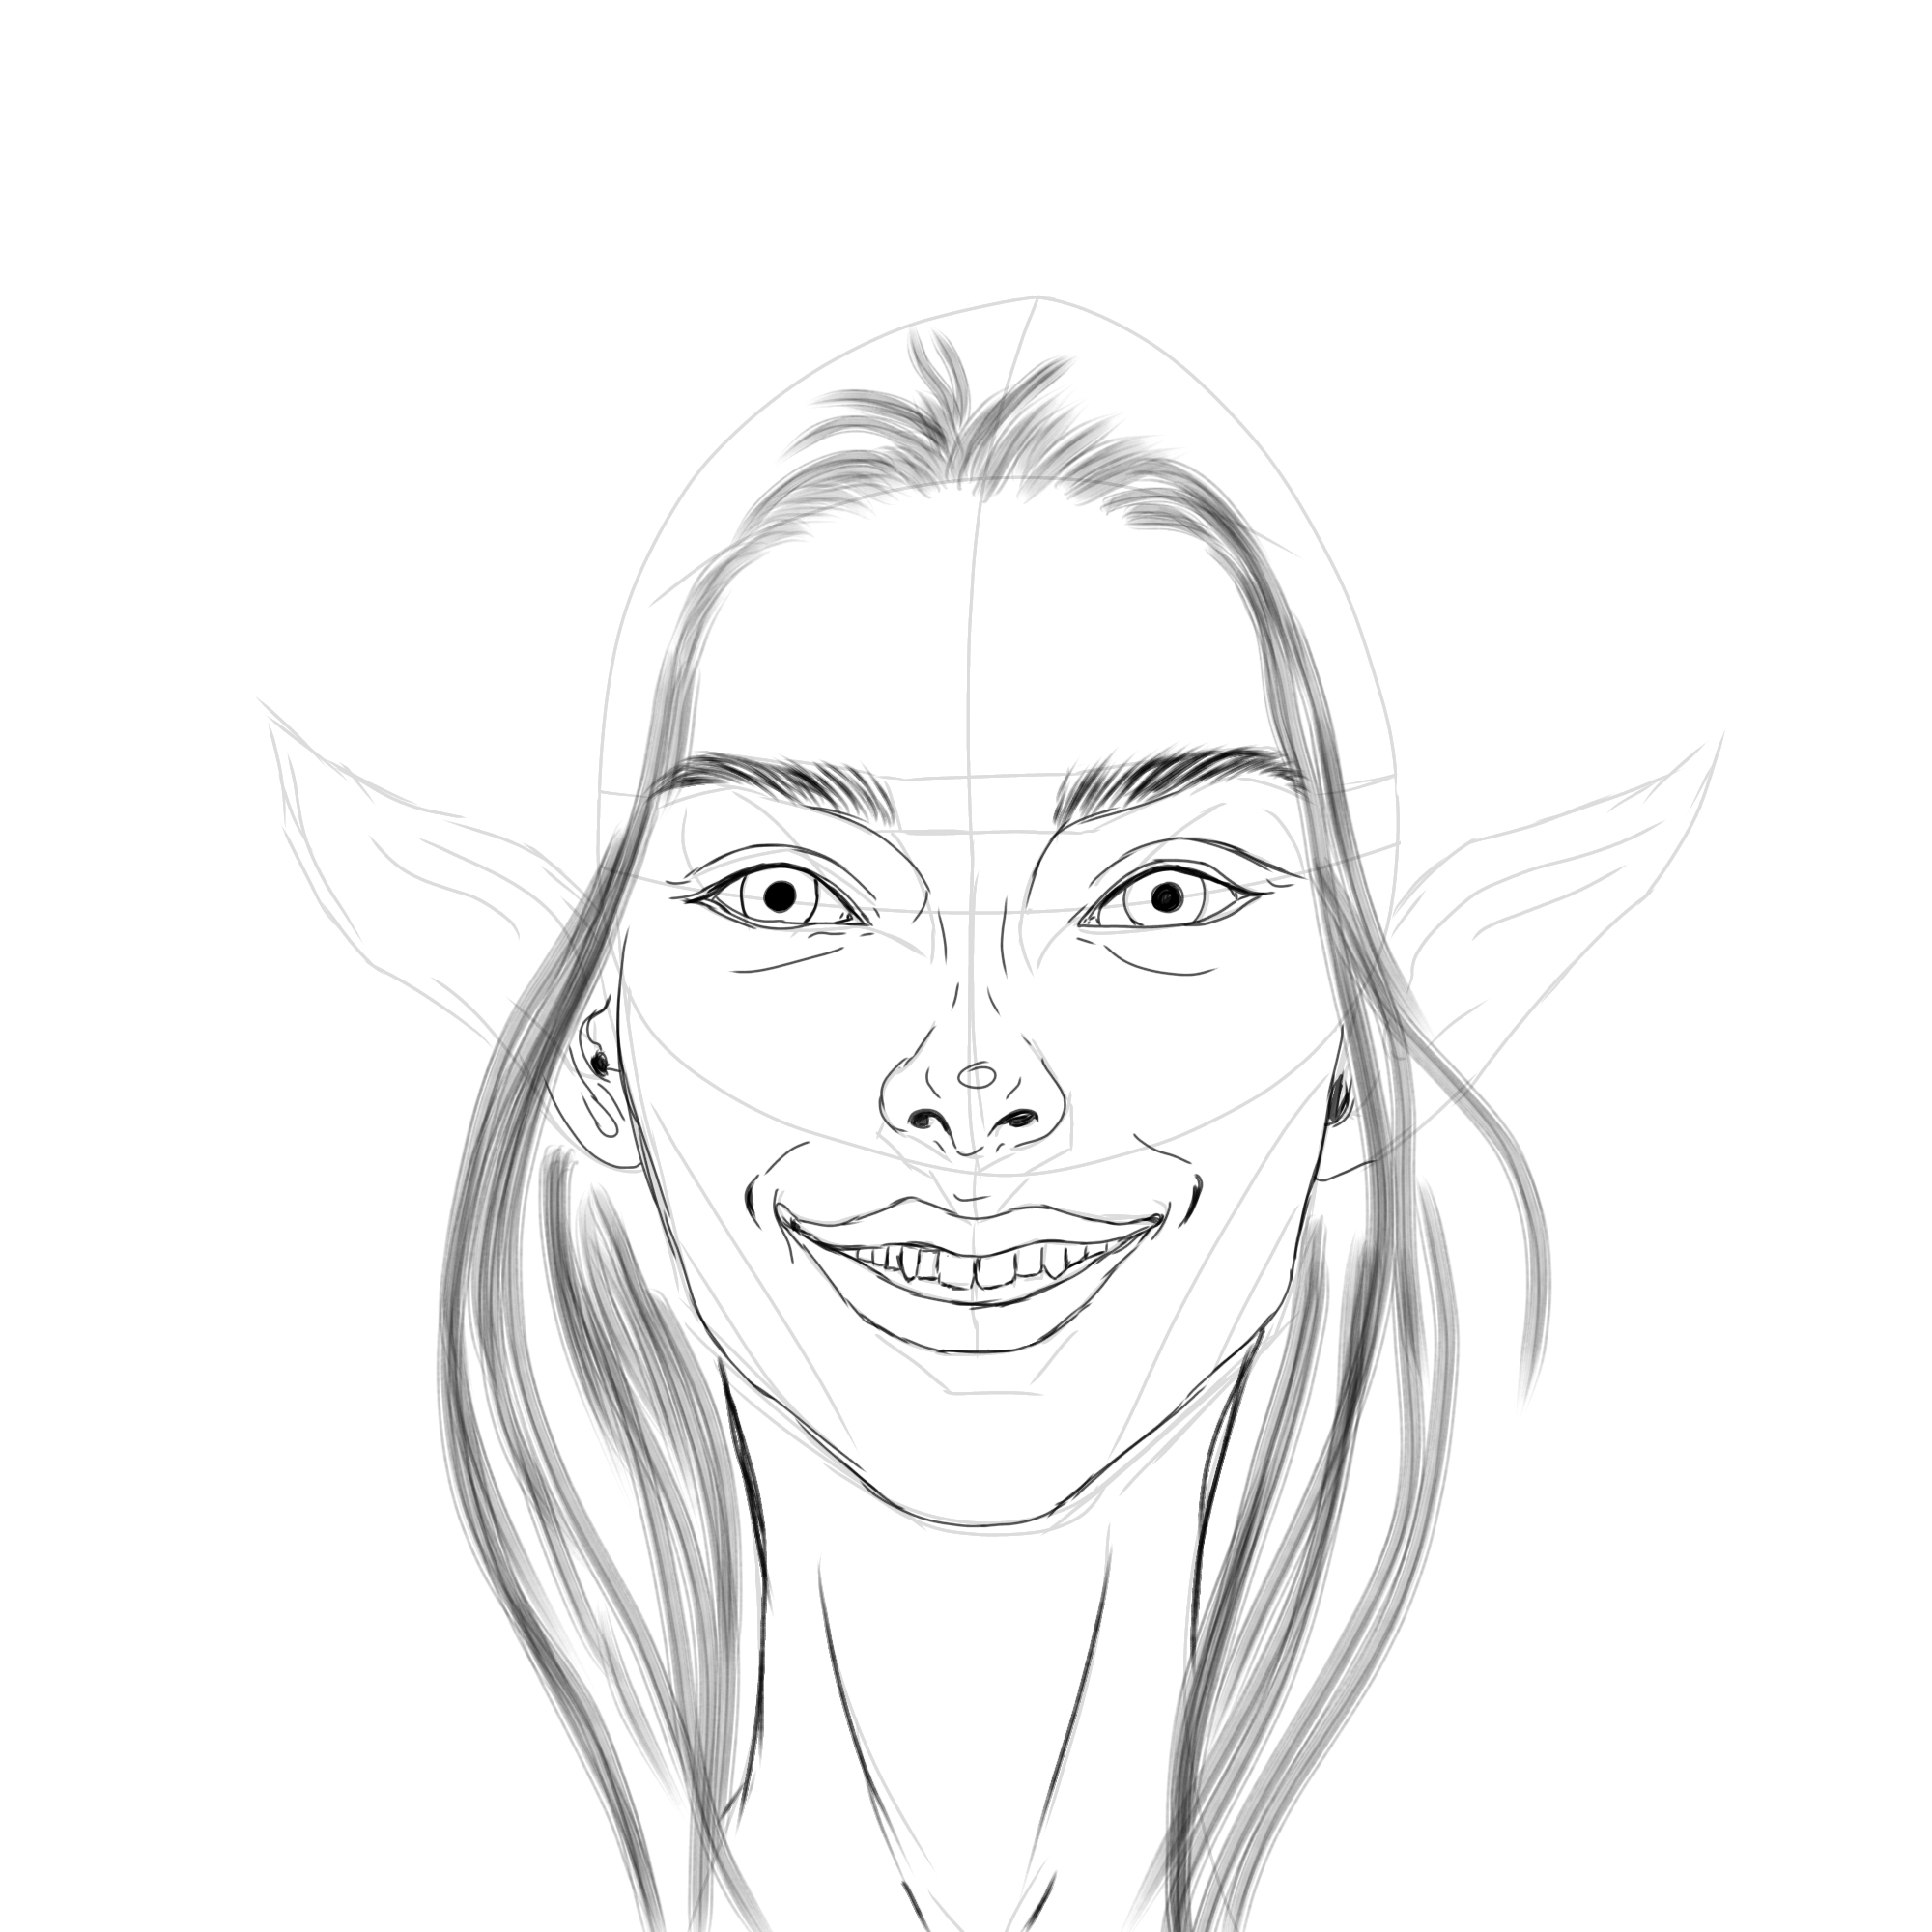
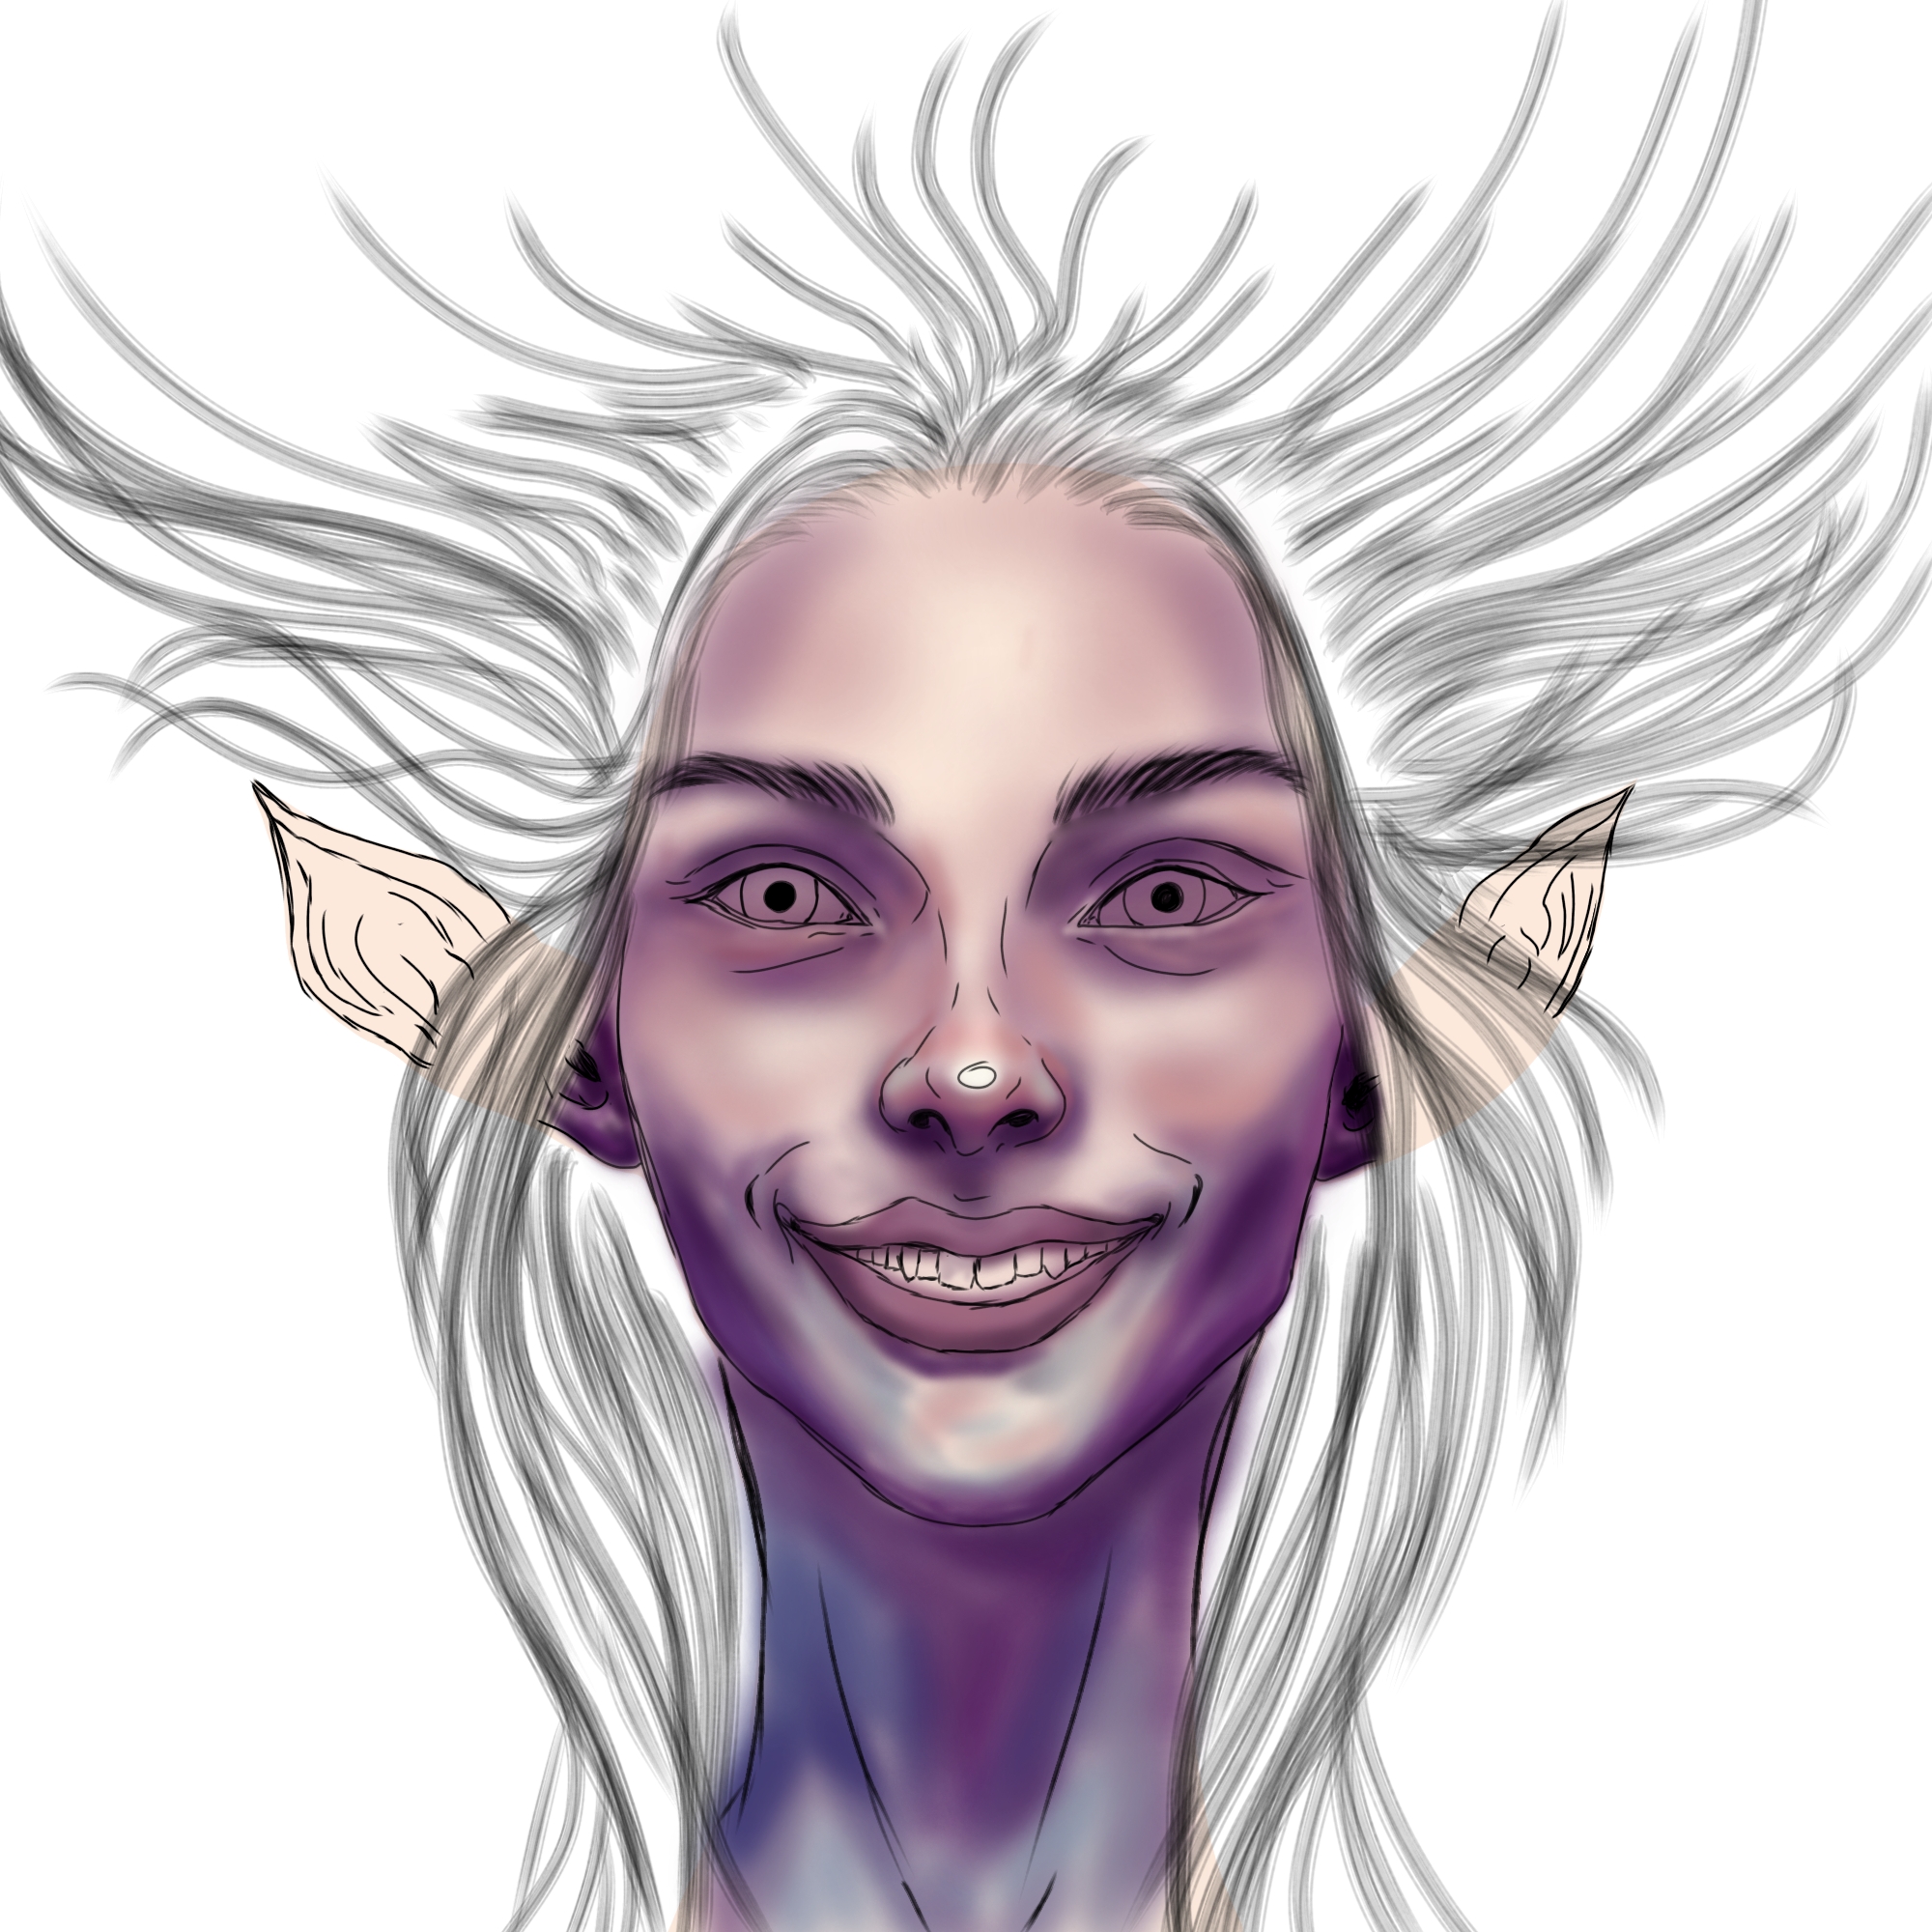
Primeramente abrí una capa para realizar el boceto inicial con una brocha tipo pluma suave y luego pase hacer en otra un boceto en limpio más detallado de la forma del rostro de este personaje. De seguido en una capa nueva fui aplicando una variedad de colores entre rosa, color piel, y diferentes tonos de morado y algunos azules entre claros y oscuros para darle una profundidad mayor en el cuello, lo realice con un método de mezcla Normal para tener un mayor control en la mezcla de colores, ya que me sentí más cómoda aplicando todos los colores en una sola capa. A medida que iba difuminando los colores, el delineado lo vi muy enmarcado así que empecé a difuminado en la capa de el segundo boceto, de manera que logré un tenue sombreado, luego de esto aplique un difuminado gauseano en la capa del boceto del delineado que difumine.
First I opened a layer to make the initial sketch with a soft feather brush and then I made in another one a more detailed clean sketch of the shape of the face of this character. Then in a new layer I applied a variety of colors between pink, skin color, and different shades of purple and some blues between light and dark to give a greater depth in the neck, I did it with a Normal blending method to have more control in the mixing of colors, as I felt more comfortable applying all the colors in a single layer. As I was blending the colors, the outline was too framed so I started to blur on the layer of the second sketch, so I achieved a faint shading, after this I applied a gauzy blur on the layer of the outline sketch that I blurred.
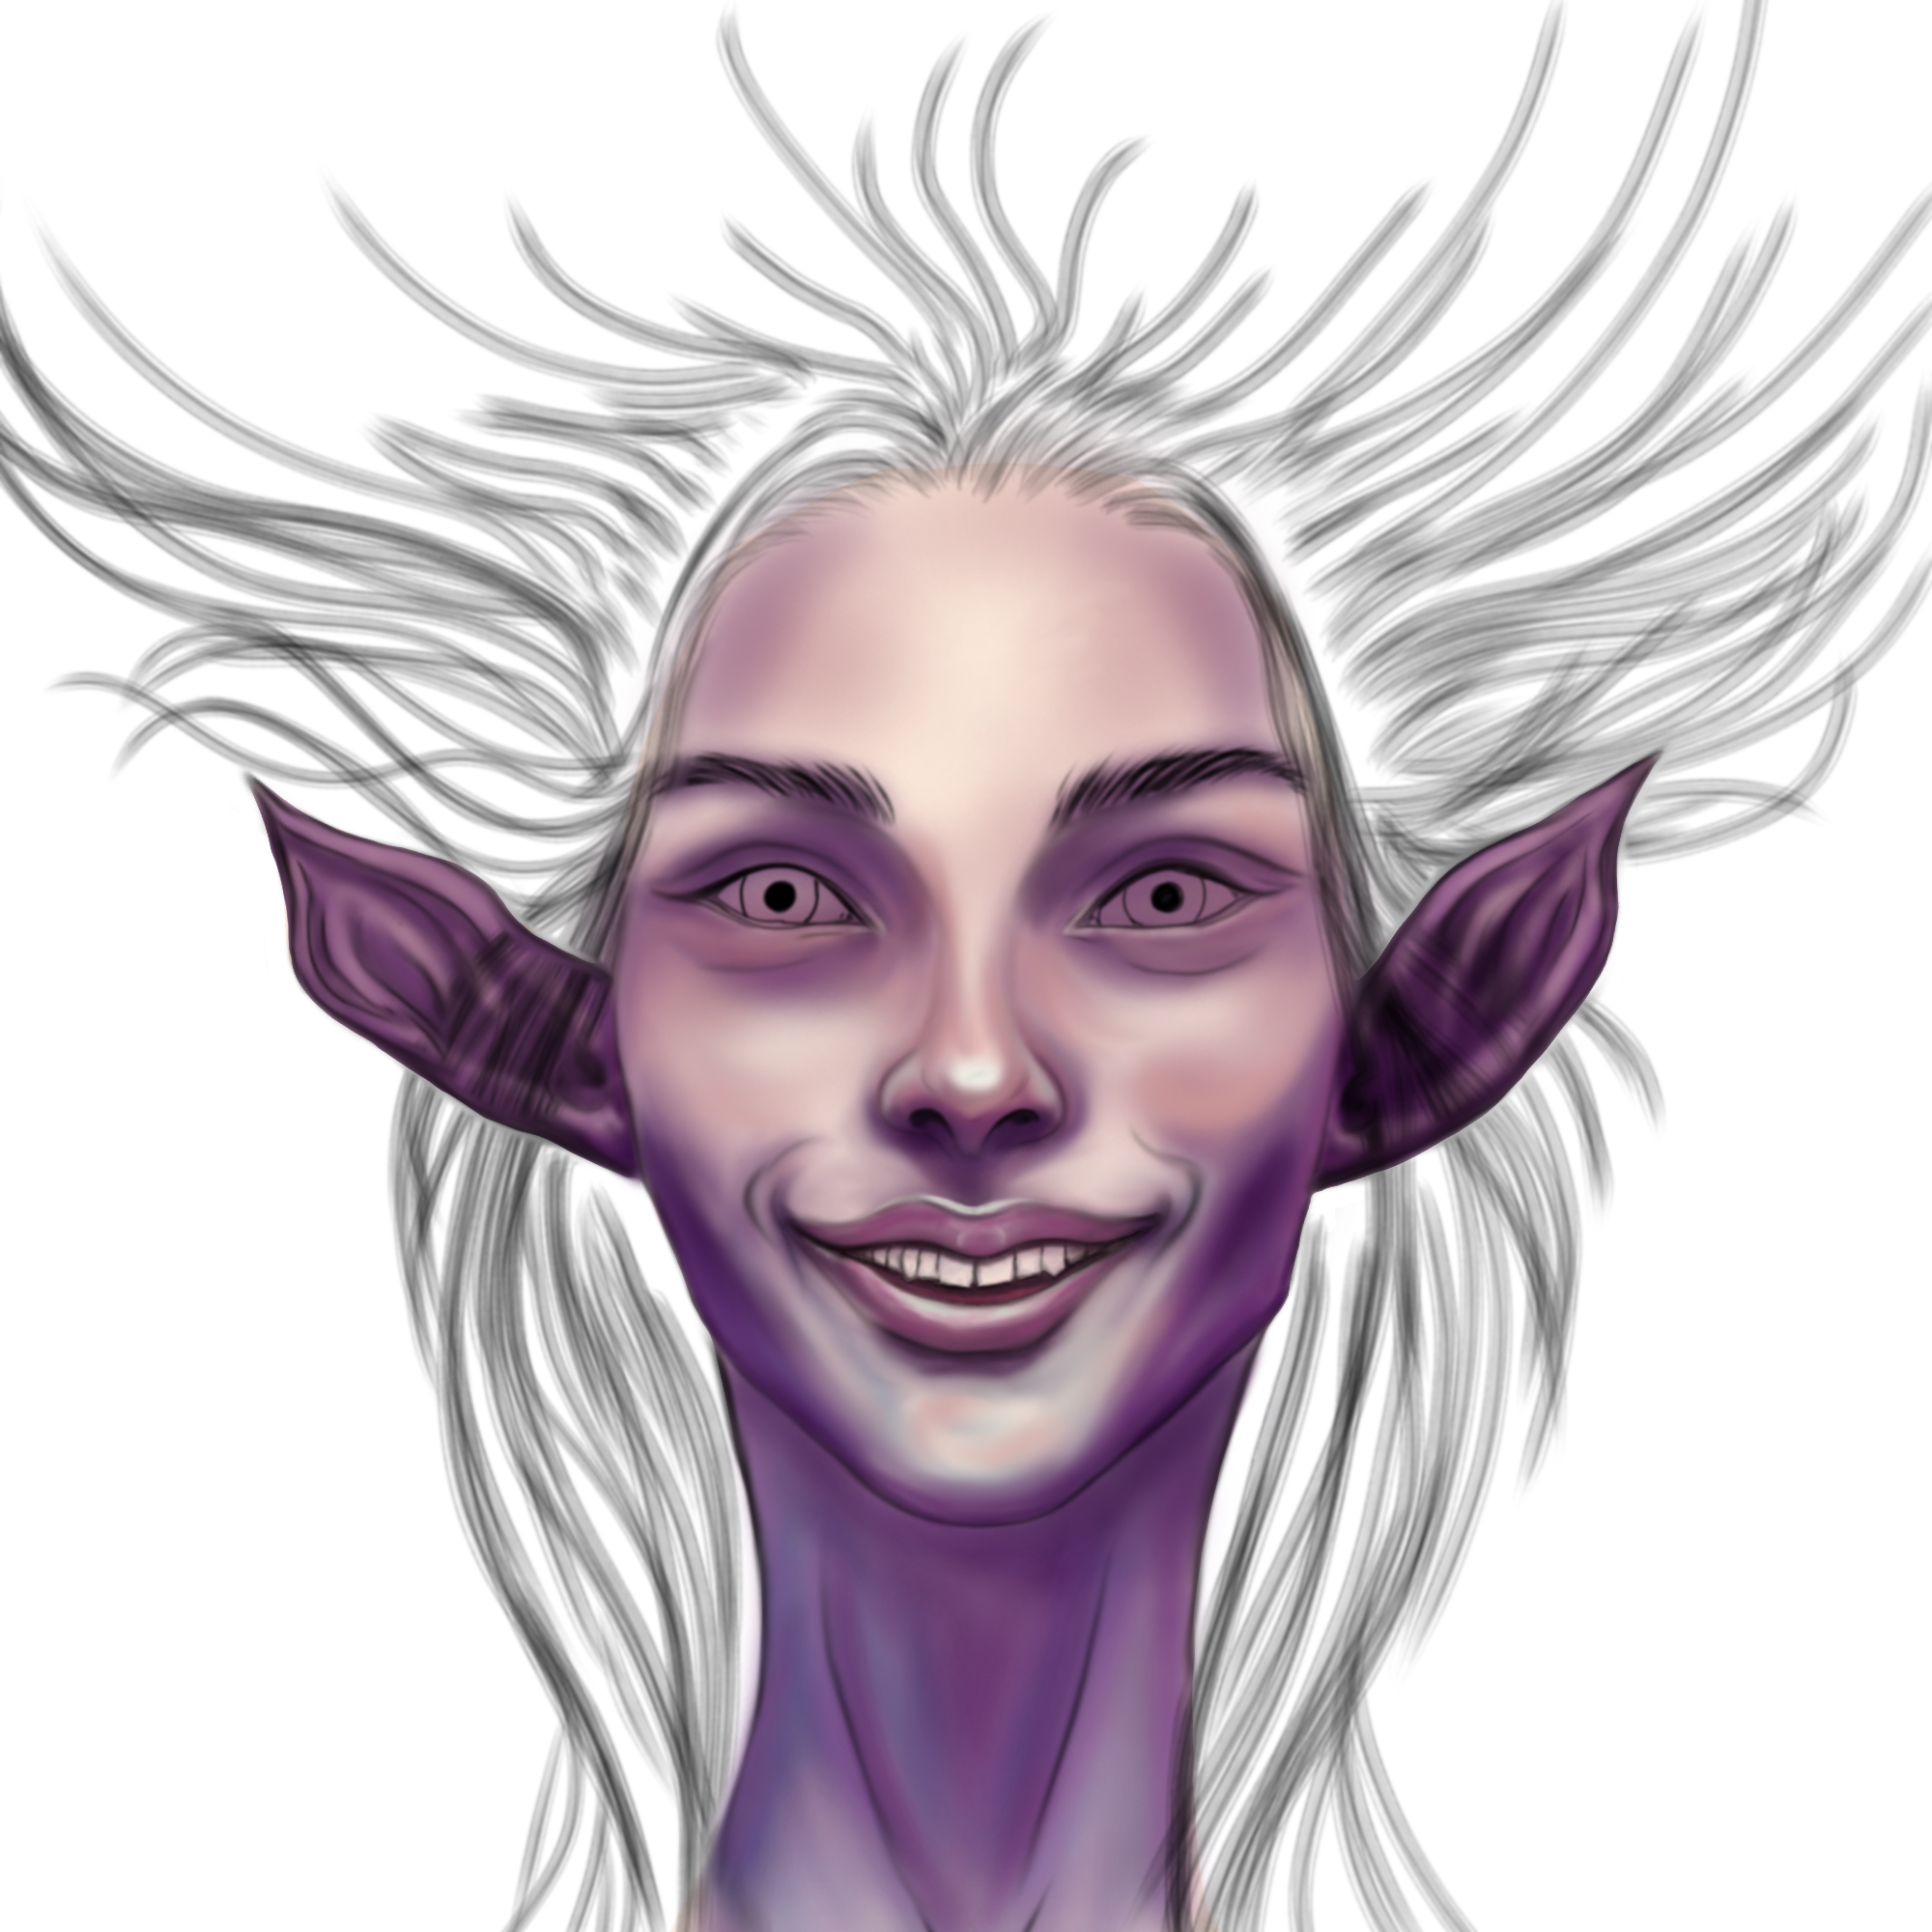
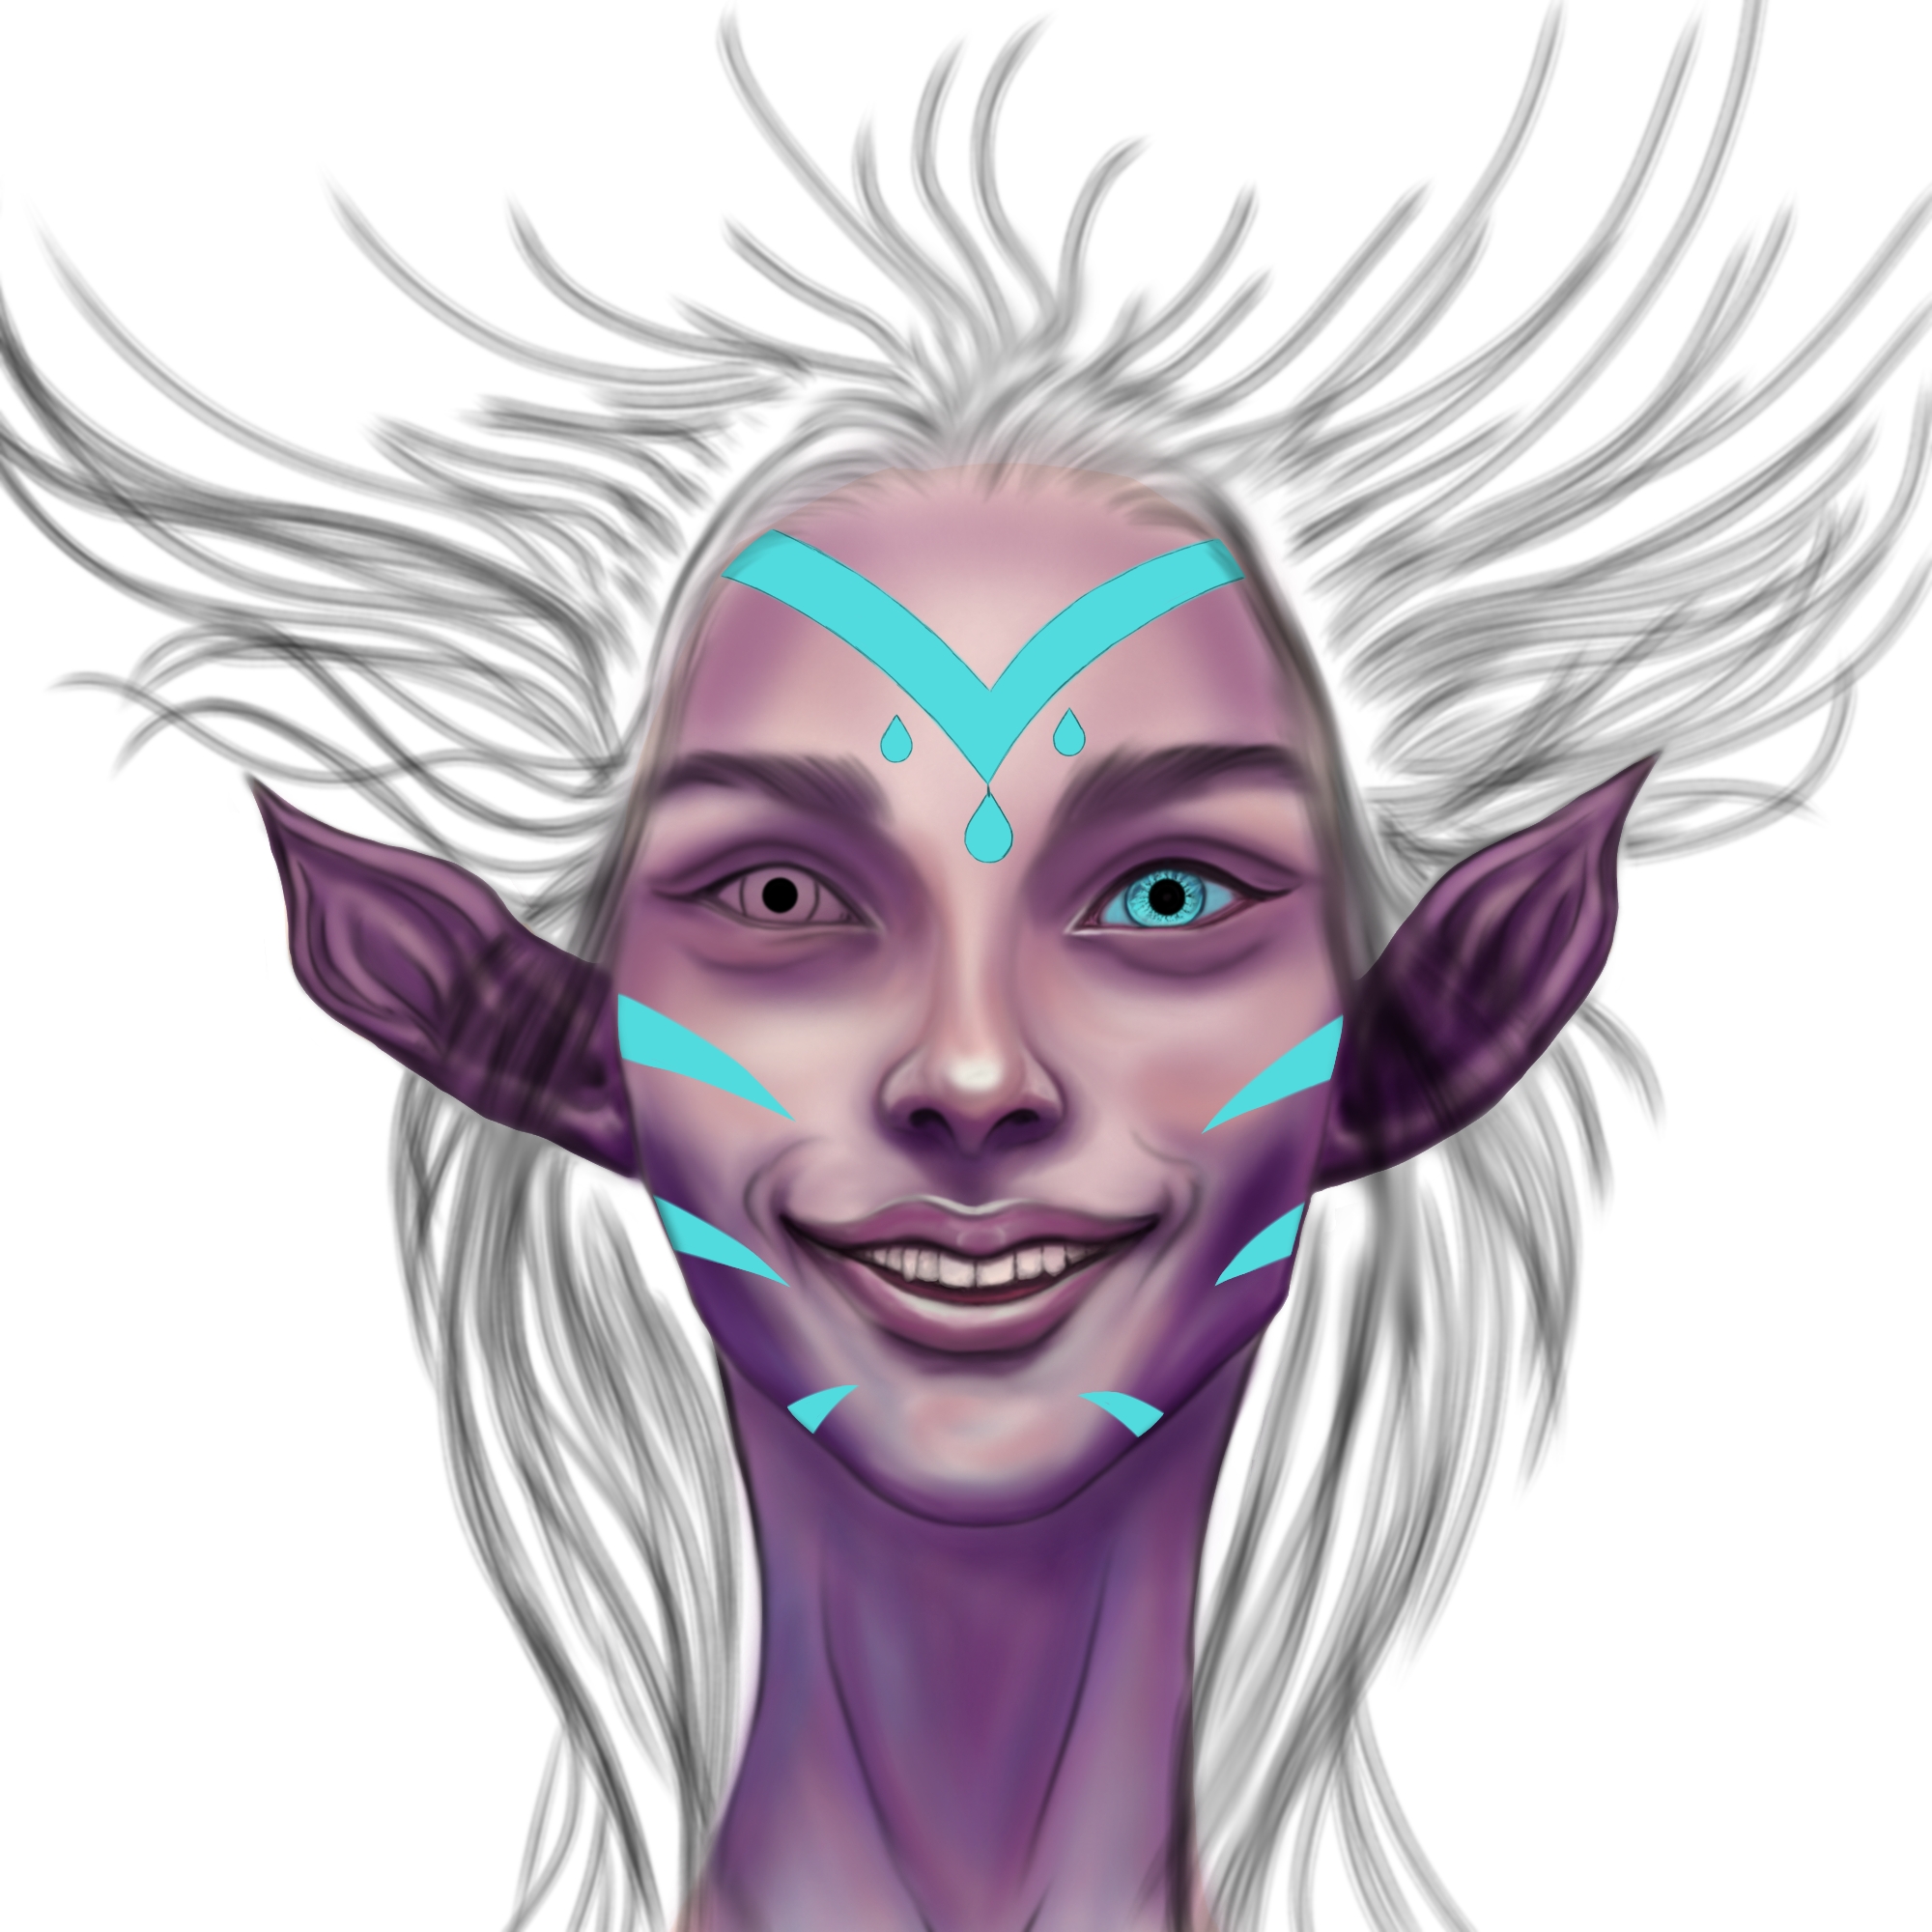
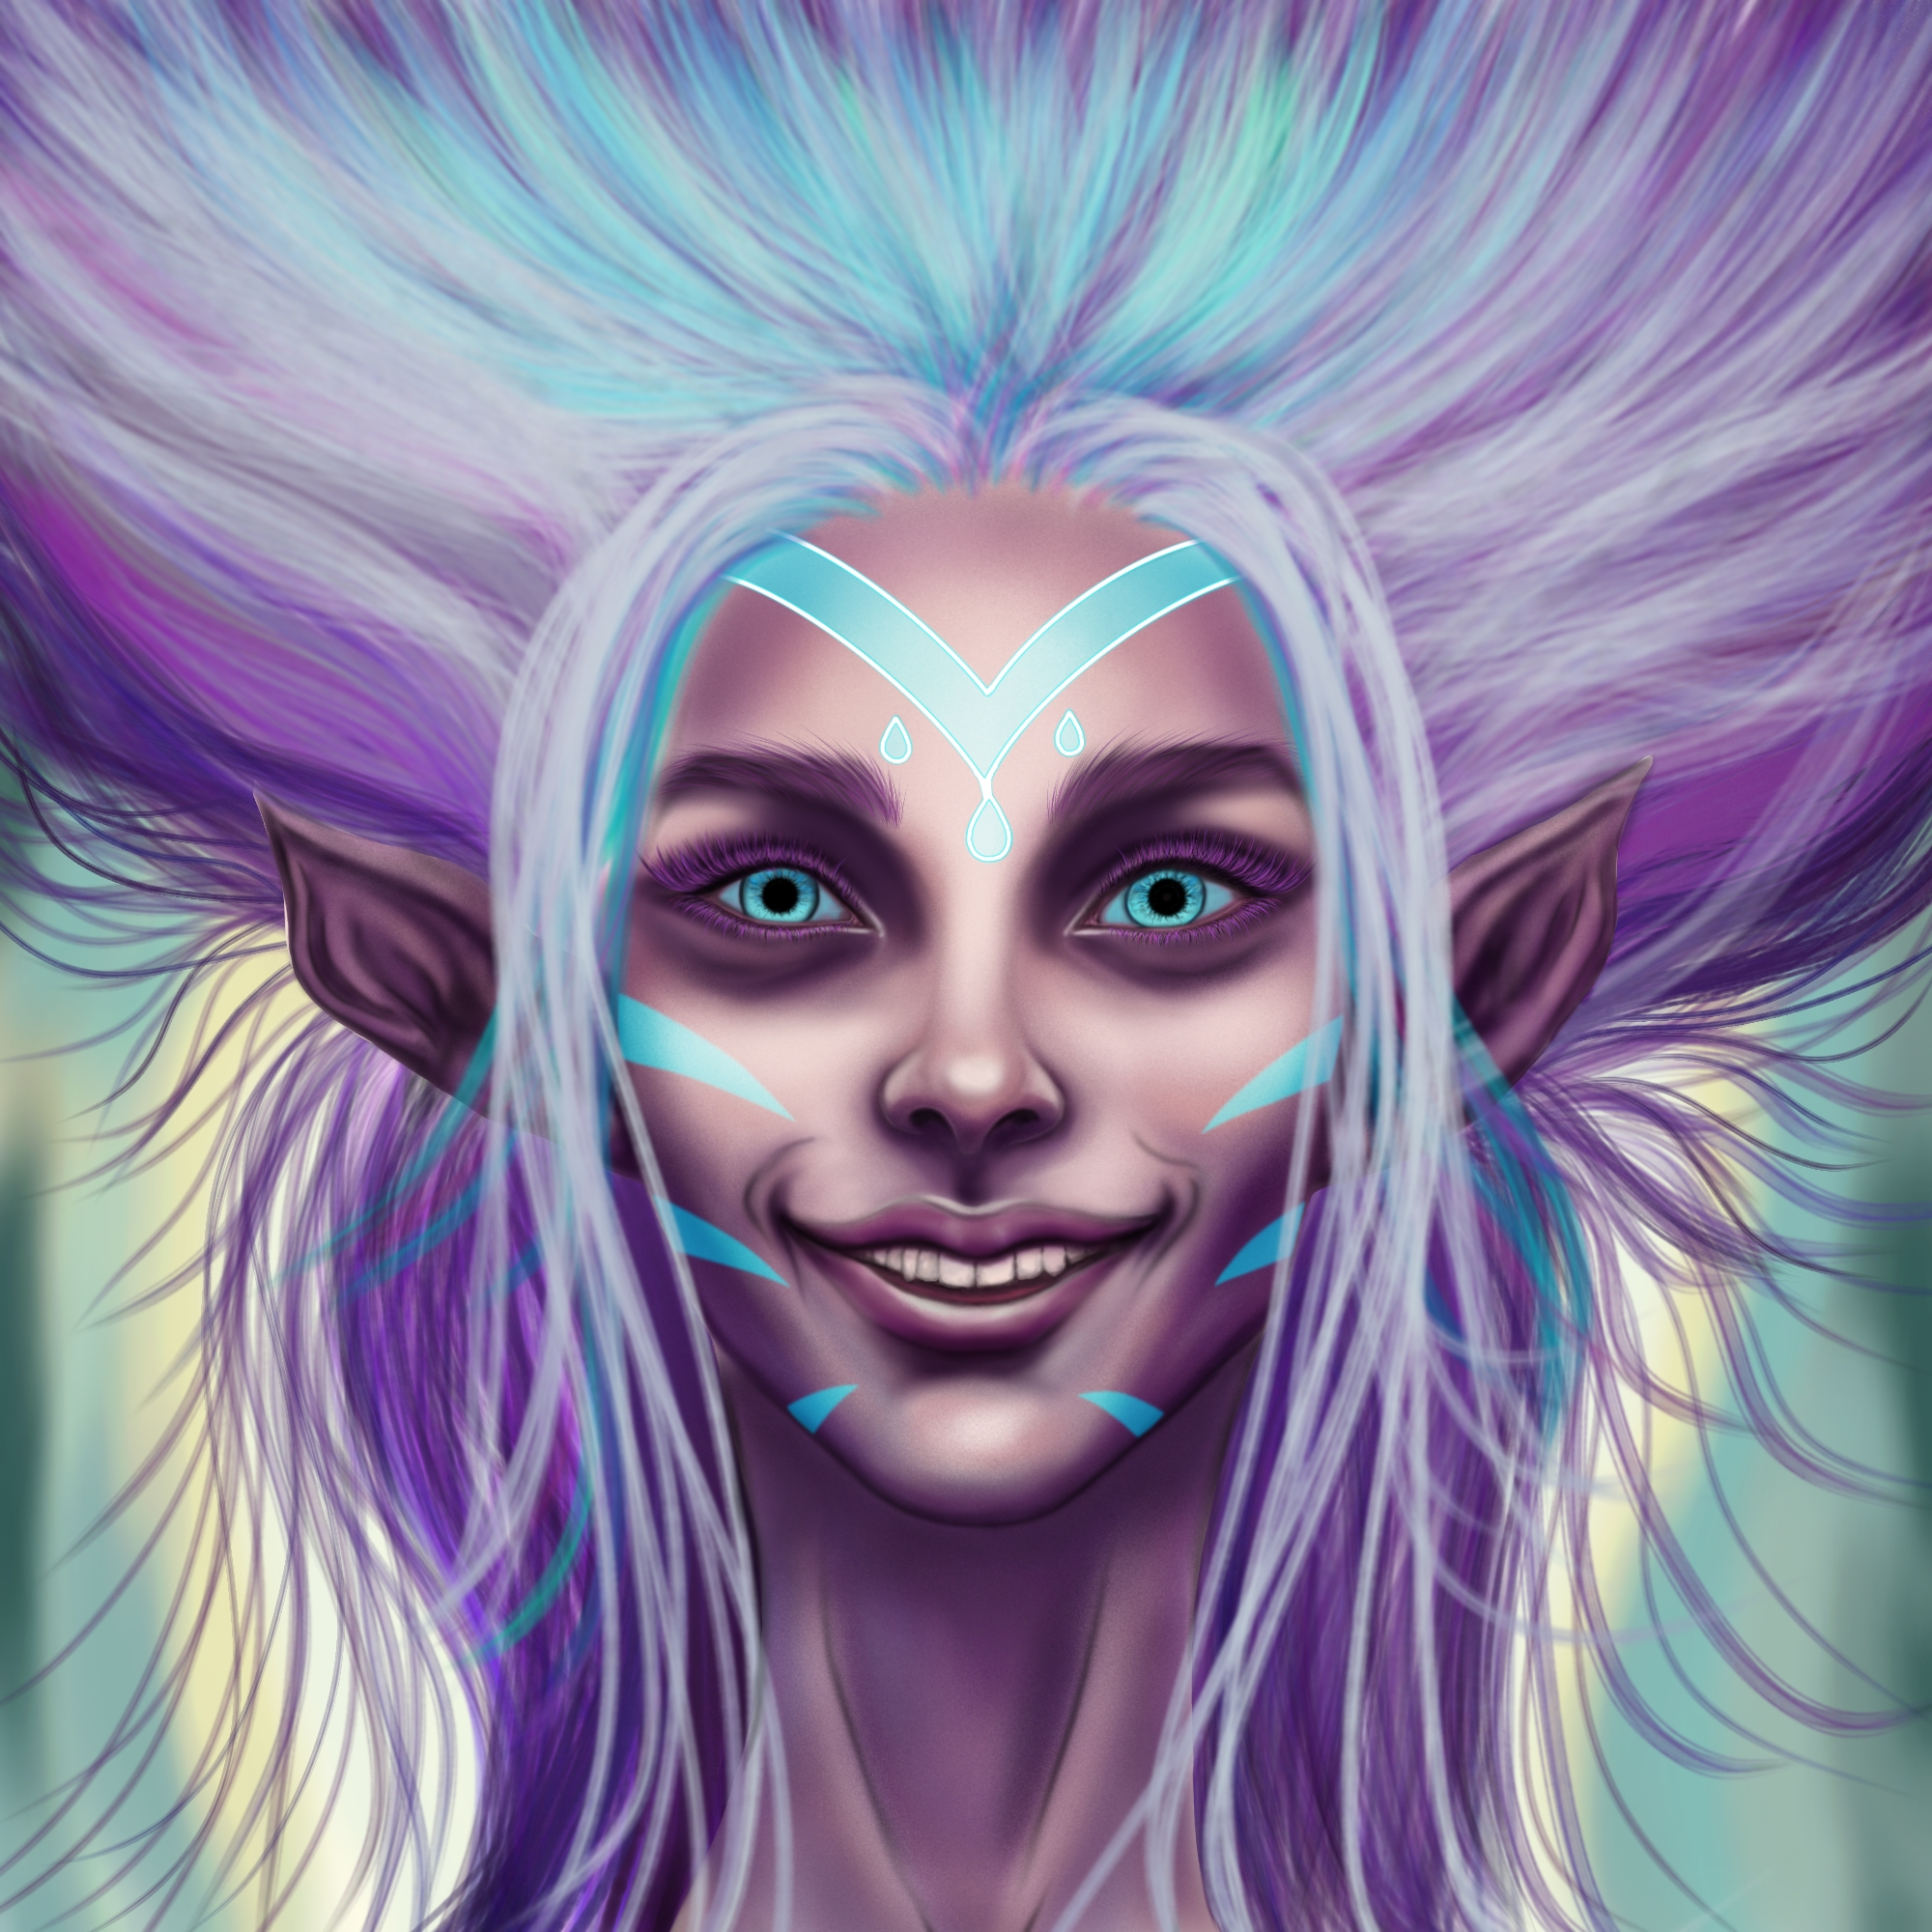
En esta segunda etapa ya después de haber quedado satisfecha con los colores que logré con la piel, empecé en darle color a los ojos en una nueva capa con un método de mezcla Normal utilizando un pincel tipo Aerógrafo Normal con una opacidad máxima, en esta etapa pare y empecé en una nueva capa con un método de mezcla Normal, los tatuajes de la cara en color azul turquesa brillante, luego clone la capa y lo coloque con un método de mezcla luz suave de manera que permitiera ver el sombreado que ya tenía con los colores morados y lilas oscuros, luego termine dibujando el otro ojo. En otra capa realice las pestañas con una brocha tipo Pelo con un grosor mínimo aplicando varias tonalidades de rosa y de igual manera fui dando forma a las cejas con este mismo pincel y las mismas tonalidades de colores de las pestañas, agregando para las pestañas un color rosa fucsia para darles más vistosidad y cuerpo. Sature con más turquesa brillante los tatuajes, y fui dándole cuerpo al cabello en otra capa con un método de mezcla Normal, y de igual forma quise ir trabajando en el fondo utilizando colores entre verdes agua claros y oscuros, y tonalidades opacas de amarillo los cuales difumine para que se mezclarán.
In this second stage already after I was satisfied with the colors that I achieved with the skin, I started to color the eyes in a new layer with a Normal blending method using a Normal Airbrush with a maximum opacity, in this stage I stopped and started in a new layer with a Normal blending method, the tattoos of the face in bright turquoise blue color, then clone the layer and place it with a soft light blending method in a way that allowed to see the shading that I already had with the purple and dark lilac colors, then I finished drawing the other eye. In another layer I made the eyelashes with a brush type Pelo with a minimum thickness applying several shades of pink and in the same way I was shaping the eyebrows with this same brush and the same shades of colors of the eyelashes, adding for the eyelashes a fuchsia pink color to give them more showiness and body. Saturate the tattoos with more bright turquoise, and I was giving body to the hair in another layer with a Normal blending method, and in the same way I wanted to work on the background using colors between light and dark aqua greens, and opaque shades of yellow which I blurred so that they would blend.
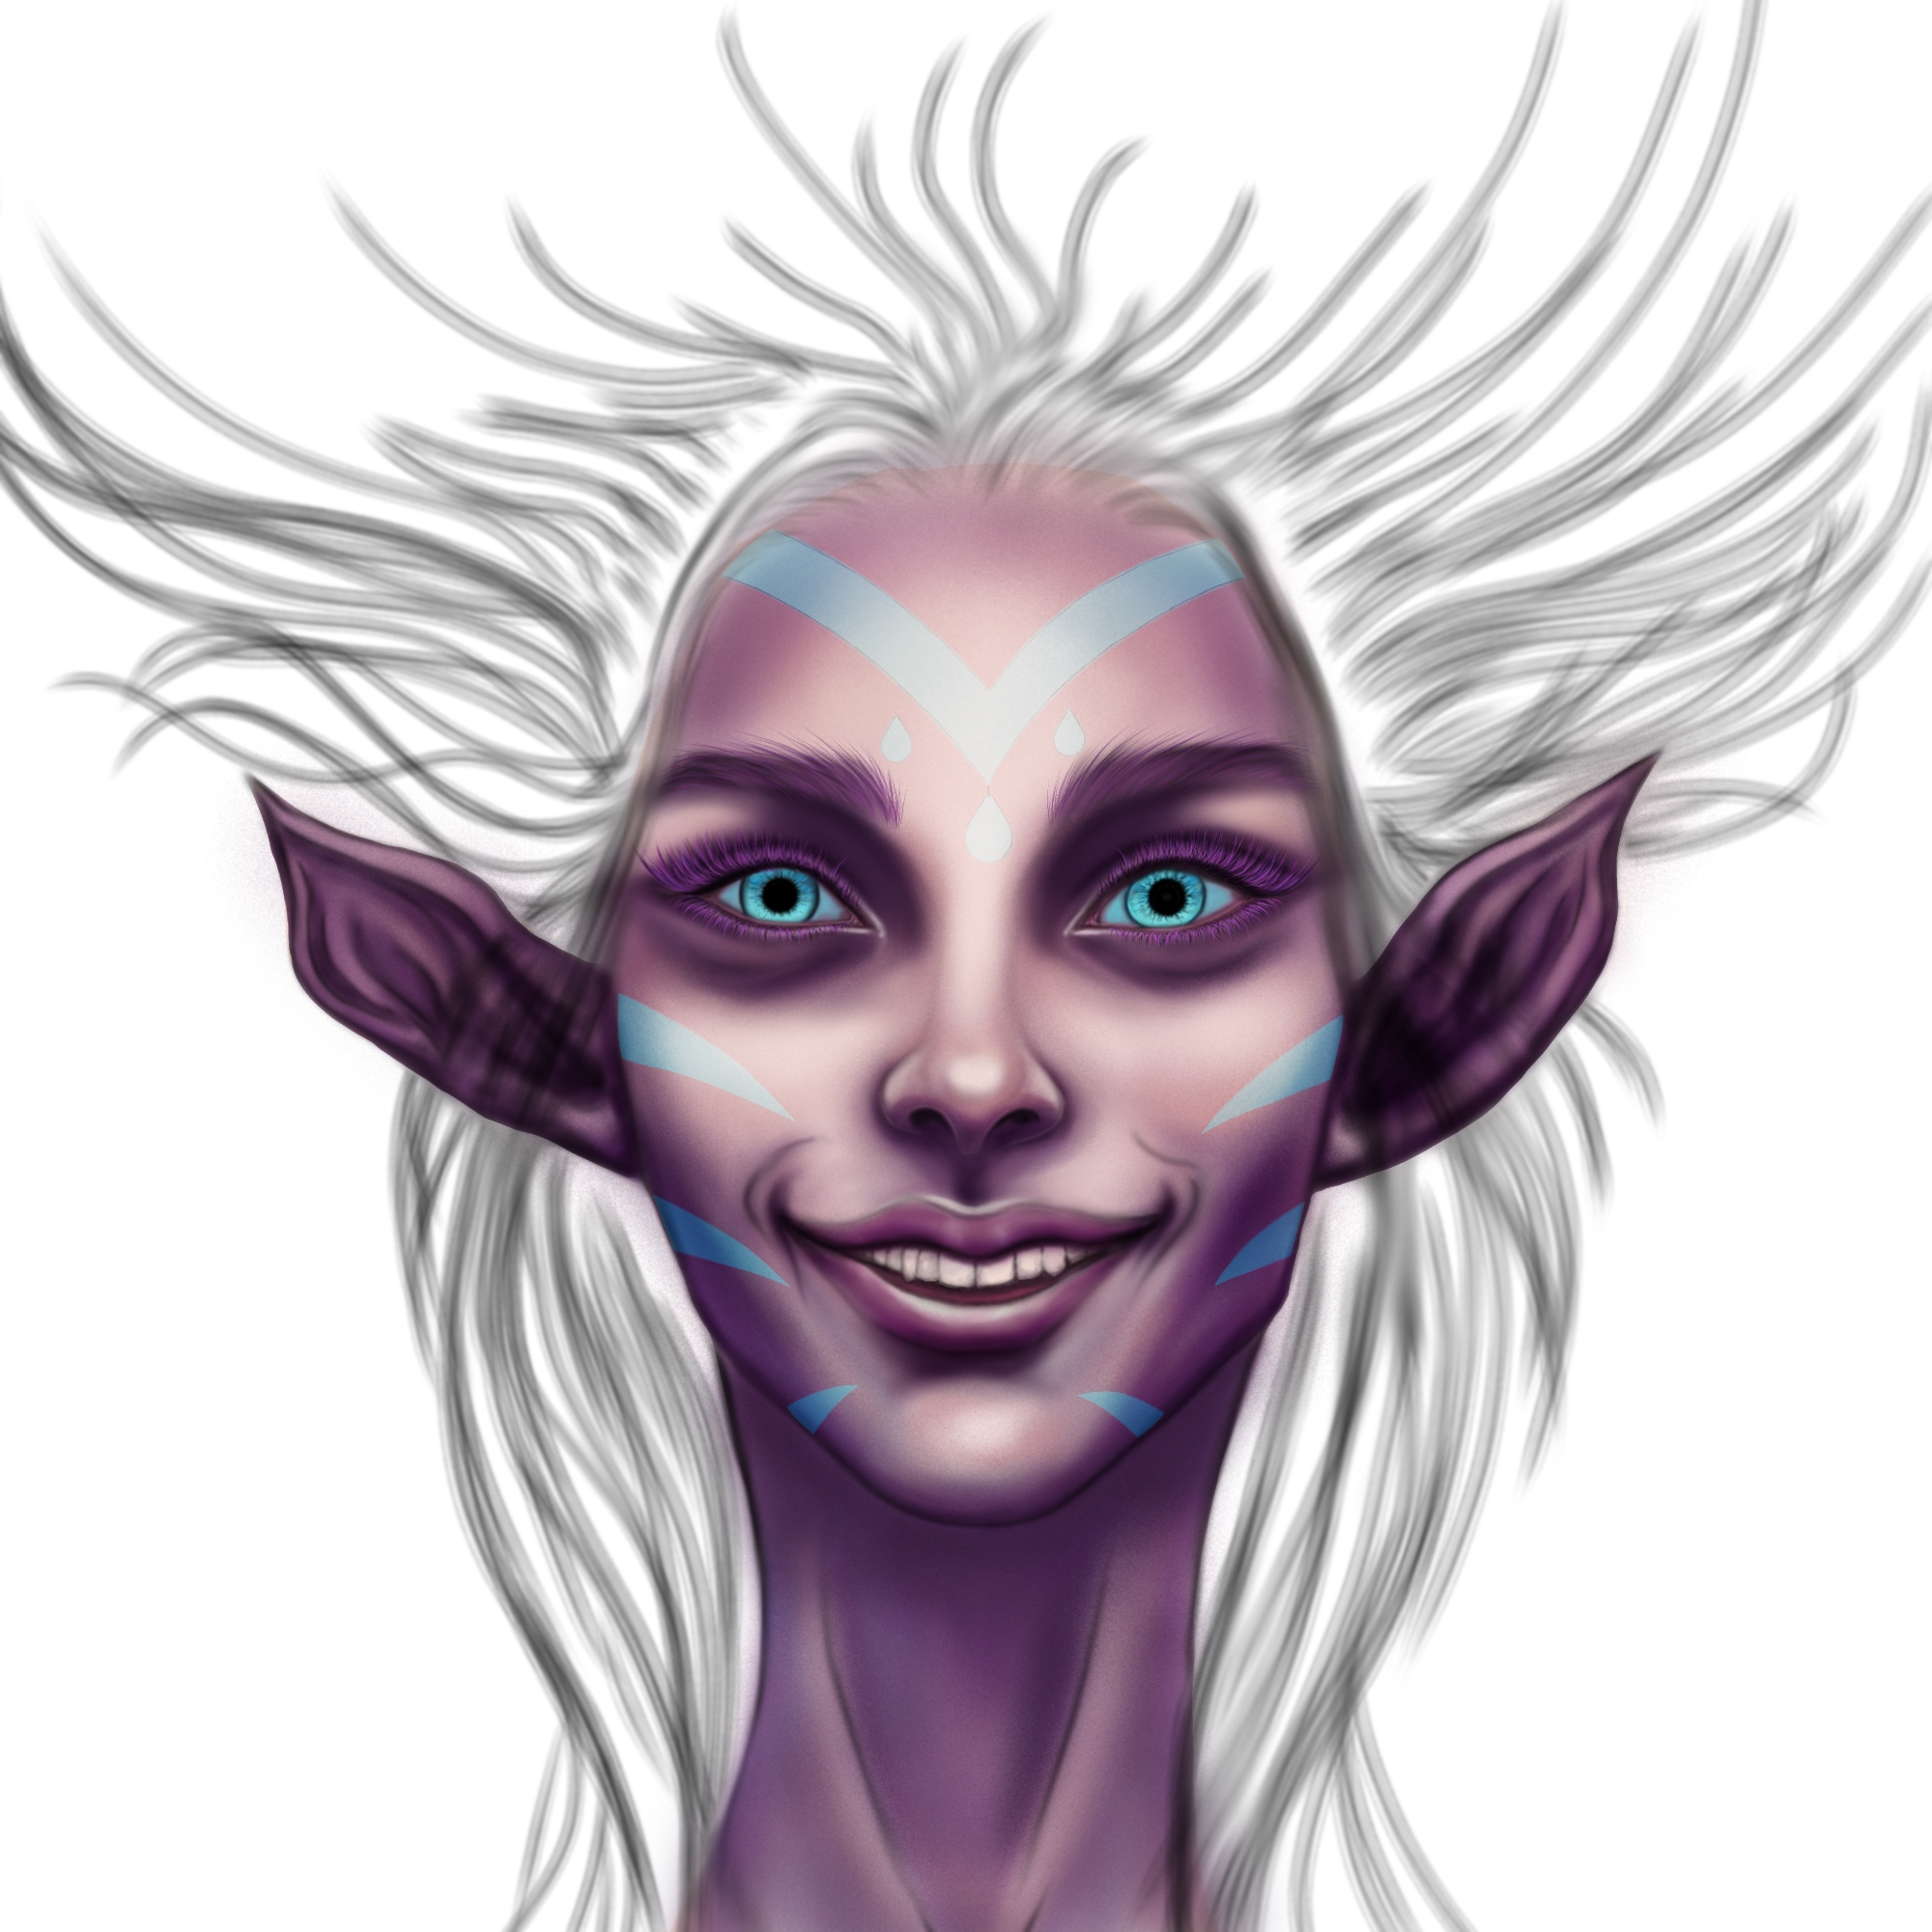
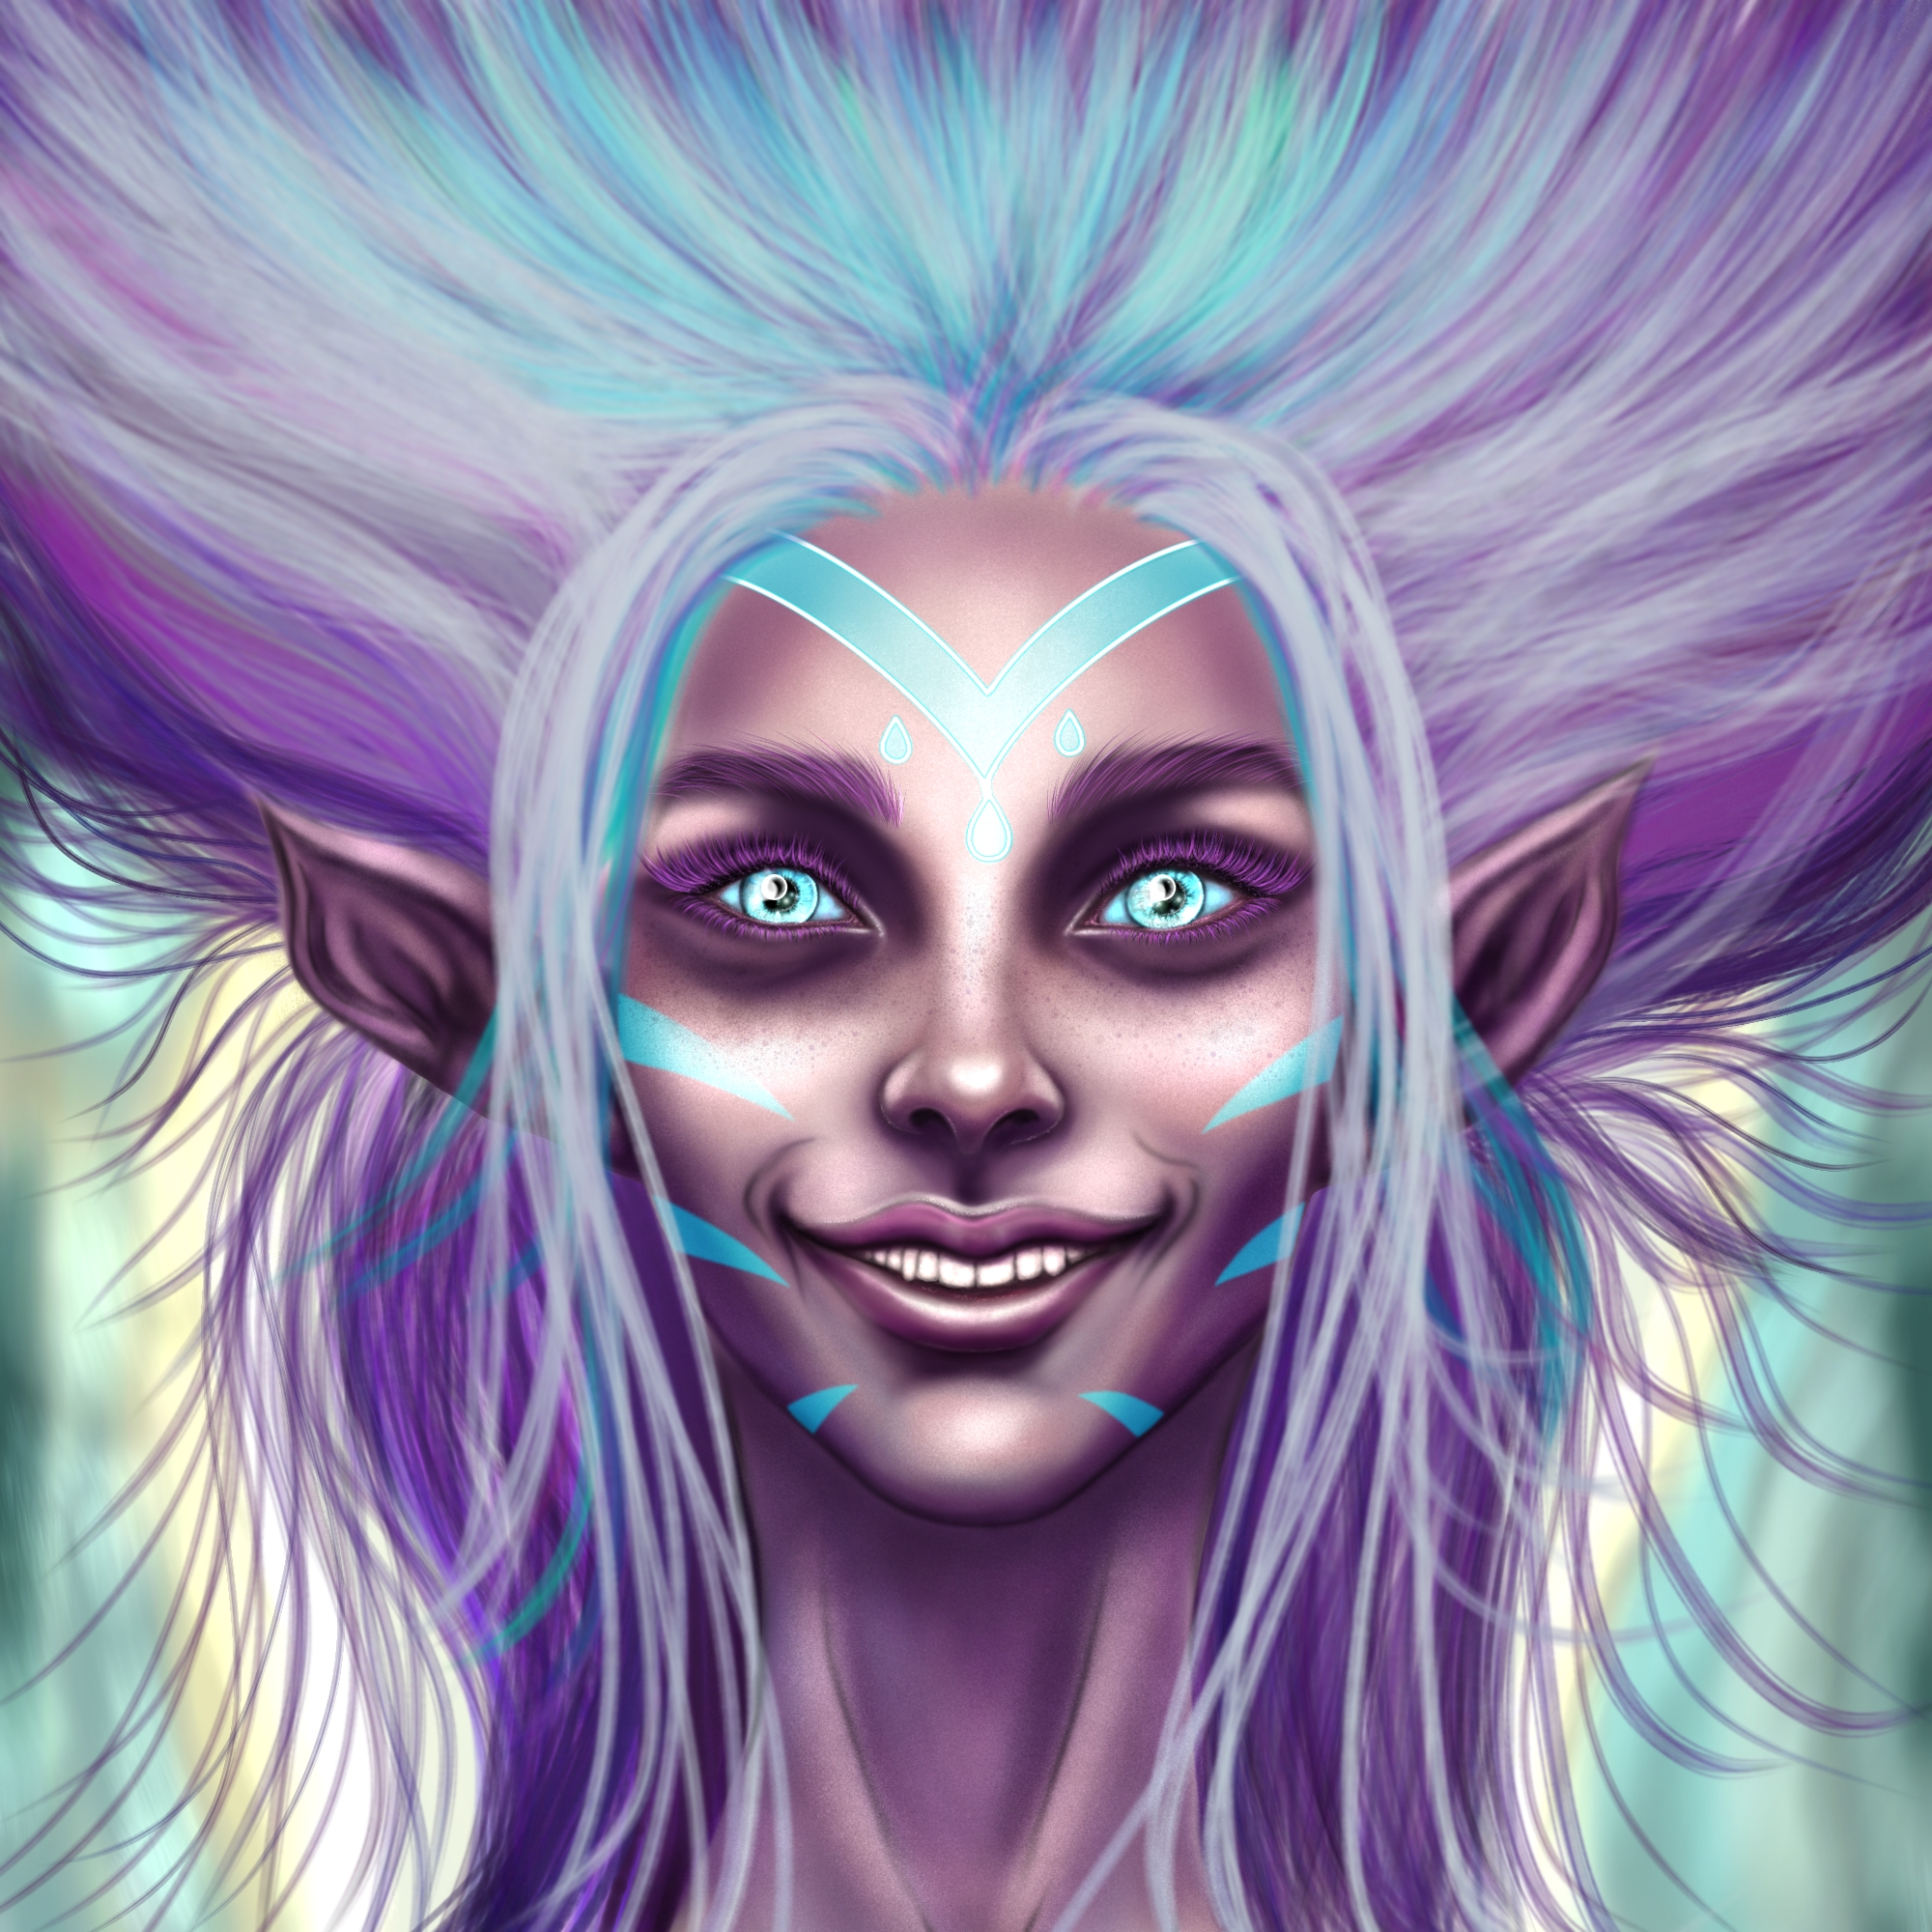
Finalmente en una capa con método de mezcla Añadir aplique con un pincel tipo Puntillismo algunos brillos de los mismos colores que utilice para el fondo, agregando también brillos un poco más grandes con el pincel tipo punto de brillo para hacer un escenario algo mágico en medio de algún conjuro mágico de este personaje bastante interesante. Aplique el brillo de los ojos en una capa de añadir utilizando pincel tipo Erupción, Rotulador y punto de brillo para resaltar el lagrimal y darle algo de humectación a los mismos. Agregué algunas pecas para darle más textura a la piel con una brocha tipo pulverizador con una opacidad media utilizando un color piel oscuro. Añadí brillo al cabello con un método de mezcla Añadir y una brocha tipo Pelo en una nueva capa para darle más profundidad y resaltar los mechones frontales. Me gustó la mezcla de colores que utilice para el cabello entre rosa, lisas, morador y ese azul turquesa que caracteriza su magia. Al ver mucha luminosidad coloque en otra capa nueva un método de mezcla Multiplicar utilizando un lila claro y con un aerógrafo normal con opacidad media oscureci varias partes del fondo y del personaje. Añadí algunos detalles al tatuaje de la frente y terminé aplicando unos brillos con la brocha tipo punto de brillo para resaltar esa magia que desprende esta enigmática y poderosa hechicera con un pasado oscuro detrás de una sonrisa y mirada brillante y perturbada. Espero les guste mis representación y contar con sus comentarios y apoyos especiales! 😉👋
Finally in a layer with blend method Add apply with a Pointillism type brush some glitters of the same colors that I used for the background, adding also glitters a little bit bigger with the glitter dot type brush to make a somewhat magical scenery in the middle of some magic spell of this quite interesting character. I applied the eye shimmer in an add layer using Eruption, Marker and glitter dot brush to highlight the tear trough and give some moisture to the eyes. I added some freckles to give the skin more texture with a spray type brush with a medium opacity using a dark skin color. I added shine to the hair with a blending method Add and a Hair type brush in a new layer to give it more depth and highlight the front strands. I liked the mix of colors I used for the hair between pink, mullet, mulberry and that turquoise blue that characterizes her magic. When I saw a lot of luminosity I placed in another new layer a Multiply blending method using a light lilac and with a normal airbrush with medium opacity I darkened several parts of the background and the character. I added some details to the tattoo on the forehead and finished by applying some glitter with the glitter dot brush to highlight the magic that gives off this enigmatic and powerful sorceress with a dark past behind a bright and disturbed smile and look. I hope you like my renderings and I count on your comments and special support! 😉👋
Herramientas usadas/Used tools
- Tablet Android
- Ibis Paint X
- Traductor Deepl
- Servidor de imagenes Imgbb
- Dactilopintura digital
HASTA EL PRÓXIMO POST
Detenerse es retroceder
To stop is to go backwards
!PIZZA !PGM !LUV
I gifted $PIZZA slices here:
@bilpcoinbpc(1/5) tipped @catrynart (x1)
Please vote for pizza.witness!
The color tones you achieved here are definitely beautiful! Excellent work with this one. You put a lot of character into that face. Well done.
Yes, thank you very much @castleberry! ❤️😌 I am happy for this result.
Congratulations @catrynart! You have completed the following achievement on the Hive blockchain And have been rewarded with New badge(s)
Your next target is to reach 300 comments.
You can view your badges on your board and compare yourself to others in the Ranking
If you no longer want to receive notifications, reply to this comment with the word
STOPTo support your work, I also upvoted your post!
Check out our last posts:
Support the HiveBuzz project. Vote for our proposal!
The rewards earned on this comment will go directly to the people( @cetb2008 ) sharing the post on Twitter as long as they are registered with @poshtoken. Sign up at https://hiveposh.com.
Ese tono de piel está perfecto me encanta 😌
😄 Muchas gracias! Estoy enamorada de tu estilo de arte 😍
This post has been manually curated by @steemflow from Indiaunited community. Join us on our Discord Server.
Do you know that you can earn a passive income by delegating to @indiaunited. We share more than 100 % of the curation rewards with the delegators in the form of IUC tokens. HP delegators and IUC token holders also get upto 20% additional vote weight.
Here are some handy links for delegations: 100HP, 250HP, 500HP, 1000HP.
100% of the rewards from this comment goes to the curator for their manual curation efforts. Please encourage the curator @steemflow by upvoting this comment and support the community by voting the posts made by @indiaunited.
Very Beautifully Done!
👍🏼👋🏼🤩👋🏼👍🏼
Thank you so so! 😊👋
Your Very Welcome @catrynart !
👋🏼😊👋🏼
😄thanks @lesmann !
Absolutely!
👍🏼😄👍🏼
looks like crazy GOKU SSJ 5
Hehe truly a resemblance😁