Creando un dibujo “fotobiomecanico”
Saludos amigos amantes del arte y creatividad de la familia de Hive.
Greetings art-loving and creative friends of the Hive family.
Hoy les quiero mostrar un trabajo que consiste en fotografía y edición para crear una mezcla y poder expresar lo que mi imagínacion quiere interpretar, aprovechando una herramienta verdaderamente rústica en mi teléfono celular y solo creando líneas con el pude hacer una especie de dibujo fotografíco biomecánico.
Today I want to show you a work that consists of photography and editing to create a mix and to be able to express what my imagination wants to interpret, taking advantage of a really rustic tool in my cell phone and just creating lines with it I could make a kind of biomechanical photographic drawing.
Me encanta por la amplia gama de diseños que se pueden hacer, la modelo, una buena amiga quedó fascinada con el resultado, pues no sé imaginaba lo que haría con la imagen que gentilmente me proporcionó, hay que tomar en cuenta que no todos los rostros y Tomas funcionan para crear un efecto biomecanico, en este caso funcionó el juego de luces y contrastes y la pose de la modelo.
I love it because of the wide range of designs that can be made, the model, a good friend was fascinated with the result, because I did not imagine what I would do with the image that she kindly provided me, we must take into account that not all faces and shots work to create a biomechanical effect, in this case the play of light and contrasts and the pose of the model worked.
A continuación, les mostraré el proceso creativo:
Lo primero que realicé fue recortar la fotografía y lograr cambiar sus dimensiones.
Next, I will show you the creative process:
The first thing I did was to crop the photograph and manage to change its dimensions.
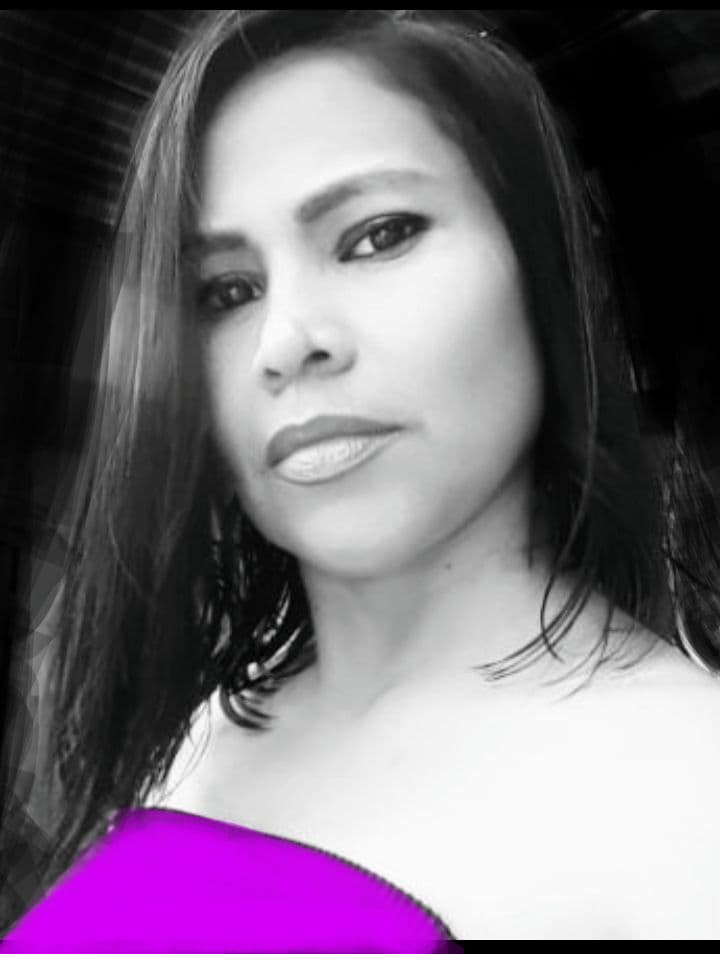
En este siguiente paso que les muestro coloreé el fondo de la fotografía con el editor usando mi dedo como herramienta principal.
In this next step I colored the background of the photograph with the editor using my finger as the main tool.
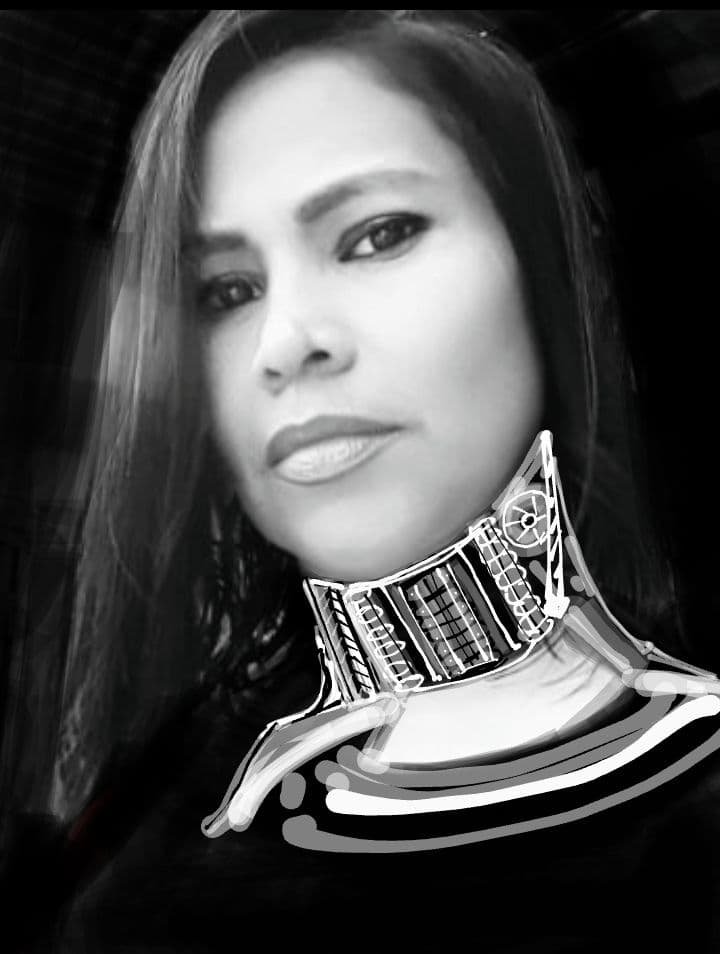
Luego procedí hacer la parte mecánica del dibujo en la parte del cuello y torso. Después le pinté en el rostro las marcas tribales.
Then I proceeded to do the mechanical part of the drawing on the neck and torso. Then I painted the tribal markings on the face.
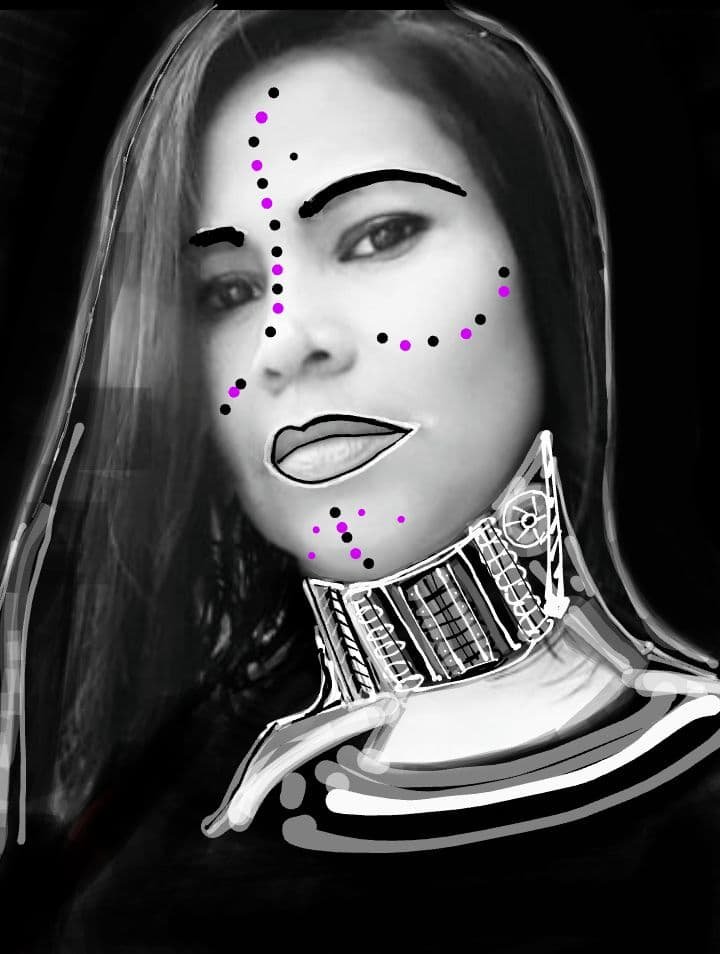
Continúe el proceso pintando los ojos y cambiando un poco el tono en la parte mecánica del diseño.
Continue the process by painting the eyes and changing the tone a little on the mechanical part of the design.
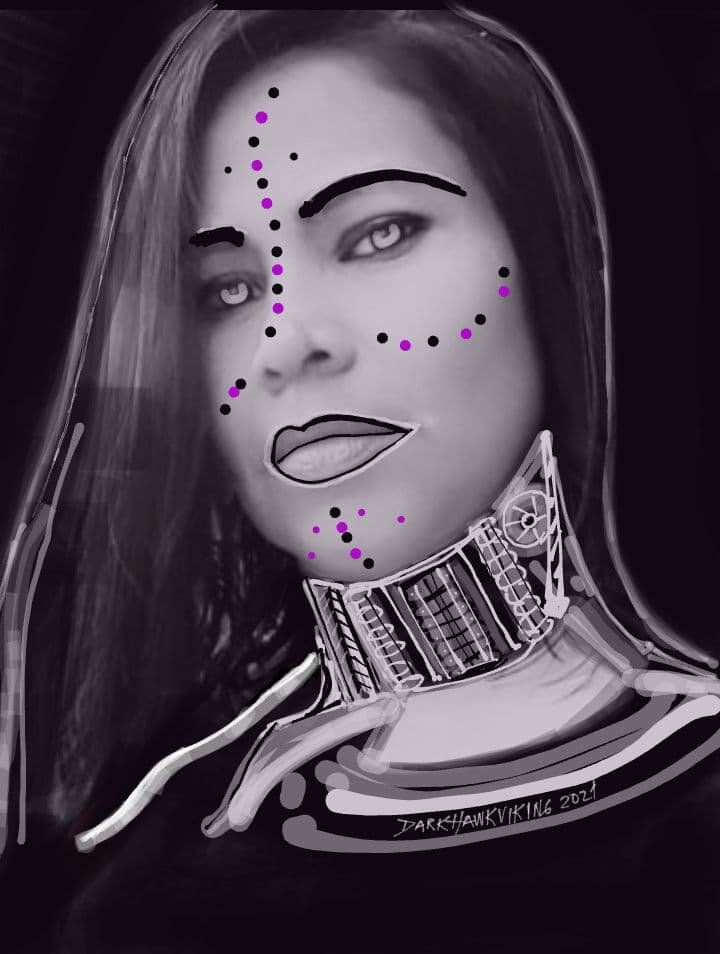
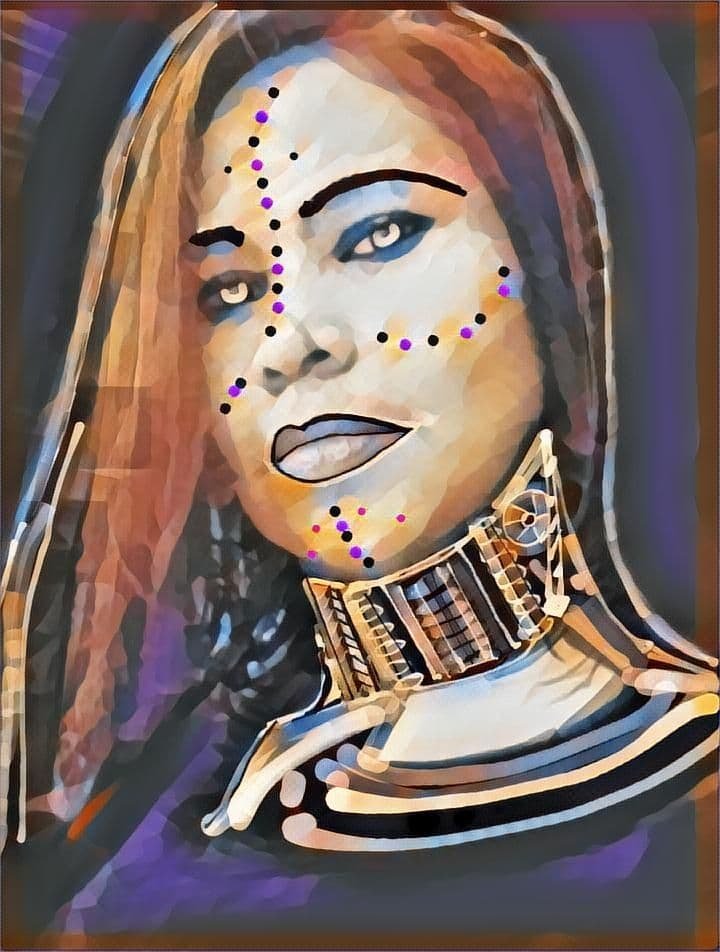
Culminada la parte de dibujo y coloreado, utilice el editor de fotos llamado PicsArt para darle el acabado final y el efecto deseado.
Once the drawing and coloring part is finished, use the photo editor called PicsArt to give it the final finish and the desired effect.
Gracias por tomarte el tiempo de mirar mi blog
Thank you for taking the time to look at my blog..