Saludos amigos de esta gran Comunidad, Bienvenidos a mi Blog
Greetings friends of this great Community, Welcome to my Blog
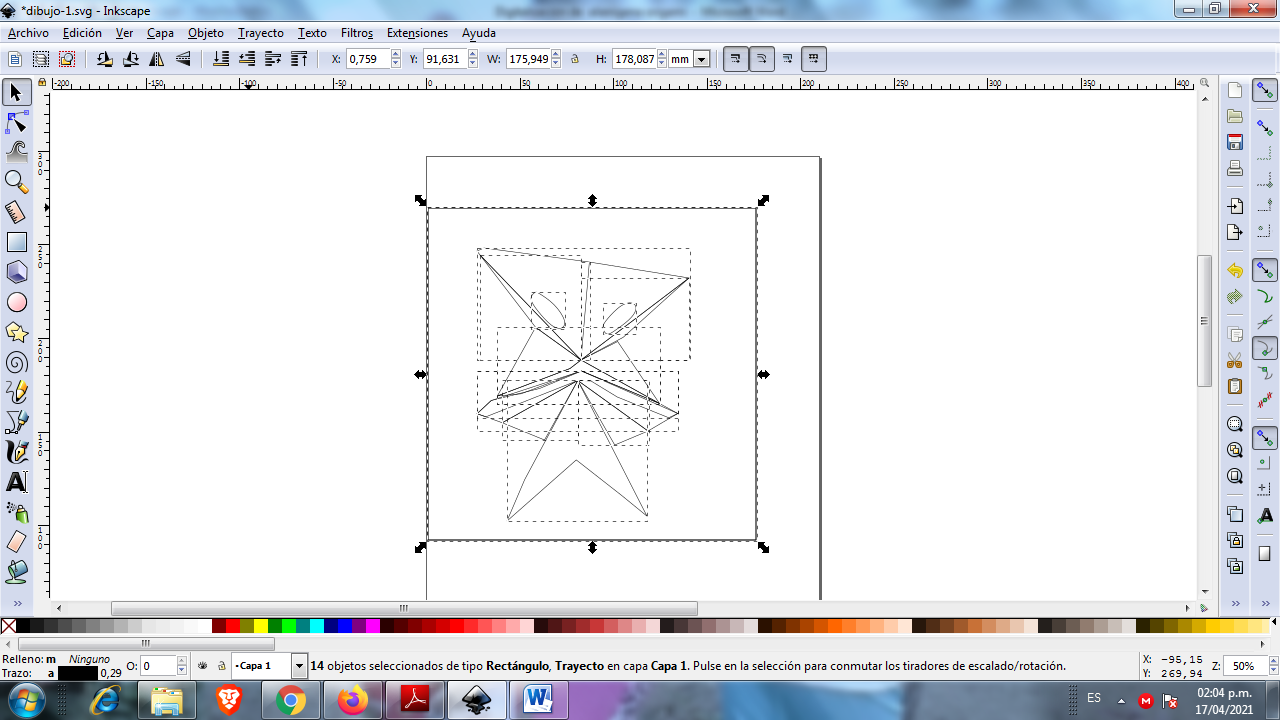
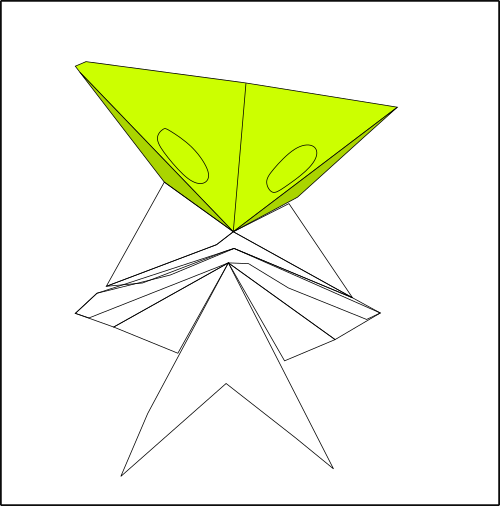
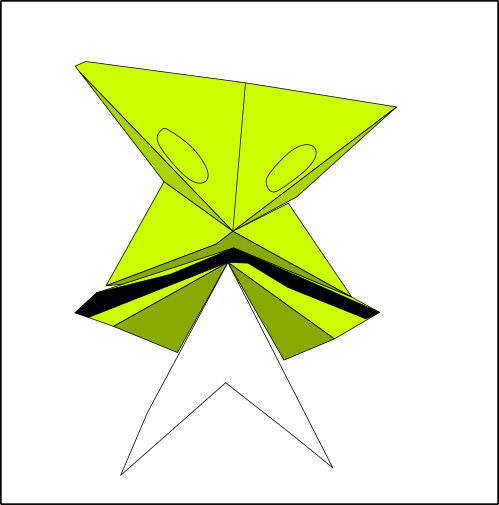
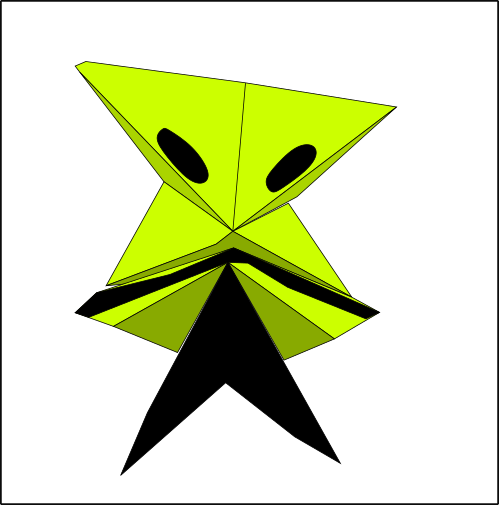
El proceso de origami lo explico paso a paso. Pero como también me gusta diseñar quise digitalizarlo con el programa Inkscape, el cual lo trace por parte generando las capas o nodos de la alienígena. El color que quise para esta digitalización fue un verde muy fluorescente combinado con color negro. Tuve que duplicar el diseño para crear unas líneas blancas y al colocar el fondo negro, resaltara aún más. Aparte con la opción de crear polígonos quise crear un efecto de destello atrás del alienígena de color amarillo. Me encanto como se ve el origami digitalizado.
Today I want to show you a digitized alien, which I had done step by step in the origami technique. [Post link here](Https://hive.blog/hive-148441/@lisbethseijas/how-to-make-an-alien-with-origami-technique-photographs-step-by-step-esp- eng)
I explain the origami process step by step. But since I also like to design, I wanted to digitize it with the Inkscape program, which traces it in part, generating the layers or nodes of the alien. The color I wanted for this scan was a very fluorescent green combined with black. I had to duplicate the design to create some white lines and by placing the black background, it would stand out even more. Besides with the option to create polygons, I wanted to create a flash effect behind the yellow alien. I love how digitized origami looks.
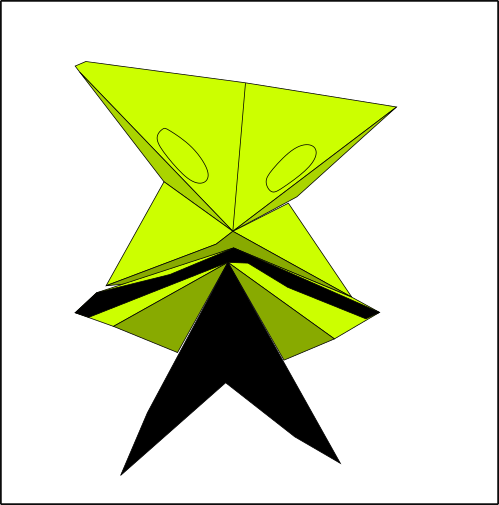
Aquí te muestro el proceso
Here I show you the process


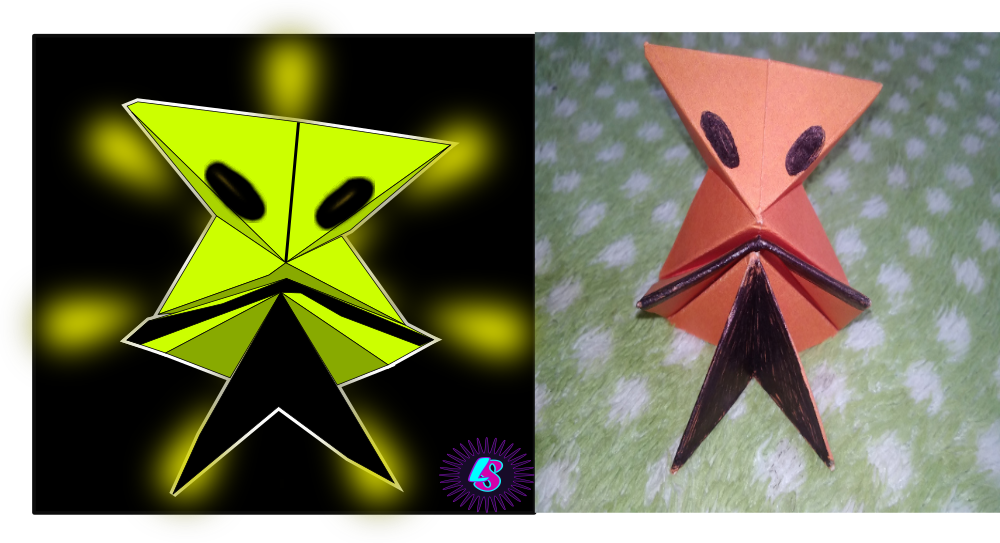
Alienigena realizado en papel vs Alienigena digitalizado
Alienigena made on paper vs Alienigena digitized
Resultado Final
Final score

Espero les guste
Nos vemos en una próxima publicación
I hope you like it
See you in a next post