i have finally reached studio update number 100.
it's crazy how long ive been doing these studio updates here. i wonder where i will be when i am on studio update 200.
studio update 1 was probably 4 years ago...
i have had a really good month for selling paintings.
last couple months were quite dry but this month popped off.
a collector from the other art fair finally pulled the trigger on a piece he was on the fence about purchasing for almost 6 months.
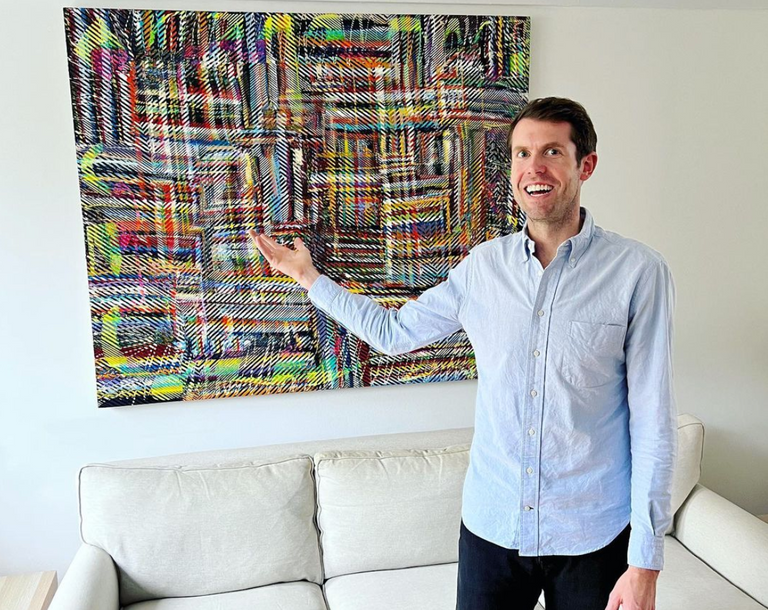
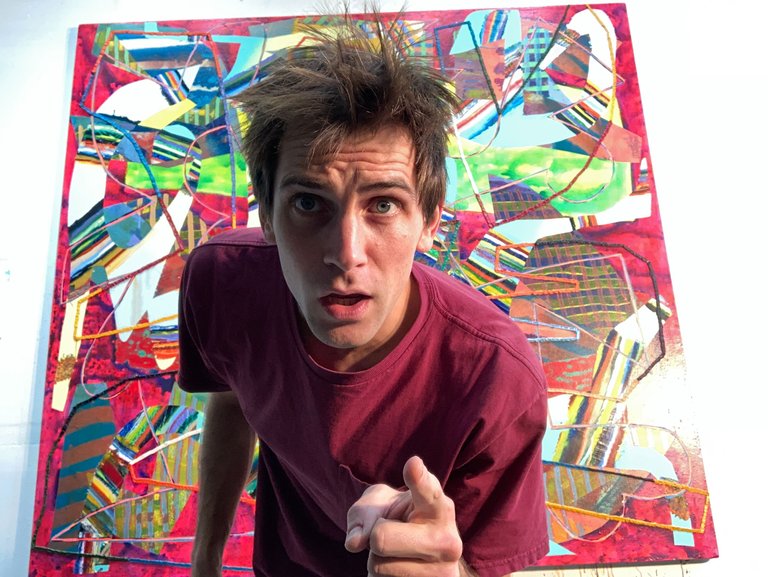
pictured above is a stoked google employee in front of his newly acquired Goulet.
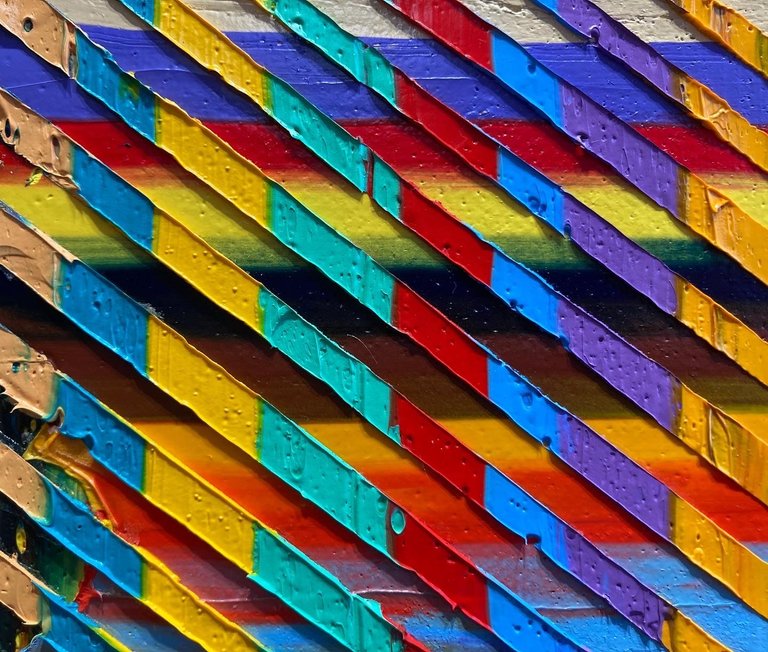
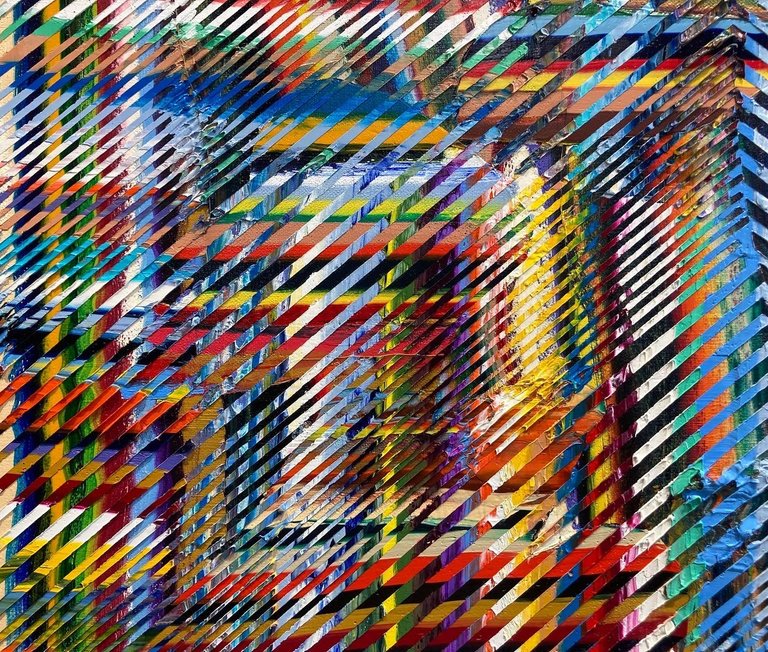
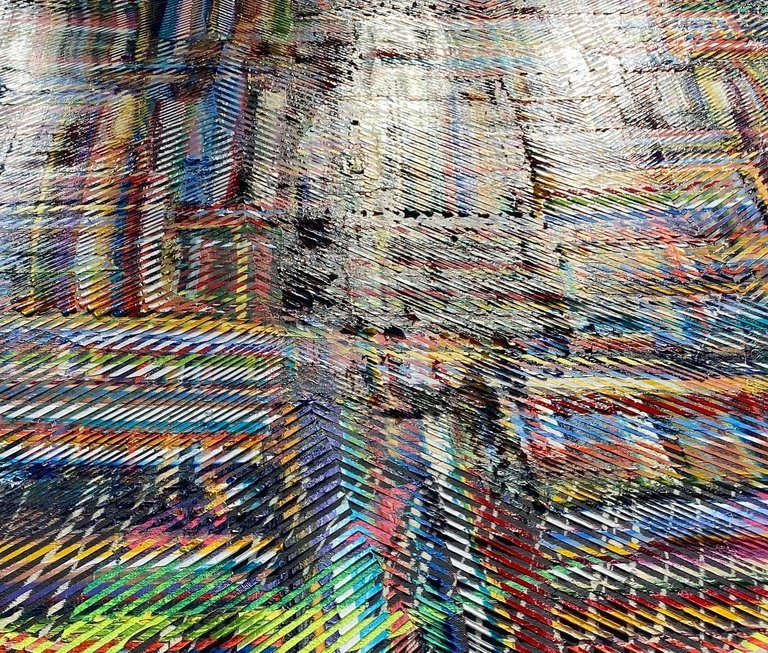
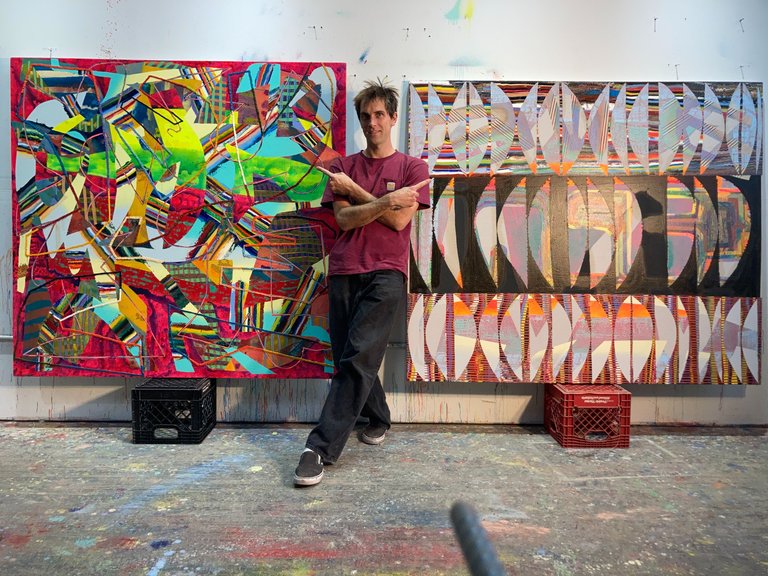
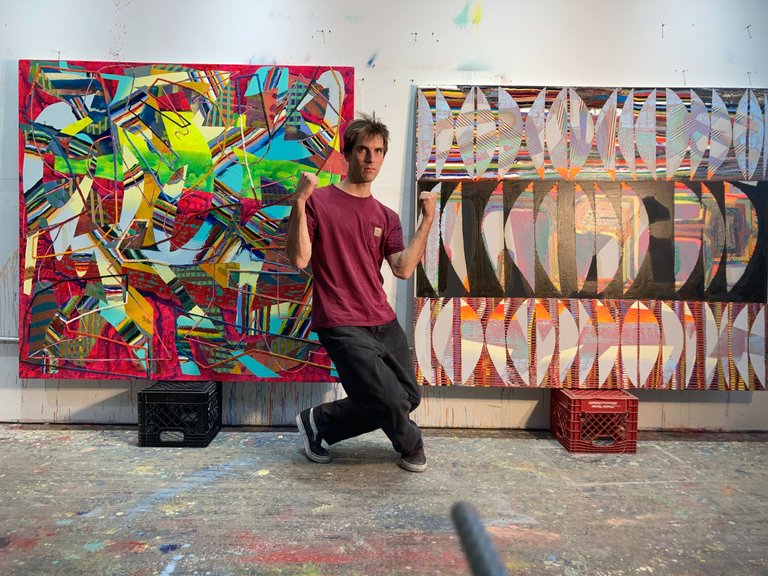
Lighthouse is one of my masterpieces which only come about every few years.
Stoked to have someone pick it up as much as I did not want to really part with the piece because it really meant something to me. As an artist you have to get the work out there though.
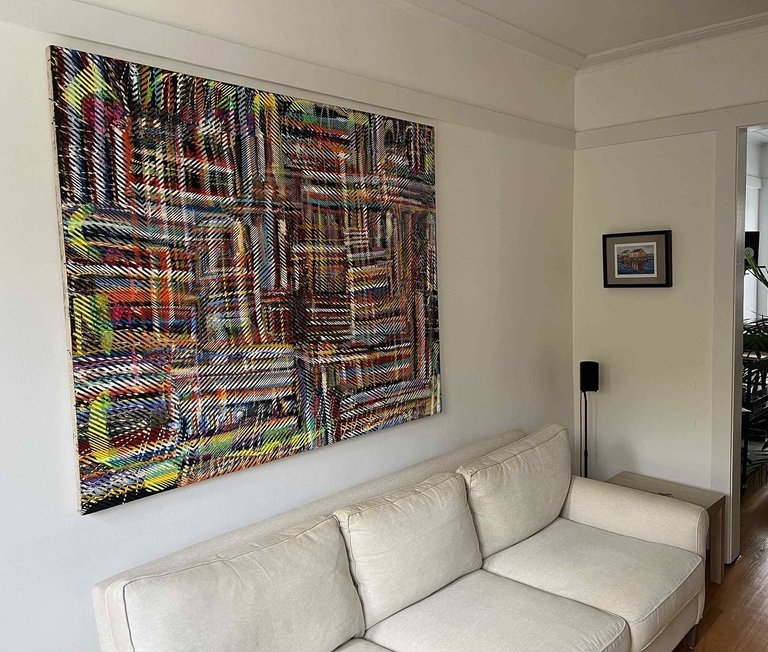
here are some of my last photos of Lighthouse that I took in my studio before i delivered it to him.
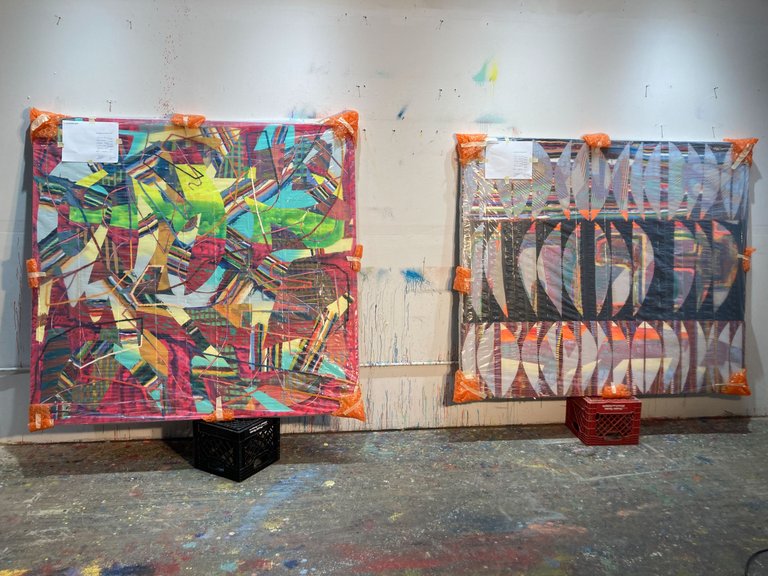
Another private collector took an action to acquire two of my very large paintings.
I will take you though the process of what I need to do, in order to get these paintings shipped to the collector.
first step: get them out from being stored underplastic wrap deep within the studio somewhere
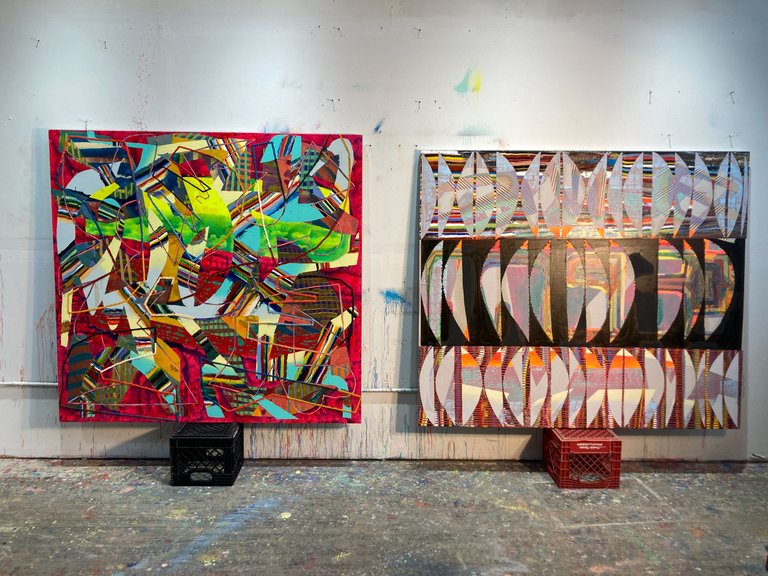
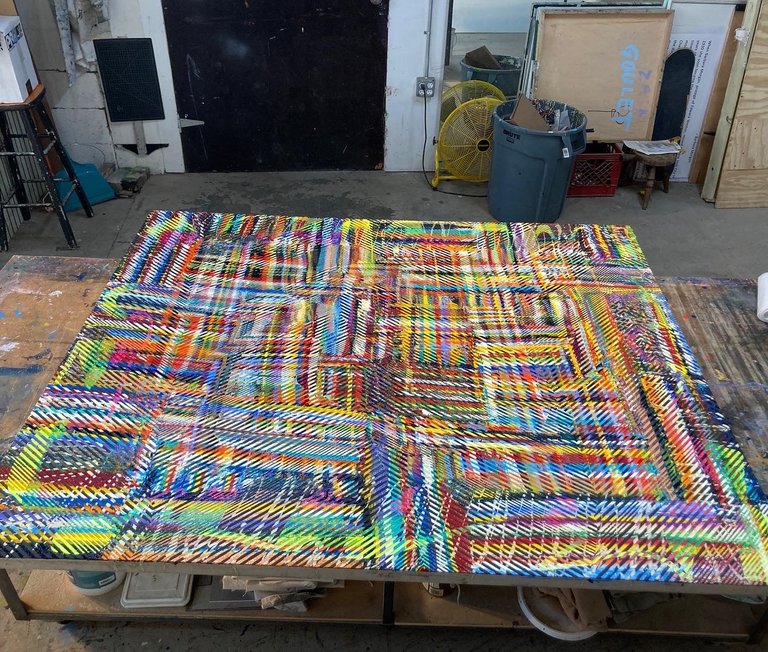
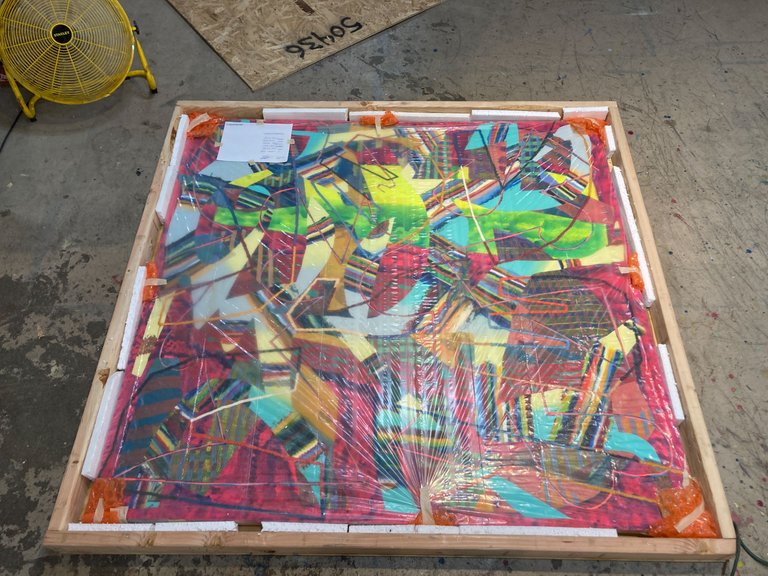
pictured on the left is Burial Ground, and on the right is Lines of Code. From what I know, someone from citibank purchased these...
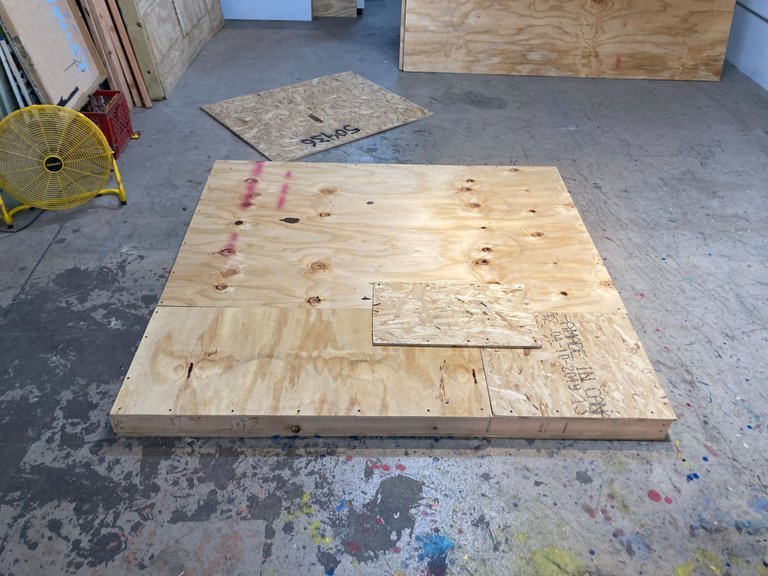
second step: go to home depot and buy wood
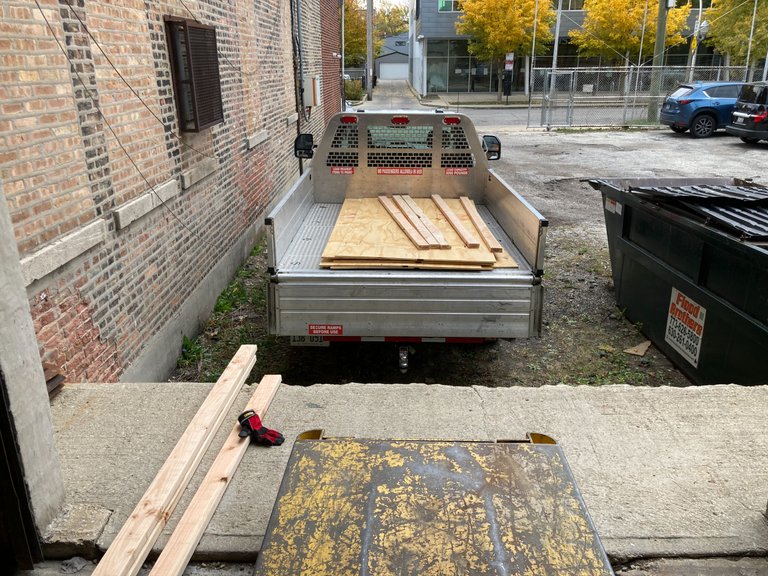
2x4's and plywood. i spent about $200 on wood to ship these. but its worth it because it will get my work out there. i had to rent a truck to transport all the wood. i was going to tie the wood down on the room of my compact car but decided to have mercy on my poor car as that would have done a number on the shocks of my vehicle lol. so i raced the truck back to home depot after stopping to get gas in the 75 minute window i was allotted.
third step: wrap the paintings in plastic so that i can begin generating a lot of dust in the studio from cutting wood.
bubble wrapped corners and large sheets of 1mm plastic drop cloth were purchased and utilized here to keep dust off the paintings during my crate building and in transit.
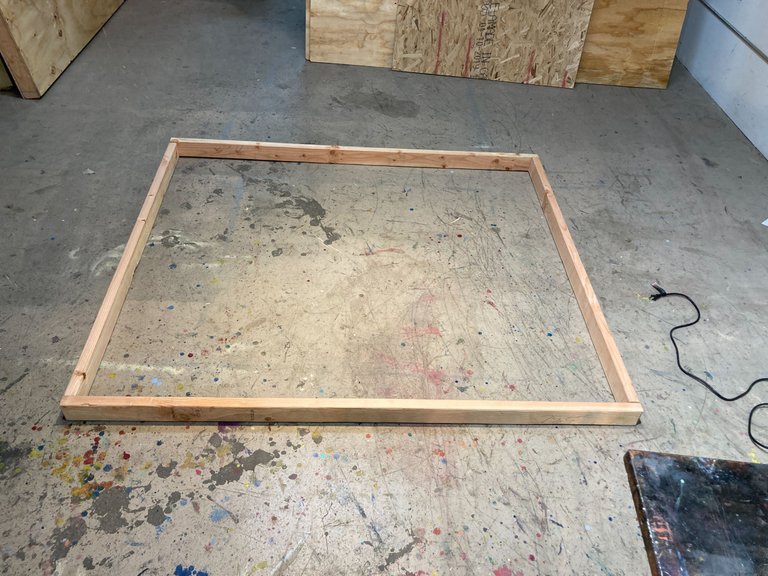
fourth step: make the crates
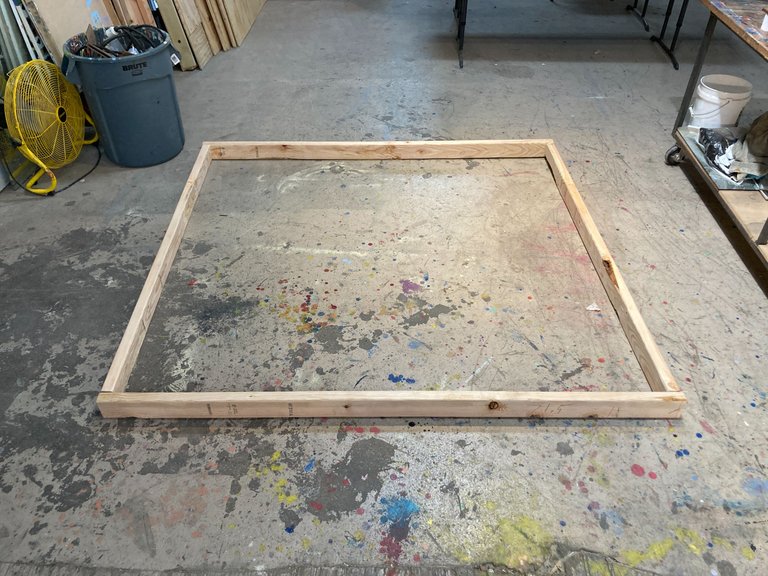
allowing 1.5 inches of extra space on all sides inside the crate is important so that you can add padding for when the shippers beat the hell out of the crate during transit. the first step to making a crate is to make a frame for the crate out of 2x4's. a painting will fut perfectly inside a box made of 2x4's which is nice. if i was making sculpture, this would be a lot more intensive to manage.
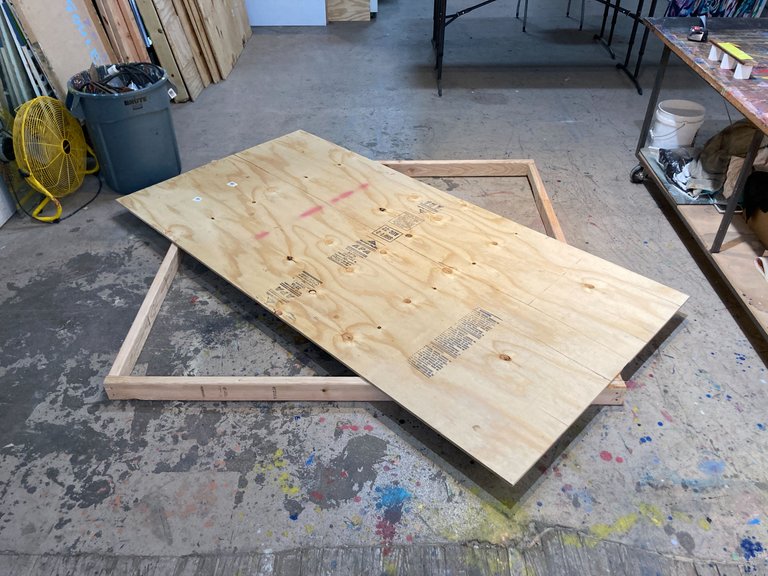
then you basically trace the edges of the 2x4 on the plywood and use a circular saw to cut the wood. when one side of the crate has been made, i layed the painting inside to make sure i made it big enough, before i moved on to making the other side.
woo hoo! thank god! it fits lol.
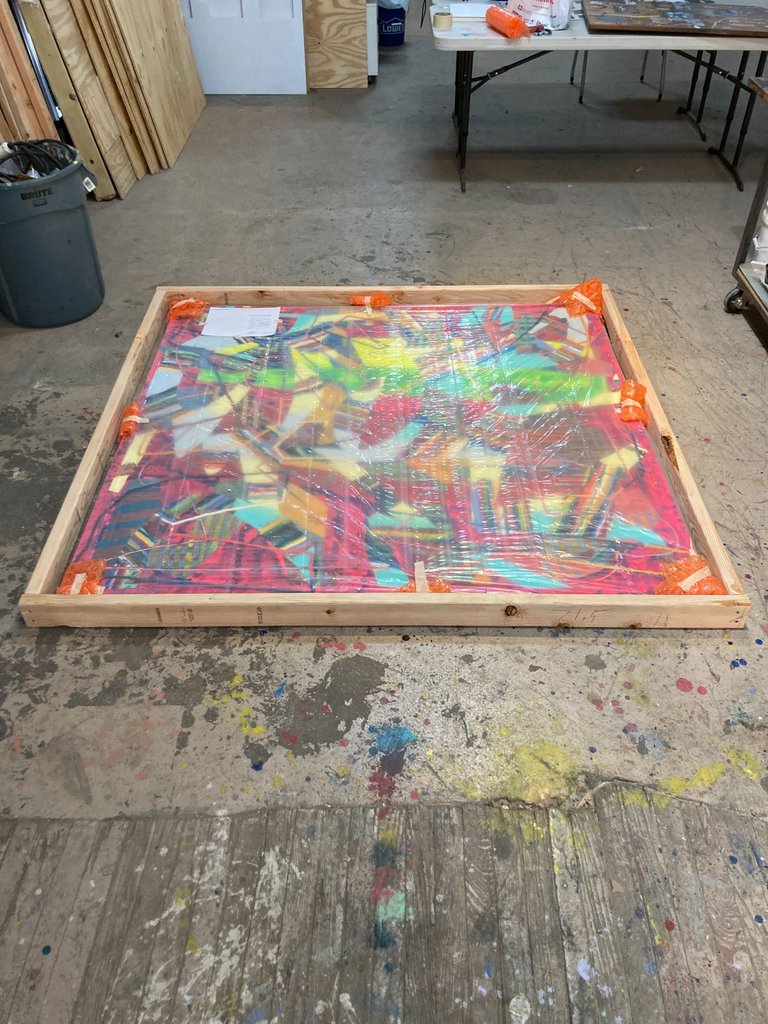
so now i can add some padding to all sides.
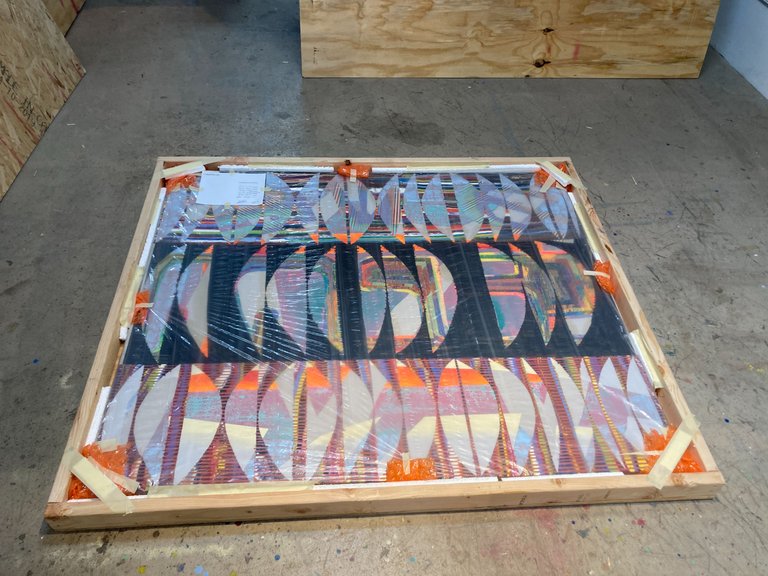
i removed the painting and then made the front of the crate. after putting the painting inside, i carefully placed the front of the crate onto the 2x4 frame and then screwed it into the 2x4s, sealing the painting inside for transit.
these things weigh a ton! but they have to be made because like i said the shippers will mutilate your boxes if you use cardboard.
Ive never had to ship two at once before, so this was a big job. i worked all day to complete it in time. here are photos of the other one's crate process.

thanks for stopping by for my one-hundredth studio update on hive! i didnt think it would take this long to get to 100 but here i am. cheers!!
web gnar wants YOU, to leave a comment below ! hehe
step five: photograph all sides of the painting to forever preserve them digitally in a VR art gallery
oh yeah! i almost forgot! and i have forgot in real life, to do this step. I must photograph all sides of the painting to then 3-d model all of my sold works. i know this is a cool idea and it really is starting to look cool as i have modeled only 3 so far but i have the images for about 20 that i need to model but i need a proper blender lesson to keep working on it.
basically since i already have a photo of the front i just need to photograph the back and then all 4 unique sides of each one.


See also

• TOM FRY - Greatest Hits 2021 • Christmas at Familia • Proof of Stoke • Gnarip 2020 the Lost Edit • TPCteeze • Deen's Warehouse Session • GNARMEGEDDON • skatehive edit at elliot park downtown minneapolis • for the love of skatehive - black and white film photography of skating a gap after the other art fair chicago • skatehive session at steve nesser's familia HQ with Andy Conrad and Pat Gallaher • skatehive webgnar - a session at juxtaposition arts in NE minneapolis • skatehive webgnar - GNARCHIVE - the chronicles of andy and zack part duece • Carnage at Palace DIY • with TJ Moran and Matt Boeltl • Skatehive Community Edit #4 • ITHACA Skatepark, New York - a skatehive solo session • web-gnar + bob burnquist STOKED on SKATEHIVE • 100 degree session at Wilson • skatehive web-gnar GNARCHIVE • Chicago south loop session • skatehive web-gnar exclusive • Session with Christian Hosoi | street skating + solo bench session! web-gnar SKATEHIVE exclusive • Clemente longbar grinds, Mchenry Skatepark, and Throop • web-gnar • SKATEHIVE Blockchain Skateboarding Community
These 2 are both so 🔥🔥🔥.
Beautiful work! Congrats on the sales... and shipping is almost an art itself. Cheers bro
thank you so much! ❤️ cheers too! yeah shipping is intense. its crazy how much those crates weigh but thats standard practice i guess. that would cost me like $1500 to ship each one of those crates if saatchi didnt have the hook ups with the shippers...