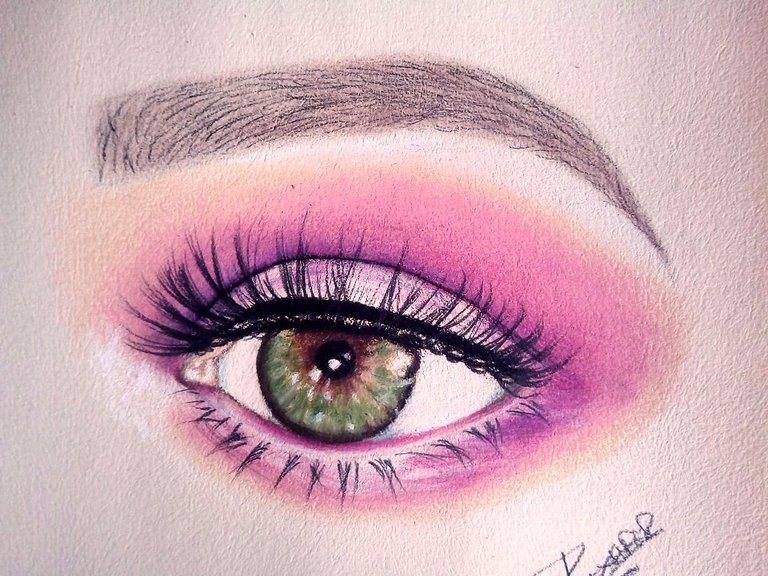
Hello friends of the community, I hope you are well and having a good weekend. Like every Saturday I have brought a new drawing. This time it is an eye of a girl who I thought I would only do with a graphite pencil because I did not feel very enthusiastic, but at the last minute I put a lot of color to see if I knew how to make up, lol I think so. I hope you like it.
Hola amigos de la comunidad, espero que se encuentren bien y pasando un buen fin de semana. Como todos los sábados he traído un nuevo dibujo. Esta vez se trata de un ojo de una chica el cual pense hacerlo solamente con lápiz de grafito porque no me sentía muy entusiasmado, pero a última hora le puse mucho color para ver si sabía maquillar, jejeje creo que si. Espero les guste.

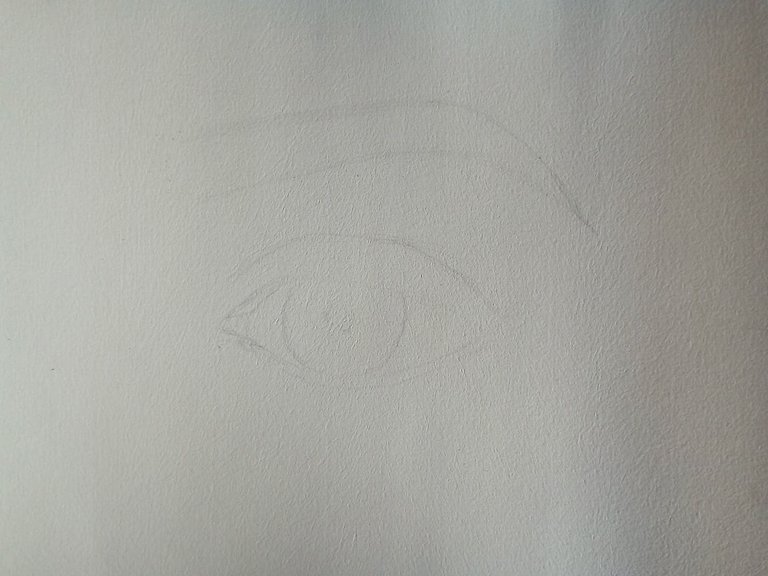
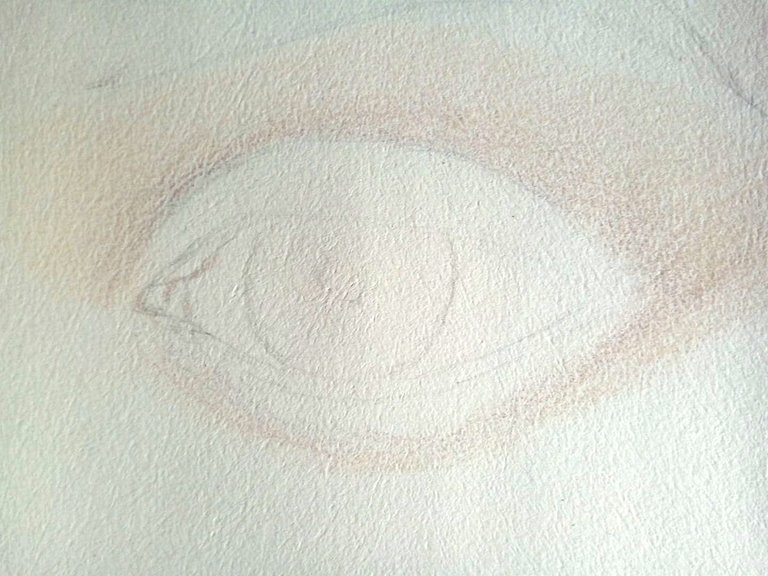
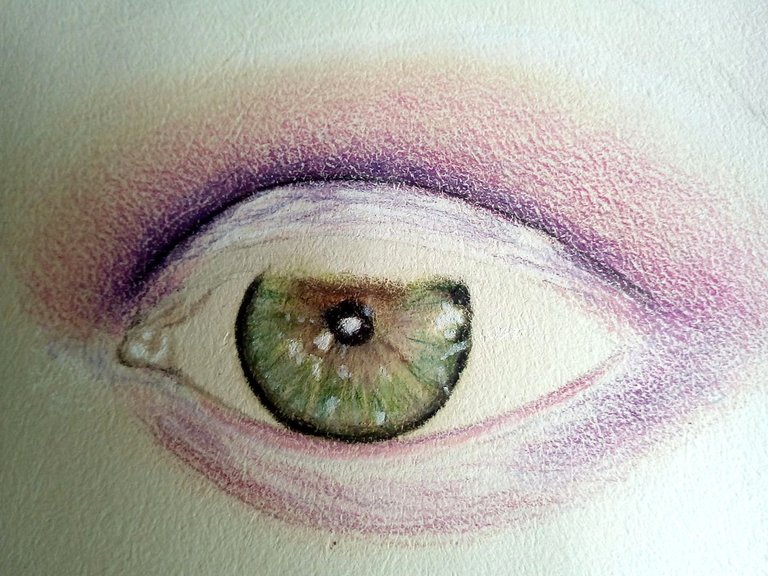
We draw the shape of the eye and the eyebrows respecting well the spaces between them. We start by applying a soft layer of light pastel colors for the skin and also a soft layer for the iris of the eye that will be green. Let's not forget to color the cornea's light reflection effect with a white pencil.
Dibujamos la forma del ojo y las cejas respetando bien los especios entre ellos. Comenzamos aplicando una suave capa de colores pasteles claros para la piel y tambien una suave capa para el iris del ojo que será de color verde. Noi olvidemos colorear con lápiz blanco el efecto reflejo de luz de la cornea.
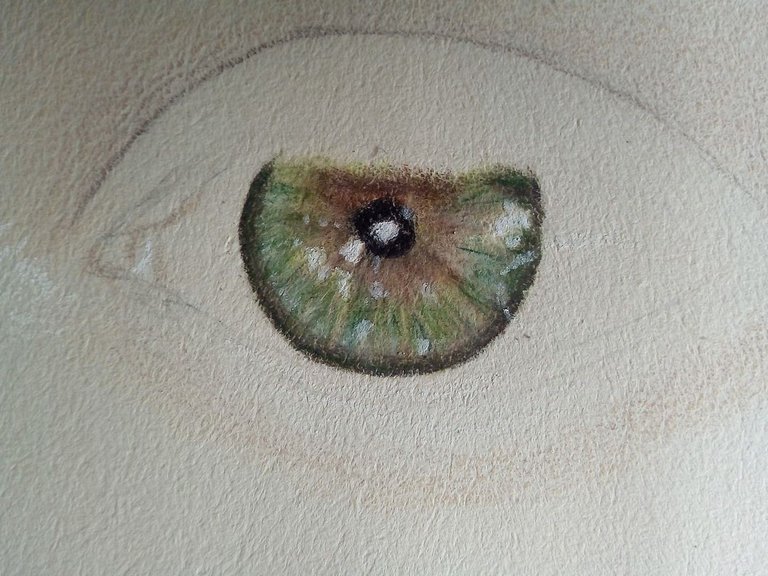
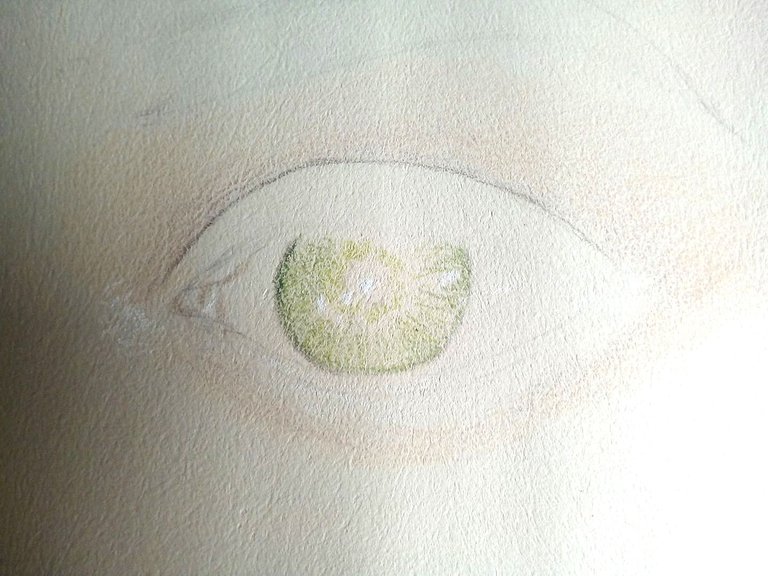
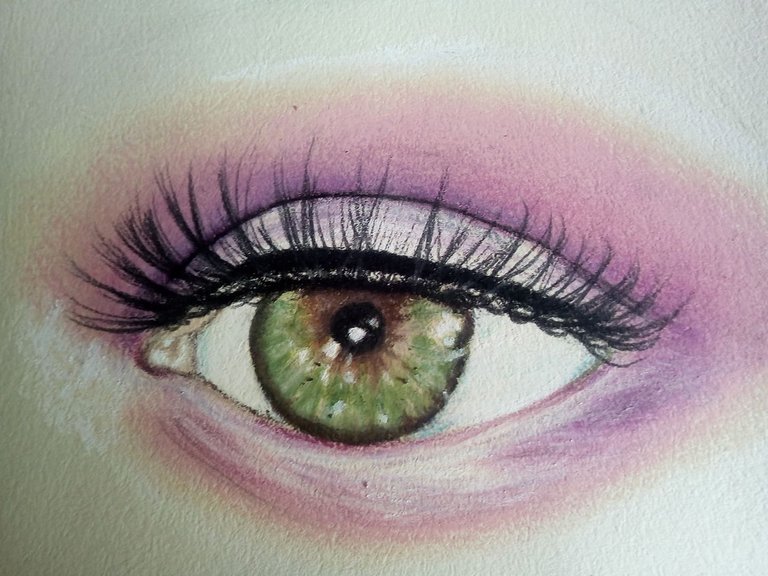
To draw the irirs well, we must remember that the colors are not uniform but that with the light spectrum it gives several tones, so we must play with the light and dark between the same tone. So we can use a light water green and mix it with white and leaving the darkest parts to combine between dark green and ocher brown.
Para dibujar bien el irirs debemos recordar que los colores no son uniformes sino que con el espectro de luz da varios tonos entonces debemos jugar con el claro y oscuro entre un mismo tono. Así podemos utilizar un verde agua claro y mezclaro con blanco y dejando las partes mas oscuros para combinar entre verde oscuro y marron ocre.
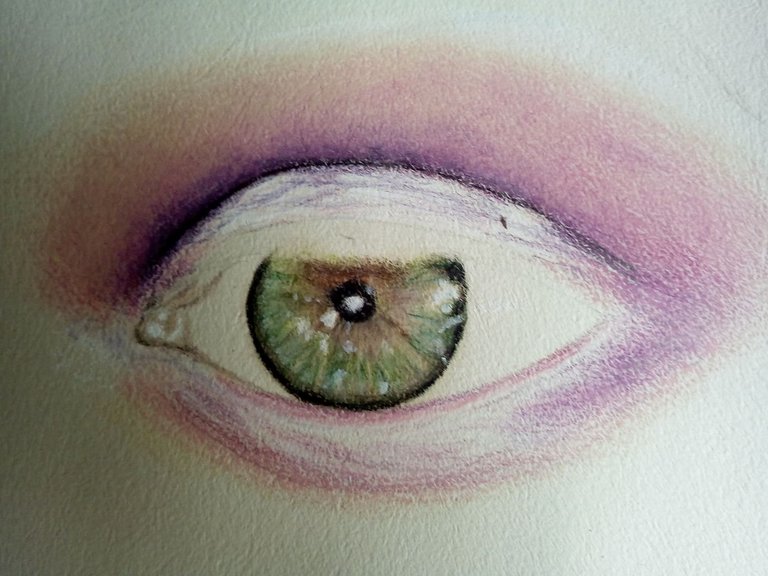
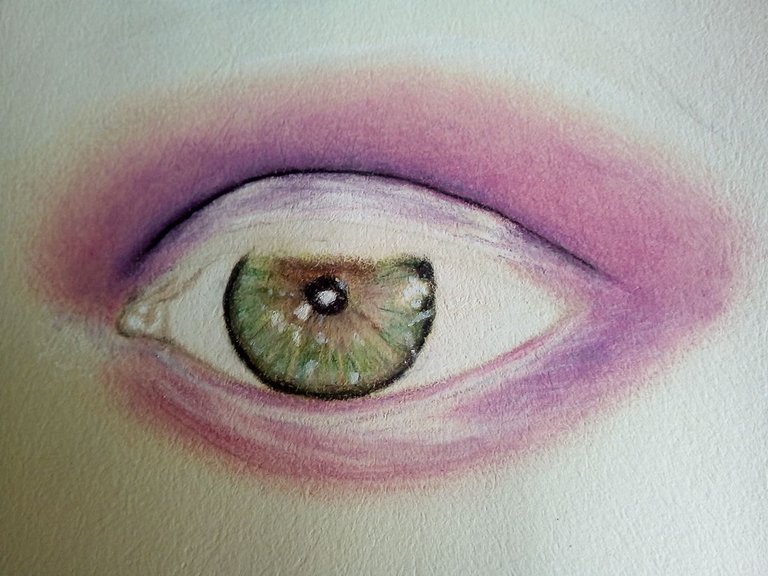
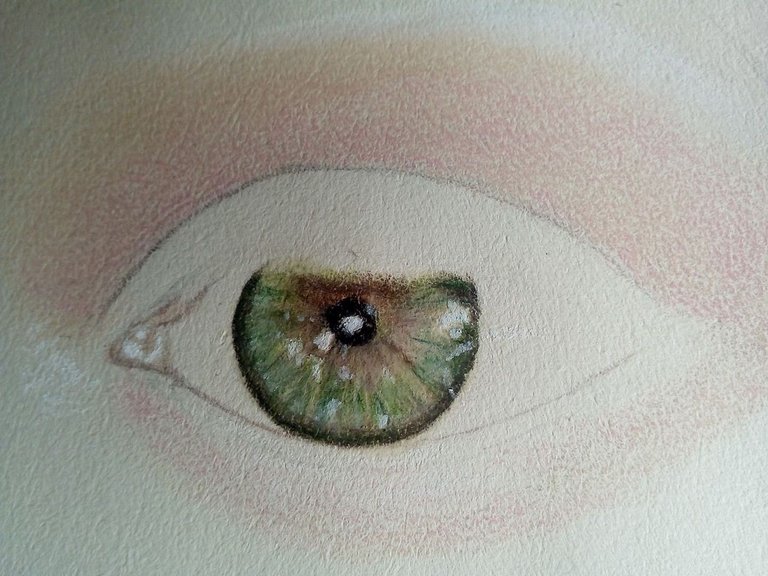
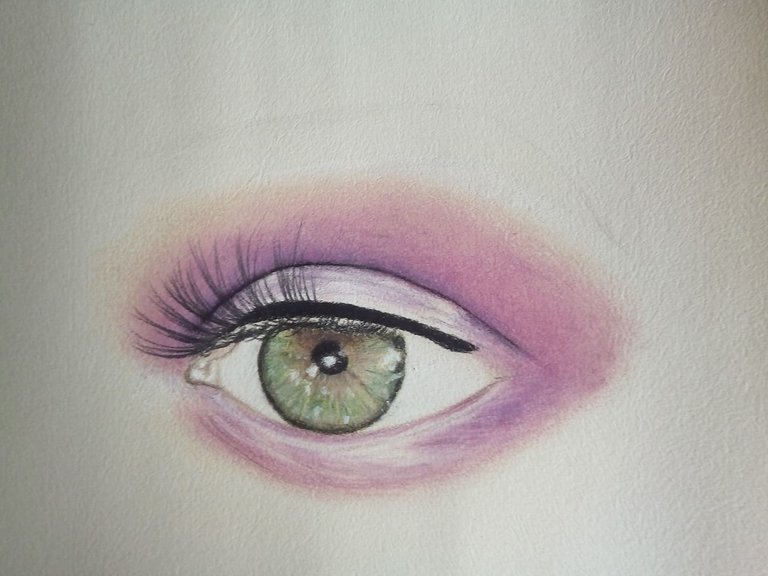
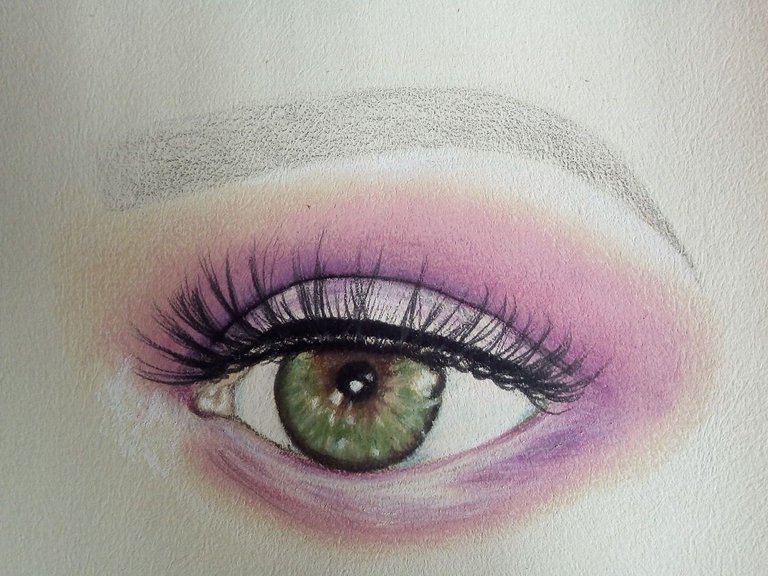
Once we have well reinforced the colors of the iris of the eye, we proceed to color the eyelid and part of the cheekbone. I always start with light colors until dark. The range of colors used for this process starts from light flesh and some pastel to purple. This part is the one that will be made up the most, so we have to play well with the mixture of colors to find a good result.
Una vez que hayamos reforzado bien los colores del iris del ojo procedemos a colorear el párpado y parte del pómulo. Yo siempre comienzo con colores claros hasta oscurecer. La gama de colores utilizados para este proceso comienza desde el color carne claro y algo de pastel hasta color violeta. Esta parte es la que irá más maquillada por lo que tenemos que jugar bien con la mezcla de los colores para encontrar un buen resultado.
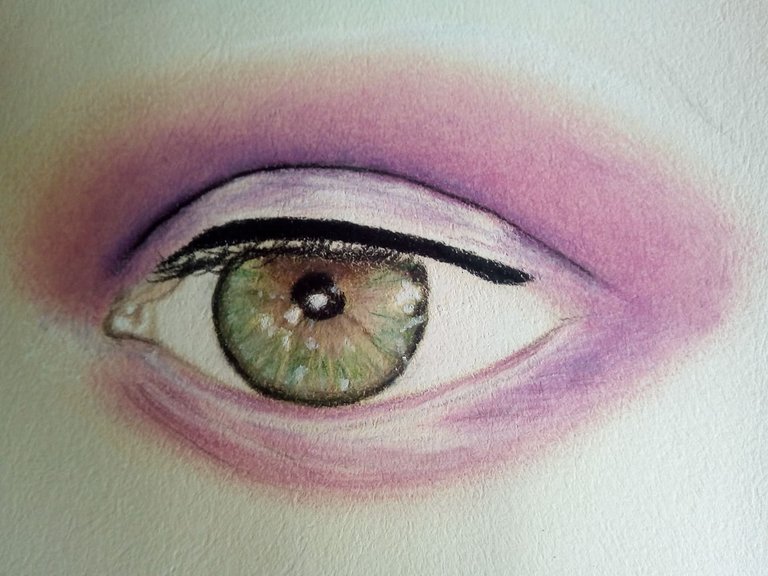
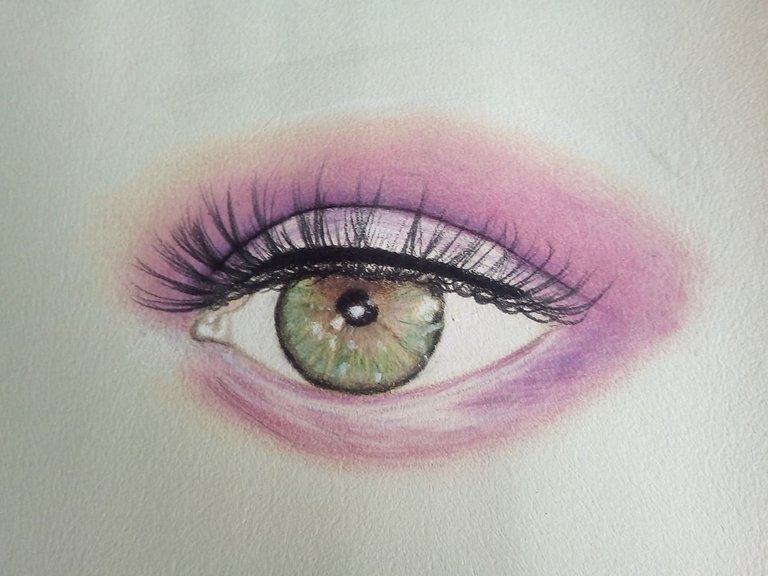
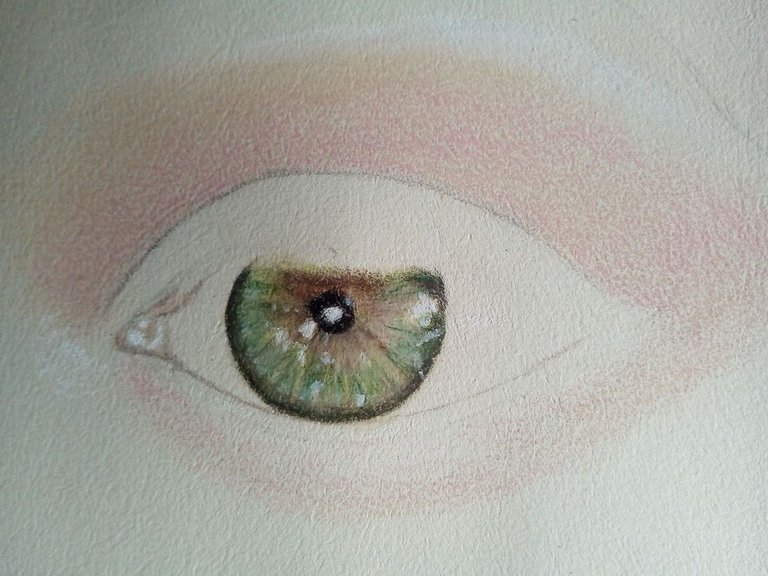
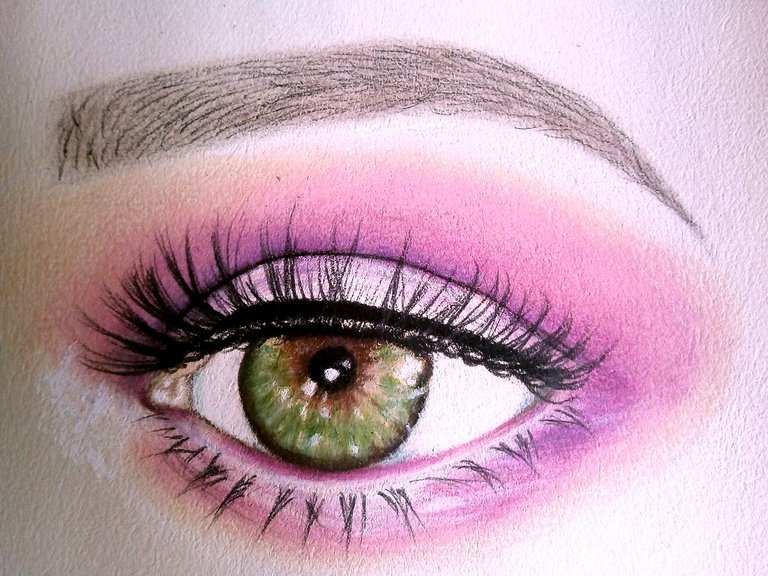
When drawing the tabs we must be precise and fast. To make them as realistic as possible our stroke must be fast, we place the color in a point and from there we make a stroke with a curve, all very quickly, so we have the most natural eyelashes.
Al dibujar las pestañas debemos ser precisos y rápidos. Para hacerlas lo más realistas posible nuestro trazo debe ser rápido, colocamos el color en un punto y de ahi hacemos un trazo con una curva, todo muy rápido, así nos quedan las pestañas más naturales.
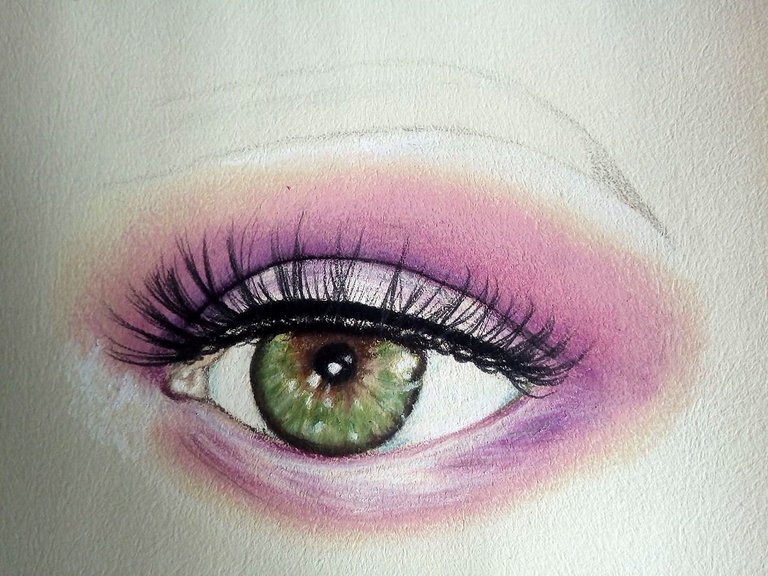
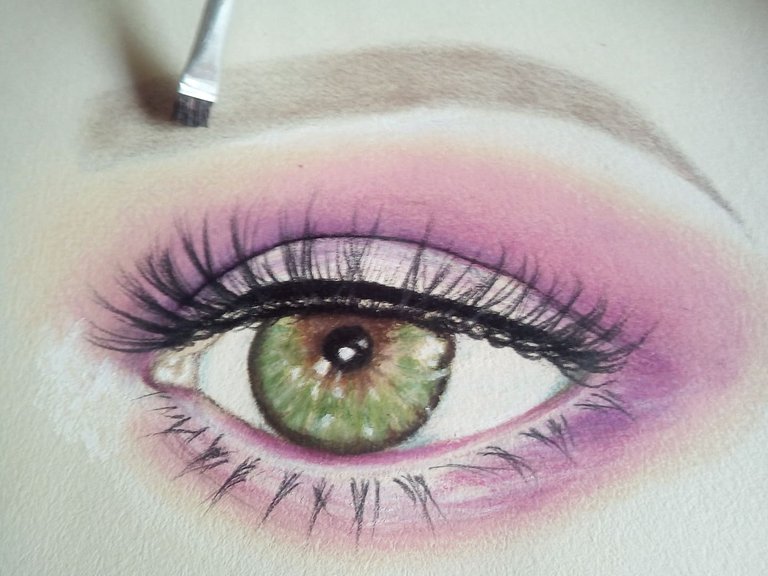
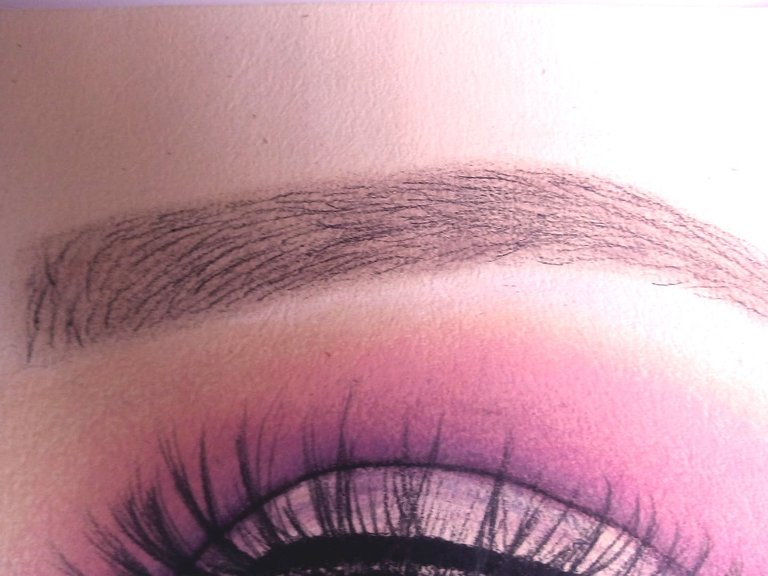
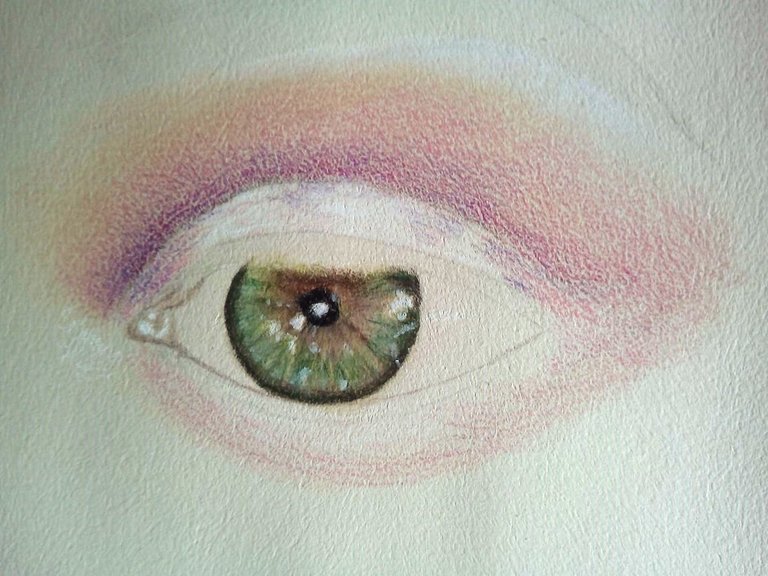
Finally we draw the eyebrows, we do it following the pattern we drew at the beginning. We place a soft layer of light brown and gray and then with a brush we blur. I don't know the name of what the girls wear, but when I was brushing it I was very similar to the eyeliner they use. Hahaha. After we blend with the black color and the sharpened tip, we also make the eyebrows using fast and firm strokes. We cover the entire area until finished. In the last image you can see in more detail.
Por último dibujamos las cejas, lo hacemos siguiendo el patrón que dibujamos al principio. Colocamos una suave capa de marron claro y gris y luego con un pincel difuminamos. Yo no sé como se llama lo que las chicas usan, pero cuando estaba pasando el pincél me quedo muy parecido al delineador que usan. jejeje. Luego que difuminamos con el color negro y la punta bien afilada hacemos las cejas también utilizando trazos rápidos y firmes. Cubrimos todo el área hasta finalizar. En la última imagen pueden ver con más detalle.
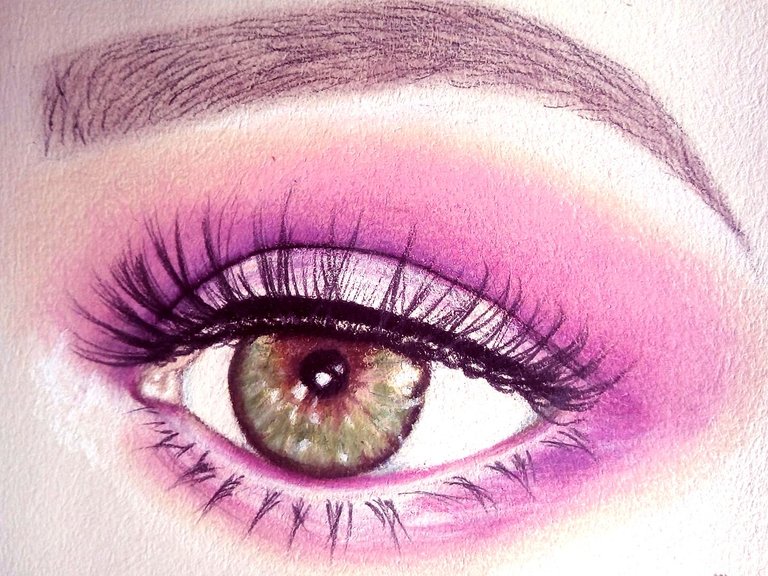
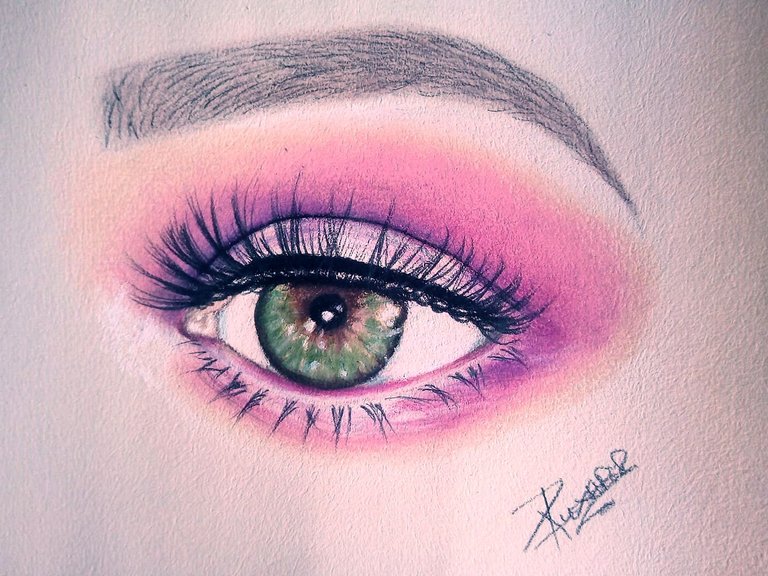
And so the eye of a girl made up has remained, the one that would originally be in black and white. I think if I dared to make up a girl I would do it hahaha. I hope next time I dare to make a full face of a girl with makeup, I hope to find a model. I hope you liked this brief explanation of the techniques I use to draw. I really like to share my way of working and explain it with the simplest words. I say goodbye to you soon friends.
Y así ha quedado el ojo de una chica maquillado, el que originalmente sería en blanco y negro. Creo que si me atreviera a maquillar a una chica lo lograría jajaja. Espero la próxima vez atreverme hacer un rostro completo de una chica con maquillaje, espero encontrar una modelo.. Espero que les haya gustado esta breve explicación de las técnicas que uso para dibujar. Me gusta mucho compartir mi forma de trabajar y explicarlo con las palabras mas sencillas. Me despido hasta pronto amigos.
Mano tu dibujo del ojo quedo genial 😎😎
The rewards earned on this comment will go directly to the person sharing the post on Twitter as long as they are registered with @poshtoken. Sign up at https://hiveposh.com.
Congratulations @fixie! You have completed the following achievement on the Hive blockchain and have been rewarded with new badge(s) :
Your next target is to reach 1000 comments.
You can view your badges on your board and compare yourself to others in the Ranking
If you no longer want to receive notifications, reply to this comment with the word
STOPTo support your work, I also upvoted your post!
Check out the last post from @hivebuzz:
Me encantó el resultado, te quedó precioso
Gracias Paola, es un honor que te haya gustado mi dibujo!
Beautiful, I like the step by step very educational perfect to practice.
Thank you, I'm glad you liked it. I always try to give details in the step by step of each drawing.