Holaaa, como les conté en mi presentación, hace unos años dejé mi trabajo de administradora para dedicarme a tiempo completo a mis hijos y a las manualidades. En esta ocasión les voy a mostrar mi primer blog sobre manualidades.
Hi, as I told you in my presentation, a few years ago I left my job as an administrator to dedicate myself full time to my children and to crafts. This time I am going to show you my first blog about crafts.
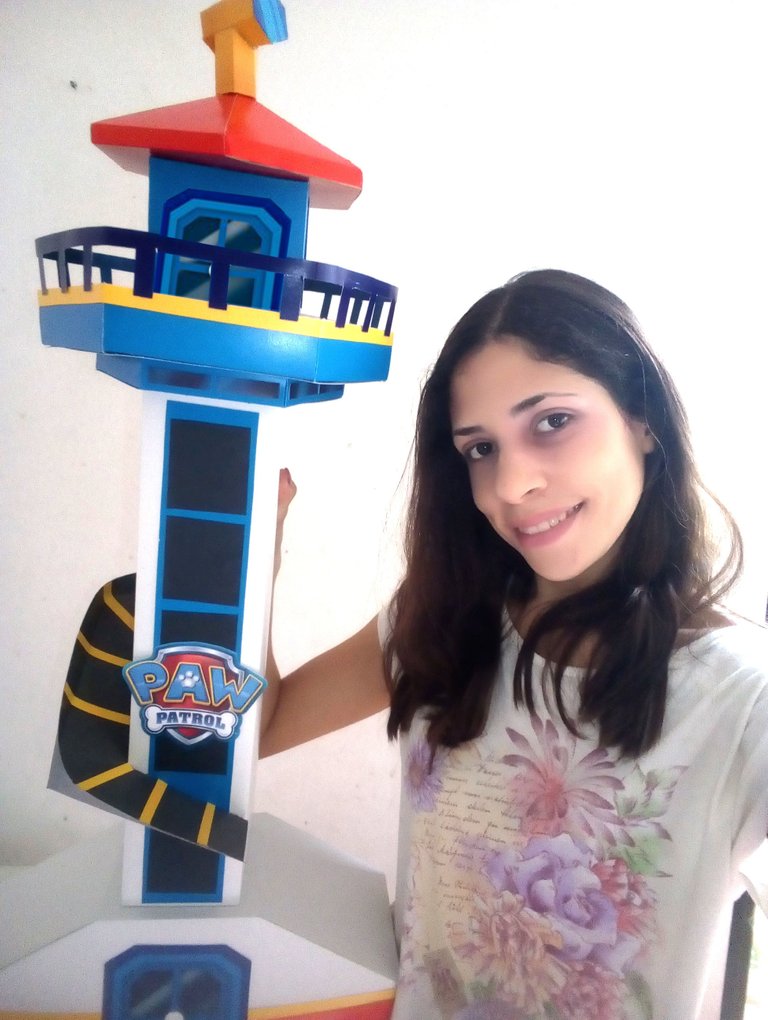
Elaboré esta hermosa maqueta de la torre de control de Paw Patrol para decorar una fiesta. Lleva bastante trabajo, en total le dedique 11 - 12 horas, claro, tuve que diseñar muchas piezas yo misma y por eso tarde más, pero yo les voy a dejar todos los moldes en un link donde podrán descargarlos.
I Make this beautiful Paw Patrol control tower model to decorate a party. It takes a lot of work, in total I dedicated 11 - 12 hours, of course, I had to design many pieces myself and that is why it took longer, but I am going to leave you all the molds in a link where you can download them.
Les enseño como fue el proceso
I show you how the process was
Materiales:
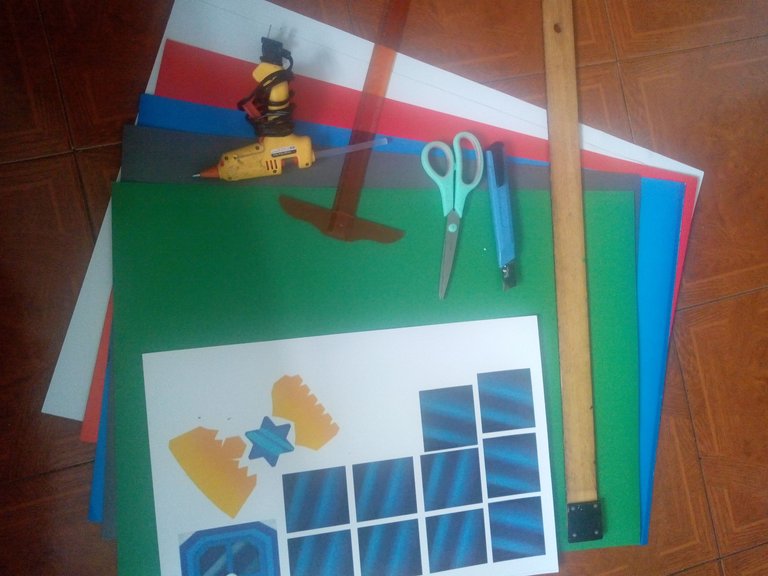
Utilice únicamente cartulina doble faz para su elaboración
- Una azul claro
- Una roja
- Una amarilla
- Dos blancas
- Una gris
- Una Azul oscuro
Impresiones (ventanas, logo de Paw Patrol y telescopio)
Lápiz
Silicón
Tijera
Regla
Materials: I use only double-sided card stock for your elaboration - A light blue - A red - A yellow - Two white - A gray - A dark blue Prints (windows, Paw Patrol logo and telescope) Pencil Silicone Scissor Rule
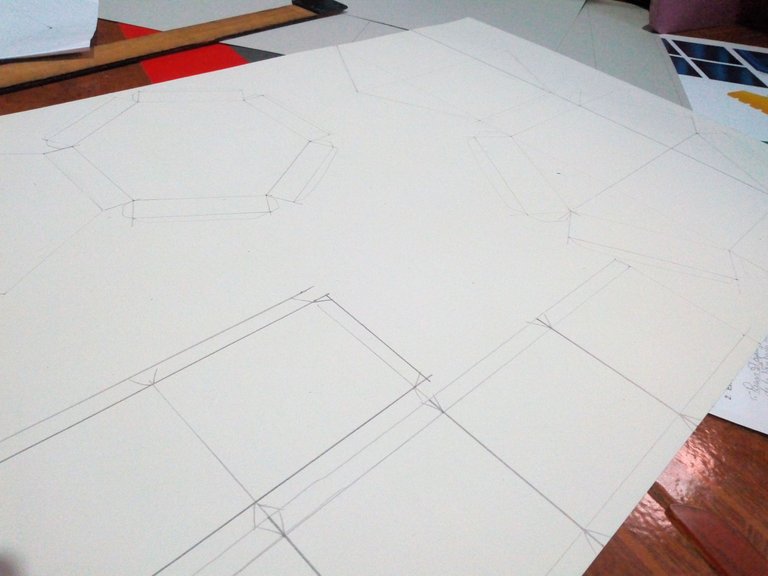
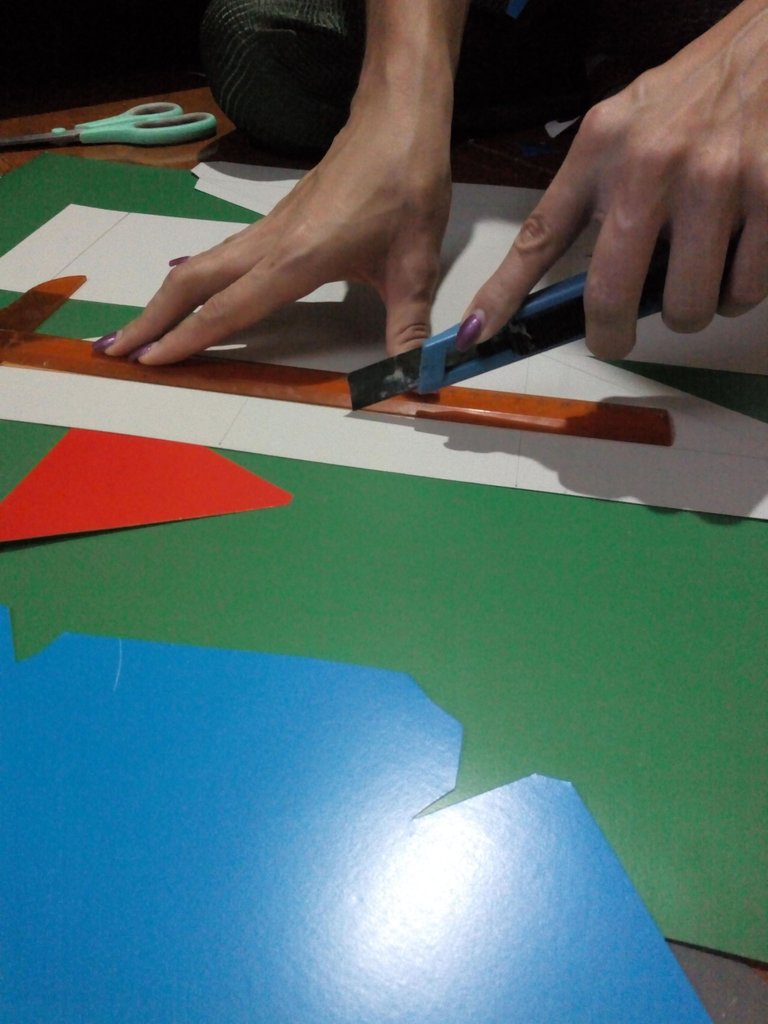
Paso 1: vamos a marcar todos los moldes en las cartulinas
Step 1: we are going to mark all the molds on the cards
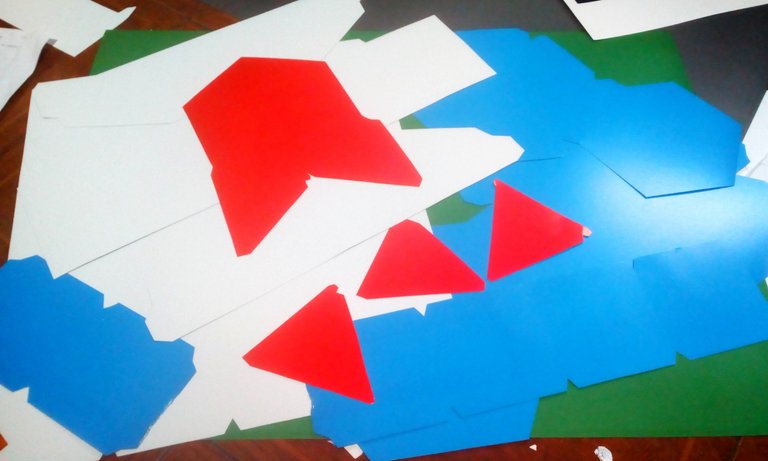
Paso 2: recortamos las piezas
Step 2: we cut out the pieces
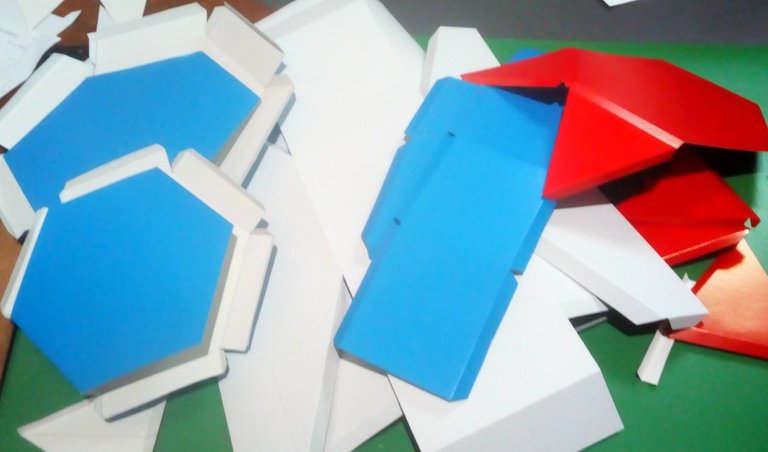
Paso 3: Hacemos los dobleces
Step 3: We make the folds
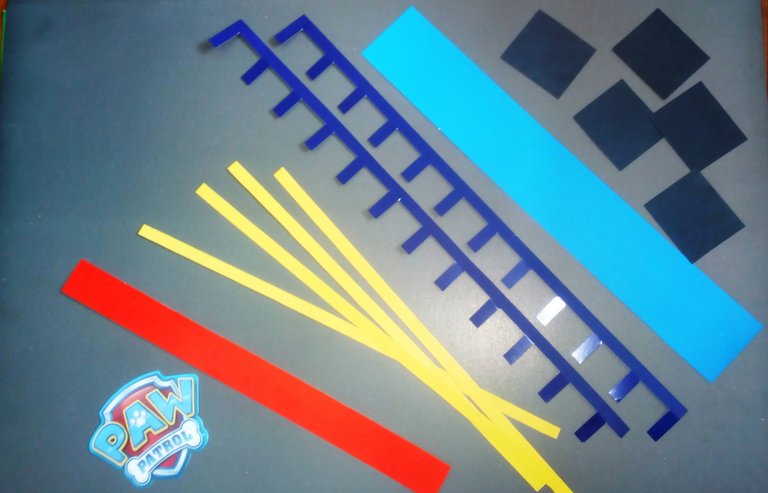
Paso 4: Recortamos las decoraciones y los detalles
Step 4: We cut out the decorations and details
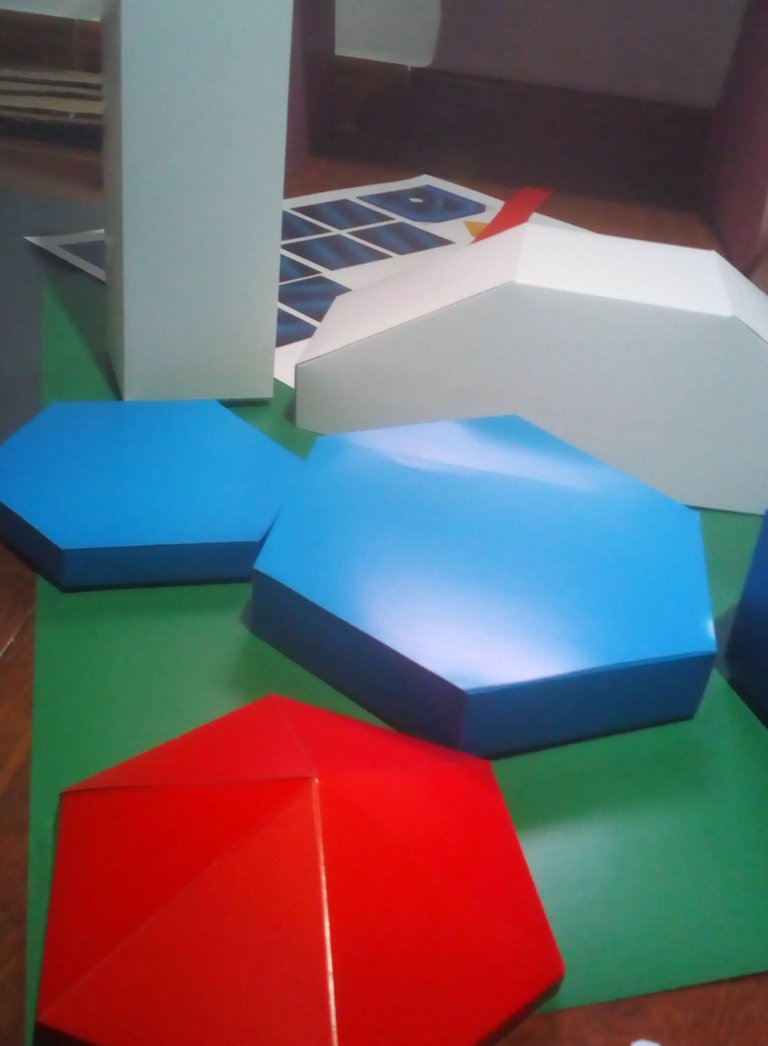
Paso 5: Comenzamos a pegar las partes en su lugar
Step 5: We begin to glue the parts in place
Paso 6: El tobogán, confieso que fue tan improvisado que olvide tomar las fotos del proceso, pero igualmente ya tienen el molde por acá para su elaboración.
Step 6: The slide, I confess that it was so improvised that I forgot to take the photos of the process, but they also already have the mold here for its elaboration.
Espero que les haya gustado, me comentan ¿que les pareció?
I hope you liked it, tell me what did you think?
Mis redes sociales:
Instagram manualidades
Instagram realcomicface
Instagram personal
Que hermosooooo me encantó. Está espectacular y un trabajo muy limpio.