.jpeg)

Español
Hola querida familia ❣️ A la hora de decorar nuestro entorno sobre todo nuestras paredes, es fundamental e importante elegir imágenes u objetos que más nos gusten, por eso, hoy les traigo un nuevo y divertido paso a paso en donde les mostrare como realizar un precioso cuadro donde veremos una chica tomándose una foto frente al espejo, hecho con foami y otros materiales fáciles de conseguir. Esta es una idea muy económica para decorar nuestras paredes. Así que, los invito a disfrutar de este divertido momento, ideal y perfecto para el desarrollo de la creatividad tanto de niños como adultos. Además es una idea perfecta para pasar un rato agradable con nuestros pequeños en casa e incentivarlos, ya que, pueden ir, de a poco, desarrollando su ingenio y acercándose un poco más al trabajo artístico.
English
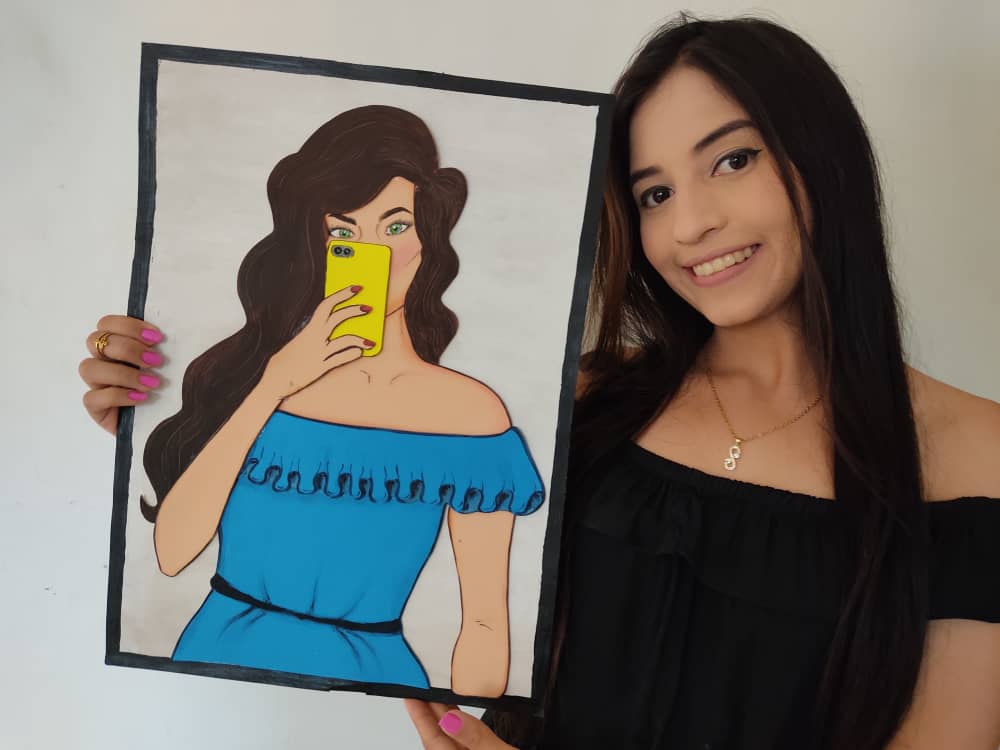
Hello beautiful family 💓 When it comes to decorating our environment, especially our walls, it is fundamental and important to choose images or objects that we like the most, so today I bring you a new and fun step by step where I will show you how to make a beautiful painting where we will see a girl taking a photo in front of the mirror, made with foamy and other easily available materials. This is a very economical idea to decorate our walls. So, I invite you to enjoy this fun moment, ideal, and perfect for the development of creativity for both children and adults. It is also a perfect idea to spend a pleasant time with our little ones at home and encourage them, since they can go, little by little, developing their ingenuity and getting a little closer to artistic work.
¿Qué están esperando?
Gracias a esta técnica podemos crear nuestro propio cuadro selfie, además, una hermosa obra hecha en casa es una manera creativa y muy económica de darle un toque de alegría a nuestro entorno. Antes de comenzar no olvidemos lavarnos nuestras manos.
What are they waiting for?
Thanks to this technique we can create our own selfie painting, in addition, a beautiful work made at home is a creative and very inexpensive way to give a touch of joy to our environment. Before we start, let's not forget to wash our hands.
[Materiales | Materials]
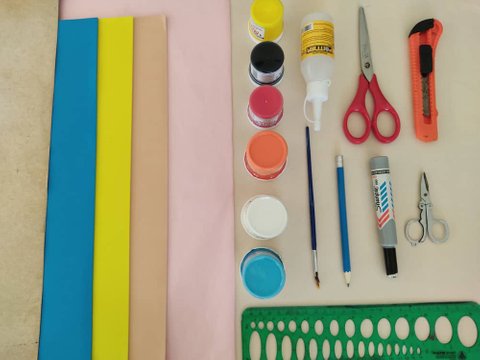
Para hacer este hermoso cuadro necesitaremos:
- Moldes.
- Foami o goma eva.
- Papel vegetal o calco.
- Lamina de cartón.
- Regla.
- Lápiz.
- Marcador.
- Tijera.
- Cúter.
- Pincel o brocha.
- Pinturas.
- Silicón liquido o pegamento.
To make this precious painting will need:
- Molds.
- Foamy or eva foam.
- Vegetable paper or tracing.
- Cardboard sheet.
- Rule.
- Pencil.
- Bookmark.
- Scissors.
- Cutter.
- Brush or brush.
- Paintings.
- Liquid silicone or glue.
Procedimiento (paso a paso)
Process (step by step)
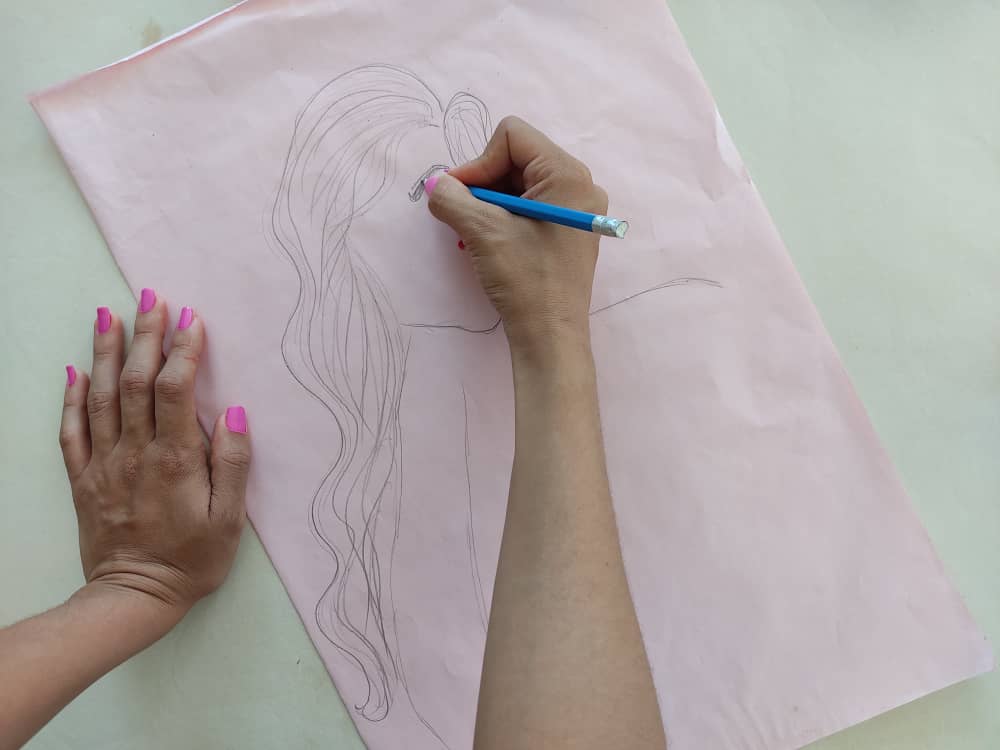
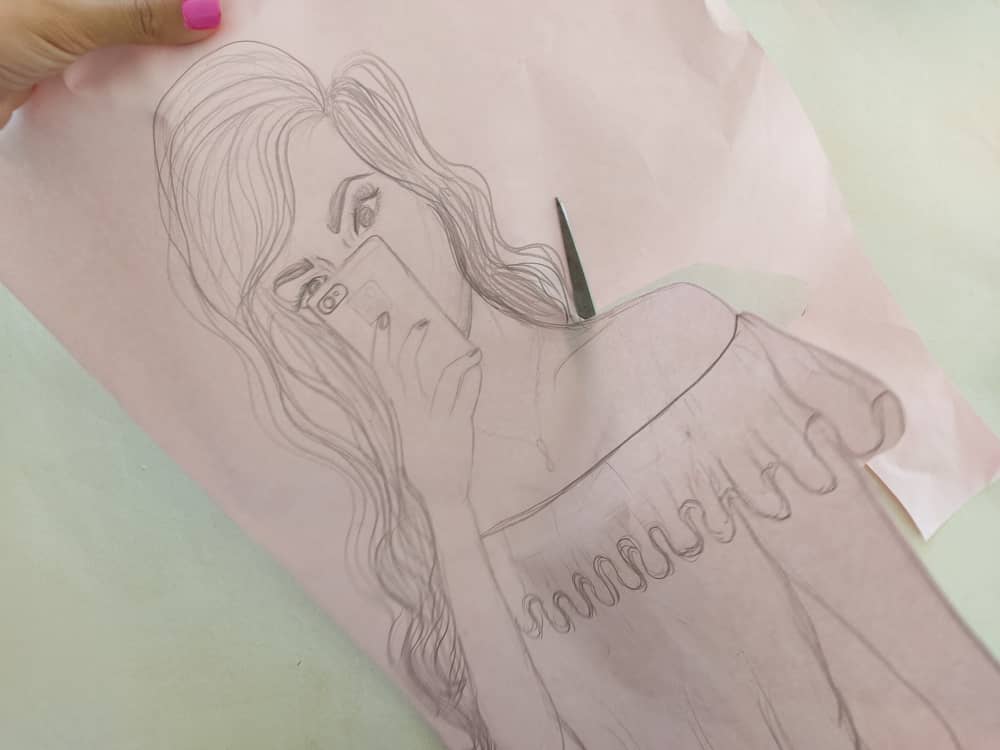
Primero, dibujamos a una linda chica de ojos grandes y cabello abundante sosteniendo su teléfono a la altura de su cara, sin tapar los ojos, luciendo un hermoso vestido que refleje su estilo en las redes sociales.
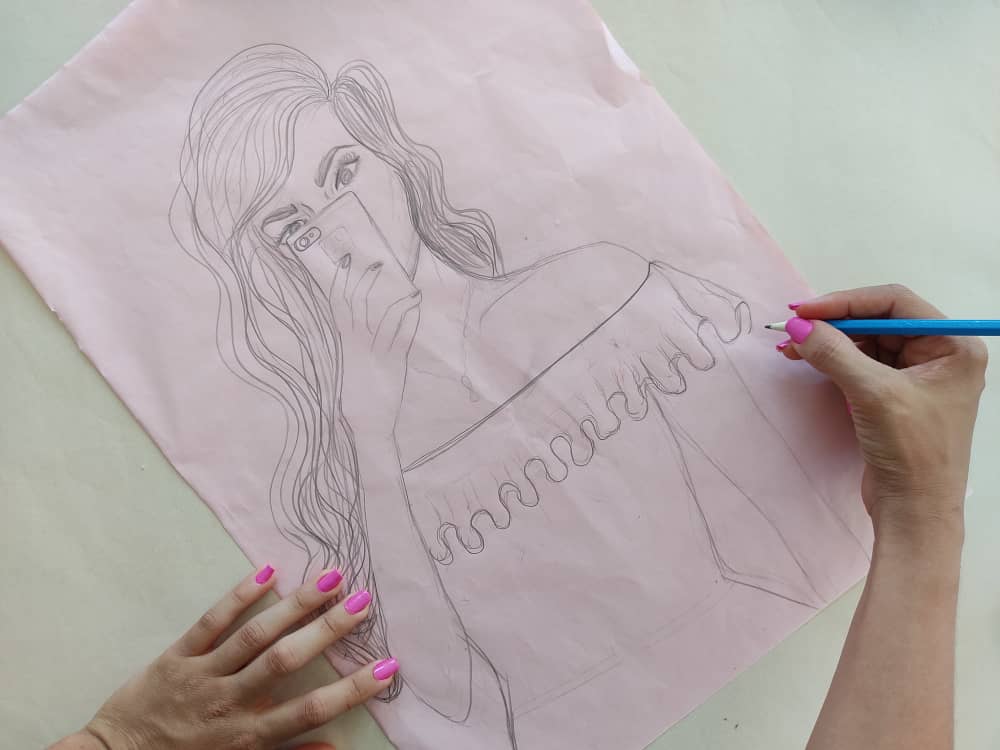
First, we draw a cute girl with big eyes and thick hair holding her phone at face level, without covering her eyes, wearing a beautiful dress that reflects her style on social media.
Seguidamente, recortamos con mucho cuidado las piezas separando su cabello, cara, cuello, brazos, teléfono y vestido.
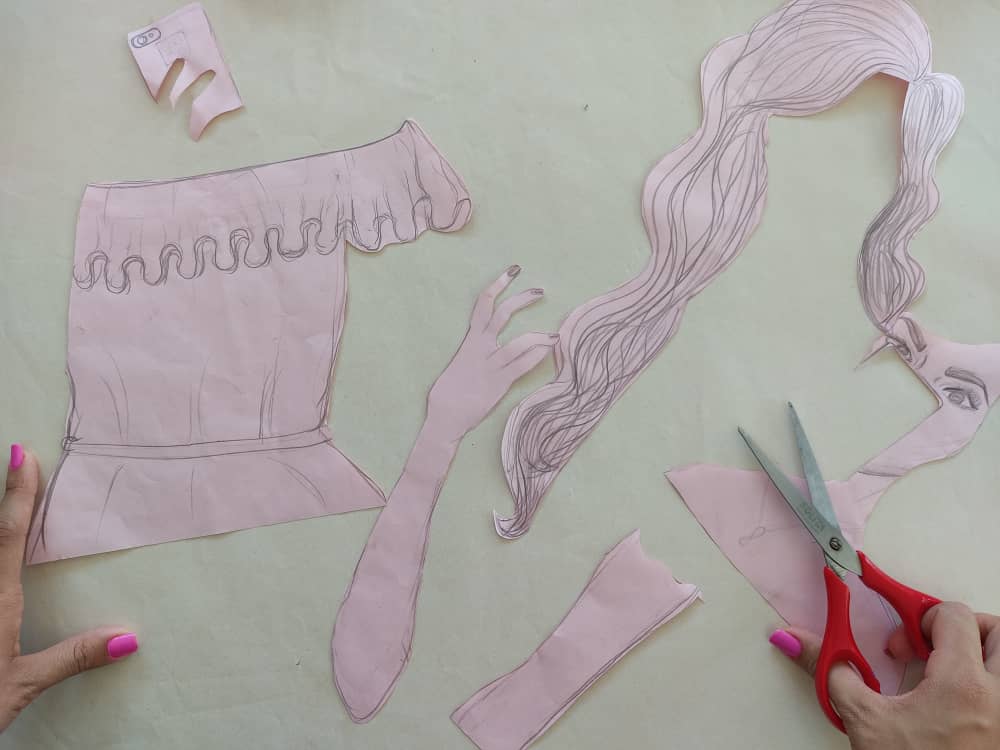
Next, we carefully cut the pieces, separating her hair, face, neck, arms, phone, and dress.
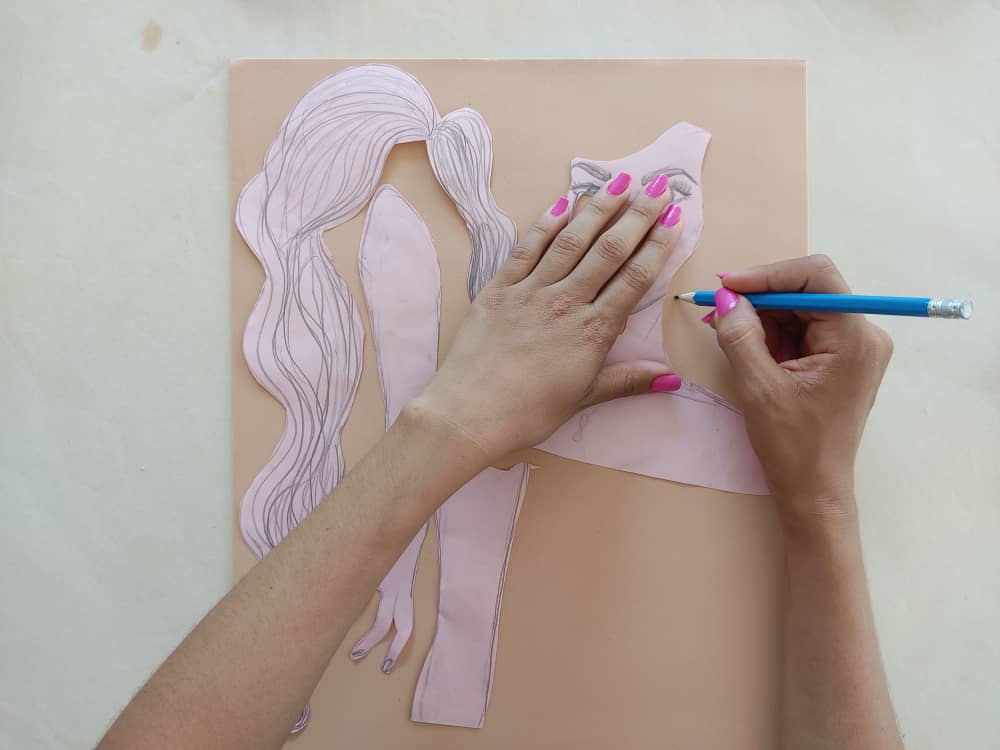
Ahora, transferimos las partes obtenidas al foami en los colores que deseemos, y recortamos con mucho cuidado para mantener sus medidas intactas y no alterar su linda forma.
Now, we transfer the parts obtained to the foamy in the colors we want, and we cut very carefully to keep their measurements intact and not alter their beautiful shape.
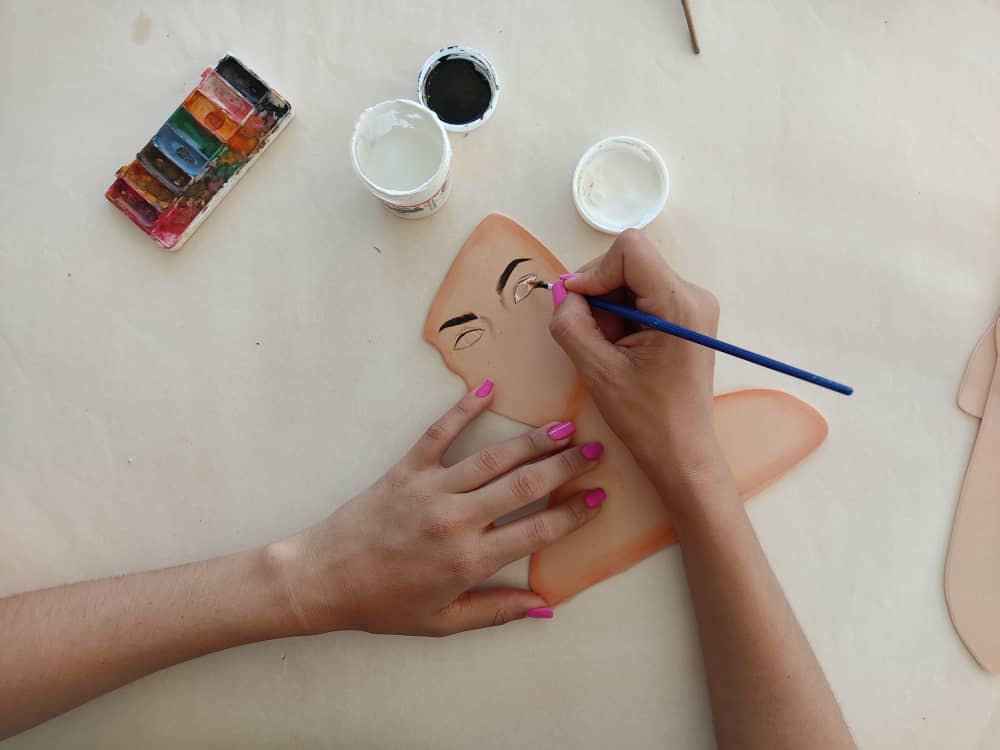
Luego de tener todos las partes de esta linda chica, comenzamos a darle vida y color a la cara, y el cuello, definiendo cada rasgo con mucho amor para que todo quede perfecto. Sin olvidar remarcar los bordes con un marcador punta fina negro para que realce la belleza de esta chica.

After having all the parts of this cute girl, we began to give life and color to the face and neck, defining each feature with a lot of love so that everything is perfect. Not forgetting to highlight the edges with a black fine point marker to enhance the beauty of this girl.
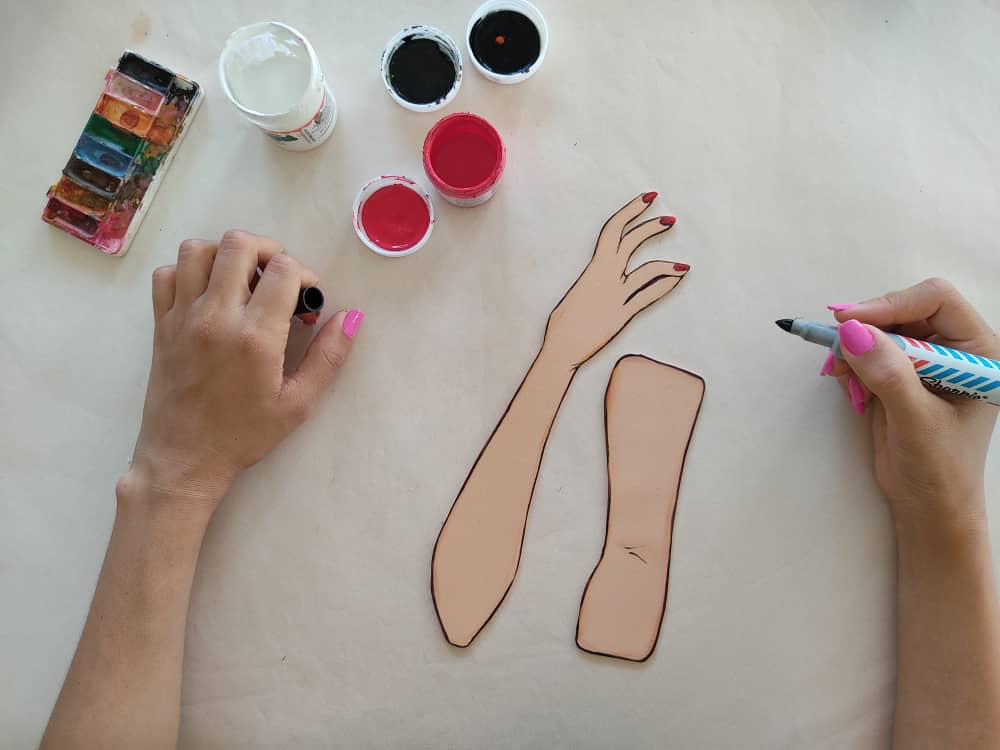
Seguidamente pintamos y definimos, los brazos, y el cabello con tonos marrones, oscuros y claro, igualmente podemos seleccionar el color que más nos guste para el cabello.
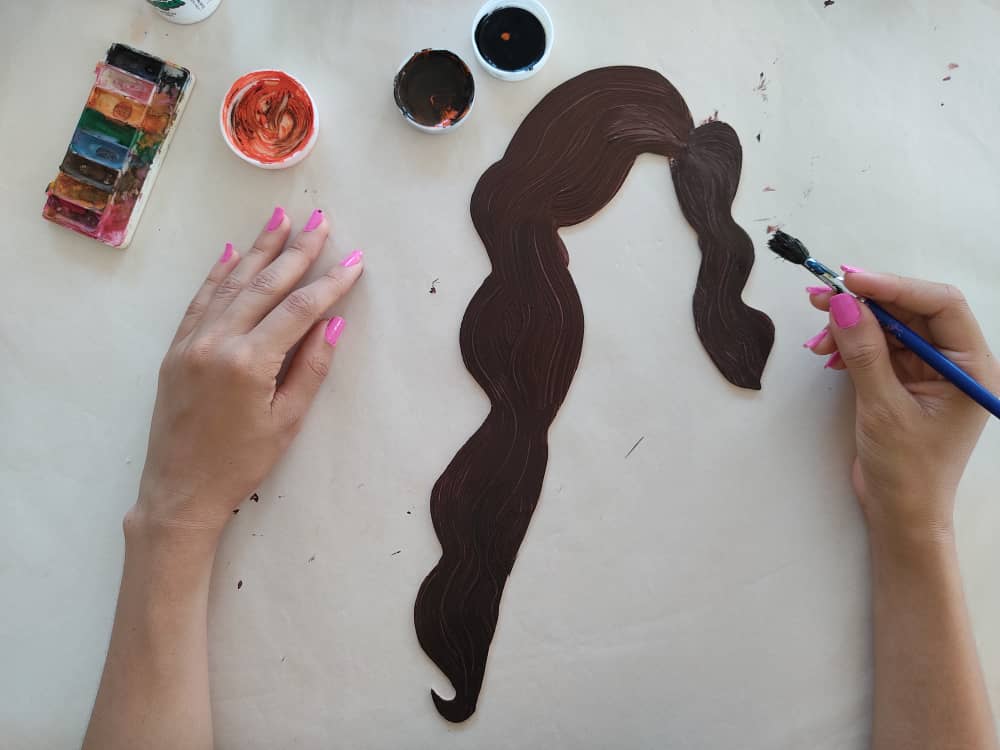
Then we paint and define the arms, and the hair with brown, dark, and light tones, we can also select the color that we like the most for the hair.
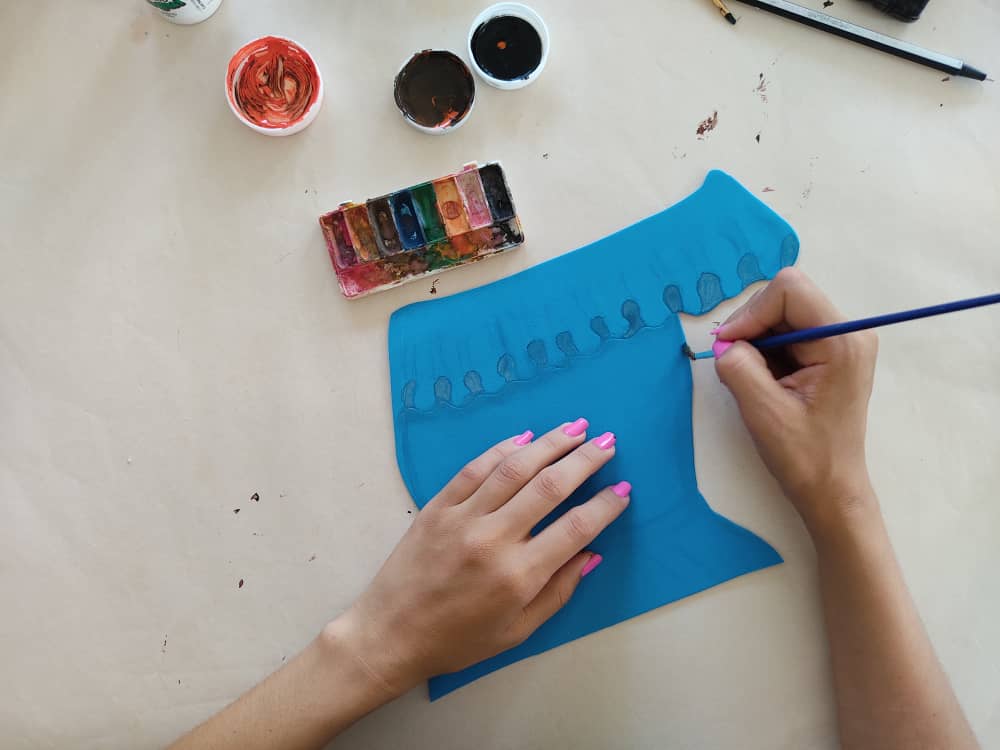
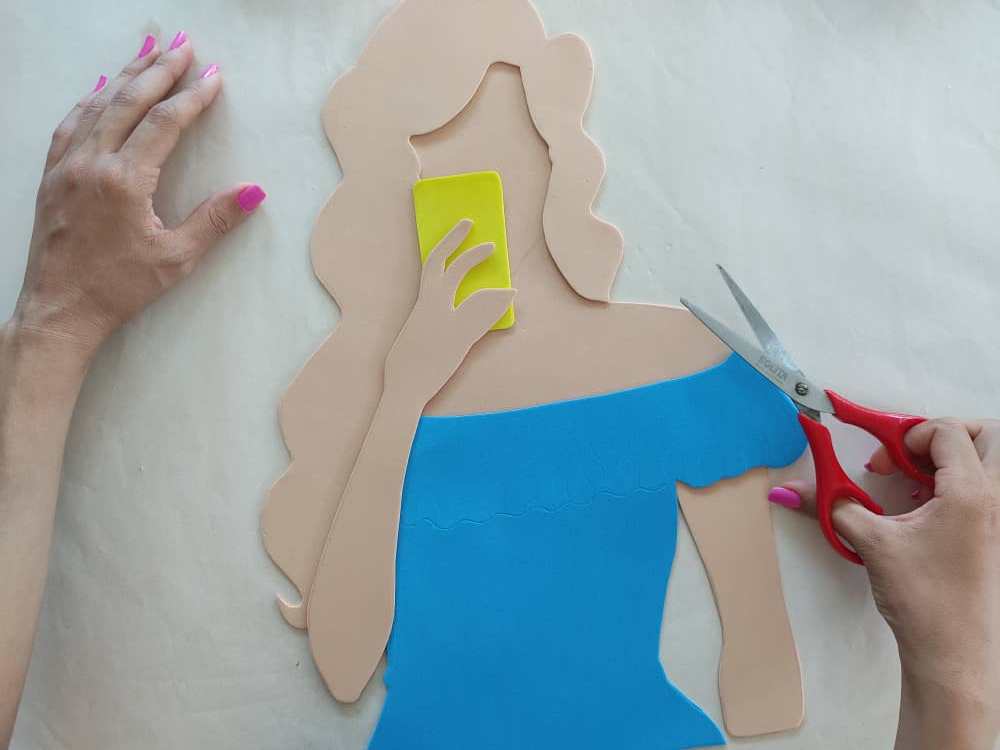
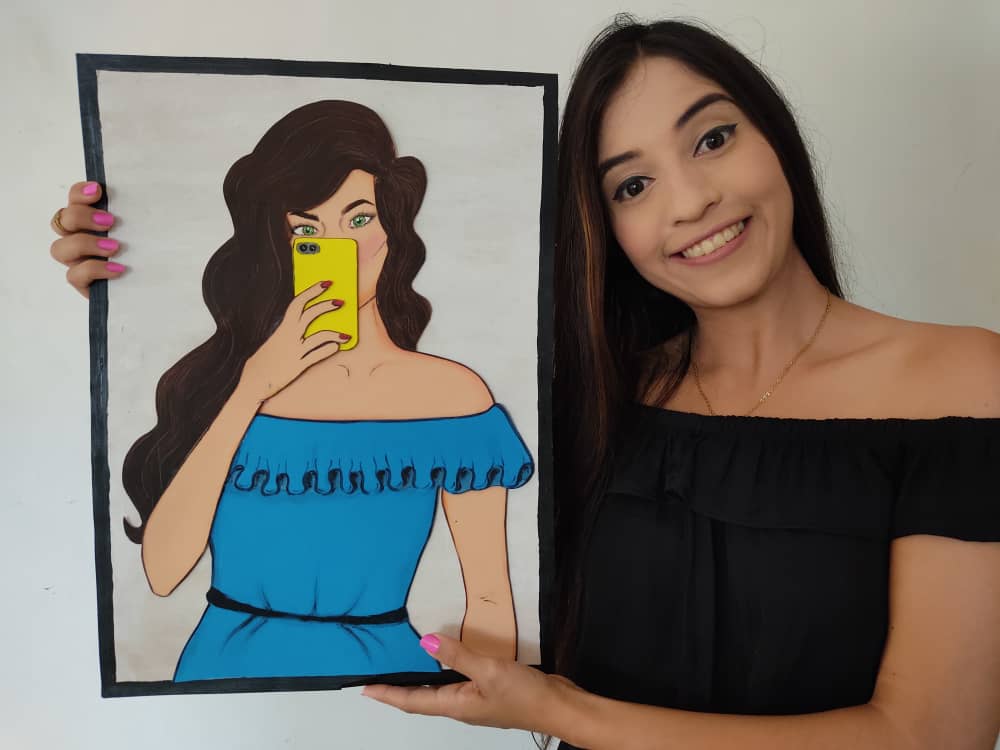
Ahora, pintamos el hermoso vestido que llevará puesto la chica, será un lindo vestido azul rey, estilo hombros al aire, solo sombreamos un poco las curvas de la tela y listo.
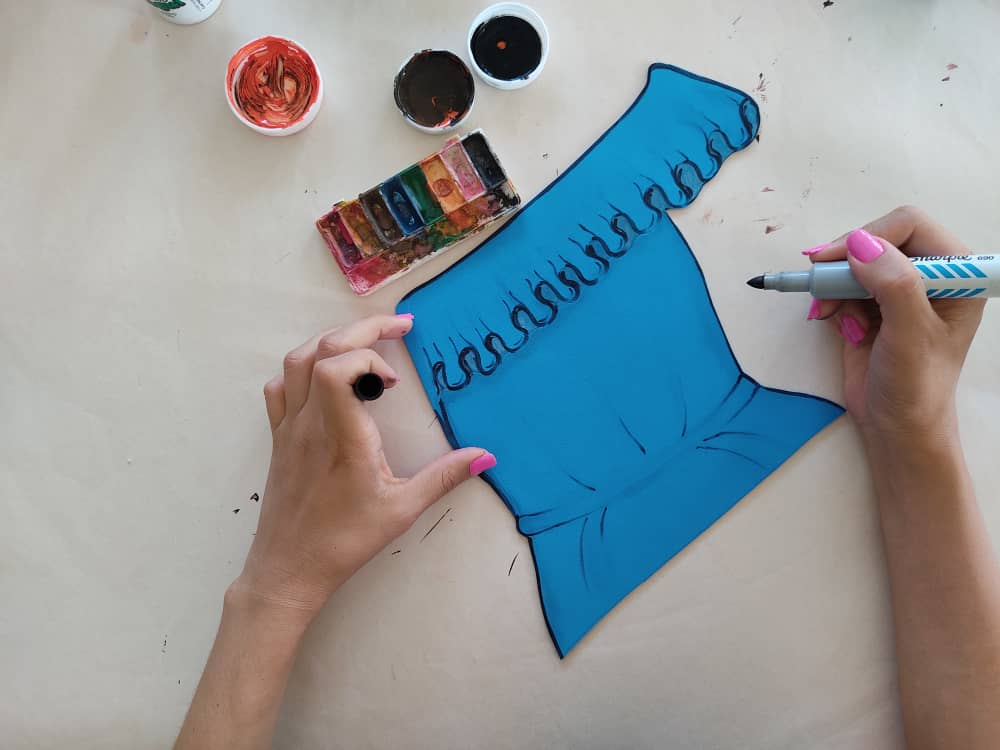
Now, we paint the beautiful dress that the girl will be wearing, it will be a nice royal blue dress, bare shoulders style, we just shade the curves of the fabric a little and that's it.
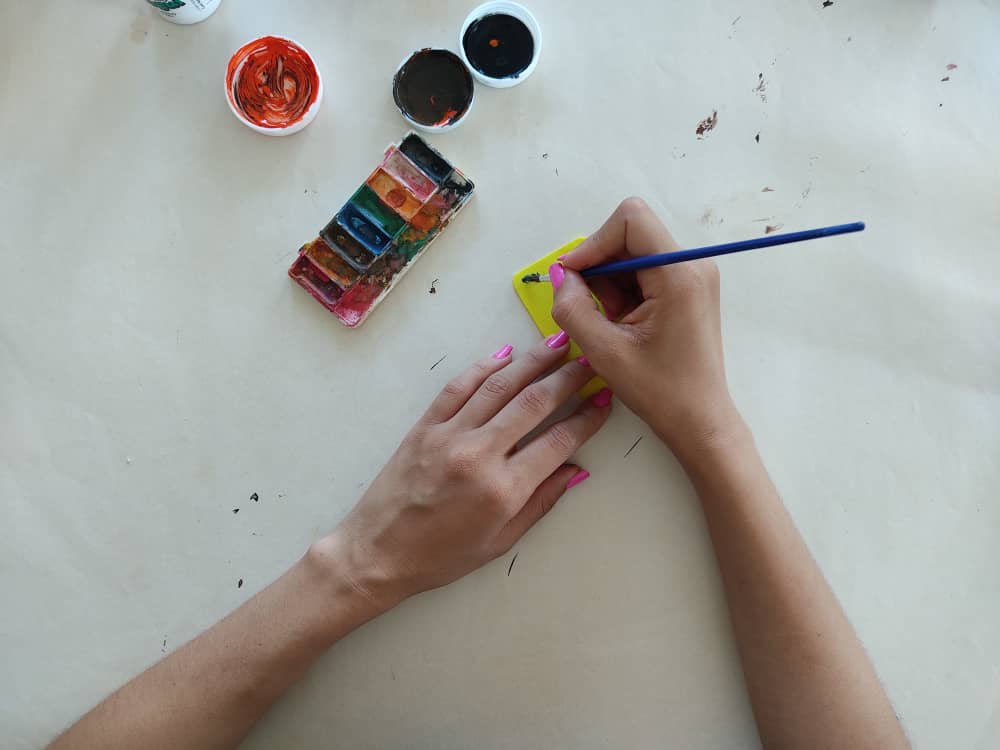
Luego, definimos las cámaras traseras del teléfono de la chica con una funda de color amarillo.
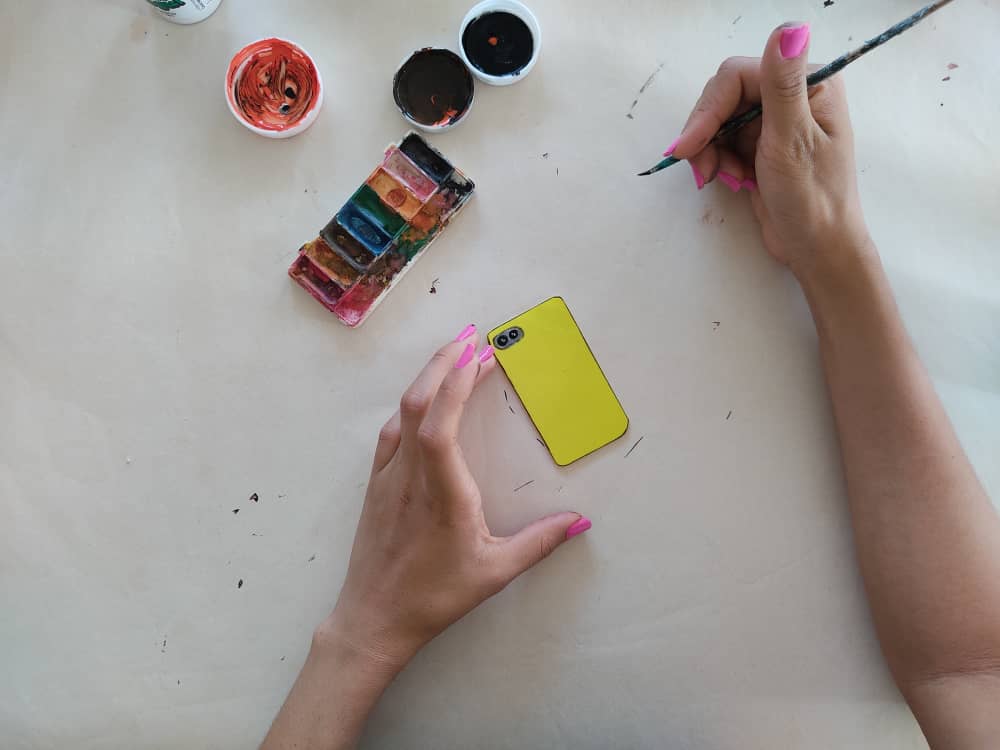
Then we define the rear cameras of the girl's phone with a yellow case.
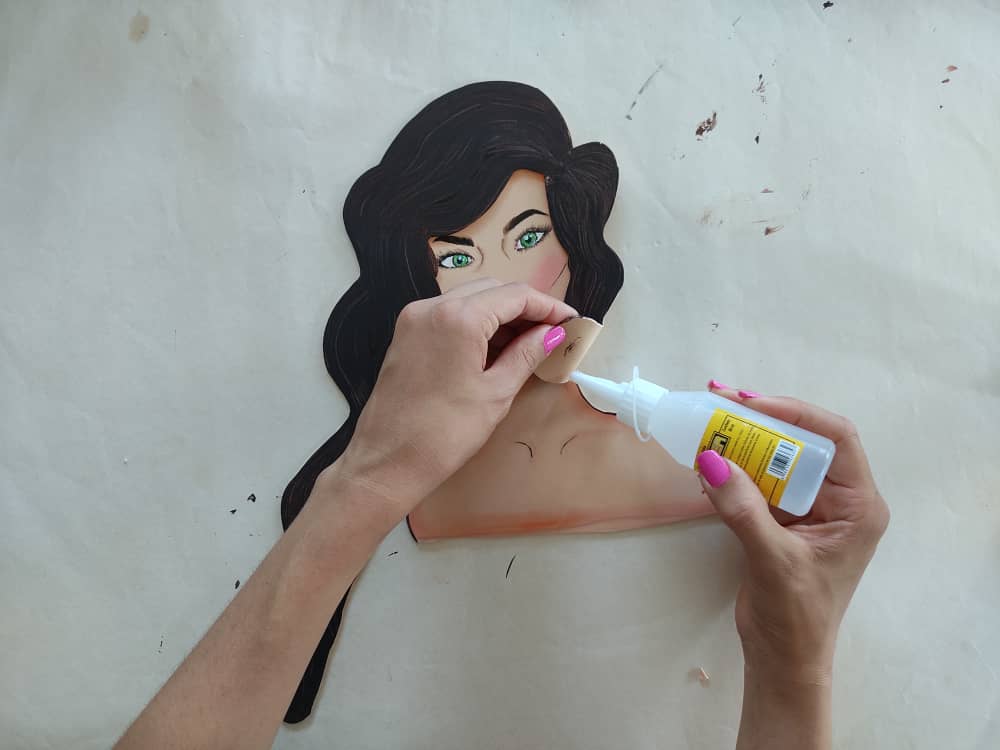
Una vez tengamos todas las partes pintadas y listas, unimos o armamos, pegando el cabello, su cara y cuello, y luego el resto. Debemos asegurarnos de que todo quede en su lugar, y bien pegado.
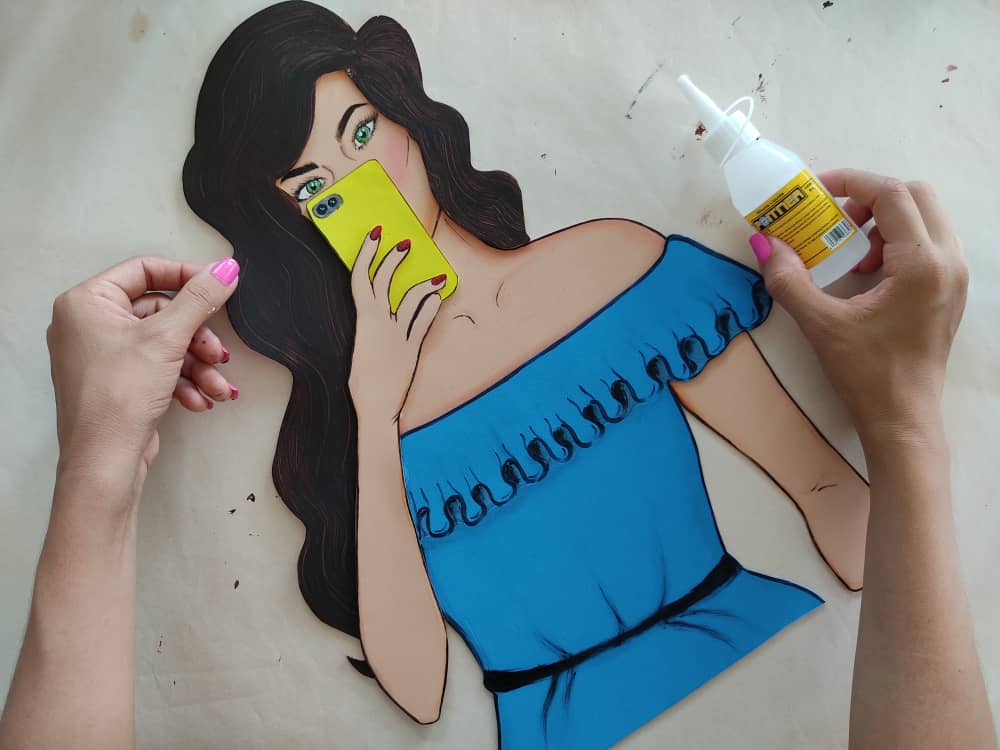
Once we have all the parts painted and ready, we join or assemble, gluing the hair, her face and neck, and then the rest. We must make sure that everything is in place, and well glued.
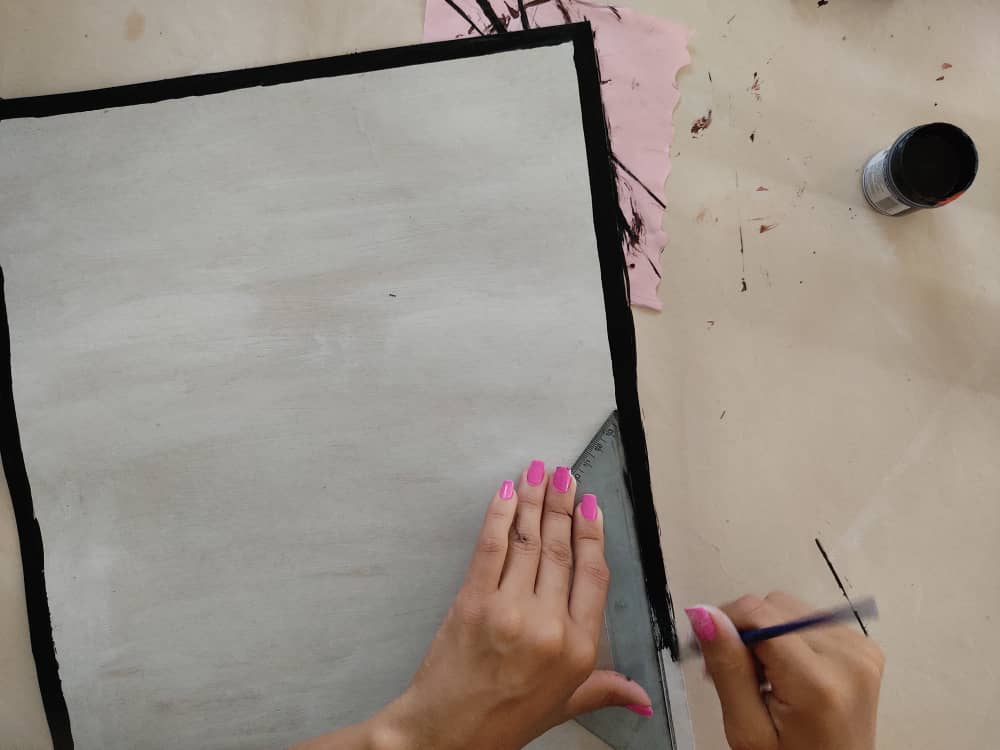
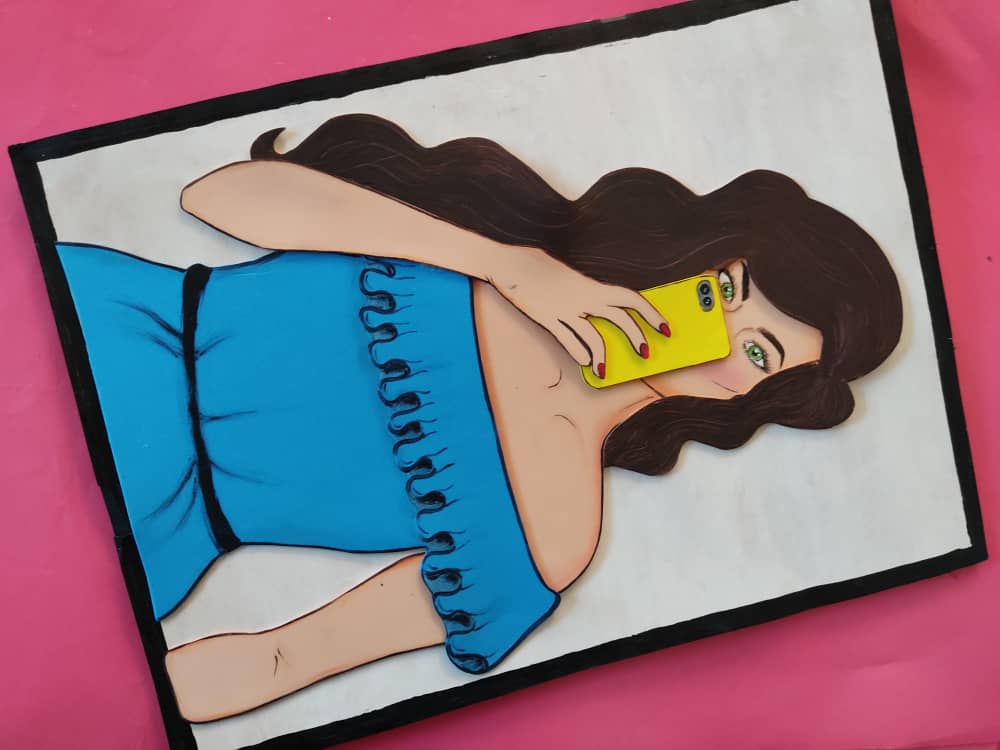
Ahora, fabricamos una base de cartón para nuestro lindo cuadro con un lindo color, en este caso opte por pintarlo de color blanco ostra, muy sutil, y por hacer una especie de marco pintado de negro, les recomiendo utilizar la regla para que el marco se vea recto.
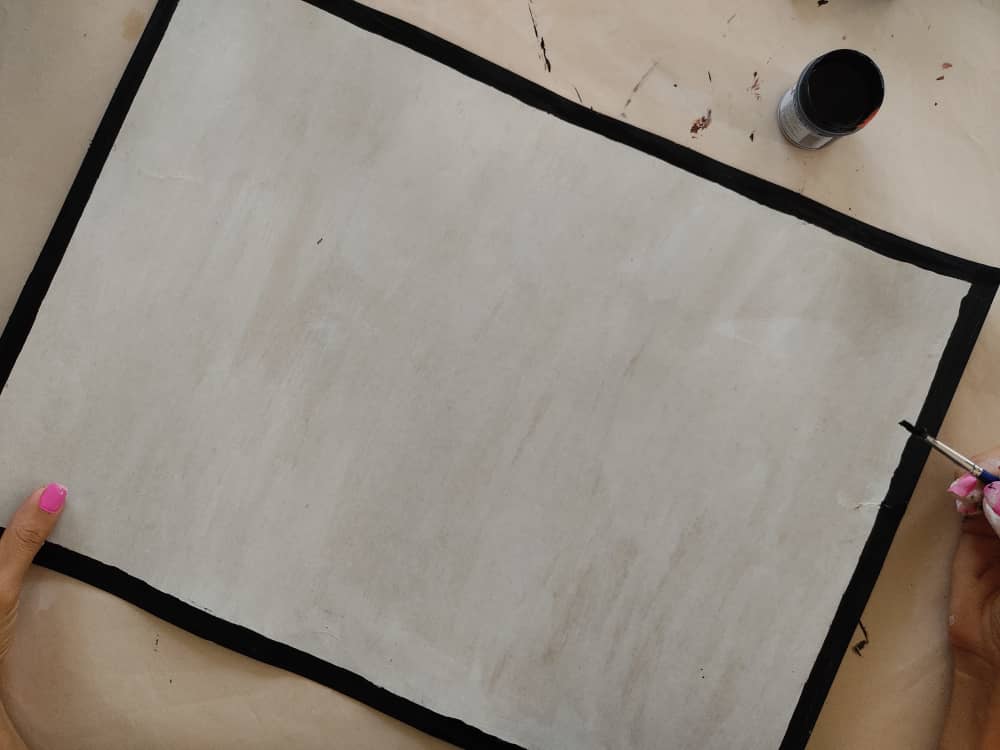
Now, we make a cardboard base for our beautiful painting with a beautiful color, in this case, I chose to paint it in oyster white, very subtle, and to make a kind of black painted frame, I recommend using the ruler so that the frame looks straight.
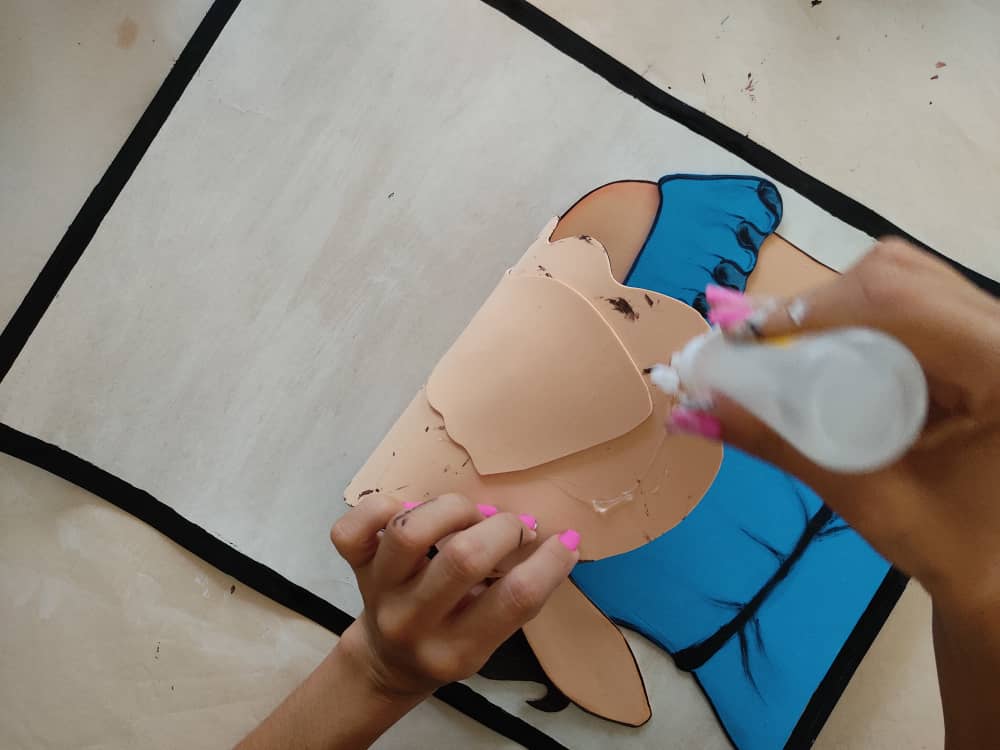
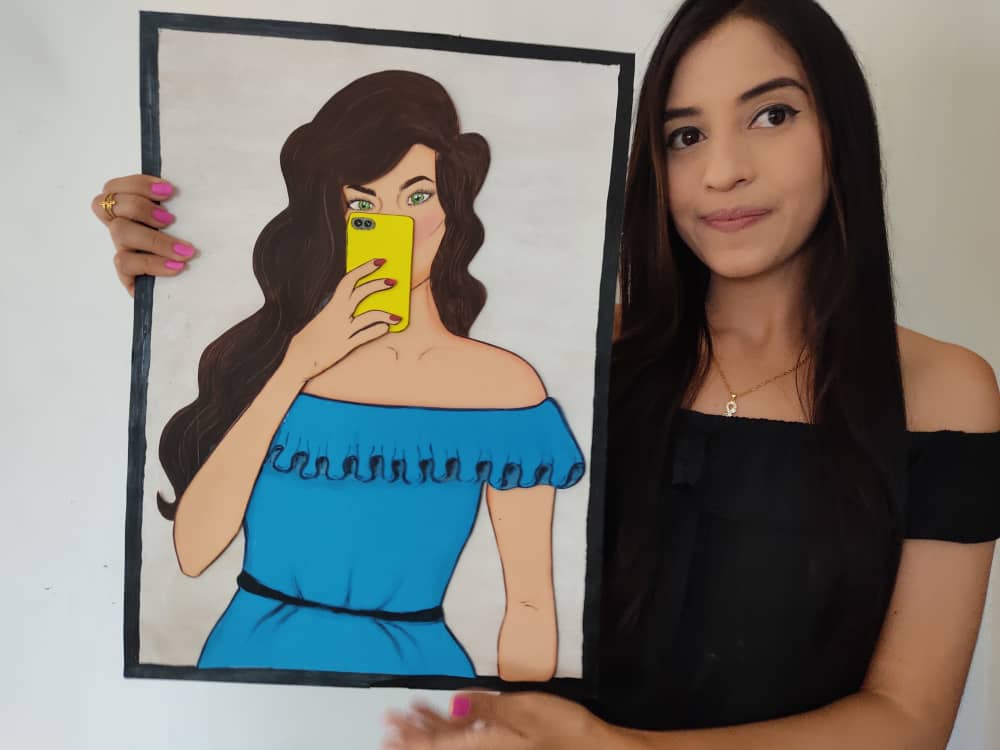
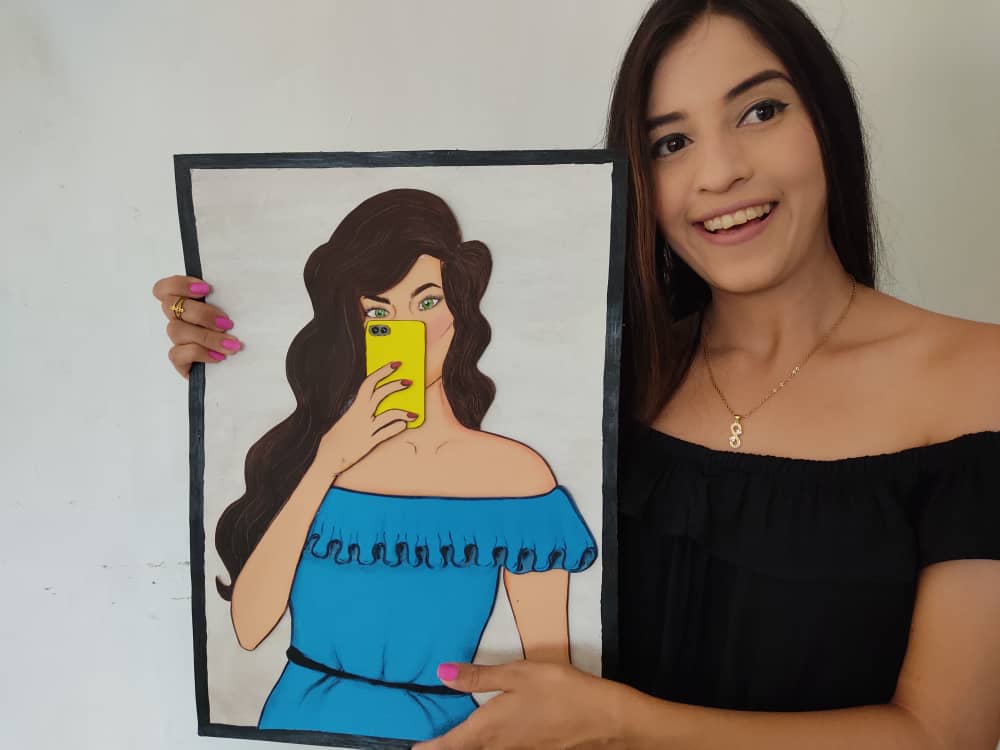
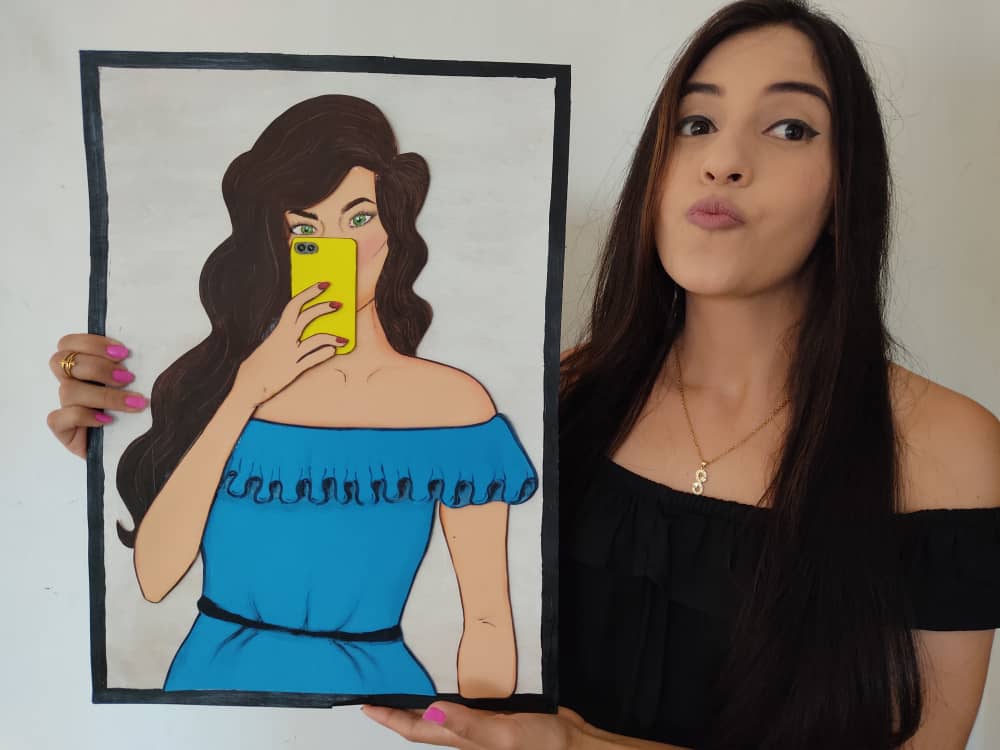
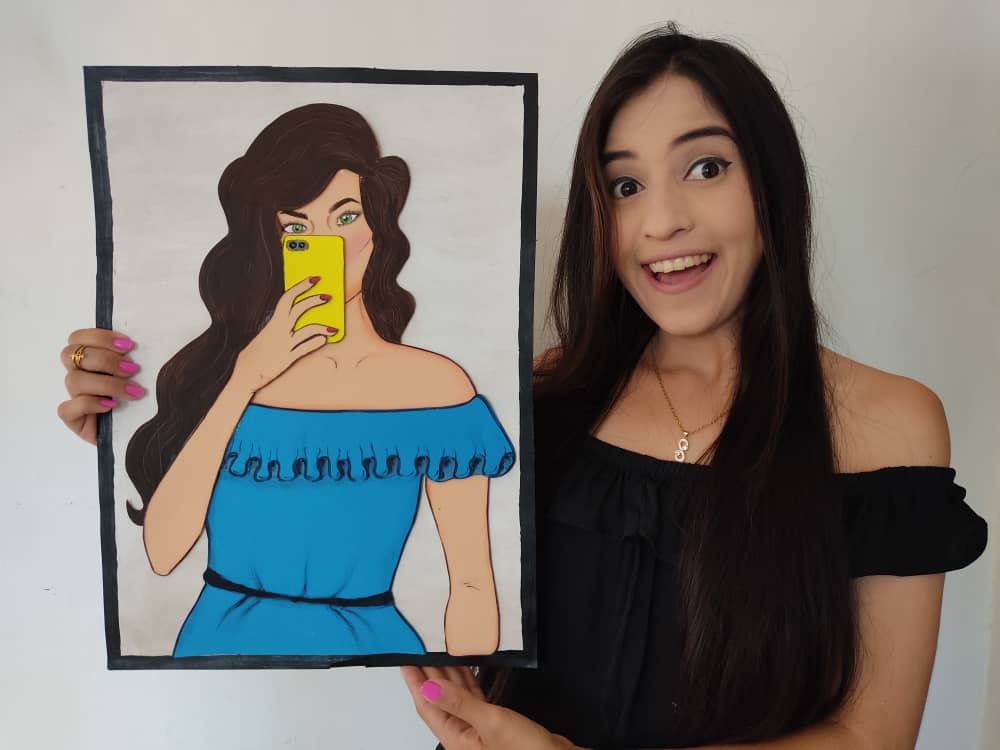
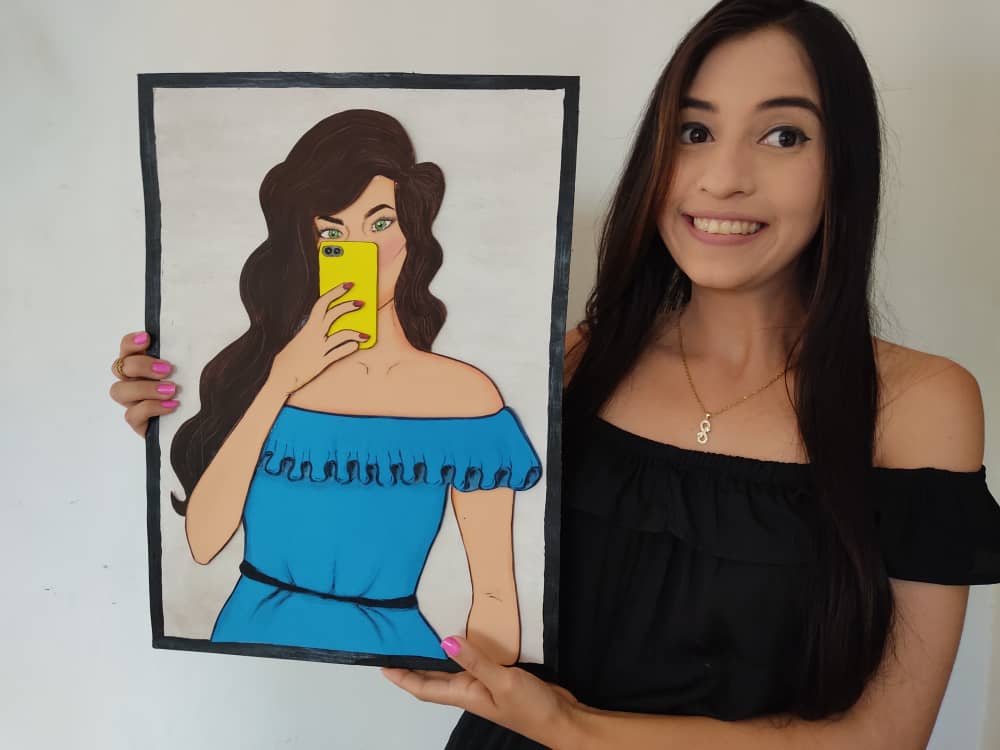
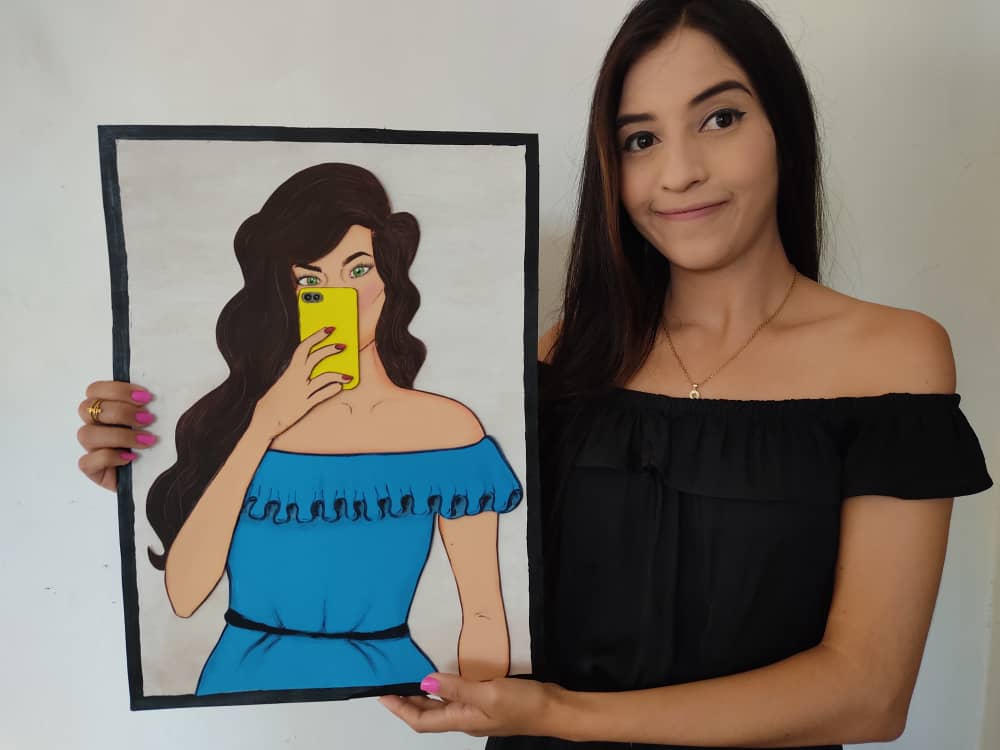
Finalmente, pegamos nuestra chica sobre la base, asegurándonos que quede muy bien pegada y ubicada.
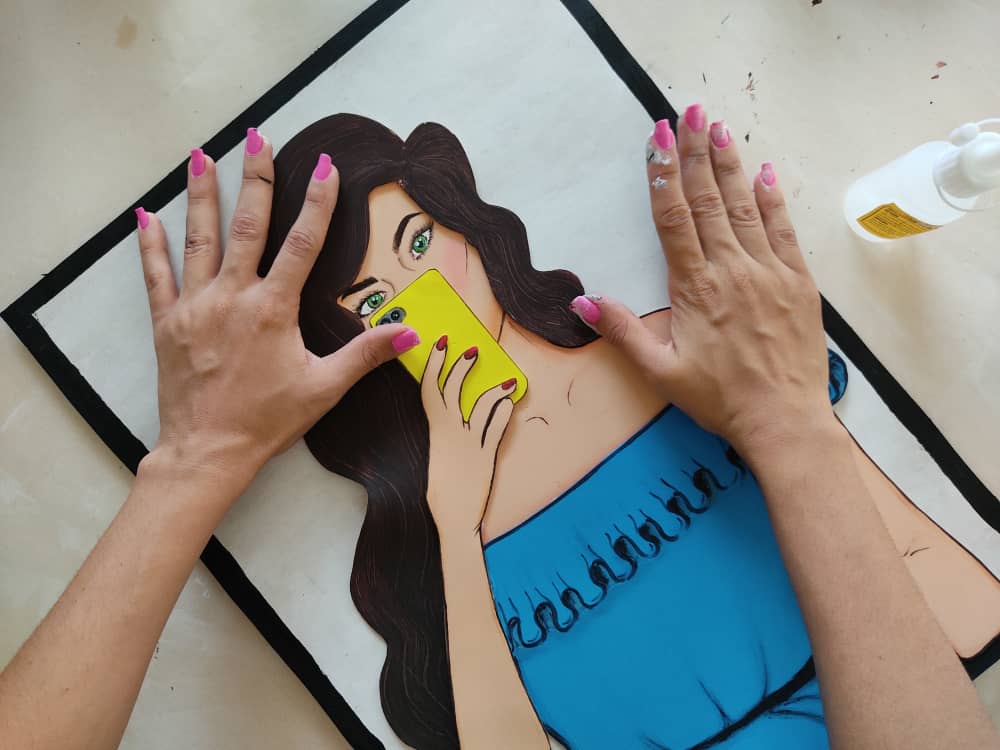
Finally, we glue our girl on the base, making sure that it is very well glued and located.
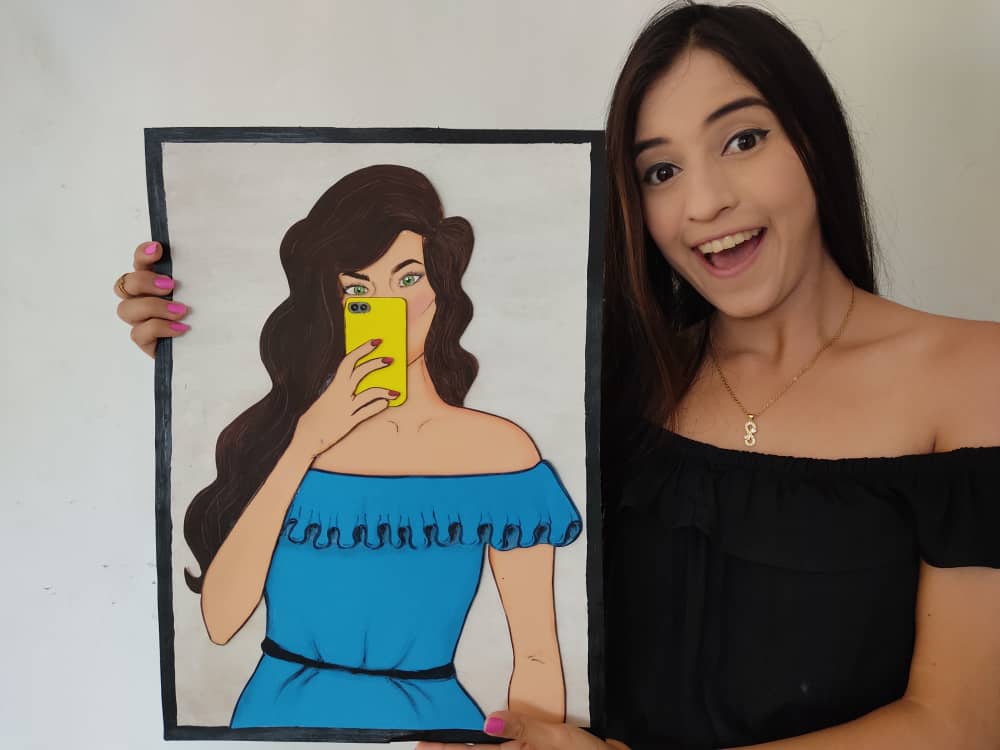
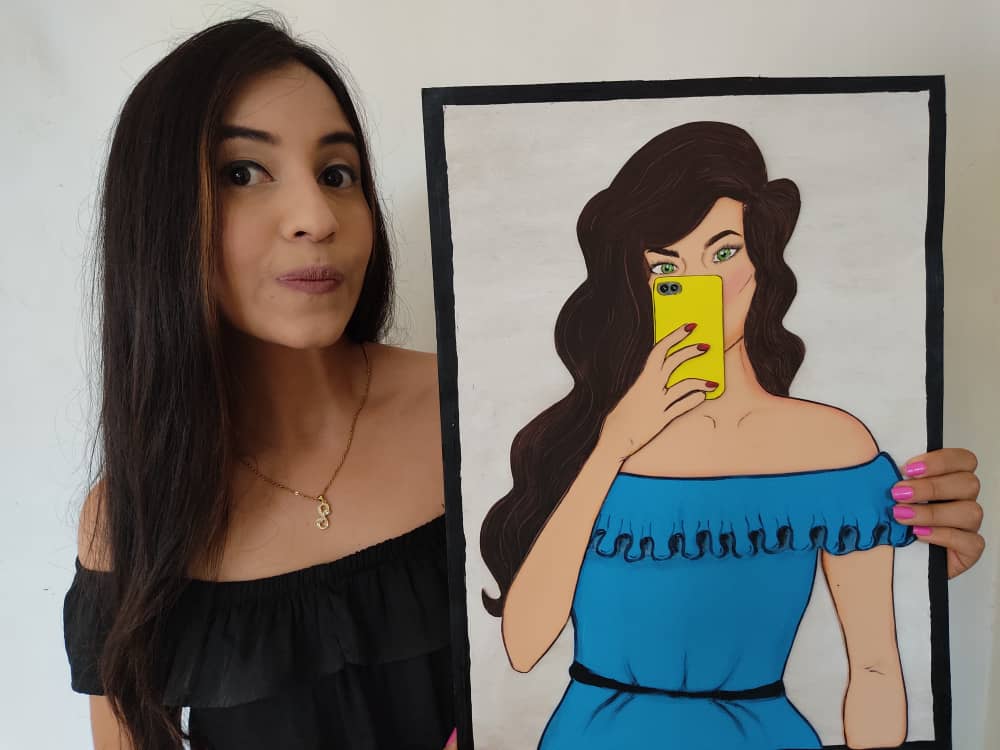
Gracias por acompañarme y espero que lo hayan disfrutado. ❤️
Thanks for joining and I hope you enjoyed it.❤️
.jpeg)
.jpeg)
.jpeg)
.jpeg)
.jpeg)
.jpeg)
.jpeg)
.jpeg)
.jpeg)
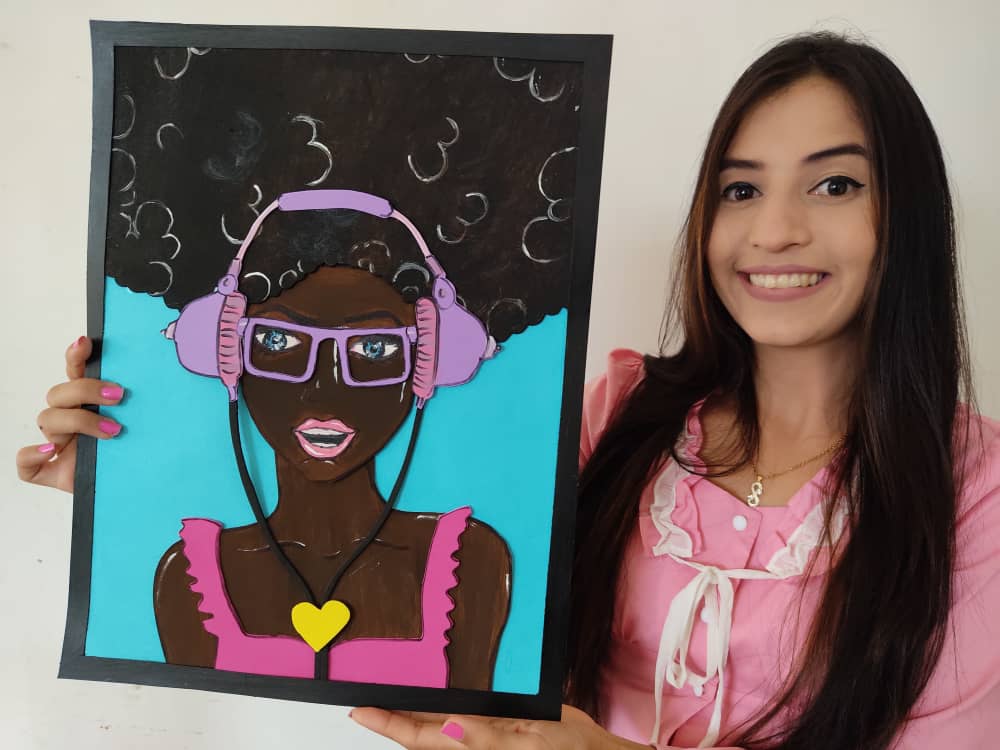
Clic para ver trabajos anteriores | Click to see previous works


me encanto tu cuadro quedo genial amiga