.jpeg)

Español
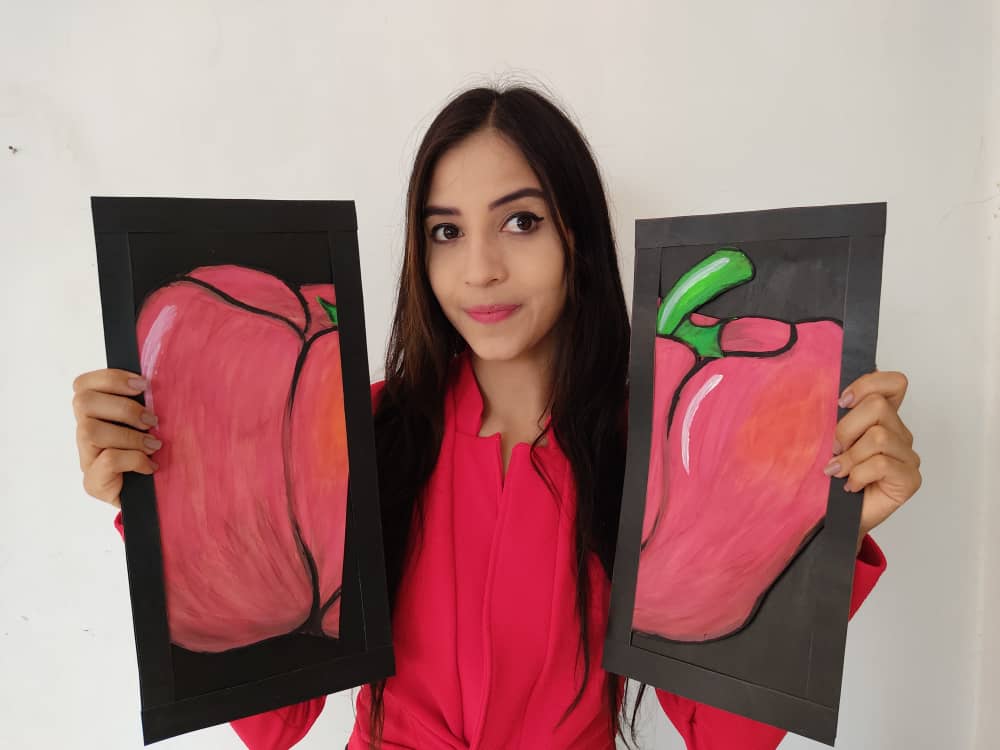
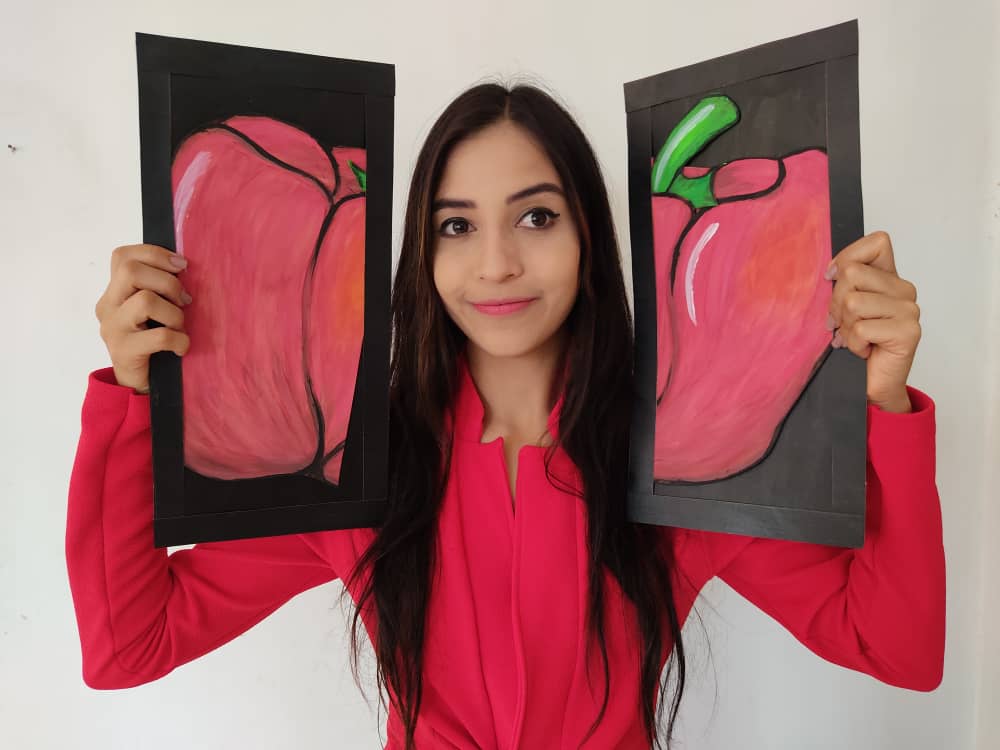
Hola querido amigos ❣️ Este lindo día traigo para ustedes un nuevo y divertido paso a paso, donde les mostrare como hacer un hermoso cuadro dividido en dos, pues este tipo de cuadros es muy moderno y le darán un toque muy elegante a nuestras paredes, además es muy fácil de hacer y está hecho de materiales súper económicos, así que, no se pierdan la elaboración de este hermoso cuadro, y recuerden que si van a intentarlo pueden agregar los detalles que deseen para que sus obras sean muy auténticas.
English
Hello dear friends 💓 This nice day I bring for you a new and fun step by step, where I will show you how to make a beautiful painting divided into two because this type of paintings is very modern and will give a very elegant touch to our walls, it is also very easy to make and it is made of super cheap materials, so, do not miss the elaboration of this beautiful painting, and remember that if you are going to try you can add the details you want so that your works are very authentic.
¿Qué están esperando?
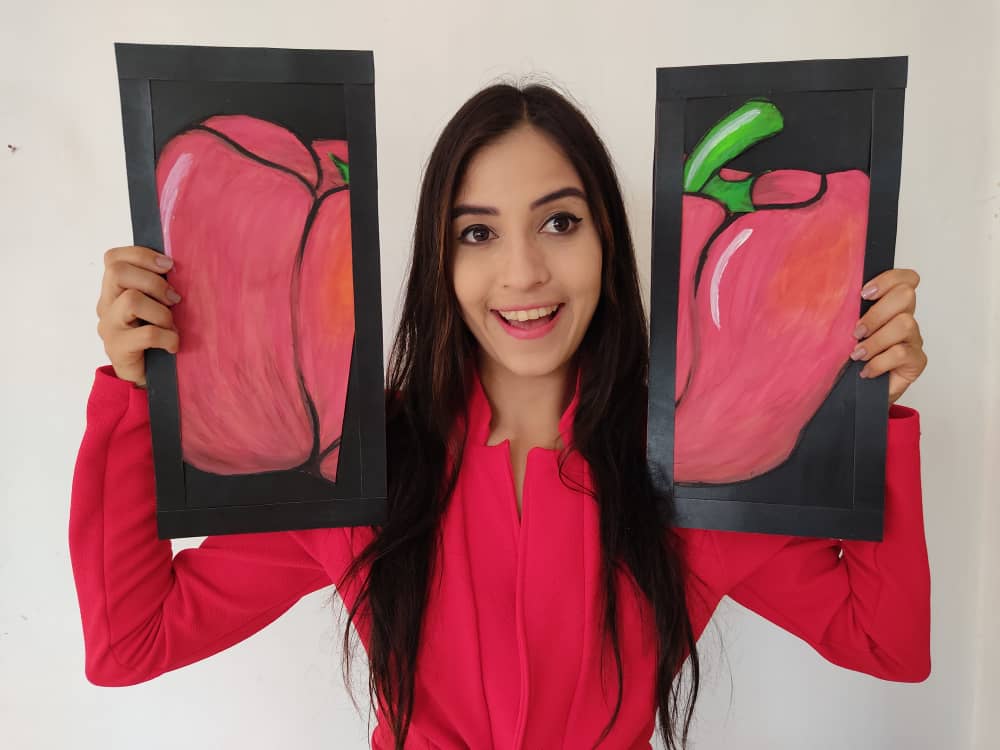
Gracias a esta técnica podemos crear nuestro propio cuadro de pimenton dividido, además, una hermosa obra hecha en casa, es una manera creativa y muy económica de darle un toque de alegría a nuestro entorno. Antes de comenzar no olvidemos lavarnos nuestras manos.
What are they waiting for?
Thanks to this technique we can create our own divided paprika painting, in addition, a beautiful work made at home, it is a creative and very economical way to give a touch of joy to our environment. Before we start, let's not forget to wash our hands.
[Materiales | Materials]
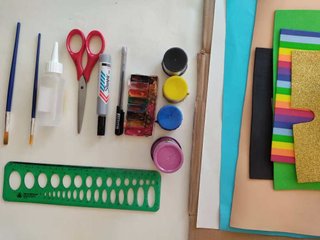
Para hacer este hermoso cuadro necesitaremos:
- Moldes.
- Foami o goma eva.
- Papel vegetal o calco.
- Lápiz.
- Tijera.
- Cartón.
- Pincel o brocha.
- Pinturas.
- Cúter.
- Pegamento o silicón liquido.
To make this beautiful painting will need:
- Molds.
- Foamy or EVA foam.
- Vegetable paper or tracing.
- Pencil.
- Scissors.
- Cardboard.
- Brush or brush.
- Paintings.
- Cutter.
- Glue or liquid silicone.
Procedimiento (paso a paso)
Process (step by step)
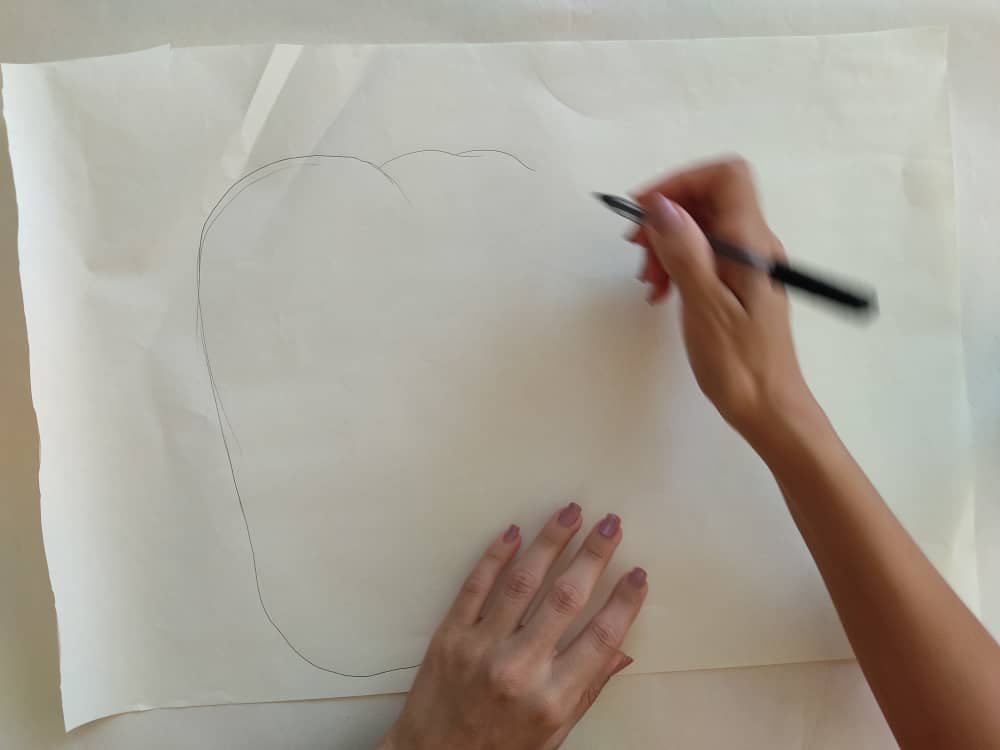
Primero, dibujamos un lindo pimentón en una lámina de papel vegetal o de calco, o cualquier otro papel de dibujo que encontremos. Para este paso podemos utilizar un lápiz común de grafito o cualquier otro con el que se sientan más cómodos.
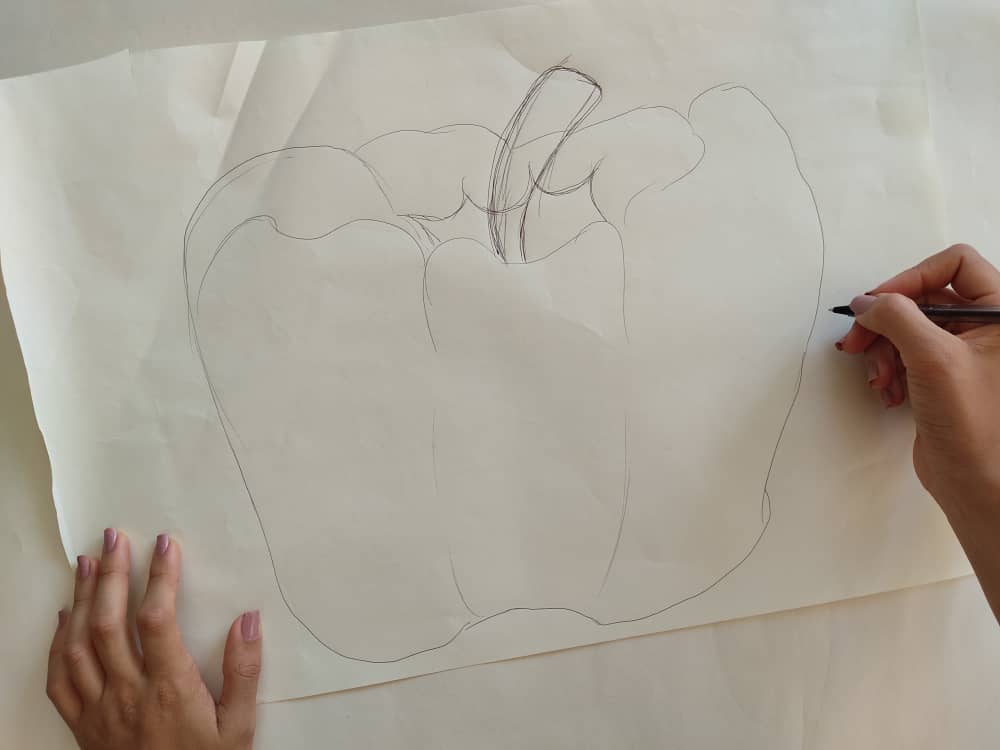
First, we draw nice paprika on a sheet of tracing paper or tracing paper, or any other drawing paper we find. For this step, we can use a common graphite pencil or any other with which they feel more comfortable.
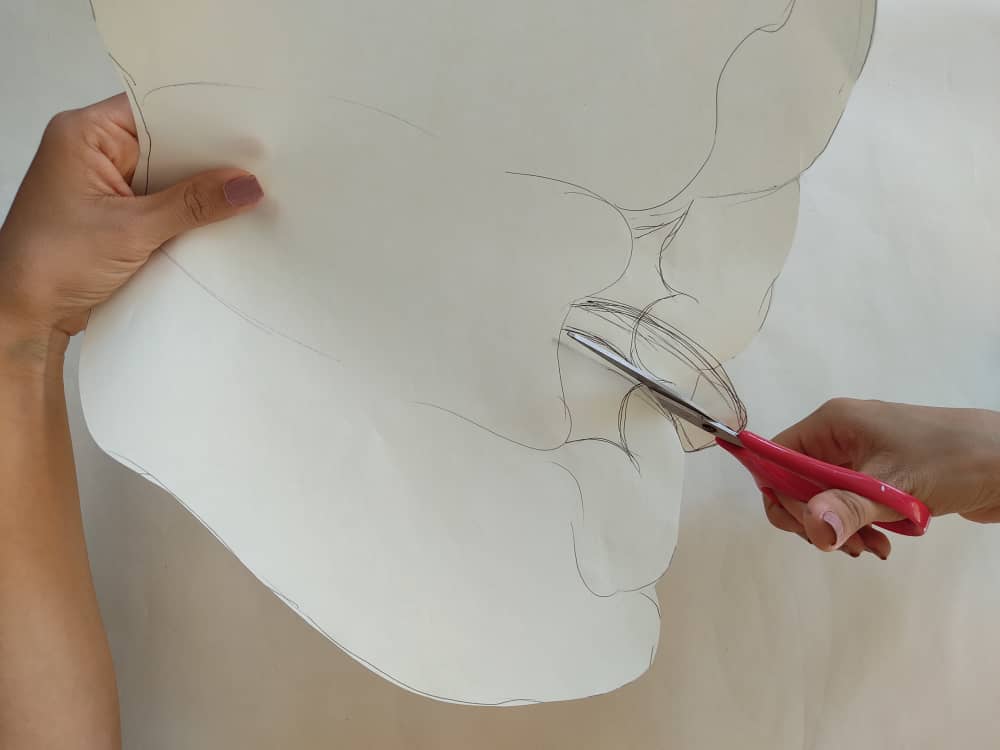
Seguidamente, recortamos con mucho cuidado el pimentón que hemos diseñado, para conservar las medidas trazadas, separando el tallo de la figura.
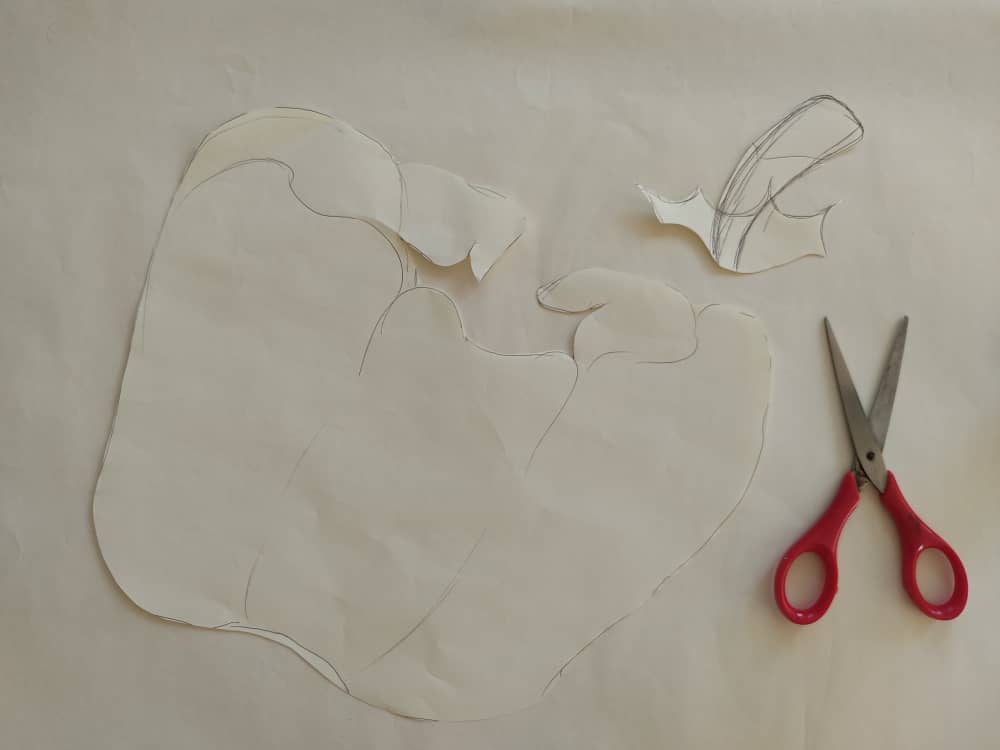
Next, we carefully cut the paprika that we have designed, to preserve the traced measurements, separating the stem from the figure.
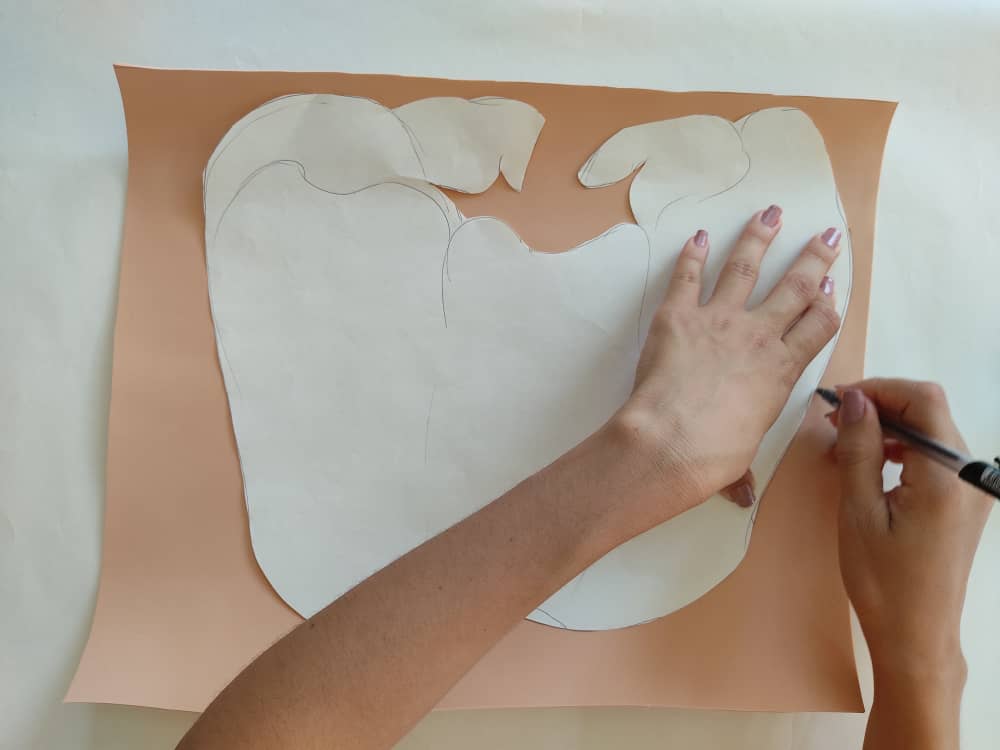
Ahora, transferimos estos moldes al foami del color que más nos guste. Debemos hacer este paso con paciencia y amor para que las medidas de nuestros moldes queden intactas, y recortamos.
Now, we transfer these molds to the foamy of the color that we like the most. We must do this step with patience and love so that the measurements of our molds are intact, and we cut.
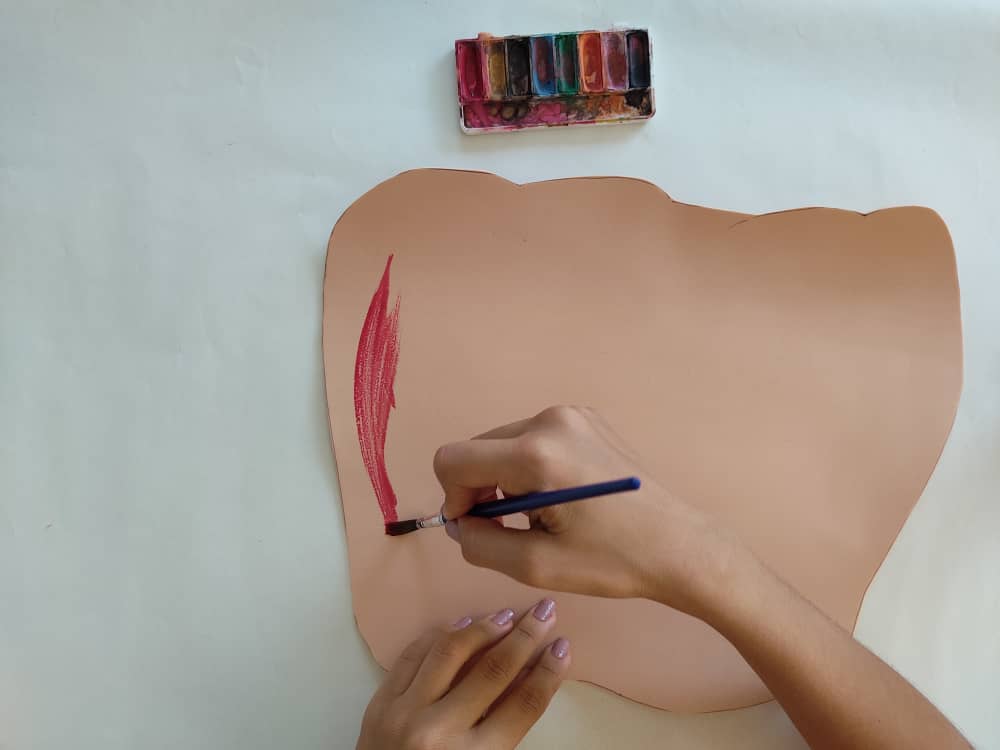
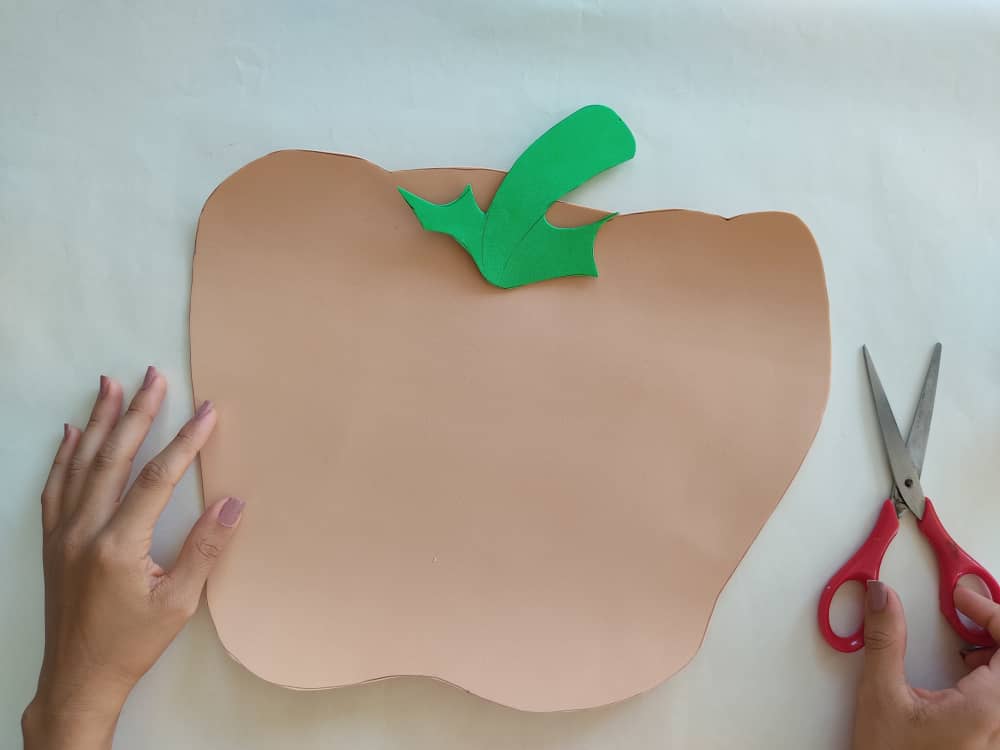
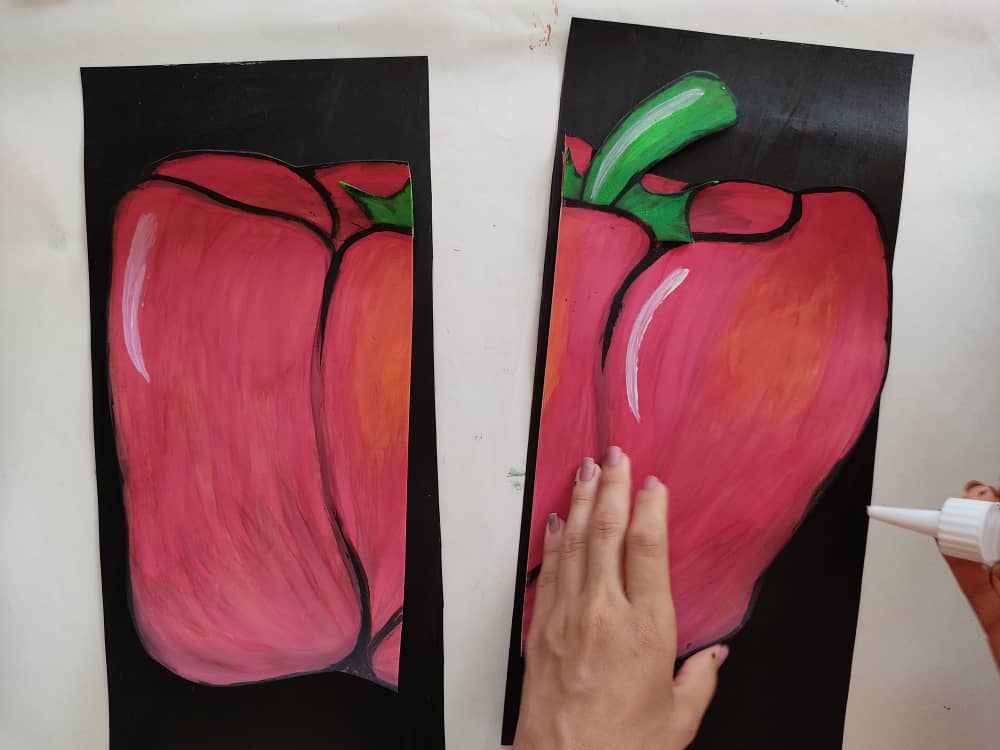
Con la ayuda de un pincel y hermosas pinturas, le damos un poco de amor y alegría a nuestro dibujo. Pintamos de un color rojo muy llamativo, y definimos su forma con tonos en marrón. Mientras que, al tallo le damos toques de verde más oscuro.
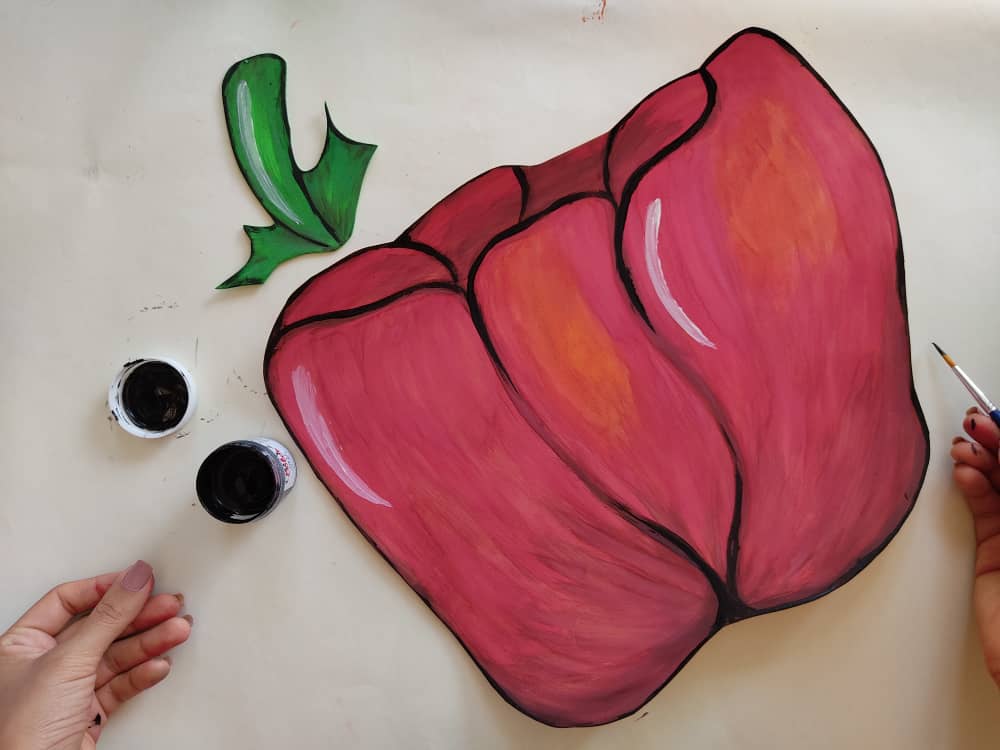
With the help of a brush and beautiful paints, we give a little love and joy to our drawing. We paint a very striking red color and define its shape with shades of brown. While we give the stem touches of darker green.

Luego, utilizamos el cúter para hacer una pequeña ranura en la parte superior del pimentón, y seguidamente, insertamos el tallo y lo pegamos con silicón líquido.
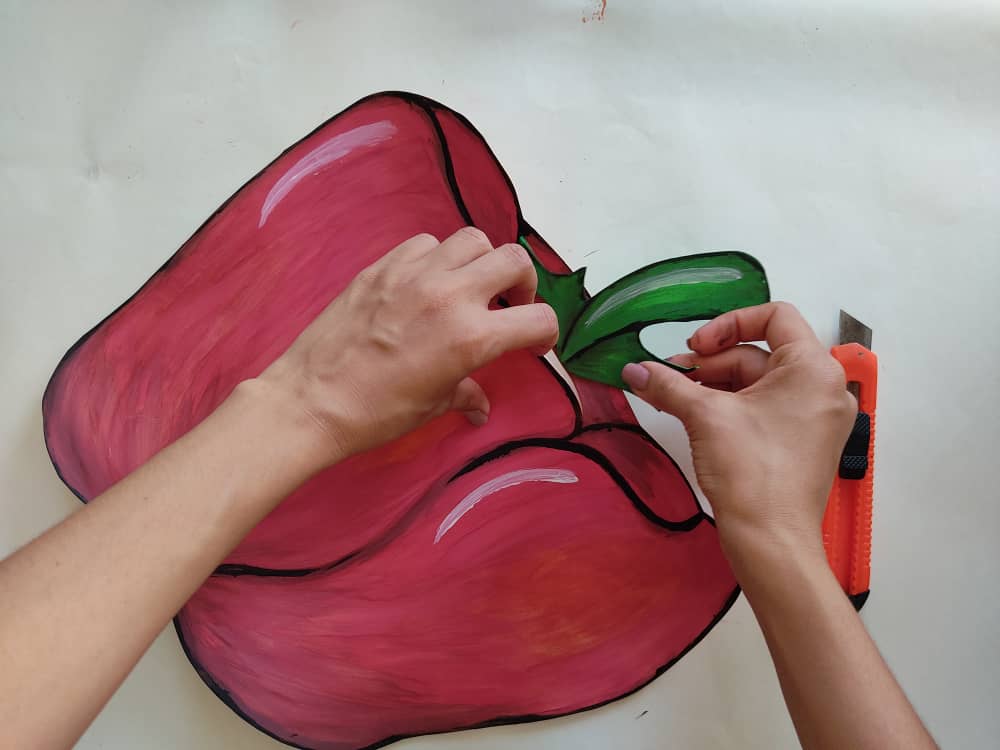
Then we use the cutter to make a small slot in the top of the paprika, and then we insert the stem and glue it with liquid silicone.
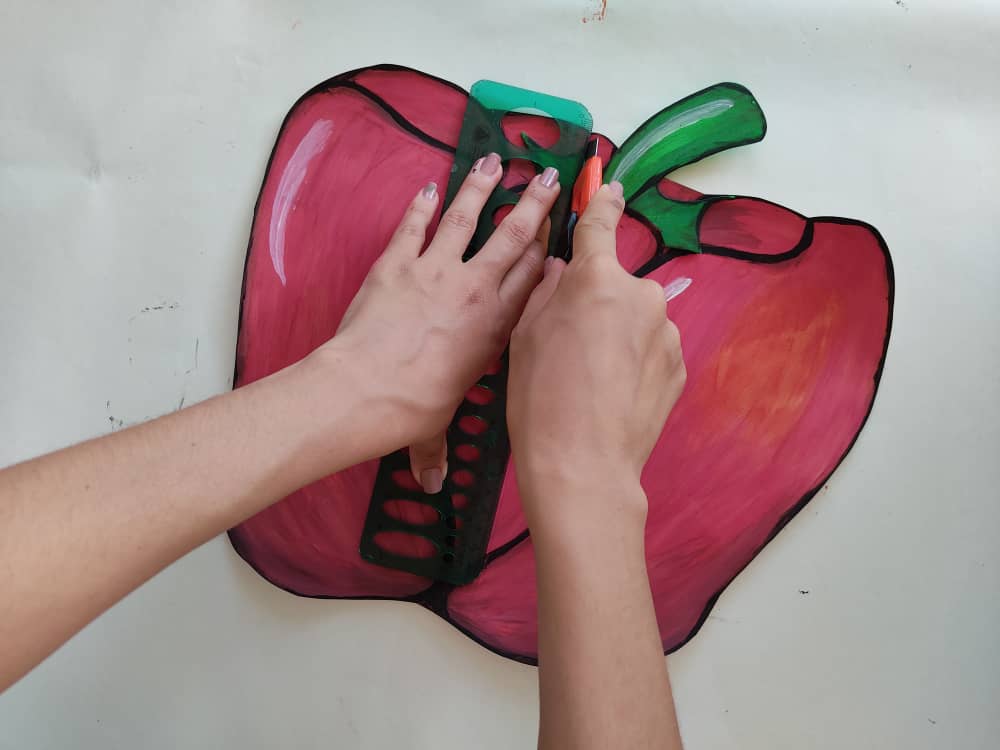
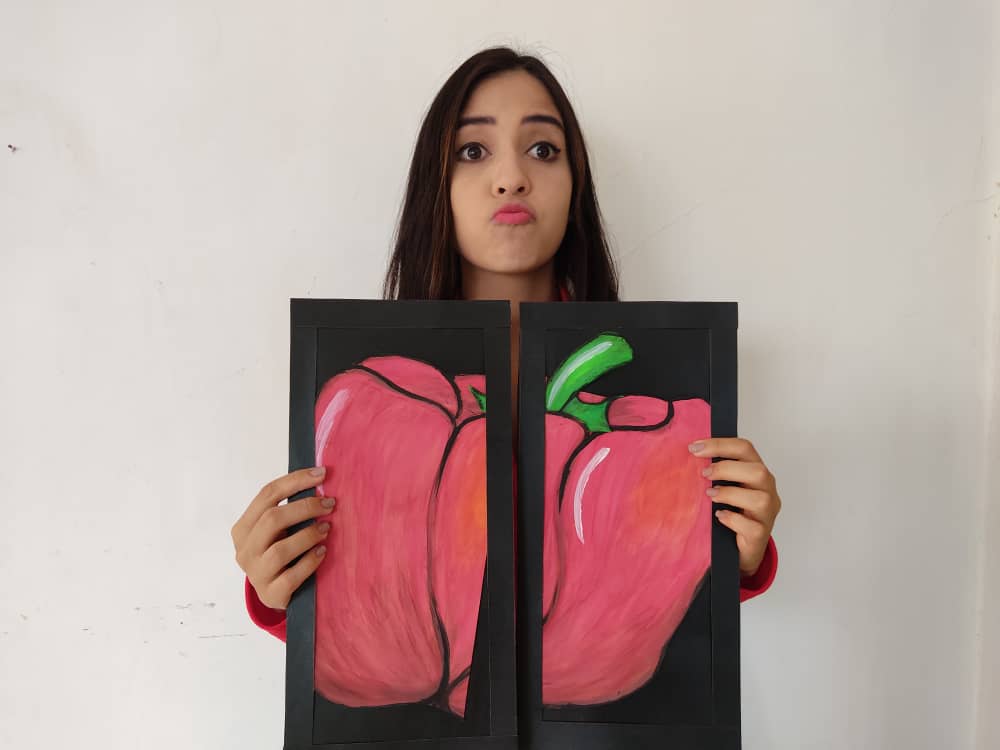
Ahora, dividimos el pimentón en dos partes, con la ayuda de la regla y el cúter.
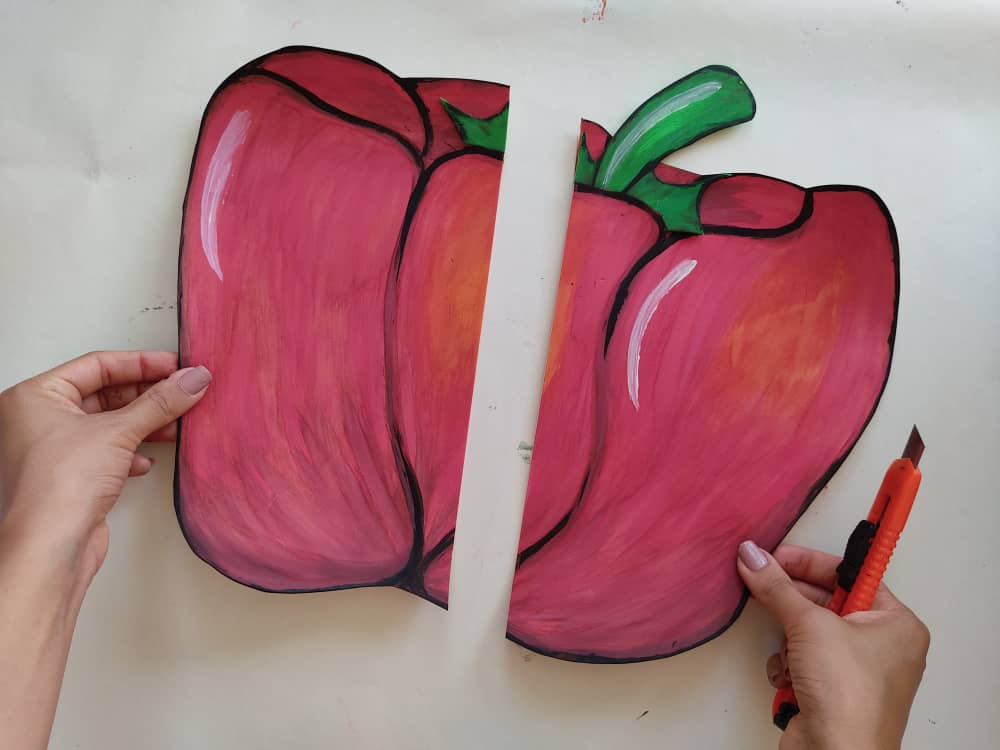
Now, we divide the paprika into two parts, with the help of the ruler and the cutter.
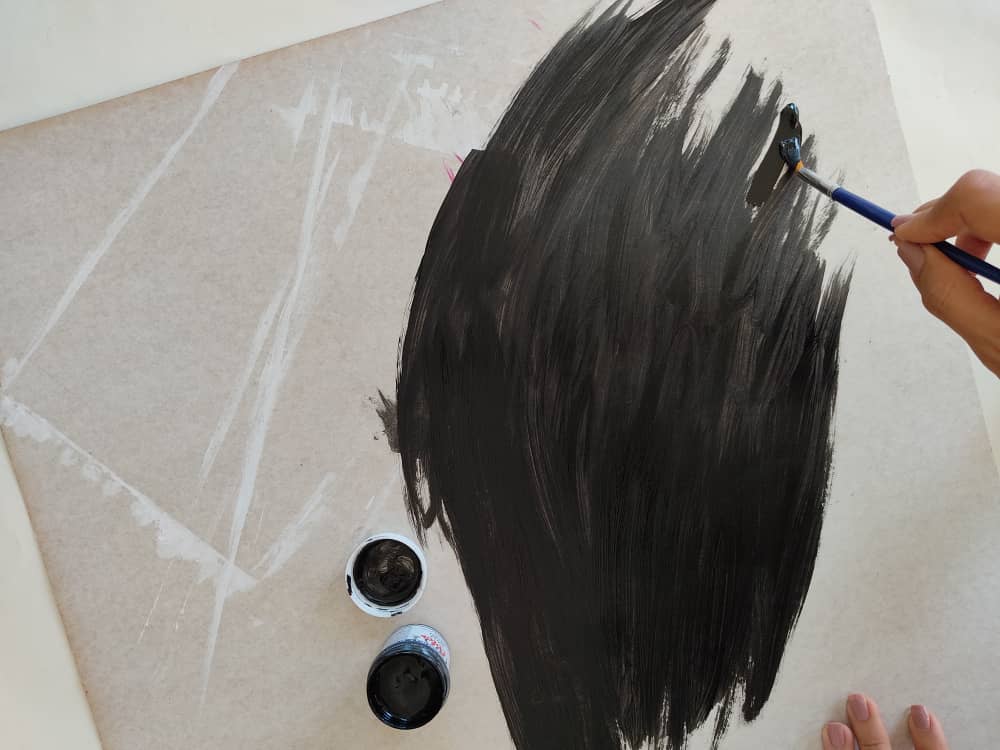
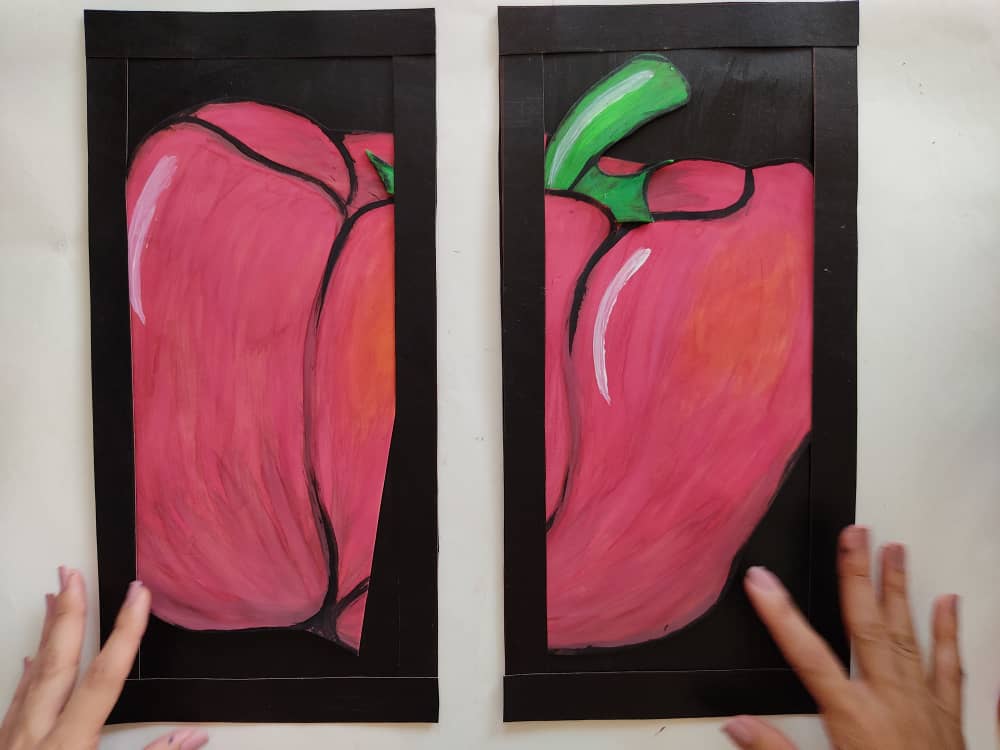
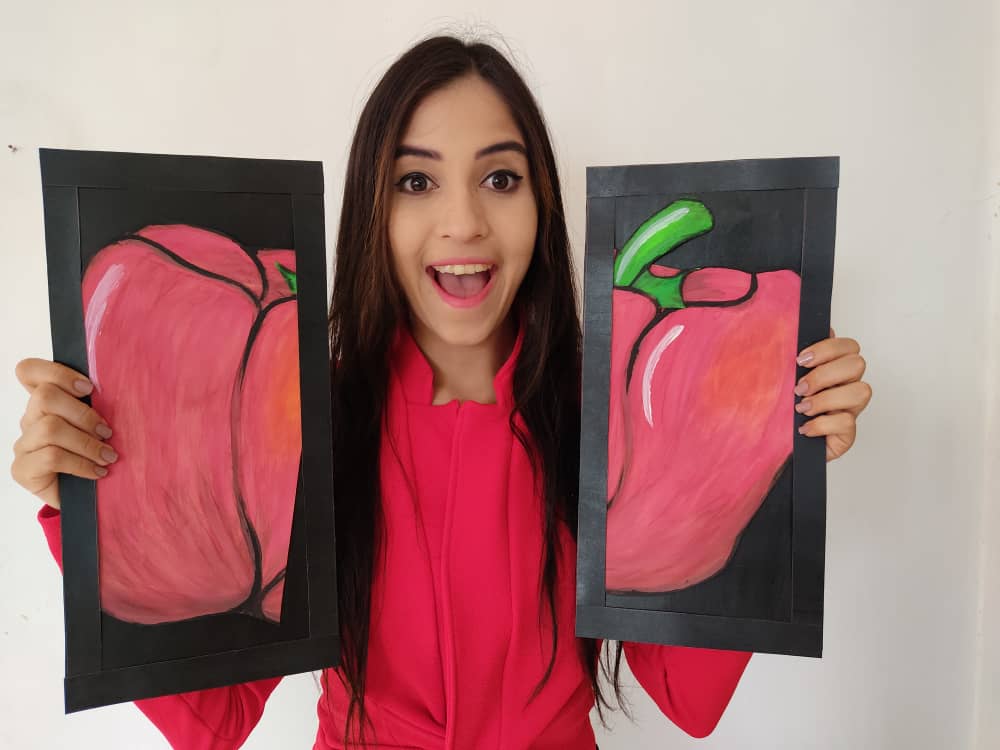
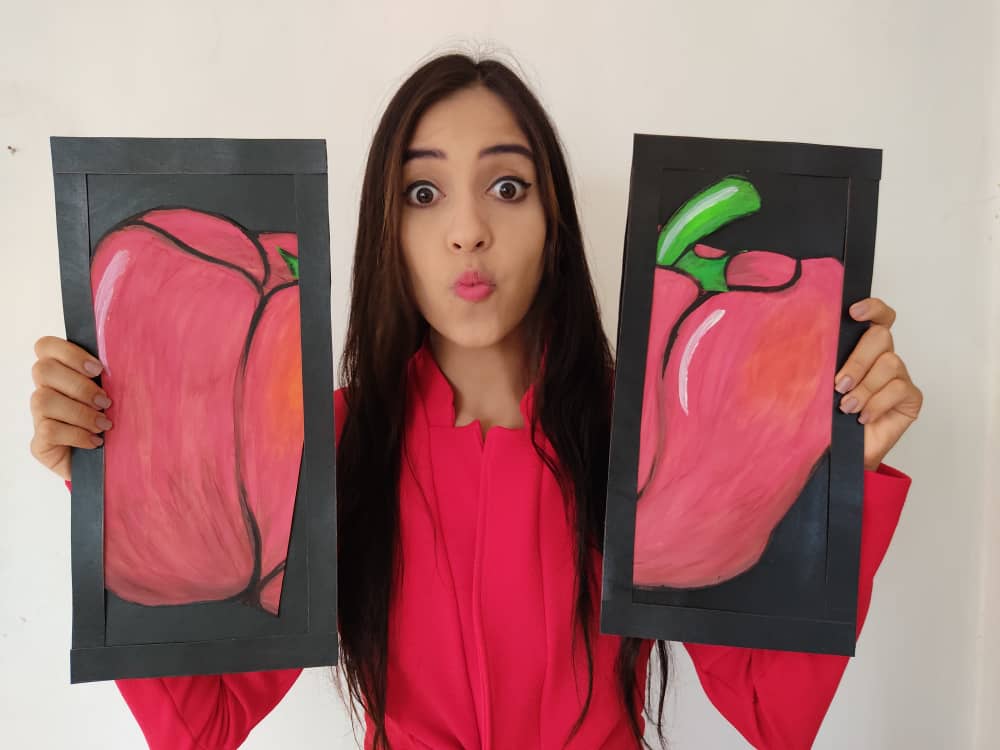
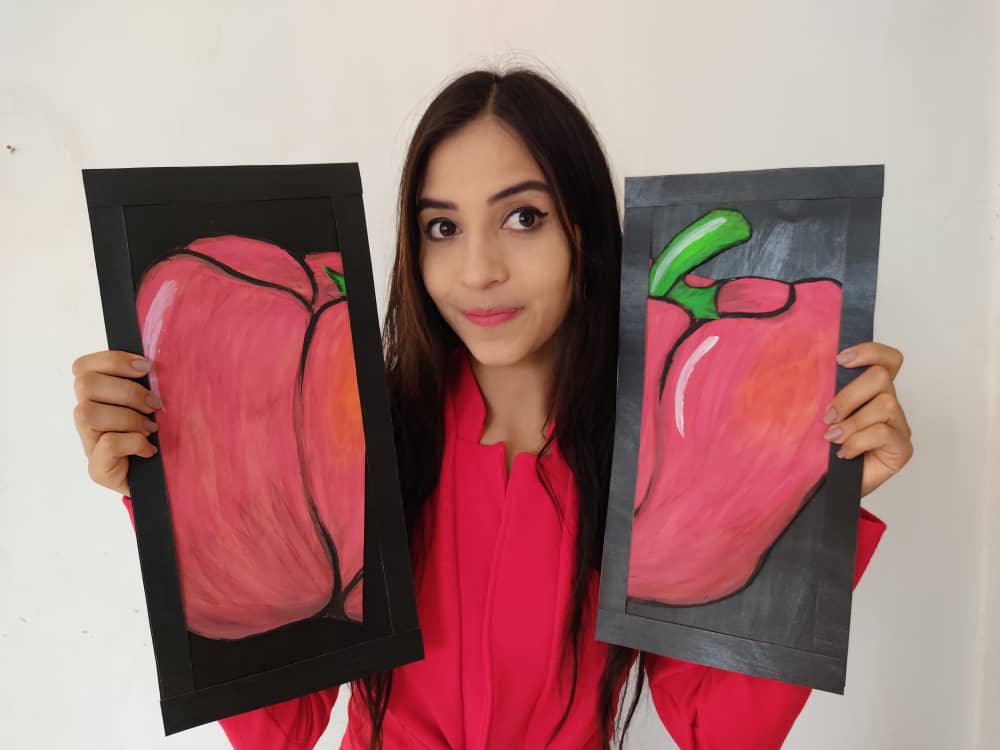
Luego, fabricamos la base de nuestro cuadro con una lámina de cartón, y la pintamos de color negro para que le dé un toque más elegante al fondo de nuestro cuadro. Una vez que este lista la base, la dividimos en dos partes. Realmente serán dos bases, una para cada parte del pimentón.
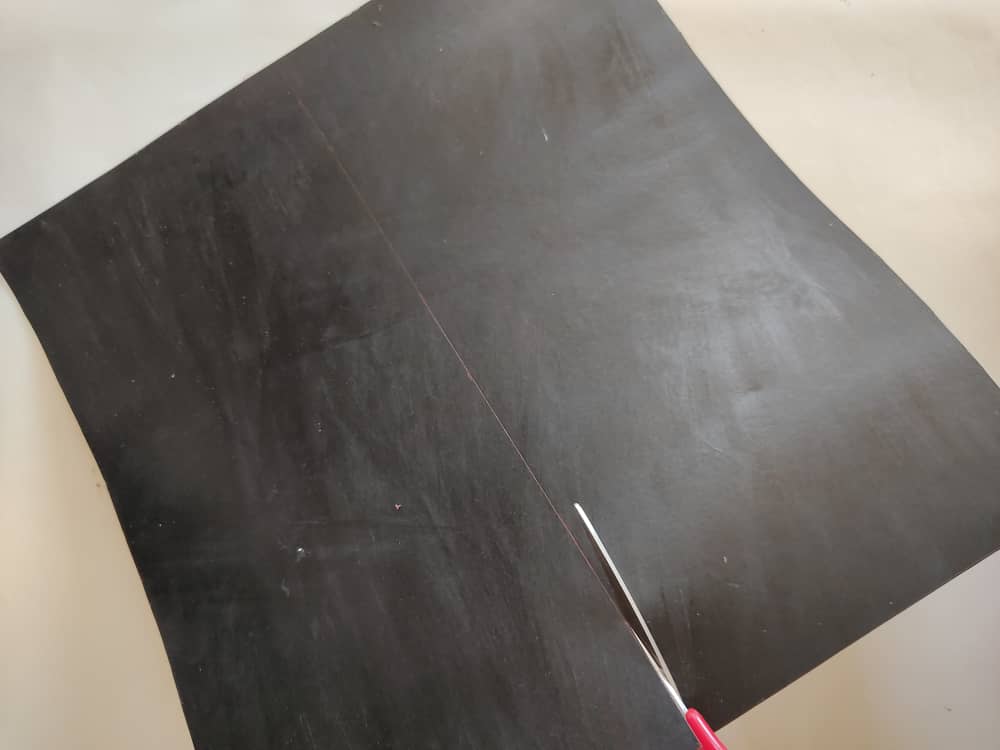
Then, we make the base of our painting with a cardboard sheet, and we paint it black to give a more elegant touch to the background of our painting. Once the base is ready, we divide it into two parts. There will really be two bases, one for each part of the paprika.
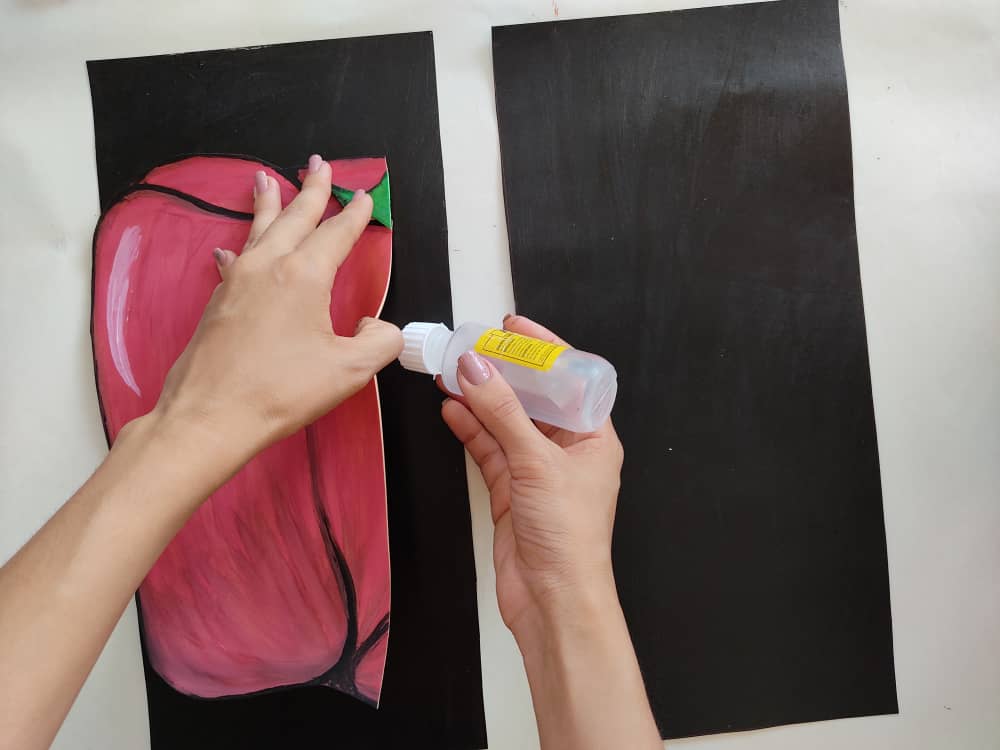
Ahora, pegamos cada parte del pimentón sobre cada base de cartón.
Now, we glue each part of the paprika on each cardboard base.
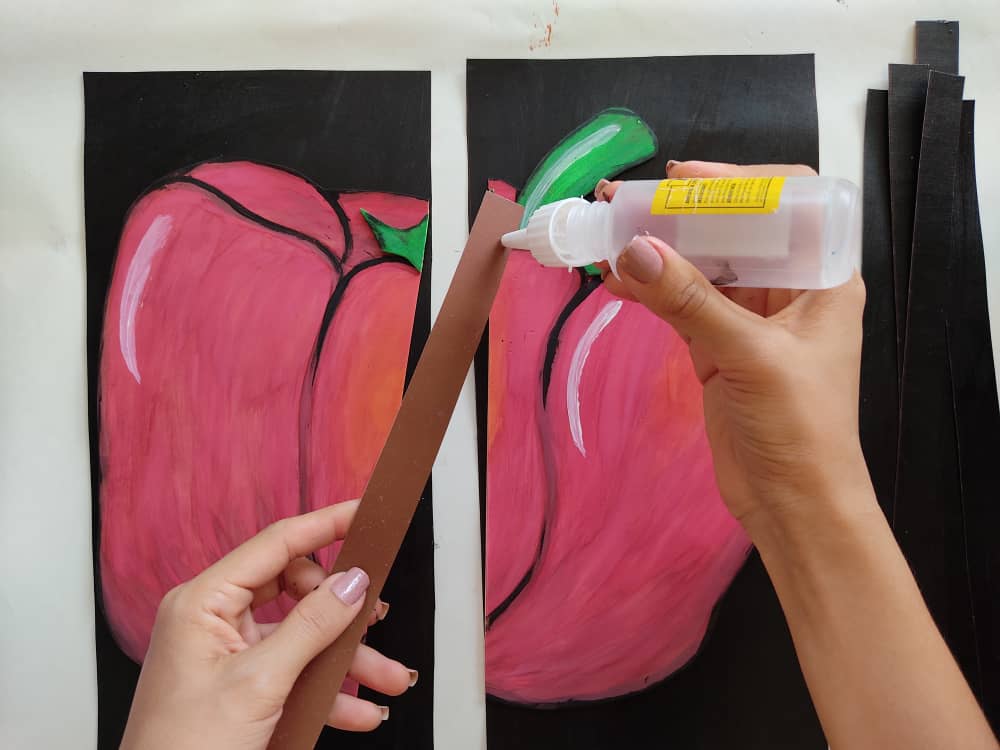
Finalmente, elaboramos los marcos utilizando varias tiras de cartón de color negro, de aproximadamente 2 cm de grosor, y las pegamos al rededor de ambas bases.
Finally, we make the frames using several strips of black cardboard, approximately 2 cm thick, and glue them around both bases.
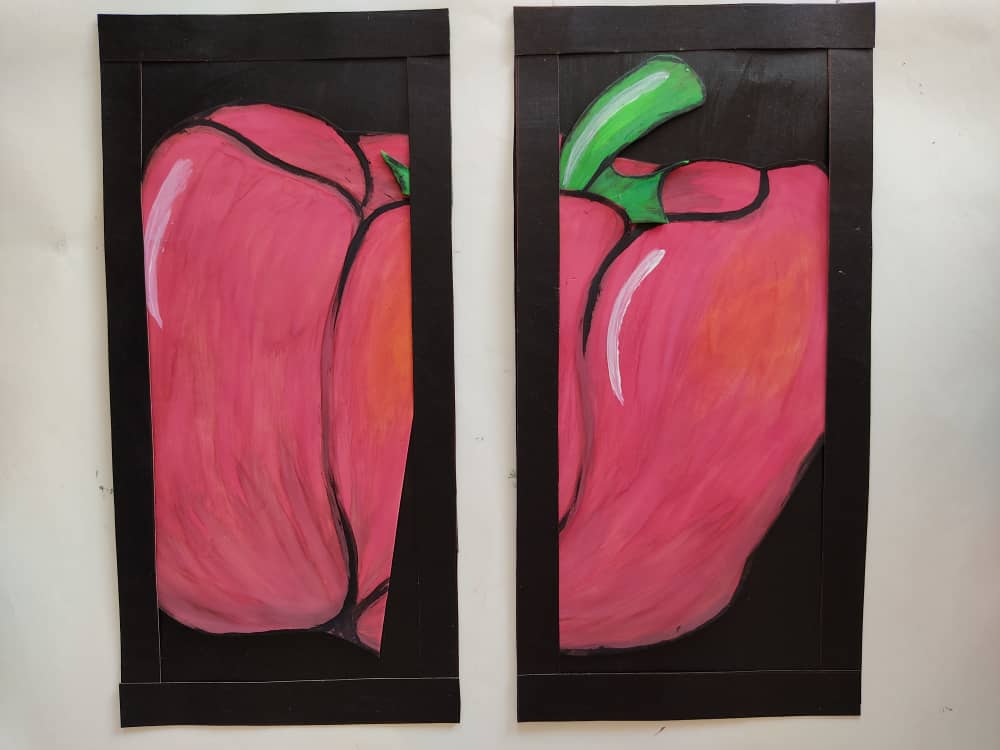
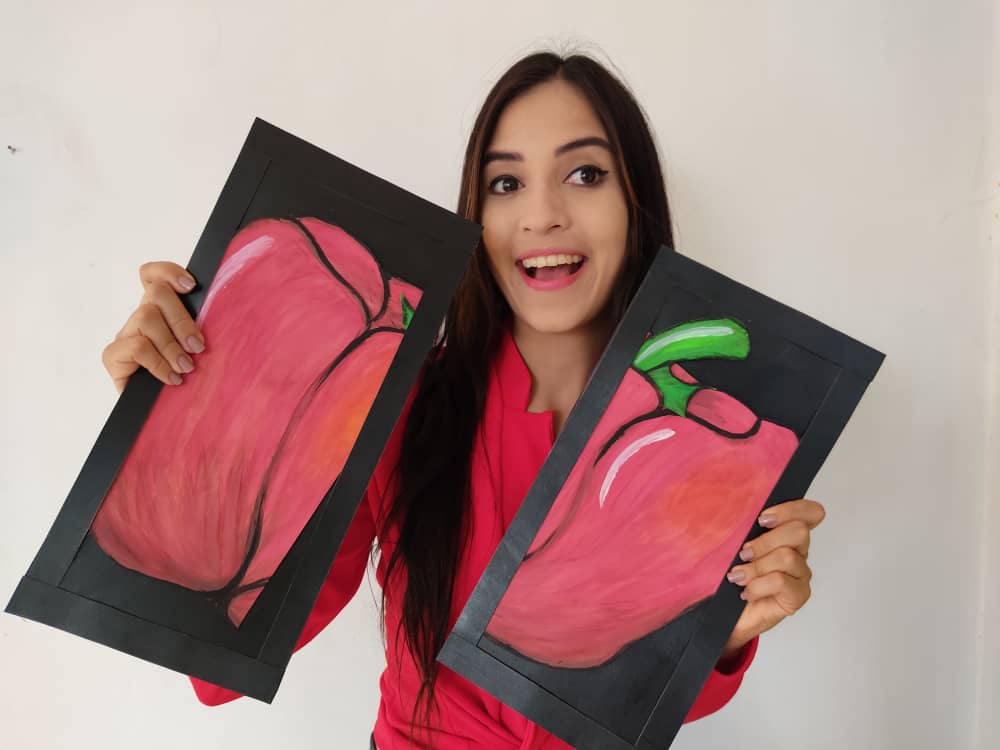
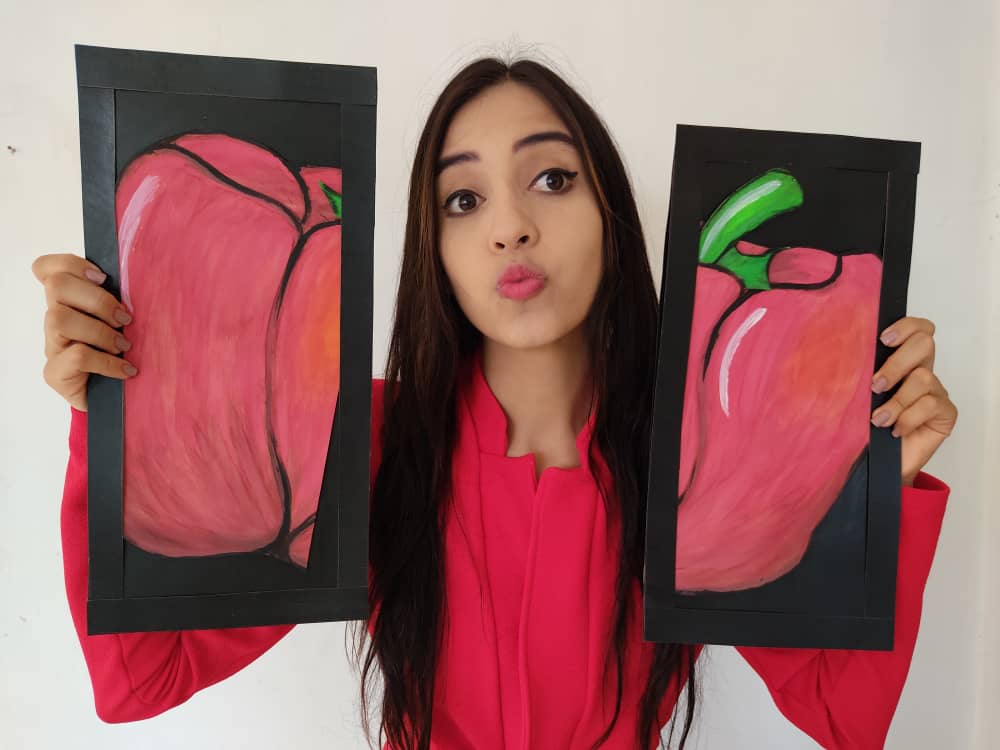
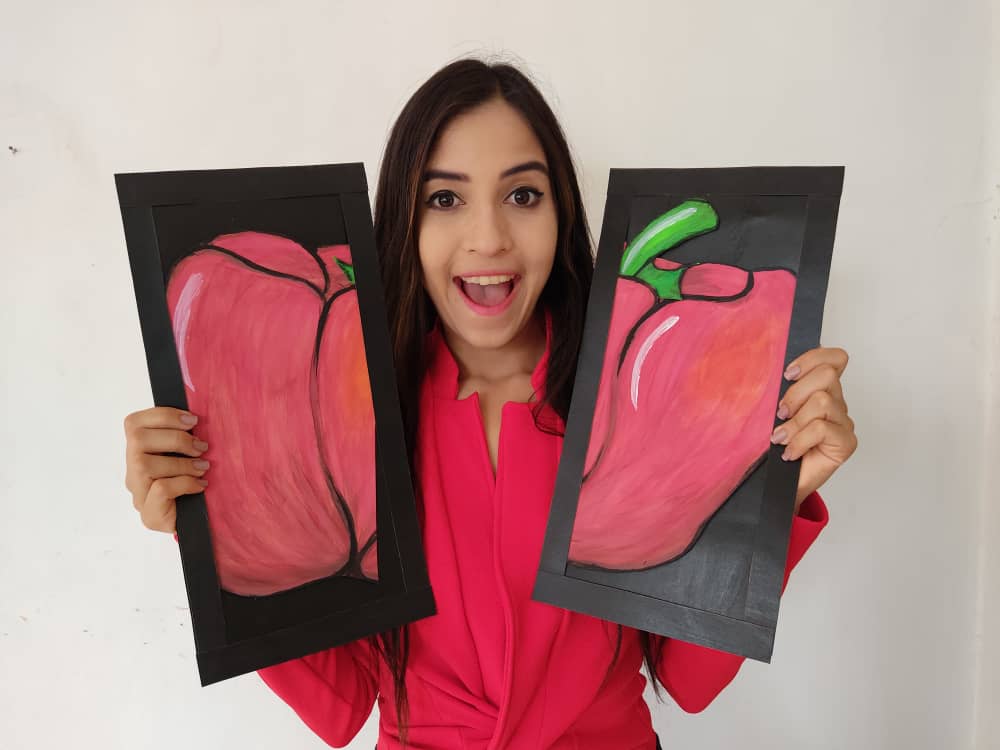
Gracias por acompañarme y espero que lo hayan disfrutado. ❤️
Thanks for joining and I hope you enjoyed it.❤️
.jpeg)
.jpeg)
.jpeg)
.jpeg)
.jpeg)
.jpeg)
.jpeg)
.jpeg)
.jpeg)
.jpeg)
Clic para ver trabajos anteriores | Click to see previous works


My twt #posh
Genial ésta idea, se puede decorar toda la casa con estos cuadros! Lo que más gusta es que son materiales reciclados ♻️
excelente como todos tus trabajos felicitaciones