Previous Designs: 3D Modelling
Hive Logo | Build-it Community Logo | Gems Community Logo | Natural Medicine Community Logo | Gears | Rubik's Cube | Chain and Lock | Fan Blade | Nut | Bolt and Nut | Soccer Ball | Rhombic Triacontahedron | Icosidodecahedron | Hive Inspired Rims | Hive Inspired Tires | Hivewatchers Logo | Lamp on Desk | Chess Pieces - Pawn | Chess Pieces - Rook | Chess Pieces - Horse | Chess Pieces - Bishop | Chess Pieces - Queen | Chess Pieces - King | Mjolnir | Vibranium Shield | Stormbreaker | Excalibur | Staff of One | Hofund Sword | Magneto's Helmet | Mutant Conversion Machine | Divine Axe Rhitta
Hello Hivers!
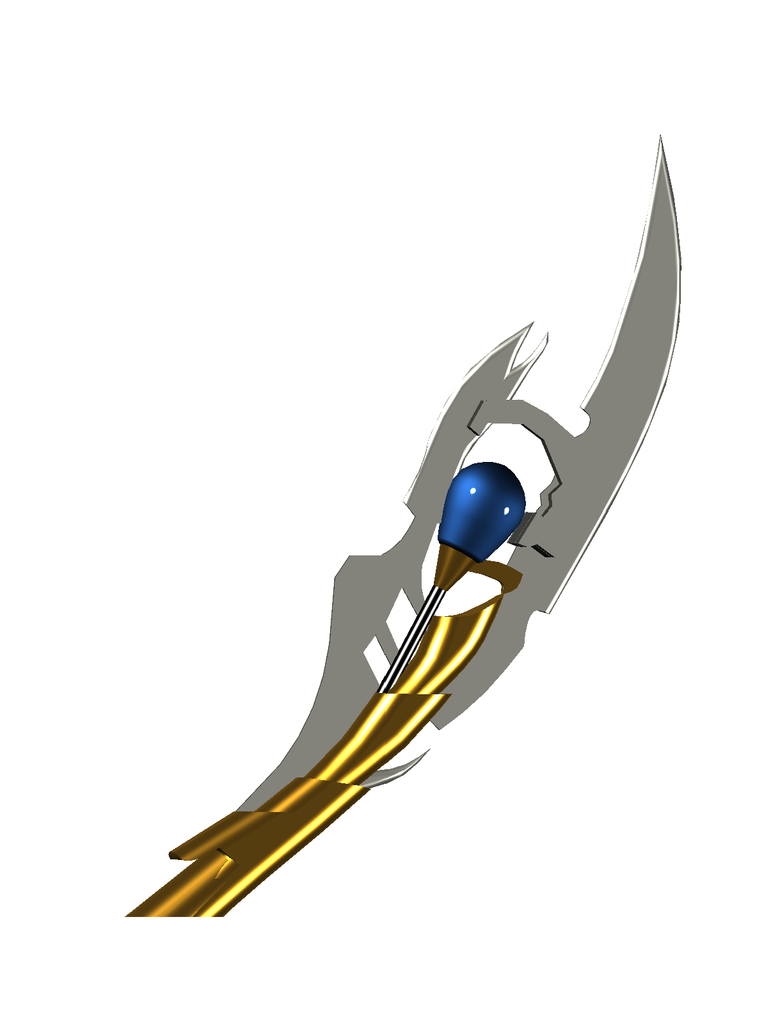
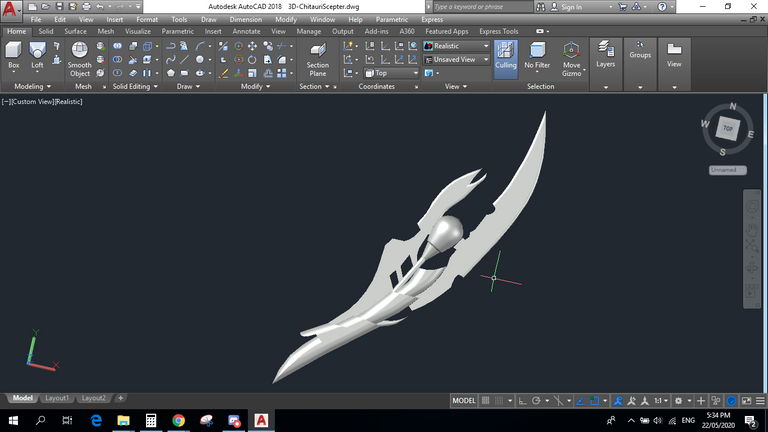
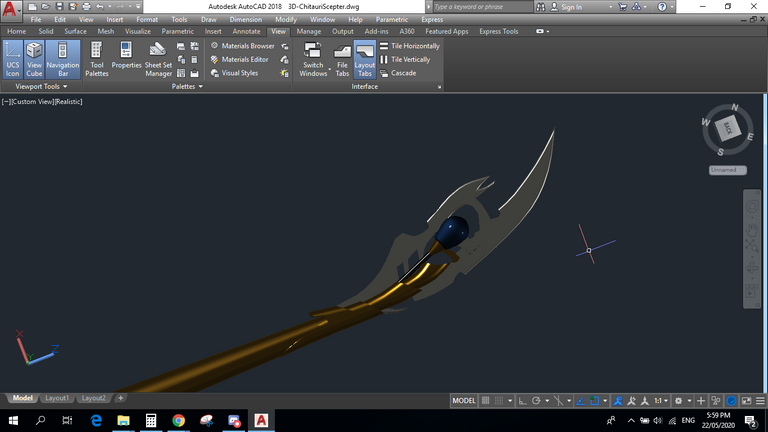
Today's featured design is the Chitauri Scepter. Known to every MCU fans, this scepter has the slickest design and look among all MCU weapons. Chitauri or also known as the Glow Stick of Destiny bears the mind stone inside the blue gem of the scepter. The primary power of the scepter is the mind-controlling power which many times seen in the MCU movies.
For about a week or two, that I've been trying to figure out the techniques in remodeling this object. After I made the Stormbreaker, I immediately jump into this weapon but many attempts have failed. Just this day I completed its design so let's get over to the process.
Process
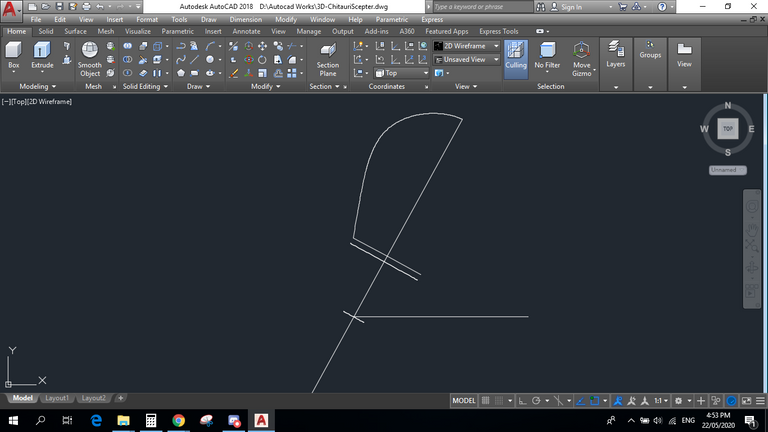
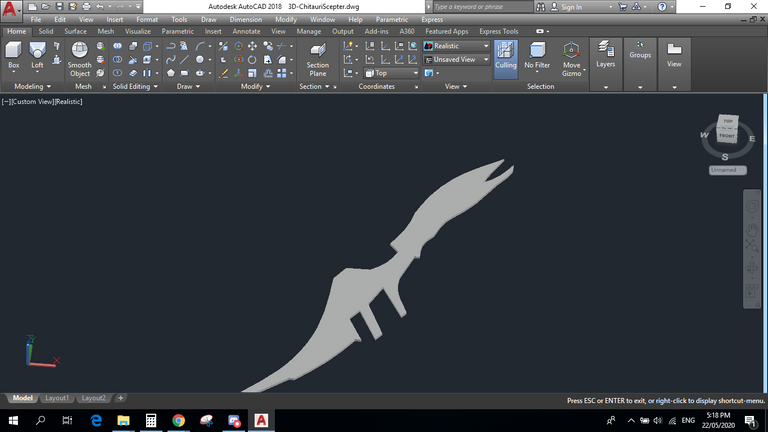
For this design, I made several parts to fully remodel the object. At first glance, the weapon has really complex structure. I started creating the base of the scepter first then going to the top figures and details.

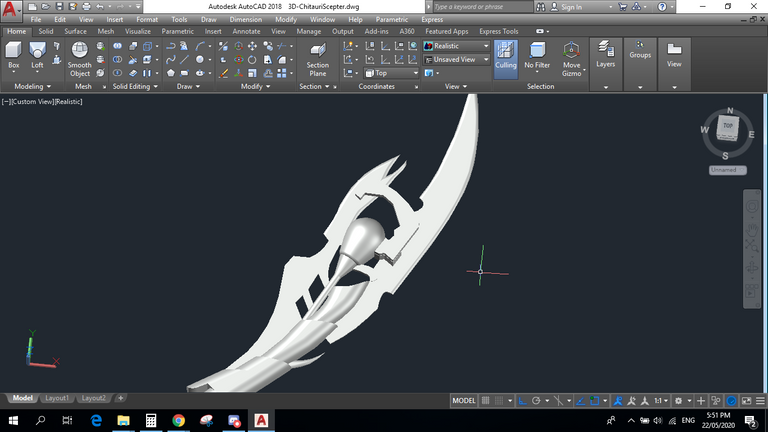
This part is the creation of the blue gem and its black holding rod.

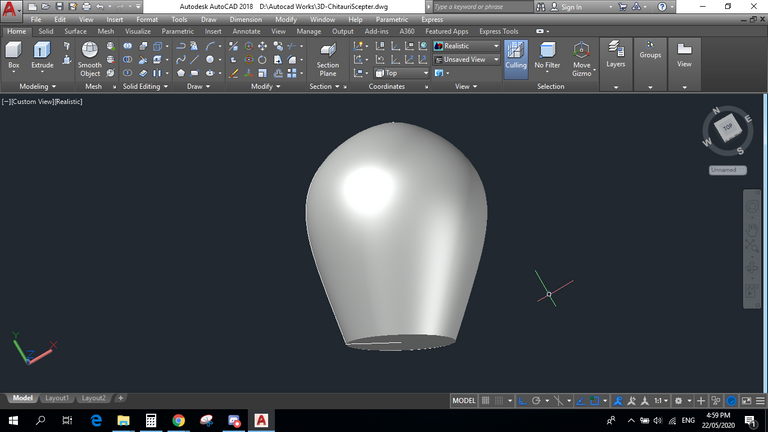
Attaching the gem to the base fits very well. Nice!
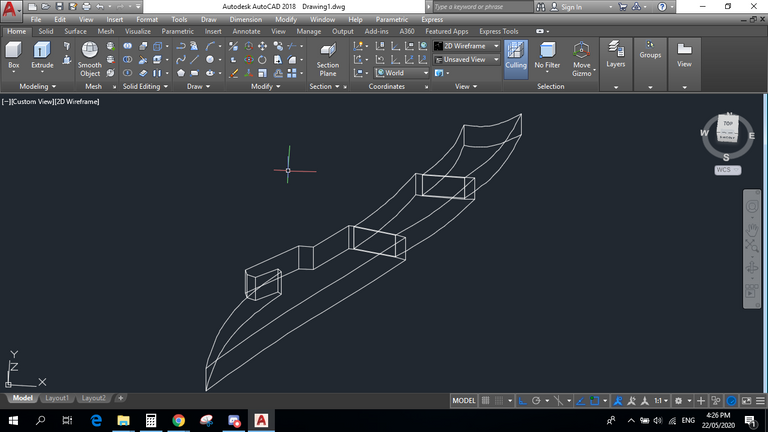
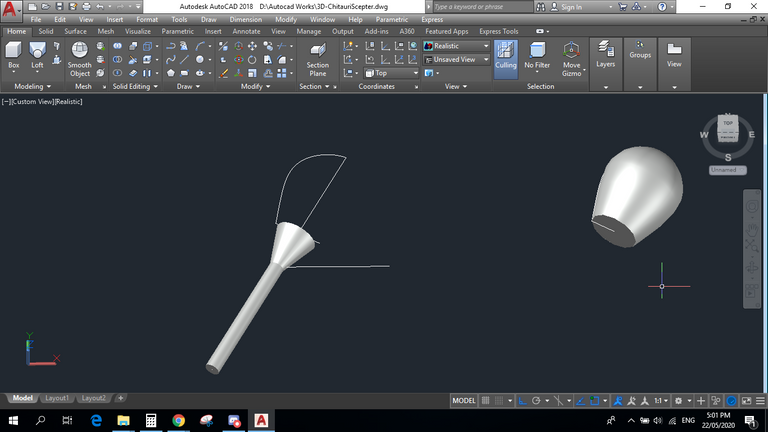
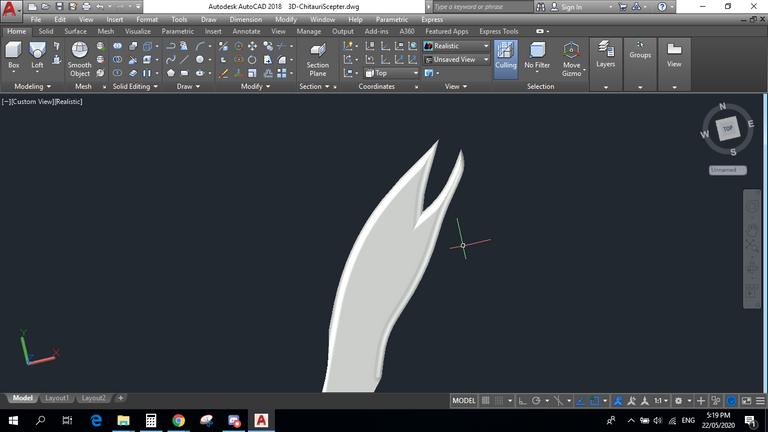
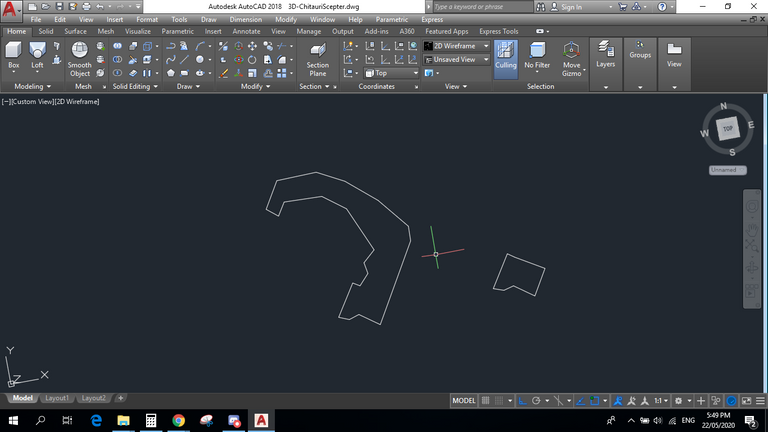
This part is the first blade. I create two separate blades because I think the better way to create the full image of the blade is to separate them and one by one attach them to the main object to adjust.

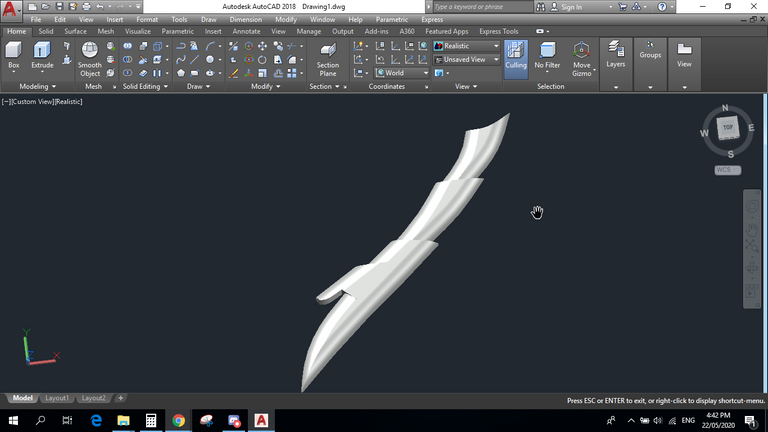
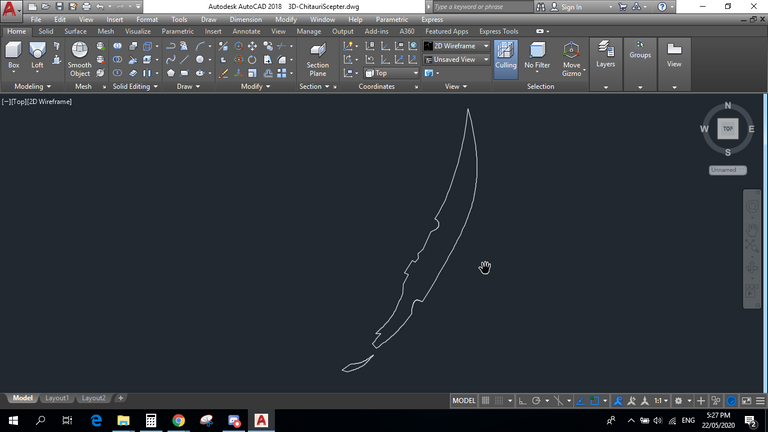
The 2nd blade which is the bigger one.
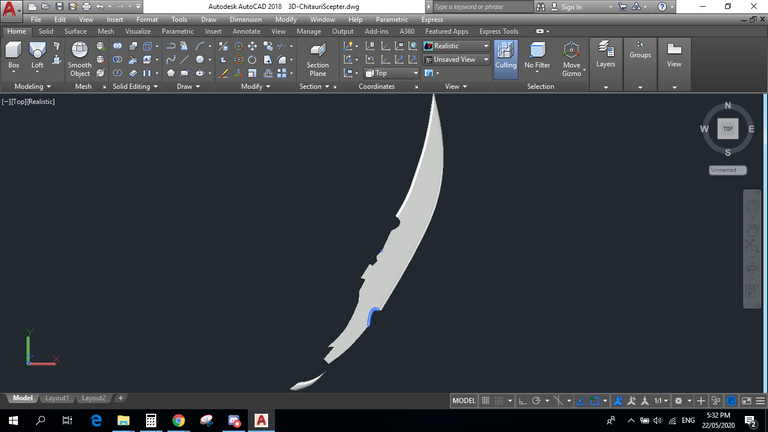
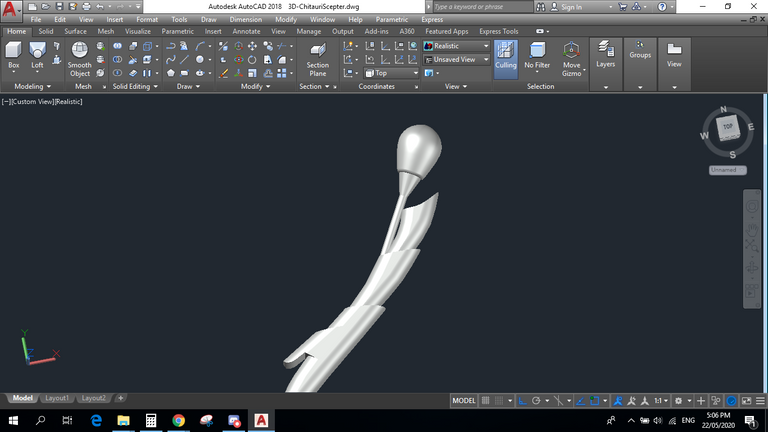
Attach and adjust the correct position of the parts.
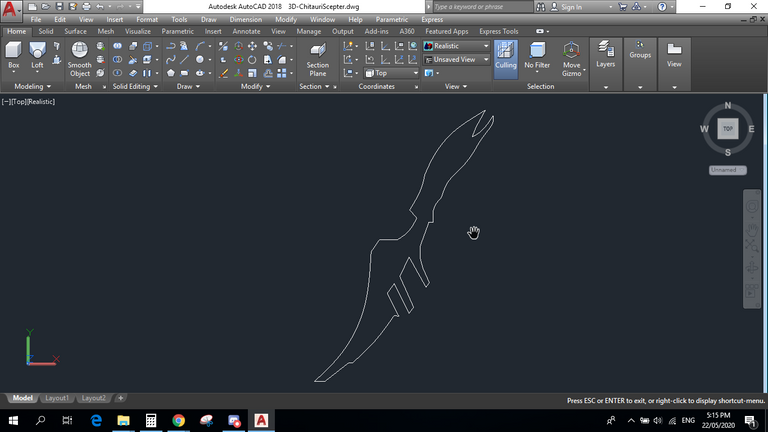
Adding extra details and lastly, the handle which is not similar to the original as you can see. Because in order to have a better look in rendering the figure, I must create a smaller view as possible and by eliminating the handle we'll achieve what we want to show to the audience.
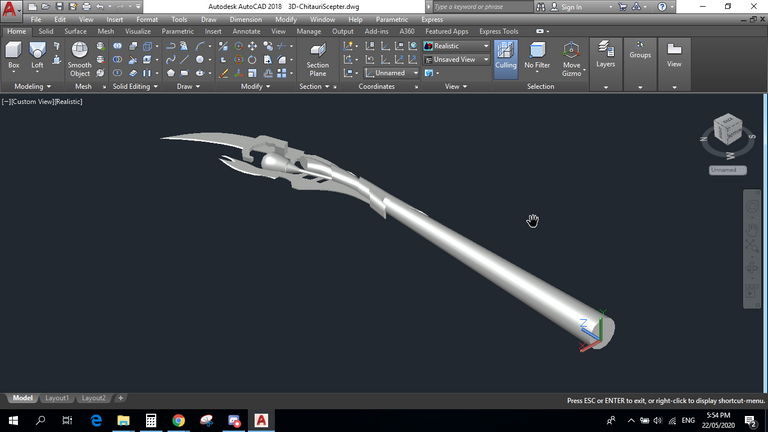
Adding materials similar to the original. And you're done!
Do you have some ideas or things you want me to design? Comment them below and I will look into it. :)
Thank you for dropping by. Stay tuned for more 3D Designs.

@themanualbot this is good piece. Thanks for showing the steps taken. weldone.
Thank you! :)
Excellent work dear friend @themanualbot the final piece was very beautiful.
I appreciate the explanation and the step by step of the creation
I wish you an excellent weekend
Thanks! I appreciate the kind words. :)
wonderful, I never used cad for these type of modeling...really awesome. 😀
it's the foundation of all 3d designing apps though it's a bit obsolete. I'm glad you like it. :)
👋 Hi @themanualbot, I was flipping through the blockchain and stumbled on your work! You've been upvoted by Sketchbook / a community for design and creativity. Looking forward to crossing paths again soon.
✅ Join the Sketchbook Community