Hello dear hive community!😉
¡Hola querida comunidad de hive!😉
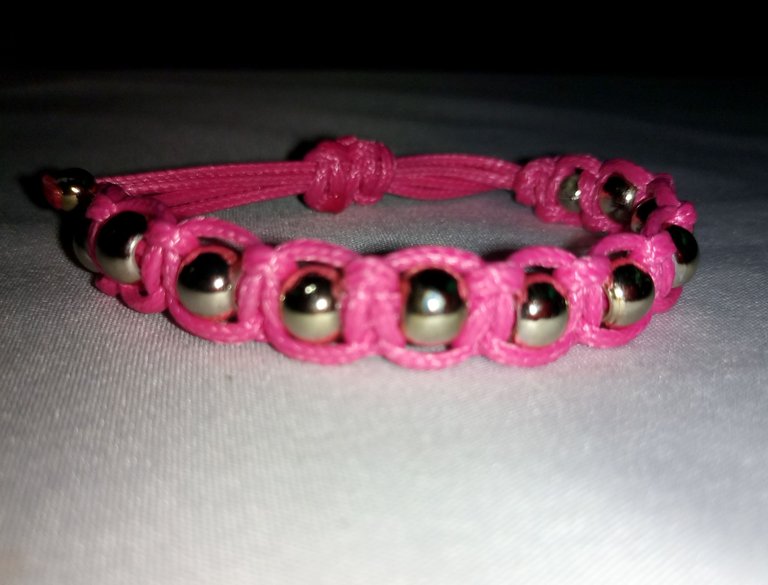
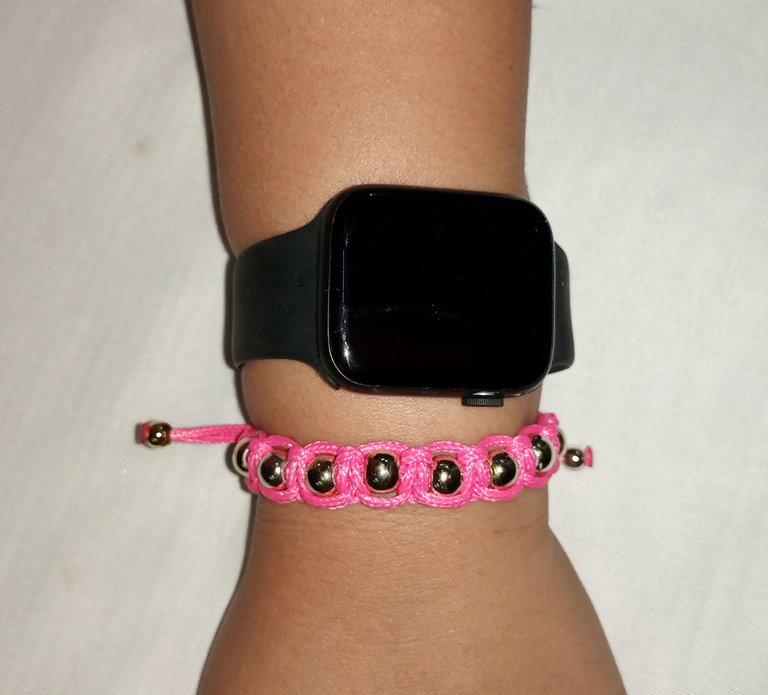
After a few days of absence, I have decided to update some of my jewelry, so I went to buy material and share on the platform the tutorials of how I will make all the new ideas I have in mind. Today I am going to make a beautiful bracelet in snakeskin thread with golden pearls. Without further ado, let's start.
Después de algunos días que tuve de ausencia, he decidido actualizar algunas de mis bisuterías, así que me fui a comprar material y compartir en la plataforma los tutoriales de cómo voy a realizar todas las nuevas ideas que tengo en mente. El día de hoy voy a realizar una bella pulsera en hilo piel de serpiente con perlas doradas. Sin màs que decir comencemos.
Imagen realizada con la página web de diseño gráfico y composición de imágenes Canva // Image made with the graphic design and image composition website Canva.
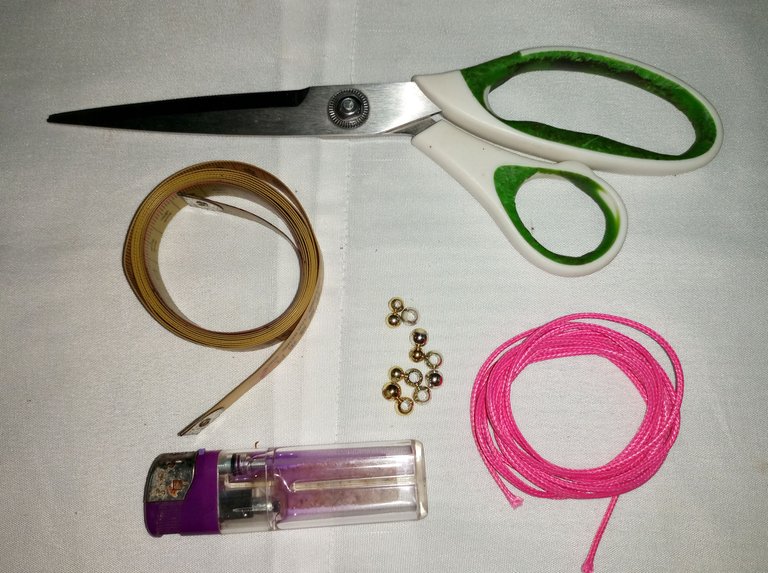
- 2 meters of snakeskin thread (Color of your choice)
- 12 golden beads
- Scissors
- Tape measure
- Tinder or lighter
- 2 metros de hilo piel de serpiente (Color de tu preferencia)
- 12 perlas doradas
- Tijera
- Cinta métrica
- Yesquero o encendedor
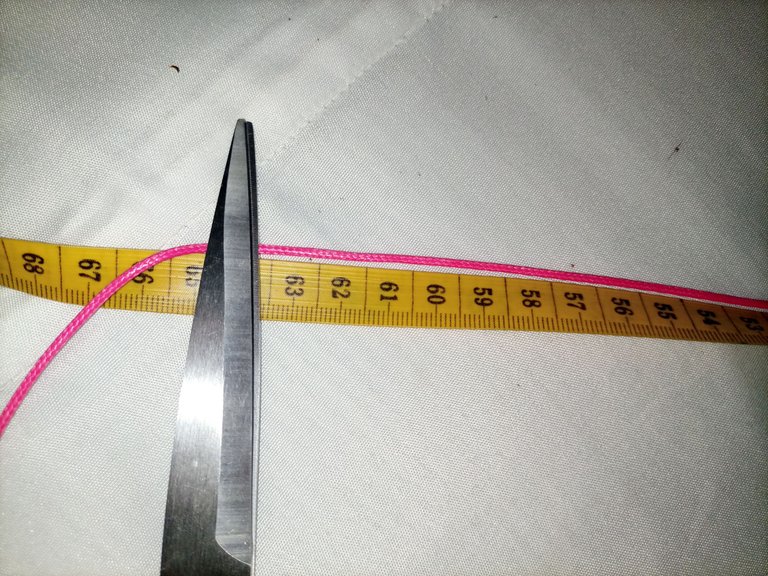
The first thing we are going to do to start building our bracelet is to take the thread and measure approximately 63 cm.
Lo primero que vamos hacer para empezar a construir nuestra pulsera es tomar el hilo y medir aproximadamente 63 cm.
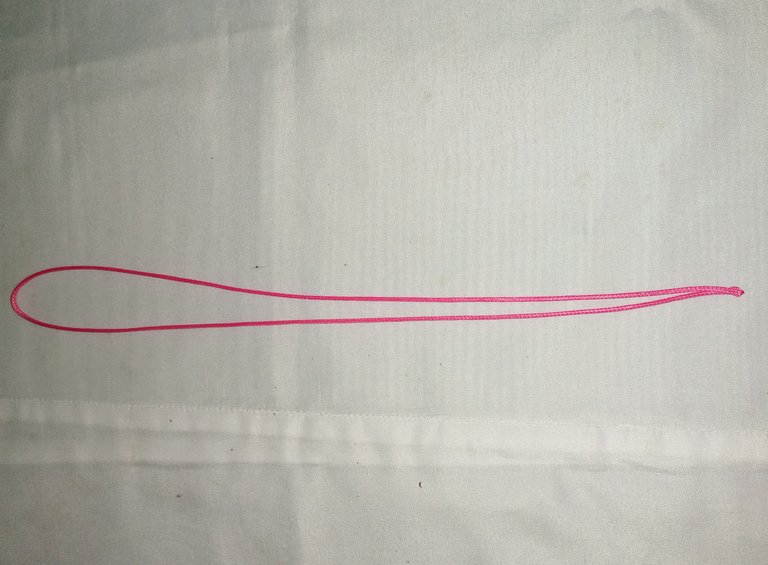
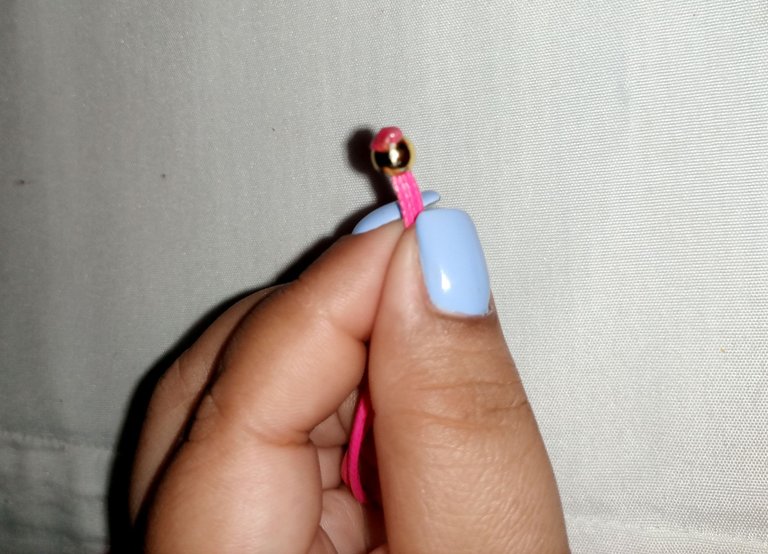
After measuring we cut and double the thread.
Después de medir cortamos y doblamos el hilo.
Now we are going to take one of the beads and put it into the base thread of our bracelet. We push it all the way to the tip and burn it all at once so that the bead doesn't come off.
Ahora vamos a tomar una de las perlas y la metemos en el hilo base de nuestra pulsera. La empujamos hasta la punta y quemamos de una vez para que la perlita no se vaya a salir.
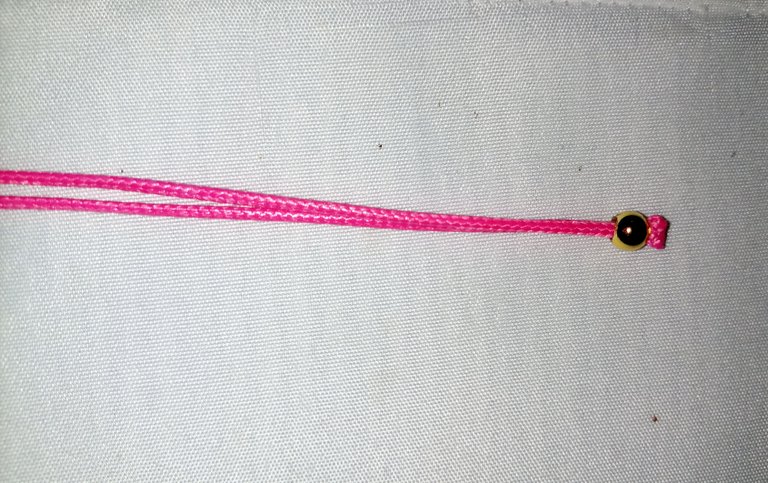
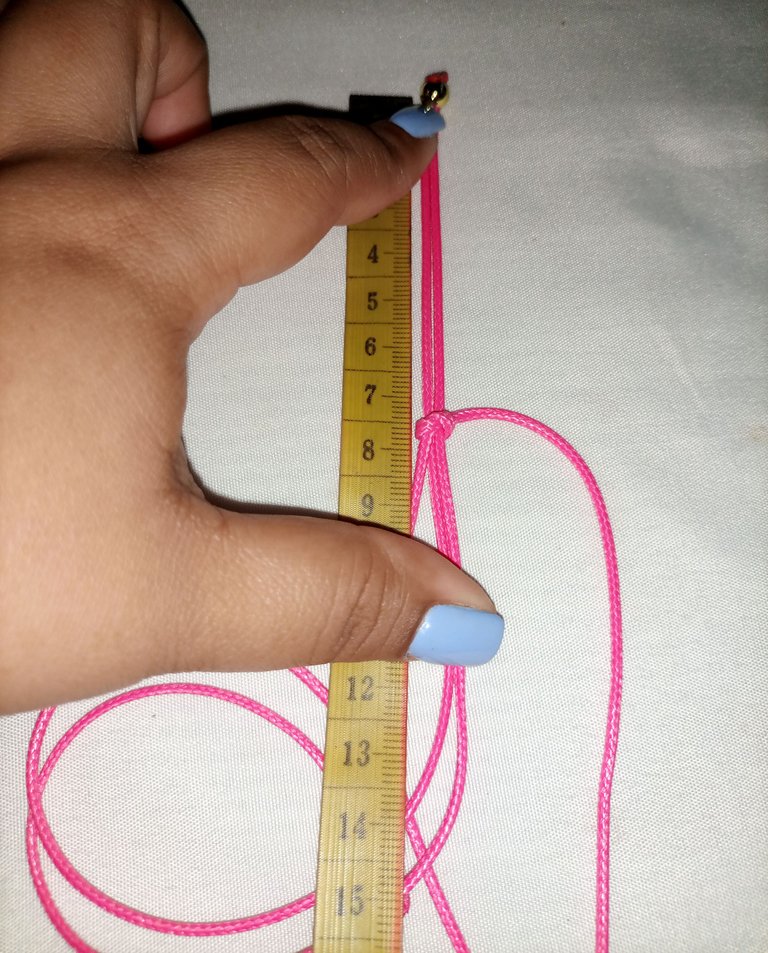
At this point we proceed to measure from where the pearl is to the length of the thread approximately 7 cm and with the remaining thread we will make a knot.
En este momento procedemos a medir desde donde está la perla hacia lo largo del hilo aproximadamente 7 cm y con el hilo restante haremos un nudo.
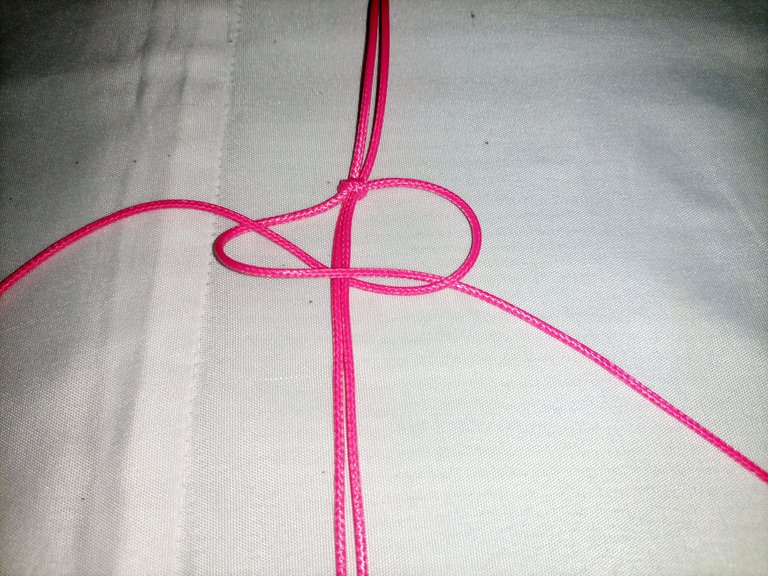
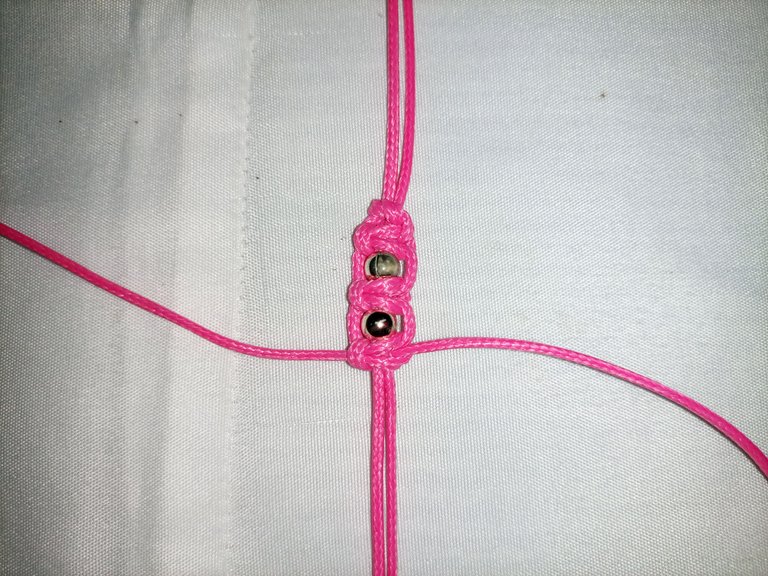
Once the knot is made, we are going to take the end on the right and make a loop, this in order to make a macramé knot.
Una vez hecho el nudo vamos a tomar la punta de la derecha y hacemos un lazo, esto con la finalidad de hacer un nudo macramé.
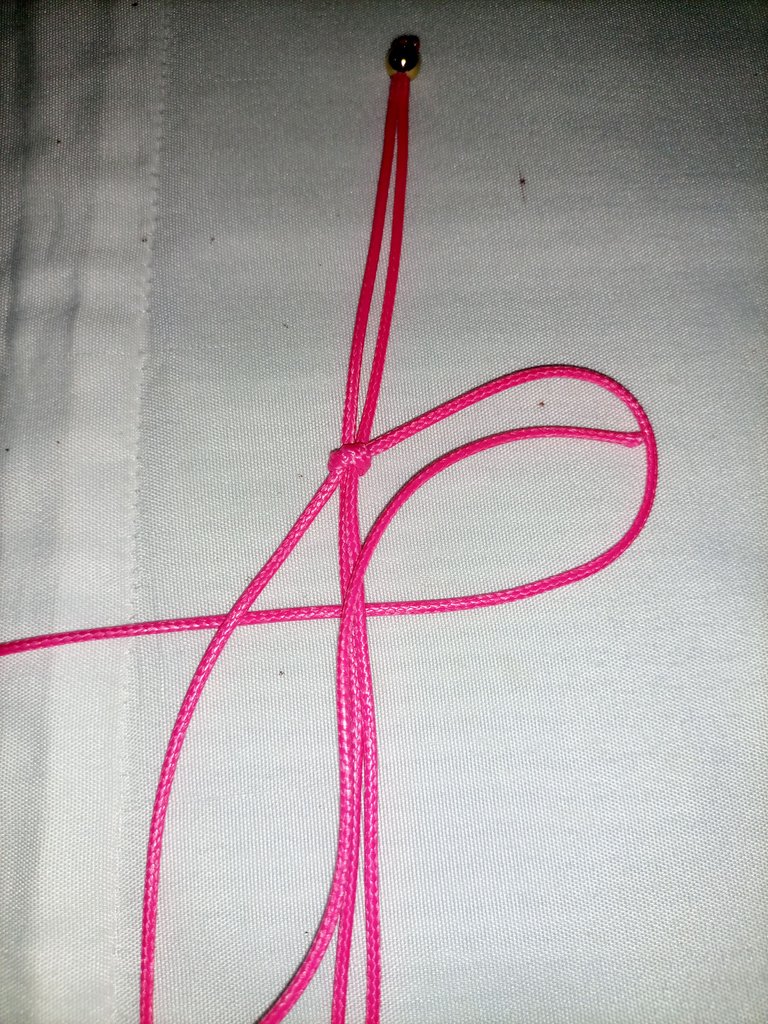
Now we take the tip of the left side and make the loop to close the macramé knot.
Ahora tomamos la punta del lado izquierdo y hacemos el lazo para cerrar el nudo macramé.
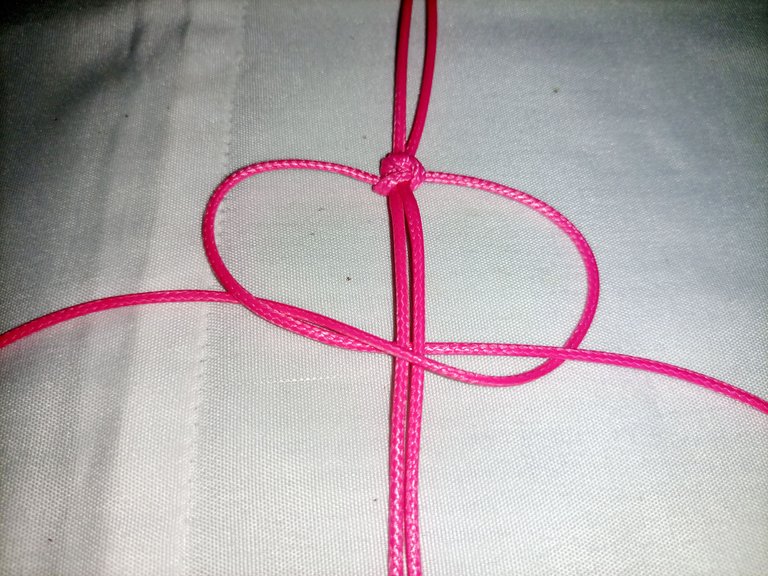
Now we take the tip of the left side and make the loop to close the macramé knot.
Ya tenemos un nudo macramé completo, entonces vamos a introducir la primera perla.
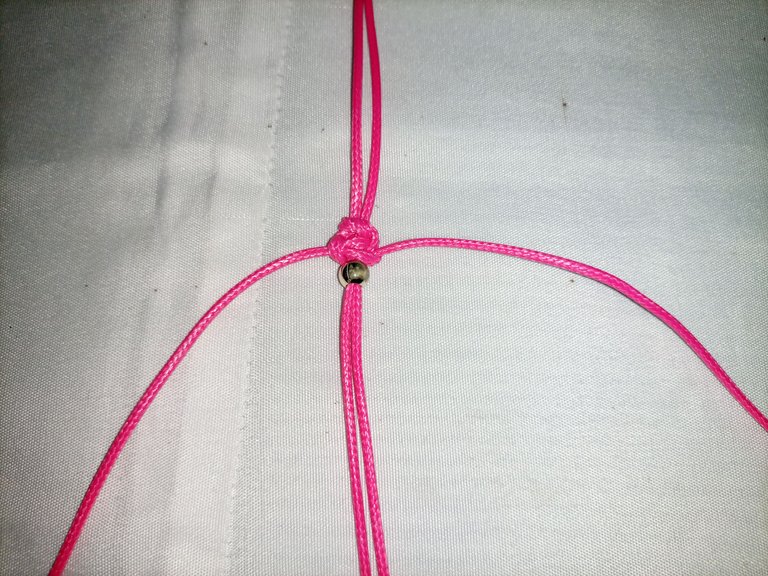
We make a complete macramé knot and introduce a pearl.
Volvemos hacer un nudo macramé completo e introducimos una perla.
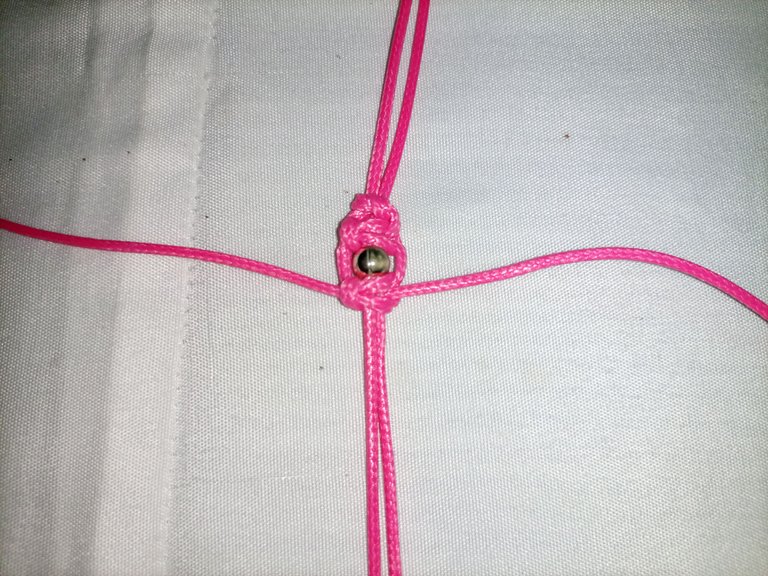
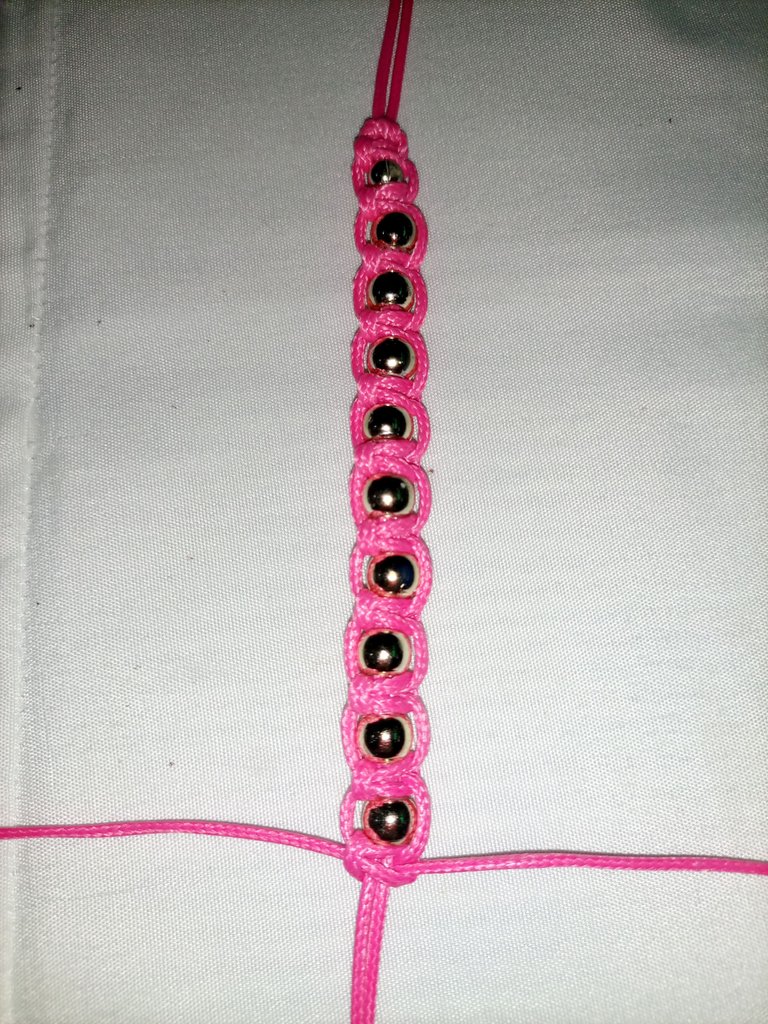
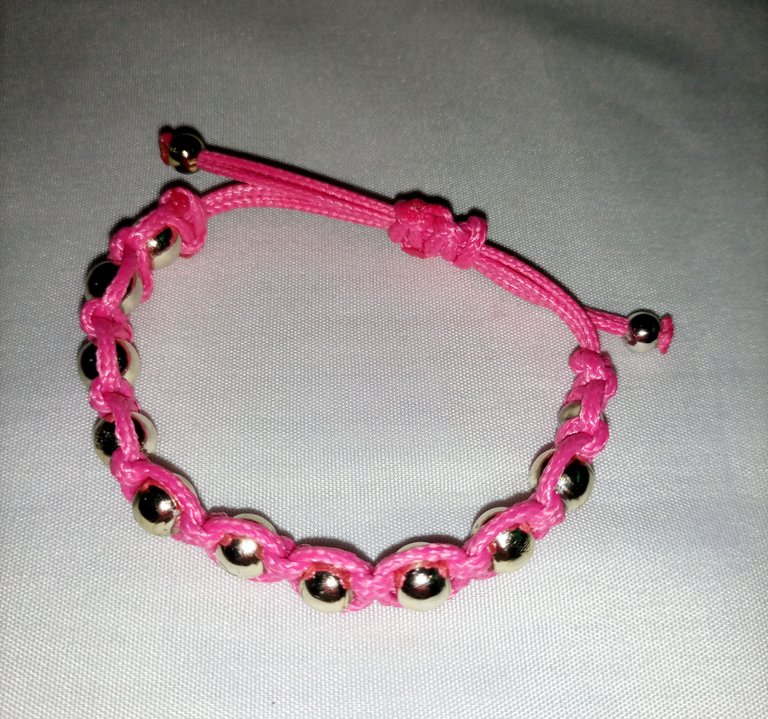
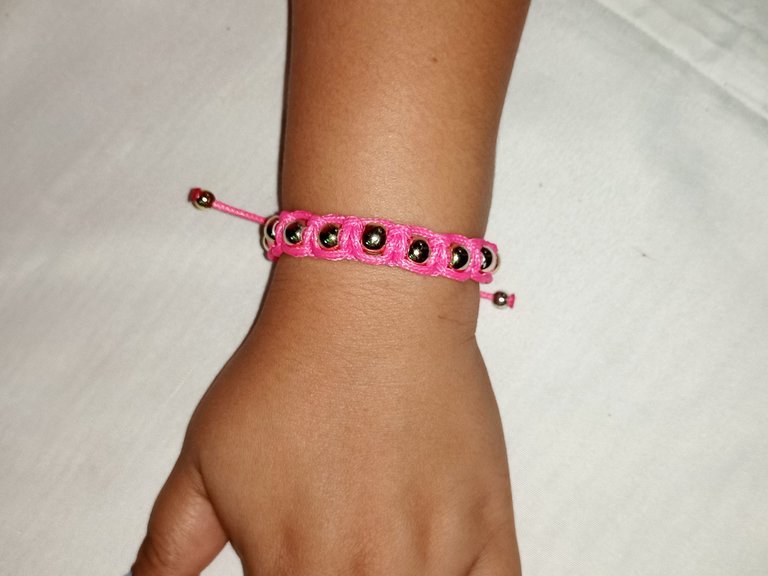
Then we repeat the procedure approximately 11 times. Remember that the beads will be very close to each other only a knot separates them.
Entonces repetimos el procedimiento aproximadamente 11 veces. Recordemos que las perlas quedaran muy cercanas unas de otras solo las separa un nudo.
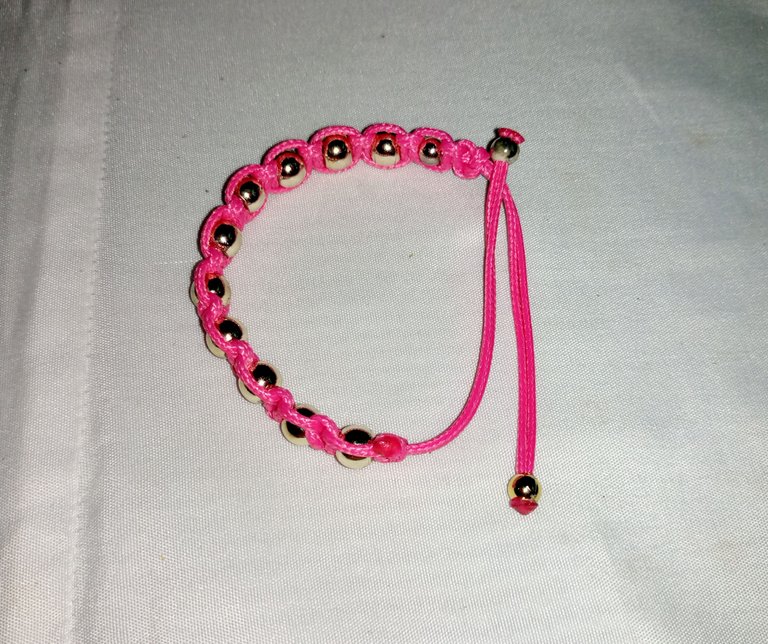
Once the bracelet is finished, we proceed to cut off the excess.
Cuando ya culminemos la pulsera procedemos a cortar los excedentes.
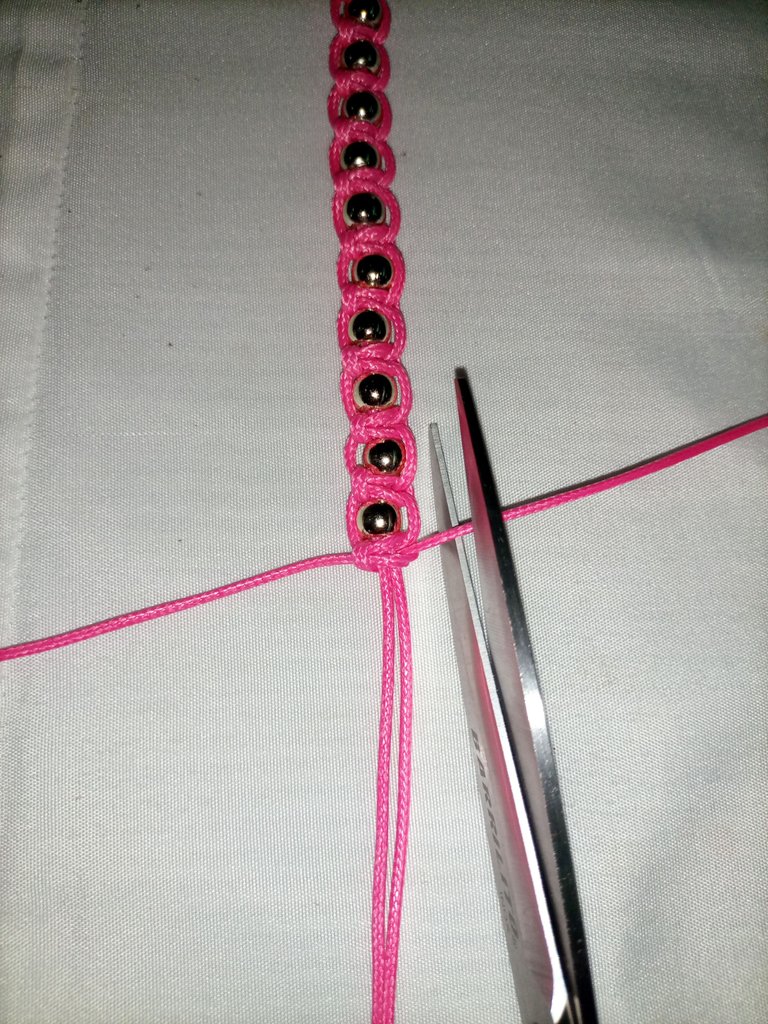
We burn the tips so as not to damage the work done.
Quemamos las puntas para que no se dañe el trabajo realizado.
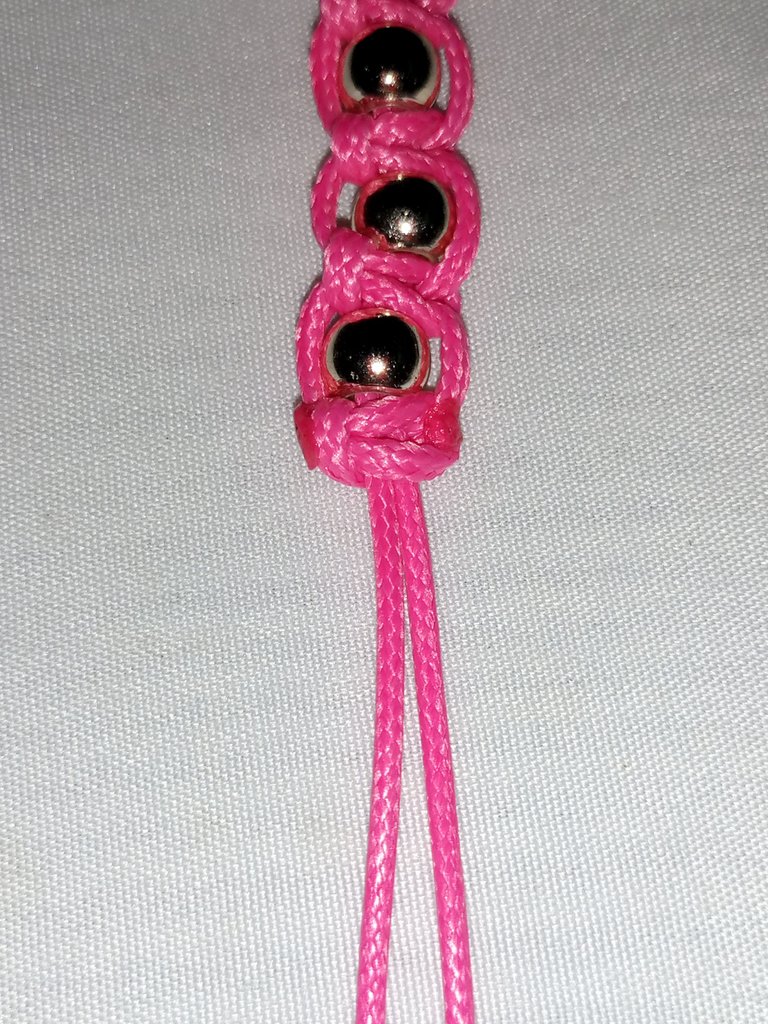

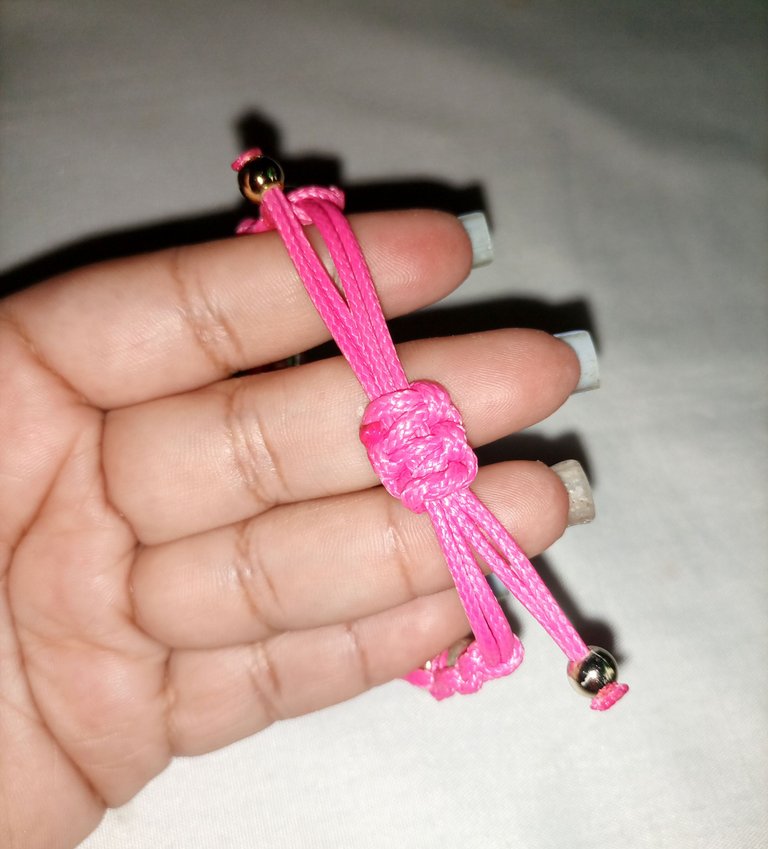
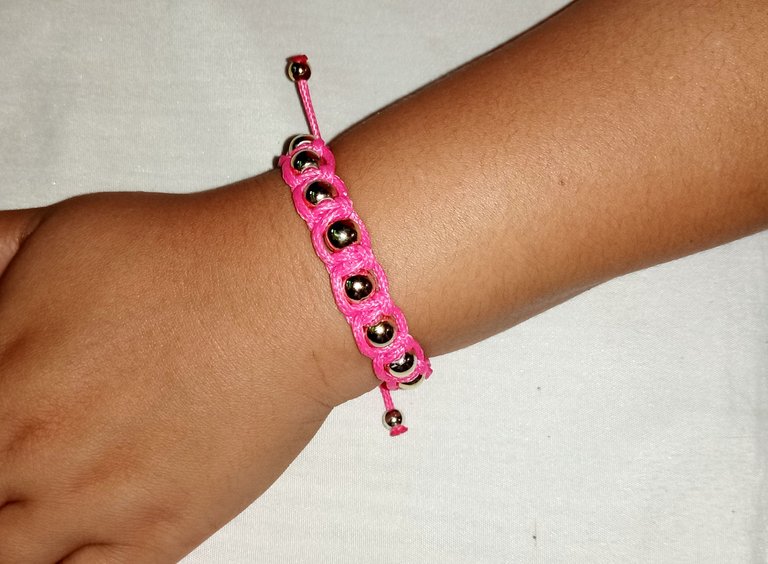
The bracelet is almost ready, now we proceed to close it. Then we fold the bracelet and take a piece of the leftover thread and weave a macramé weave of two or three knots, finally we cut and burn the ends.
Ya la pulsera esta casi lista, ahora procedemos a cerrarla. Entonces doblamos la pulsera y tomamos un retazo del hilo que sobro y hacemos un tejido macramé de dos o tres nudos, por ultimo cortamos y quemamos las puntas.
Translator Deepl

well done :)
Posted via neoxian.city | The City of Neoxian
Your content has been voted as a part of Encouragement program. Keep up the good work!
Use Ecency daily to boost your growth on platform!
Support Ecency
Vote for Proposal
Delegate HP and earn more
The rewards earned on this comment will go directly to the person sharing the post on Twitter as long as they are registered with @poshtoken. Sign up at https://hiveposh.com.