
Hola queridos amigos de hive, espero que se encuentren muy bien. hoy les vengo a presentar un hermoso separador de libros o marca páginas el cuál se puede realizar con materiales que cómodamente puedes obtener desde tu hogar. En este hermoso trabajo se utilizan técnicas básicas, como lo son; trazar, medir, recortar y pegar. Estas técnicas son muy sencillas de manejar. Ponlo en práctica y verás que es muy fácil.Los marca libros suelen ser de materiales tales como, papel, cartón, cartulina o incluso telas multicolores, con sus distintos tipos de decoraciones que los hacen ver más atractivos. En este caso lo pusimos en práctica solo con papel y cartulina. Como ya sabemos Los marcadores de libros nos ayudan a marcar aquellas páginas que hemos estado leyendo. Es una herramienta sumamente útil, ya que mediante este marcador podremos tener una especie de guía que nos ayudará a la hora de querer encontrar la página donde se ha quedado el lector, y así evitarnos perder el tiempo al tratar de recordar dicha página. Estos marcadores tienen una gran ventaja, y es que son muy fácil de usarlos, económicos, y se puede llevar a cualquier lugar. Para los materiales utilicé, pega en barra, tijera, marcadores, regla, una cartulina escarchada, y una hoja de papel Blanca.
Hello dear Hive friends, I hope you all are doing fine. Today I come to show a beautiful bookmarker which can be done with materials that you can have in your home. in this beautiful work we need to use basic techniques such as cutting, mesure, trace and glu, this is very simple to do, go ahaed and do it and you will see how easy it isthe bookmarkers are ussualy made of cardboard, paper or even multicolor fabric, with it different kind of decoration that makes them look more appealing. here I am doing it with paper and cardboard. As we know, the book markers help us mark the pages of the books we are reading, is a very helpful tool that will help us find the page that we last read and that way we wont lose time trying to find the page on our own. This bookmarkers have a great advantage which is that they are very easy to use, cheap and yo can carry them everywhere. for the materials I used, glue, scissors, color marker, a glitter cardboard, and a white sheet of paper.
Paso n° 1.
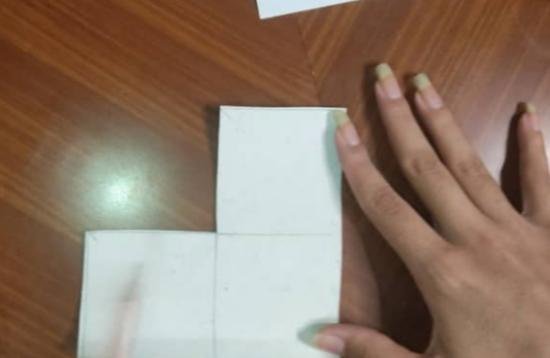
Lo primero que debemos hacer, es dibujar sobre una cartulina o una hoja de colores, un cuadrado de 7x 7 cm o 6x6 cm. De igual forma dibujamos otro cuadrado encima de este cuadro y otro a la izquierda, ambos con las mismas medidas
Así debe quedar...
step #1
The first thing we must do is draw a 7x7 cm or 6x6 cm square on cardboard or a colored sheet. In the same way we draw another square above this box and another to the left, both with the same measurements,
This is how it should be.
Paso n°2.
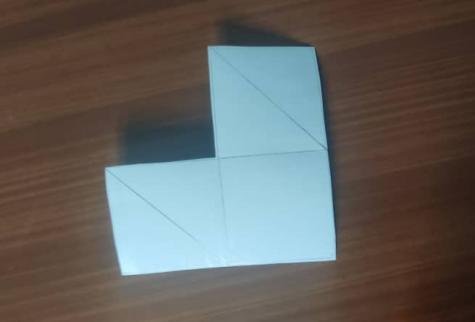
Luego dividimos el cuadro superior derecho por la mitad, haciendo una línea diagonal, y hacemos lo mismo en el cuadro inferior izquierdo
De esta manera...
Step #2
Then we divide the upper right box in half, making a diagonal line, and do the same in the lower left box this way.
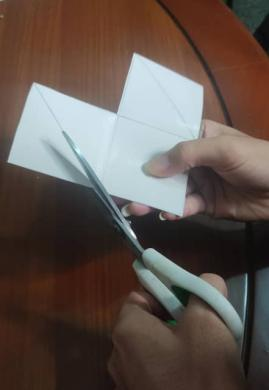
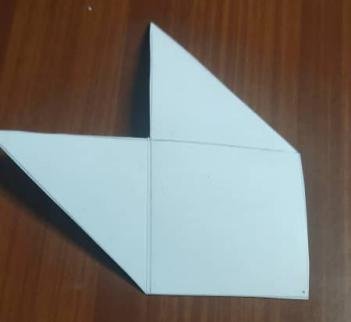
Paso n°3 Una vez trazada las líneas borramos la línea del cuadro superior izquierdo y la línea del cuadro superior derecho. Y procedemos a recortar siguiendo nuestro patrón que marcan las líneas en diagonal.

Step#3
Once the lines are drawn, we erase the line of the upper left box and the line of the upper right box And we proceed to cut following our pattern that marks the lines in diagonal.
Paso n°4
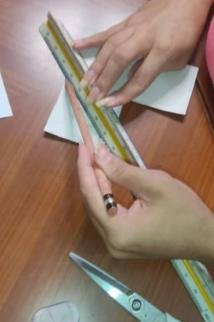
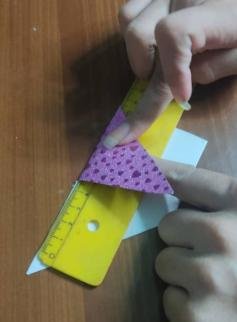
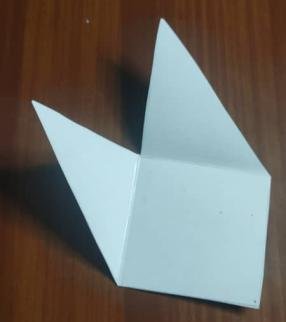
Ahora hacemos los dobleces. Doblamos los triángulos que se encuentran arriba por la mitad, para que se nos haga más fácil nos podemos apoyar con una regla para perfeccionar.
Así debe quedar...

Step#4
Now we make the folds. We fold the triangles that are above in half, to make it easier for us we can support ourselves with a ruler to perfect it.
Paso n°5
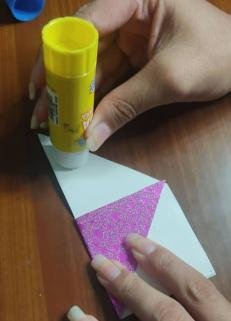
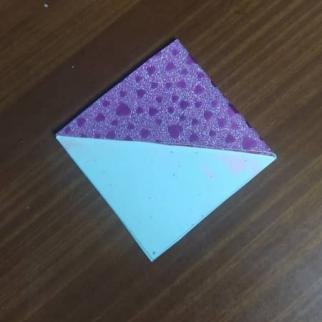
Luego de haber doblado los triángulos que se encuentran arriba, le agregamos pegamento en barra al triángulo derecho y lo pegamos encima del triángulo izquierdo
Debe quedarnos así.
Step#5
After we have folded the triangles above, we add a glue stick to the right triangle and glue it on top of the left triangle.
Espero que hayan podido disfrutar de este paso a paso, y que lo puedan poner en práctica🥰 crea tus propios marca libros y dale una decoración Interesante
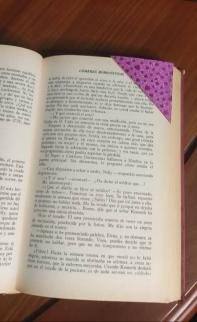
Así es como se ven mis marcadores.
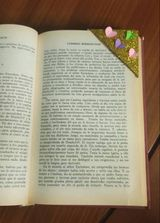
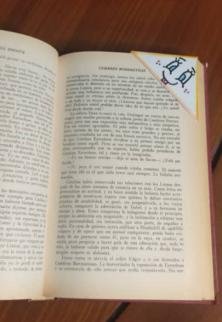
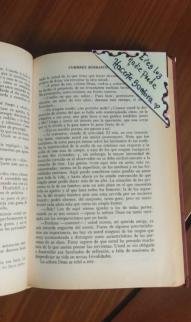
I hope you have been able to enjoy this step by step, and that you can put it into practice create your own bookmarks and give them an Interesting decoration
This is what my bookmarks look like.
Hai avuto una bellissima idea!
È veramente molto carino
Mi piace moltissimo!
Ti auguro una buona serata
@luba555