Dear Hivers,
All of us have an opportunity to use featured image on our Hive posts. If you are not doing it yet, then I have some ideas to share with you.
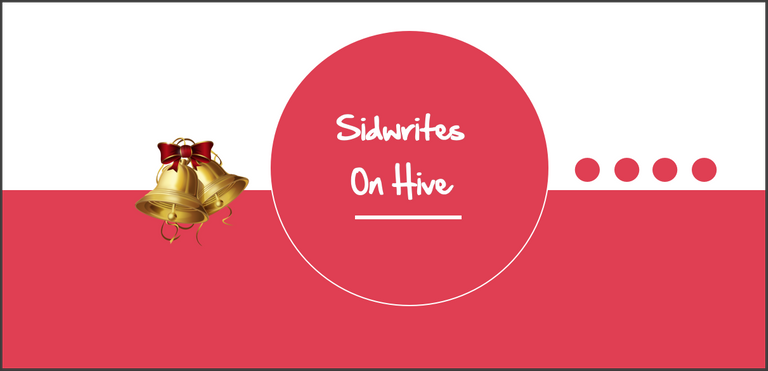
First, I have started using featured image on every single post now. They look like this:
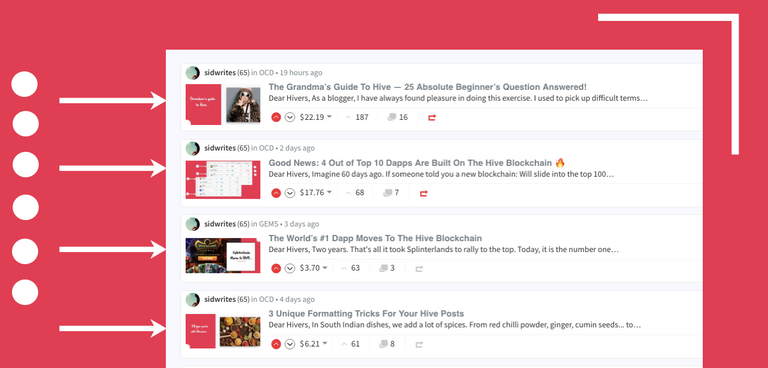
You see the thumbnails, right? These are featured images.
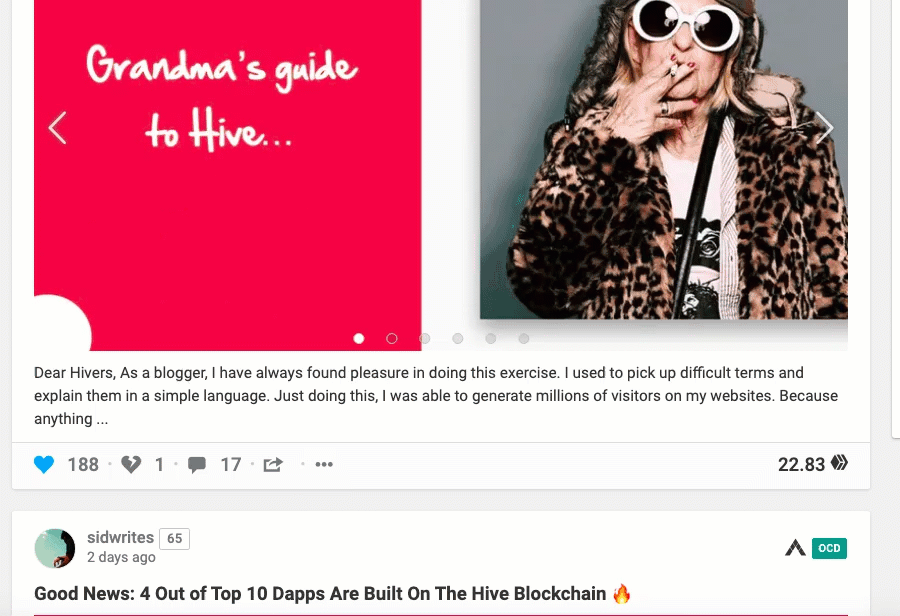
So when you go inside the article, you can see them. For example: here is the big featured image from my recent attention economy post:

It looks good, isn't it?
Not only does it stand out but also invites attention. It adds a distinct personality to your profile. As you can see, I use red + white as the foundational color.
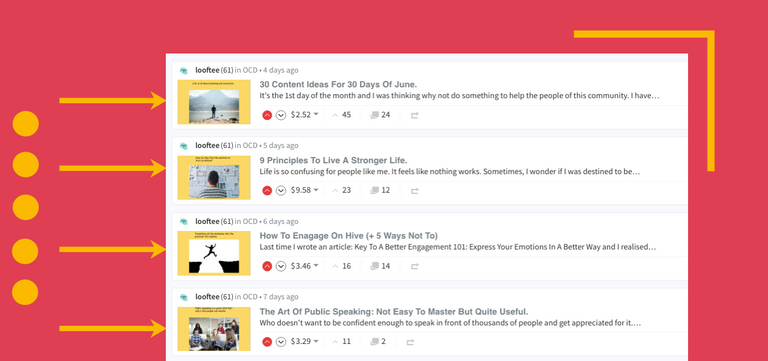
You can do it too. For example: I see @looftee using another combination of colours as featured images (yellow + white):
That is why I am making this post to show you how to create your own featured image. I will be sharing the steps with you, and then an example on how to do it.
This way, you will be able to create any kind of images on your Hive blog, personal website, or even businesses. You can post them on your social media profiles and use them as a banner.
(I recently did one for the cops near my home — and they loved it)
You don’t have to be a graphic designer (I am not). And you don't need any special skills to make it happen. You simply have to devote some time.
So let’s get started with 4 important steps you need to create a perfect featured image:
Step #1: Start by selecting colors
Not just any colors but the RIGHT colors. You can pick two colors to start with.
For example: I always use red and white.
White because it is an universal color. And red because of the Hive logo. Both these colors are the foundation of my featured image.
Step #2: Save as a template
Now you take these two colours and mix them anyway you want. And then save it.
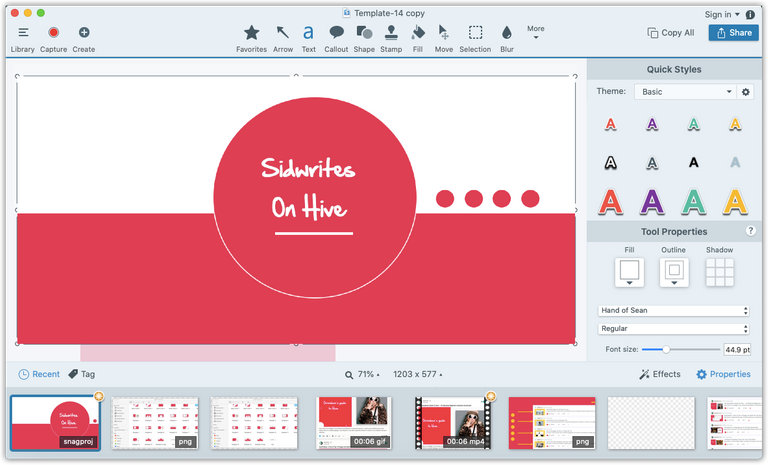
I have create multiple templates and saved them in a folder called "Templates."
There's a total of 14 templates that continues to grow. It took me about two hours to make them all. You can see them here:

(Don't worry — we will see how to do it soon)
Once saved, close these templates. You are done!
#3: Now add a new image
Every time you are writing a new post and you need a featured image? Now it gets simple.
Just open the saved template — and make changes. For example:
You see what we are doing?
On our foundational template, we are making changes. In this case, I am changing the text.
#4: Finalize the image
You can change the font, the color, or add filters. You can also add another color, if you wish to. Or new images.
Like I am adding a small bell and a black border.
Let's stop here and see what just happened:
So we followed four simple steps:
Step #1: Select your foundation colors
Step #2: Save as template (easier to reuse them)
Step #3: Start editing
Step #4: Finalize it by adding fonts / filters
This is the simple receipt for a perfect featured image. And now, how do you do it? How can you make your own (and probably first) featured image within the next 20 minutes?
Let's explore it.
First, we should talk about the tools to use.

Software needed (desktop):
- Any image editing tool works
- Gimp (free)
- Adobe Photoshop
- Snagit
I personally use Snagit. It is paid — so I wouldn’t recommend you to get this tool just to edit images.
Plus, downloading an app on your desktop can be a pain. So you can use online image editors. They are free and gets the job done.
Two free online image editing tools I recommend:

Let’s take an example.
I am selecting BeFunky to show you how to make a featured image from scratch.
You can use BeFunky or Canva. For the purpose of this example, I will use BeFunky.
Step 1: Select your foundational colors
I chose an existing image and selected light brown and white as the base color.
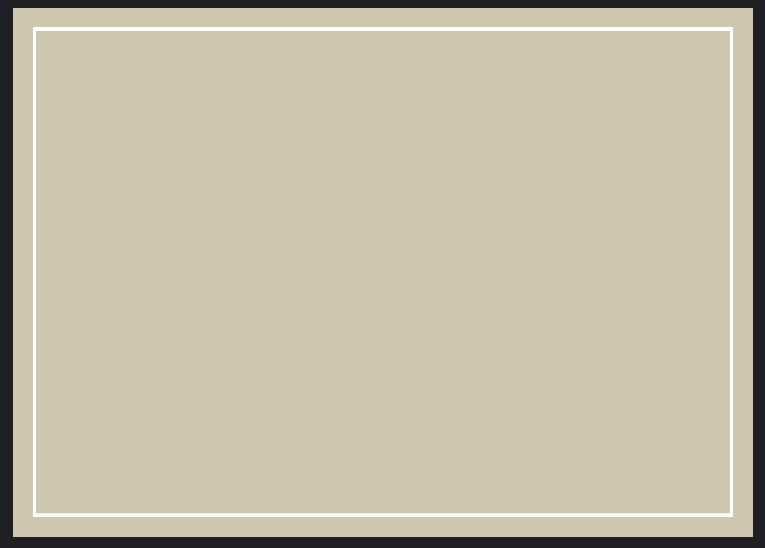
As you can see above, the brown color is the background and inside there's a white color — like four walls. Two simple colours.
This is the foundation.
Image dimension: 1280 × 720px (or could be anything that looks rectangular)
Step 2: Save this template
Because I am using BeFunky, I have to login and the template will be saved.
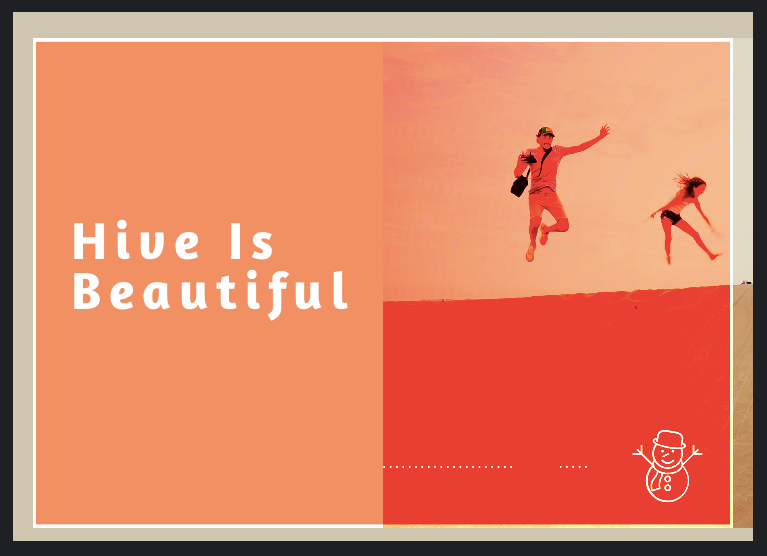
I take this template, duplicate it, or even spice it up. For example: I am now adding:
- An image
- A text (Hive is Beautiful)
- New elements - dots... and also the little snowman
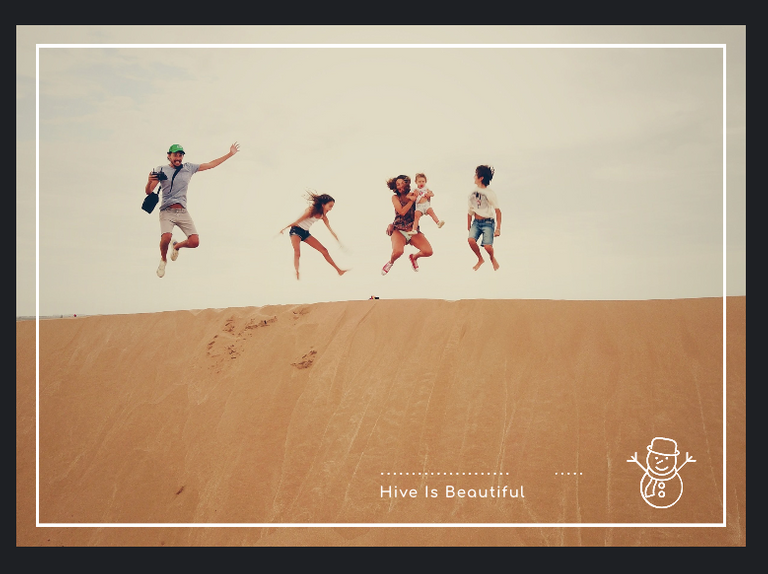
At this point, this seems like another regular image, so we move onto the next step.
Step 3: Start editing
Whenever you are ready to write a post, open this image. Make adjustments.
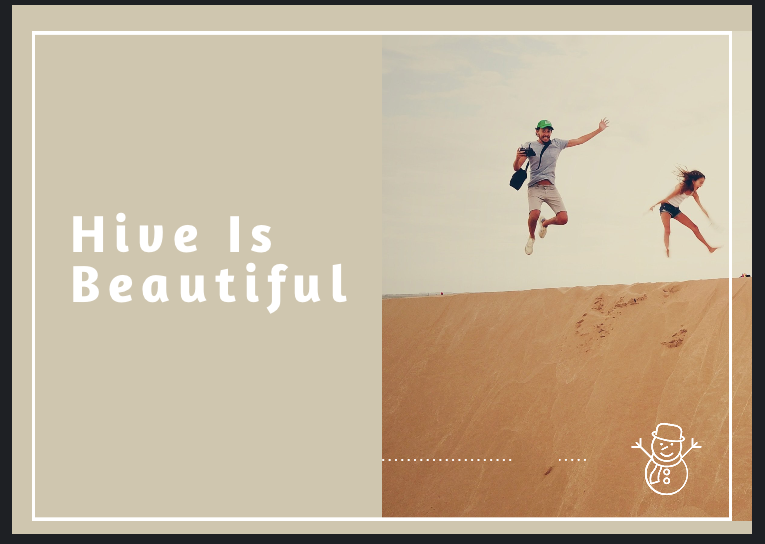
For example: I have pushed the image to the right and then took the text — made it bold — and pushed it to the left.
Step 4: Finalize it
Now you can make the fonts bold and add filter. Like this.
Perfect, isn't it?
You can crop this image to remove the sides. Or play with it anyway you want.
That's it — so there you have it.
A simple four step process to create your own unique featured image.
The first time you do it? It may require some focus.
But as you do it often, you will be faster. Editing will take you less than five minutes.
And once you upload this image, there will be a WOW factor that will grab everyone’s attention.
Hope this helps.
Cheers,
Sid
Excellent, I’ll definitely try, thanks for this quality post.
Yes, please.
Thank you for your love and support.
I chose befunky - do you think this is a good choice or is it better to choose Snagit?
It is a good choice.
As mentioned, Snagit is paid, so that's an issue. I am using since 6+ years now. Really used to it. :)
If you can find some time, and try all...
You can know. You should be comfortable with the tool.
So best to start with online tools — as you don't have to download anything.
You can try Canva.
I used it today for the cops... and they printed it out. Requires registration.
There are several online image editing tools around.
To repeat: Anything that makes you comfortable? Go with it. The process is always the same.
befunky is inexpensive $ 59 and there is Russian there - I’ve been digging around now and everything is intuitively clear - I’ll still not learn in a hurry.
befunky is inexpensive $ 59 and there is Russian there - I’ve been digging around now and everything is intuitively clear - I’ll still not learn in a hurry.
For some reason, I really don't want you to spend money. Please do check this list: https://www.producthunt.com/ask/2187-what-is-the-easiest-free-online-photo-editor-app
As mentioned, you need to try a few more. As I have found Snagit way before... I am very comfortable.
Feel free to ask me anything!
Nice idea... Will try to explore a "themed thumbnail" for my posts too. Thanks for this!
I can't wait to see yours.
Nice way to call it themed thumbnail!😃
Hello wow!!! This is so awesome and I am excited to give it a try! I have a learning curve for things like this, but, I think this would really add so much to my posts.
Thank you for this and I appreciate you sharing the how to!
You are awesome!
Upped and Reposted
!tip .20
Haha! You always do this.
Absolute pleasure!
Thanks for the support. Wishing you a great year ahead.
It is always my pleasure!
Wow, I always thought of asking you about it, good that you have written it. Awesome post
Hah! I am glad.
Twitter
I really like the information you share! Thanks!
Thanks for supporting me! Hope all is well.
Thanks for the tutorial. Will try it out
I am watching you!
Wow, thanks for sharing more tricks....I will improve my blog now.
Haha! You are doing a great job!
You can use canva, it's pretty easy & more robust than befunky to make a thumbnail with the free edition last time I checked.
Yes. Only reason I recommended BeFunky was no registration.
Otherwise Canva rocks!
Absolute beast. :)
Congratulations @sidwrites! You have completed the following achievement on the Hive blockchain and have been rewarded with new badge(s) :
You can view your badges on your board And compare to others on the Ranking
If you no longer want to receive notifications, reply to this comment with the word
STOPDo not miss the last post from @hivebuzz:
🎁 Hi @sidwrites! You have received 0.2 HIVE tip from @dswigle!
Check out @dswigle blog here and follow if you like the content :)
Sending tips with @tipU - how to guide.
Thanks for sharing will surely try
I am so glad. Thanks for dropping by!
Excellent, thanks for this. Bookmarked for later use!
Always appreciate your support, simplifylife.
I got excited when I saw another SnagIt user! It's just such a handy tool. But like you've said, there's free options out there that do a great job. I've used Canva before, but haven't tried BeFunky. Will have to check it out.
Oh my, not sure how I missed this. Snagit buddies unite! Haha.
Canva is good. So I thought I will talk about BeFunky here.
What's featured image size you use, I mean width
/height?
Hi brother!
Thanks :D