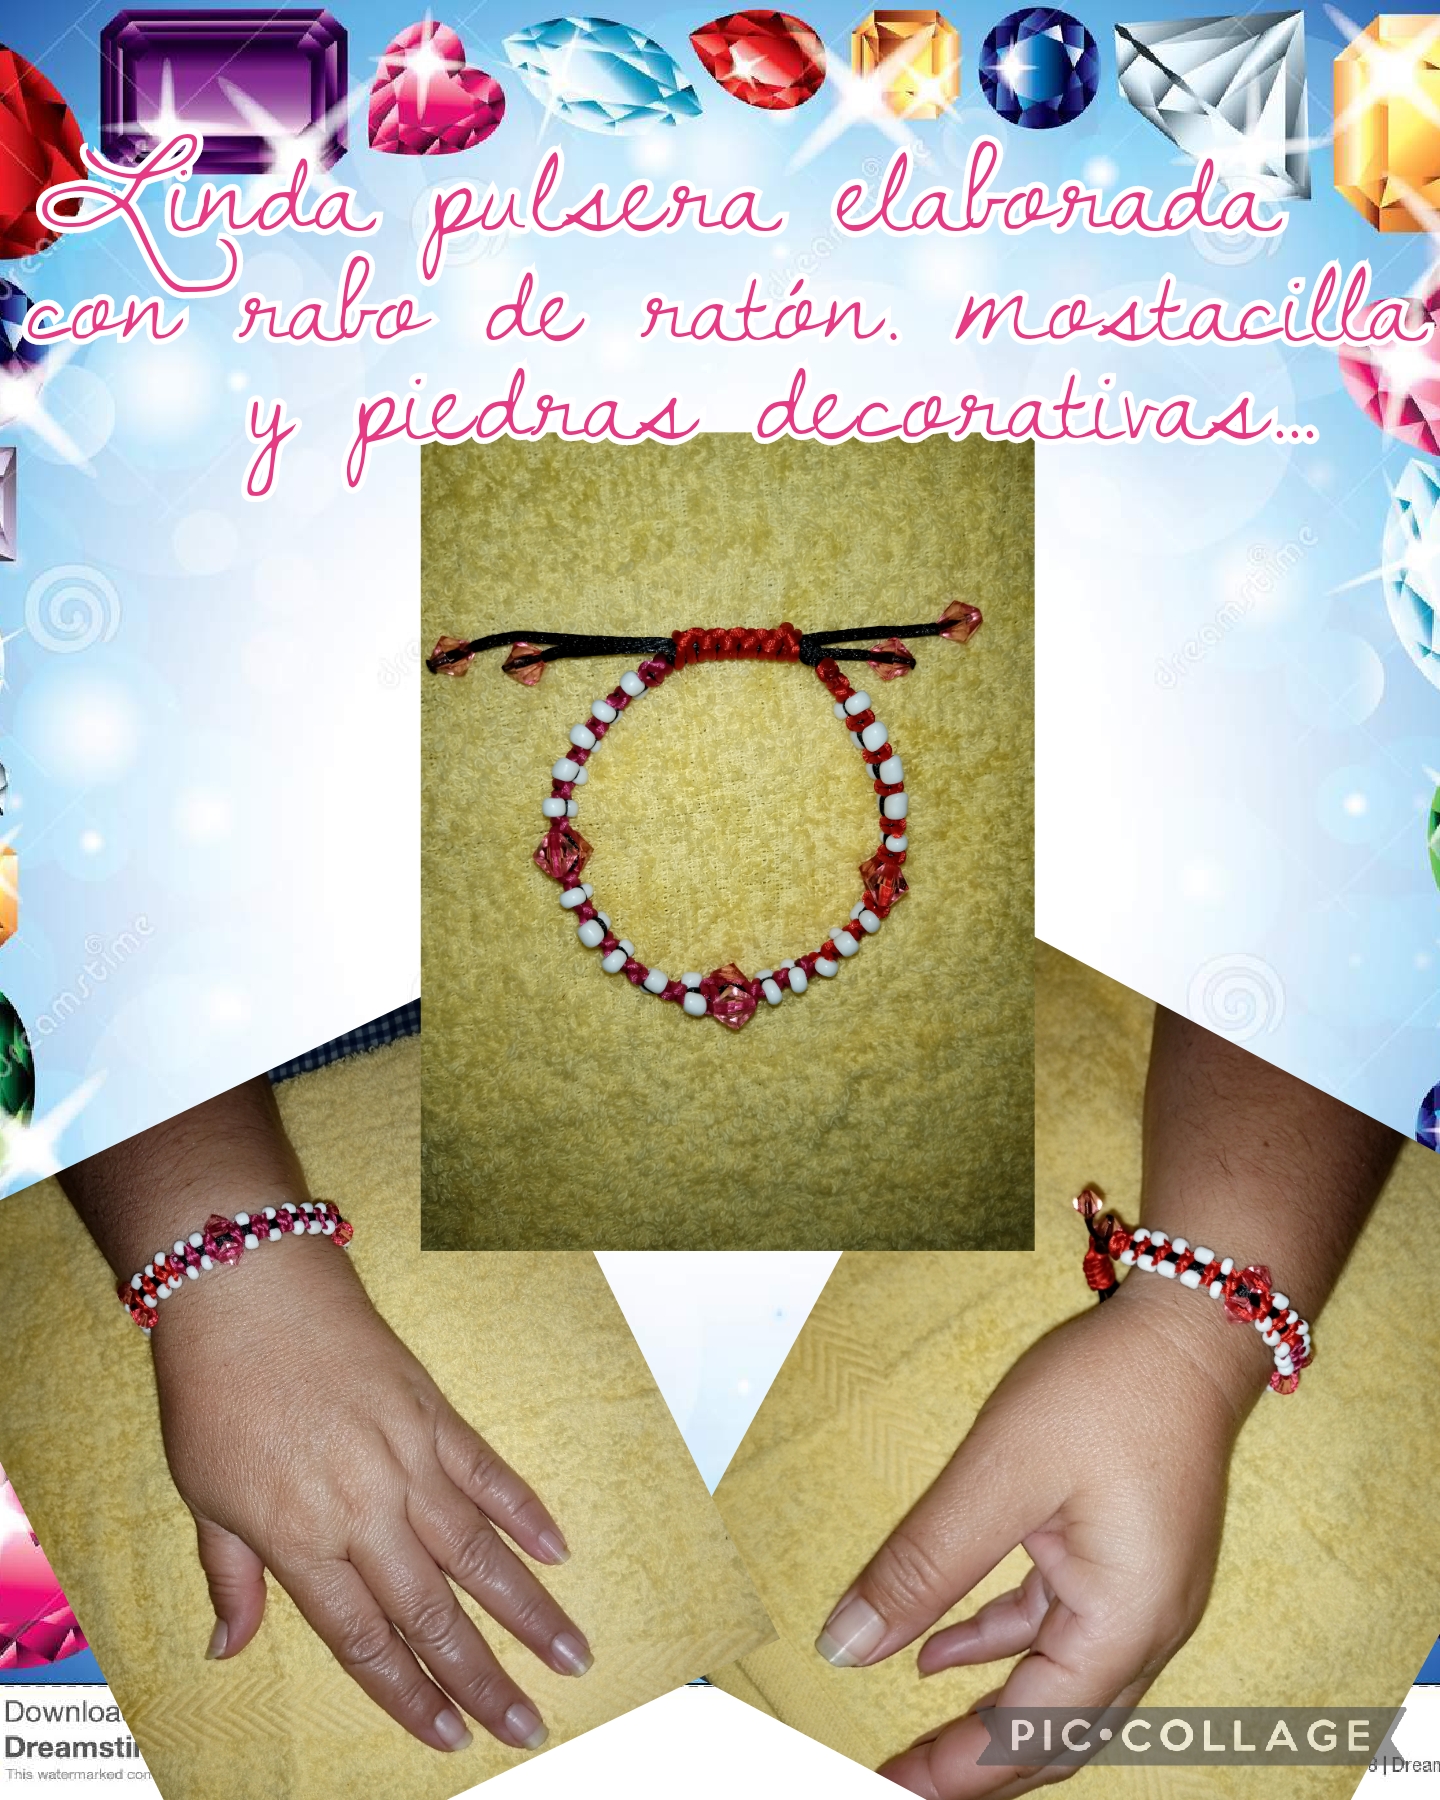
Holaa!!!! muy buenas tardes amigas creativas que formamos esta hermosa comunidad Jewelry, ante de todo reciban de mi parte un fuerte abrazo virtual y agradeciéndoles a Dios por este nuevo día, deseandoles que se encuentren muy bien de salud, que es lo mas importante, espero estén pasando un bonito día, y que Dios los bendiga a todos. El día de hoy, les traigo un divertido y muy practico tutorial, se trata de hacer una muy linda pulsera, con nudo, de macramé, la vamos a hacer con cordón rabo de raton, mostacillas y piedras decorativas para bisutería, como les dije en las publicaciones anteriores, yo pensaba que hacer el nudo, de macramé era muy difícil, pero con mucha practica aprendemos, bueno ahora manos a la obra y comencemos con el paso a paso.
Hello!!!! Good afternoon, creative friends who make up this beautiful Jewelry community. First of all, receive a big virtual hug from me and thank God for this new day, wishing you good health, which is the most important thing, I hope you are having a good time. Have a nice day, and God bless you all. Today, I bring you a fun and very practical tutorial, it is about making a very nice macramé bracelet, with a knot, we are going to make it with a rattail cord, beads and decorative stones for costume jewellery, as I told you in In the previous publications, I expected that making the macrame knot was very difficult, but with a lot of practice we learn, well now let's get to work and let's start with the step by step.
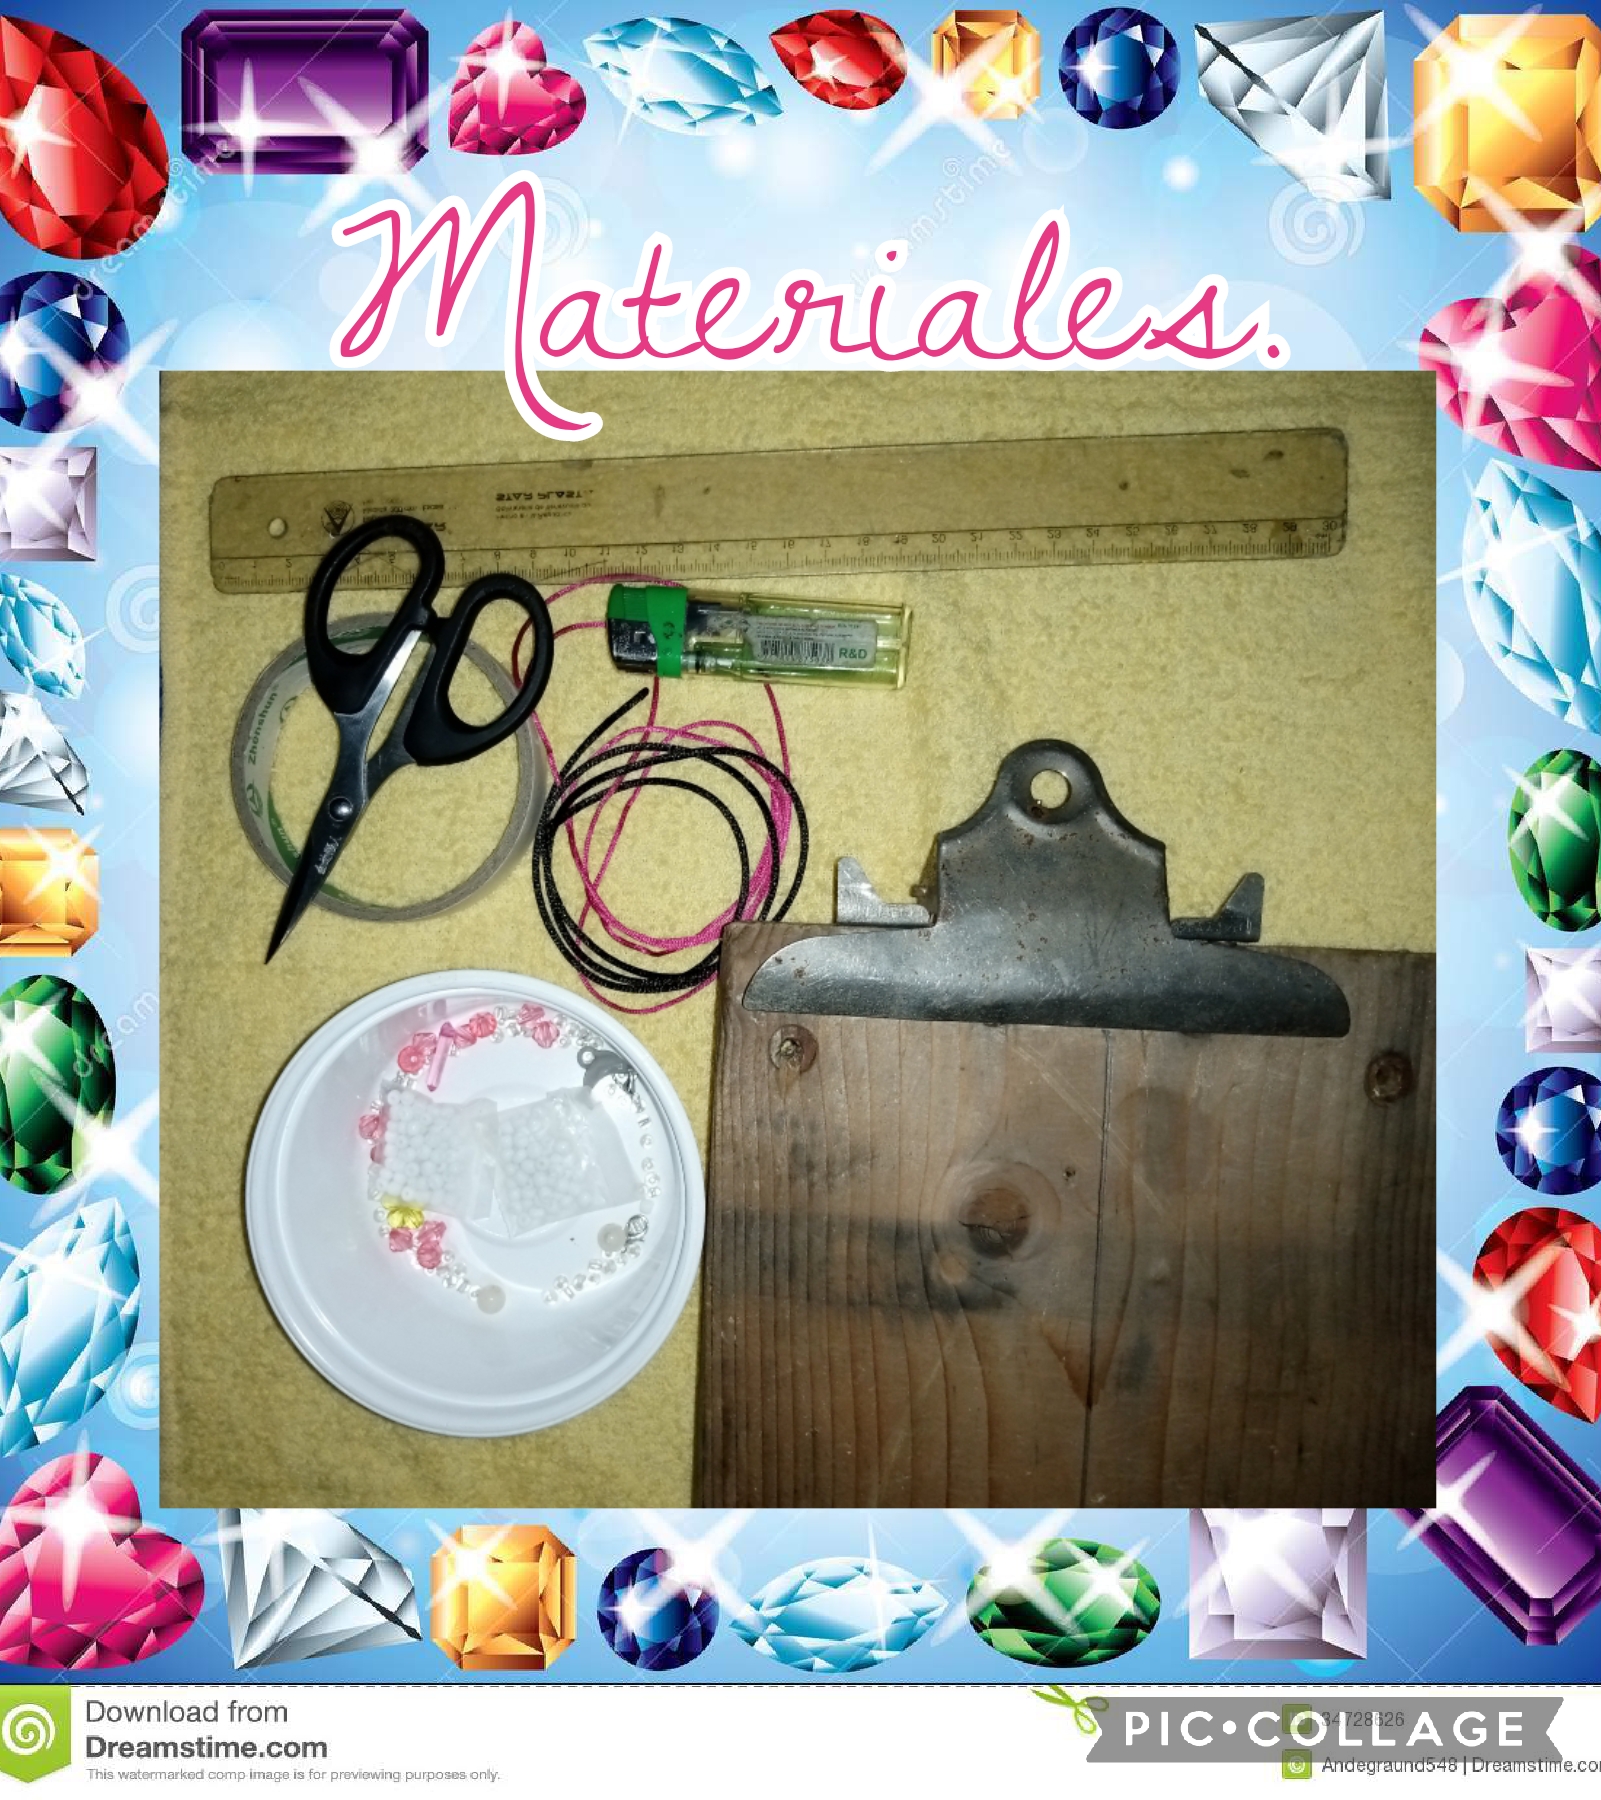
Para hacer esta linda pulsera, vamos a necesitar los siguientes materiales y herramientas.
*Cordón rabo de raton, colores negro y fucsia.
*Mostacillas.
*Piedras decorativas para bisutería.
*1tijera.
*1 regla métrica.
*1 yesquero.
*Cinta adhesiva.
*1 Tabla de madera.
To make this cute bracelet, we are going to need the following materials and tools.
*Mousetail cord, black and fuchsia colors.
*Beads.
*Decorative stones for jewelry.
*1 scissors.
*1 metric ruler.
*1 tinderbox.
*Scotch tape.
*1 Wooden board.
Let's start with the step by step, to make this beautiful bracelet.
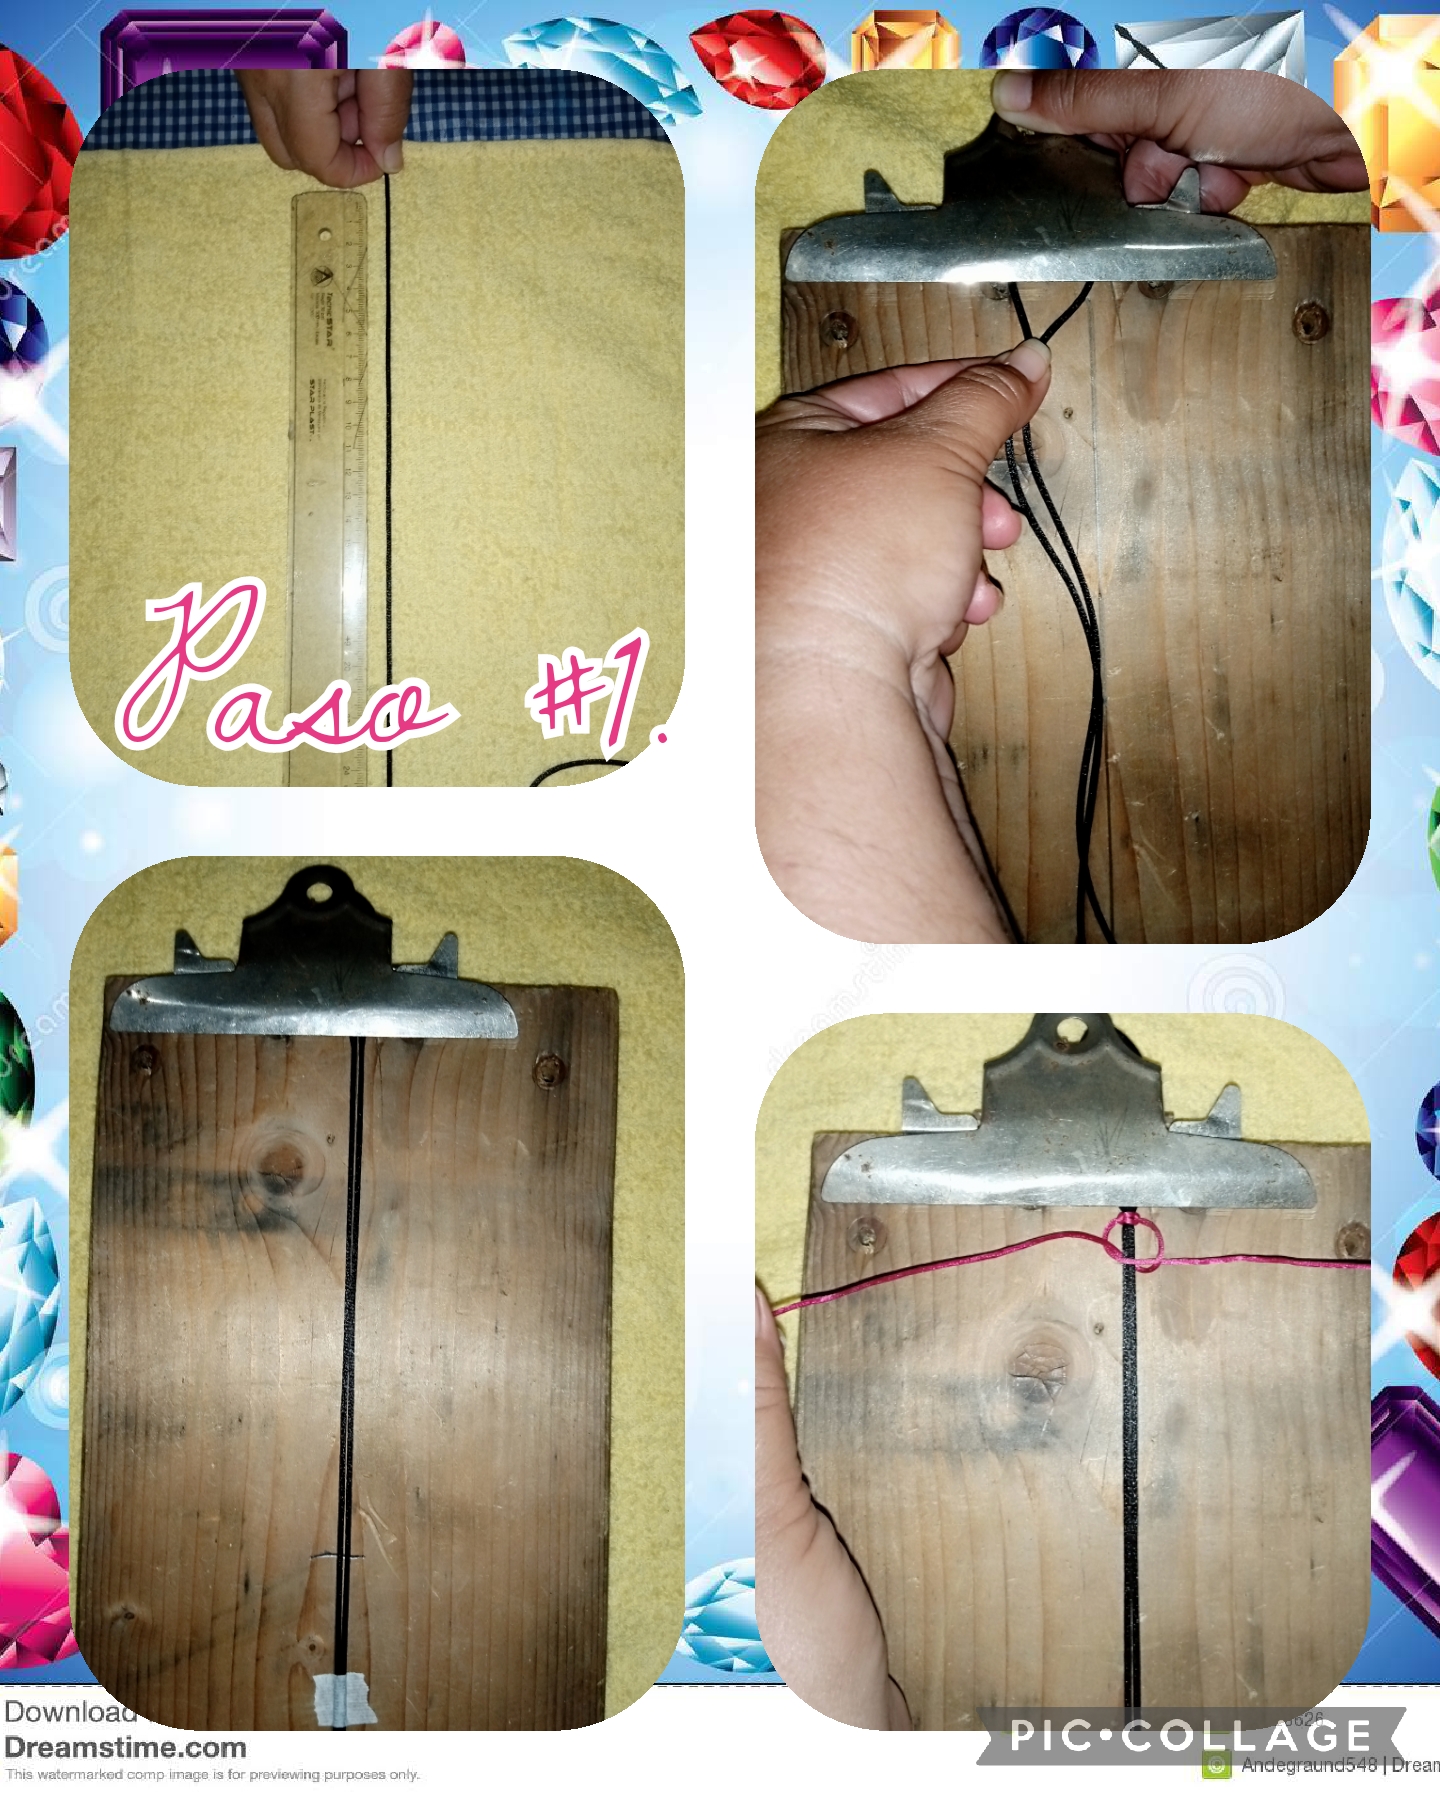
Step #1. We are going to start making this beautiful bracelet, and we are going to do it as follows, the first thing we are going to do is, we take the cord, a black mouse tail, and we are going to measure 60 centimeters, then with help Cut it with some scissors, then fold the cord into two parts of the same size, then we take the measurement of 5 centimeters and then we press it on the wooden board and we put adhesive tape on the bottom of the cord, so that it is well tempered, we continue to take the fuchsia cord, we pass it under the black cord and tie a knot with the fuchsia cord and tighten it.
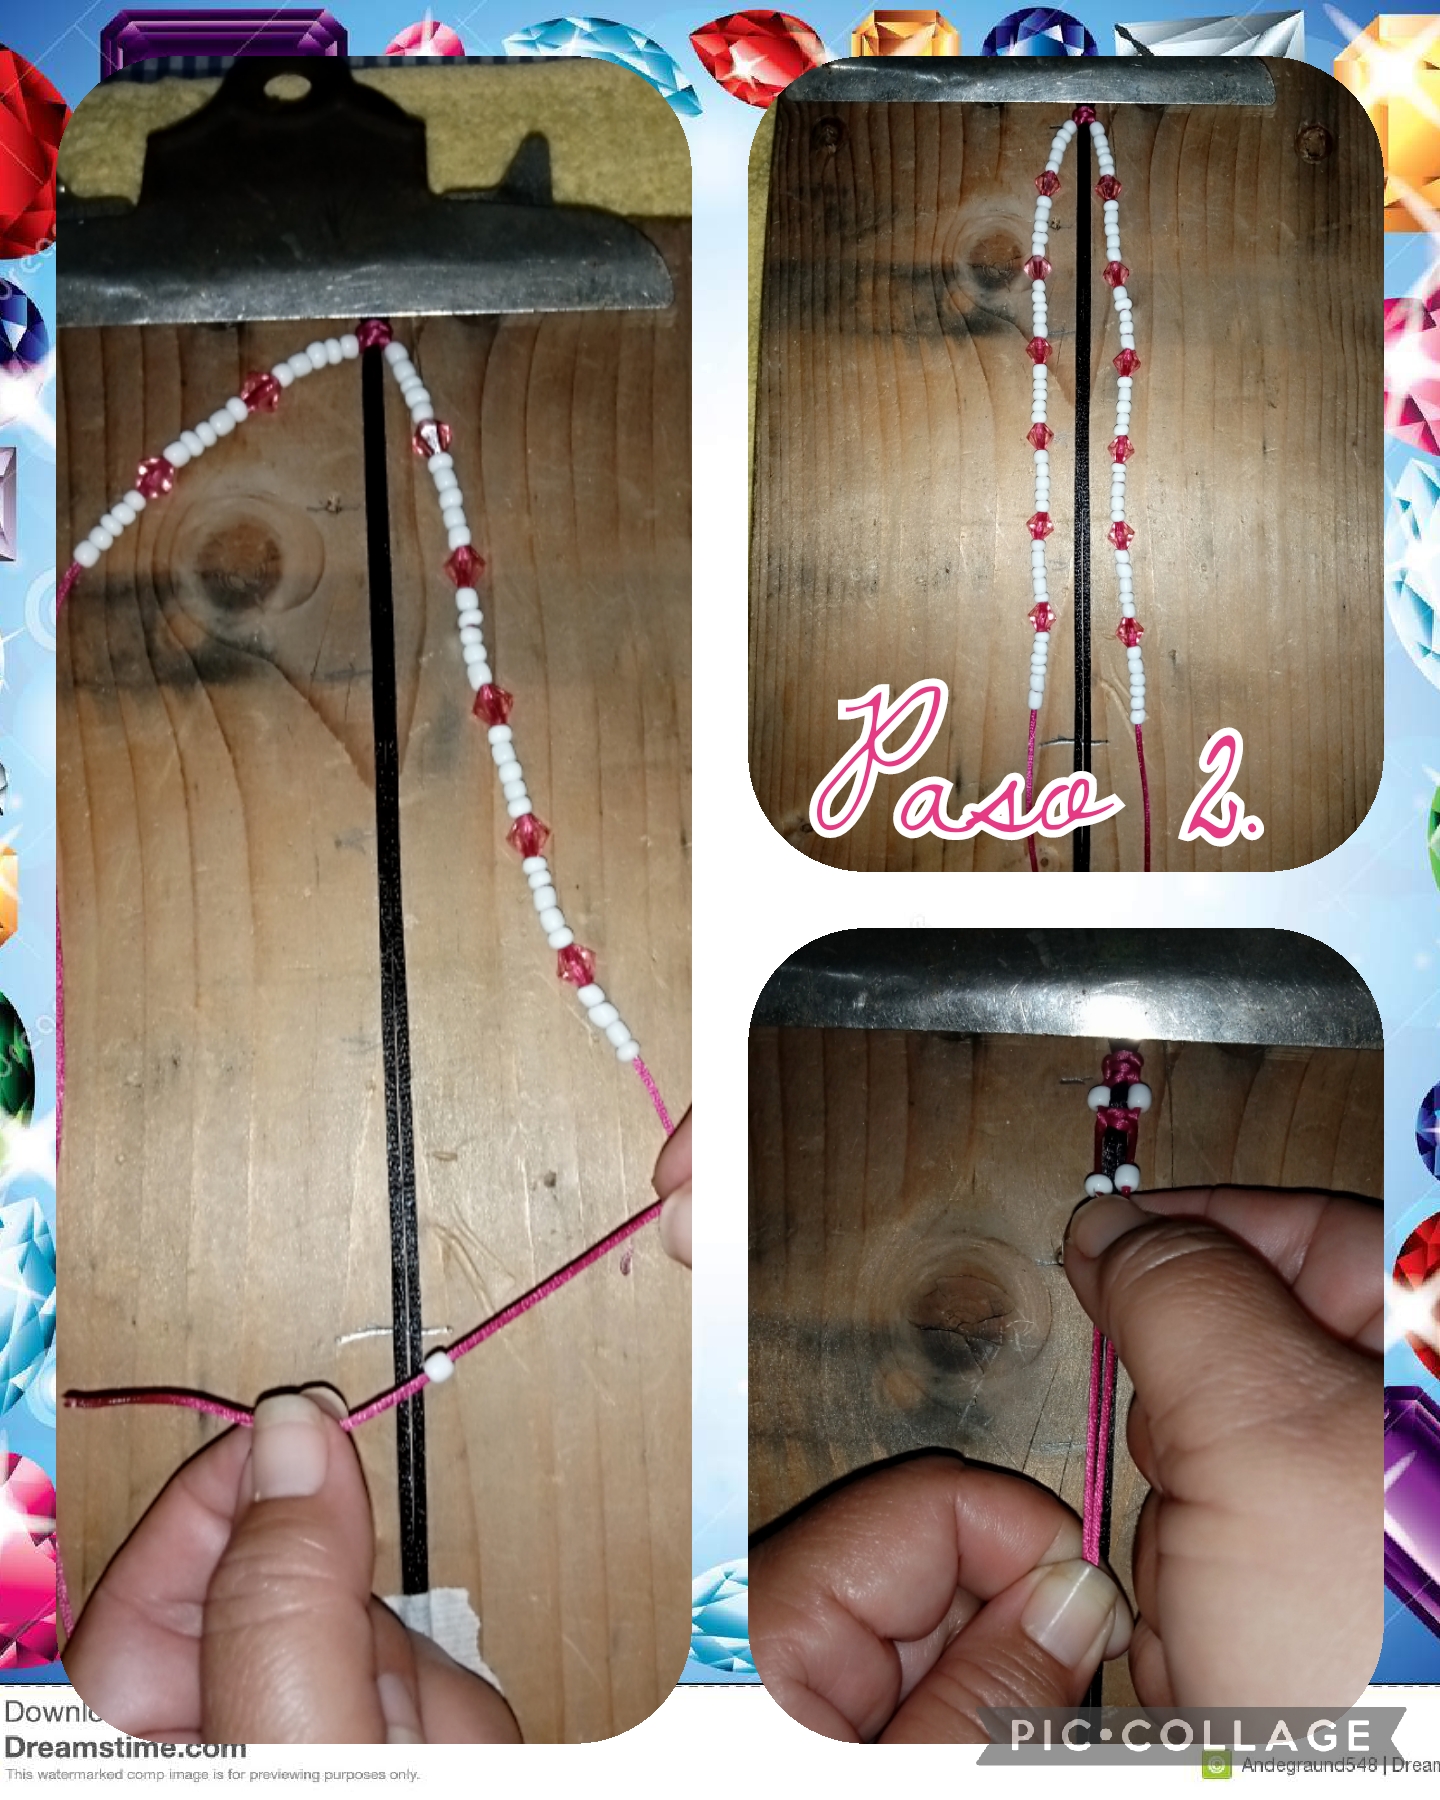
Step #2. In this step we are going to insert the beads and decorative stones into the 2 cords, then we begin to select the 2 beads, we upload it, to begin to make the knot, macramé, see the images.

Step #3. Now in this step we are going to make the knot, macramé and we are going to do it as follows, first we are going to start on the left side, we take the cord, we pass it over the right cord, it should look like a 4, We pull out the lace, we press it very tight, then now towards the right side, we pass the lace over the left lace, it has to be in the shape of a P, then we remove it and press it very hard, and so on we go through the steps, to form the bracelet, up to the desired size.
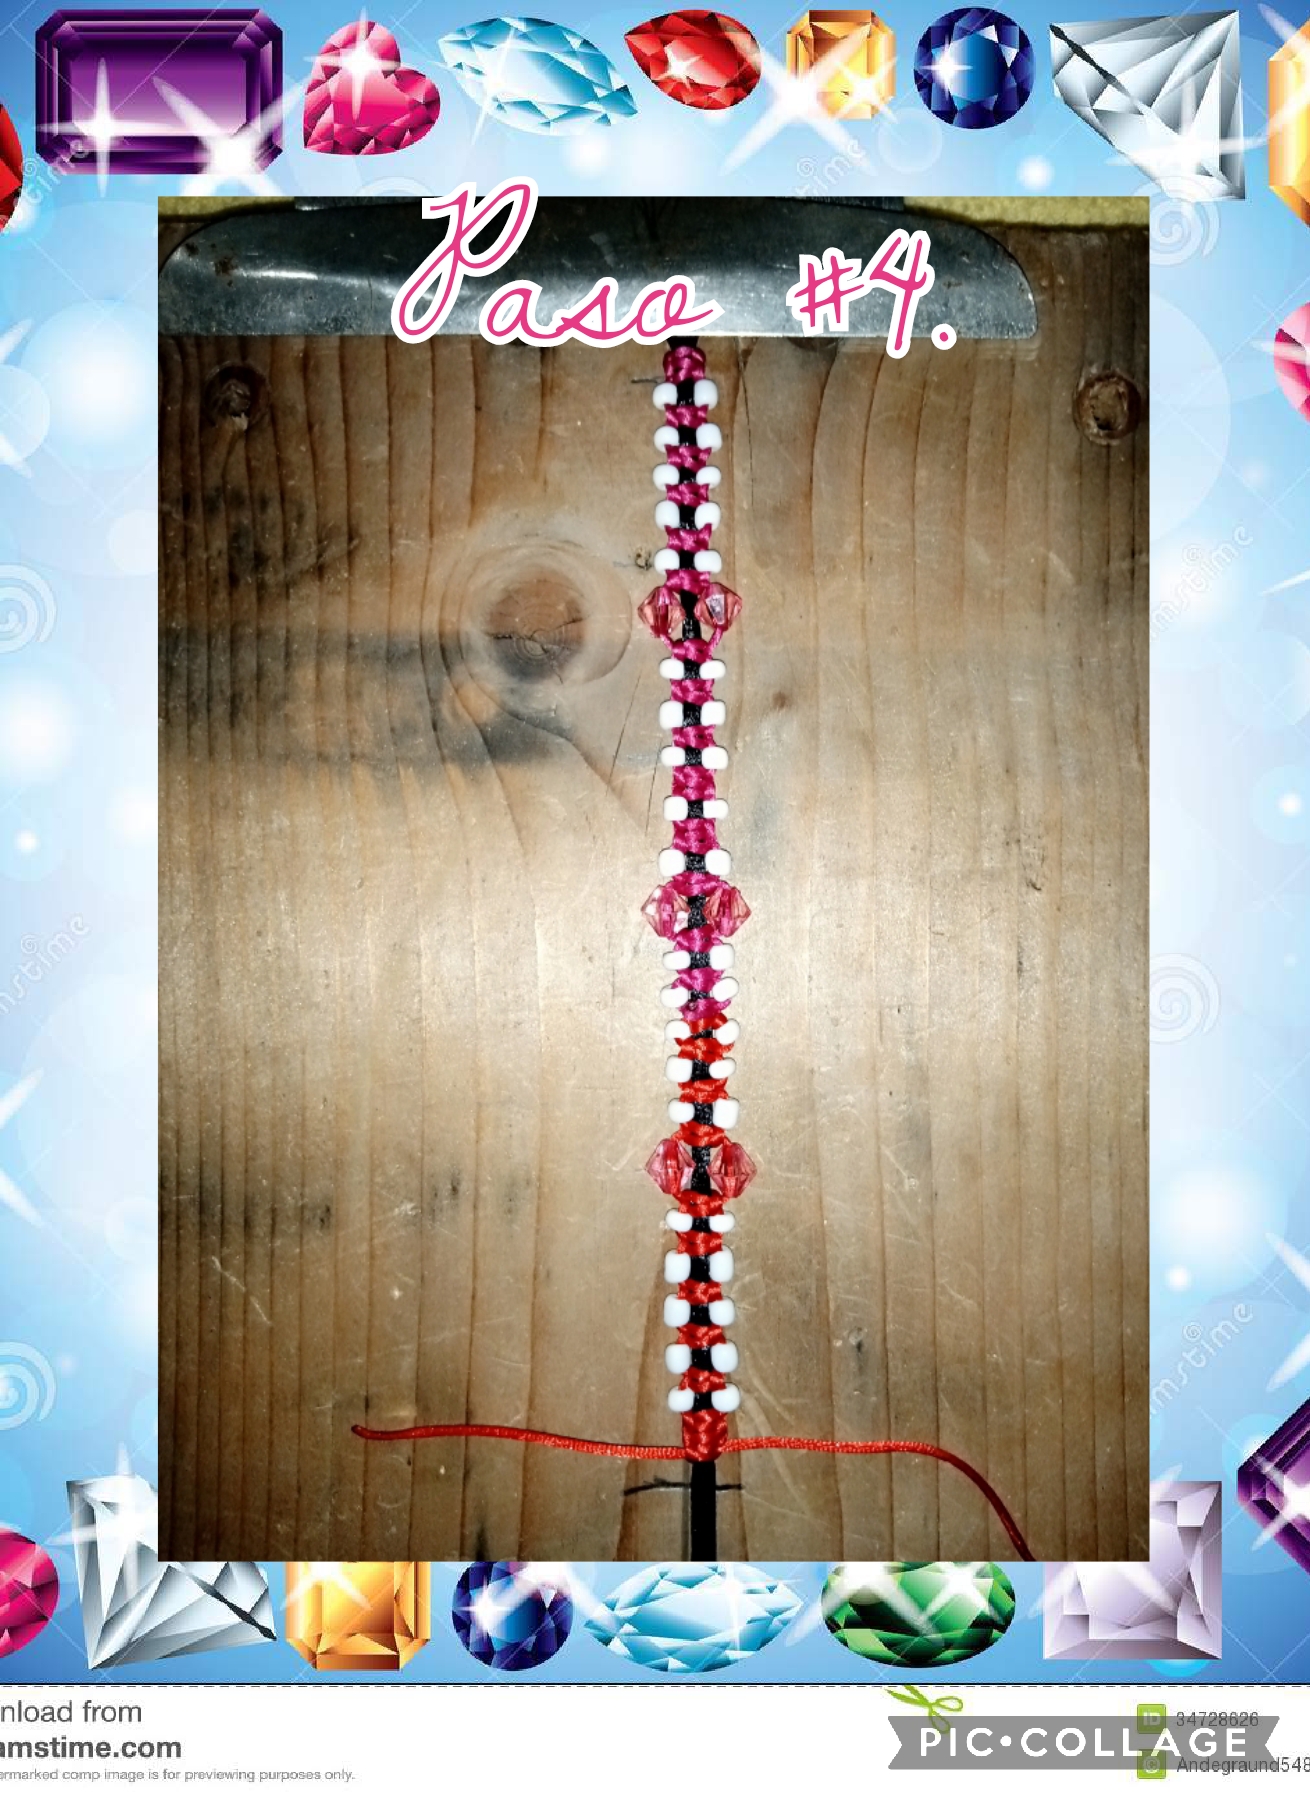
Step #4. Here in this step I show you how the already woven bracelet turned out, with the knot, macramé and as necessary, see the images.
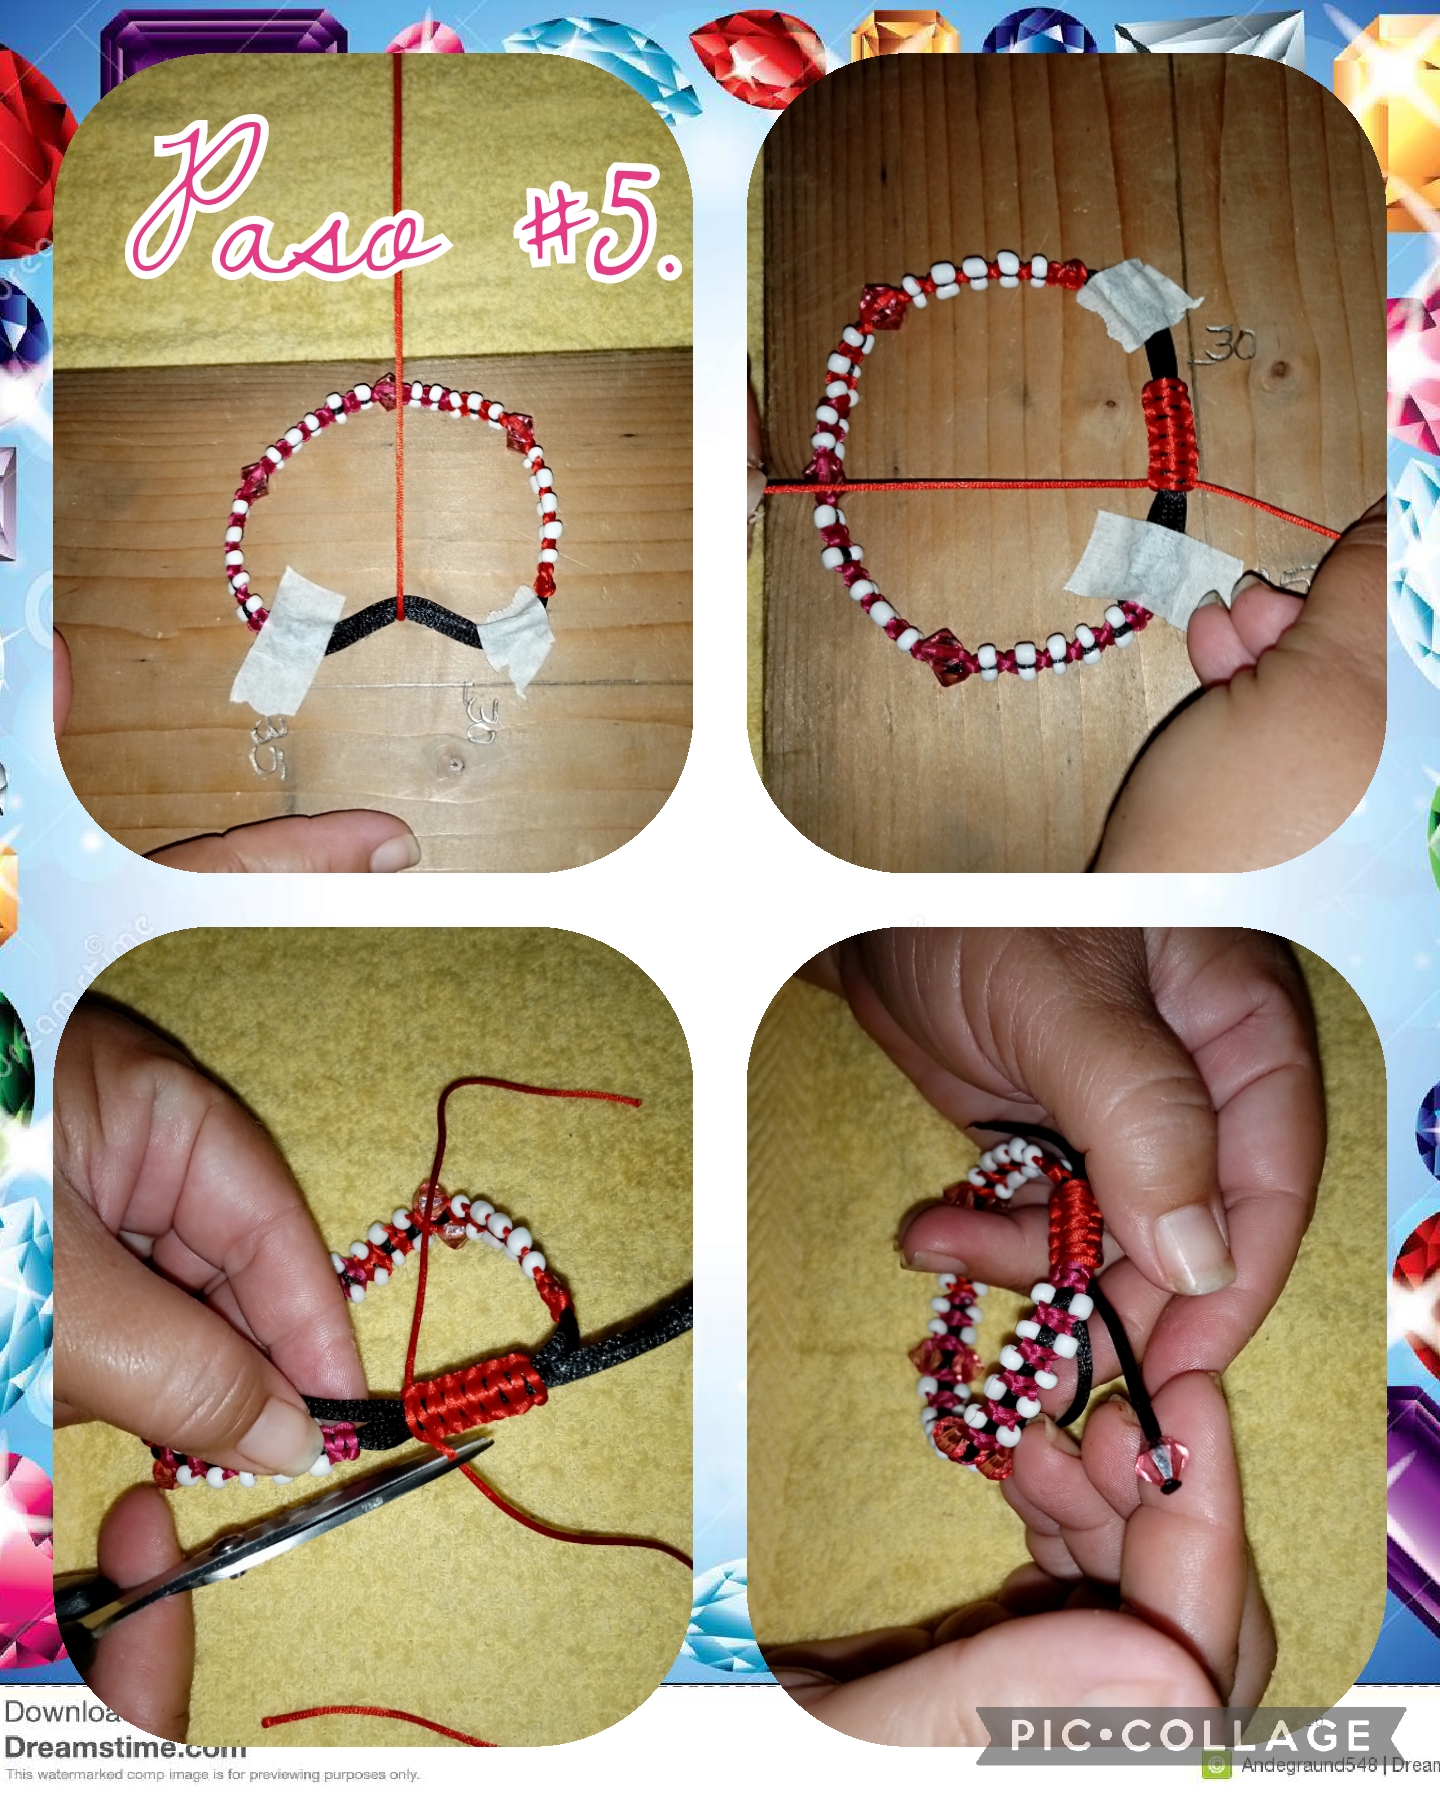
Step #5. In this step we are going to make the knot, to tighten and loosen the bracelet, and we are going to do it with the same steps, but smaller, after making the knot, we cut the excess and with the tinderbox we burn all the ends, and to Finish decorating the bracelet, we are going to put some decorative stones at the ends that will remain as a pendant..
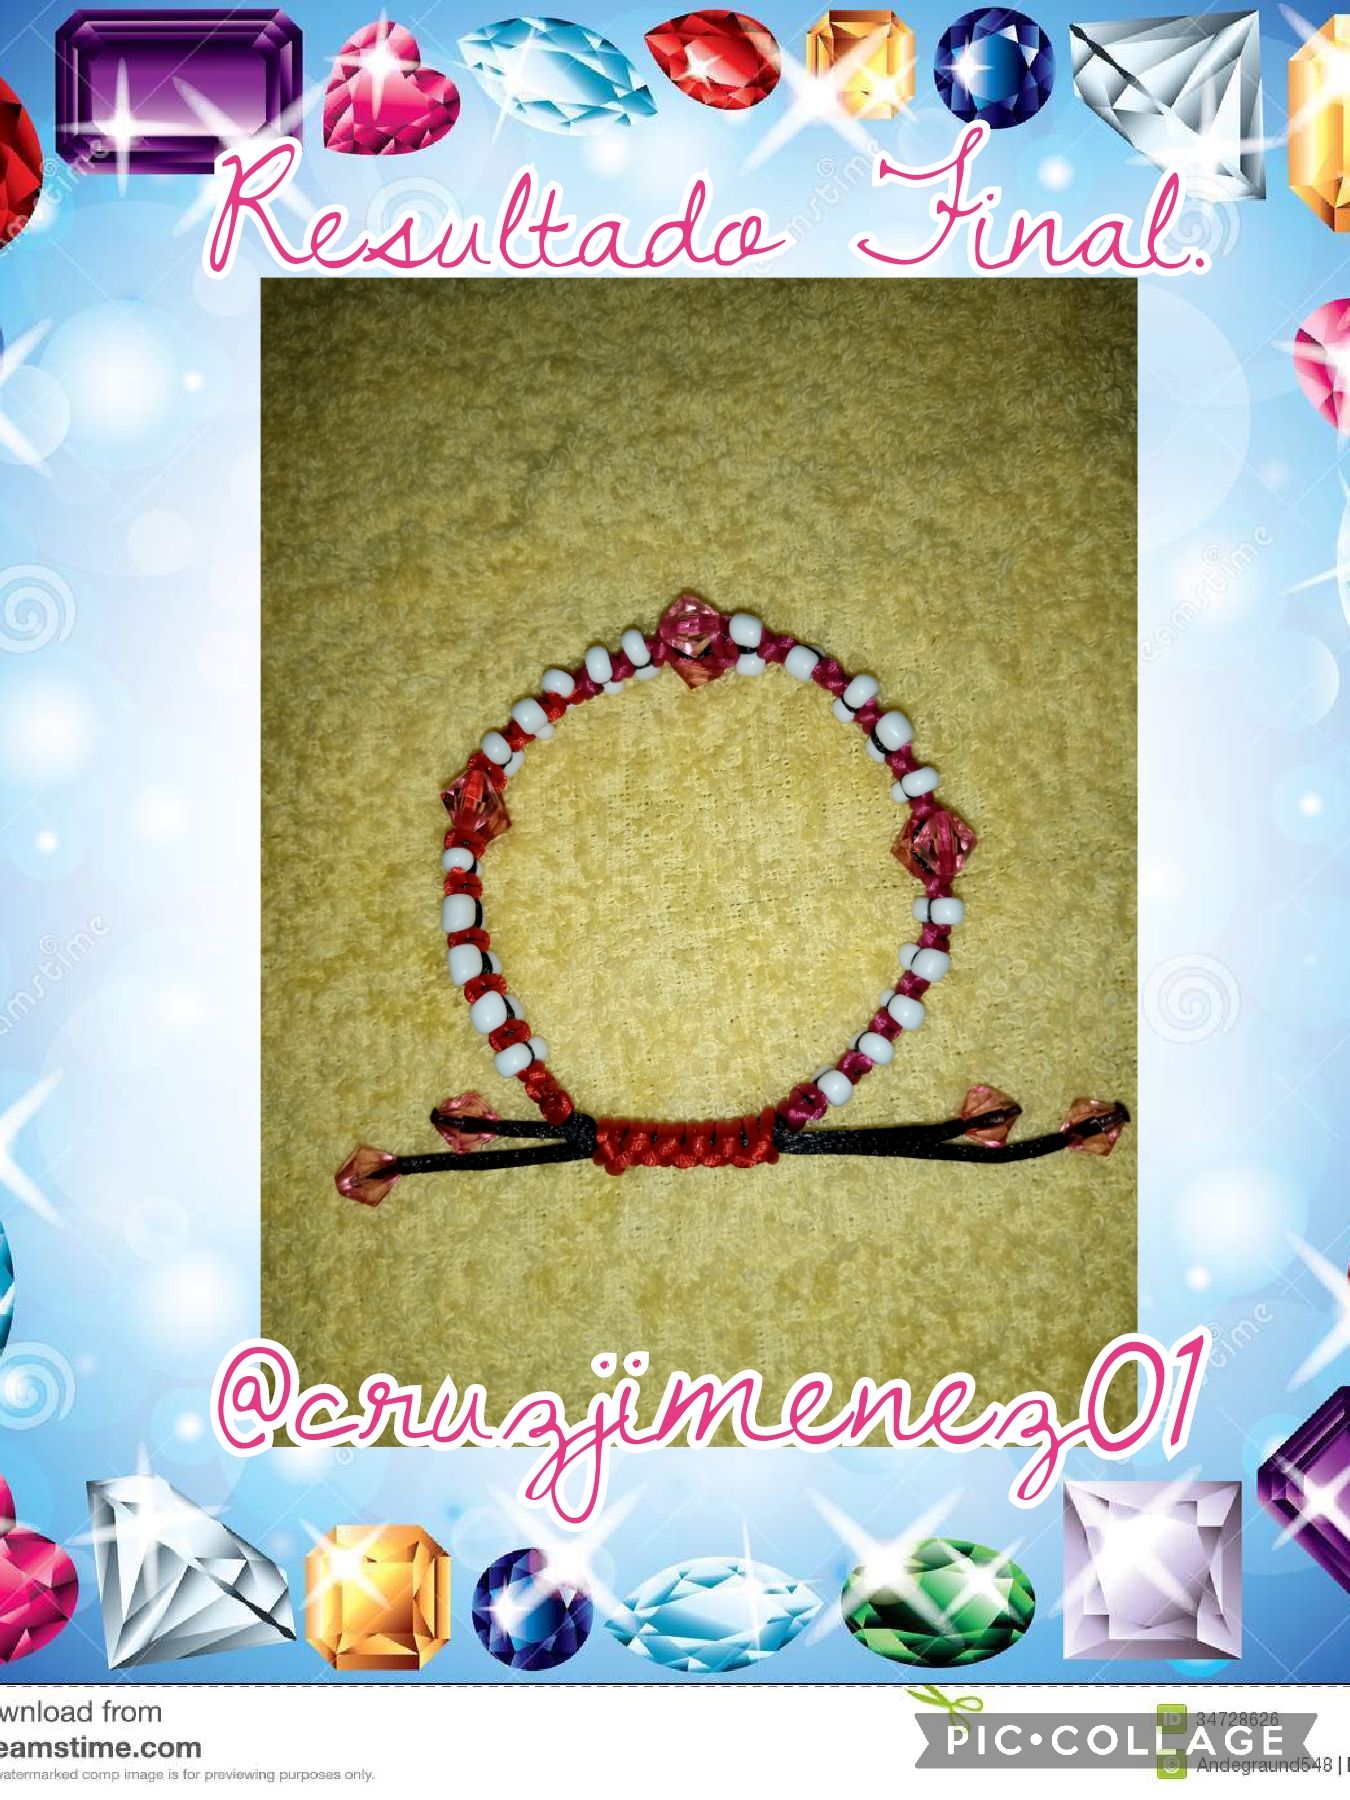
We have already reached the end of all the steps and this was the final result, a beautiful bracelet, ideal to give to friends or the most special person, I made this bracelet for myself, I thank you for visiting my blog , see you very soon with another creative idea, have a good afternoon and many blessings..
Las fotos fueron capturadas con mi teléfono androide Tecno Spark 6go, editadas con la aplicación Pic-collage y traducido el contenido con Google Esp-ing.
The photos were captured with my Tecno Spark 6go android phone, edited with the Pic-collage application and translated the content with Google Esp-ing.
Hola @cruzjimenez01, esta genial la forma de la pulsera y las piedras le dan un toque único, el paso a paso esta bien explicado y entendible de hacer. Saludos.