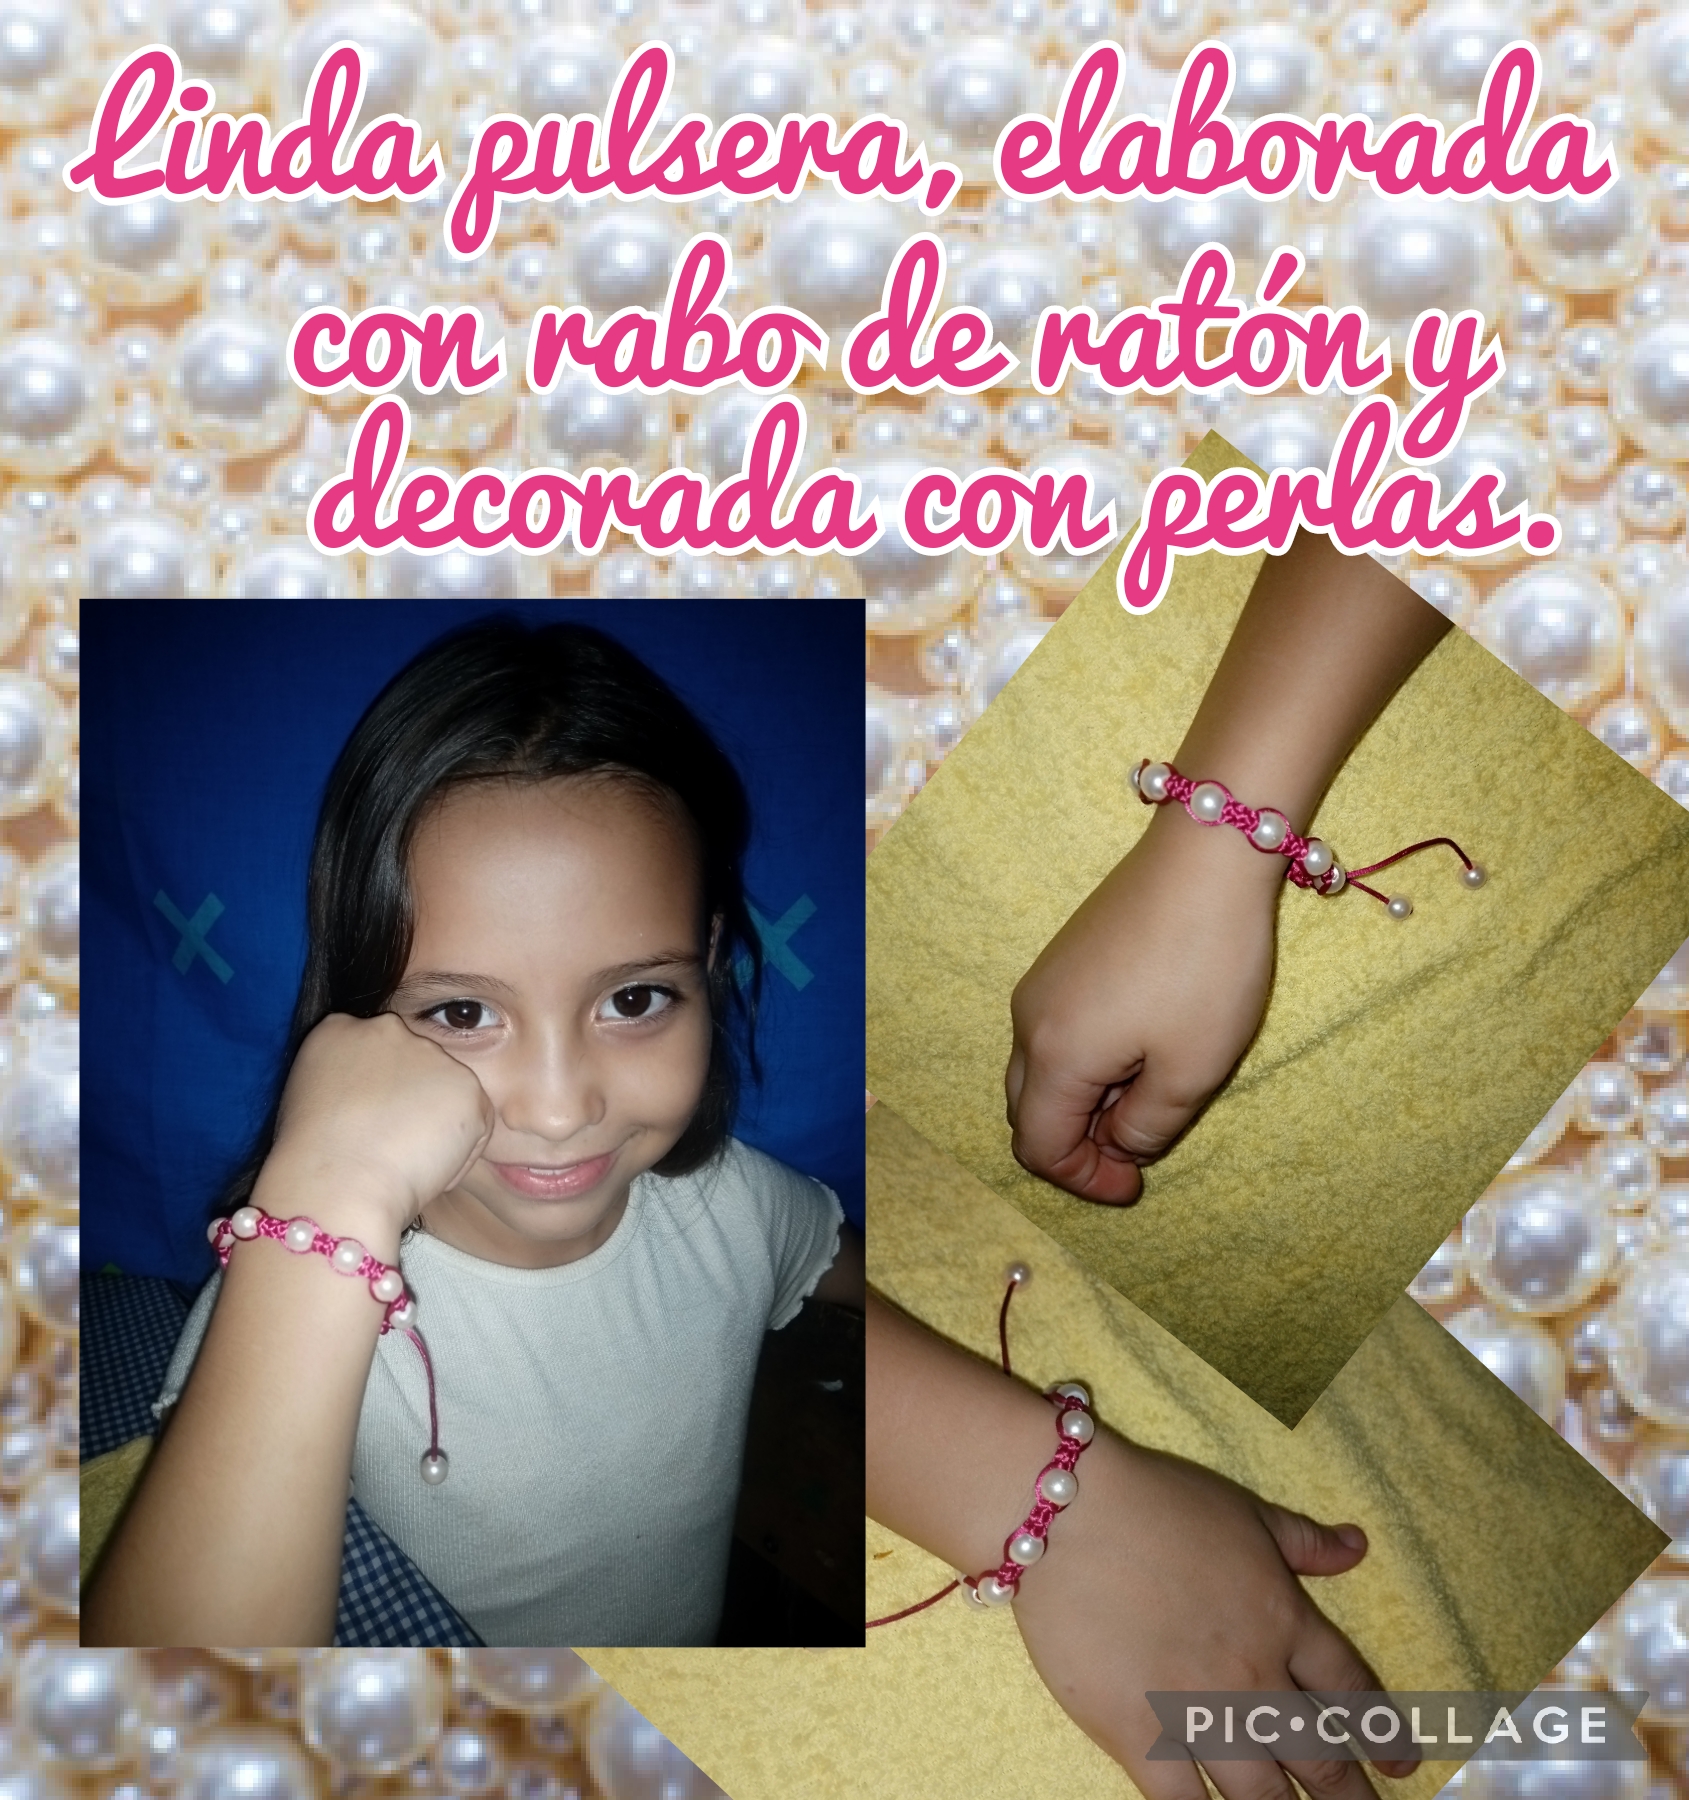
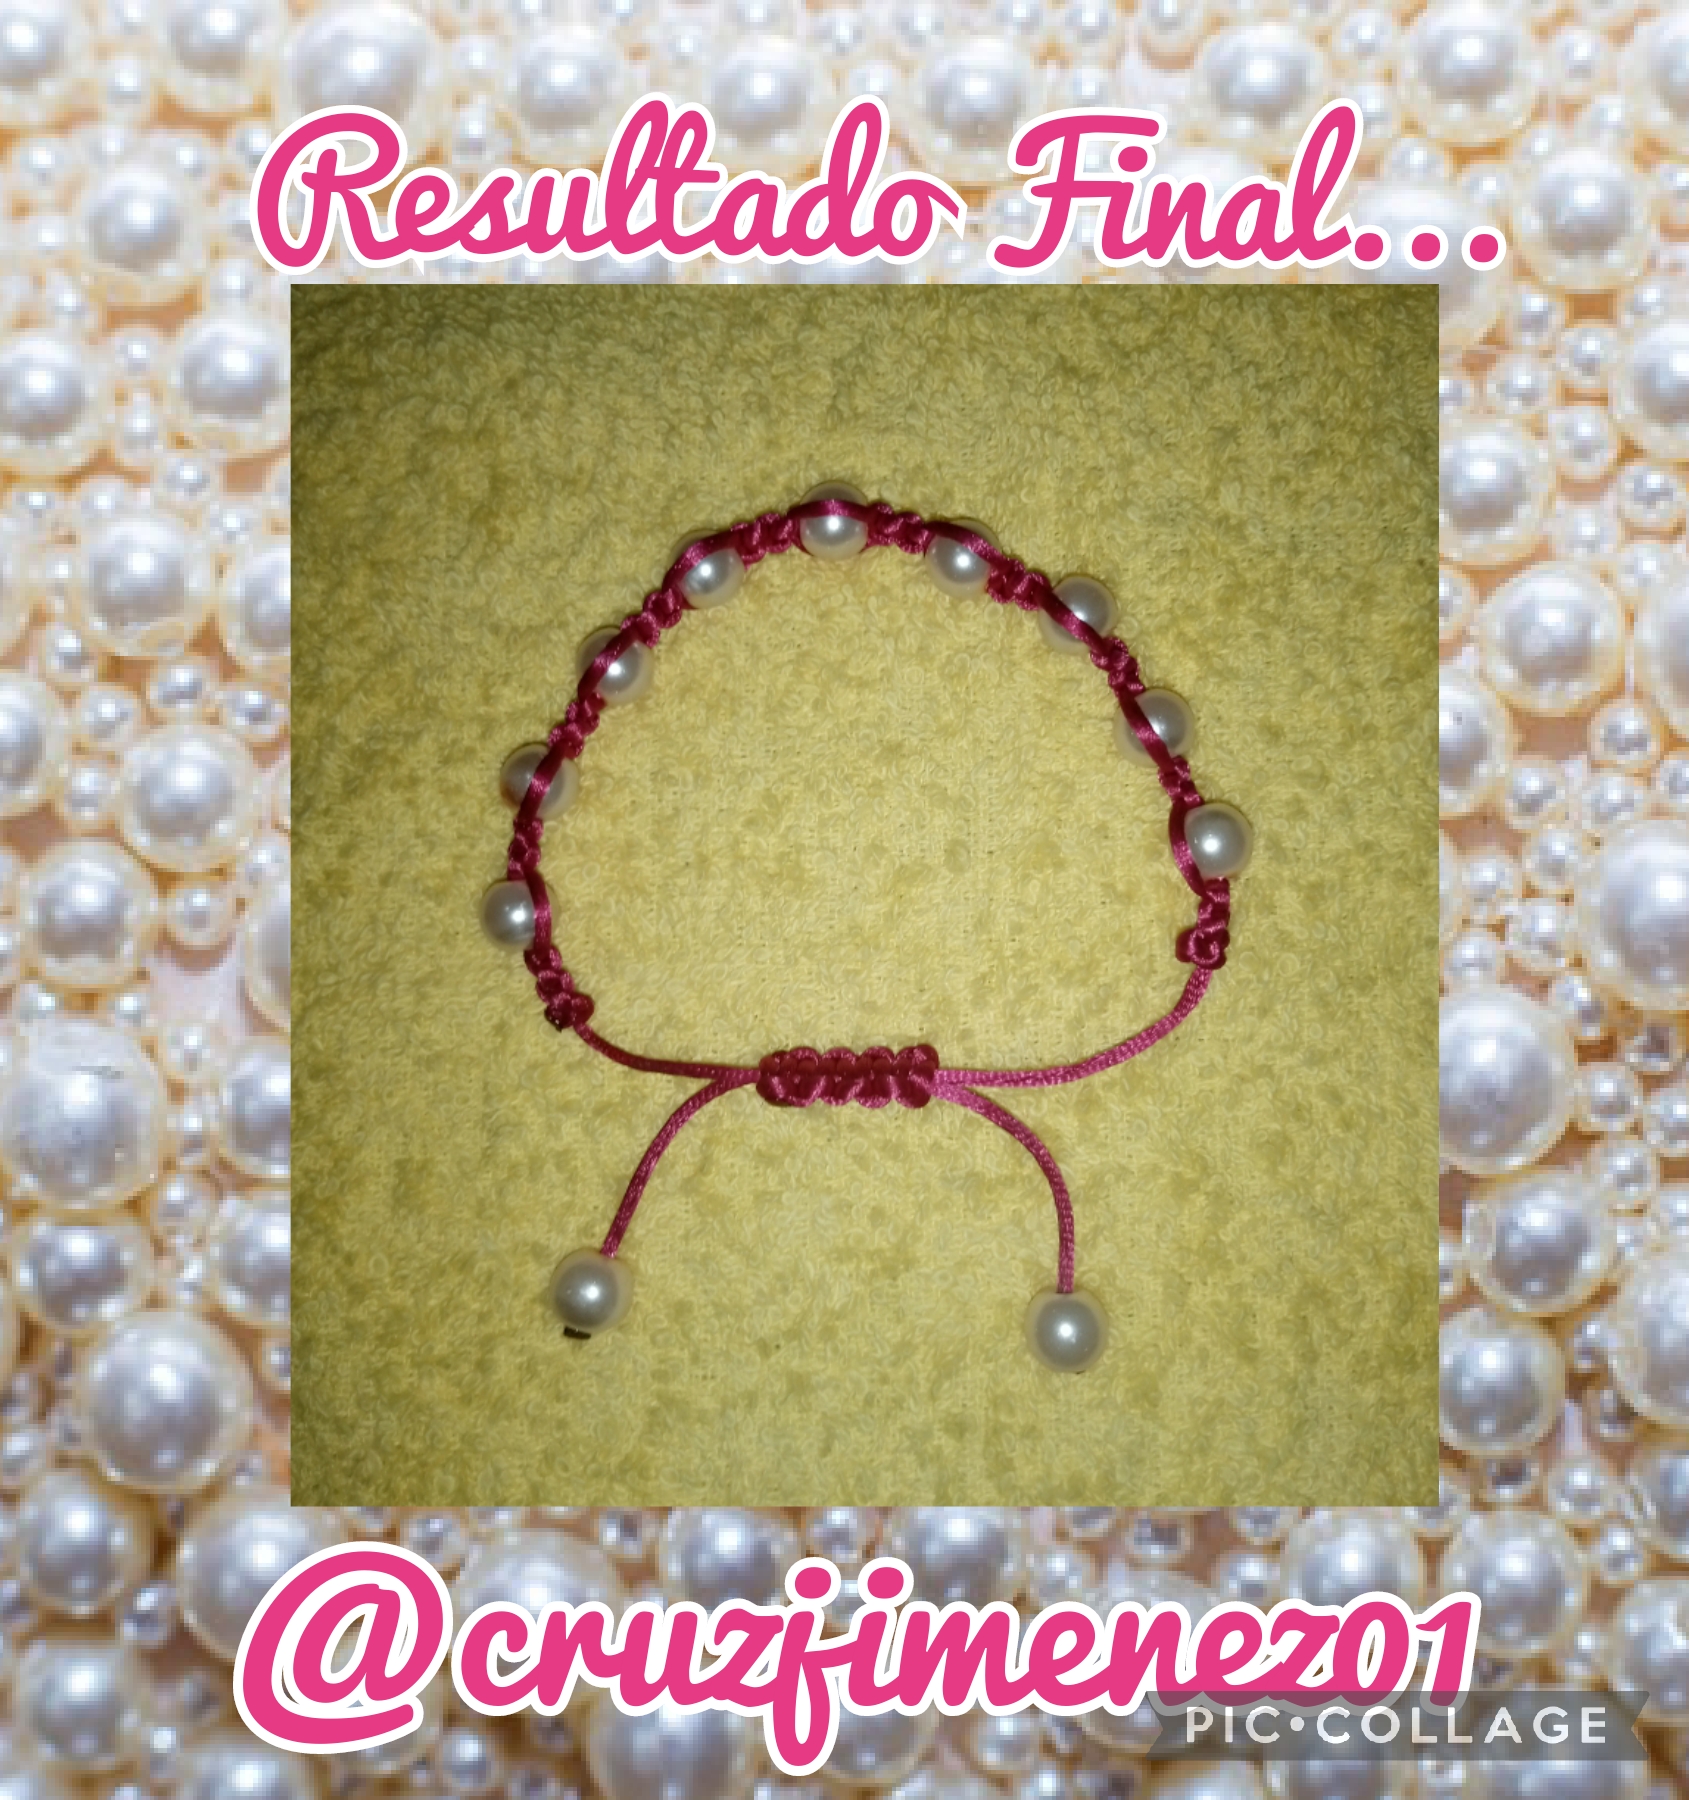
Hola!!!!! muy buenos dias, amigas artesanas de esta hermosa comunidad de Jewelry, espero hayan pasado un feliz y muy bendecido fin de semana llena de mucha salud. El día de hoy le doy la bienvenida a mi blog, en esta ocasión le quiero mostrar el paso a paso, de una linda pulsera, elaborada con cordón de rabo de raton, y decorada con perlas, esta pulsera, es muy sencilla y muy fácil de hacer, la hice con el tejido, macramé y el color del cordón cola de raton, es color fucsia y la decore con perlas blancas, esta pulsera la hice para mi hija, que tanto le gusta la bisutería, ahora sin mas nada que decir, vamos a darle comienzo a este divertido paso a paso.
Hello!!!!! Good morning, artisan friends of this beautiful Jewelry community, I hope you have had a happy and blessed weekend full of good health. Today I welcome you to my blog, this time I want to show you the step by step of a beautiful bracelet, made with a rattail cord, and decorated with pearls, this bracelet is very simple and easy to do, I made it with the fabric, macramé and the color of the mouse tail cord, it is fuchsia and I decorated it with white pearls, I made this bracelet for my daughter, who likes jewelry so much, now without anything else to say , let's start this fun step by step.
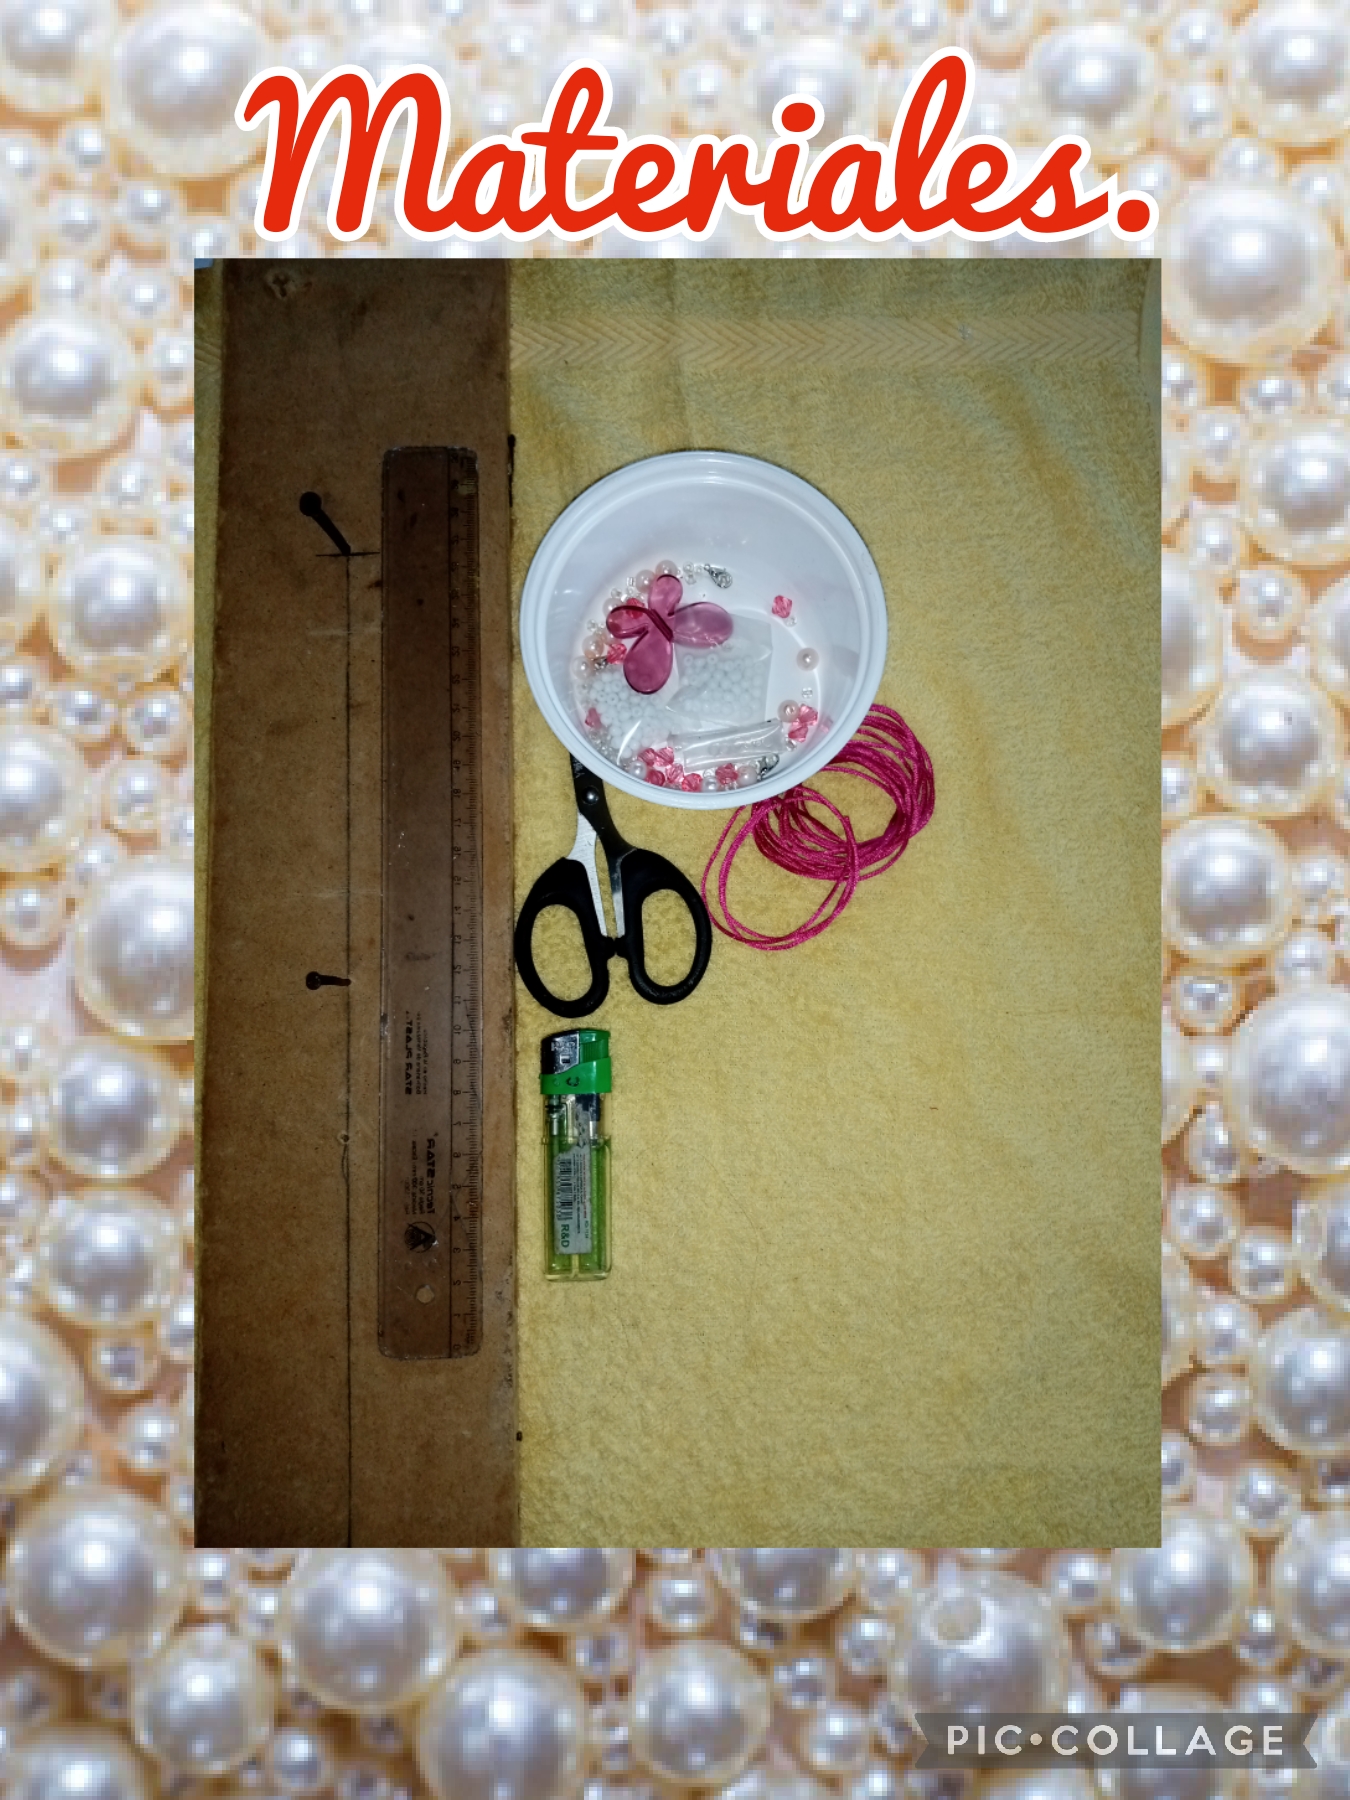
Para realizar esta linda pulsera, vamos a necesitar los siguientes materiales que verán a continuación:
*Cordón rabo de raton, color fucsia.
*Perlas.
*1 tijera.
*Yesquero.
*1 regla métrica.
*1 tabla con clavos.
To make this beautiful bracelet we are going to need the following materials that you will see below:
*Mouse tail cord, fuchsia.
*Pearls.
*1 scissors.
*Tinderbox.
*1 metric ruler.
*1 board with nails.
We are going to start with the step by step, to make this beautiful bracelet, with a rattail cord, and decorated with pearls.
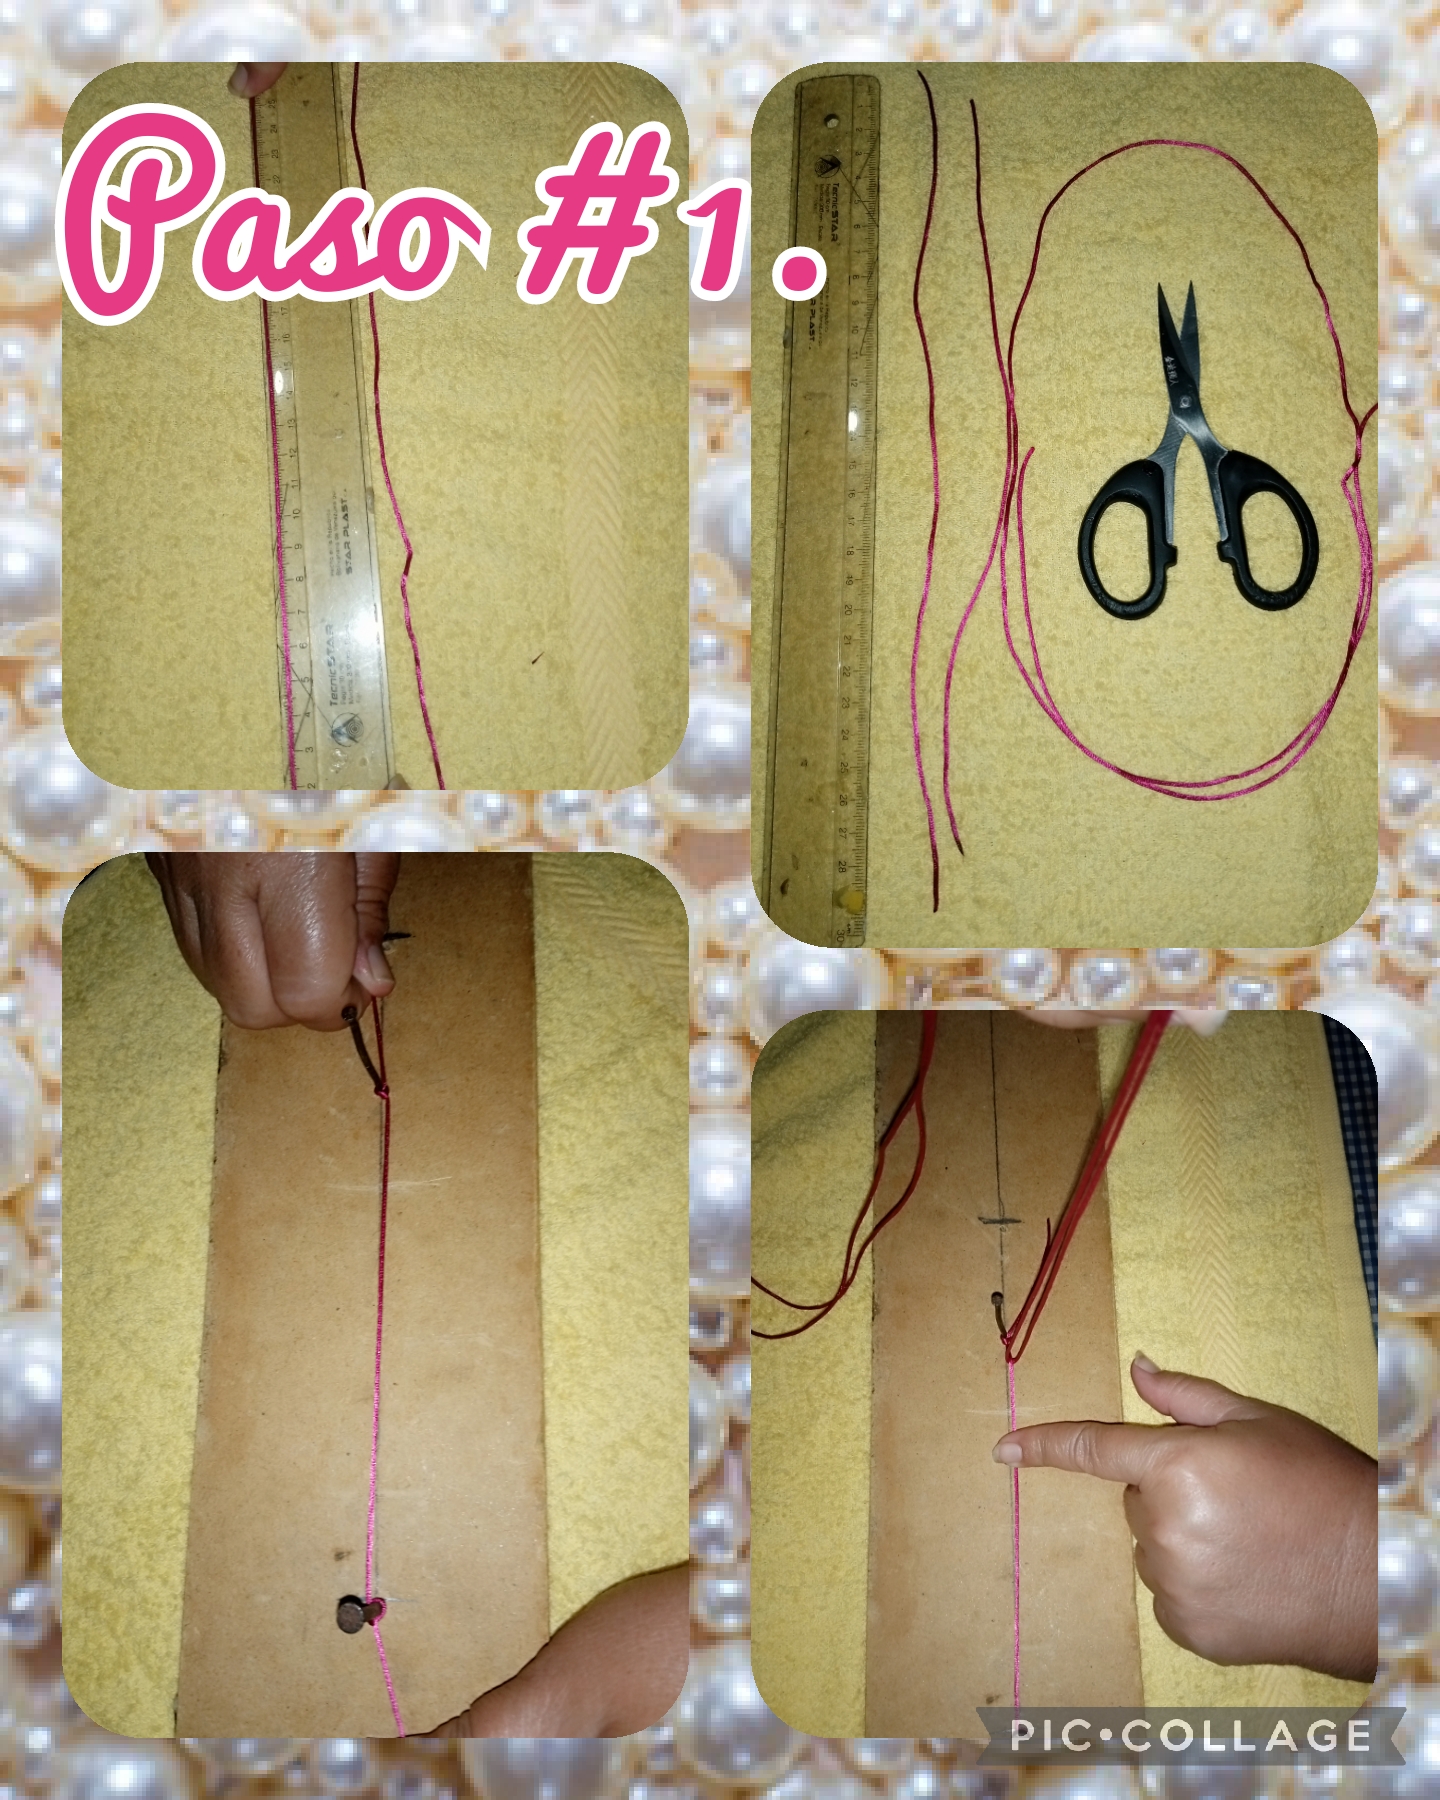
Step #1. To start making this beautiful bracelet, the first thing we are going to do is, we take a metric ruler and the mousetail cord, and we take the measurements of the cords, which we are going to use to make this beautiful bracelet, the measurements are the following, 30 centimeters, 25 centimeters and 90 centimeters, and with the help of scissors we cut them, then we take the 30 centimeter mouse tail cord and fix it to the board with the nails, so that it is well stretched, then we take the cord , 90 centimeters and we introduce it under the cord that we fixed on the board with the nails, we are going to fold it so that the cords are the same size, see the images.

con una tijera cortamos los excesos y con el yesquero quemamos las puntas, vea las imágenes.
Step #2. In this step we are going to make a knot in the part where we are going to start to put all the pearls in the cord that we put on the table, to start with the weaving, macramé and we are going to do it in the following way, we assemble the cord on the left, on the right cord, we pass it under and tighten it and we are going to do it successively from left to right and from right to left, to make this bracelet we are going to do it in 4, then we introduce the pearls and so on until we reach to the size that we are going to want,
Cut the excess with scissors and burn the ends with the tinderbox, see the images.
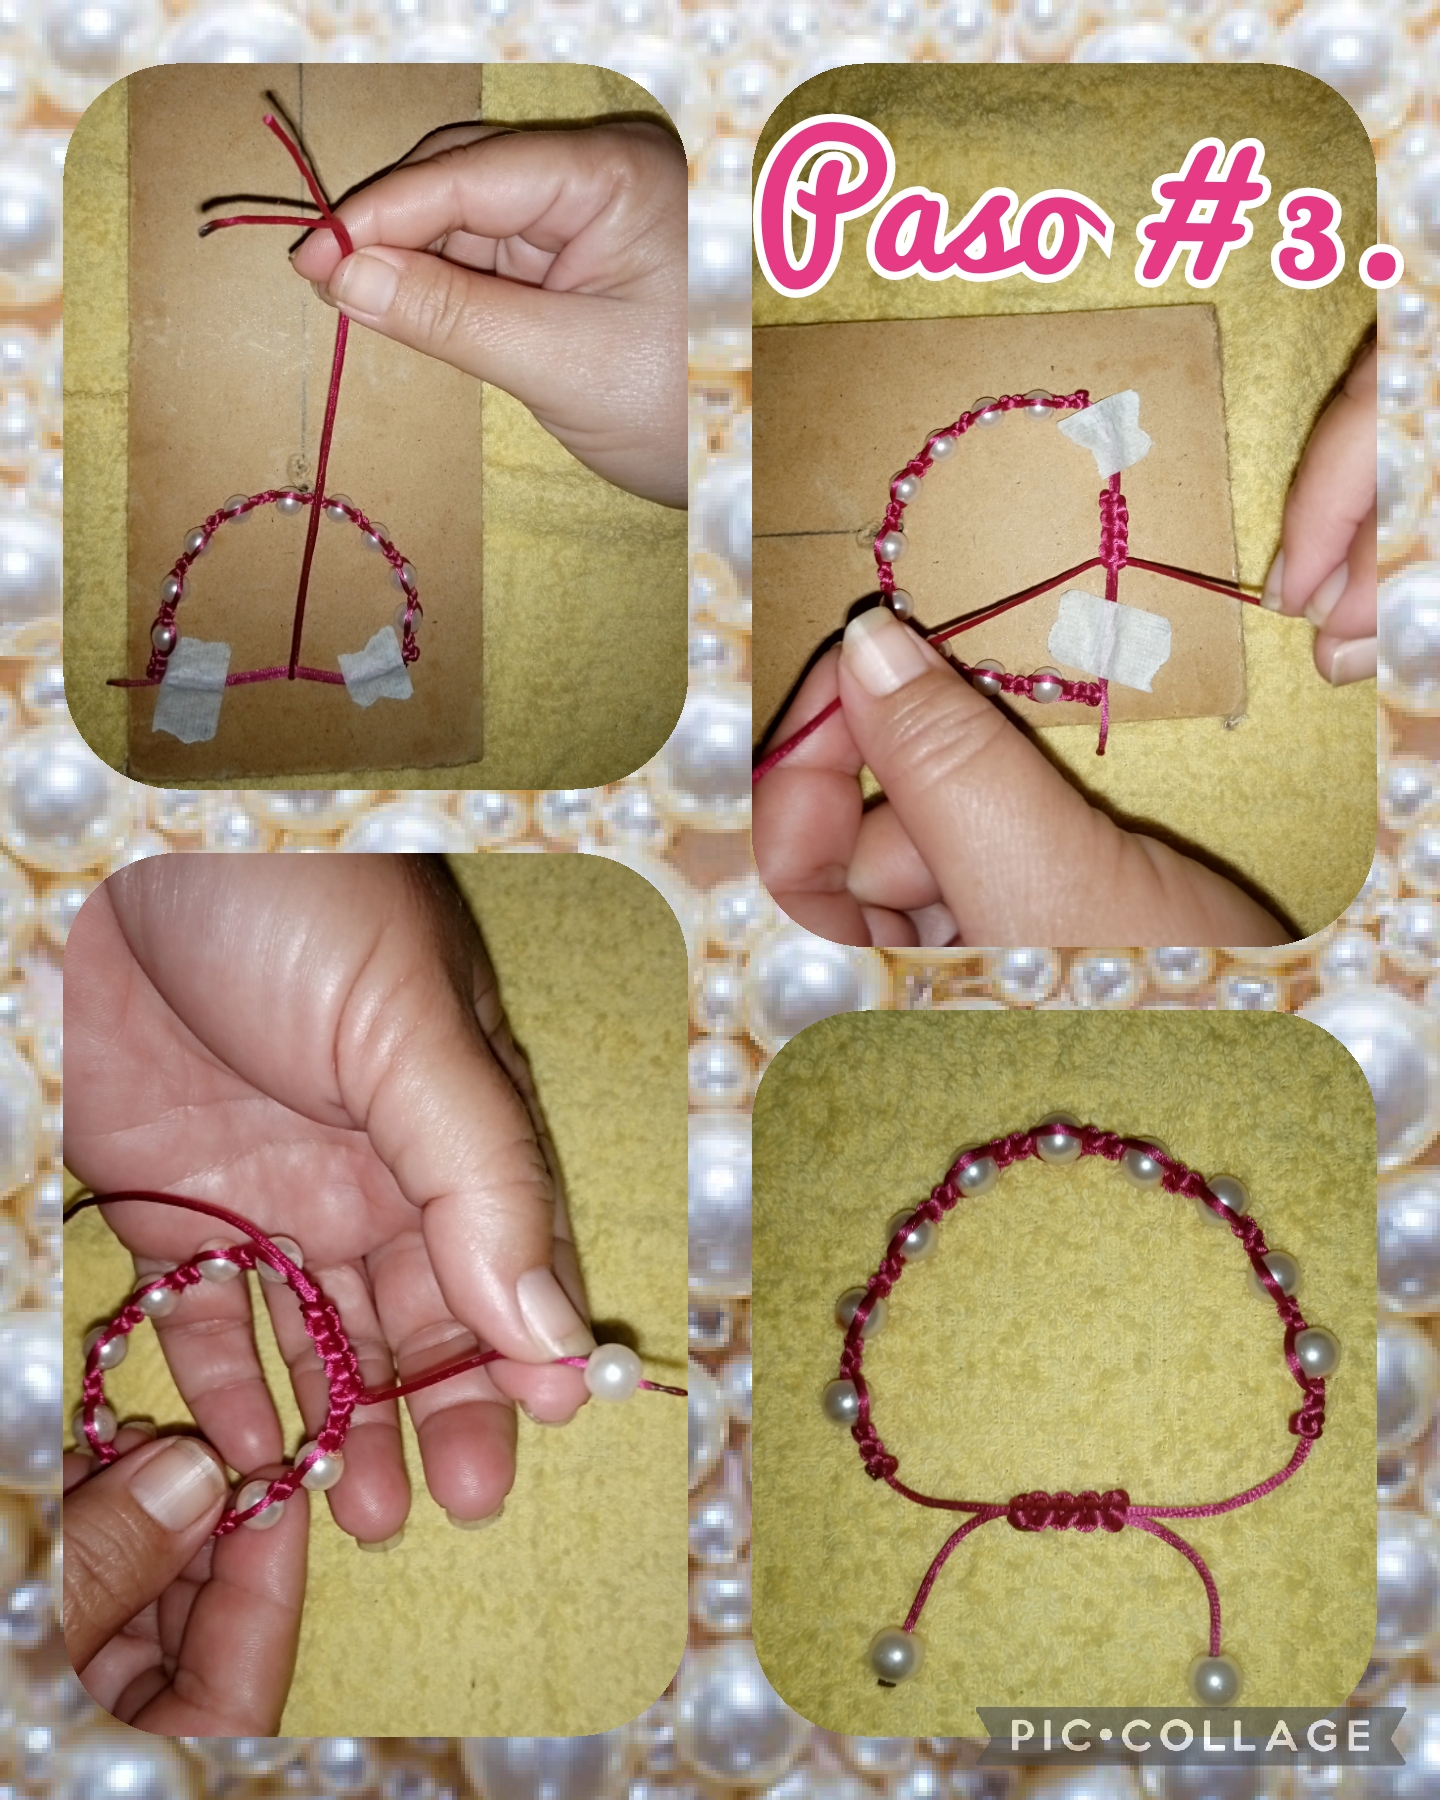
Step #3. Now in this step we are going to make the knot to adjust and loosen the bracelet and we are going to do it as follows, we take the bracelet and put it in a circular shape, and with adhesive tape we fix it on the table, to introduce the 25 cord centimeters, we fold it into two parts of equal size, and we begin to make the same fabric, macramé already finished tying the knot to the bracelet, and to take we finish 1 pearl for each cord we introduce it into the ends that are going to be hanging and we burn the tips with the tinderbox, see the images.
Las fotos fueron capturadas con mi teléfono androide Tecno Spark 6go y editadas con la aplicación Pic-Collage y traducido el contenido con el traductor Google Esp-ing.
The photos were captured with my Tecno Spark 6go android phone and edited with the Pic-Collage application and translated the content with the Google Esp-ing translator.
I will try this out when next I am less busy , thanks for the tutorial
Thank you for sharing this post on HIVE!
Your content got selected by our fellow curator ashikstd & you just received a little thank you upvote from us for your great work! Your post will be featured in one of our recurring compilations which are aiming to offer you a stage to widen your audience within the DIY scene of Hive. Stay creative & HIVE ON!
Please vote for our hive witness <3